

It is a macabre cliche, but there are more ways than one to skin a cat. This applies to nearly everything in life, and certainly to bikepacking. In the latest installment of our Bikepacking skills series, I delve into the delicate science of how to pack your bike for a wheeled adventure. It seems like it should be easy, and sometimes it is. More often than not it becomes the first big challenge before ever tackling the first mile.
There is no fixed recipe for exactly what to bring on a trip as that list changes with every outing. Many things conspire to keep your gear list variable. Things like weather and the length of the trip are big factors. How many resupply points enter the route is a consideration, and most importantly how much water is available during the ride. Once those considerations are all buttoned up and your gear selections made, then you have to fix it all to your bike.
It is probably worth mentioning that there are various styles of bikepack setups starting with the uber-light kits oft reserved for multi-day racing. Those systems typically only use a seat bag, frame bag, and a tiny backpack. On the other end of the spectrum are expedition systems with oversized bar bags, hulking seat bags, a full frame bag if possible, and invariably a backpack of moderate size. In between there are all sorts of options that fit each rider’s individual needs.
Ready for a 500 mile multi-day race, my lightest setup uses a minimum of bags and a small 24-liter pack.

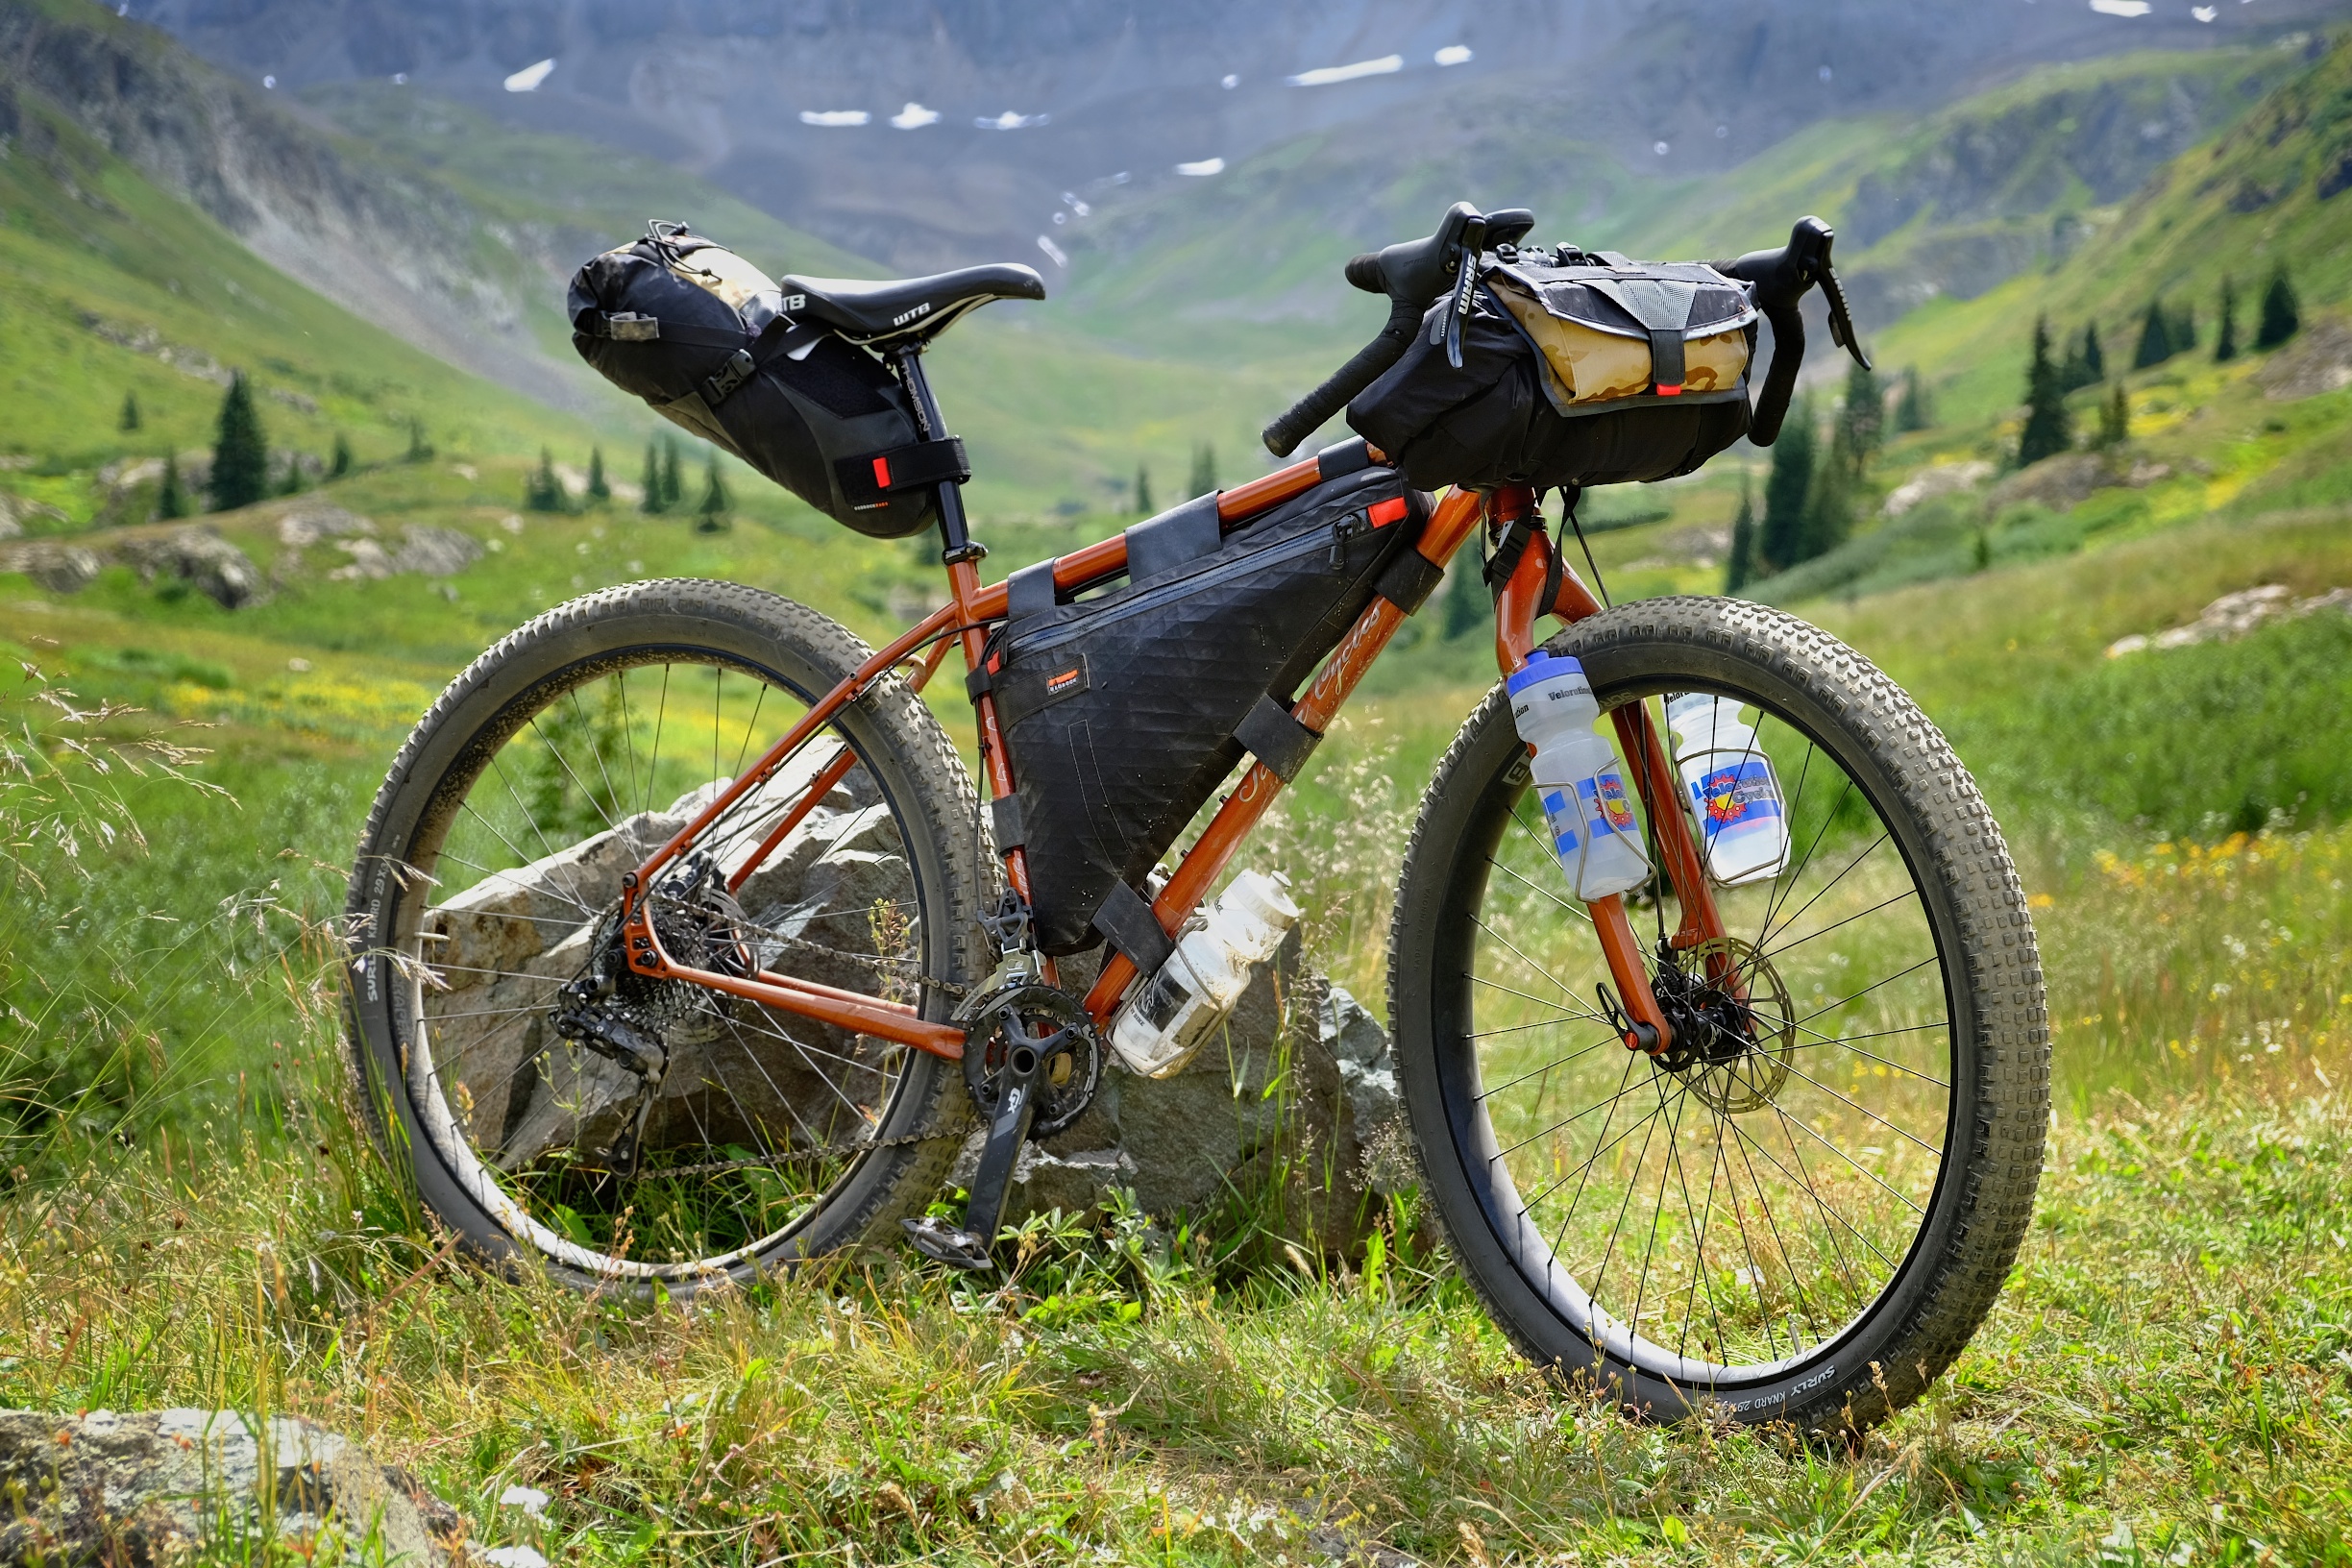
A short weekend setup for me includes a small frame bag, seat bag, and at most a small bar-mounted accessory bag. Again, I use a small backpack to store camera gear and essentials.

A comprehensive kit includes a large bar bag, frame bag, seat bag, frame mounted accessory bag and a mid-sized 24-liter backpack, in this case a waterproof backpack. This system was big enough for a 7 day stretch with no resupply.
Which bags to use?
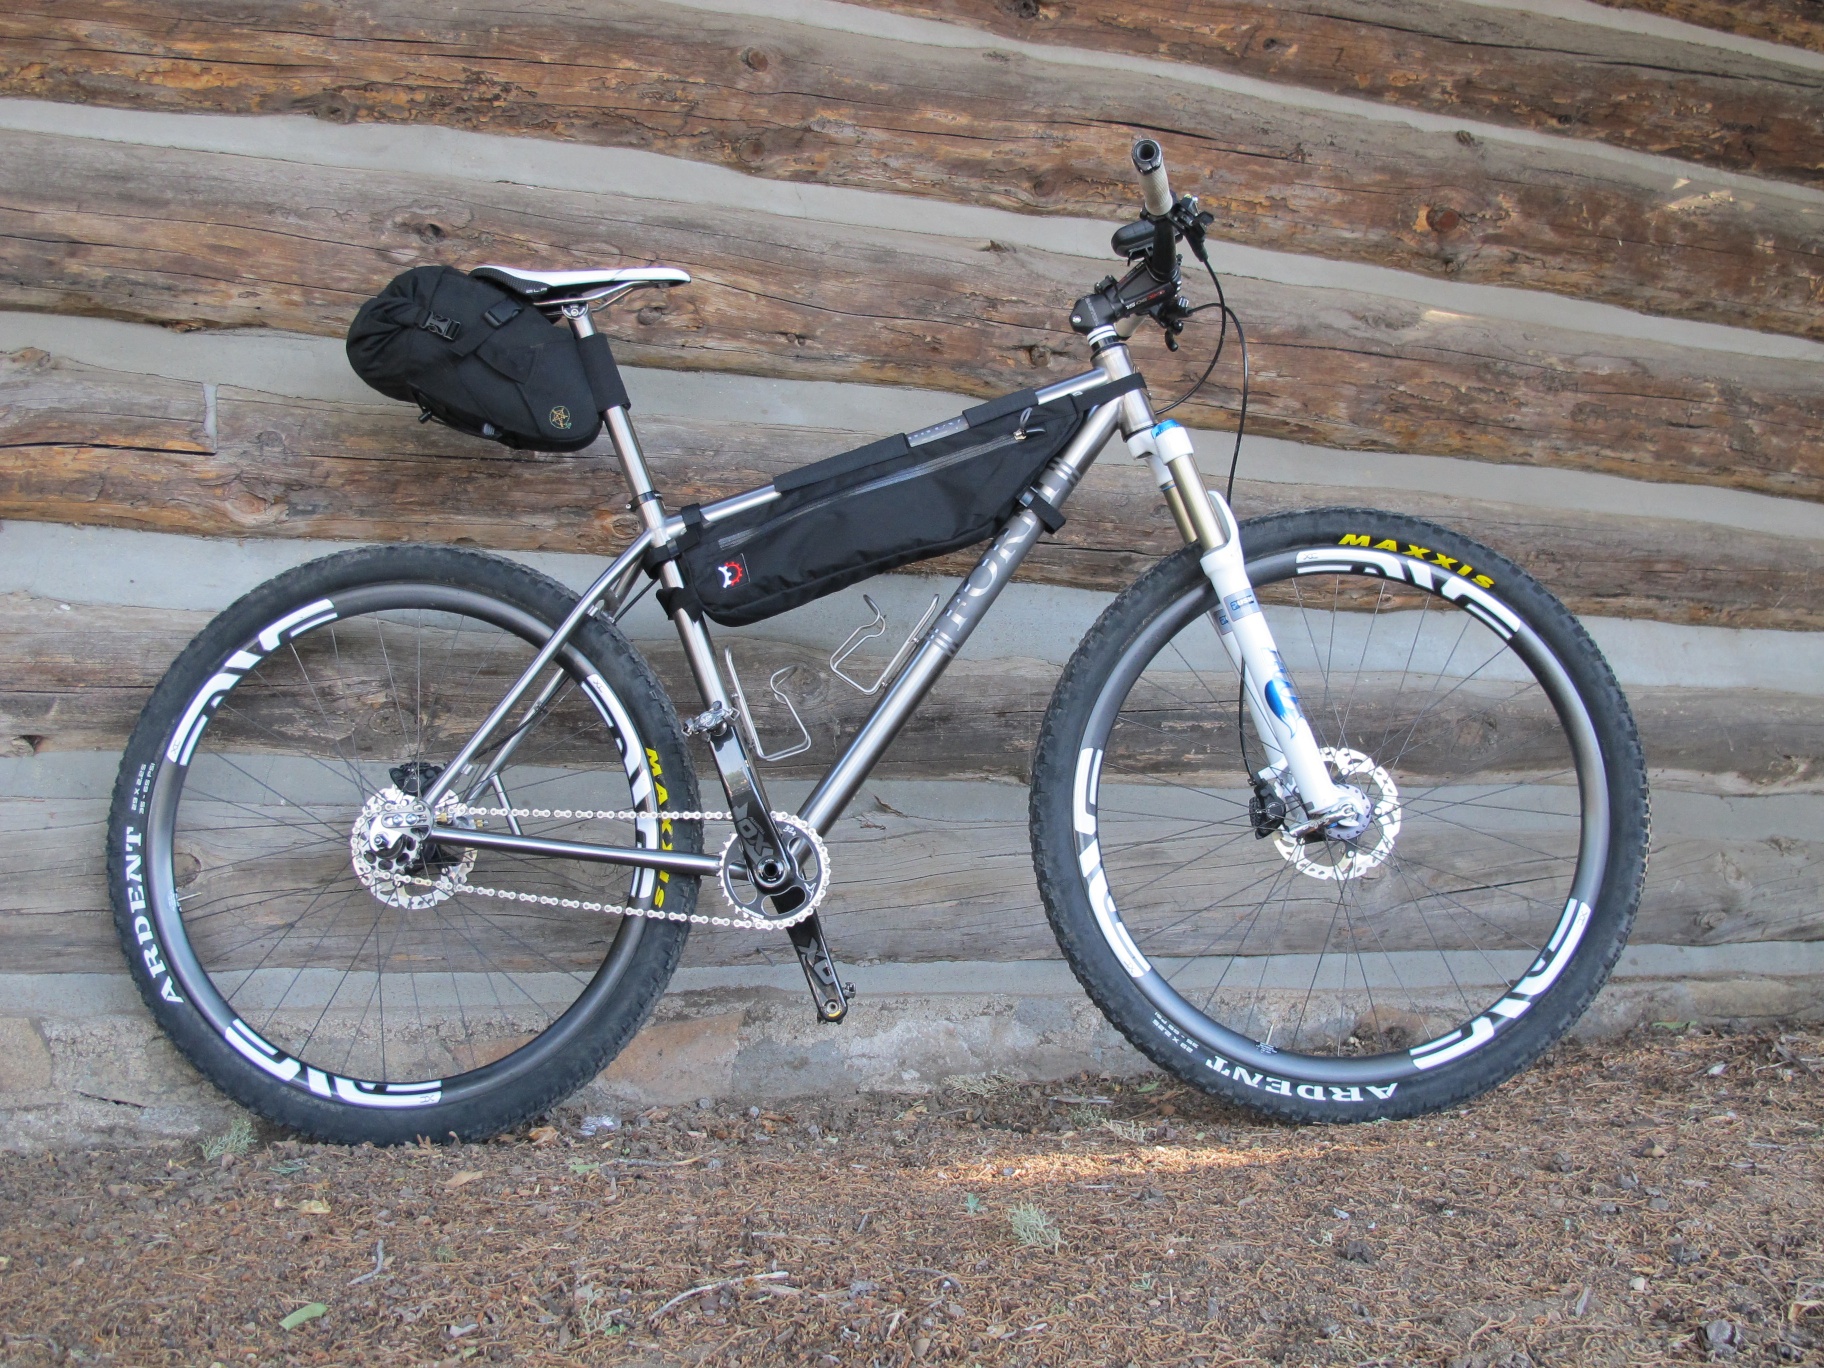
It goes without saying, the more you take, the more bags you will require. For those with hardtail steeds, the frame bag is the ideal hauler. It keeps the weight low and balanced, fits odd sized items like tent poles, and makes for a fabulous place to store several pounds of water. It’s amazing how much you can cram into a frame bag. I have used a full frame bag to carry virtually my entire kit, including water.
For those with full suspension frames, and limited real estate for a frame bag, it is still not a bad place for a small, partial frame bag. You can still use it for those heavy items best kept low and centered.
The seat bag is the most common bag used by nearly all bikepackers. Because of its large, rounded size, it is accommodating of larger items like a sleeping bag and pad as well as cooking gear, jackets, and food. The ideal max weight for a seat bag is probably between 2-5 pounds. More than that and the tail starts to wag the dog.
Bar bags are in my humble opinion, a necessary evil. They are my last choice of bag, even before a backpack. They can disrupt the handling of a bike, interfere with cables and housings, and in some cases are tricky to load and unload. They also bounce around and can’t easily be used for storing items you want to access during the day, at least not without an additional exterior storage pouch mounted to the bar bag. I try to keep bar bag weight under 3-4 pounds. If possible under 3 pounds.
Accessory bags have become increasingly popular and allow for small things to be placed in easy reach. These bags can be attached to the bars or top tube and are frequently referred to as “feed bags” or “fuel tanks.”
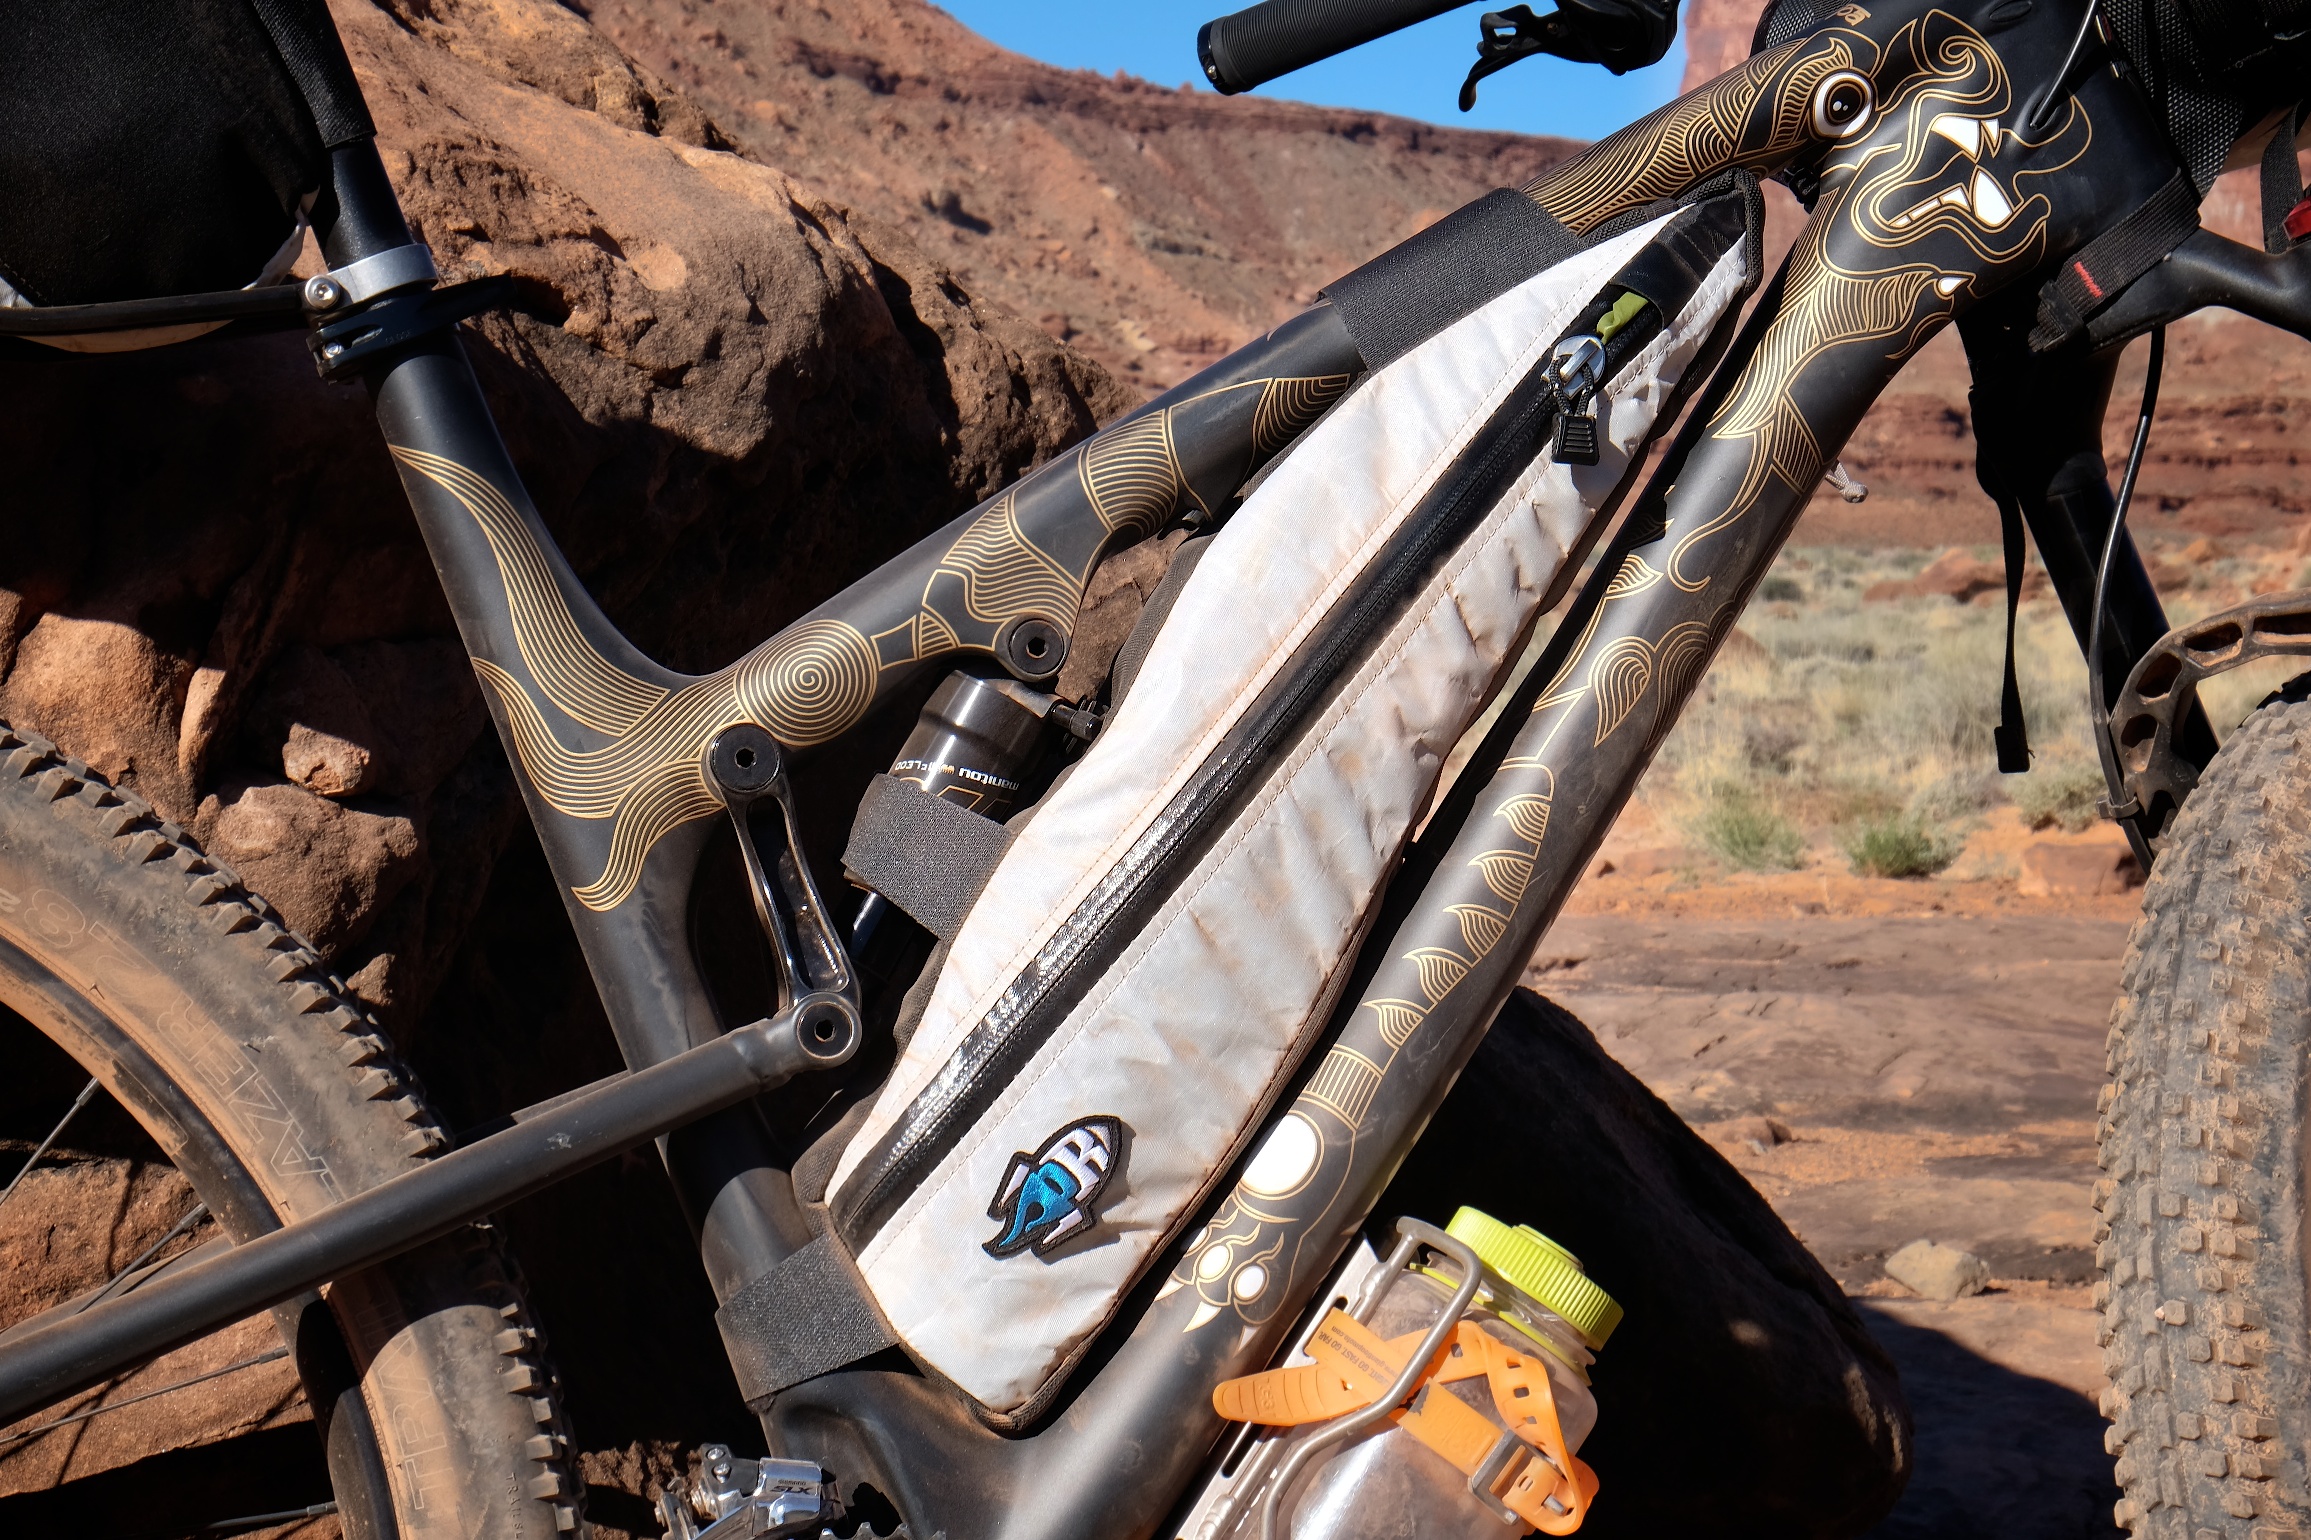
Even a partial frame bag is worth the money. This bag held four liters of water for a lap around the White Rim Trail which only had one water source 80 miles in.
Frame: What’s in the bag?
I tend to pack my frame bag with heavy items. This often includes my tool kit, spare tube, pump, and always food. Food is surprisingly heavy, particularly dense food bars.
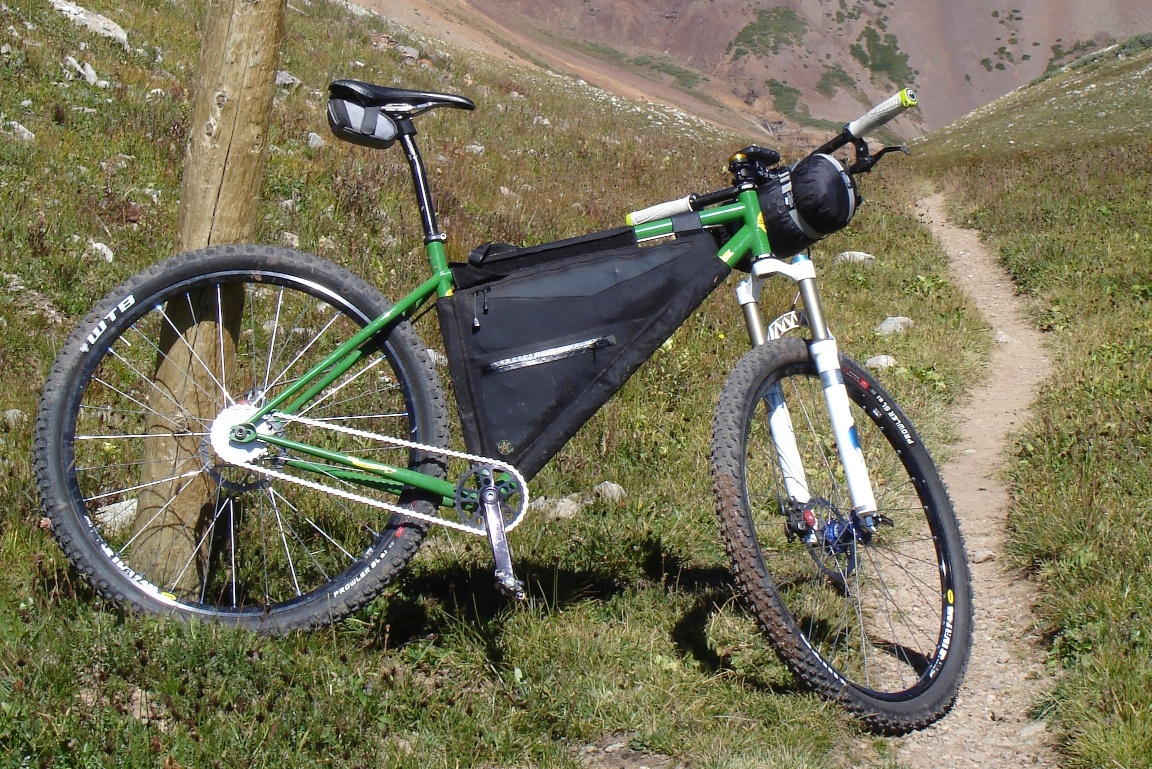
With my sleeping bag (1.3 pounds) on the bars, the ride quality was not disrupted. The frame bag swallowed all my gear for a three day ride.

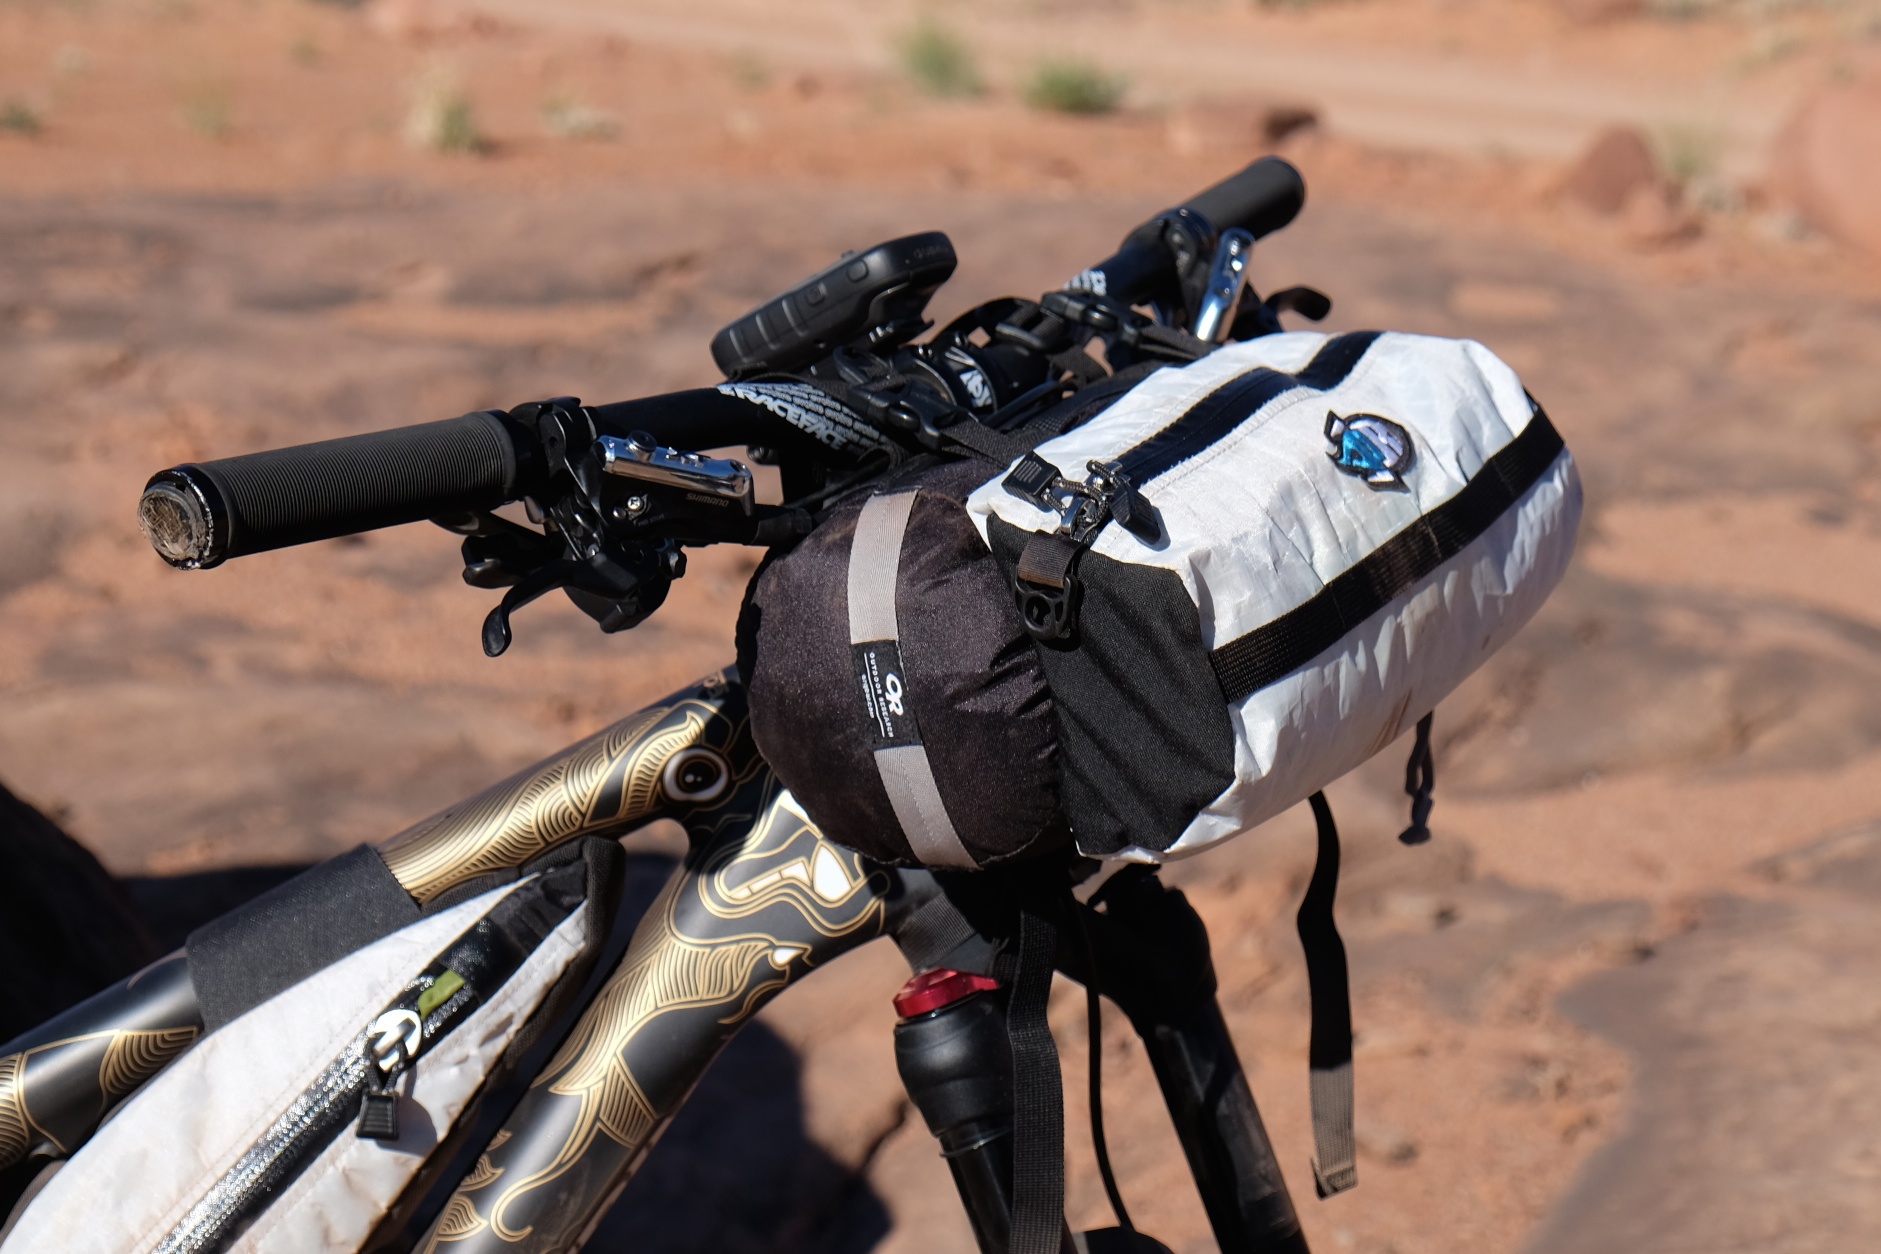
(Below) The Porcelain Rocket system uses a harness with an external pouch to hold essentials you want in close reach. To be honest, that particular bar bag system is terrible. It was difficult to mount, bounced around continually, and just sucked.
Bar: What’s in the bag?
My bar bag is often used for a shelter and for potential wet storage. It often holds a tent or bivy with my sleeping pad, and in some cases serves as storage for my freeze-dried meals. It’s filled with things I don’t need to access at all during the day. The pouch on the front of the bag holds essentials I want close at hand.

The Bedrock Bags Entrada bar bag system with external pouch is the best I’ve used. The waterproof pouch is ideal for quick-grab items like sunscreen, food bars, etc.
Seat Bag: What’s in the bag?
I like to use my seat bag as storage for sleep gear. Usually that includes my sleeping bag, pad and pillow. To maximize the space, I fill the voids with base layers I reserve only for sleeping if possible.
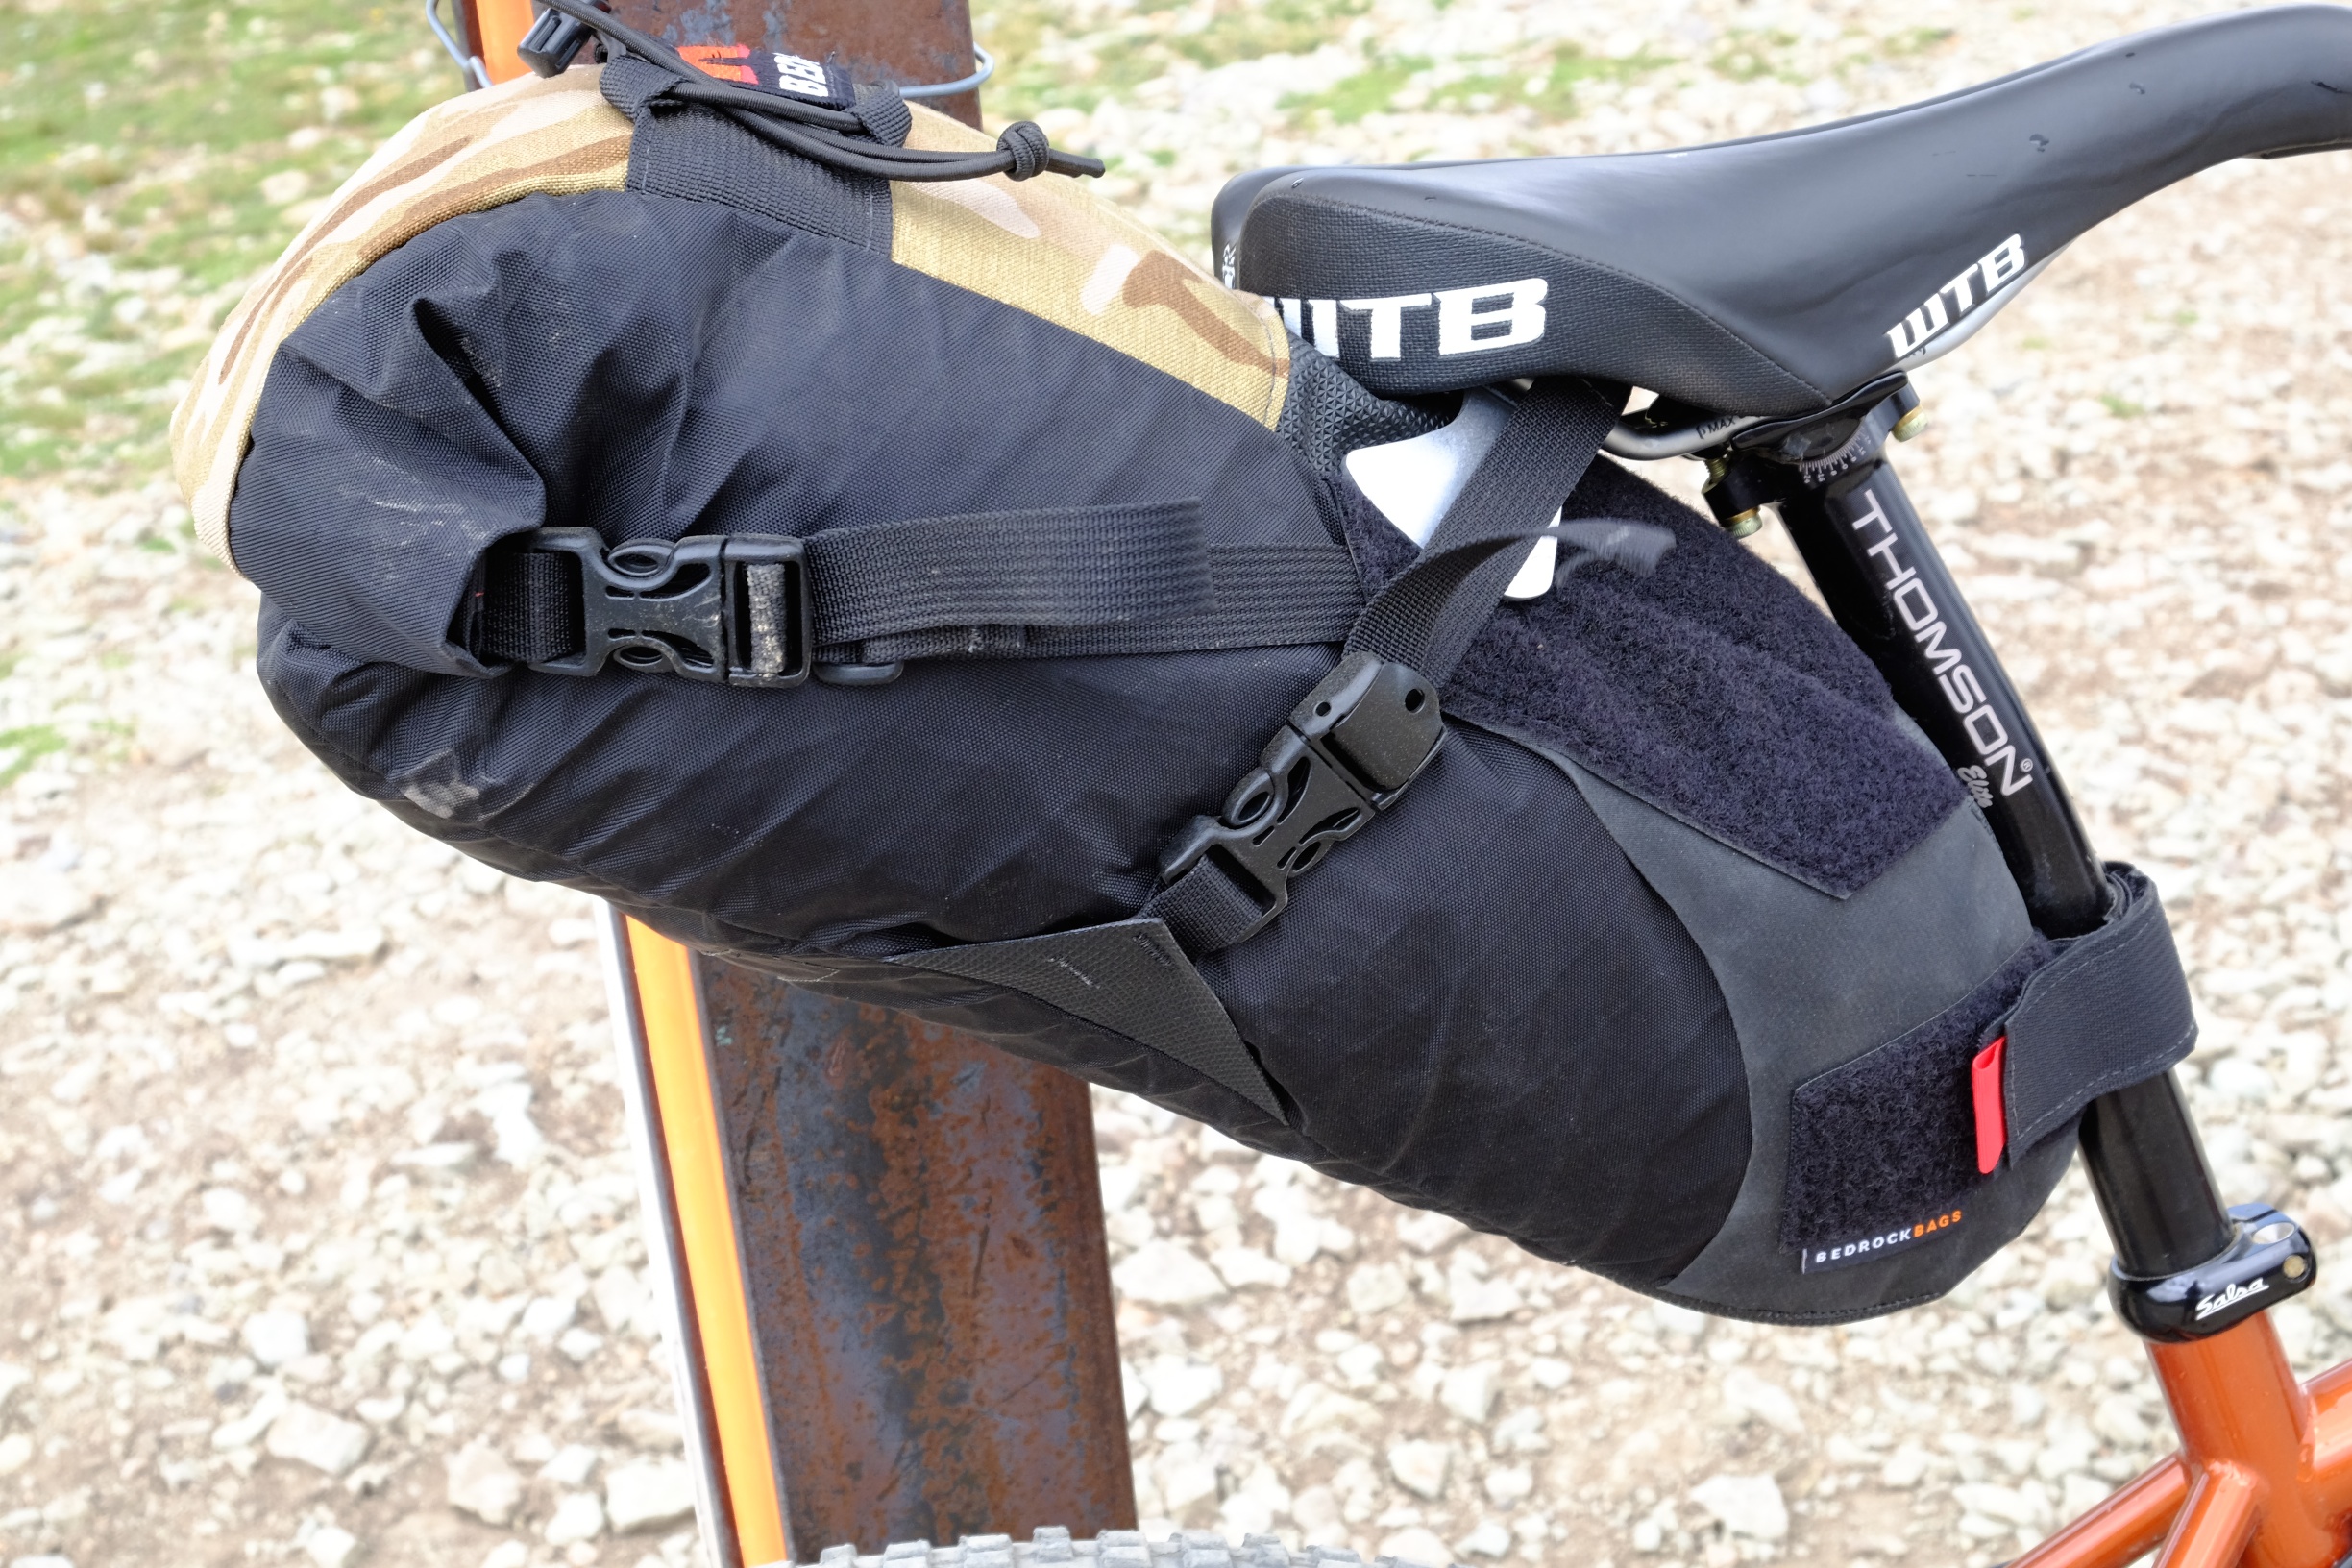
The Bedrock Bags Coconino Seat Bag uses a metal “wing” bolted to the seat rails to stabilize the bag to keep it from wagging or shifting.
Backpack or no?
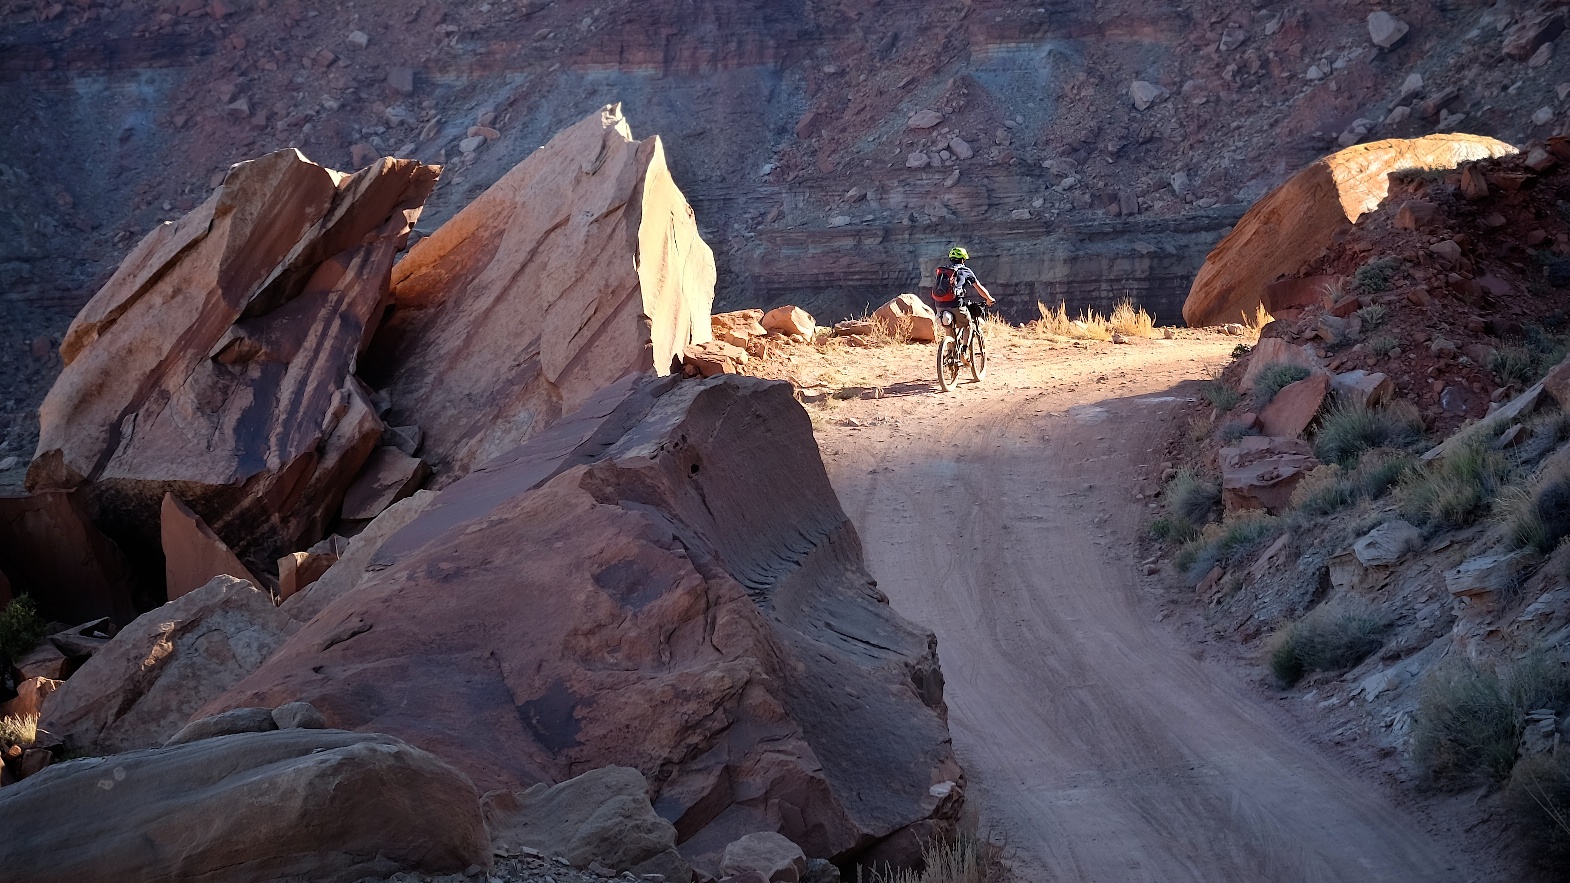
It would be great to not have to use a backpack, but more often than not, bikepackers do use them. The advantages are many. Aside from the additional storage space, the pack removes a small portion of the overall gear weight from the bike. This can be handy if your route involves gratuitous amounts of hike-a-bike where lifting and portaging your bike is going to be a prominent part of the day. Most packs also make for a good place to store water in an easy to access hydration system. It’s not a problem to get 3 liters of water in most packs. For desert travel, that reason alone is why many wear a pack. Another valid reason to use a pack is because it offers a safe haven for delicate pieces of gear, like cameras. Bike-mounted bags produce an egregious amount of vibrations and continual impacts to everything within. Place a fancy camera in a frame, seat, or bar bag and it will get rattled to bits.
Backpack: What’s in the bag?
I almost always ride with a pack. The main reason is to protect my camera gear, which I always bring along. I also use the pack for a hydration system and to keep things like storm gear and some snack foods accessible. For long trips with little resupply, I use the pack as overflow storage and as food supplies are consumed, the backpack gets more manageable. It’s also about the only way to carry some odd sized things like my carbon fiber tripod or tent poles.
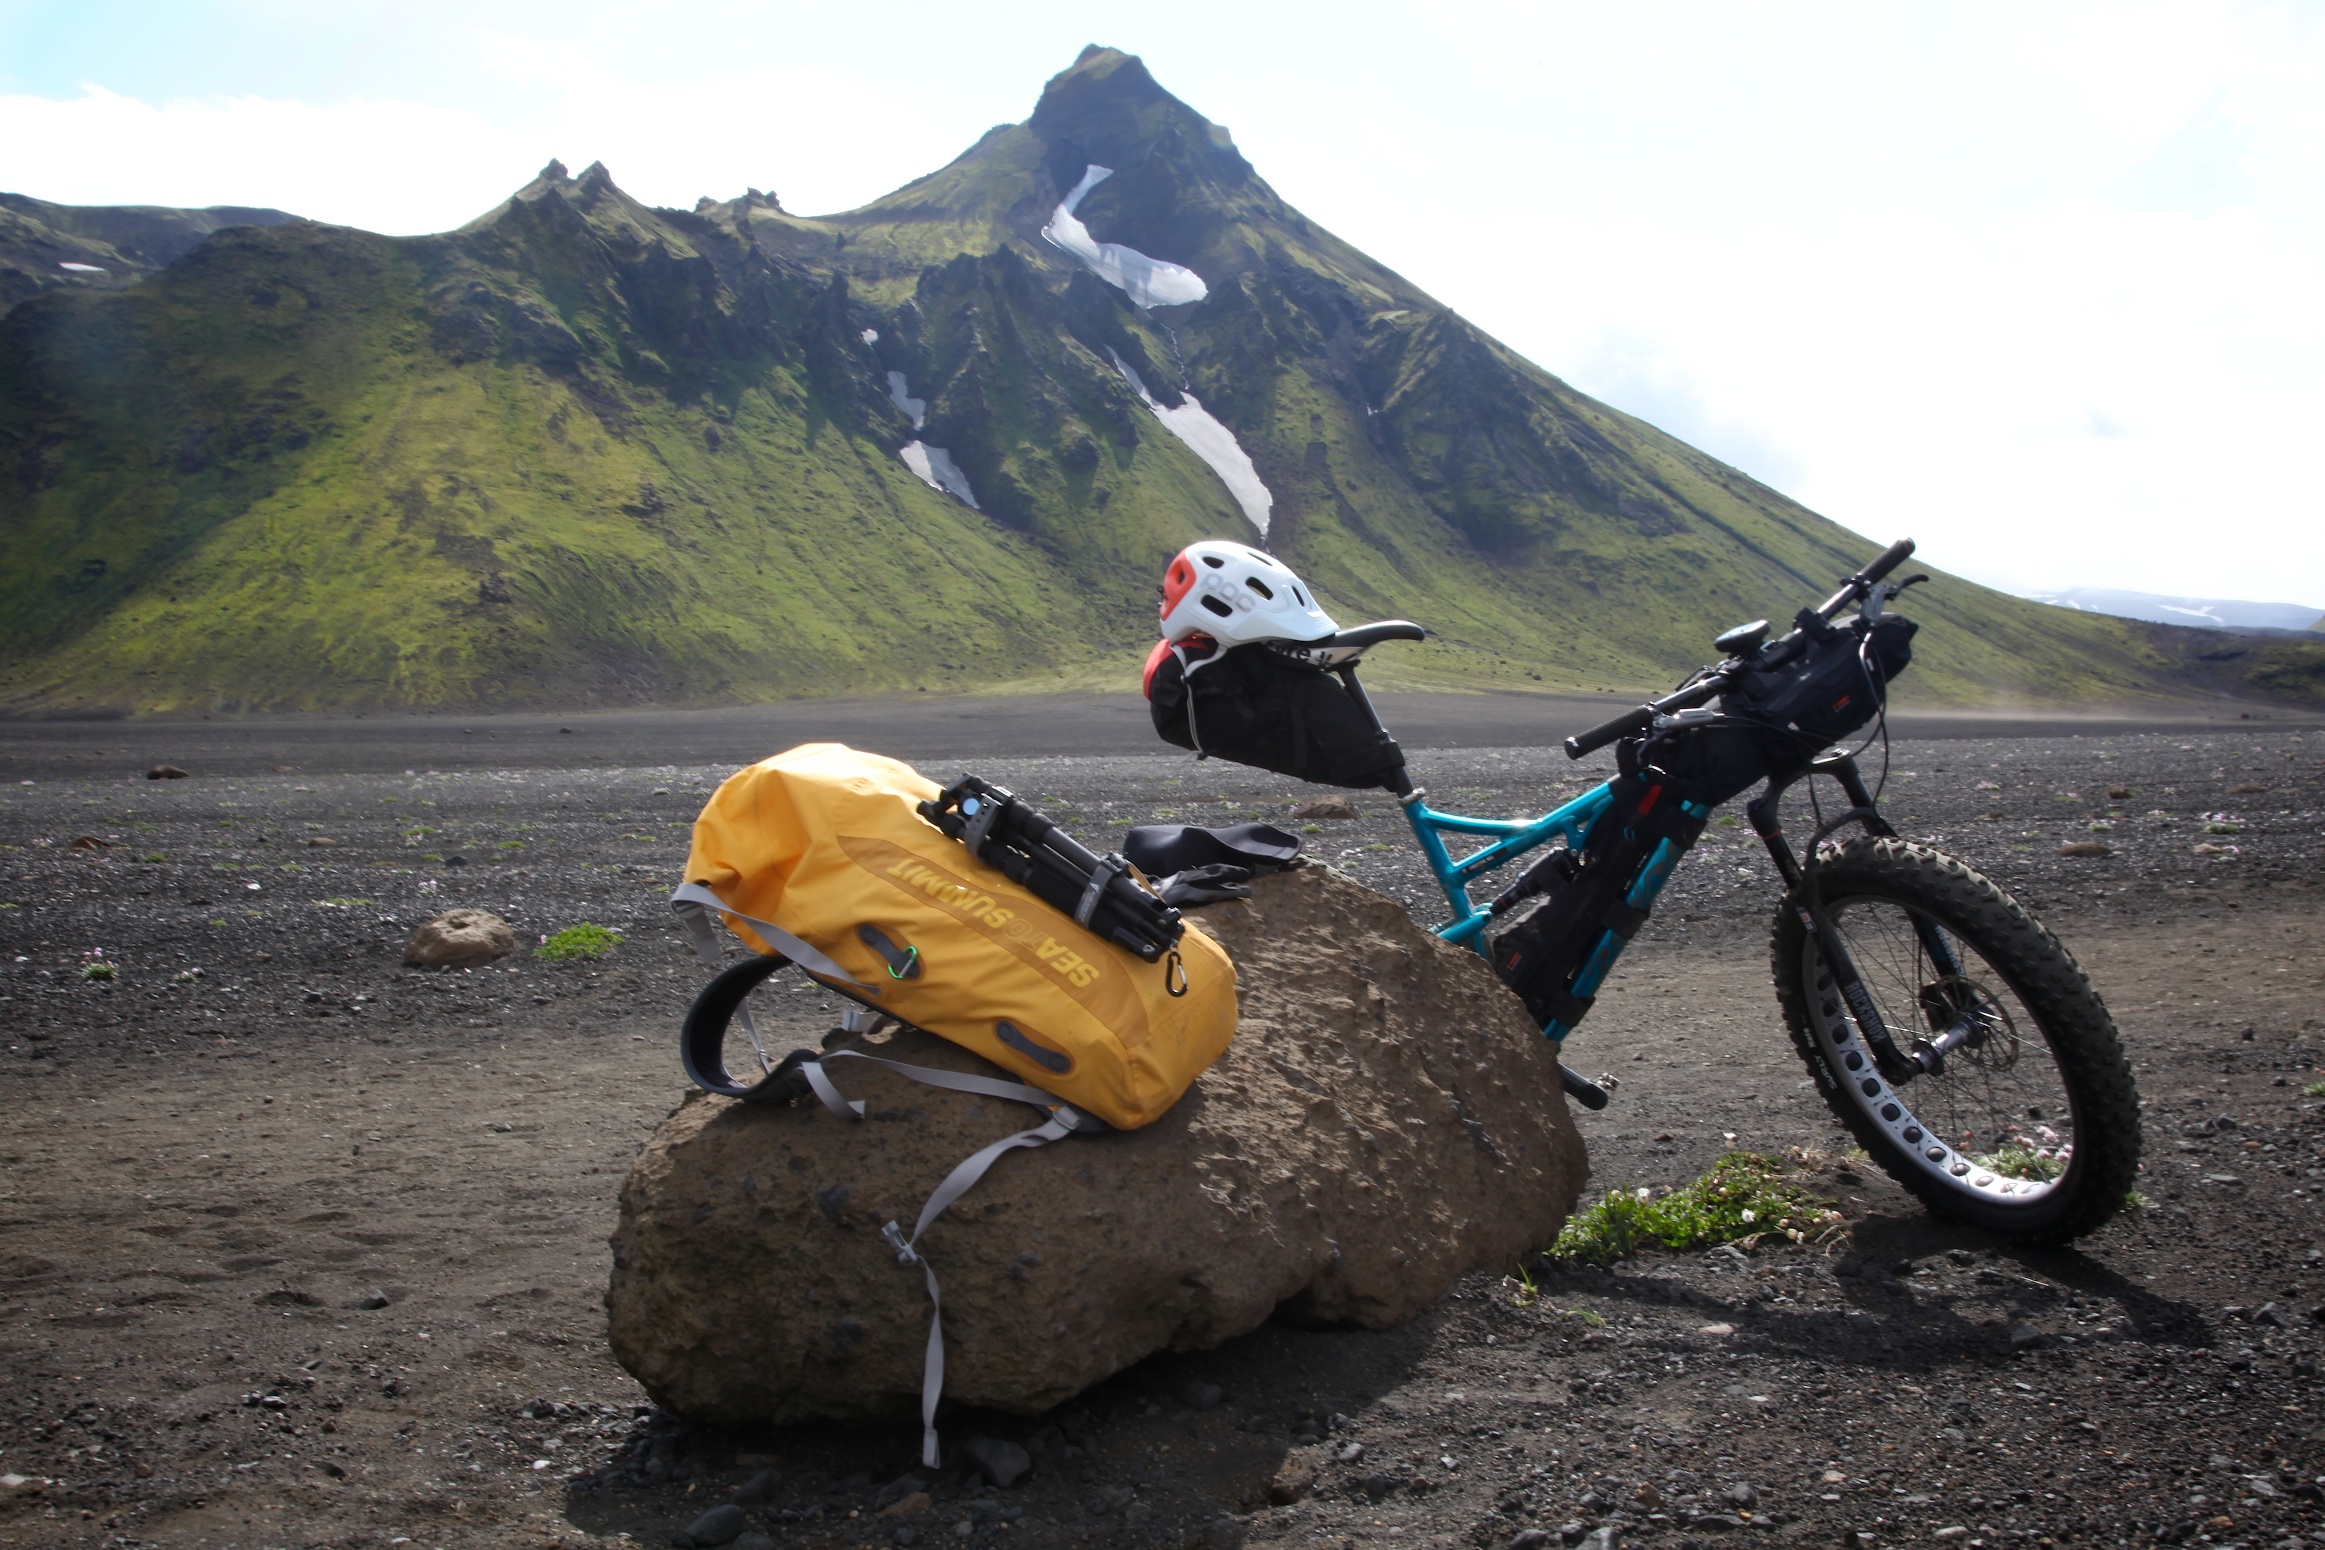
A backpack can be essential for extra storage. This waterproof pack was my only bag to afford 100% protection from the elements. It was heavy, definitely hurt my sit bones after 14 days, but was a necessary evil.
Water storage.
Water is the single most important element to trip planning for any bikepacker. How to store it, where to store it, and how much you can fit on your bike and person is a key logistic to manage. The maximum amount of water anyone can likely carry on a bike is probably within 8-9 liters, which is a ton of weight, and sure to disrupt your ride joy. The best place to store water is low in a frame bag, on dedicated mounts low on the fork, or under the down tube in a dedicated bottle cage or using something like Bedrock Bags’ Honaker bag. Again, a hydration pack makes for great overflow if you need to augment your water capacity.
Fork mounts are rare, but very handy for water storage.
Packing for accessibility.
It’s not enough to just pack your bike to get everything to fit. You have to consider the accessibility of your gear during the day. This is another reason some like to use a small pack as it permits easy access to rain jackets, snack foods, cameras, etc. Diving into a seat or bar bag is not just time consuming, it can come with some hassle factor. This is where small accessory bags become worthy additions. It is easy to store a day’s worth of essentials in a tank or feed bag keeping them in easy reach.

Having things in easy reach is important.
Packing for foul weather.
There is a difference between traveling in a climate with the off chance of a rain storm and being in an environment guaranteed to deliver ugly weather. If you know there is a strong chance of being wet, that is something to consider when designing your gear storage setup. This is where a bar bag can be useful.
When waking up to a wet morning, many bikepackers will reserve a bar bag as “wet storage.” The last thing to usually be packed away is a soggy tent, and using a bar bag allows the bikepacker to pack up everything inside the tent, then exit that sanctuary with only the tent left to stow. Stuffing it quickly in a bar bag keeps it sequestered from dry gear. The last thing you want to do is introduce your wet tent to a dry sleeping bag, so having isolated storage for the tent is a good idea. When/if the sun comes out, the tent can be quickly extracted to be dried in the sun.

These tips are just suggestions as every rider will devise their own process for sorting out their gear. Practice makes perfect, but there is no singular perfect solution for every trip. Practice will help you determine how to best come up with a process of placing your gear on the bike, a process that is ever changing.
One last bit of advice. If you start the day and feel the bike is unstable, or unbalanced, stop and reload. Shifting things around can sometimes greatly improve the ride experience.
Read more tips from the Expedition Portal Bikepacking Series by clicking the links below:
Bikepacking: Selecting the right shelter
Bikepacking: Choosing the right bags
Bikepacking: Tips for a good trip


Why not use fixed bike racks?
Bike travel is nothing new, in fact the first man to ride a bike around the world did so in 1884, decades before the first circumnavigation by car. For the better part of a century, bike travel involved metal racks fitted to the bike. That often included panniers as well. When riders started traversing rugged terrain, usually on singletrack, those panniers were an obvious bummer. They rattled, were prone to brake, and pushing a bike around panniers sucks. So, when camping gear started to shrink, it became possible to remove the racks and go with rack-less bag systems like those we now identify with as “bikepacking bags.” This is not to say racks and panniers do not have their place, they are just not as ideal for bikepacking.
It was a liberating day to be able to ditch the racks and panniers, so going back to them isn’t a very alluring proposition.
