Toyota never intended the Tundra to be fully laden at all times. The stock suspension, gear ratio, and Auto LSD were designed to keep the average consumer happy—someone who normally keeps the bed empty other than an occasional trip to Home Depot or IKEA.
The next stage of this build will have us installing a MITS Alloy tray and an Overland Explorer Vehicles pop-up camper, adding about 1400 pounds to the Tundra permanently. Although the tray and camper haven’t arrived yet, now is the perfect time to prepare the truck for the future heavy load.
Rear Suspension
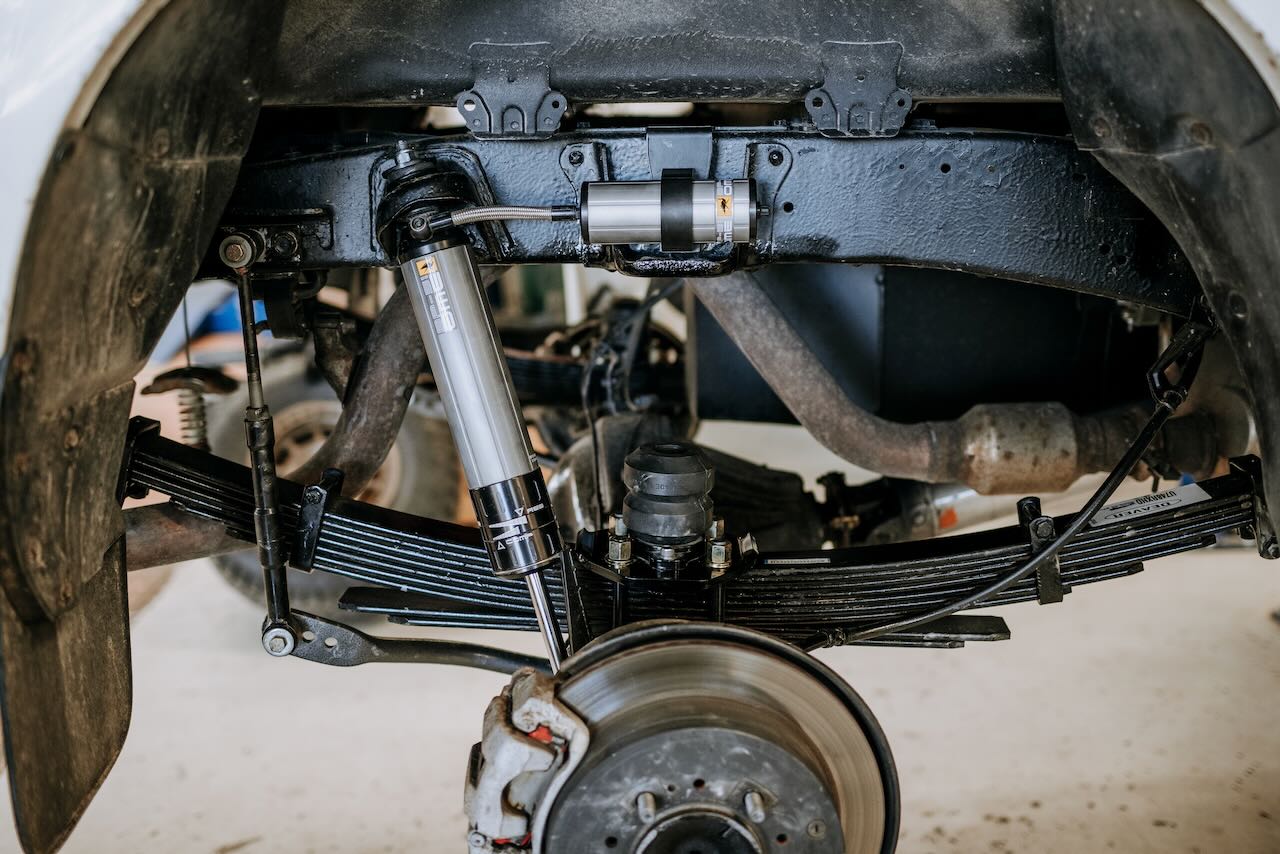
We’ve been using a pair of Old Man Emu Medium Duty leaf springs for the last four years on our Tundra. These provide a spring rate that is an increase over stock, capable of easily supporting a 275-pound Go Fast Camper and a few hundred pounds of gear, but soft enough to be comfortable when the truck bed was empty.
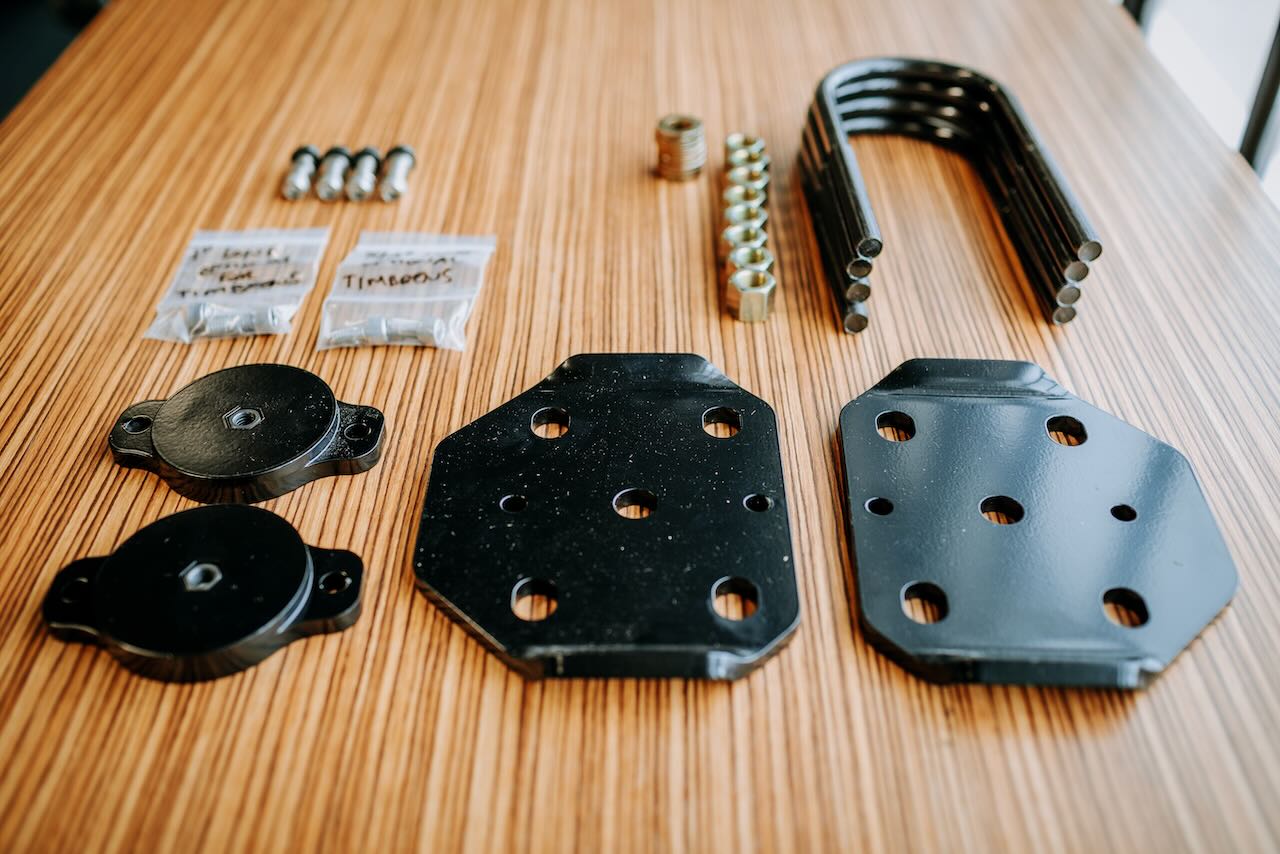
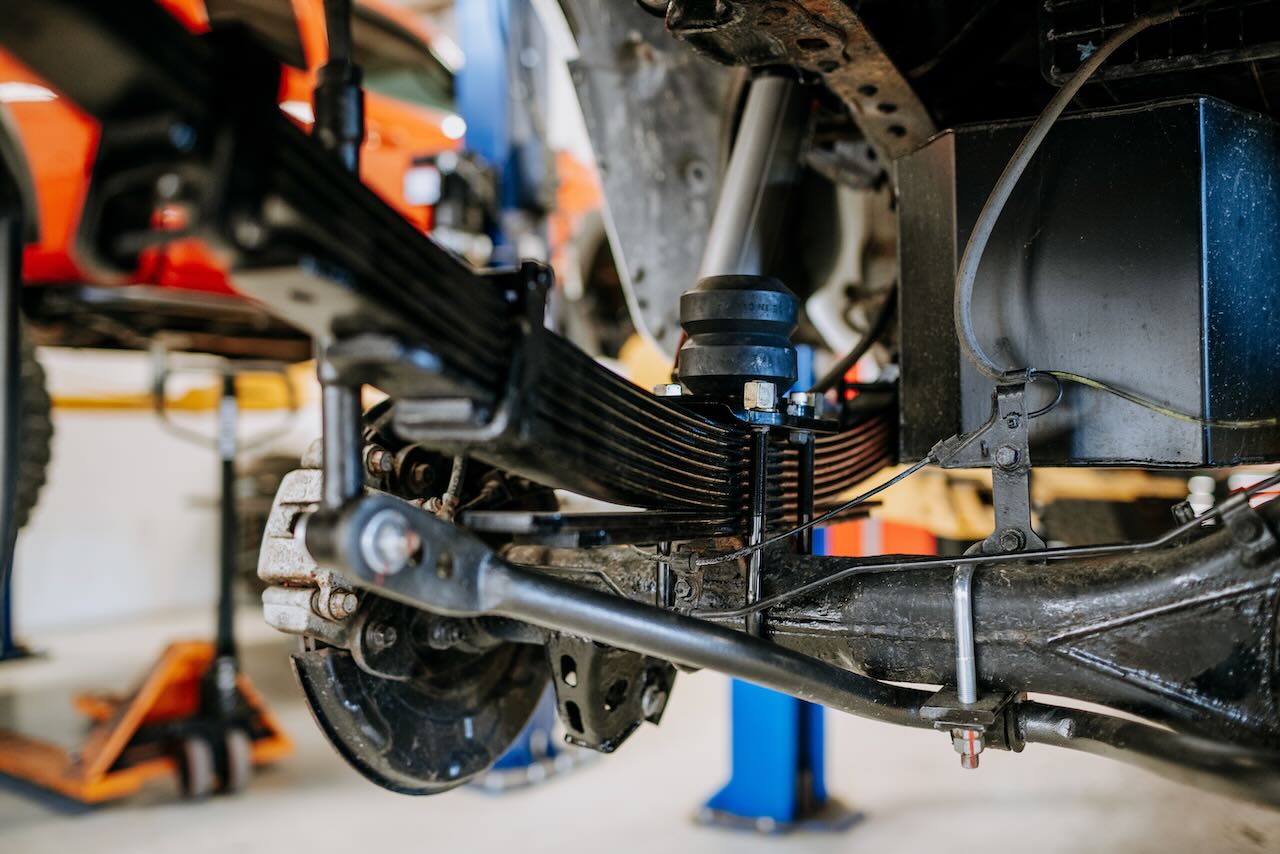
To ensure the safety and performance of the truck on and off-pavement, we’re installing a custom set of Deaver Spring leaf springs, Total Chaos shackles, Timbren SES bump stops, an Archive Garage u-bolt flip kit, and a Hellwig Rear Sway bar. We’ll also make some changes to the front suspension while we’re at it. Maxing out the gross vehicle weight rating will be common with the new tray and camper combination.
If the camper were only used seasonally, we would have considered keeping the softer rear springs and adding airbags to support the occasional heavy load. Since we plan on mounting the camper permanently and living out of it full-time, we wanted to keep the rear suspension as simple as possible and let an appropriately specified leaf spring do its job. Excluding airbags reduces the potential for problems down the road, solely due to eliminating a piece of aftermarket equipment that isn’t required.
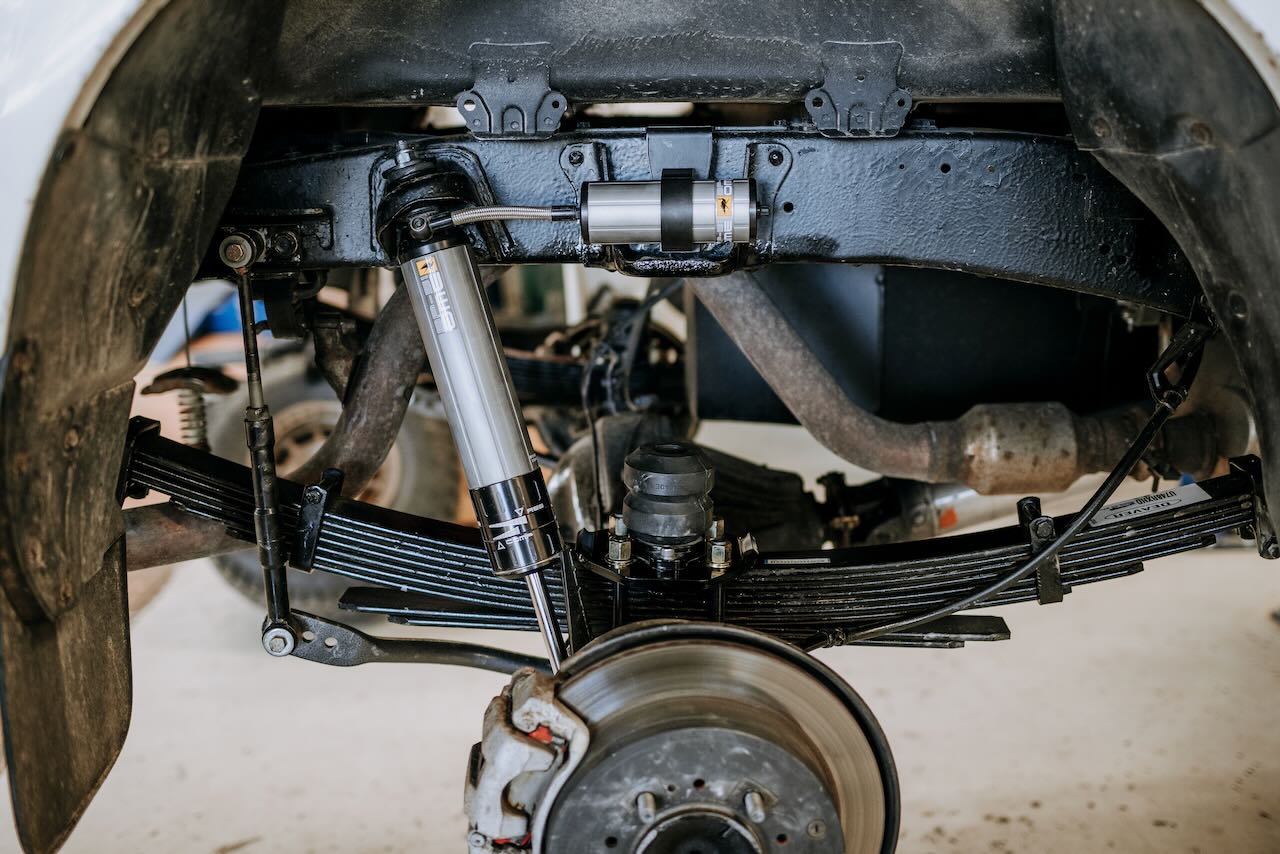
We called Scott Born at Deaver Spring Inc. and gave him the rundown of our plans and an estimated total weight of the Tundra. He selected a U748LXHD spring for us based on our assumed maximum of 1500-1600 lbs of constant payload. Deaver has been in the spring business since 1892, with Frank Deaver working as a blacksmith making buggy carriage springs. In the most recent 40 years, Deaver has focused on the automotive industry, “…helping to develop and design leaf springs that improve ride quality, carry more weight, and perform better on the road and off or on the race track.” With over a century of experience, choosing them as a spring manufacturer was easy.
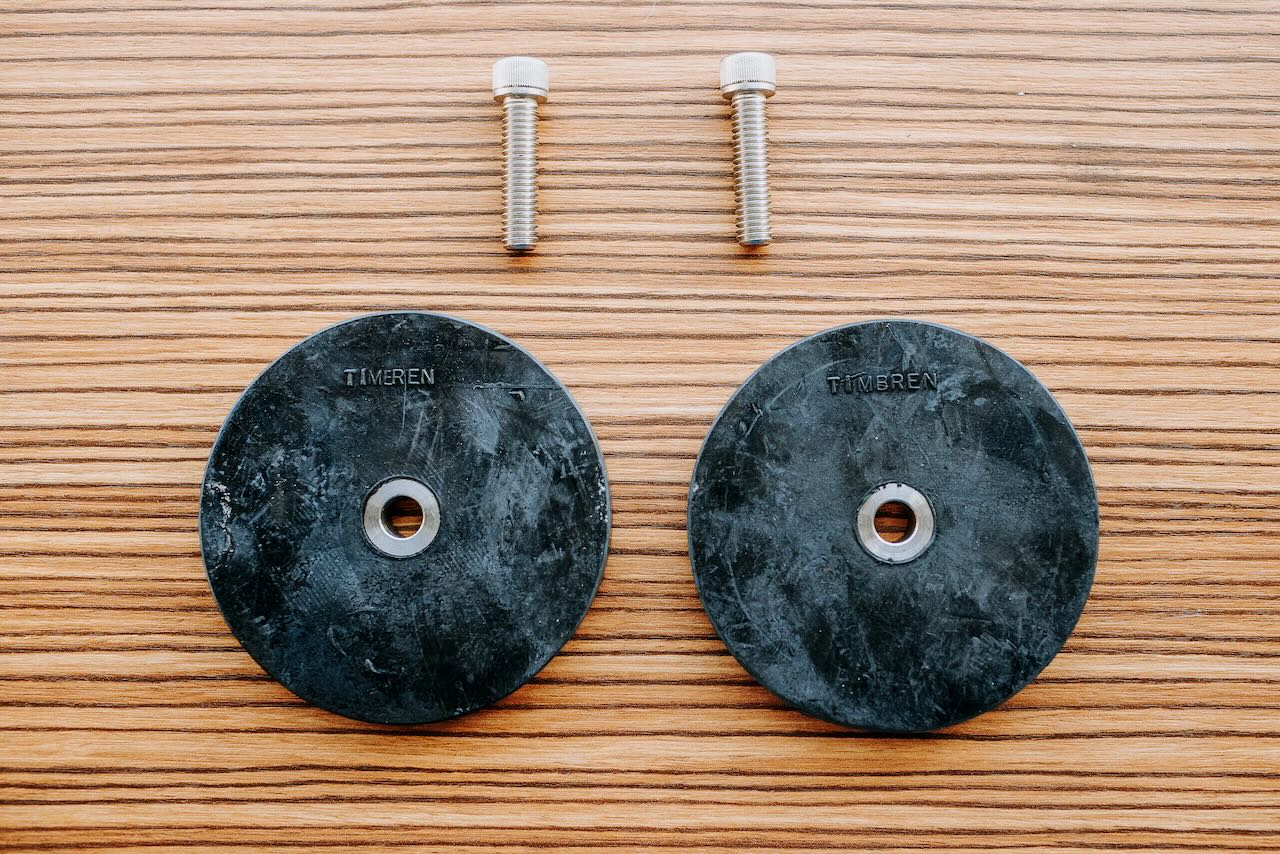
The Deaver nine-leaf heavy-duty springs were specified and designed to cover the average payload we expect to have in the Tundra. We’re installing Timbren SES bump stops for the occasions when we’re fully topped up on food, fuel, water, and gear. Timbren Suspension Enhancement Systems (SES) go beyond the standard bump stop. These hollow Aeon rubber springs are designed to manage the load and control the roll and sway of a heavily loaded truck, all while providing a progressive, controlled stop when the suspension ends its compression travel. The simple design works better (it’s progressive and can withstand a constant load more effectively) than a factory hard rubber bump stop. My favorite thing about the Timbrens is that you can install them and never worry about them again.
We’re installing the rear SES kit with Timbren’s half-inch spacer kit and an Archive Garage Stealth HD U-bolt flip kit. If we find that the bump stops are contacting too soon (especially when/if the rear springs settle slightly), we’ll remove the spacers as needed in the future to allow for some suspension up travel before contact is made between the Timbren and the frame.
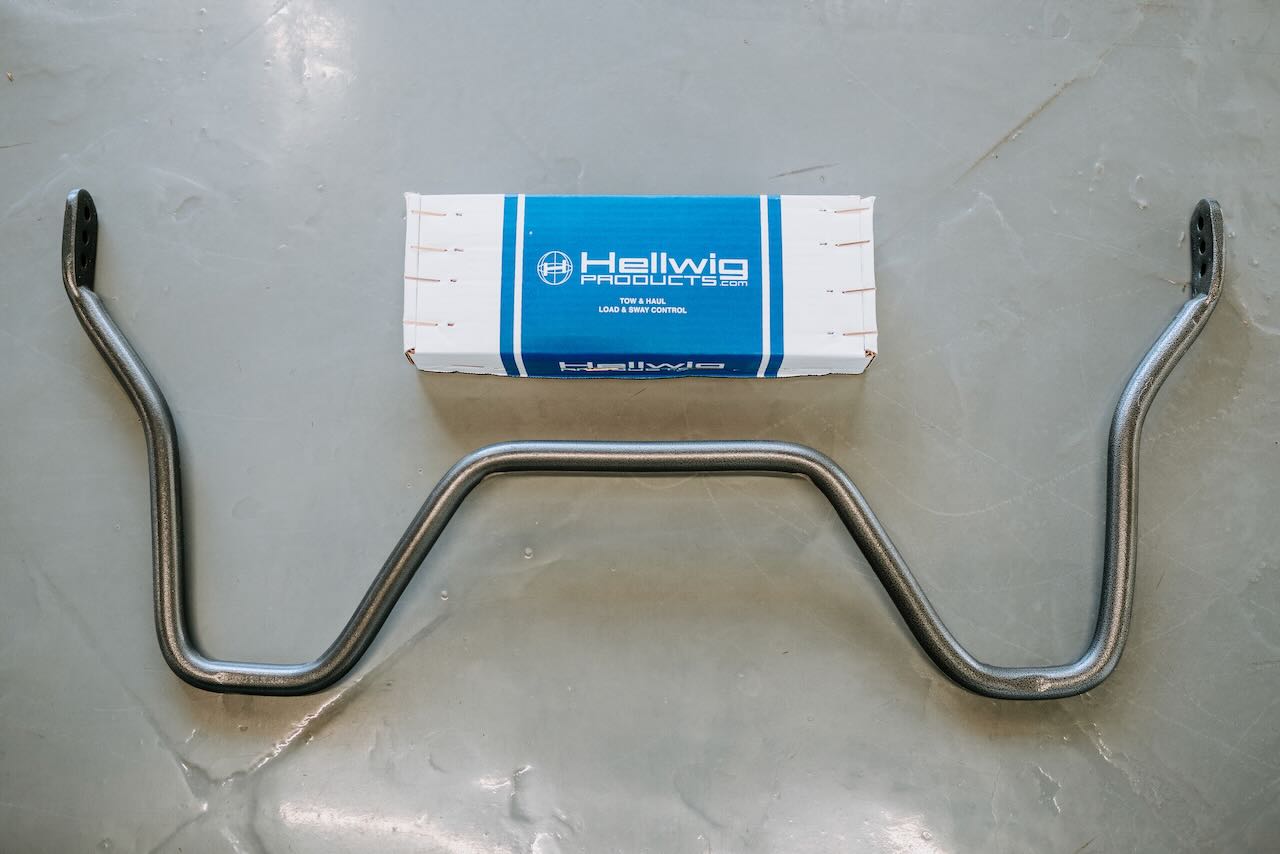
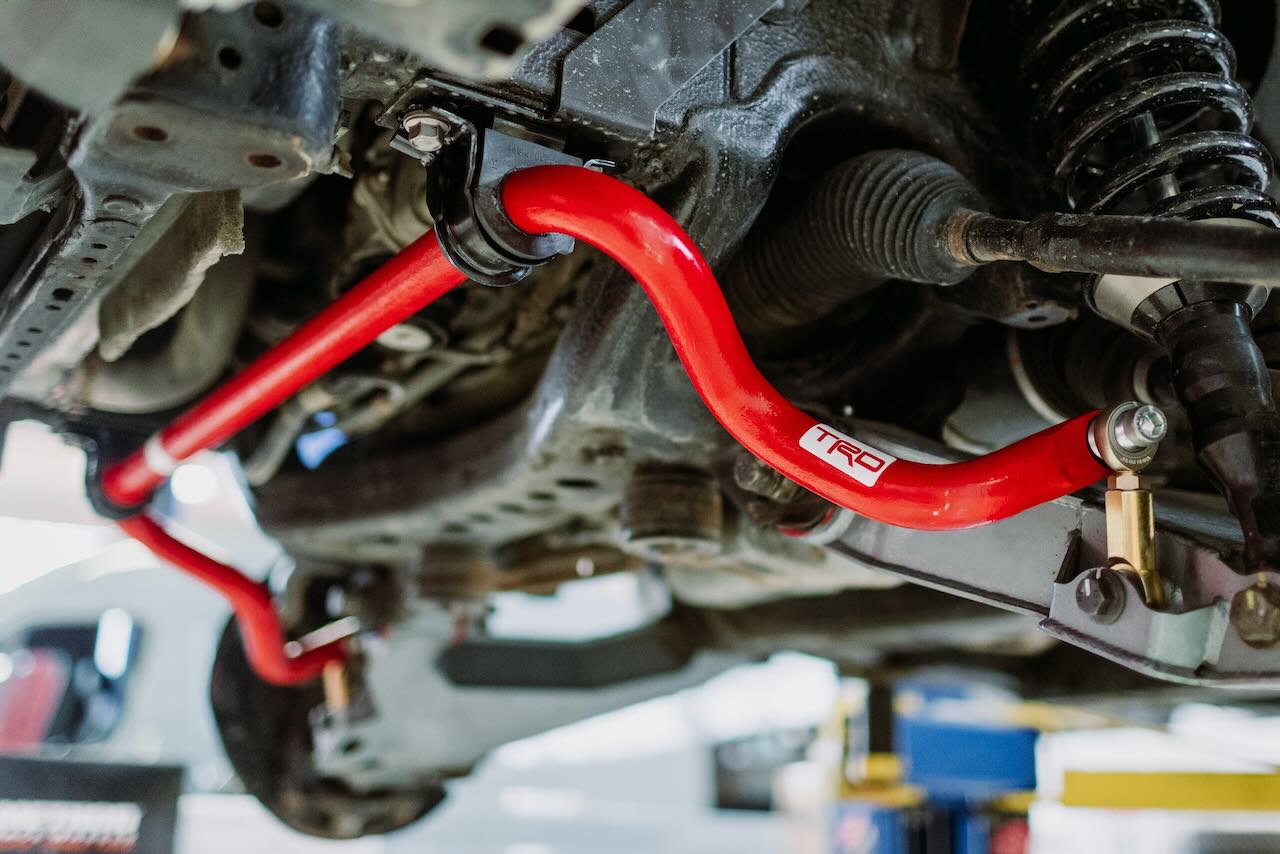
We’re adding a significant amount of weight to the Tundra and also raising the center of gravity. Increasing the size of the front sway bar and adding a rear sway bar will help to reduce body roll on and off the pavement. We’re adding a significant amount of weight to the Tundra and also raising the center of gravity. The increased weight and center of gravity would normally mean more body roll around corners, but a stabilizer bar counteracts this by transferring the force from one side of the vehicle to the other. Since the sway bar can reduce body roll, the springs, and shocks can be softer. I selected a Genuine Toyota TRD front sway bar and a rear sway bar kit from Hellwig.
All of this is theoretical, so we’ll have to wait until the flatbed and camper are on the truck before confirming whether this exact setup will work for us. If we need to add more spring rate in the future, we’ll need to add additional leaves to the spring pack. We have a 1-inch Timbren spacer on hand to make changes to limit up-travel further and have plenty of adjustability in the ARB BP-51 shocks to make quick changes to damping if needed. This setup should get us close but will likely require adjustments to get it just right.
Parts List
Deaver Spring Inc. Tundra rear leaf springs, U748LXHD
Total Chaos ¾” lift shackles, 49704
Hellwig rear sway bar, 7889
Archive Garage Stealth HD u-bolt flip kit
Timbren SES rear bump stops, TORTUN4
Timbren SES spacer kit, SPCTORTTN
Timbren SES front bump stops
Toyota TRD front sway bar, PTR62-0C180
5.29 Gears and ARB Air Locker
Re-gearing is the best bang for the buck modification I’ve done to a heavy overland-specific truck. That’s saying something because the labor costs associated with the process can be expensive.
Before regearing our 4-cylinder Toyota Pickup, we drove it from Vancouver to Argentina. The poor clutch had to be slipped constantly, and the truck hated climbing Colombian grades (so a downshift and a redlined 22RE was the option). The open differential worked great most of the time, but we often needed speed and momentum to overcome obstacles. These actions were hard on the truck and forced a premature clutch replacement. Eventually, a swap from 4.10 to 4.88 gears solved the poor acceleration, made the clutch feel (and work) like it’s moving a stock vehicle around, and required fewer downshifts to climb steep hills.
Our 2008 Toyota Tundra has a few things going for it that made us consider not regearing. It has factory 4.30 gears, a 5.7-liter engine with 381 horsepower, and a six-speed automatic transmission. But, with mechanical sympathy in mind, as we added weight to the truck, we knew that lower gears would help acceleration and reduce drivetrain stress. Additionally, our larger-than-stock 35-inch tires have already decreased engine RPM at highway speeds rendering the 0.59:1 sixth gear almost useless.
Changing to 5.29 will gear the Tundra on 35-inch tires lower than stock. What does that mean? Essentially, it translates to the engine RPM being higher at a given speed than the stock truck on 4.30 gears—aiding in acceleration. This technique isn’t new. Drag racers have been doing it for years. The first thing I did as a 16-year-old in my Mustang was swap the stock 2.79 rear end for 4.10 gears. Although not great for freeway speeds, it helped acceleration from stoplight to stoplight and at the dragstrip. The Tundra’s high-geared overdrive (sixth gear is 0.59) means that we can utilize the low gears for accelerating the heavy truck but still cruise on the highway comfortably.
For more information on why you’d want to regear a modern 4×4, read Chris Cordes’ article Understanding Gearing and Why You Want to Re-gear.
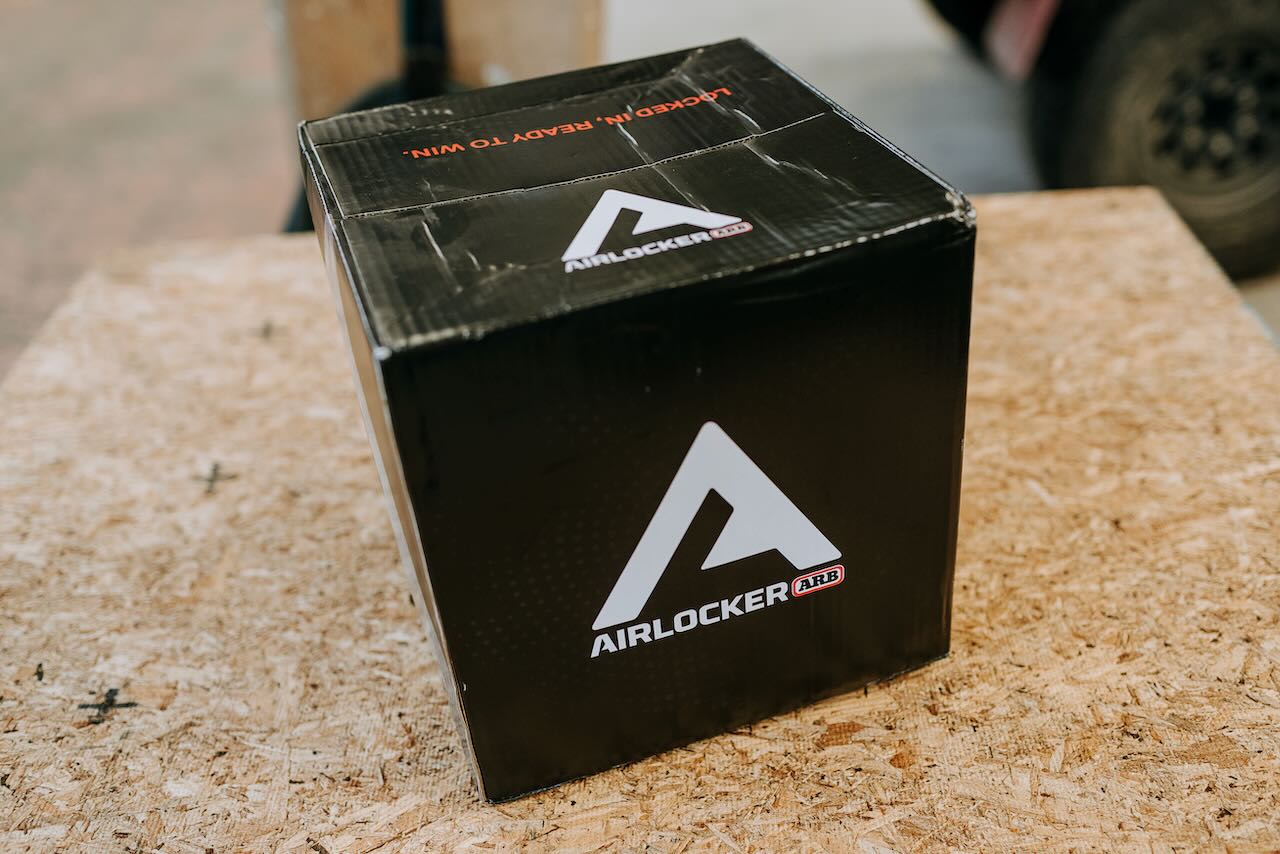
While the differentials were apart, it was a perfect time to regear. We’ve had good luck in the past with a Nitro Helical Worm Gear LSD, but for the Tundra, I decided to install an ARB Air Locker. To be honest, I’ve never had an Air Locker in a vehicle before, but after using one in borrowed trucks over the years, I thought it was time. Since we decided to omit a winch on this build (solely to reduce weight), adding reliable and consistent traction will provide the confidence needed for remote travel. The ARB is arguably the strongest aftermarket differential available (with plenty of abusive testing at events such as King of the Hammers), but it is also one of the most complicated to install.
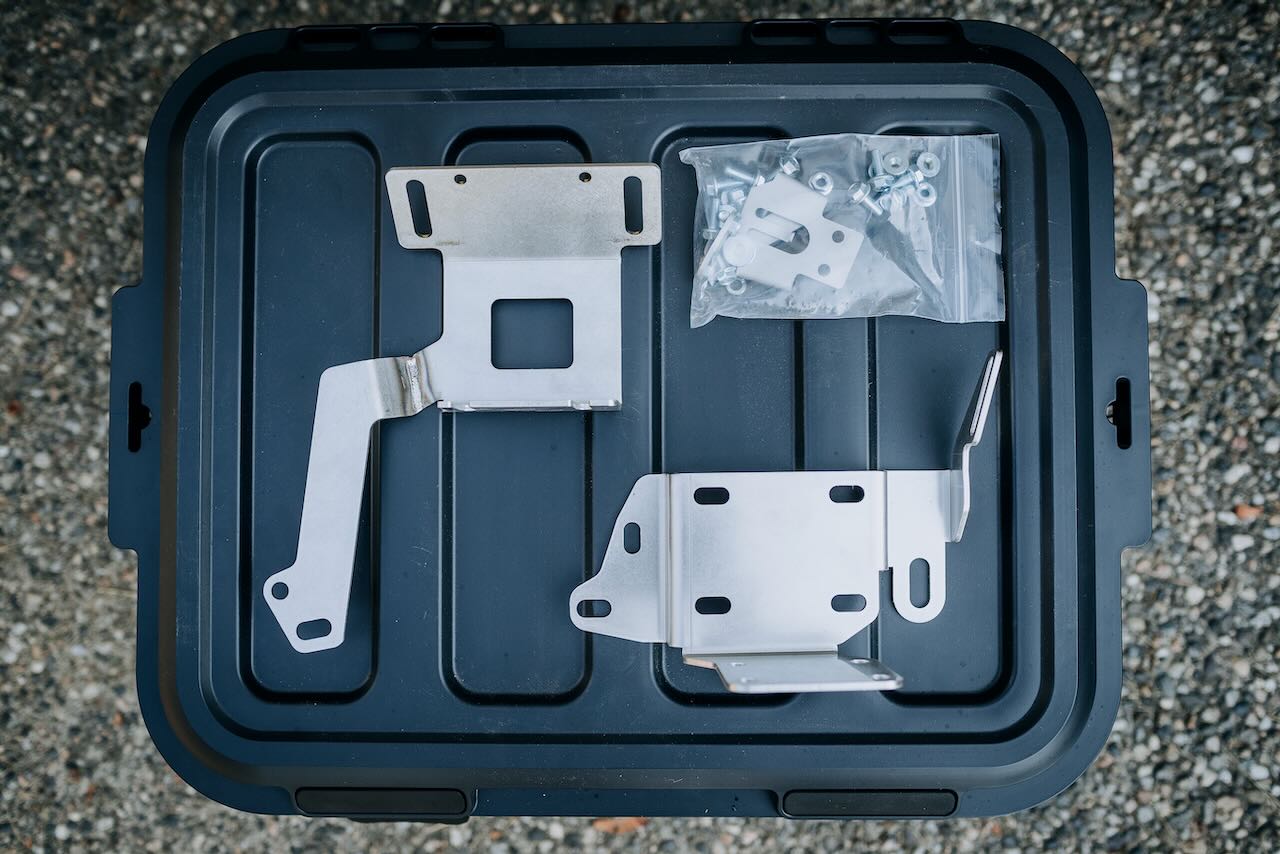
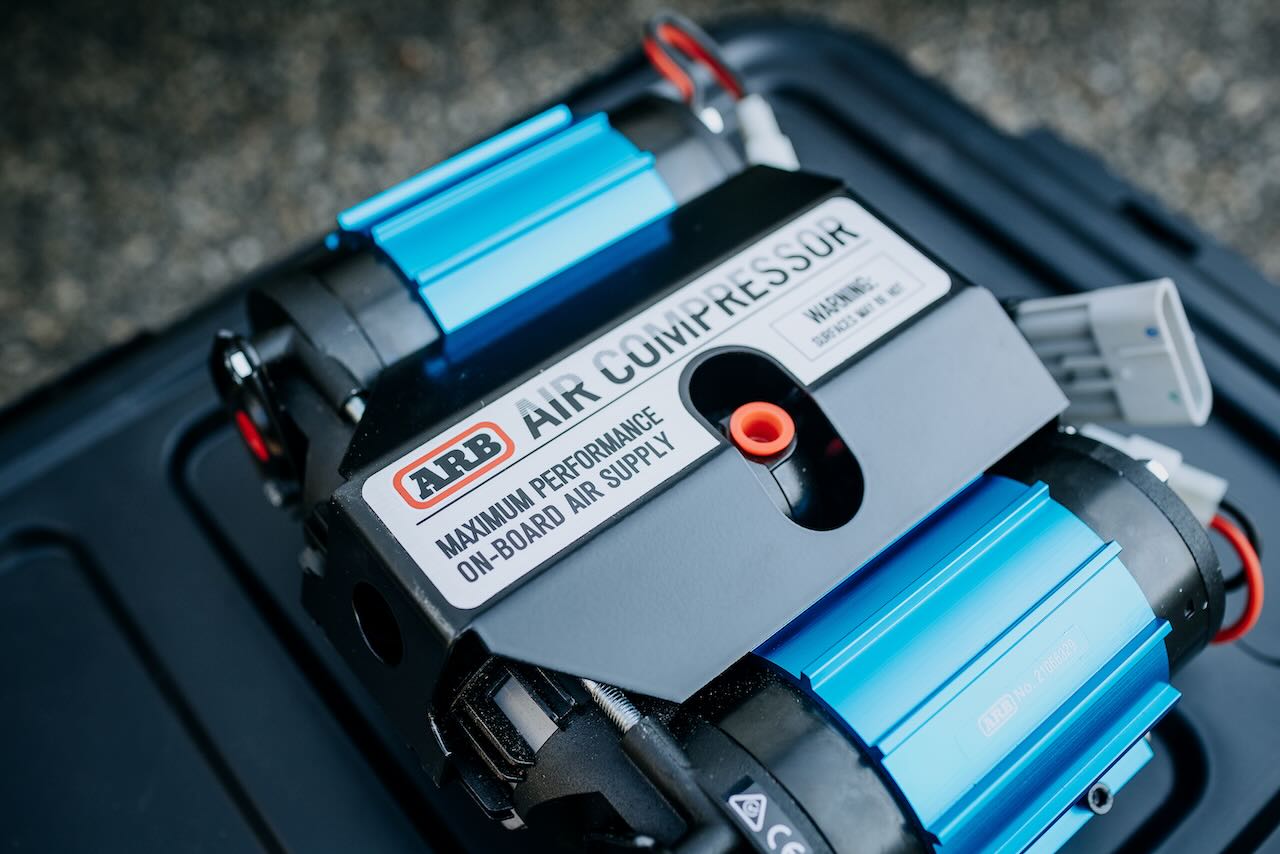
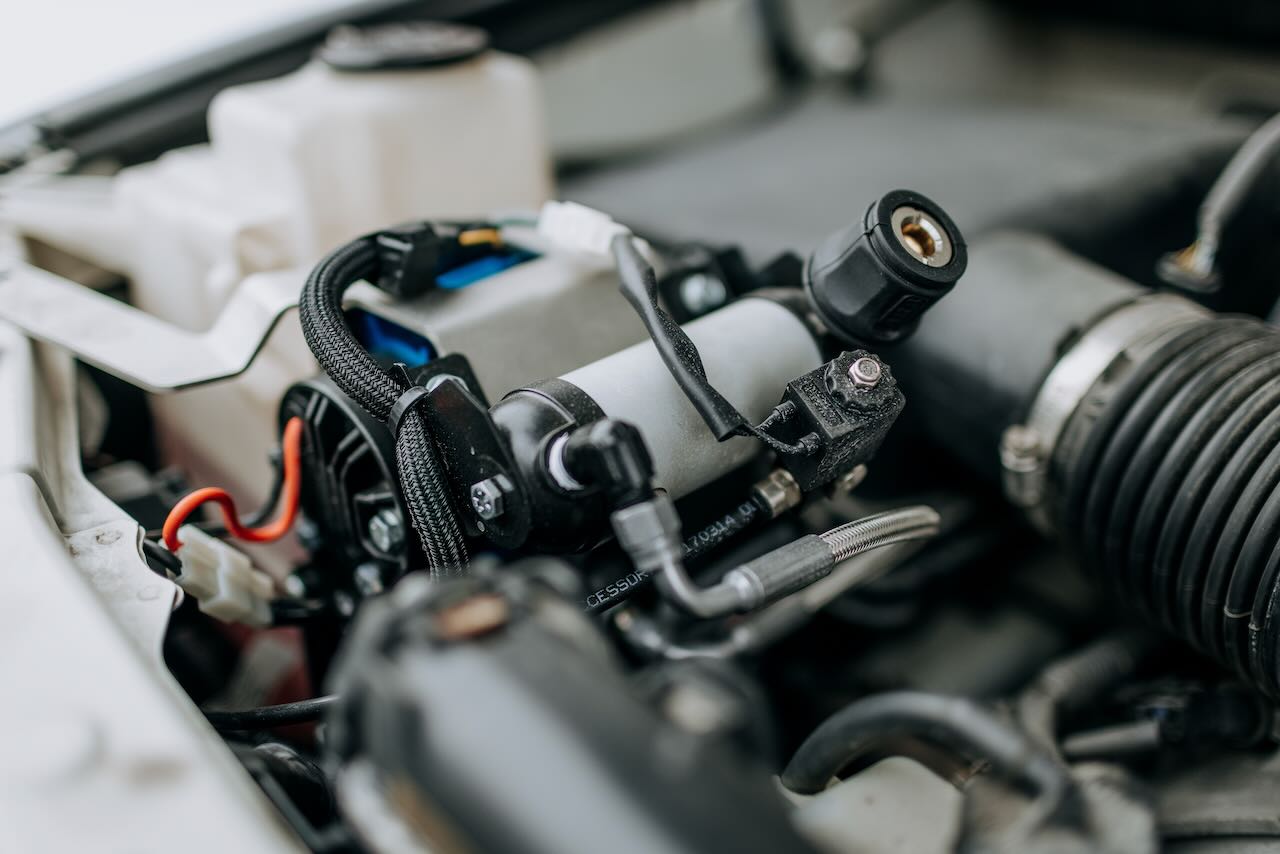
Before the differentials were disassembled, I installed an ARB Twin Air compressor under the hood of the Tundra with the help of a Slee Off-Road ARB compressor mount. I connected both the compressor and the locker solenoid to the Spod Bantam X distribution block under the hood. It’s worth noting that the Spod cannot power the ARB Twin Air compressor due to its high amp draw, but it can be controlled by using the Spod 300-ARB wiring harness.
Installing gears can be a tedious process, and once complete, it’s your job as the owner to ensure they’re broken in correctly. All new gear sets require a break-in period to ensure their long life. New gears will create significant heat, even during normal day-to-day driving, and need gradual heating and cooling cycles to become work hardened. If you don’t follow the manufacturer’s specified break-in procedure, it’s likely that the gears will overheat, degrading the gear oil and potentially softening the steel instead of hardening it.
The basic break-in procedure I used was:
- Drive 15-20 miles at in-town speeds and let the differential cool completely. This first heating and cooling cycle is one of the most important to get correct.
- Drive conservatively for the first 500 miles with a cooling cycle of at least 20-25 minutes every 50 miles. I avoided hard acceleration during this time and varied my speed on the highway every 5-10 minutes.
- Change the gear oil to remove any particles or coatings from the new gear set. I used a Lucas Oil 75W90. Some gear manufacturers recommend 80W-140 oil, but since it was -20°C (-4°F) in the dead of winter here in Canada, I used Toyota’s recommended lighter oil weight.
- Once the camper goes on the truck, I’ll be easy on the throttle for the first 45 miles, with complete cooling cycles every 15 miles. After another 1000-2000 kilometers of driving with the heavy load, I’ll swap the gear oil again for good measure.
This truck used to cruise at 70 miles per hour at around 1500 RPM but now revs at 2000 RPM. For us limiting top speed isn’t a big deal as we focused on improving low-speed acceleration and ability to climb steep grades. That has been a significant improvement already. The Tundra now happily cruises up grades in 6th gear, where it used to downshift to 5th or even 4th gear. Fuel economy hovers around 14-15 mpg.
Parts List
Motive Gear 5.29 Package Kit: Motive front ring & pinion, Motive front Master Install Kit
Nitro Gear 5.29 Package Kit: Nitro rear ring & pinion, Nitro rear Master Install Kit
ARB Air Locker (rear)
ARB Air Twin Air compressor, CKMTA12
Slee Off-Road ARB compressor mount, SOK2006
Brakes
While we’re on the subject of preparing the truck for a heavy load, we’d be remiss not to mention the brakes. I seriously looked at big brake kits such as the products offered by Power Brake, but most of those kits require 18-inch wheels or larger. The first problem with that is we already have 17-inch wheels. Second, 17-inch tires are typically easier to find worldwide than 18-inch or larger.
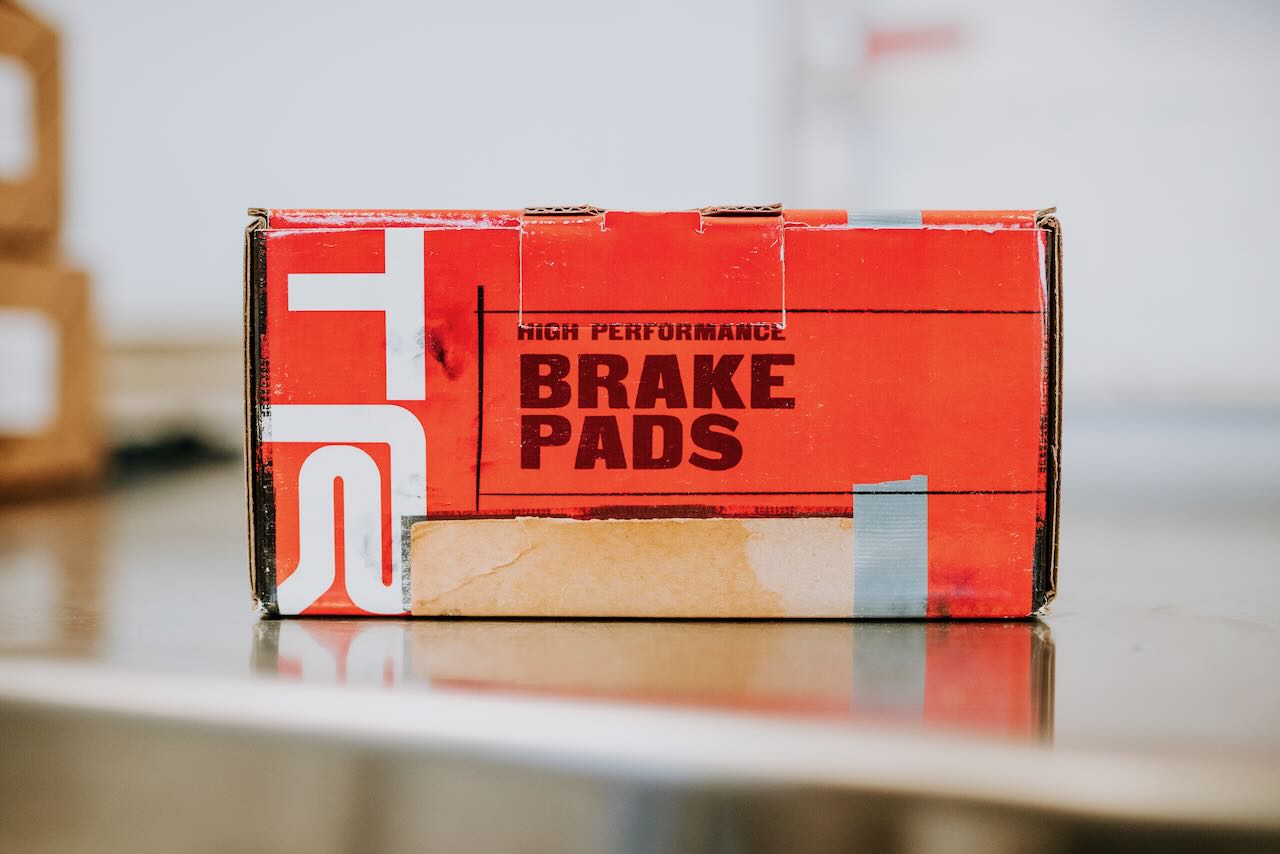
With those two issues, I decided to make the most of what we already had by adding Genuine Toyota brake rotors and TRD high-performance brake pads front and rear.
First impressions are good. Seat-of-the-pants stopping power is improved, and the brakes work even better when warm. This setup will never compete with larger rotors, calipers, and pads of a well-designed aftermarket big brake kit, but it appears on par with upgraded Hawk or EBC performance pads/rotors—but with genuine OEM parts.
Parts List
Toyota OEM brake components
Genuine Toyota front brake rotors, 43512-0C020
Genuine Toyota rear brake rotors, 42431-0C011
Genuine Toyota front TRD high-performance brake pads, PTR09-0C111
Genuine Toyota rear TRD brake pads, PTR09-0C110
Conclusion
Preparing a truck with a reasonably light payload capacity to carry a heavy load certainly isn’t the easiest option out there. Still, it isn’t a bad plan when the truck is already paid for and sitting in the driveway. Additionally, we wanted to drive something that had support in many parts of the world, so a 3/4- or 1-ton North American domestic vehicle didn’t fit our use case. By finding a compromise between keeping the truck and future camper as light as possible and modifying the Tundra to suit, we’ve come up with the best option for us for now.
Next, we’ll install the MITS Alloy Tray and Overland Explorer Vehicles Alpine and see how well they work together.


