“Driver training should be one of the first things we buy for our overland vehicle.”
A 36 Hours of Adventure Presented By :: 5.11 Clothing and Bags
The most elite units in the world rely on training, best-practice, and continuous improvement; yet many overland travelers skip this critical first step towards competency and safety in the field. I first learned the value of training during my formative years as an Air Force Firefighter. As a new Airman on a flight line crash/rescue engine, the fundamentals were ingrained, time and again, until operating the pump panel, or finding a canopy ejection handle in the dark became second nature. Good training applies as much to military service as it does to overland travel, and it should be the very first thing we invest in.
I understand, it is difficult to allocate our hard-earned dollars towards a few days of training, but most find the results worthwhile. It is human nature to undervalue the intangibles, the theoreticals, until we experience their benefits first hand. There are great trainers throughout the country like 7P International, Overland Experts, and Overland Training that can provide practical instruction of the concepts discussed here.
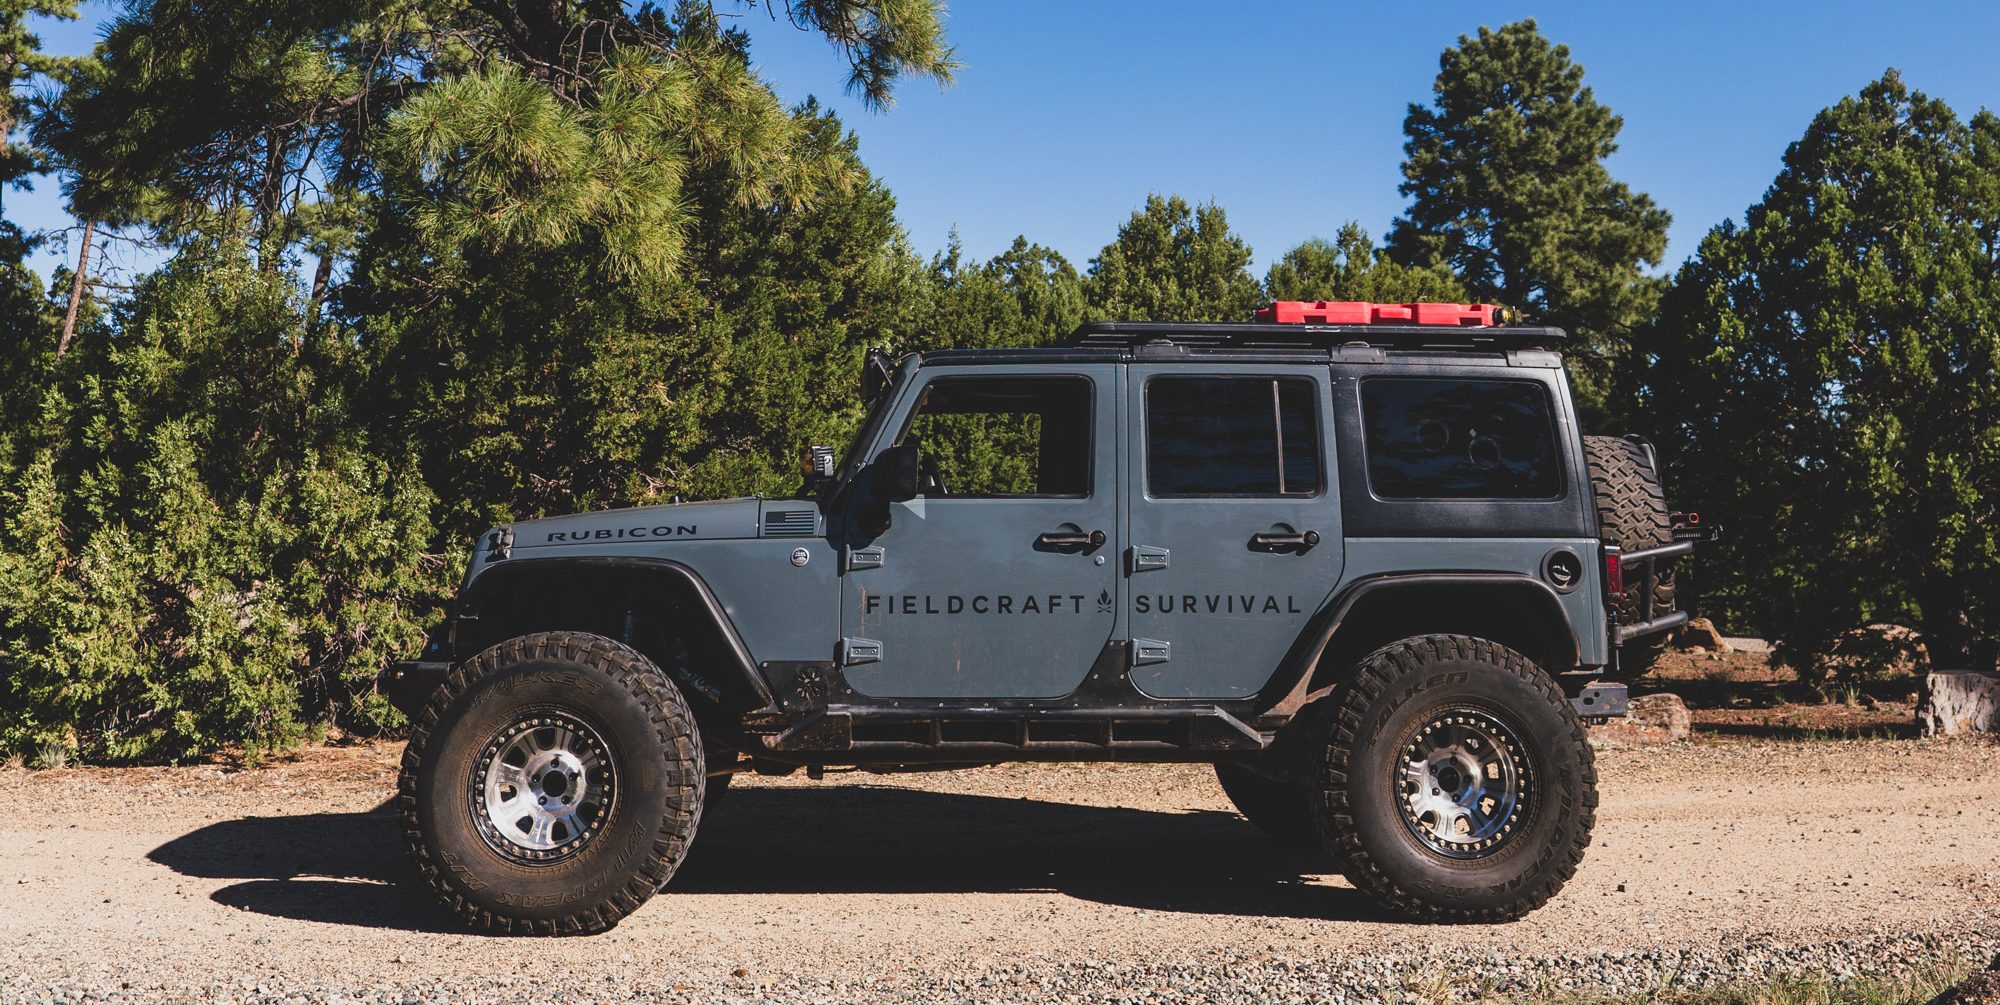
We partnered up with the team at Field Craft Survival and their Overland Training instructors to conduct some train-the-trainer exercises in the field.
Good skills as a vehicle-based traveler include understanding vehicle-dynamics on the road, and on the dirt, along with the essential fundamentals of recovery, repair, and proper loading/lashing. Even with years of training, we need to keep these skillsets sharp with regular refreshers, which can be done by attending courses or gathering a group of fellow overlanders and working through various scenarios together.
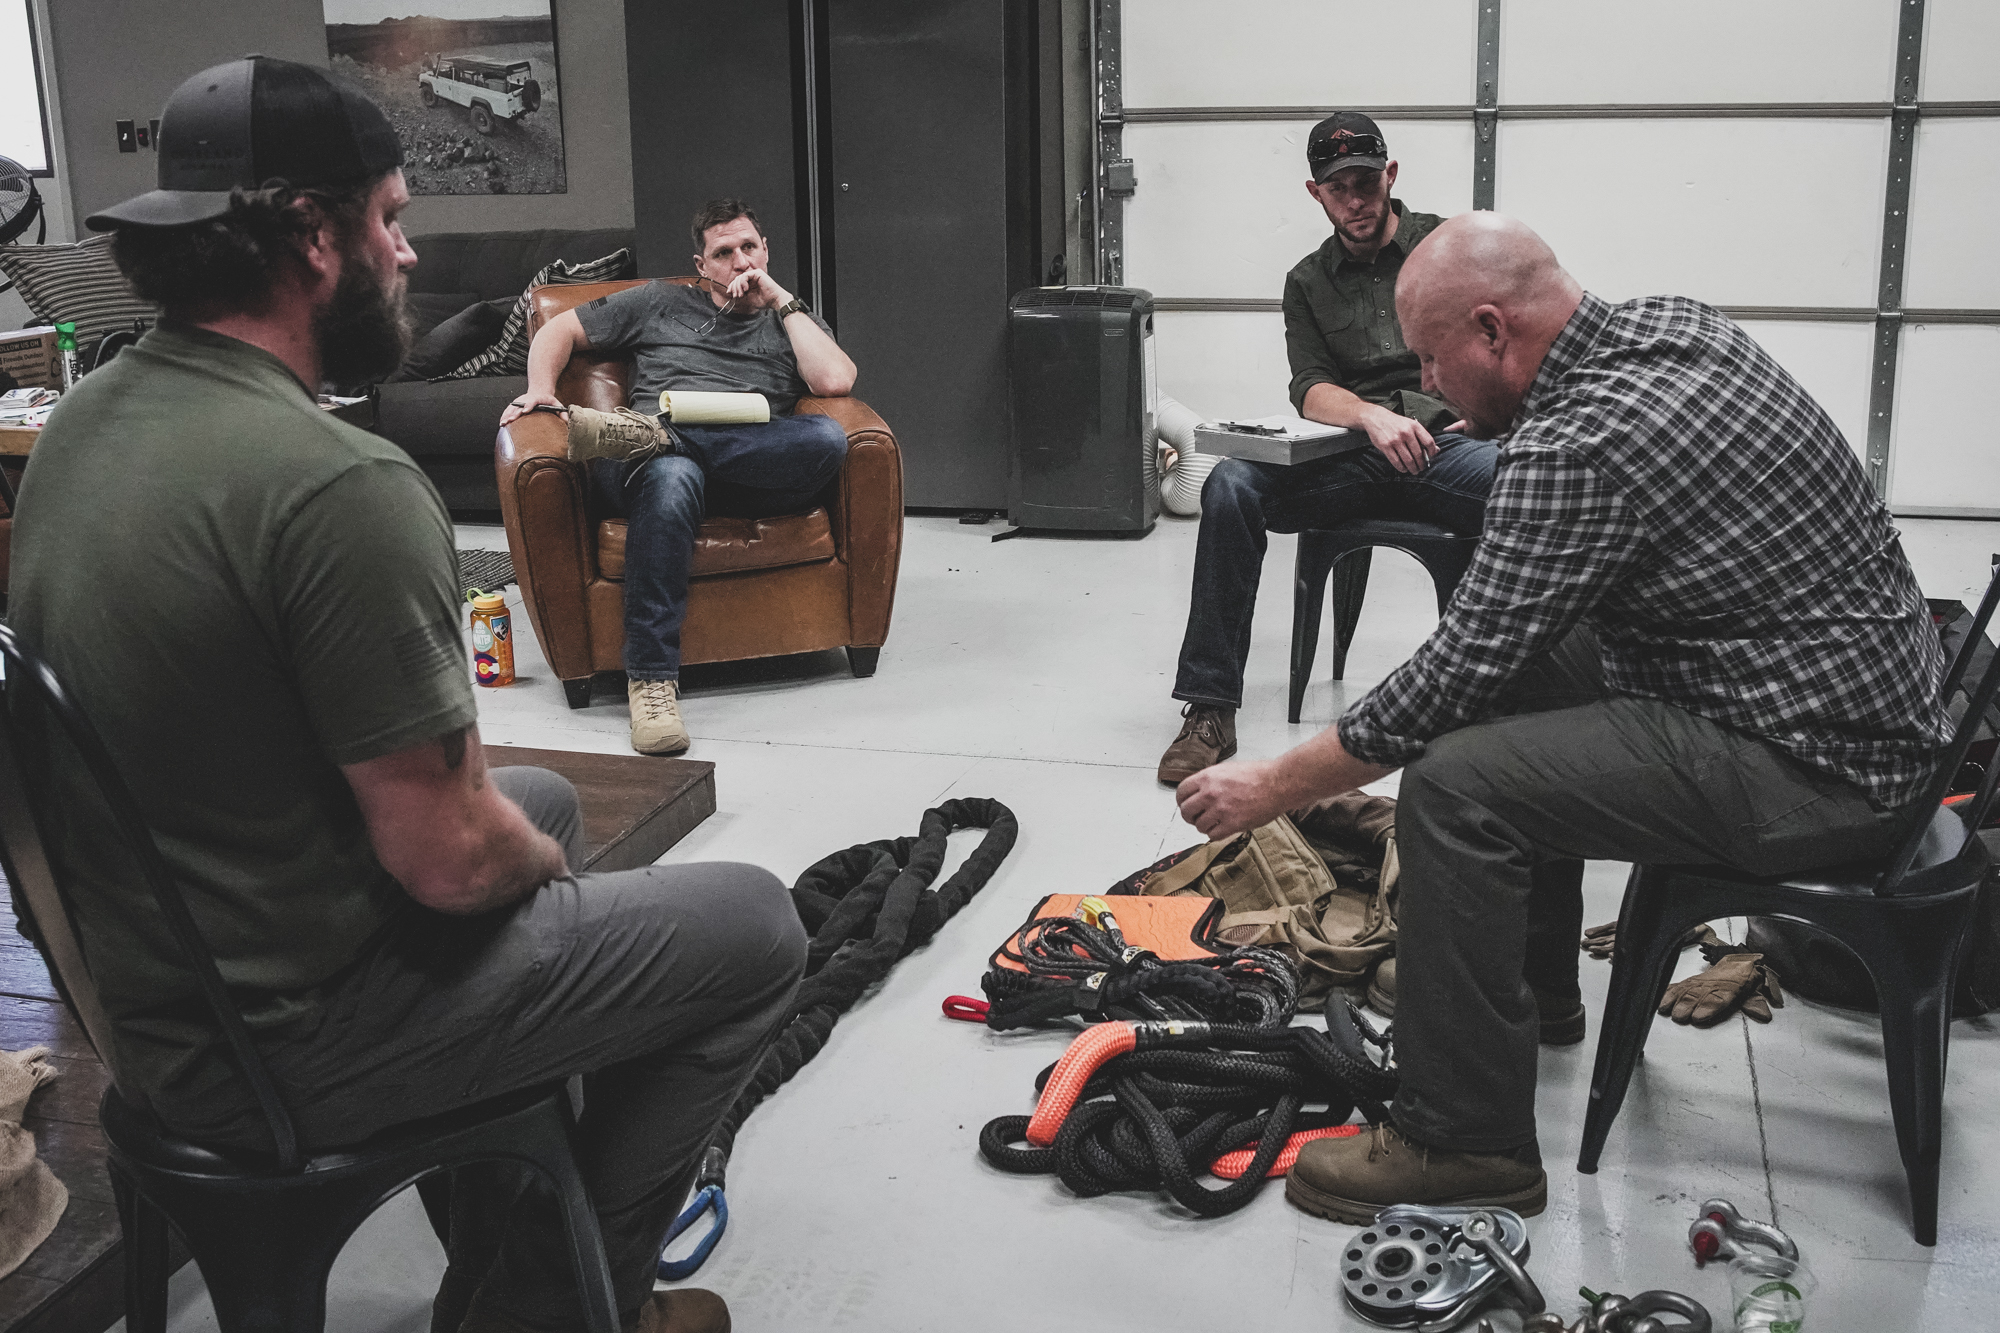
This was the case during a recent multi-day training refresher we conducted at the Overland Journal offices, collecting friends, co-workers, and some of the Overland Training staff in Prescott, Arizona for classroom and trail practicum.
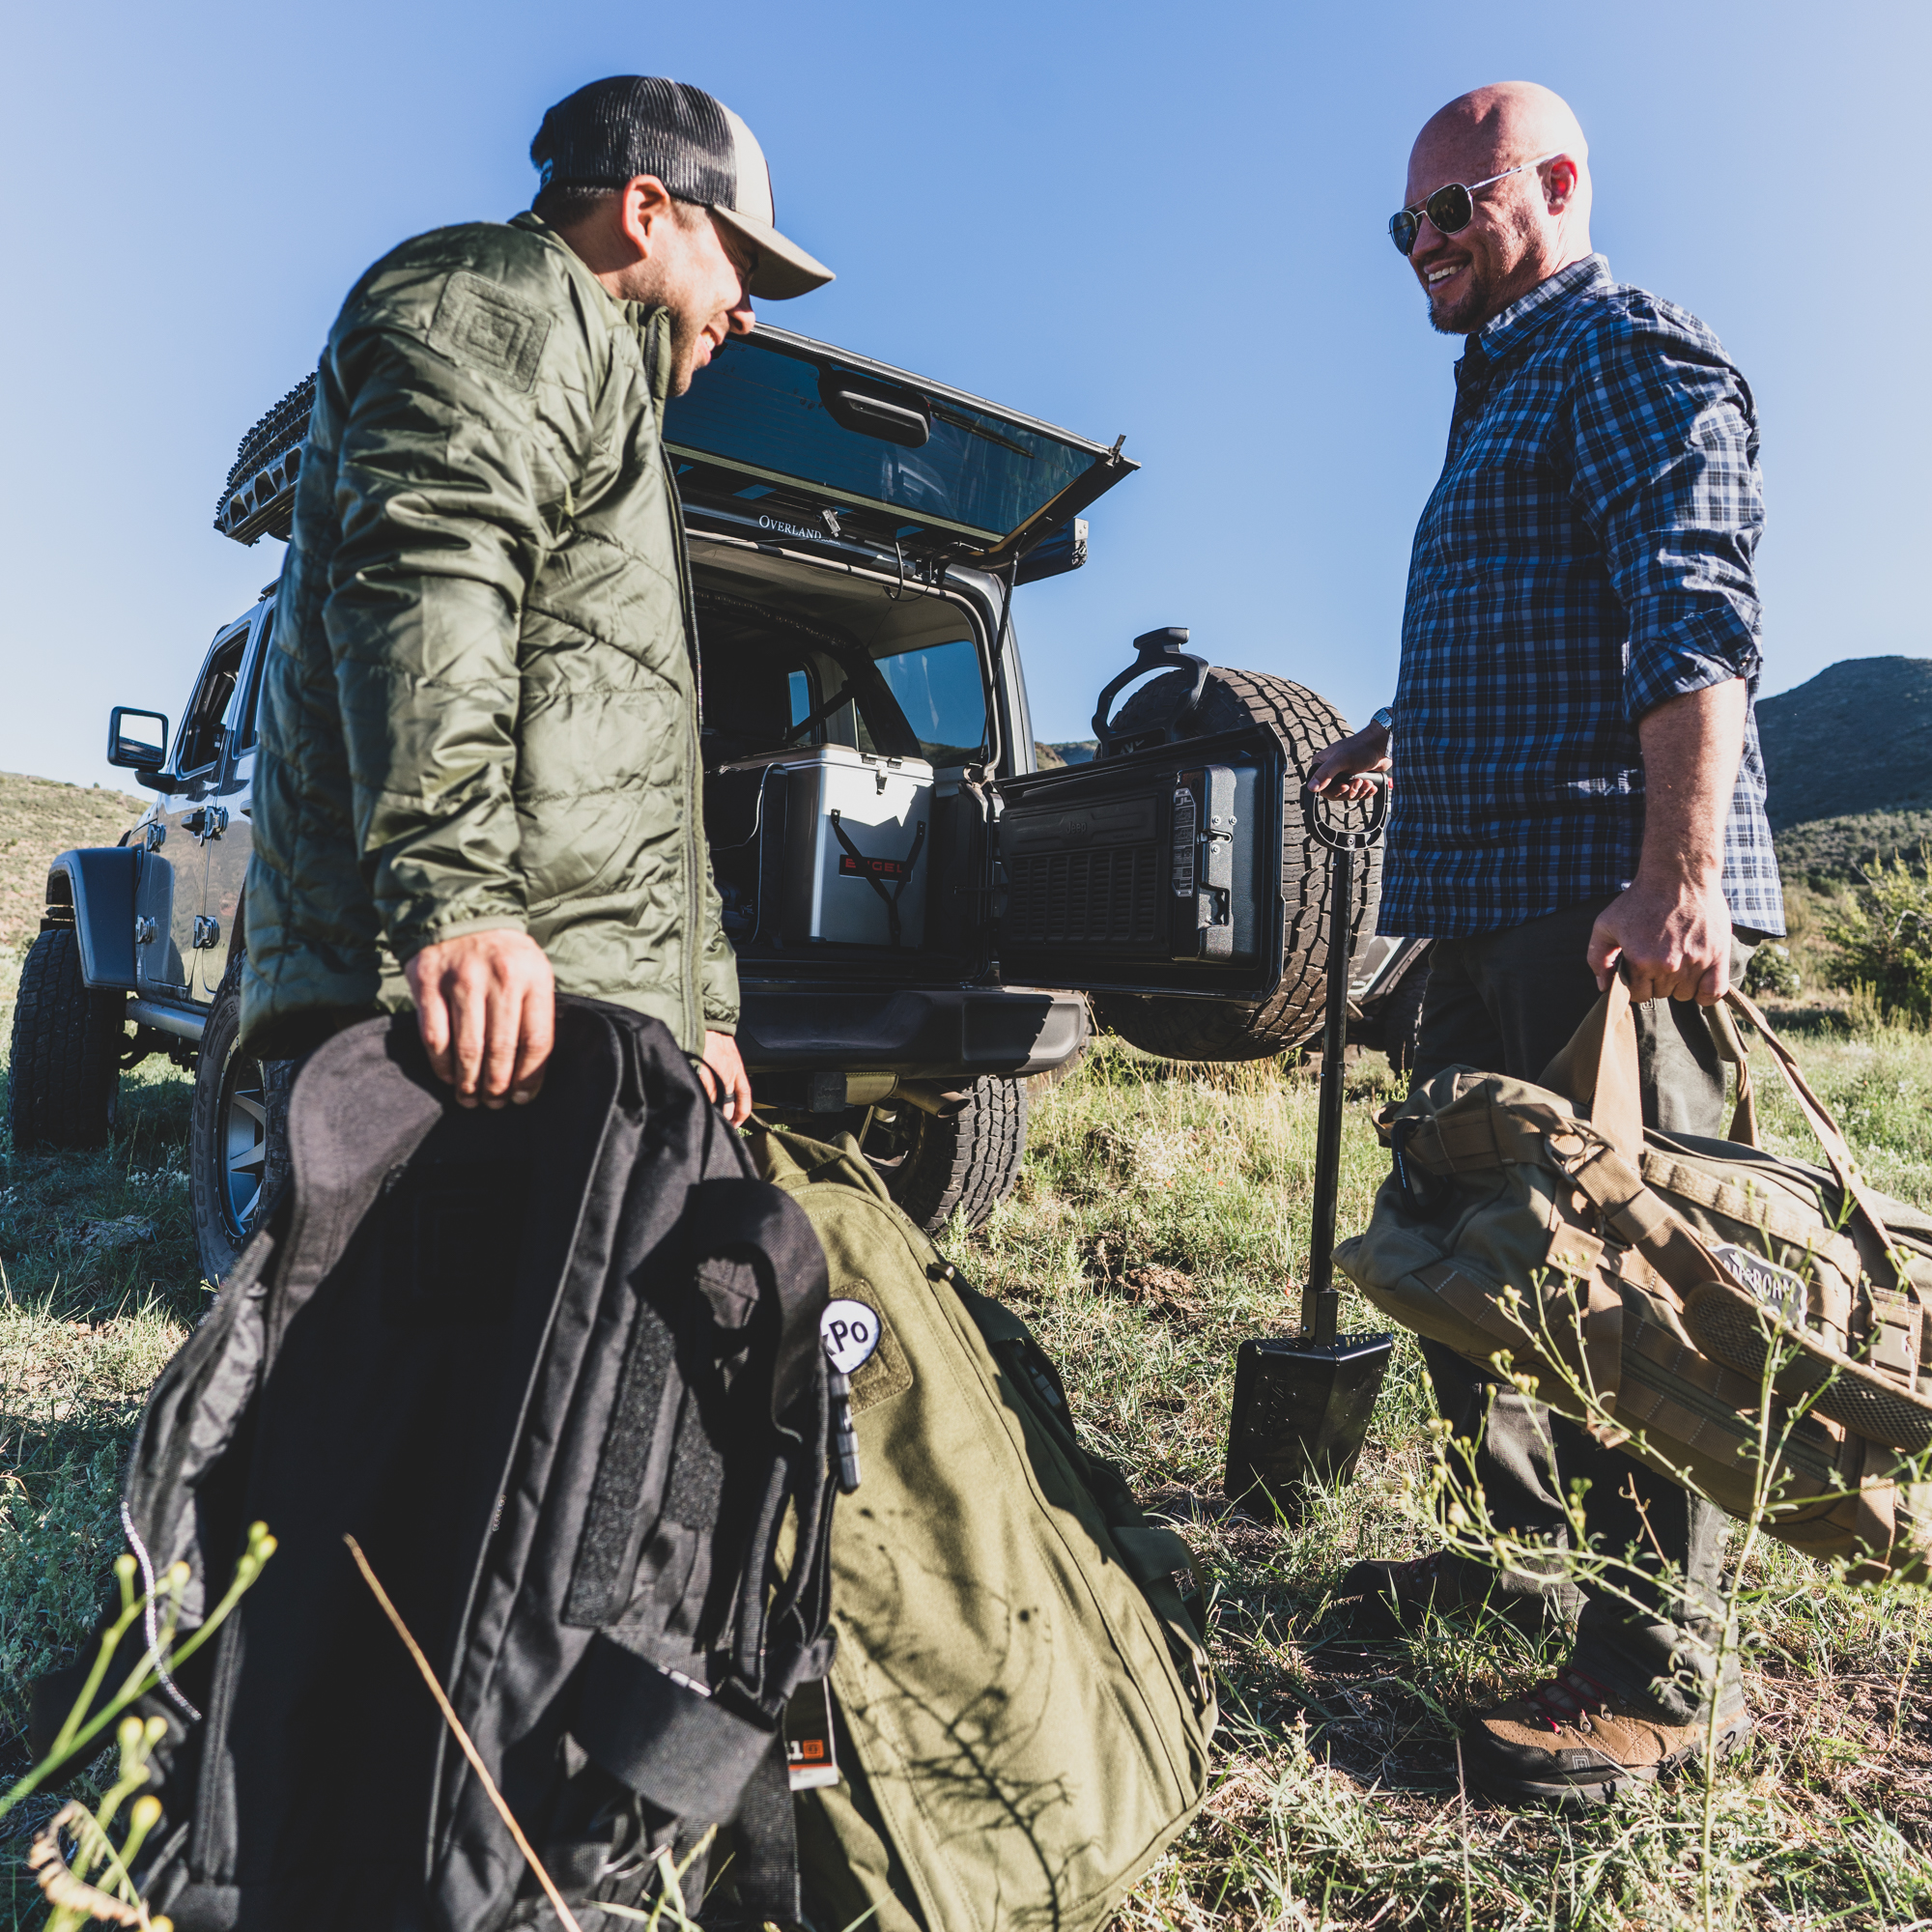
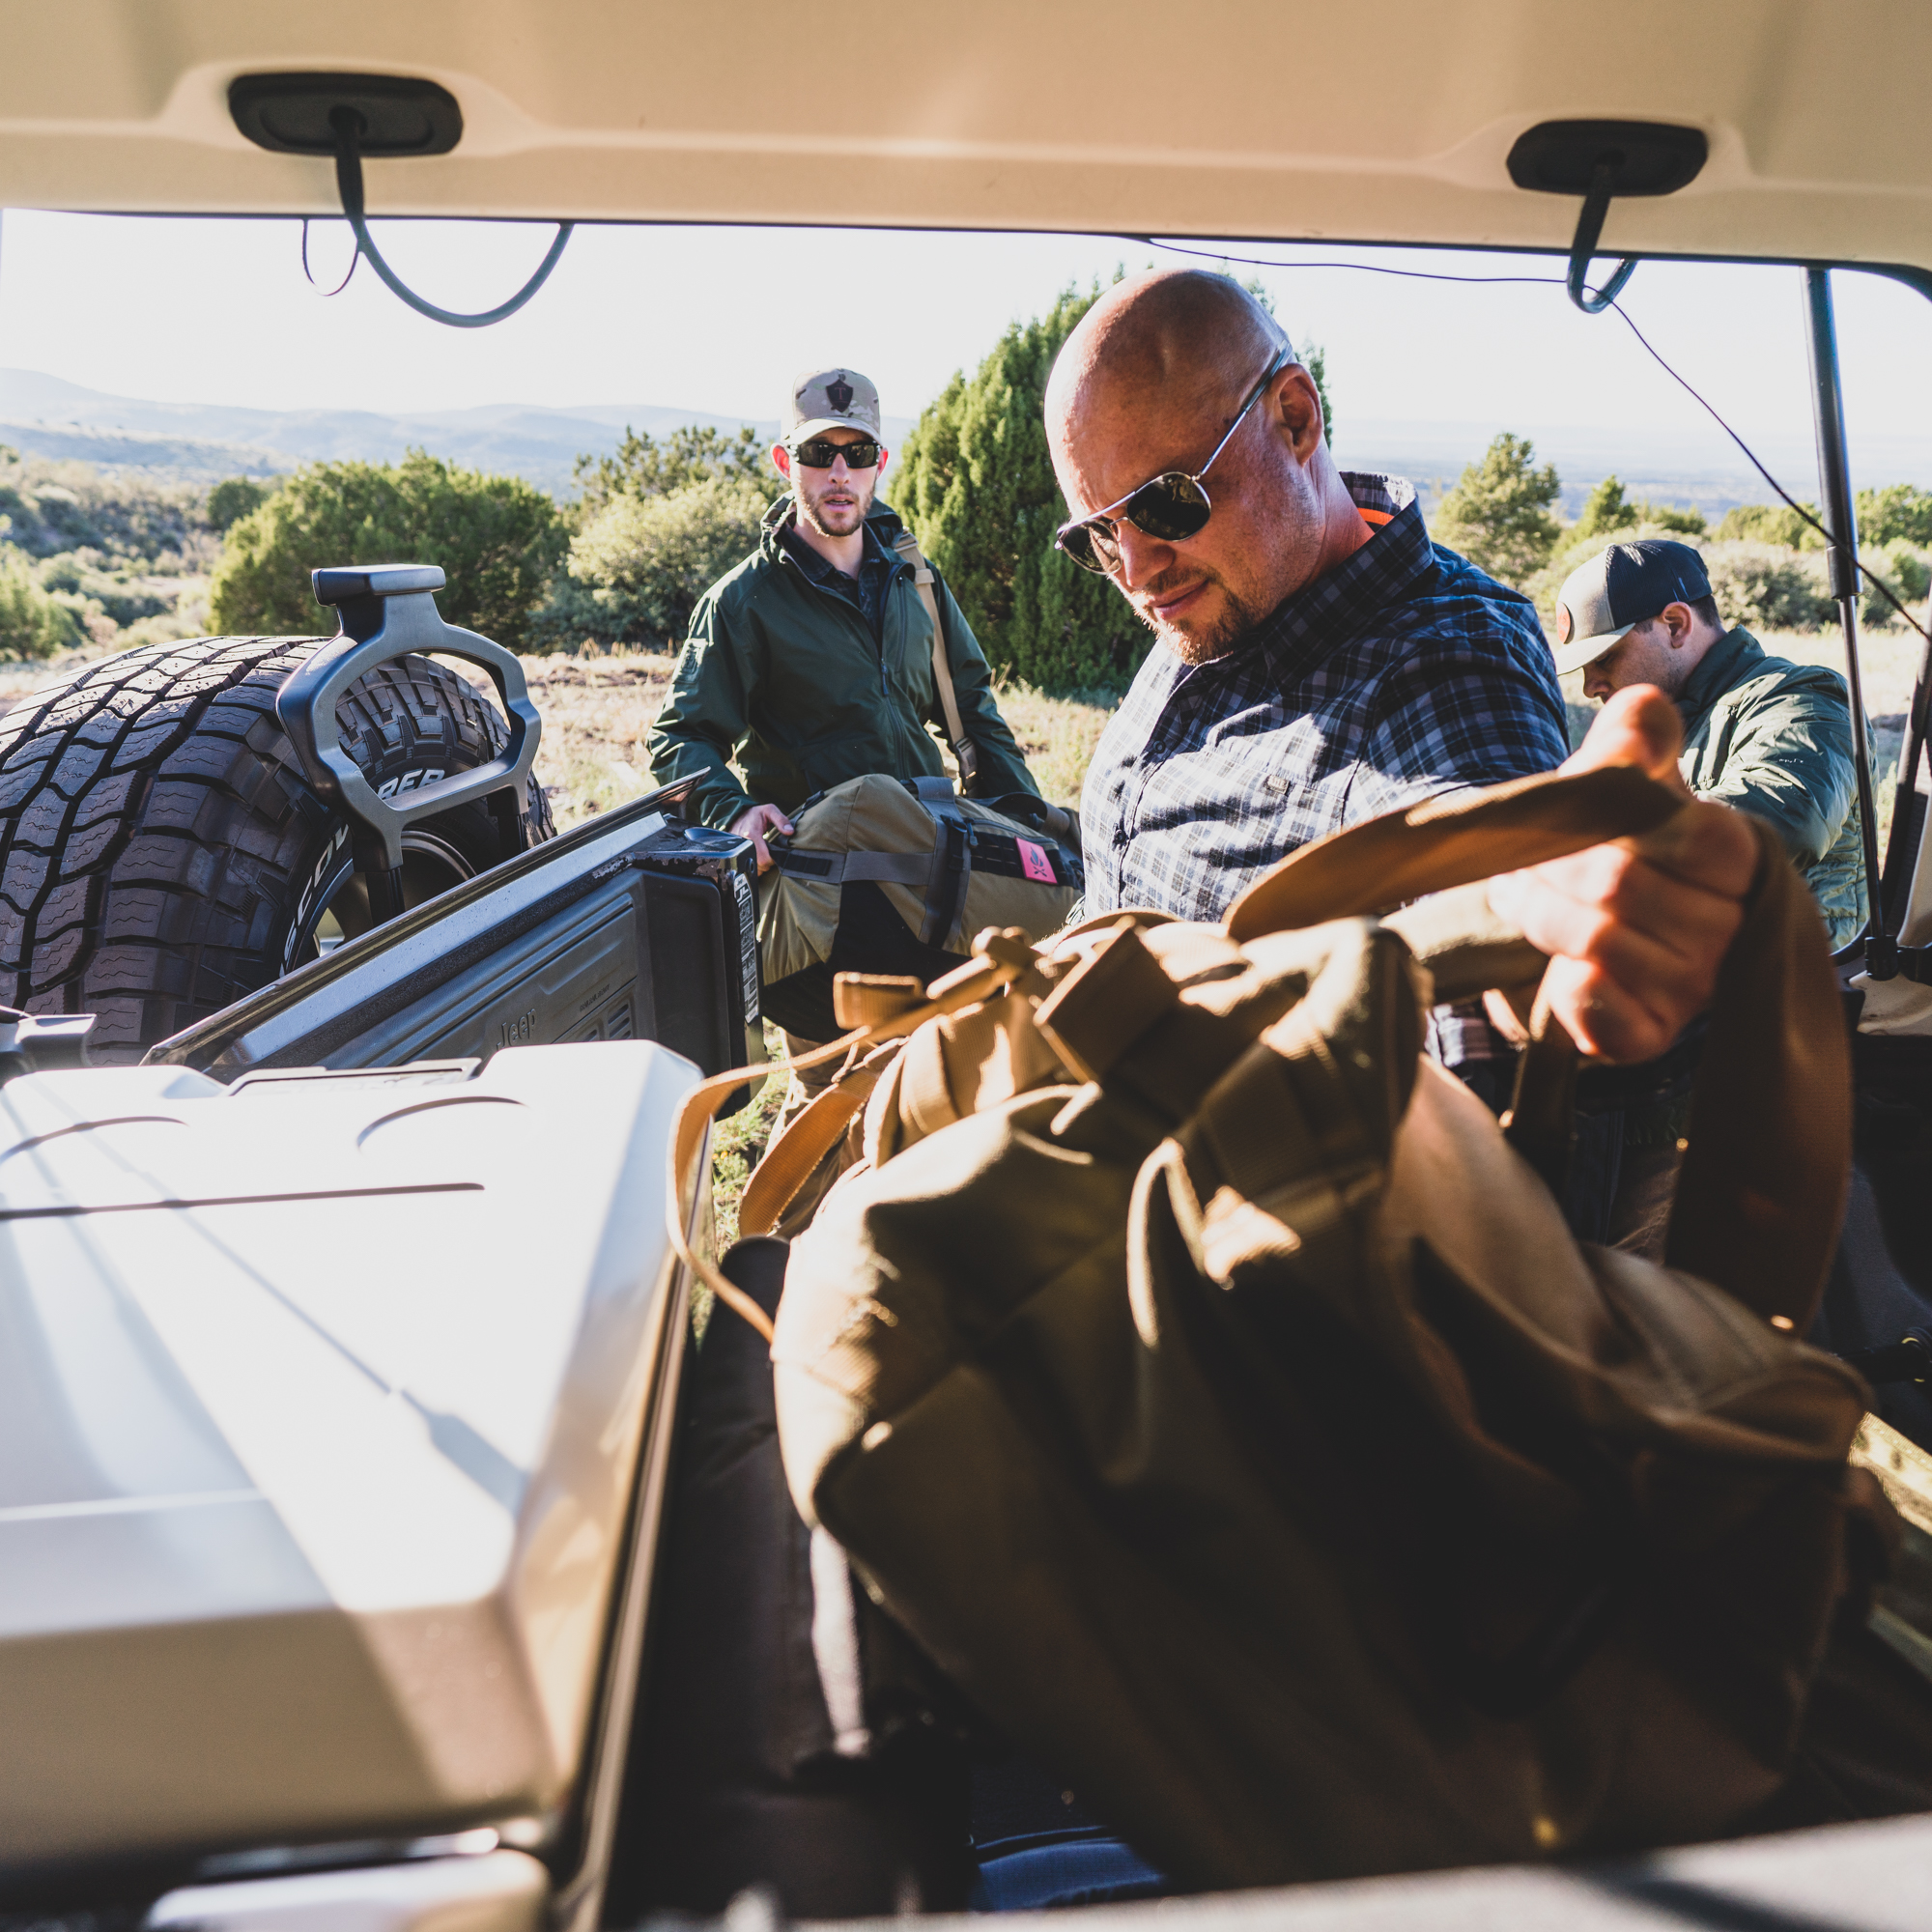
Loading up equipment and lashing it properly is part of the fun. Doing it as a group helps everyone know where the gear is in each truck.
The goal was to review a few key elements of 4WD training, including driver ergonomics, tires, recovery equipment, spotting (marshaling), and vehicle recovery using a 12 volt winch. Each member of the group brought their own unique perspective and experience, one serving in the US military with CAG, and another working for years in law enforcement, while a few others ranged from entirely new to 4WD training, to some with decades of experience. This resulted in a fun mix of insights and ideas, and a range of vehicles including a few Wranglers, and a Tacoma.
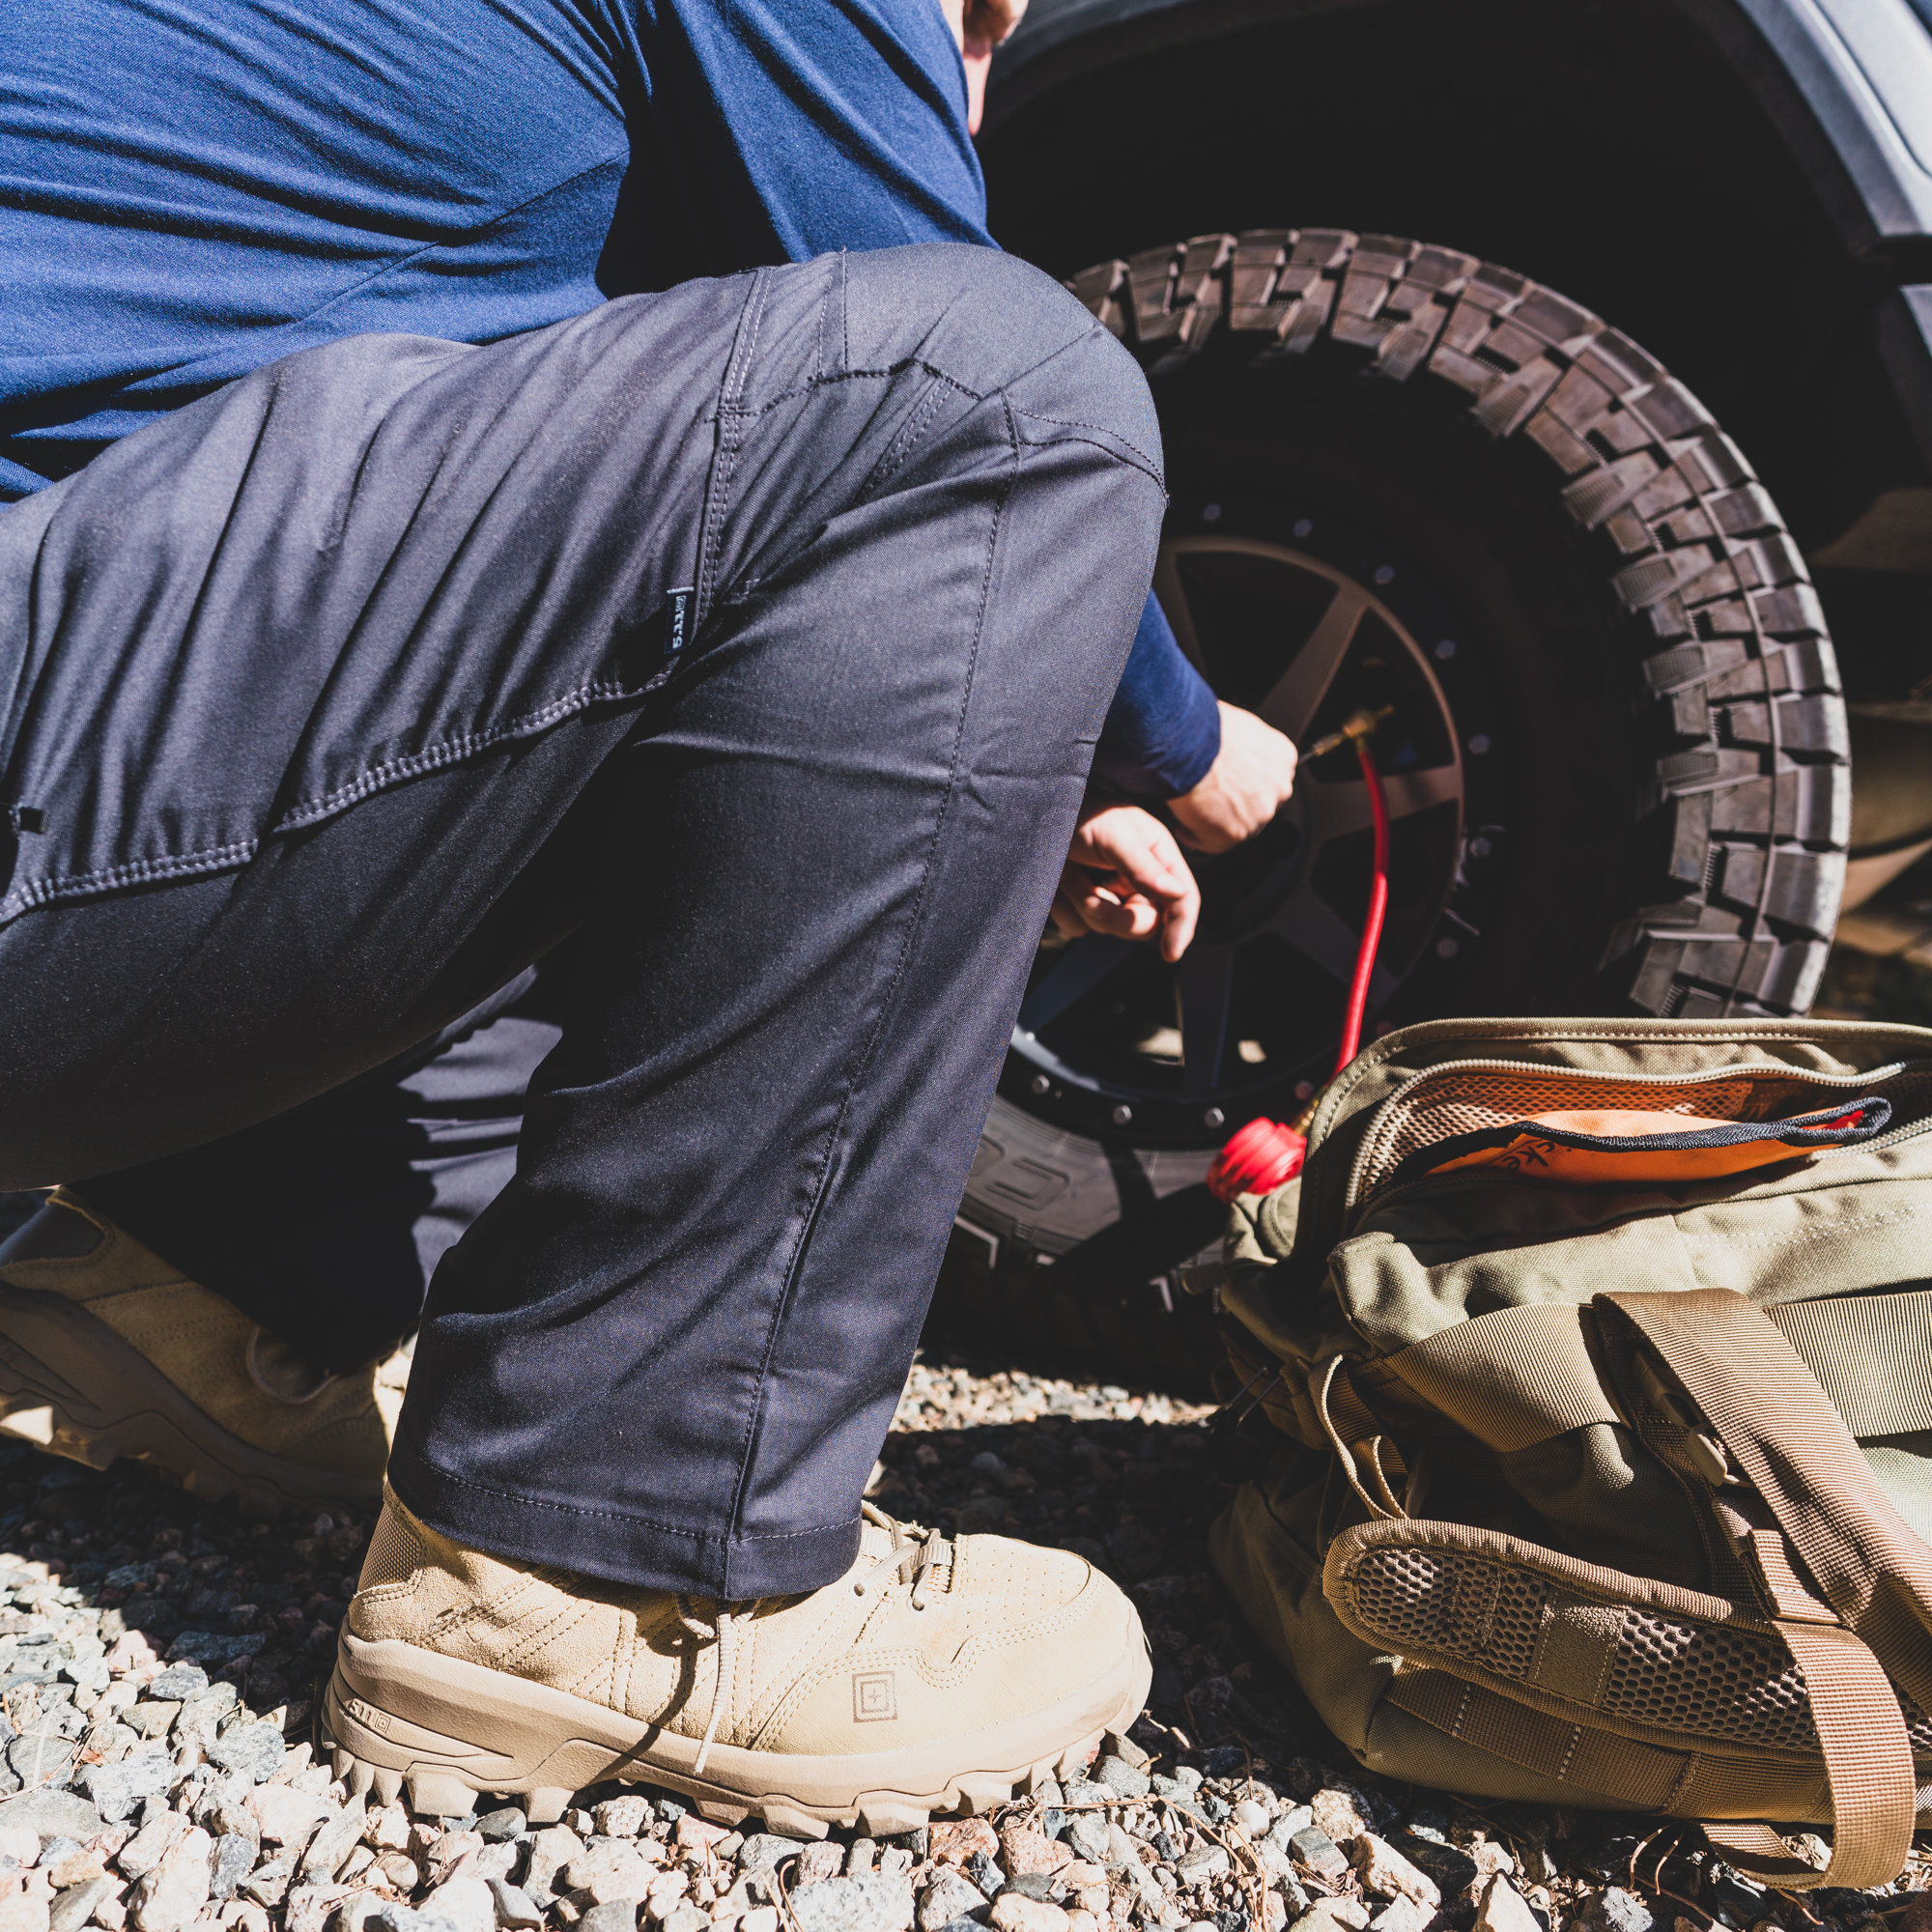
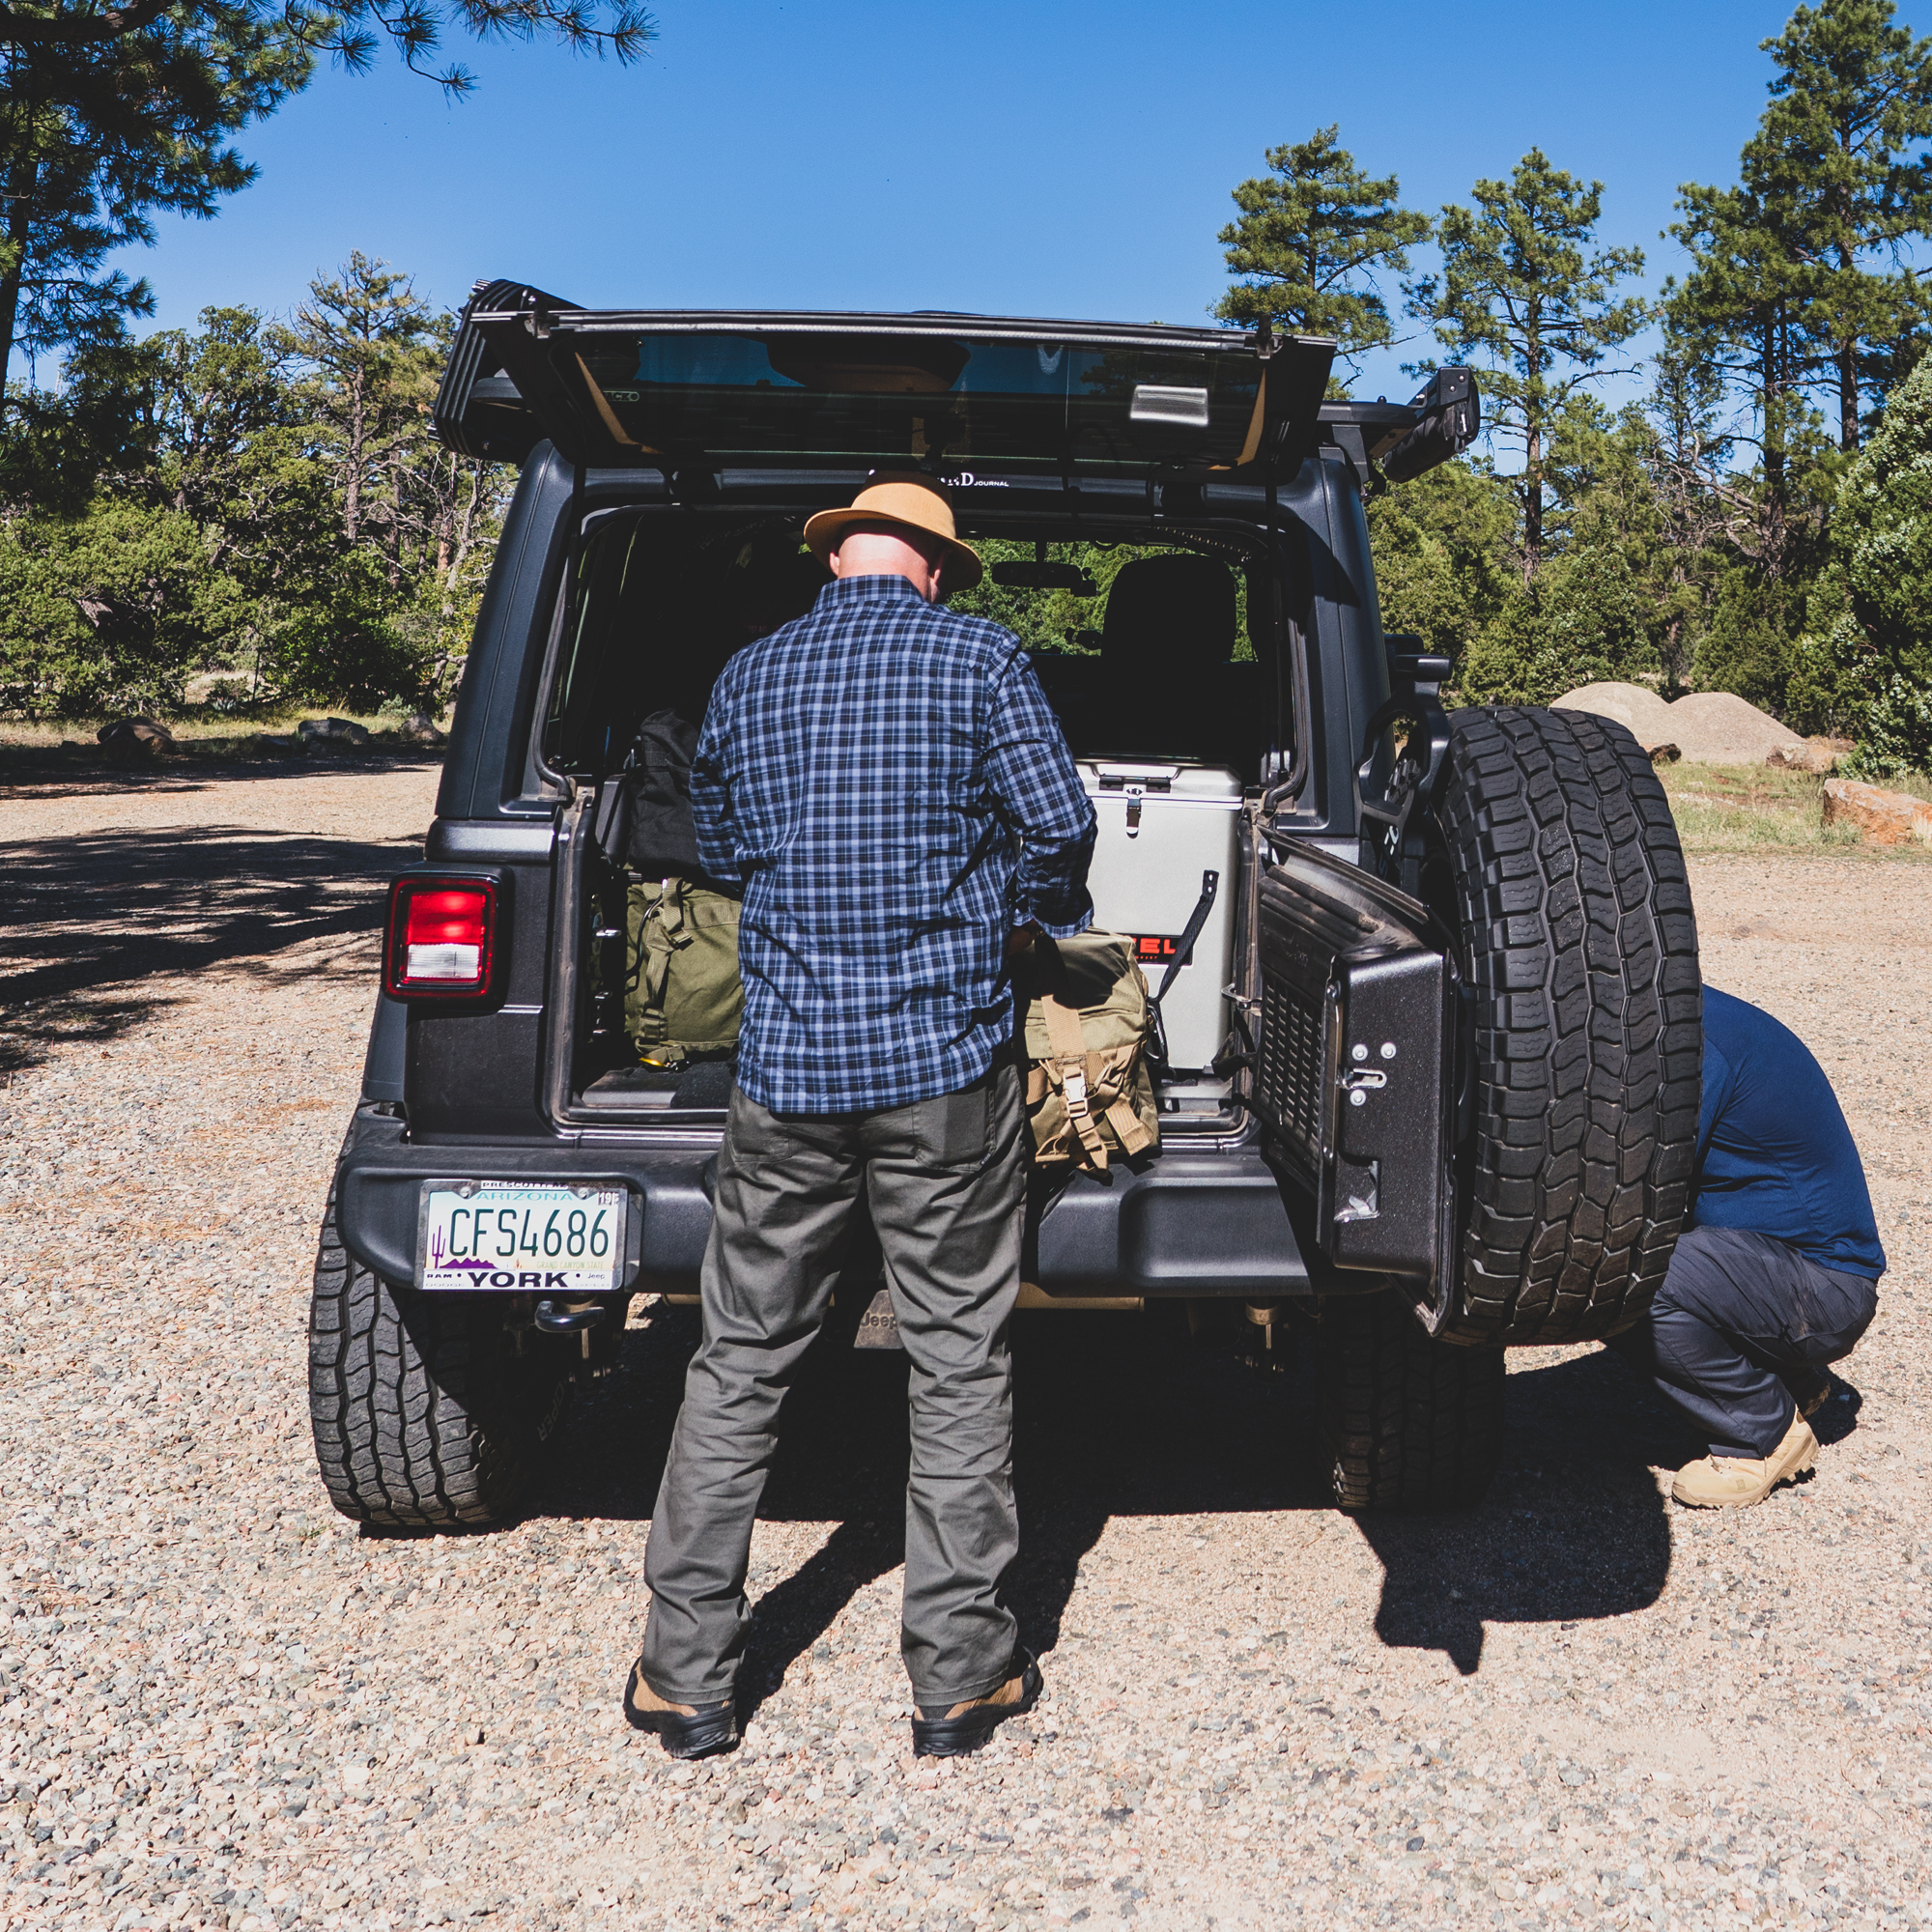
As vehicles see more modifications, owners often neglect the fundamentals, like airing down and completing a vehicle inspection before hitting the trail. As you move around the vehicle airing down, inspect the tires, suspension components, etc. Look for leaks and open the hood to very batteries and other systems are secured and functioning properly.
Tires
We chose to spend quite a bit of time on tires, as they are (literally) a foundational element of backcountry travel. It is critical to select the right tire for the vehicle, payload, and anticipated conditions. Unfortunately, many tire decisions are based upon: 1. How aggressive does the tire look? 2. How big of a tire can I fit on my vehicle? Reality proves otherwise, and we discussed the importance of selecting a tire that fits the needs of the driver. This can mean a massive tire, like the 44-inch beasts needed to traverse the Antarctic Ice Cap, or a 31-inch tire that yields the best combination of fuel economy and vehicle-dynamics for crossing the Silk Road.

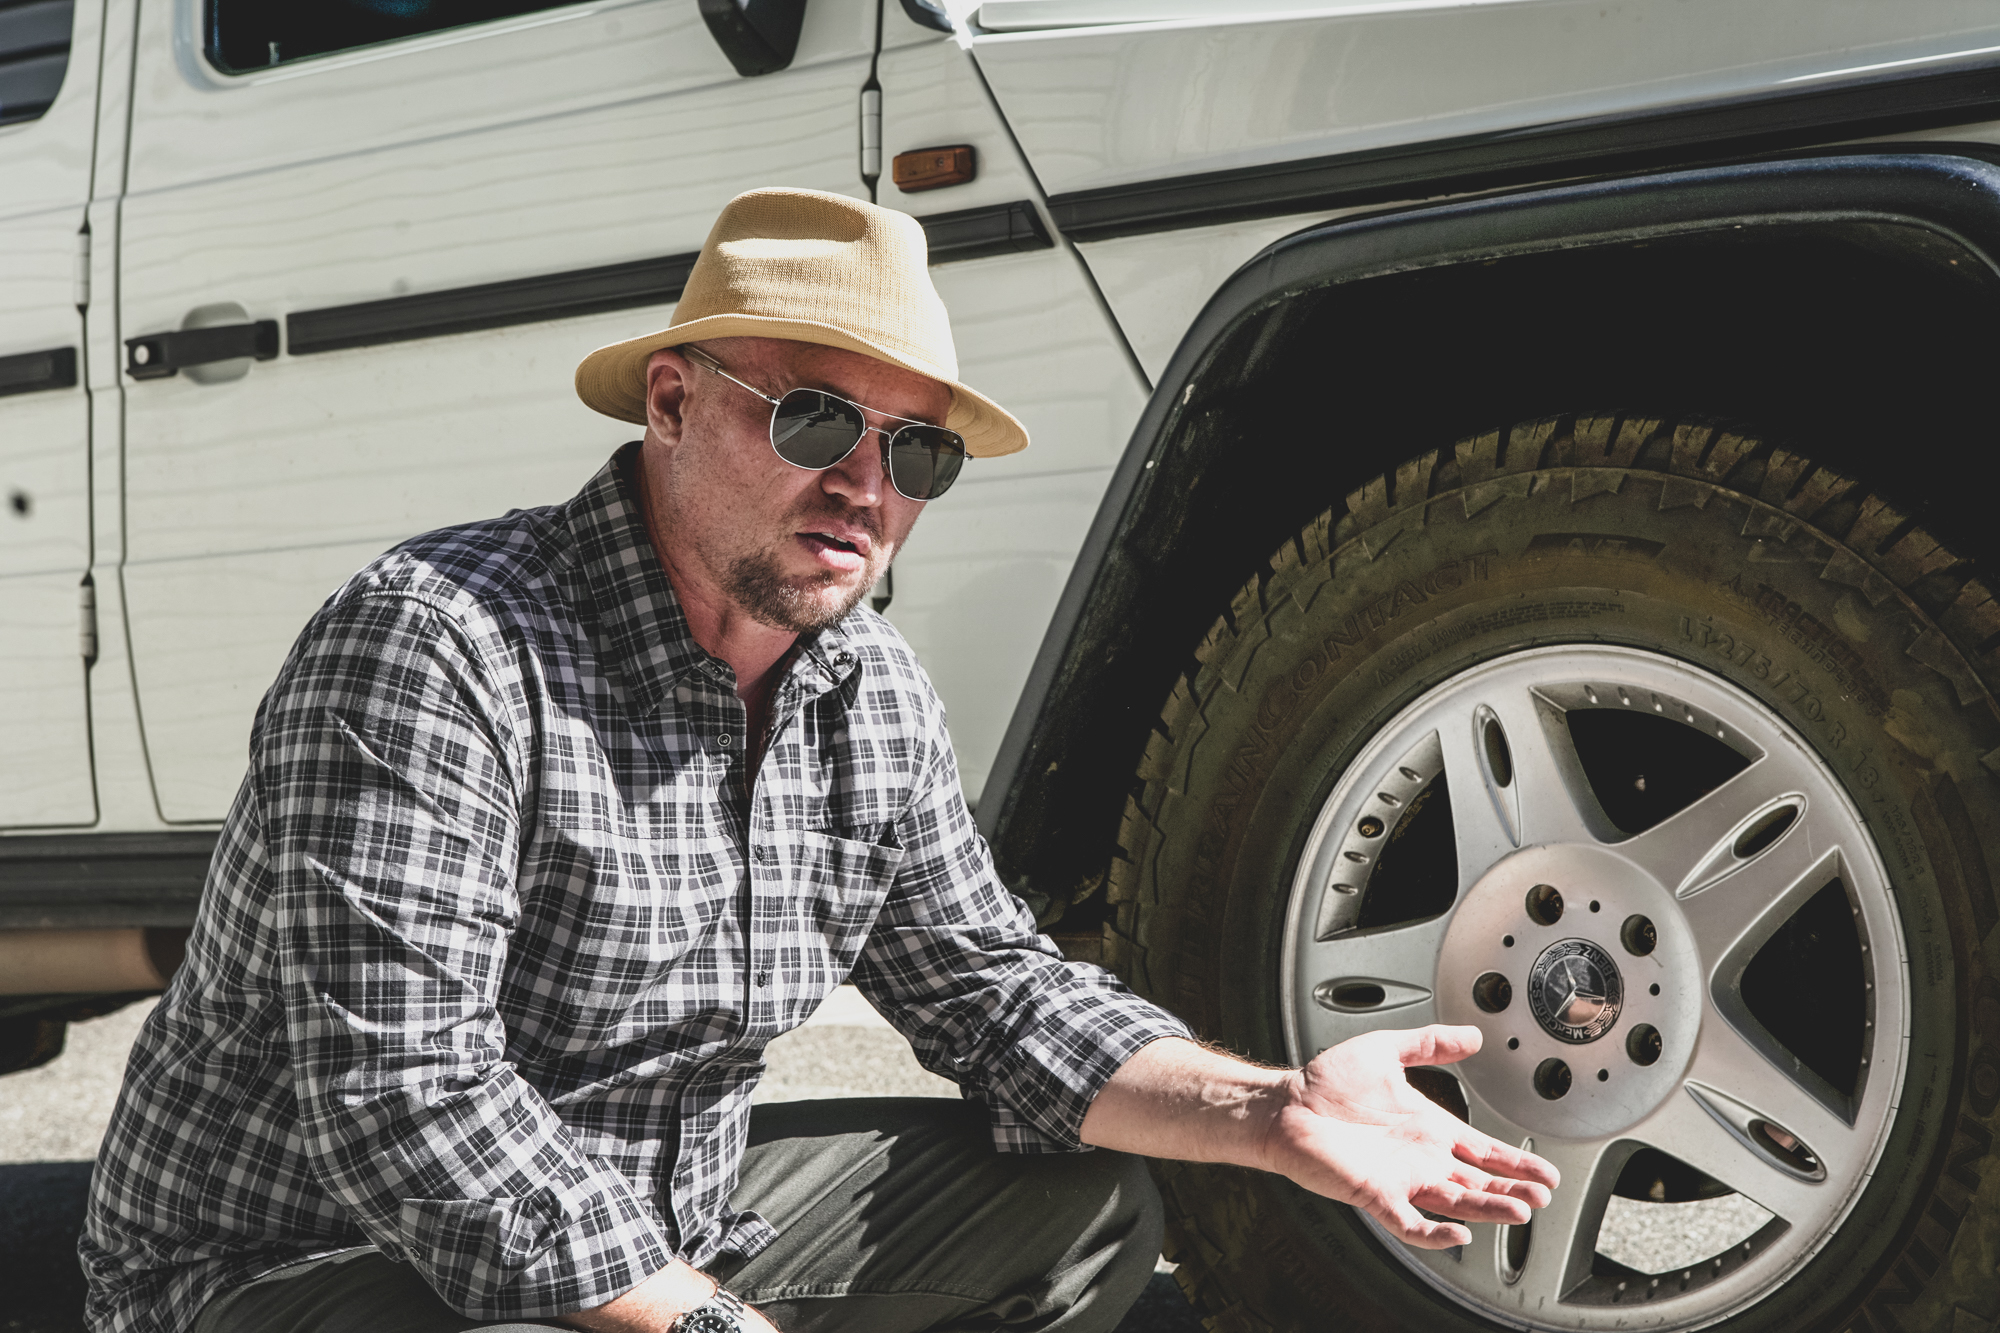
One of the most important fundamentals of off-highway travel is tires. We benefit from understanding the performance attributes of their construction and the affects of air pressure on traction and flotation.
This also includes meaningful consideration around the tire tread design, which can vary widely based upon the environment. For example, crossing the Congo dictates the benefits of a mud tire, while exploring the Western Sahara calls for a mild all-terrain for optimal sand driving. The tread design is also important, as siping can improve wet weather and ice traction, but can come at the cost of tread life and lug integrity. The lug profile and spacing will influence mud evacuation and mechanical keying, but might also reduce lateral grip on pavement, or on a snowy road. We discussed these compromises at length, then focused on the advantages of airing down, demonstrating the deformation effect on a wheel chalk. This expanded into recommendations for tire pressures, including performing a chalk-line test to determine street pressure for the load, and then a percentage of that pressure for various off-road scenarios.
For example: Mercedes G-Class with load-range D tires
Chalk Line Test* Result (street pressure): 32 psi front and rear (36 rear with full water and gear)
Dirt Road and General Trail Pressure: 60% of street pressure (19 psi)
Technical Terrain Trail Pressure: 50% of street pressure (16 psi)
Sand and Snow Pressure: 40% of street pressure (12 psi)
Emergency (i.e. stuck) Sand and Snow Pressure: 15% of street pressure (4.5 psi)
*A chalk line test is one of the most effective means of determining proper front/rear street air pressures.
Our discussion shifted from recommended pressures, to the mechanical changes that occur at lower pressures, including the fact that additional flotation primarily (80%) comes from the elongation of the tire carcass, with only 20% on average coming from the increased width. This applies to soft surfaces, where it is important to distribute the weight of the vehicle over a larger footprint (flotation), but it also influences performance on rocks and ruts by providing increased deformation and mechanical keying. At lower pressures, the carcass can then deform around a rock much like a rock climber will wrap their hand around a hold. This deformation also increases the amount of adhesion area between the rubber of the tire and the surface of the rock. Through mechanical keying, the additional surface area also increases the number of lugs that can key into the voids and edges of the rock, along with the micro-keying that occurs from the tire surface compressing around the subtle surface irregularities.
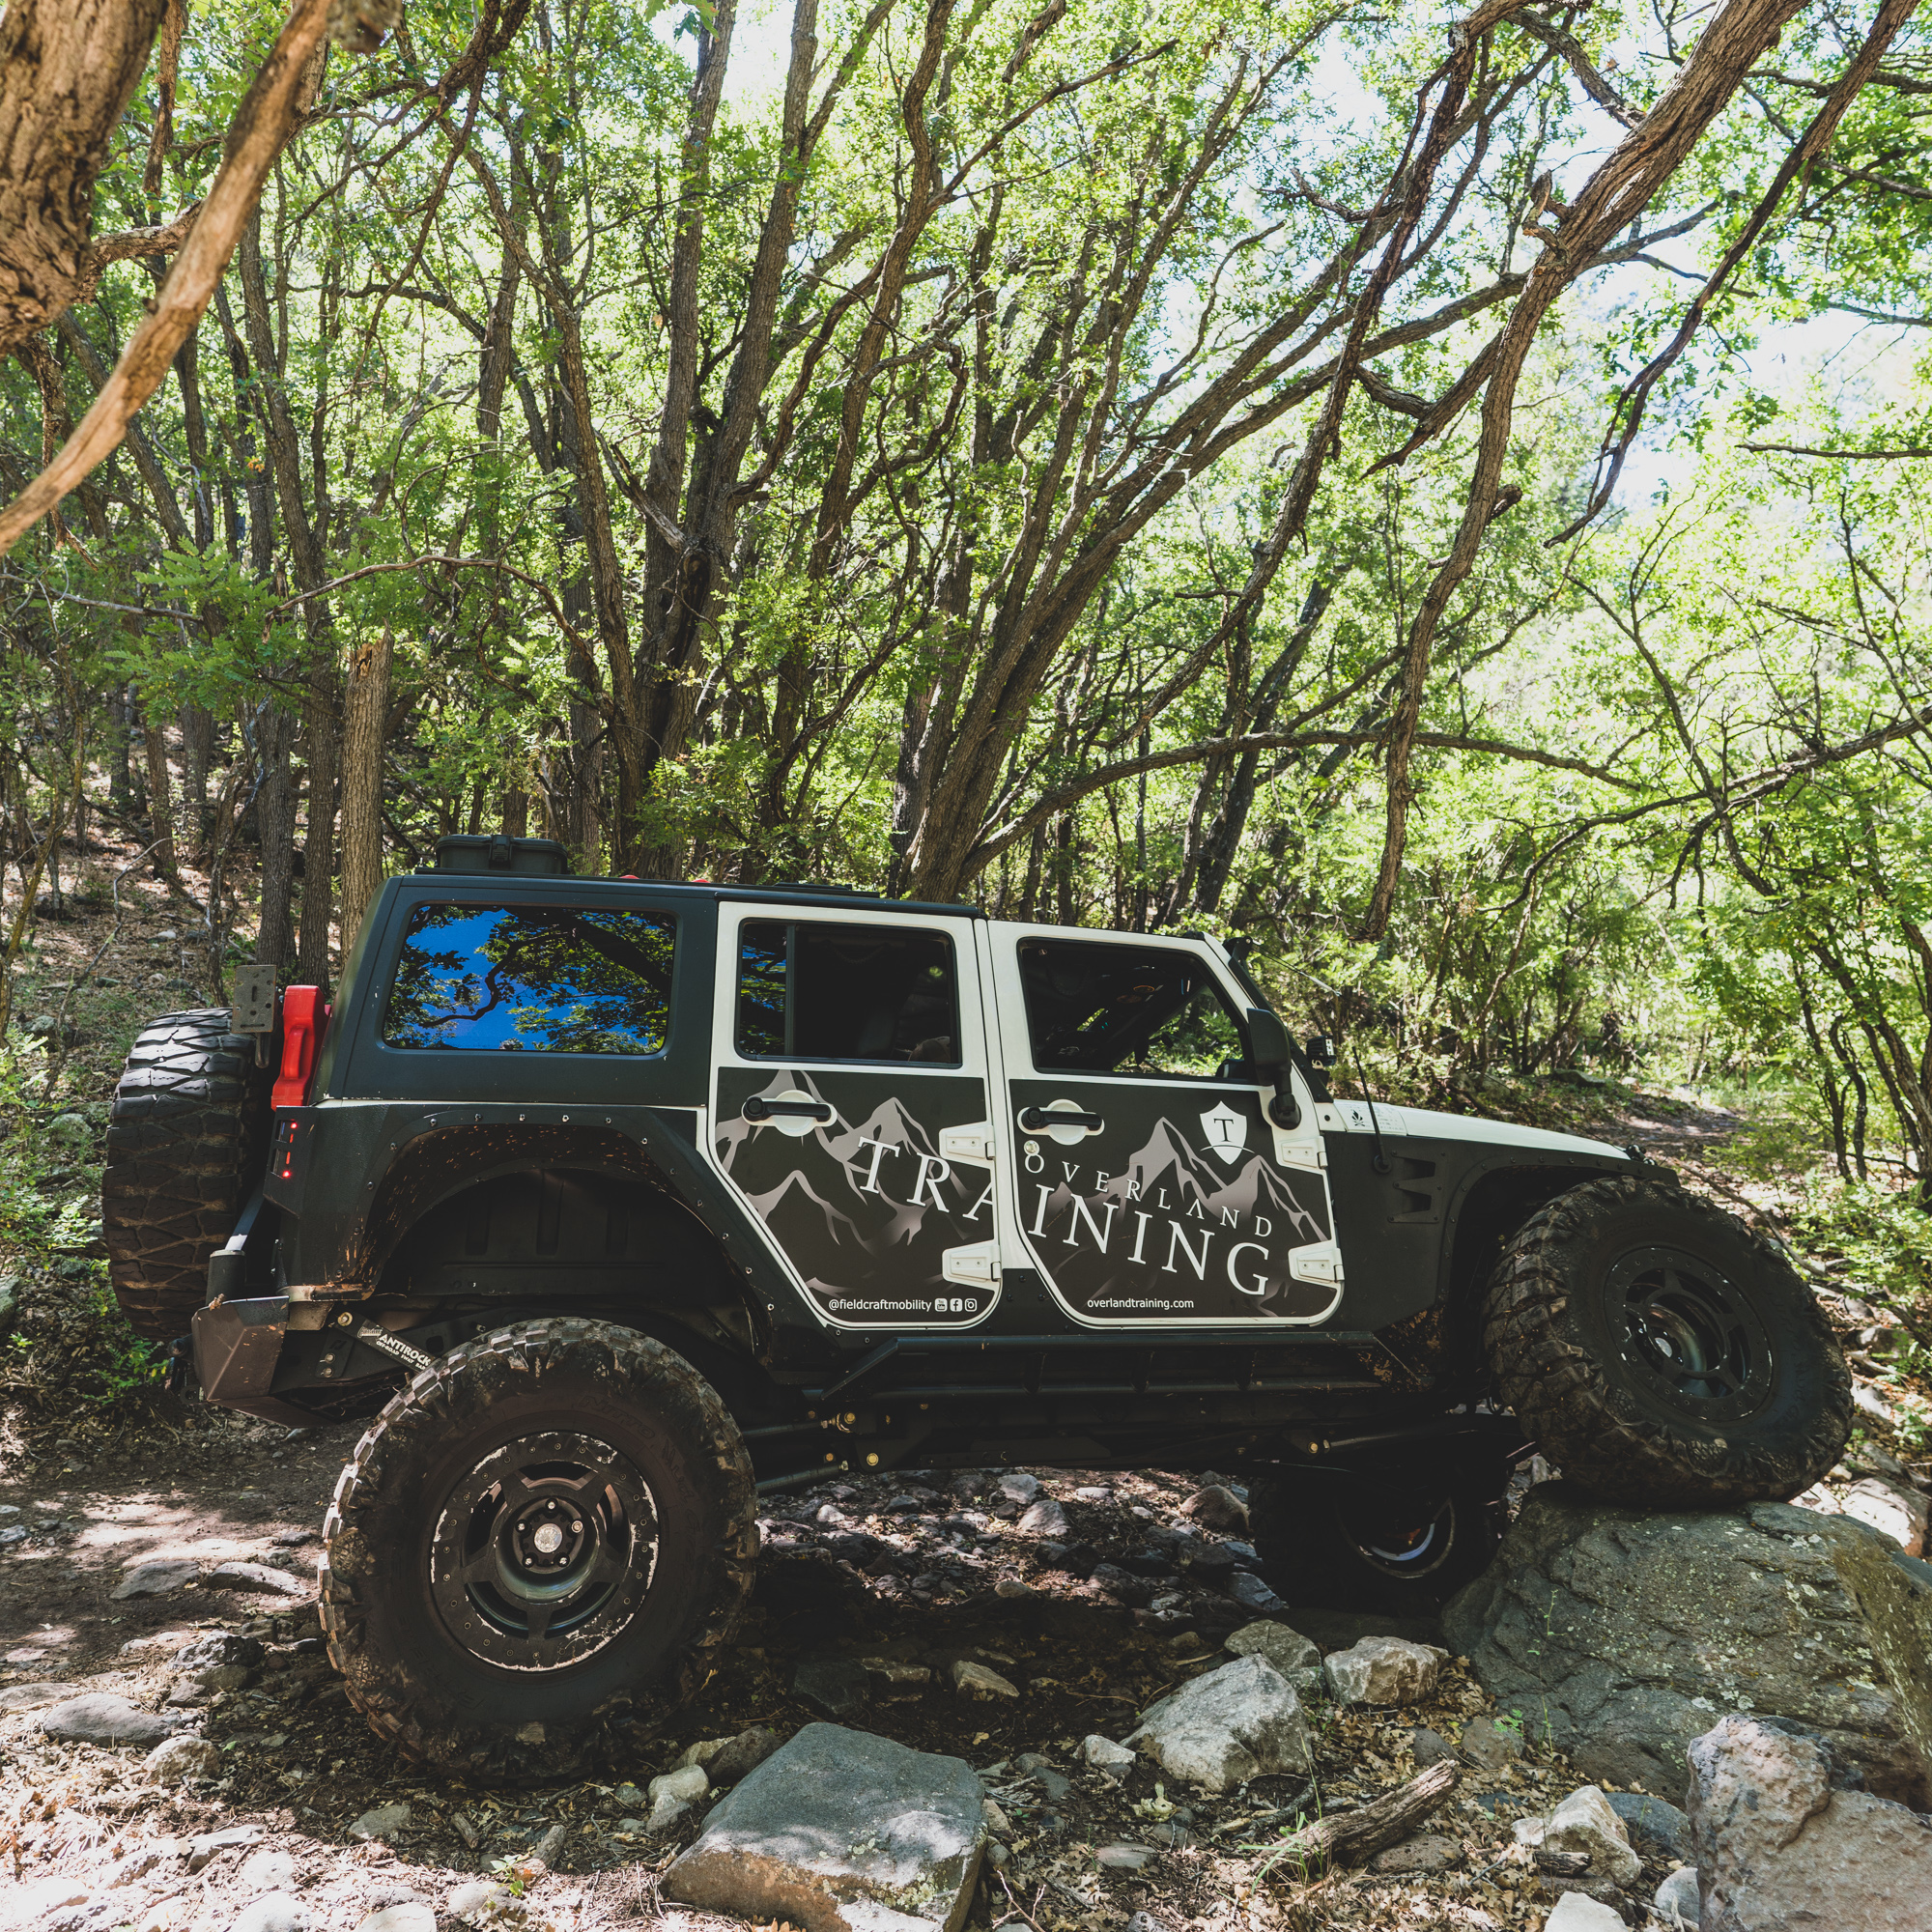
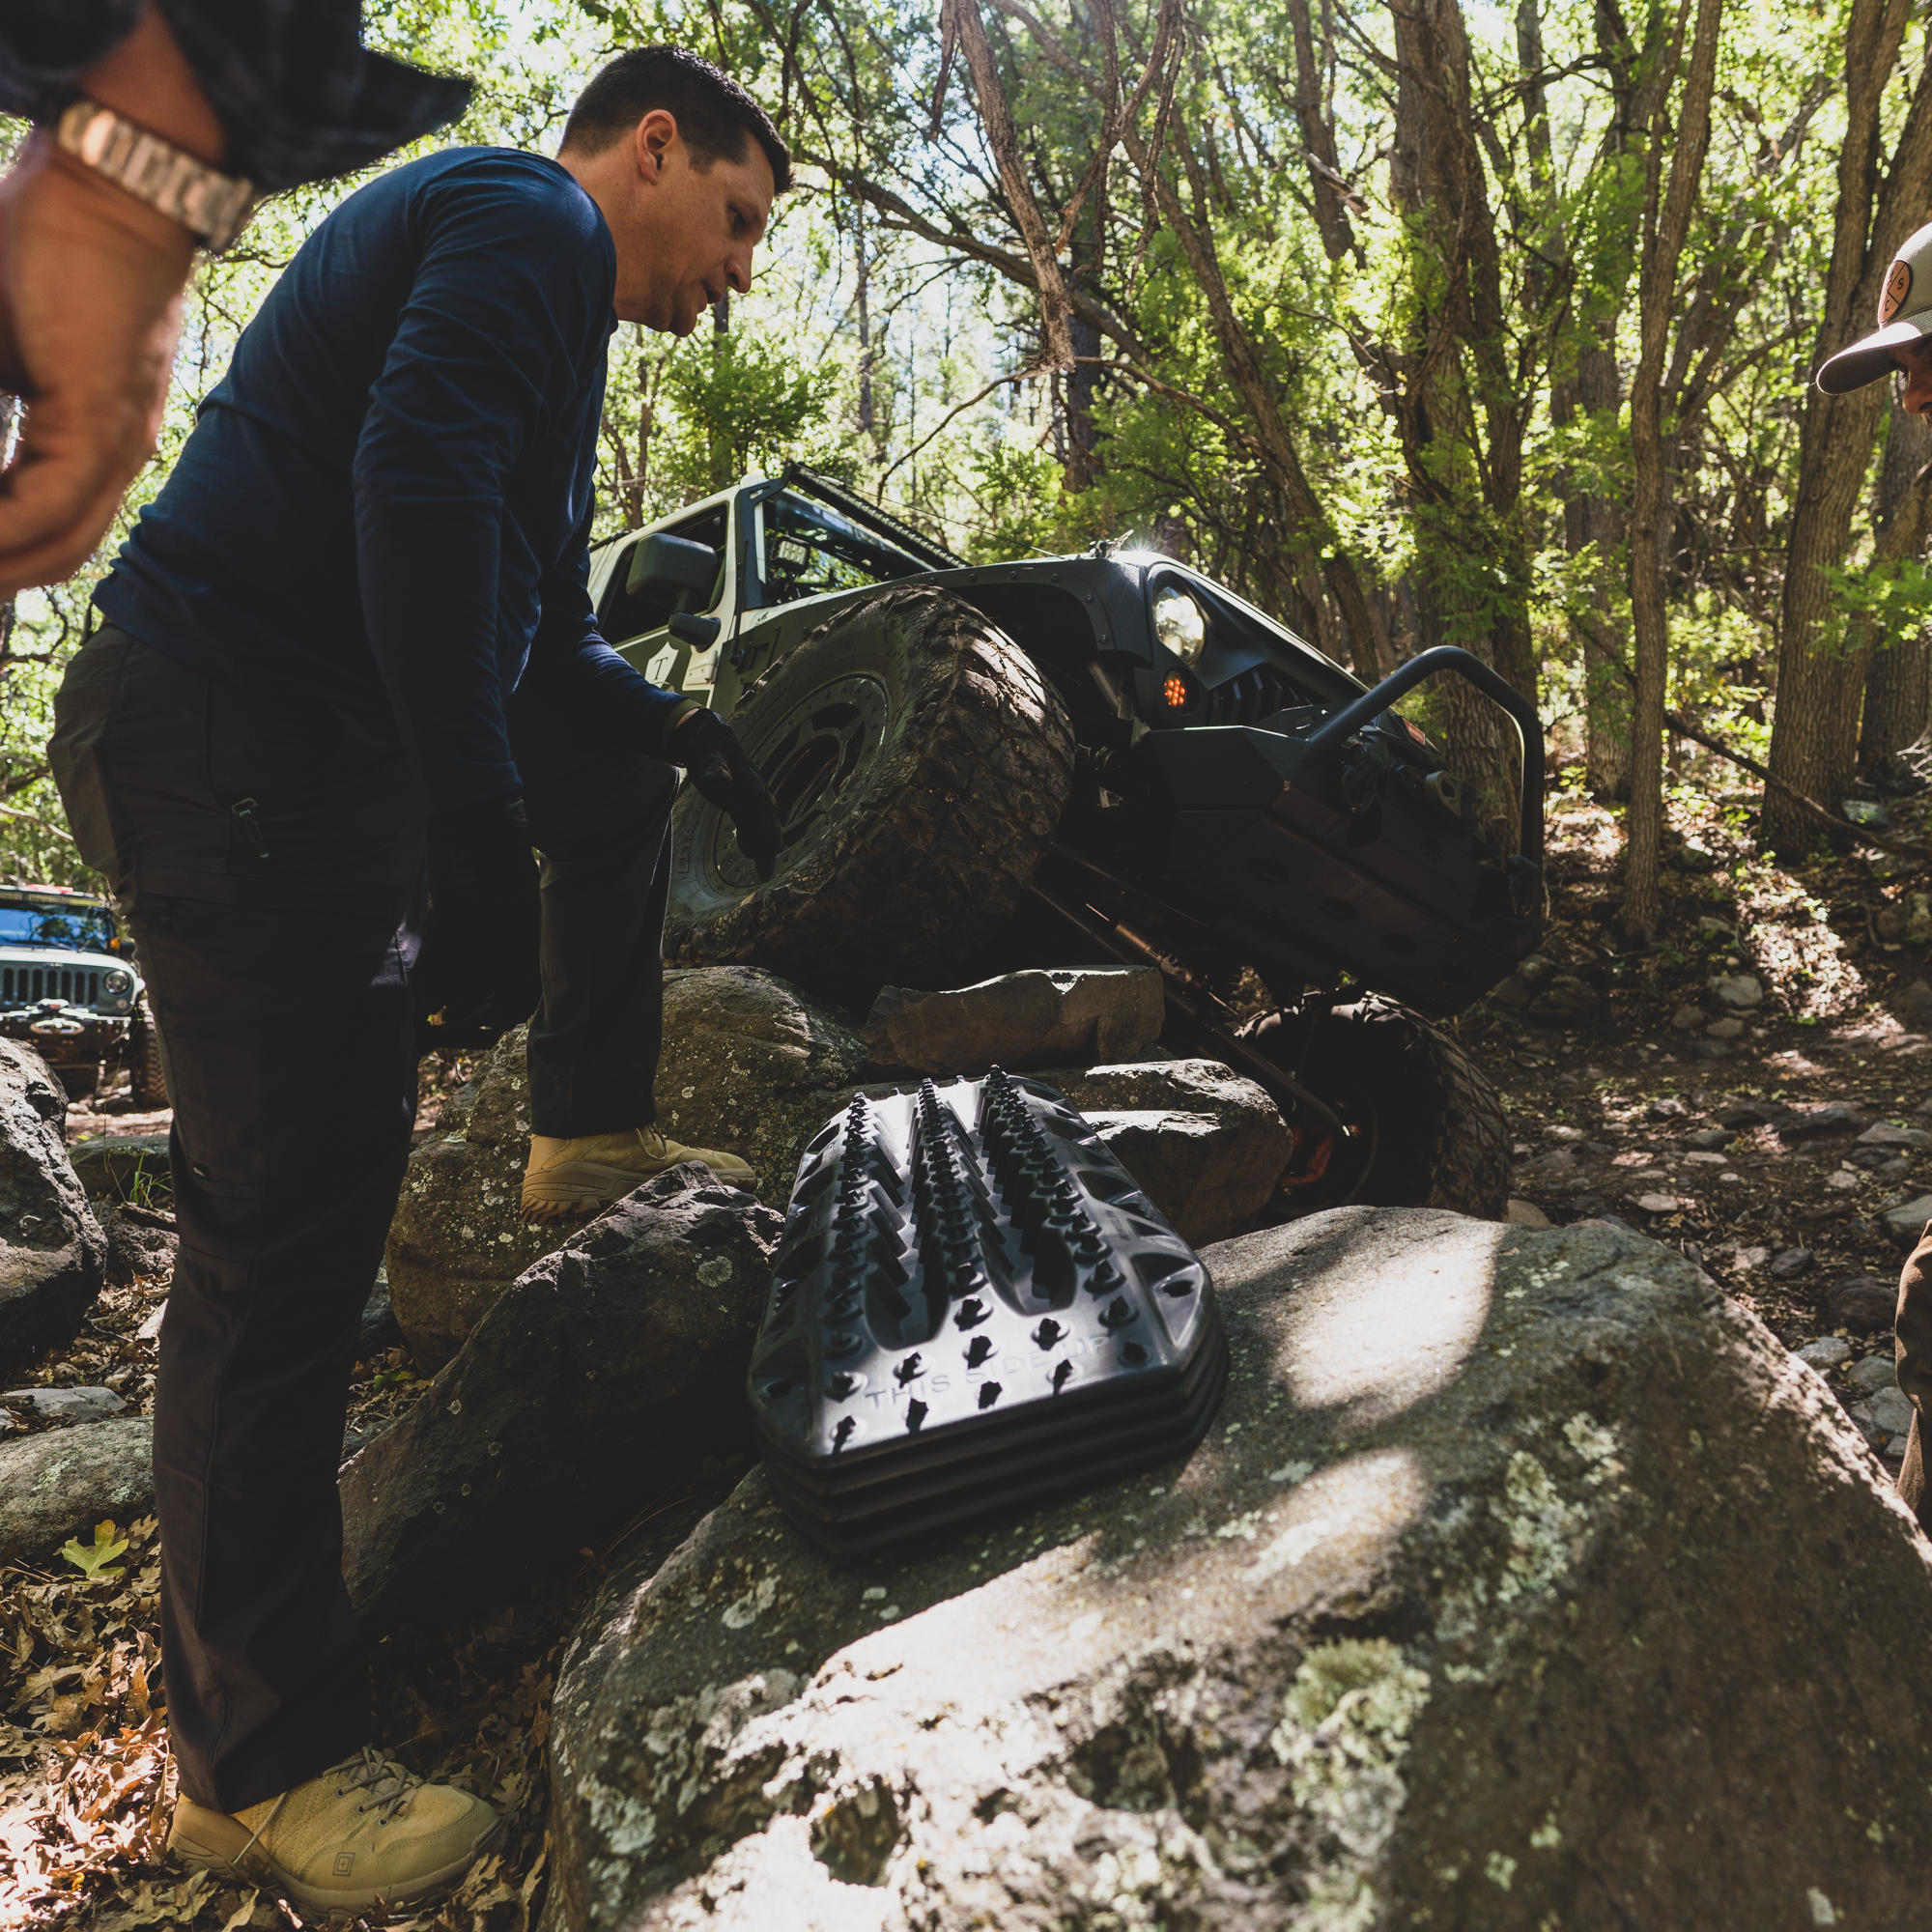
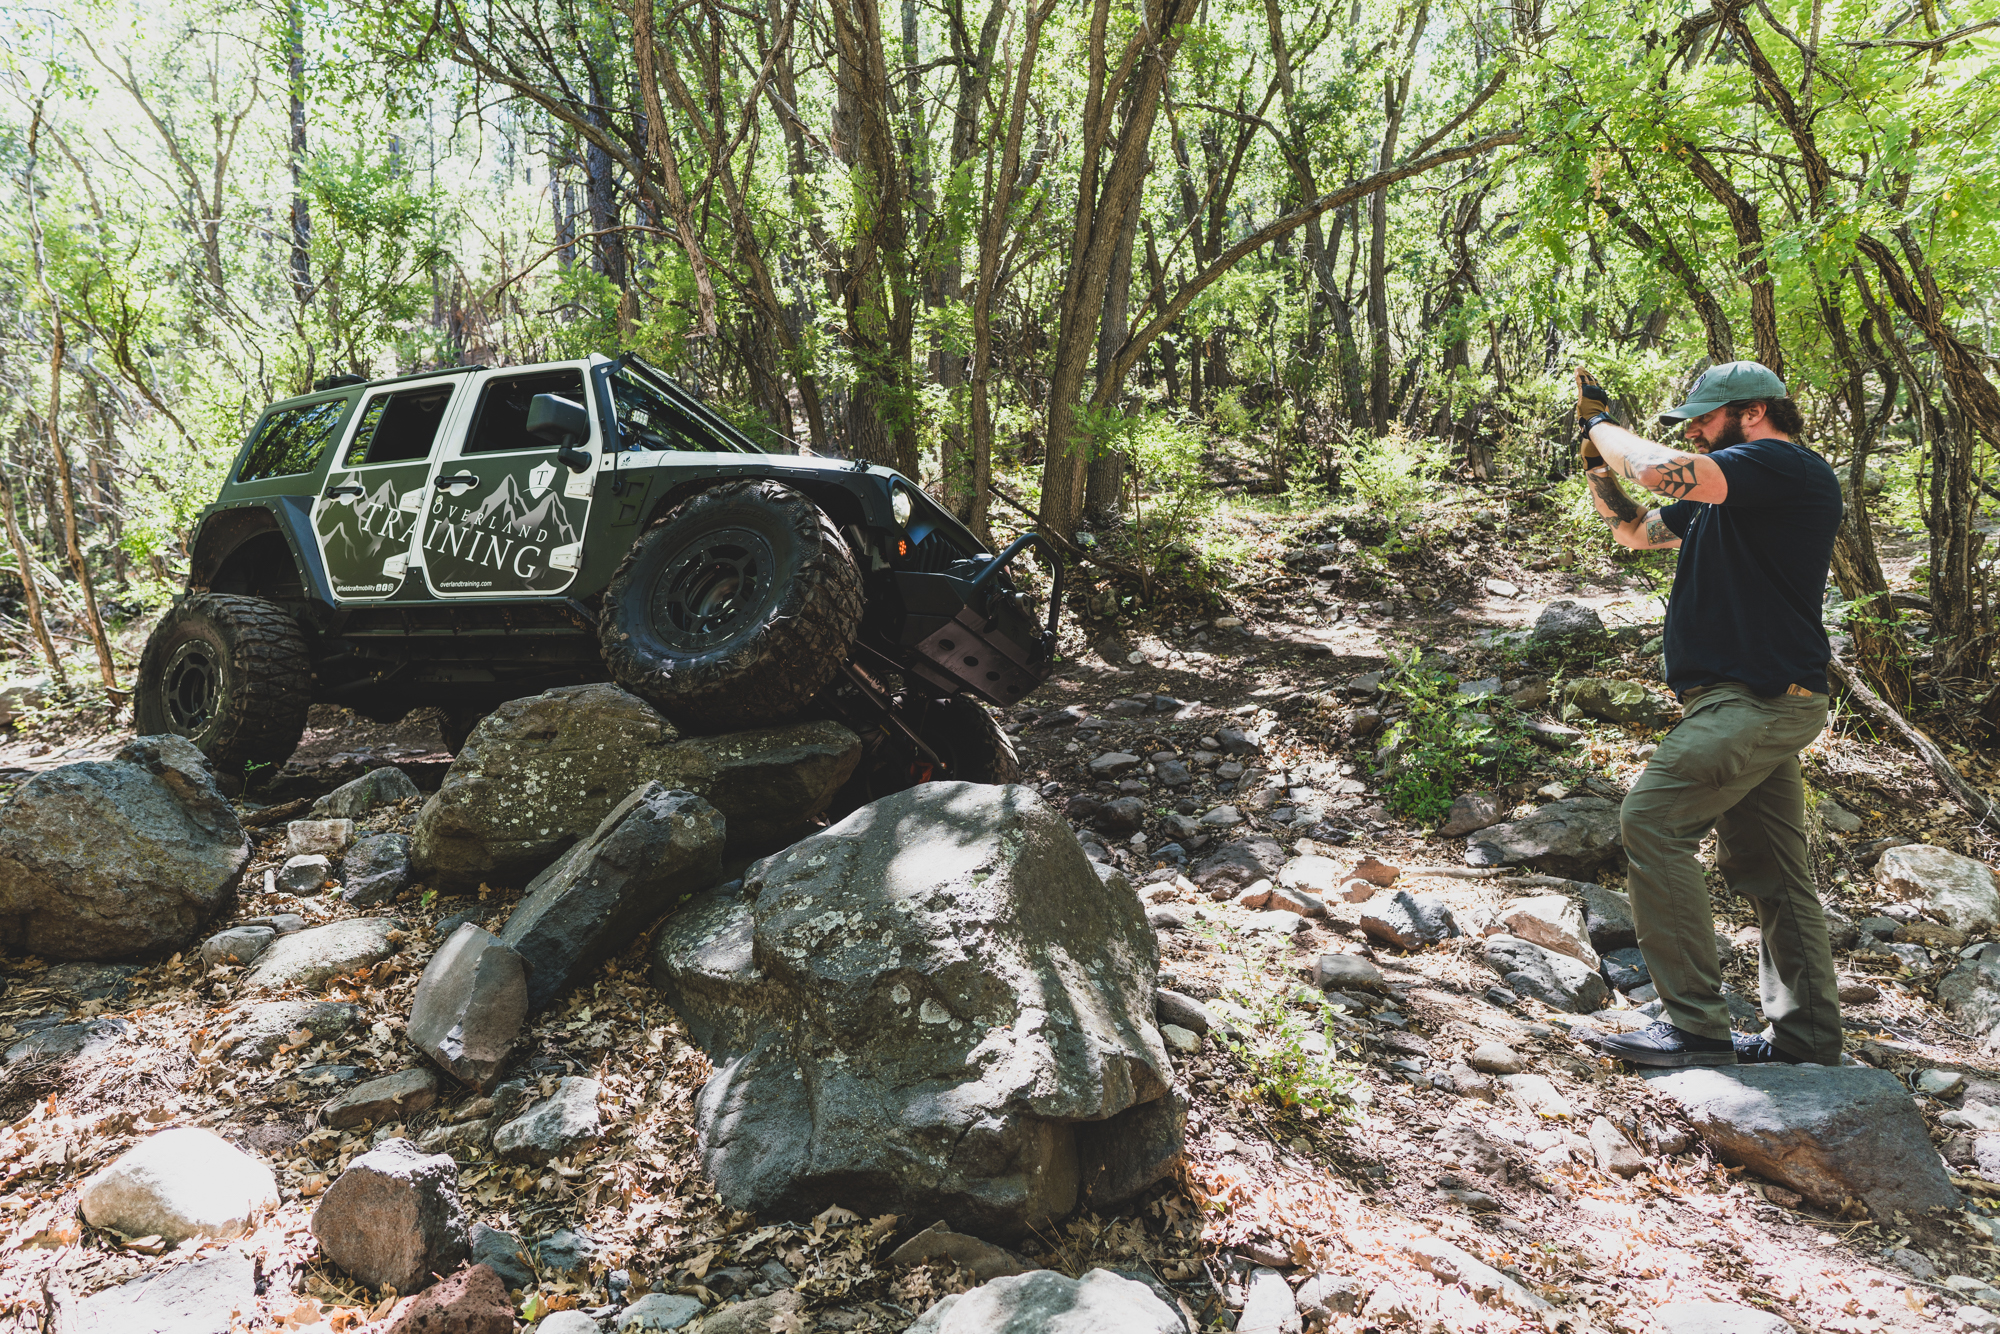
Articulation on display, which serves to improve vehicle stability and driver confidence through the obstacle. With more tires in contact with the trail, it improves tractive performance and overall balance.
Lastly, we discussed the advantages and disadvantages of unique tread patterns and different tire brands. While mud tires certainly look adventurous, they are actually a hindrance in dry conditions, reducing fuel economy when on the road, but also limiting performance in the sand as most passenger 4WDs do not have the horsepower to create sufficient displacement of silica like a sand rail or other high horsepower to weight ratio vehicle can. More specifically, a “dune buggy” with paddle tires can actually spin the wheels so quickly that the weight of the material (i.e. sand) being displaced exceeds the weight and resistance of the vehicle, resulting in thrust much like a jet… Impressive stuff, but not typically feasible with a standard 4WD. As a result, a mild all-terrain actually works better in the dunes, as it is less likely to disturb the silica-to-silica keying that helps prevent digging and possibly getting stuck. After our lengthy tire conversation, we shifted to recovery gear.
Driver Ergomonics
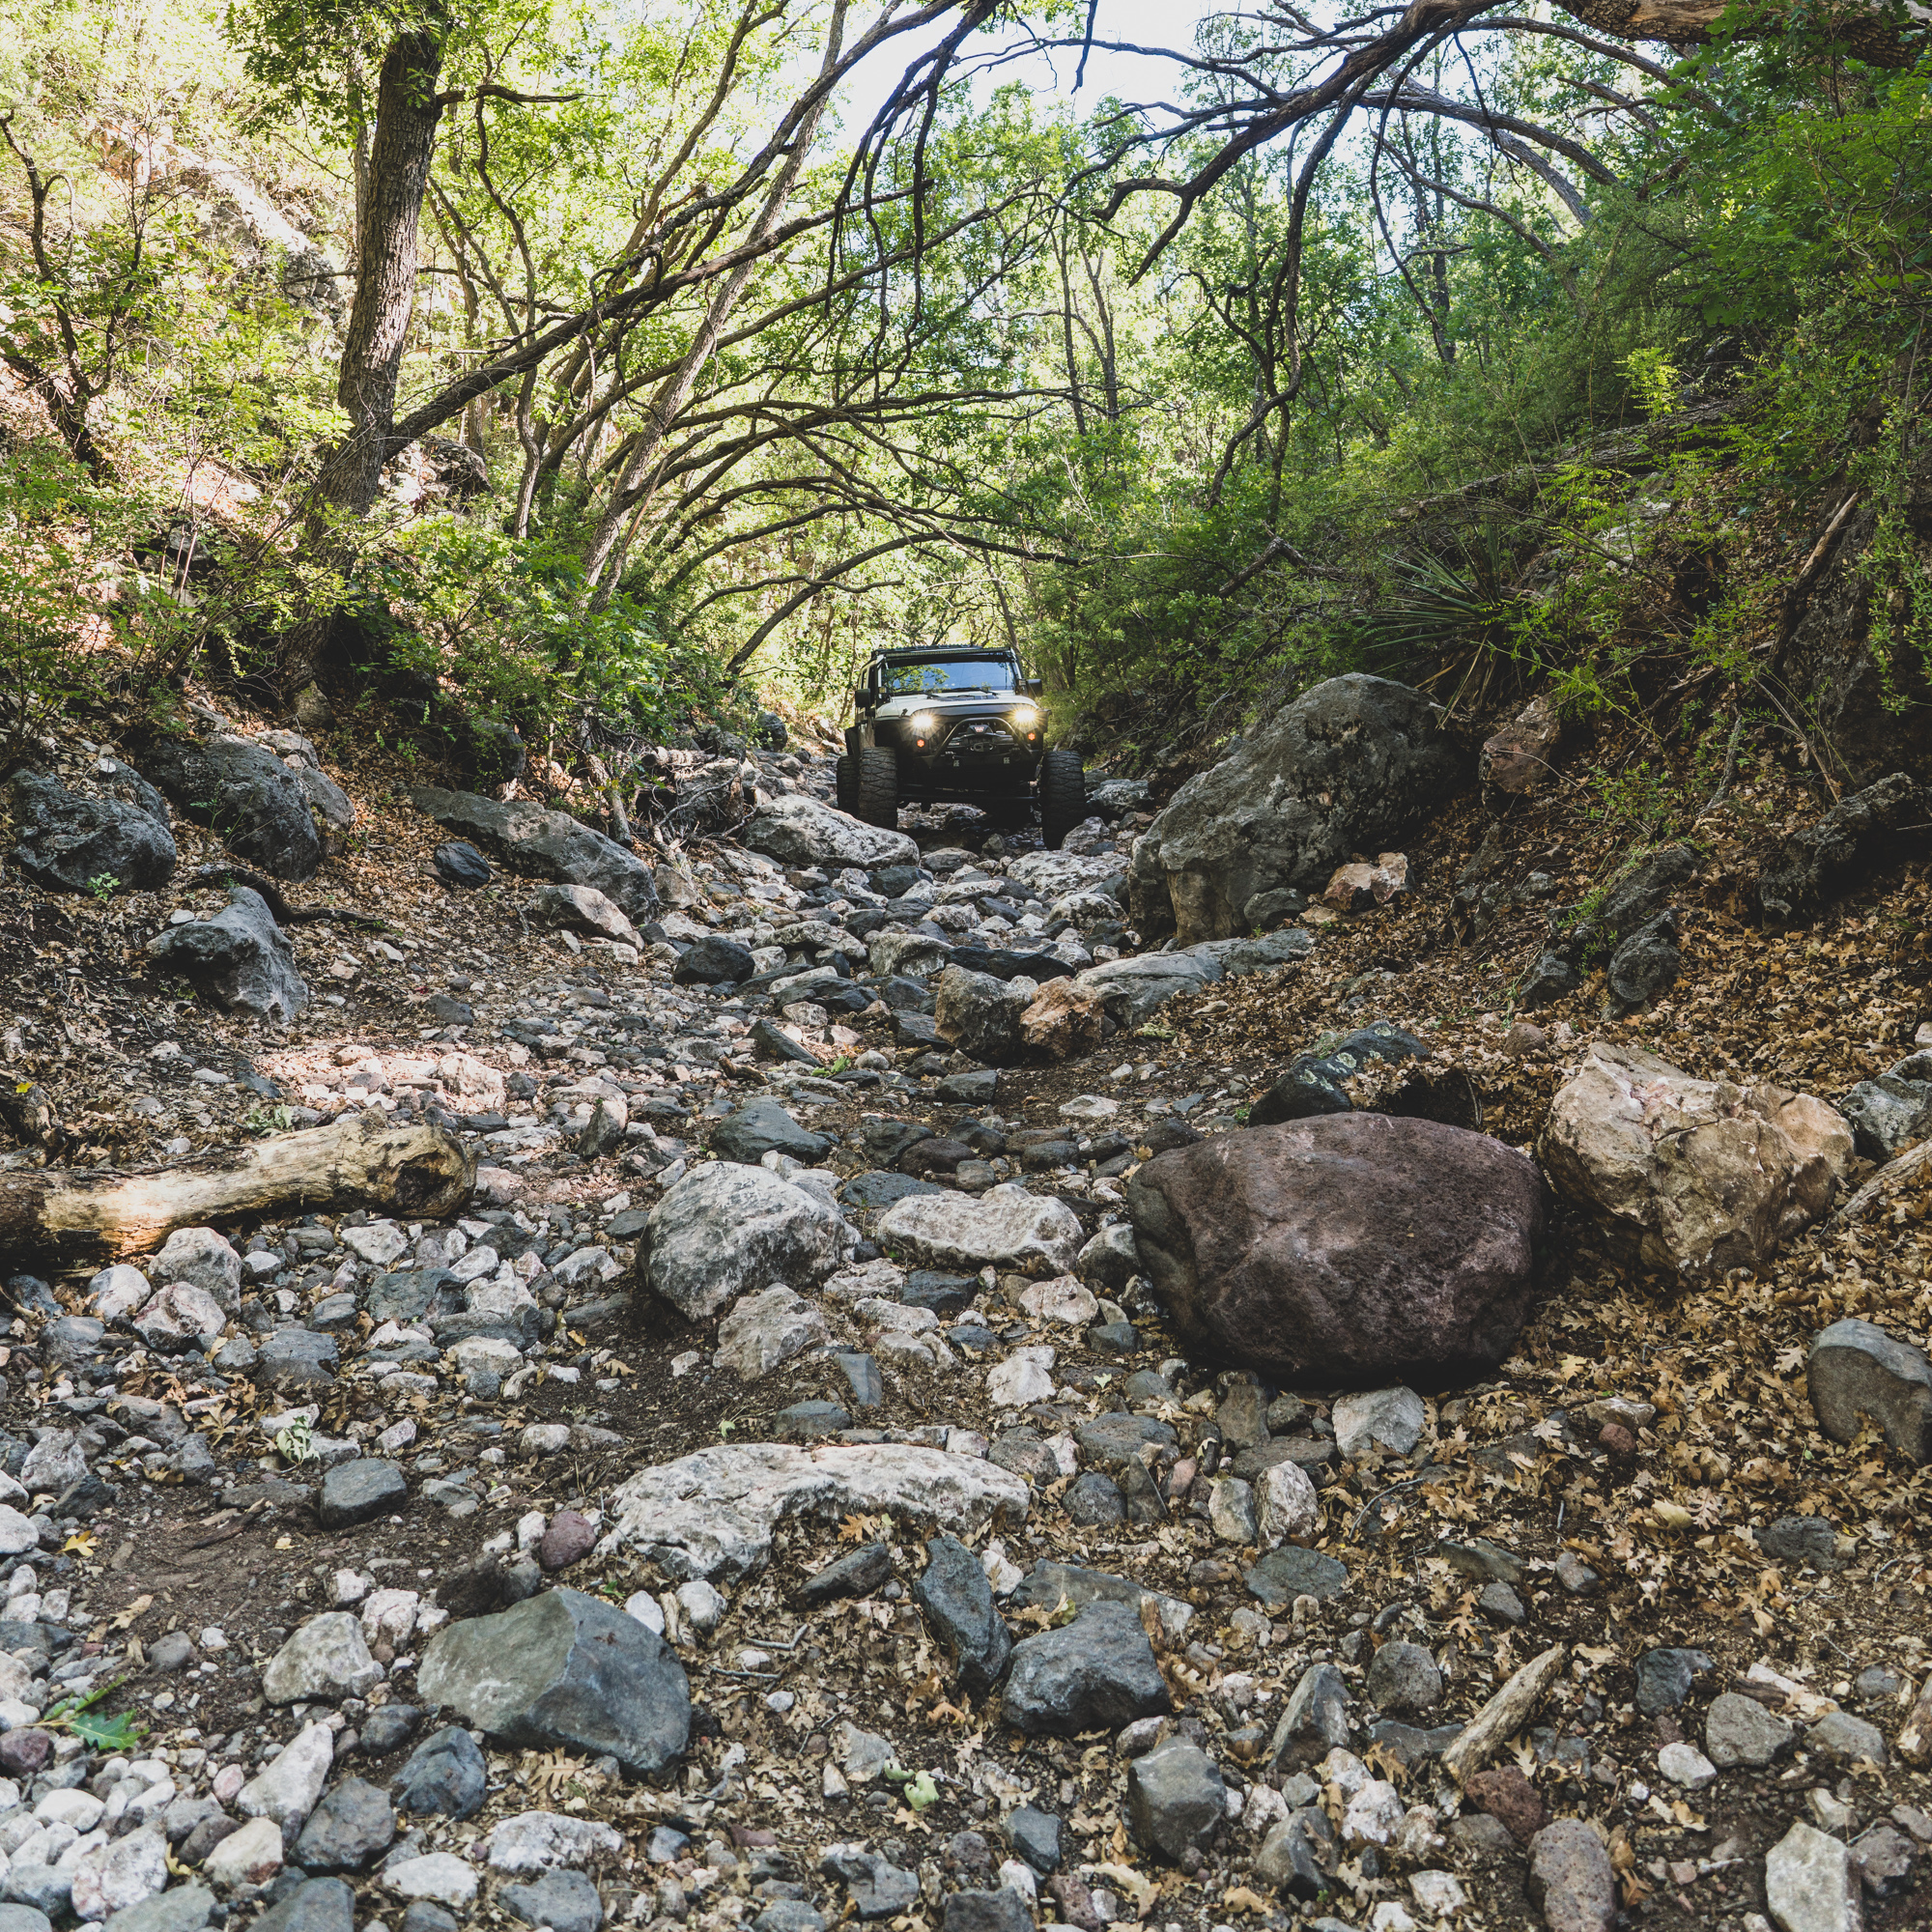
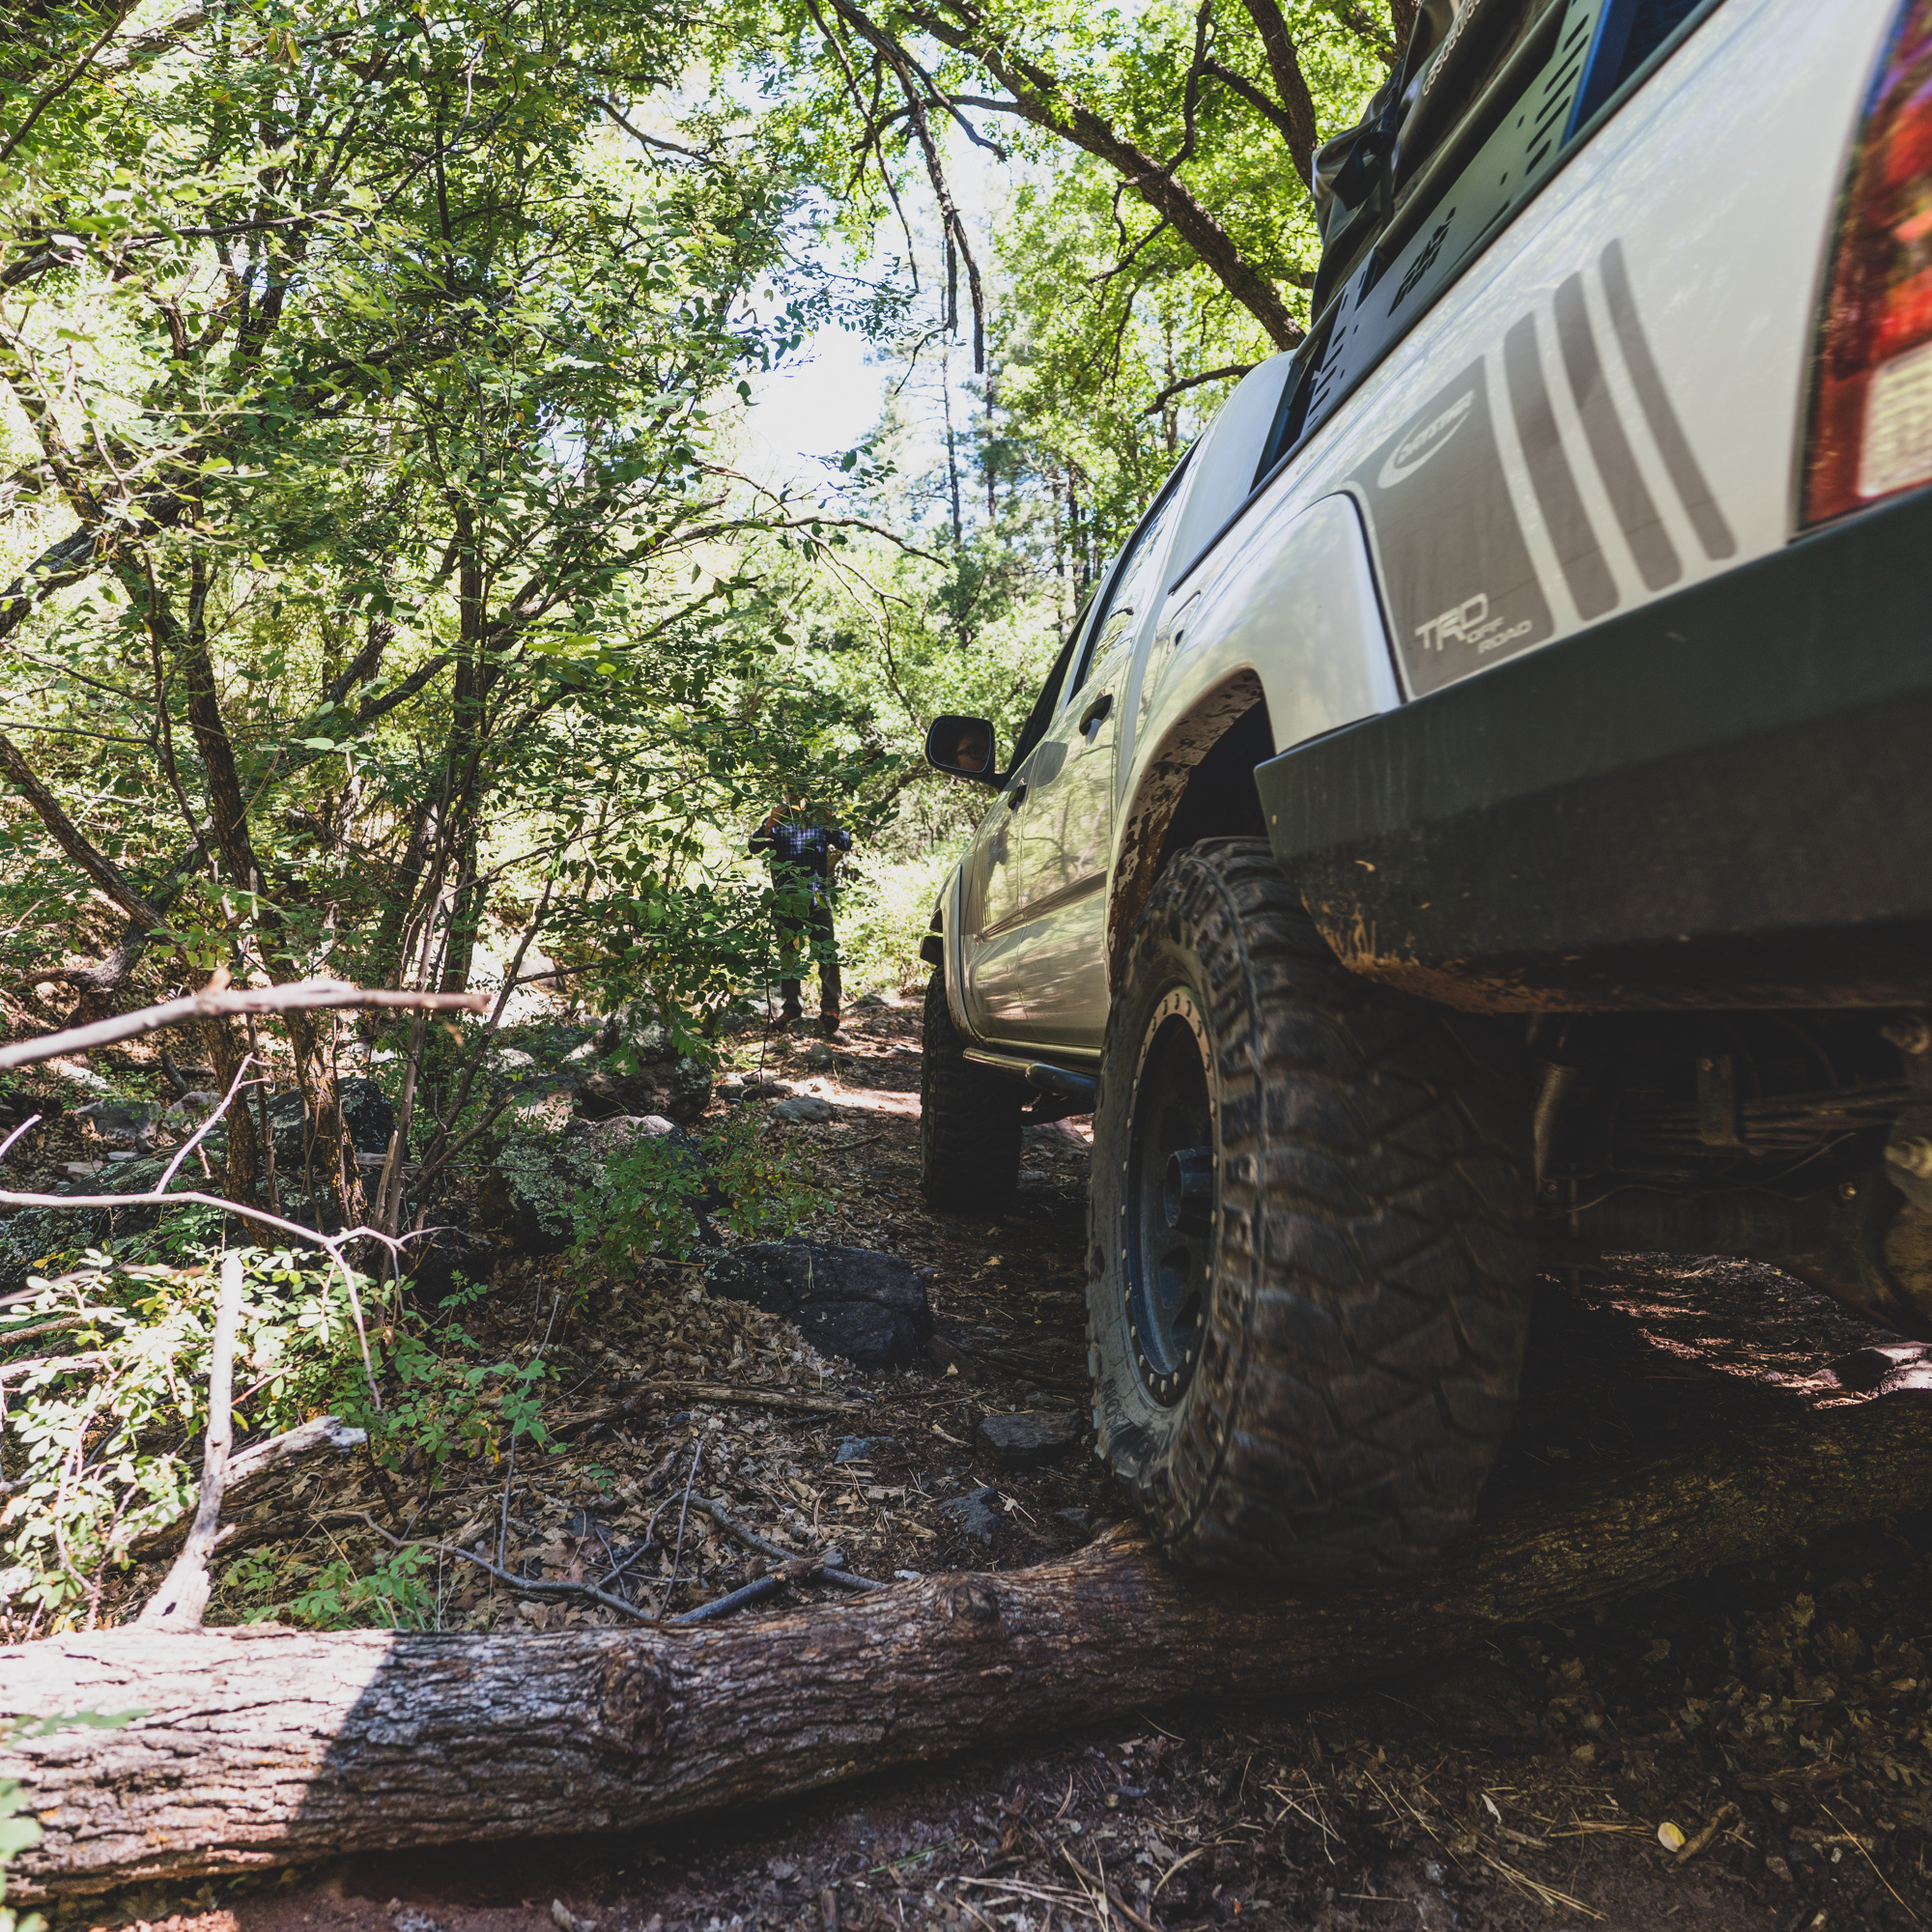
For additional training in the field, our team headed out to the mountains near Prescott to drive one of the more difficult trails in the area and begin testing our knowledge of driver ergonomics and mechanics. This focused on seating position, foot positioning, and the hand position on the wheel. This can be as elemental as not wrapping your thumbs around the wheel at low to moderate speeds, or anchoring our heel and ankle to the floorboard to improve throttle control and modulation. It is also about improving visibility and understanding methods to become more familiar with the dimension of our vehicle and where the tires and corners of the 4WD are in reference to obstacles.
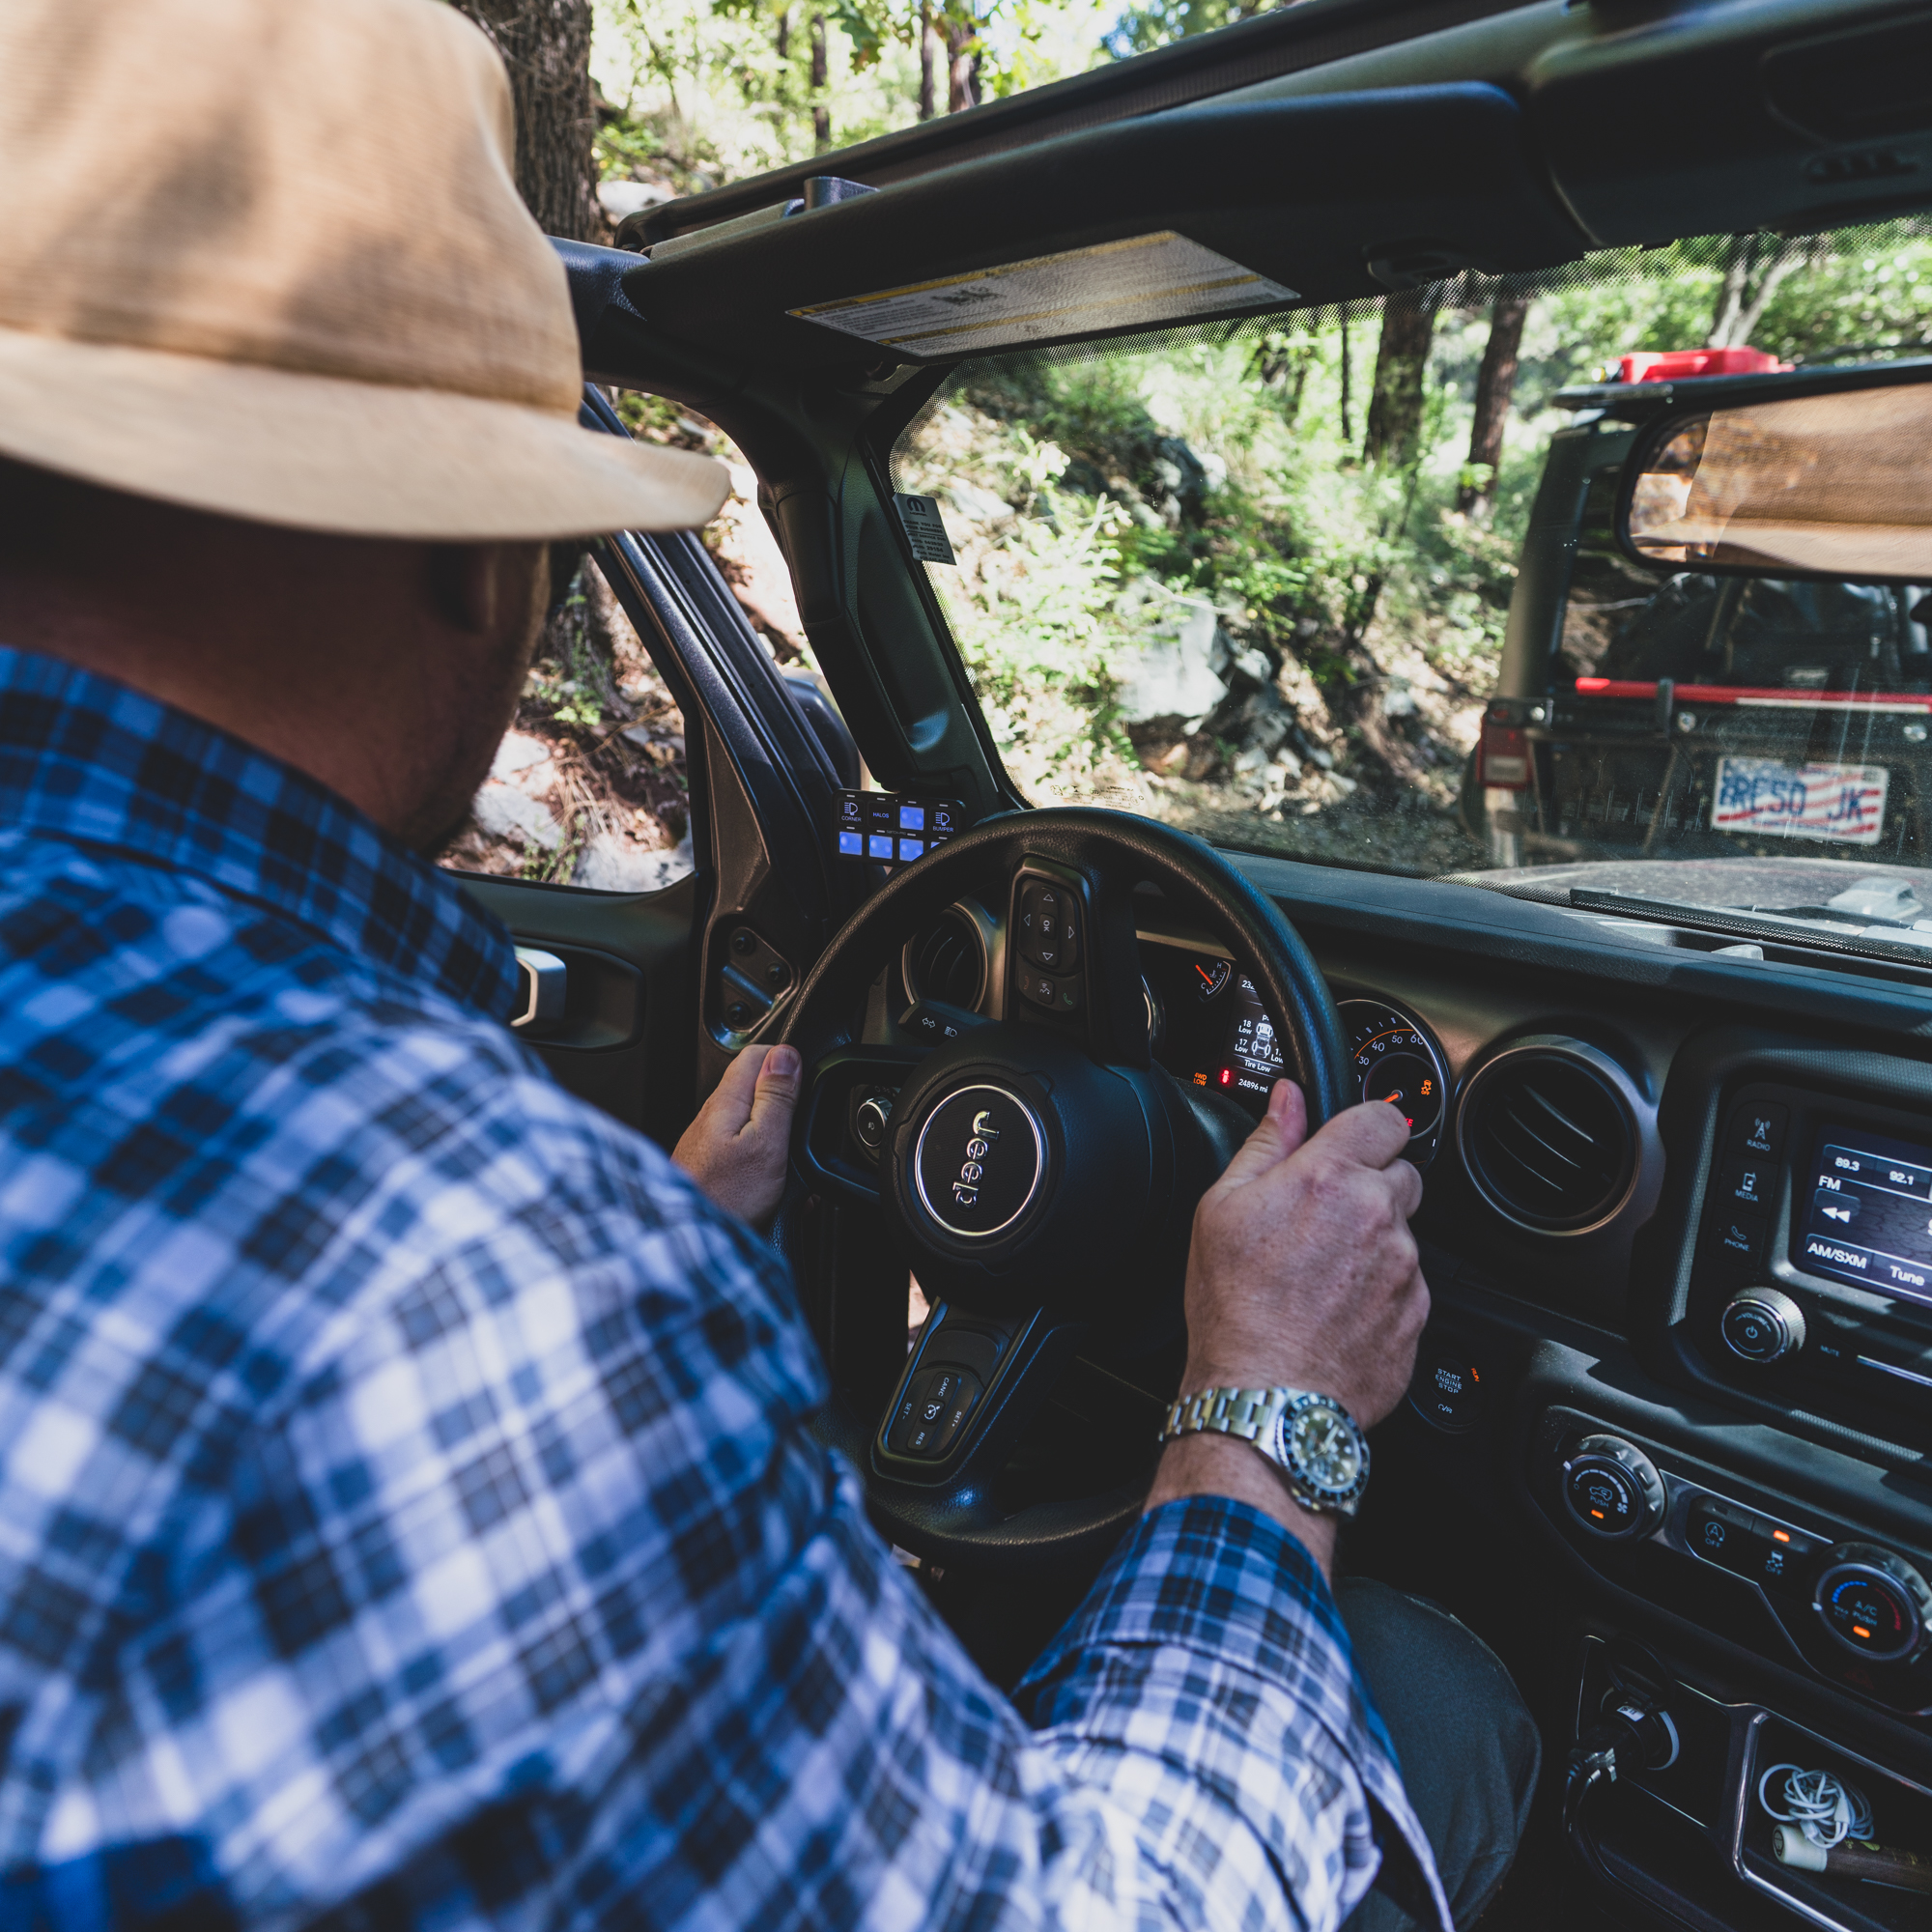
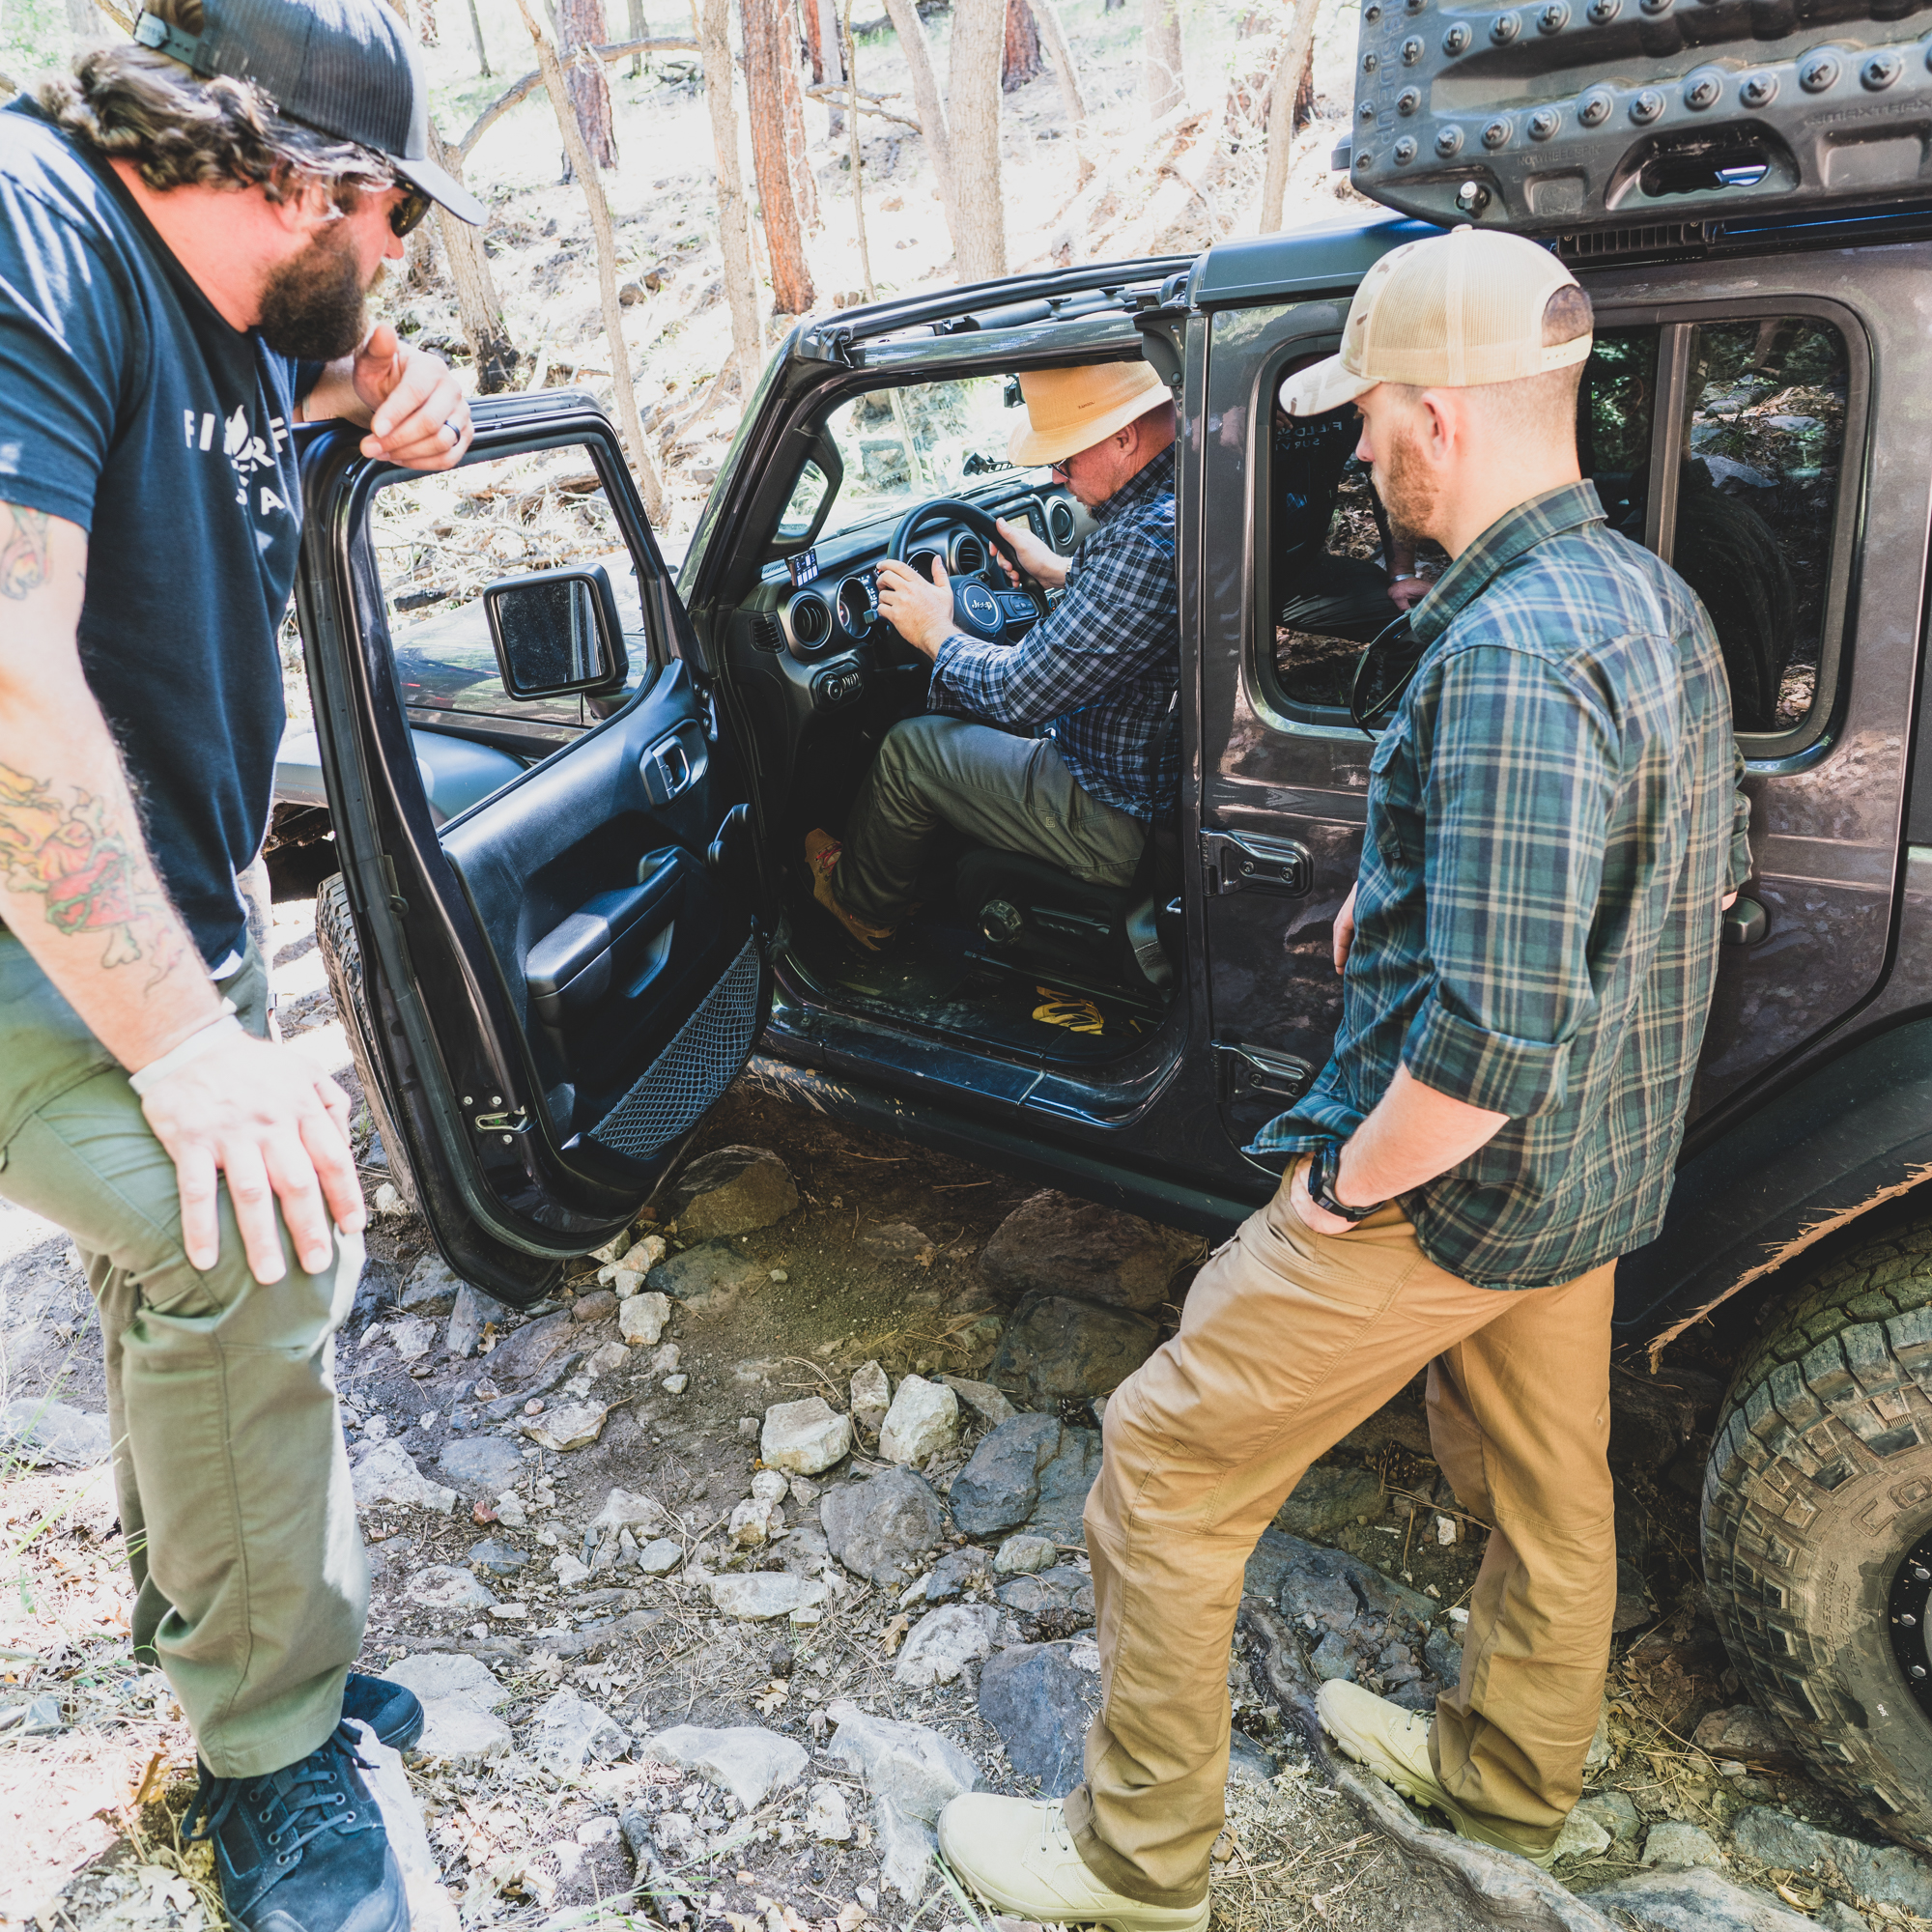
We discussed hand position, anchoring, foot positioning, and adjusting the seat height (for view).
Recovery
Unfortunately, there is a stigma around getting stuck, and people tend to avoid it like the plague. Certainly, there are times we don’t want to get stuck, like with a rising tide, but otherwise, I see it as part of the fun, and a necessary way to keep those skills fresh. Recovery is chess, while big tires and attacking the terrain is more like tic-tac-toe. However, vehicle-to-vehicle and self-recovery are both fairly advanced skills and should have some training before hitting the trails.
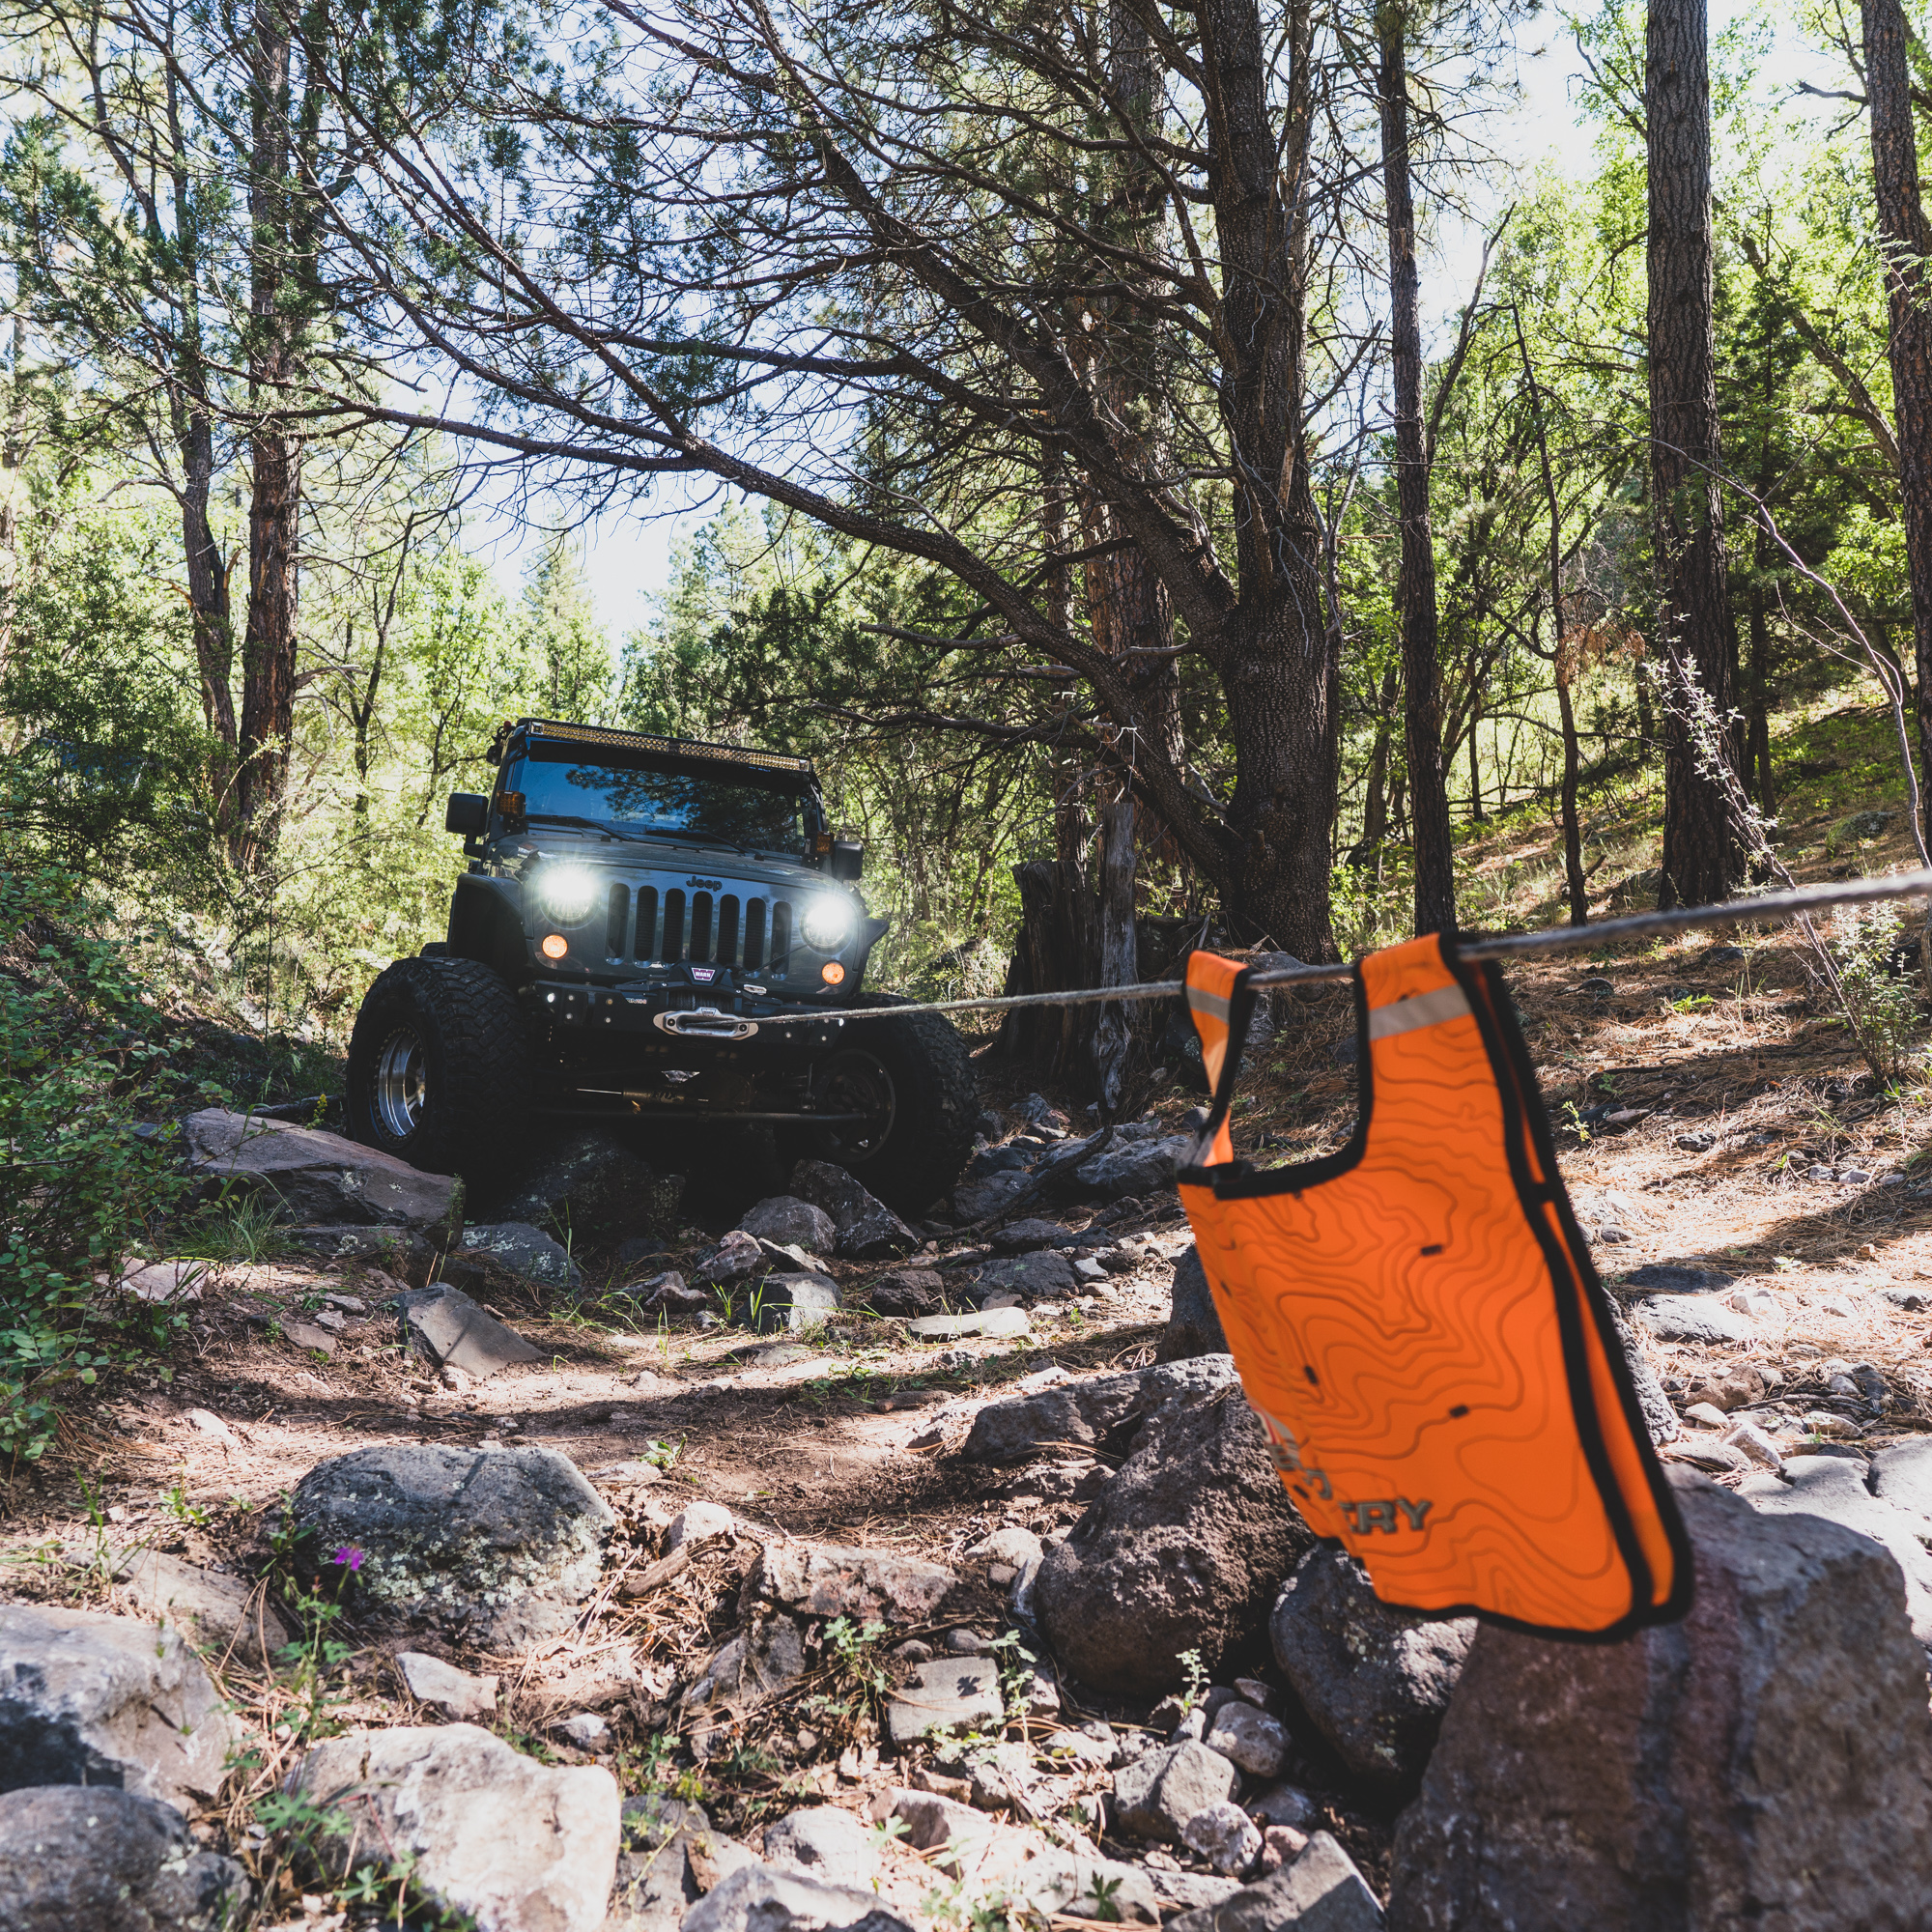
Note: This image was taken with a zoom lens to ensure photographer safety. Note the line damper (sail).
Most important, vehicle recovery requires a change in mindset, with an emphasis on slowing down, calming our nerves, and assessing the situation. I can always tell how anxious someone is by how they take input from others on the team. Someone that is calm and collected can receive suggestions, process options, and determine a safe path forward.
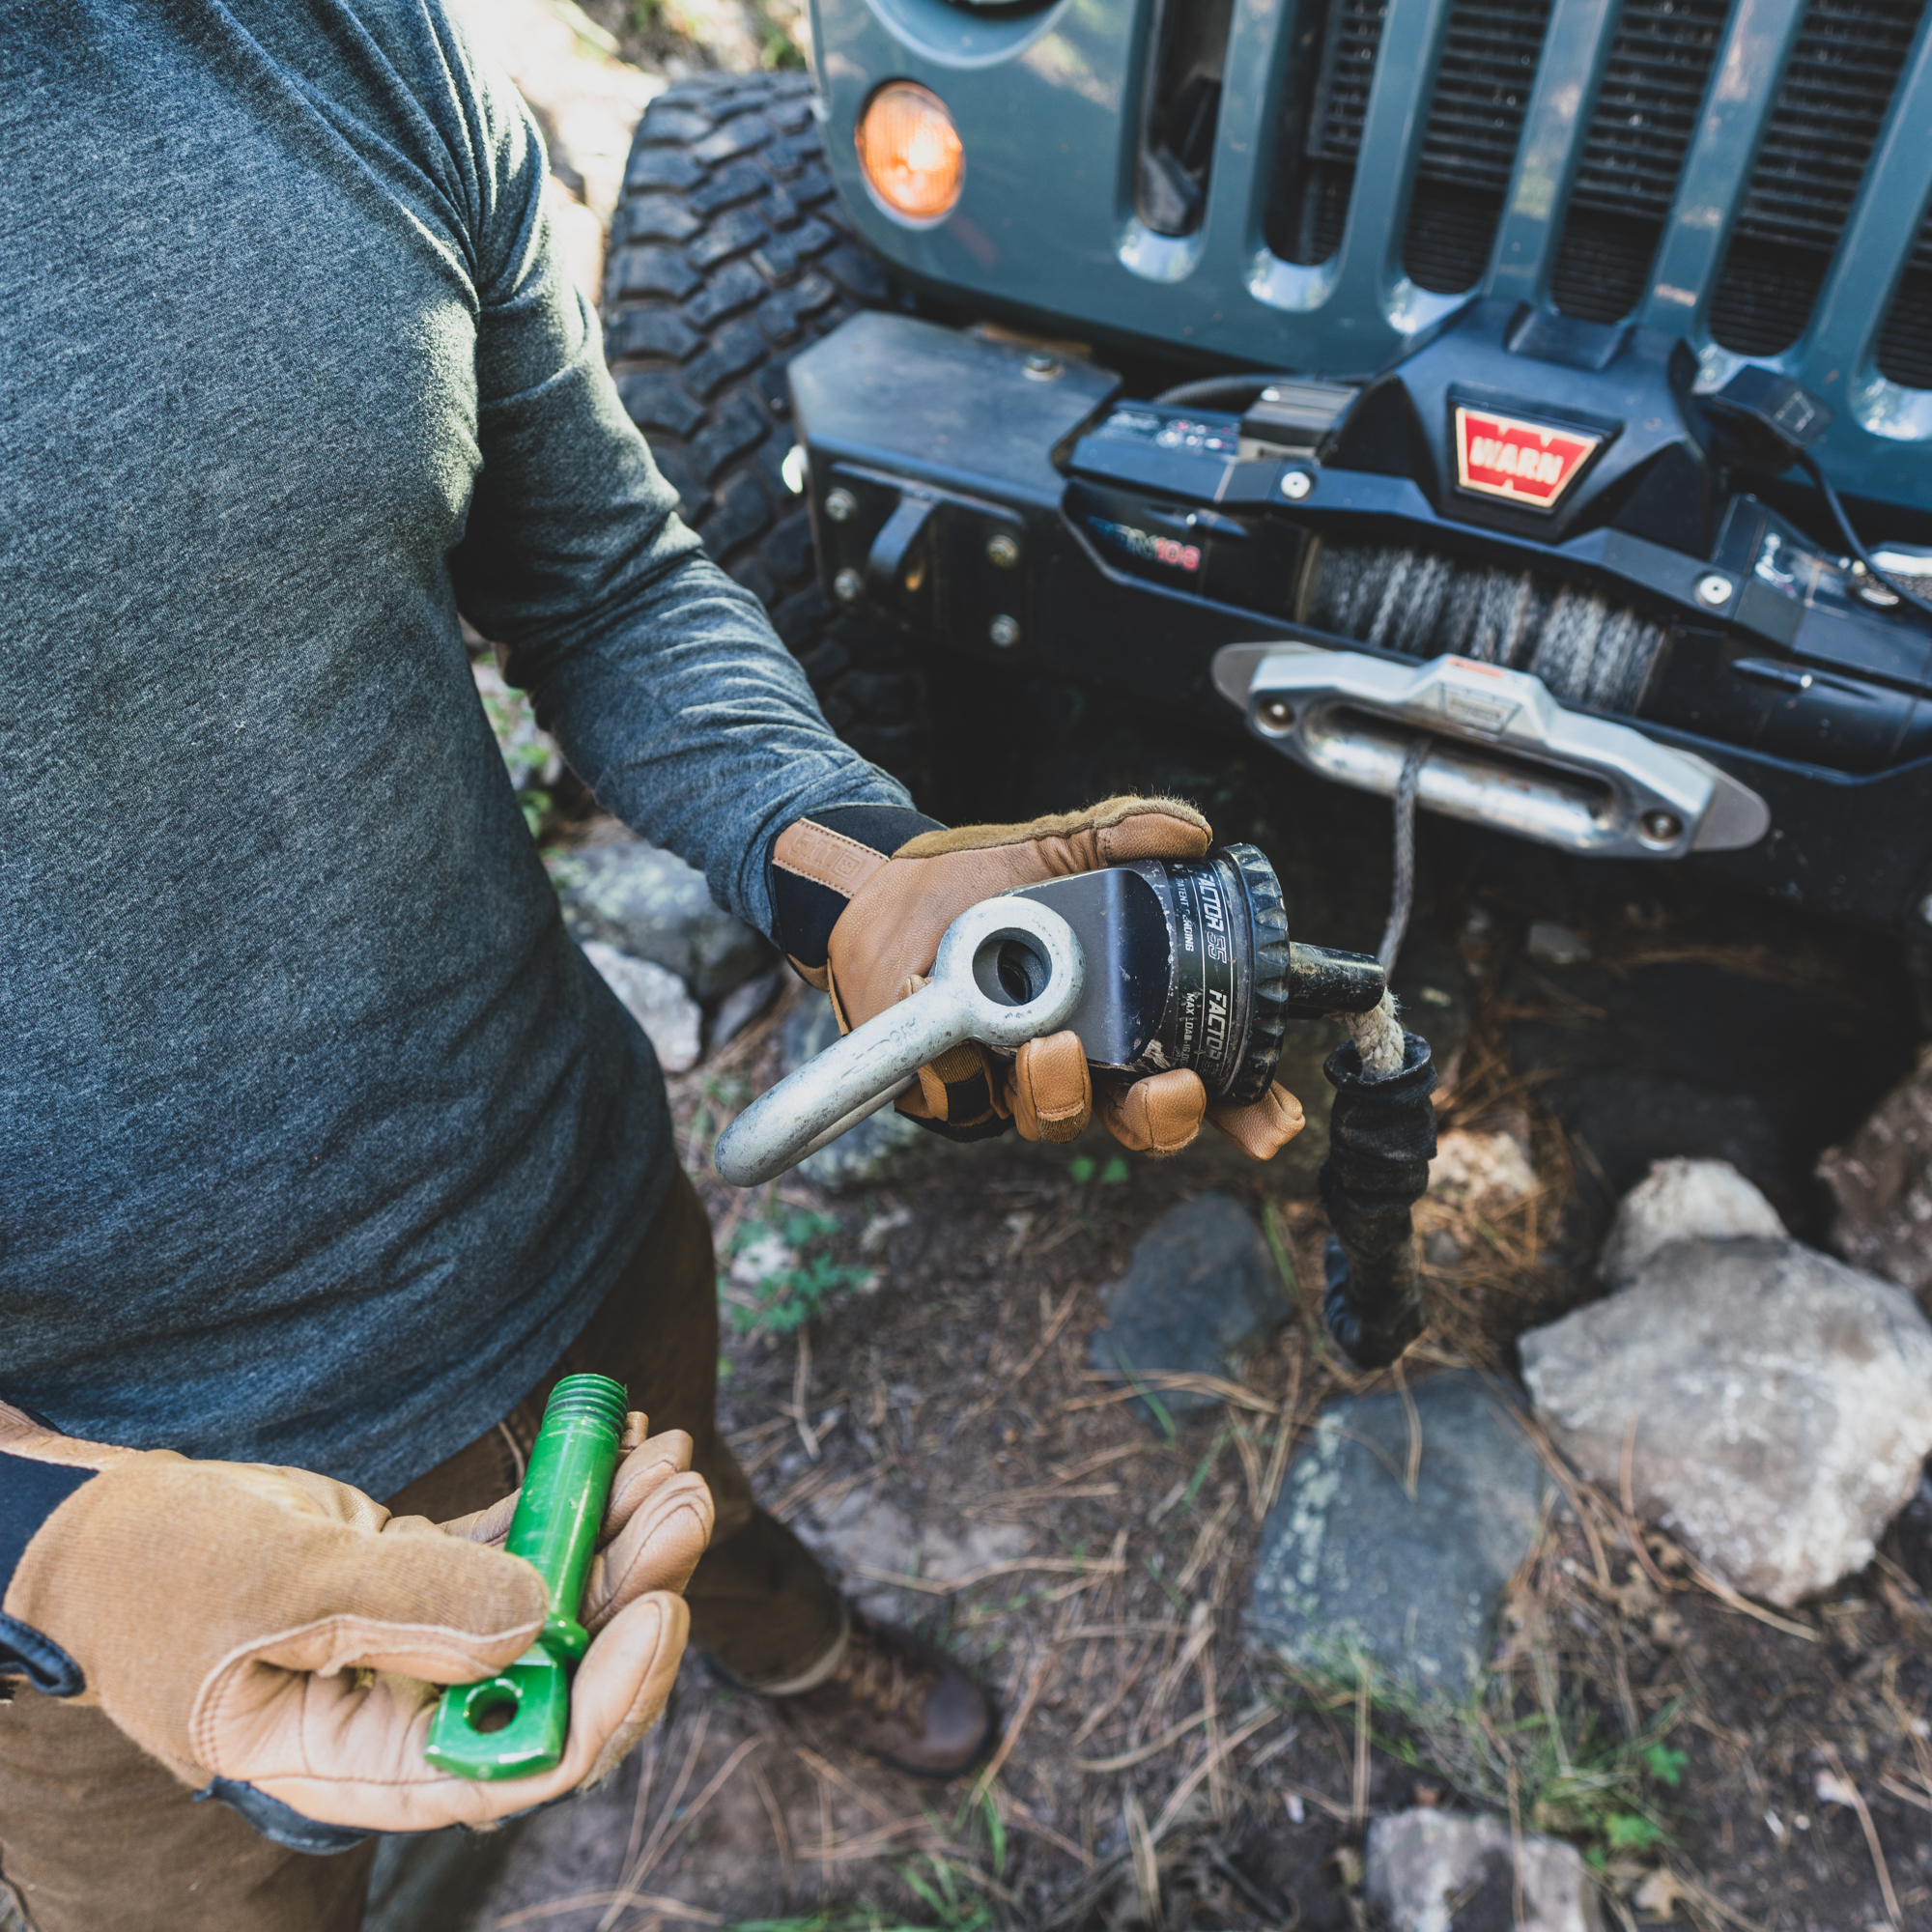
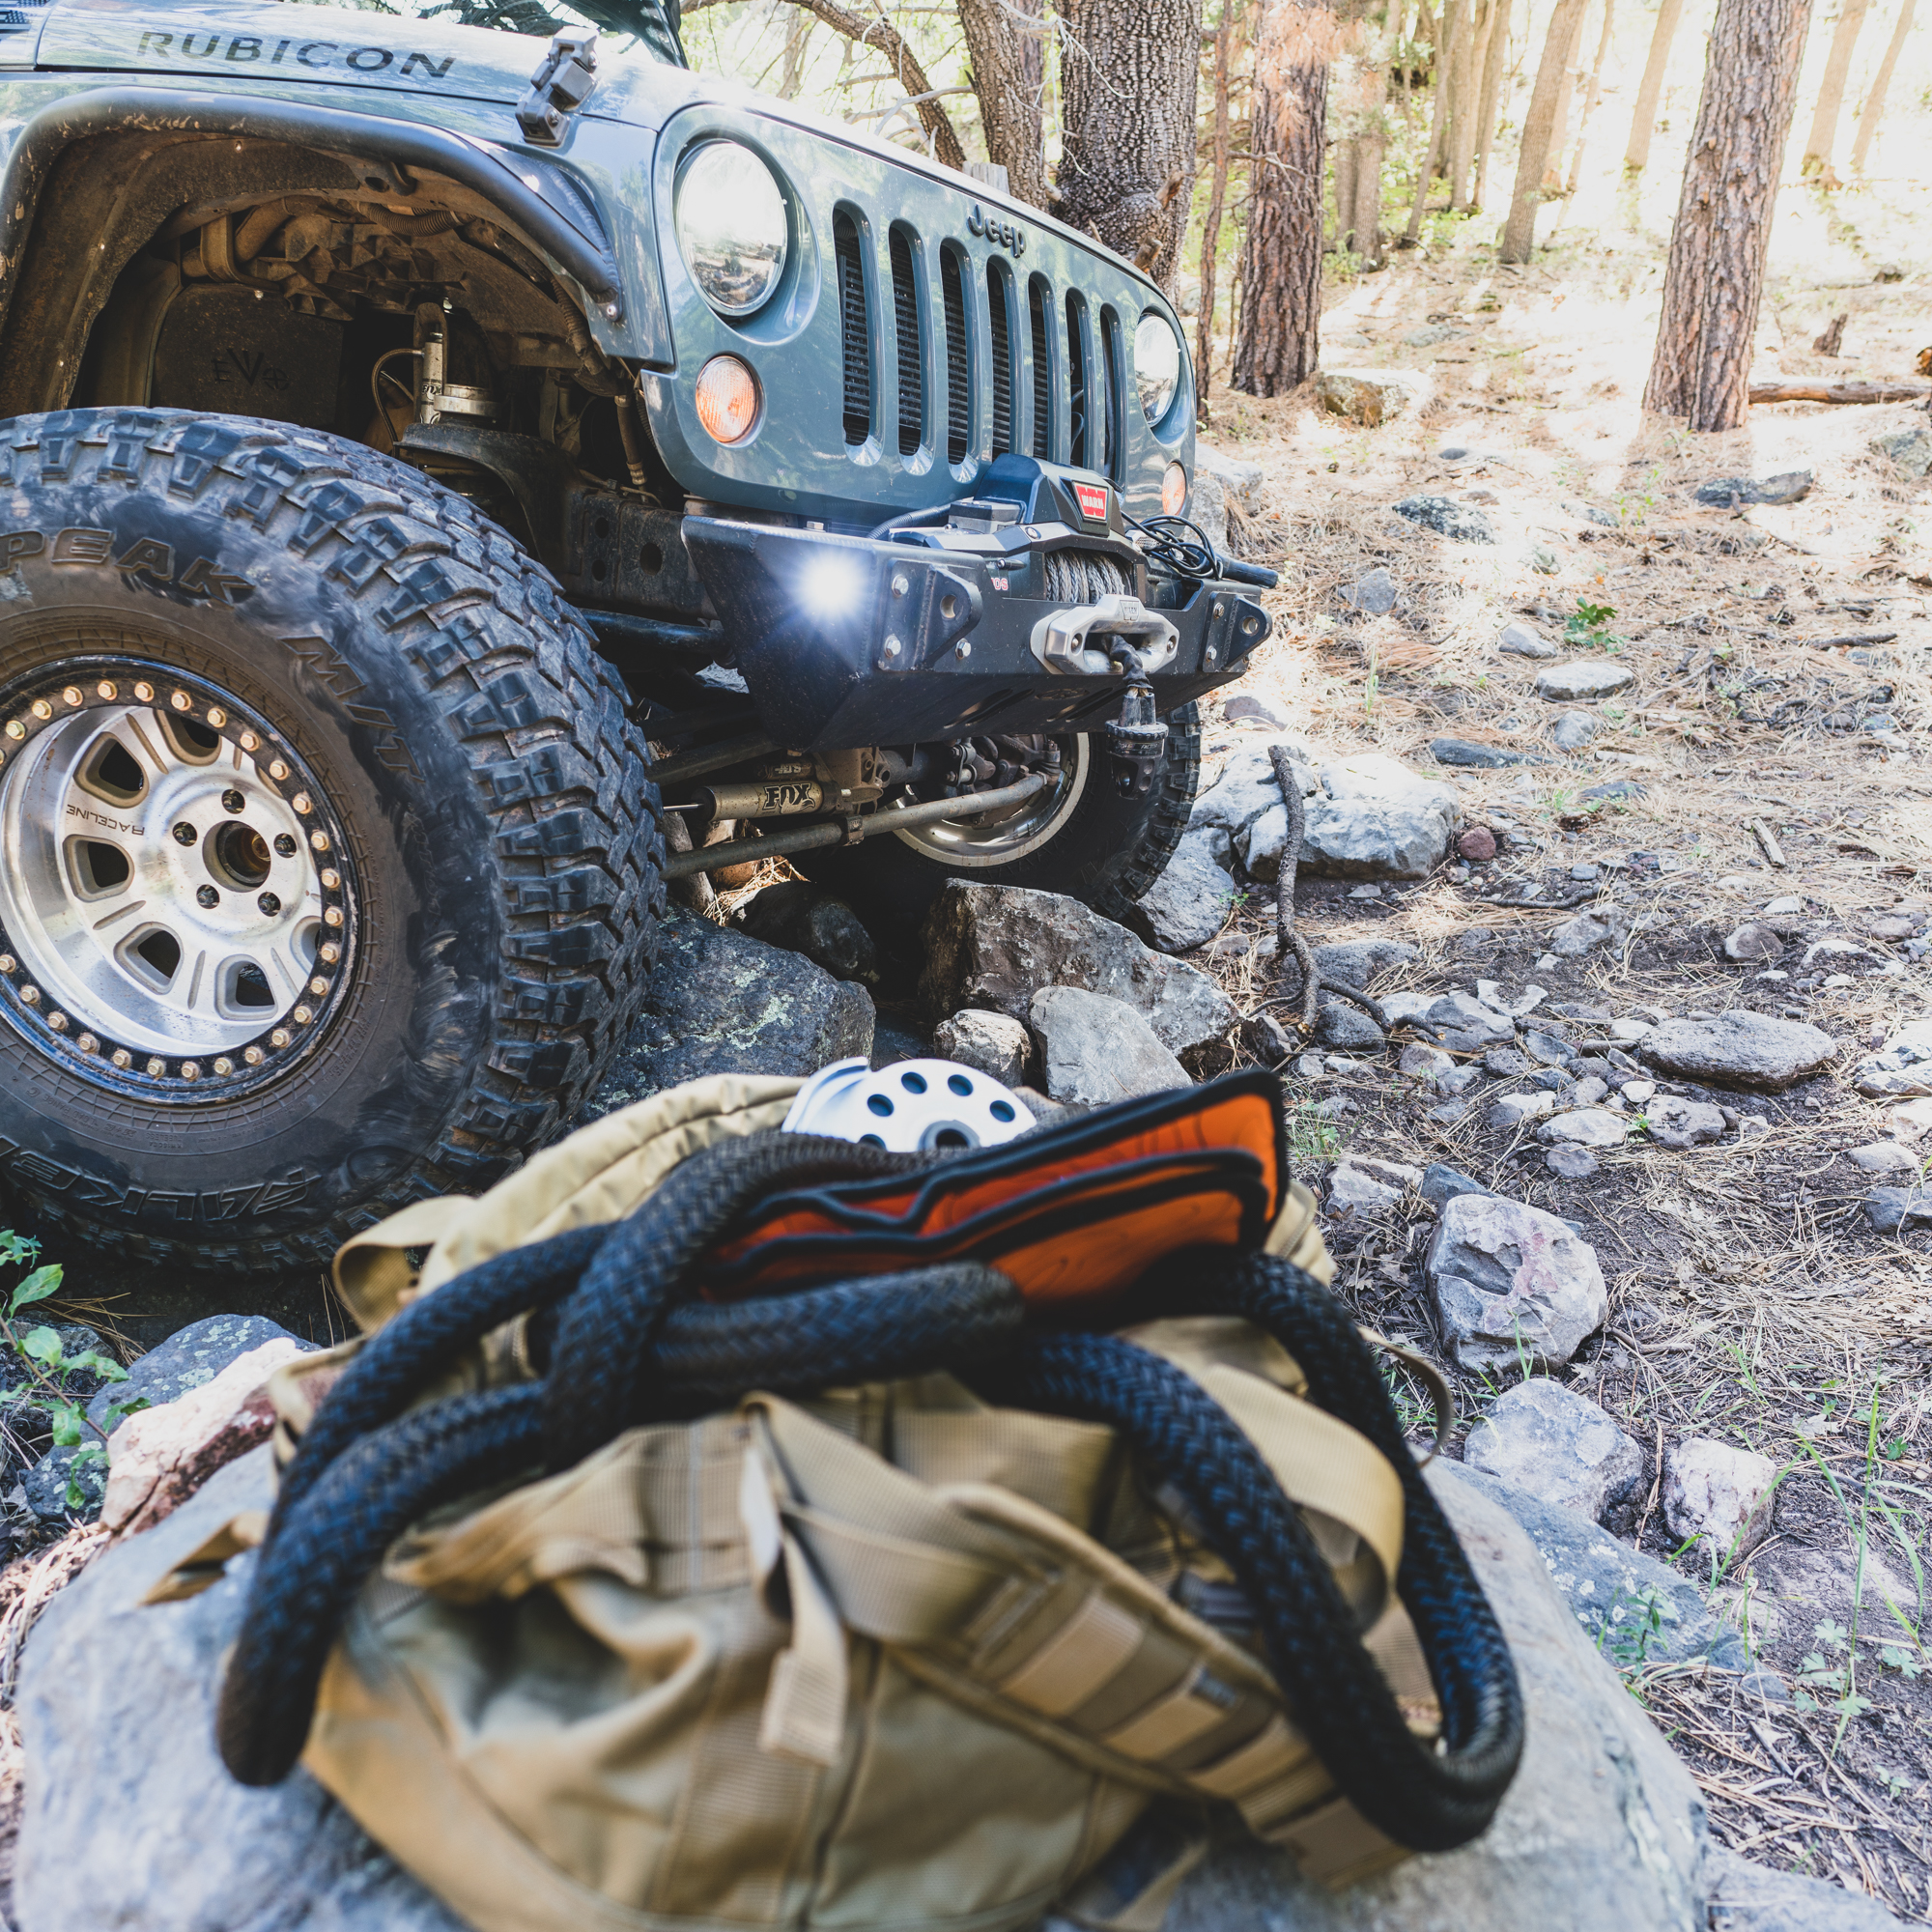
Good equipment makes all the difference, like these Van Beest green pin shackles, ARB pulley block, a nylon KERR, etc.
The Jeeps we had along for the route were exceptionally capable, which required testing them on some of the optional lines through the canyon. This finally gave the chance to pull cable and work as a team to discuss and then implement a safe recovery using the vehicle-mounted 12 volt winch. We discussed the advantages and disadvantages of soft shackles, particularly with relationship to sharp edges and tight metal radiuses. This is why it is still so important to include screw-pin C shackles in a kit, as one never knows the method of rigging that might be required.
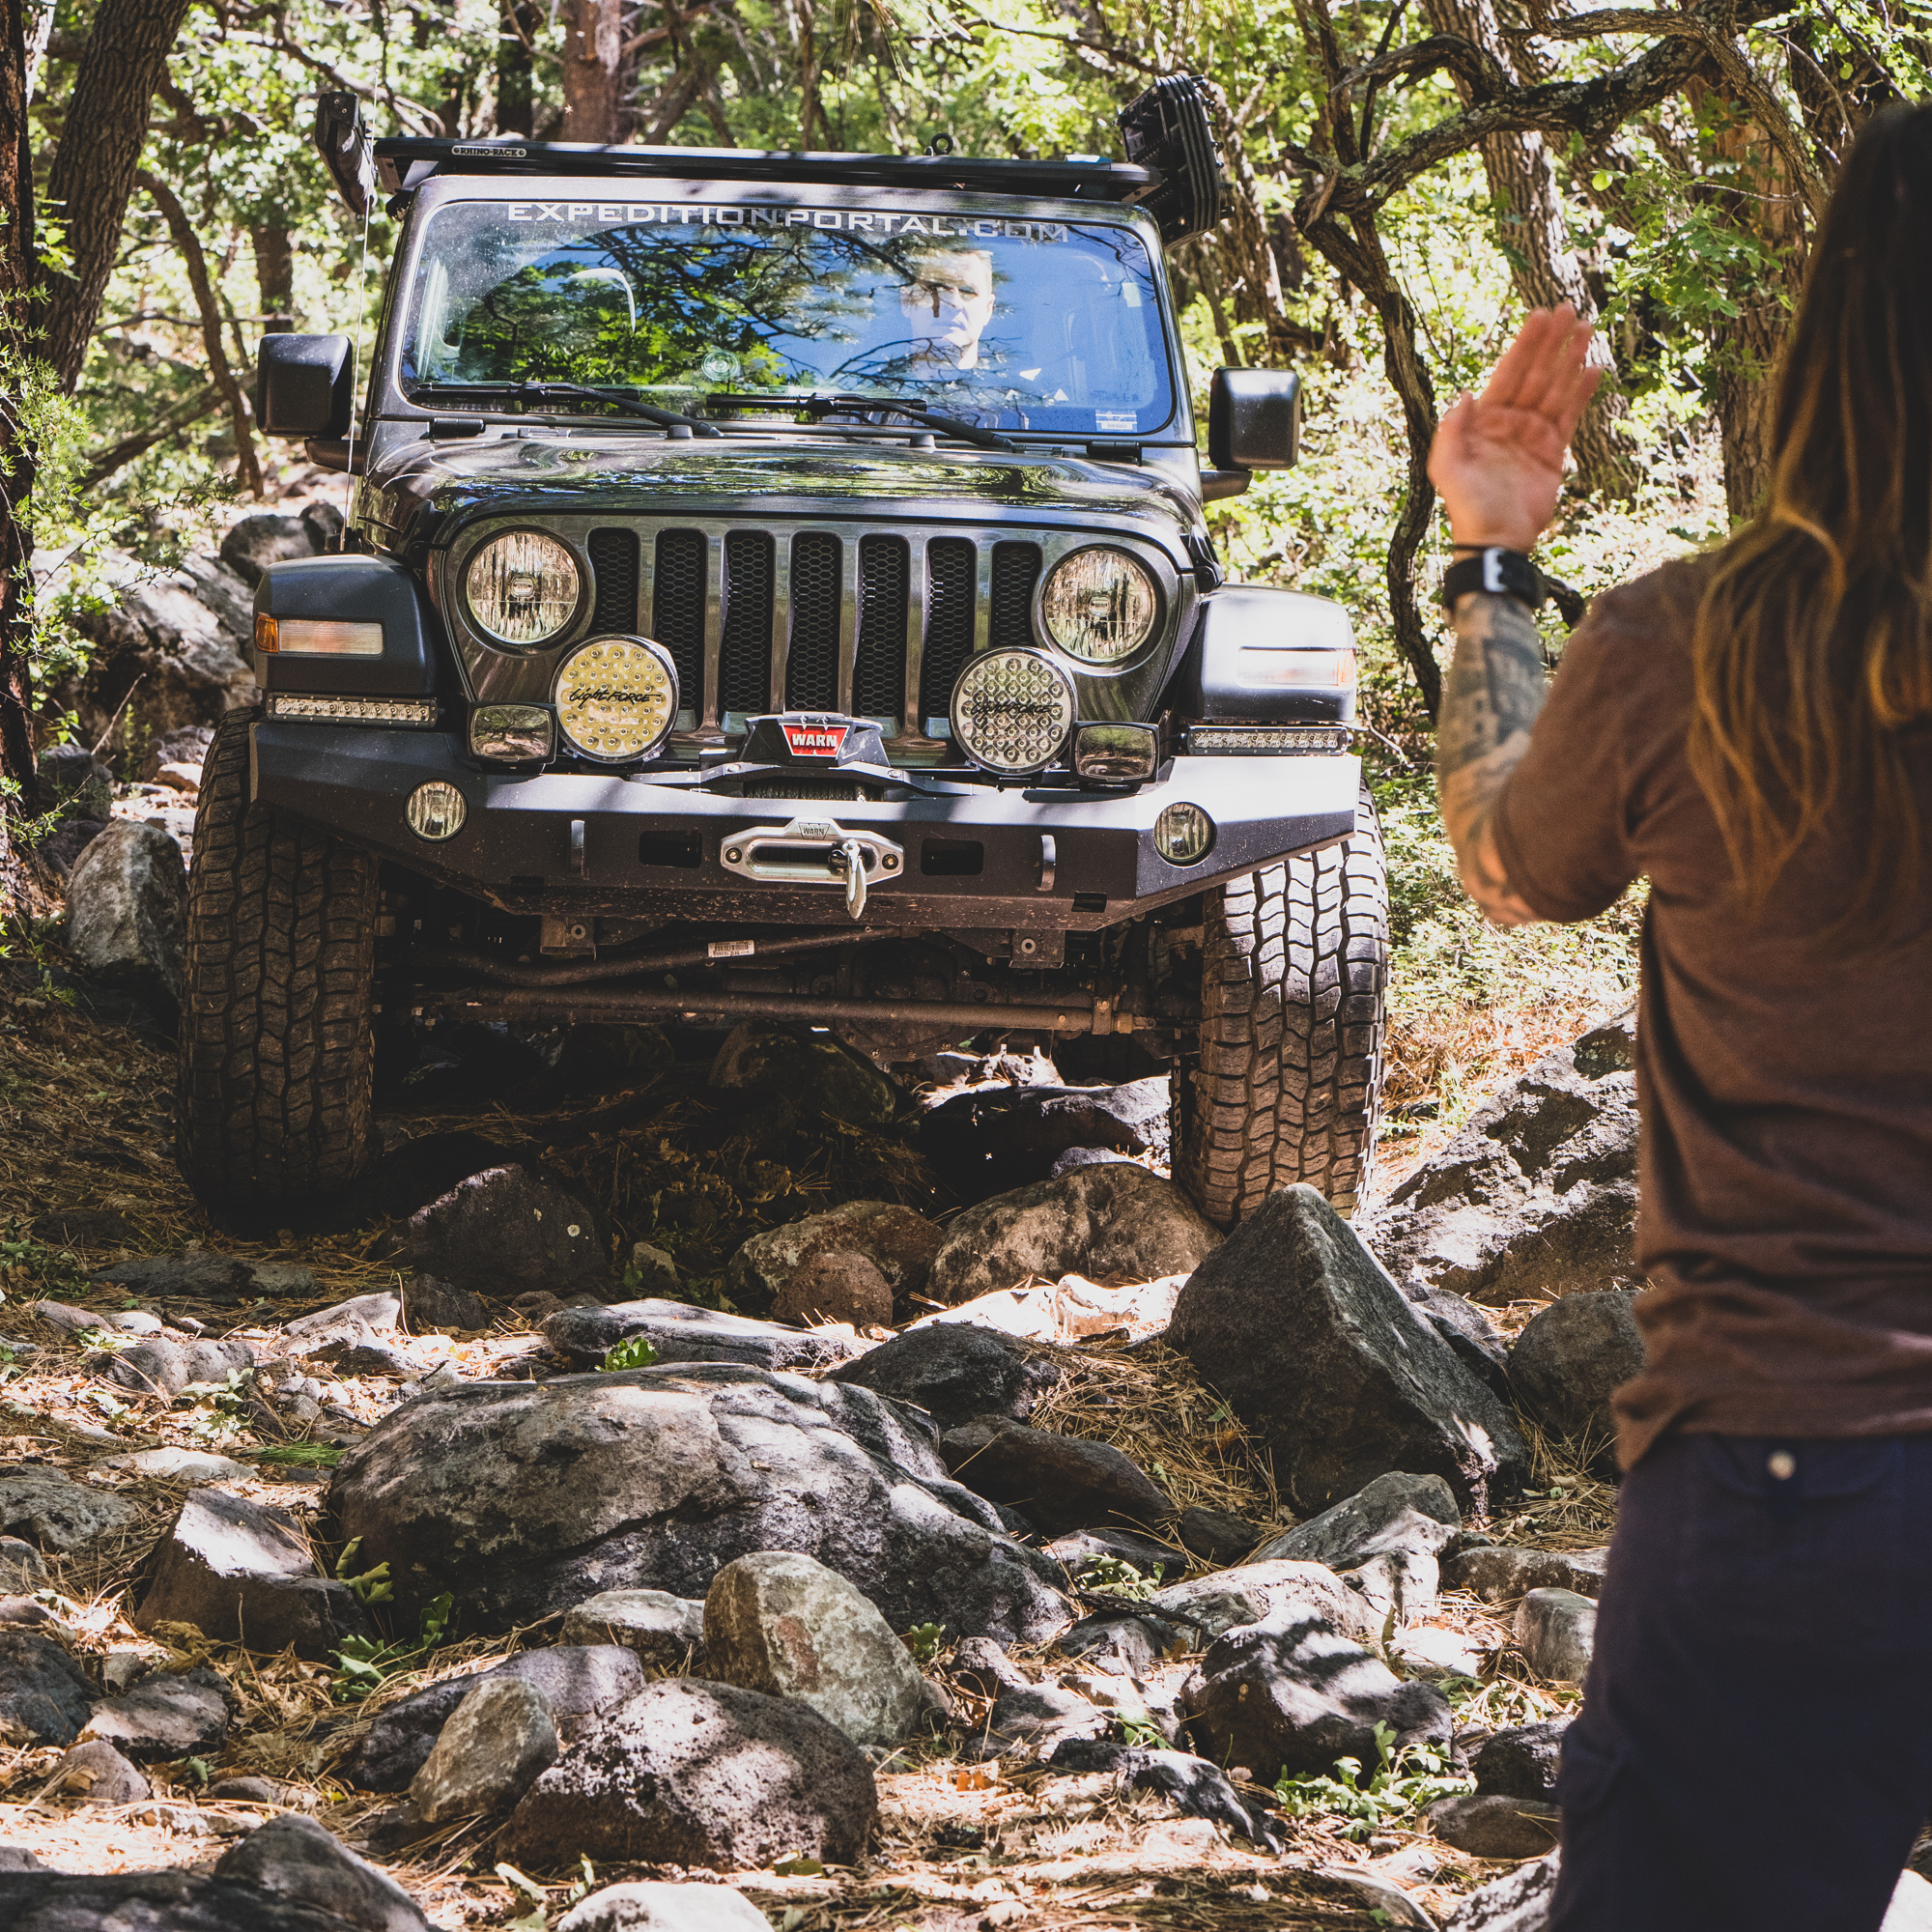
Additionally, students for the course worked on proper spotting technique, with clear hand signals and verbal reinforcement.
Overall, the day with friends was educational and fun, the chance to watch highly modified JKs clear optional obstacles, and a near-stock Tacoma and JL Wrangler successfully complete the trail too. The next time you go out on an adventure, toss in a random scenario that everyone needs to fix together. It could be plugging a tire, or reseating a bead, or rigging a complex winch tasks. Keeping our skills sharp ensures they are available when we need them most.

Note: Special thanks to 5.11 clothing for their support of this 36 Hours of Adventure.
_______________________________
About 5.11
Built on a foundation of durability, quality and value, 5.11 Tactical
leads the industry in delivering functionally innovative gear, head to toe.
Here is a list of some of the 5.11 gear we used during the training:
Rush LBD Mike 40L Duffle
Rush LBD Mike 56L Duffle
Amp72 Backpack 40L
Dart24 Pack 30L
Cable Hiker Tactical Boot
Norris Sneaker
Apex Waterproof 8″ Boot
Cable Hiker Boot
Hard Time Gloves
Station Grip 2 Goves
Apex Pant
Quest Pant
Echo Shirt
Peak Shirt
Performance T
Peninsula Insulator Jacket
Cascadia Windbreaker Packable Jacket
