

In today’s instalment, we’re going to look at 11 top tips for your first bikepacking ride and hopefully get you excited about your pedal-driven adventure. I want this series of articles to create a solid base for beginners but also offer experienced riders some useful considerations for their upcoming trips. As we continue to deep dive into the world of adventure cycling, these articles will explore some more technical and activity-specific topics, but today is all about good general practises that will create a foundation for the aspiring bikepacker. Well, what better place to start than the bike!
Bike
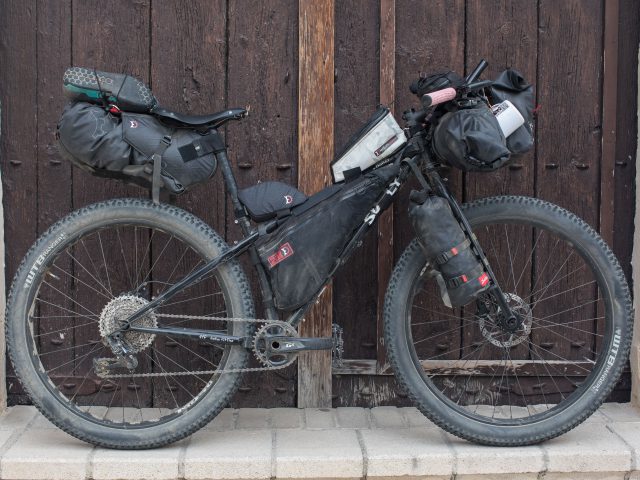
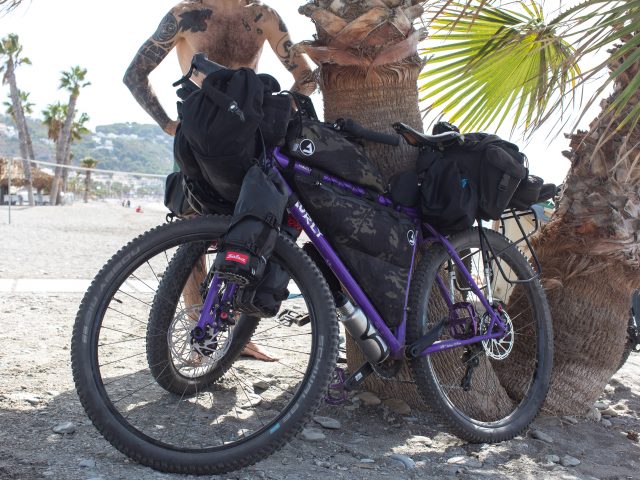
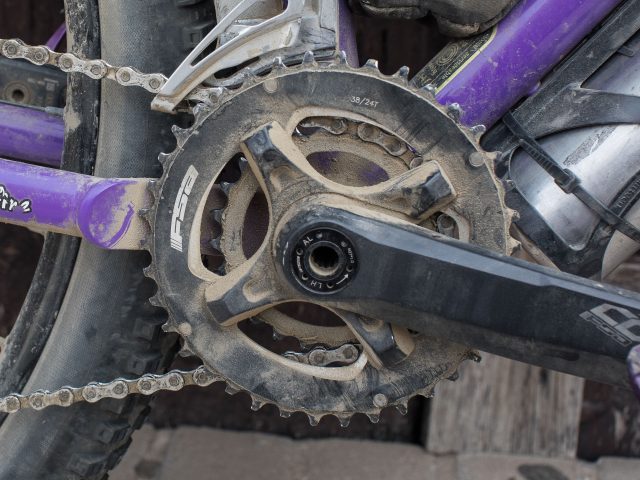
It doesn’t have to cost a fortune. It frustrates me when people are dissuaded by ‘experts’ from any sport (and vehicle overlanding) because they’re made to feel that the bike (vehicle) they own is completely inadequate. Sure, a bikepacking-specific bicycle is ideal, but that doesn’t mean a cheap steel mountain bike is not sufficient and, in some respects, actually advantageous. If you can get hold of a well-serviced steel 26-inch mountain bike, you have a great foundation for an around-the-world rig. At the lower end of the budget, you can pick up a cheap bicycle, add a rear rack, invest in a good service, and upgrade some components with well-loved used parts (much of which are also serviceable), and you’re set. Alongside a good service, I’d suggest investing in a quality saddle, handlebars, and a decent set of tyres. A thorough check-up should ensure the drivetrain, brakes, and wheels are in good shape, whilst the aforementioned items will make a real difference to your riding comfort.
If you’ve been considering bikepacking for a while and want to invest in a premium adventure bicycle, you’re spoilt for choice. I’d recommend companies such as Surly, Salsa, Bombtrack, Tumbleweed Bikes, Marin, and Jones, to name a few. I’m sure most bicycle companies have products suitable for bikepacking, but the companies mentioned above offer specific bikes for adventure cycling. At this price point, it’s also worth considering some of the smaller companies who may be able to design a bespoke bike just for you (Shand, Brother Cycles, and Crust bikes come to mind). Crucially, you should choose a bicycle that fits you correctly, has been well serviced, and has been adapted (even just modestly) for comfortable all-day riding. In the coming months, we’re going to explore this subject in detail.
Weight
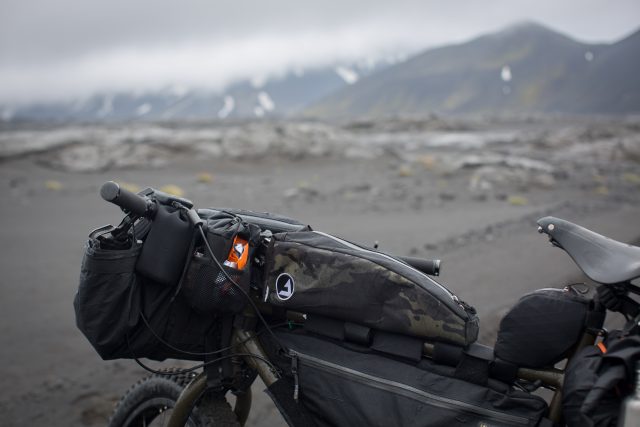
This topic will be all too familiar to vehicle overlanders, but it’s arguably even more critical in the world of bikepacking. In vehicle overlanding, excessive weight is going to strain just about everything, make technical trails cumbersome/dangerous, and ultimately make your engine work harder. Well, it’s the same story in bikepacking, but the main component being strained is you. An overloaded bicycle is murder when the trail gets tough. If you’re someone who ignores the gross vehicle weight of your truck and applies that to your biking setup, you’re about to pay the piper!
One of the most satisfying things I do in preparation for a bikepacking trip is to lay all the gear I “need” on the floor and then ruthlessly reassess what’s absolutely essential. I then place all the items deemed non-essential in a carrier bag and revel in the weight I’ve saved when I lift it off the floor (it’s the small things in life). This could be achieved by taking one less camera battery and being more selective with your shots, packing fewer clothes, making some items multi-purpose to shed others, or sparing things that are just not needed (if I want a bedside picture of Frodo, I can’t be stopped). The one thing I guarantee is that you’ll be genuinely surprised at how heavy the bag gets after you’ve reassessed the essentials. Weight on the bike makes climbs more gruelling, will put greater stress on components, and make the bike more unruly on rough terrain (not to mention a backbreaker when you have to carry it).
Moreover, it’s essential to consider that you may have underestimated how much food/water you’ll need, and once on the ride, may require more supplies. I’d recommend taking your loaded rig locally on mixed surfaces in advance of your trip, as this will give you time to fine-tune your setup. Ultimately, the lighter your bike, the easier the ride.
Take Care of Your Body
In this section, we’re going to look specifically at hydration, nutrition, rest, and stretching. If I’ve learnt one thing about this topic, it’s that once you pick up an injury or get run down, it’s 10 times harder to recover than taking simple steps to prevent it from happening in the first place. If you wait until you’re super dehydrated or starving hungry and finally stop to drink/eat, then quite often, you’ll feel lethargic or run down. It’s more effective to stop hourly between main meals/rest and have a snack/hydrate.

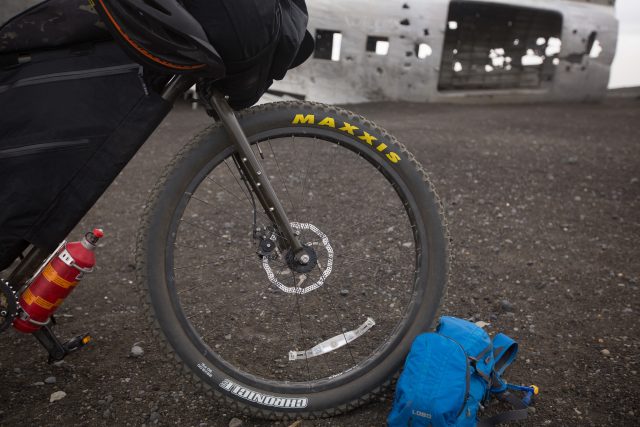
Water is a cornerstone of performance in any sport, so always store extra. In hot countries, I’ll carry an additional 2-litre water bladder (alongside my bottles), which I’ll fill at the beginning of the day and store in a dry bag strapped to the rack. You’d be amazed how quickly you’ll get through water, and there’s no worse feeling than running out miles from a refill. Hydrate at regular intervals, and do NOT wait until you’re dehydrated. Food, like water, is key to performance/recovery, and you can easily double your RDA (recommended daily allowance) during a bicycle tour.
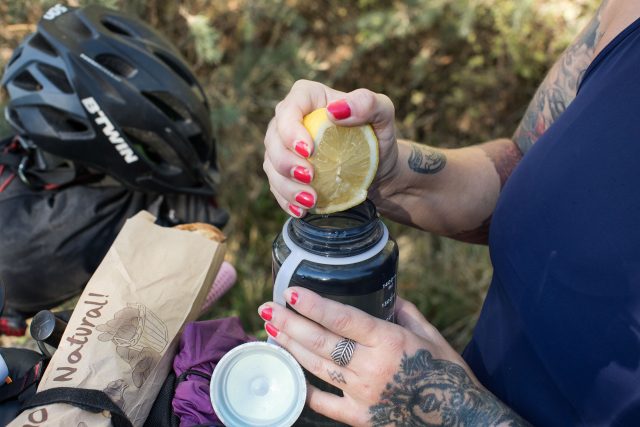
There’s a real temptation on rides to eat a tonne of sugary junk because you can warrant the calories. However, whilst it’s true that you need a lot of fuel, remember that calories should not be the only consideration. I’ve learnt this to my cost and have taken steps to invest in proper nutrition. I avoid most junk food and instead wholly immerse myself in local fresh food whenever possible. This ensures you’re getting an abundance of vitamins/minerals but also quite literally gives you a taste of the culture and an opportunity to chat with the locals.
Moreover, it’s another step towards reducing my environmental footprint as I aim to avoid all foods in plastic and instead opt for loose fruit/vegetables (always good practise to wash them before consumption). I carry reusable beeswax sheets to wrap supplies and ensure my bikepacking setup has suitable storage for additional fresh produce (Revelate Designs Nano panniers weigh nothing but are great for extra storage). I’ve also really enjoyed preparing high-calorie and nutrient-dense snacks in advance of rides, which again reduces my environmental footprint and saves money (I’ll share some of these recipes in future articles). I get that some things in life are merely placebo but the difference in performance and recovery I’ve experienced since I focused my nutrition is remarkable.

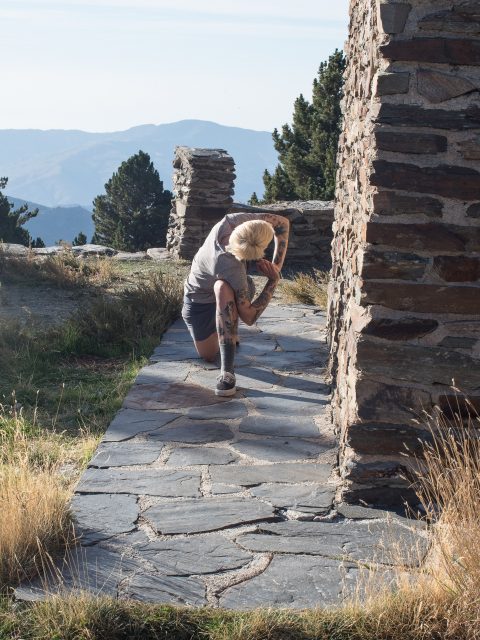
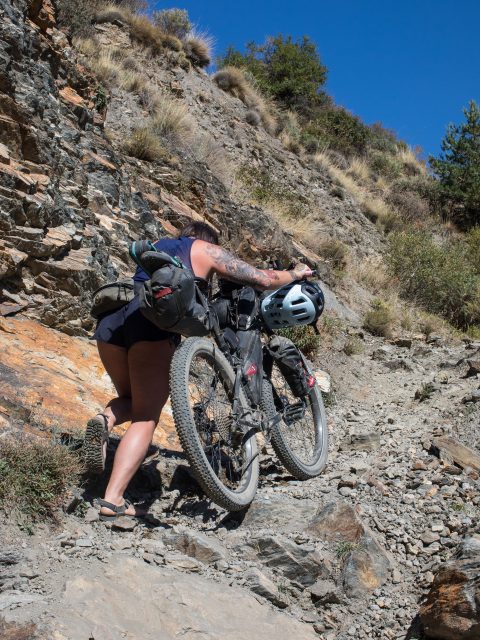
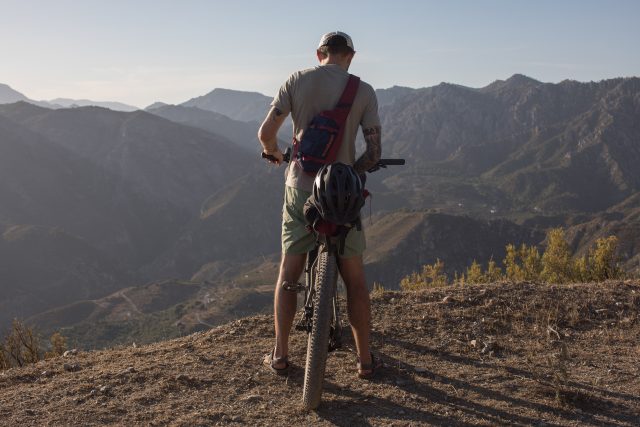
Stretching, like nutrition, is paramount to your performance. I previously neglected stretching, and as a result, almost always picked up some sort of injury (most often in my knees). It was during rides with my good friend and fellow bikepacker Michalina (pictured below) that I learnt the importance of taking the extra time to stretch. In the Sierra Nevada (Spain), we tackled countless gruelling 30-percent climbs in relentless heat, and I didn’t pick up a single injury—unheard of for me. I remained painless thanks to Michalina’s morning yoga/stretching class before we got on the bikes. It was after this ride that I took stretching seriously and have since been able to ride (and run) almost daily without being sore afterwards.
Sleep/rest is fundamental to the success of your bikepacking trip. There’s a real temptation to ride late or force yourself to get up obscenely early when delays set you back. Sometimes there’s no avoiding a brutal push when flights or other rigid travel arrangements hang in the balance, but when that’s not the case, avoid chasing lost time. The issue here is that if you do have a delay and then ride into the night instead of stopping, you’re going to be wrecked the next day, potentially sleep in longer and ultimately end up finishing even later, creating a snowball effect. On adventures, there are days where everything goes wrong, and the best way to proceed is to stop at your usual time (or even earlier) and take the evening to recover for the following day. If you’re exhausted on the bike through lack of sleep/rest, then eventually, it’ll catch up with you.
Leave No Trace
It doesn’t matter what the activity, our environmental footprint has to be taken seriously. Ensure you’ve made adequate provisions to store your trash, and whilst space is at a premium, consider an additional dry bag to pick the trash of others. We are blessed with a truly beautiful planet, and if we’re privileged enough to explore it, then we have a responsibility to leave areas better than we found them.
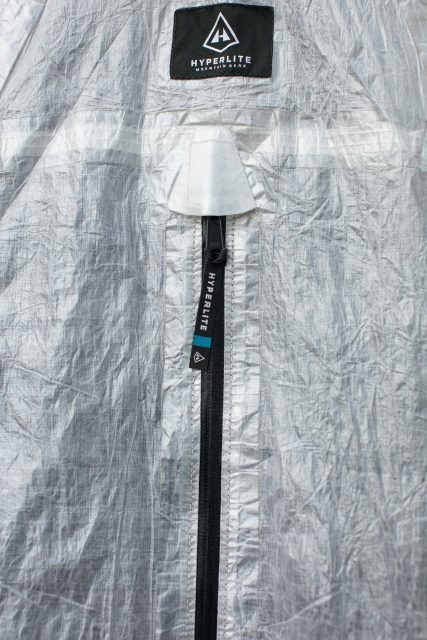
Quality Gear
Buy once, cry once. This is a mantra that’s particularly relevant to the world of exploration, where equipment gets a rough life but has to be completely dependable. However, I want everyone to enjoy the sport and do recognise that quality gear is undoubtedly expensive. Thus, why not invest in used items? This is a win-win-win as you get quality at an affordable price, and it’s a great form of recycling. I’ve owned cheap ‘throw-away’ products and, whilst there are some gems, I can’t recommend the practice (at least for exploration). I can’t tell you how miserable it is during torrential rain when the bike rack has snapped, your panniers are waterlogged, and your budget tent has broken another pole (been there). There are so many used bargains online that you don’t have to opt for cheap rubbish. I can’t tell you what a difference it makes to have equipment that just works. Moreover, most purpose-made exploration gear is specifically designed to be ultra-functional and extremely light, thus helping to reduce weight. In the field, it’s the little things that bring so much everyday joy, and equipment plays a big part in that process.

Navigation Maps and GPS
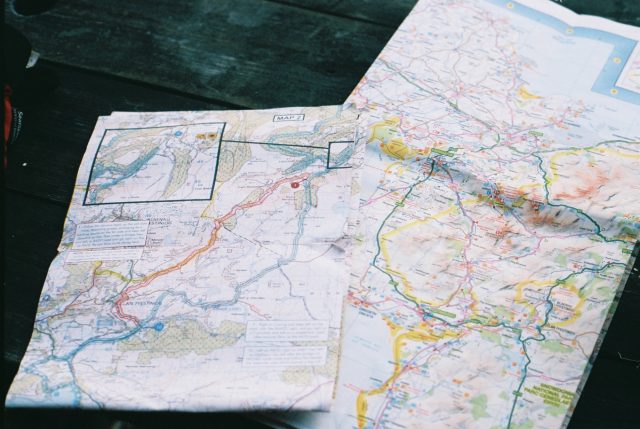
The technology that’s available these days is incredible, but there’s nothing quite like studying a traditional map. If you’re a tech aficionado, then the market is full of amazing GPS devices from the likes of Garmin (or my new favourite cycling-specific GPS, the Wahoo Elemnt Roam). I do enjoy these products, but I sometimes prefer getting back to basics and actively disconnecting from tech. I’ll generally always have my GPS, but one of the real joys for me about bikepacking is returning to nature and not looking at a screen. There’s something exciting about annotating a map; more importantly, it won’t fail on you, providing it’s protected from the elements (learnt that lesson too). Electrical devices don’t enjoy wet, cold, dust, drops, vibrations, or just about any of the conditions frequented during a bikepacking trip. Make sure to not entirely rely on anything electrical if you’re heading into remote areas. Thus, grab yourself some paper maps, store them in a watertight sleeve, and get excited about plotting your adventure. If you’d rather stick to digital, then check out Garmin’s and Wahoo’s selection of cycling-specific GPS devices.
Expectations
It’s easy to be completely mesmerised by the stunning photos/video from bikepackers online. Content from the likes of South America will no doubt inspire you with stunning mountain landscapes that have you researching the next available flight. However, like anything in life, it’s necessary to do the proper research and ensure your skill set is suitable. Those photos generally do not show the time taken by the rider to acclimate to the elevation, the gruelling two-day climb, mechanical issues, brutal hot/cold weather, and ultimately, years of previous experience. I’m all for challenging yourself, but it’s important to respect the power of nature and build up gradually. One of the best ways to learn is to get out there and explore; start small or join someone experienced. One of the worst things you can do on your first ride is to plan something so brutal it ends up distracting from the actual experience. It’s your first epic cycling adventure—you want to take in the scenery, meet locals, absorb the culture, camp under the stars, eat delicious regional food, and fall in love with the journey. What you don’t want is a gruelling multi-day slog.
Preventative Maintenance
I’m sure many of you reading this already have a good understanding of basic bicycle servicing/repair but I’m sure there may be some lacking confidence—I’ve been there. The reality is that nobody wants unexpected repairs on the road. One of the best ways to avoid unplanned delays is preventative maintenance. Sound familiar, overlanders? It’s not just about fixing what’s already broken but instead changing old parts before they fail. If I’m going on a big ride, I’ll always invest time/money to get the bike shipshape. If you’re not sure what to look for, consider heading down to your local bike shop and have them check it over. Ideally, ask if they don’t mind you observing so you’re aware of common issues in the future and how to fix them.
Camera
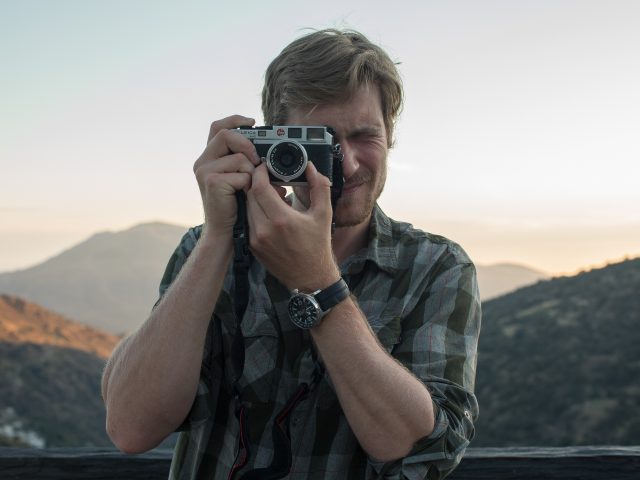
Some of the latest phone cameras more than suffice for documenting a trip. At the end of the day, most photos are shared on social media and not framed in an exhibition. However, photography is not simply about the results but the process. A real camera, especially film, makes you take the time off the bike to absorb your surroundings. For me, photography is inextricable from bikepacking, and sometimes it feels like the bicycle has become a vessel for my art. I know that many riders are happy just to take their phone to save weight, and that’s a great option. But if you want to heighten the sense of adventure, consider a little mirrorless digital. Or even better, an old film camera; both can be picked up used online). I can’t tell you how nice it’s been, especially during Covid, to look back over photos from previous trips and get excited about the future. Fuji X digital cameras such as the X100/Xpro/XT models are known for excellent image quality, are lightweight, affordable (especially if you opt for an older used version), and are a pleasure to use. If you’re interested in film, then the Canon AE1 can be picked up cheaply and is highly regarded as one of the best 35mm cameras.
Anti-chafing Cream
I’ll spare you the details, but saddle sores and chafing should be avoided. The best tactic is preventative, because much like hydration/nutrition, if you wait until things get uncomfortable, your recovery will take far longer. Thus, every morning, after washing, I’ll apply cream to all those parts most susceptible to chafing. I’ve always used Assos Chamois Crème, and even in extreme heat, I’ve been spared discomfort. The crème is antibacterial and has a welcome cooling effect. I’ll add to this point that you should also always carry a basic first aid kit.
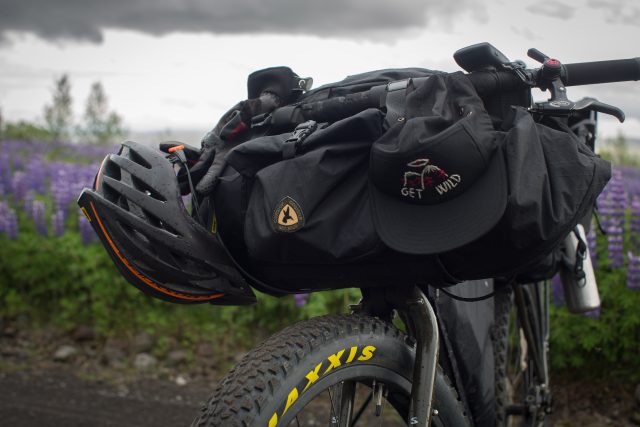
Helmet
BOOM hit you with an unexpected Spinal Tap eleven. Bikepacking is often on dirt roads at low speeds, and then I understand that you might want to remove the helmet for a cap or similar (particularly in extreme heat where sun protection is a priority). However, if you’re on the road with traffic, navigating technical terrain, or flying down a descent, it’s essential. Adventure cycling seeks remote trails where it’s going to take more time to be rescued by emergency services should there be an issue. It’s also worth emphasising that the days of helmets being heavy/uncomfortable are long gone, and instead, you’ll find they’re light, comfy, and breathable. Helmets save lives; take one.
*These are general points for bikepacking, but I highly recommend doing detailed/ride specific research to ensure you’re adequately prepared for your adventure, especially if you’re travelling to remote/unfamiliar locations.
Our No Compromise Clause: We carefully screen all contributors to make sure they are independent and impartial. We never have and never will accept advertorial, and we do not allow advertising to influence our product or destination reviews.