


Although every tent is slightly different, there are some common techniques for properly pitching a modern portable shelter. Do it poorly and you risk damaging the tent itself, or enduring a less than comfortable night’s sleep. I travel with people with extensive backcountry experience, yet see them making basic mistakes all too often. Most people would be quick to say they’re experts of tent pitchery, but I bet there are some tips below that even those gurus could employ on their next outing. –Words and images: Christophe Noel
Sun
Time of year will dictate how you want to leverage morning sun to your advantage. In summer, if you want to sleep in, pitch your tent so morning shadows will linger and shade your shelter. In cooler/wetter months, early morning sun can help warm up your tent and begin the drying process which seems to always take forever.
Wind
Nothing sucks worse than being battered by high winds all night long. In the desert it can also force blowing sand through mesh panels. In the cooler months it can create brutally cold drafts. The most serious consideration is relative to death by falling tree. Every year people are killed when a limb or tree crashes down on their tent. Pay attention to wind strength and direction and if it looks like your tent might buckle under the stress—take it down.
Slopes and drainages
If it looks like rain might intersect with your night, closely evaluate where your tent is in relation to water drainage. Fail to do so and you might wake up in a pool of regret. Also be aware of slope and if you can’t find level ground, don’t make the rookie mistake of sleeping with your head on the downhill angle.
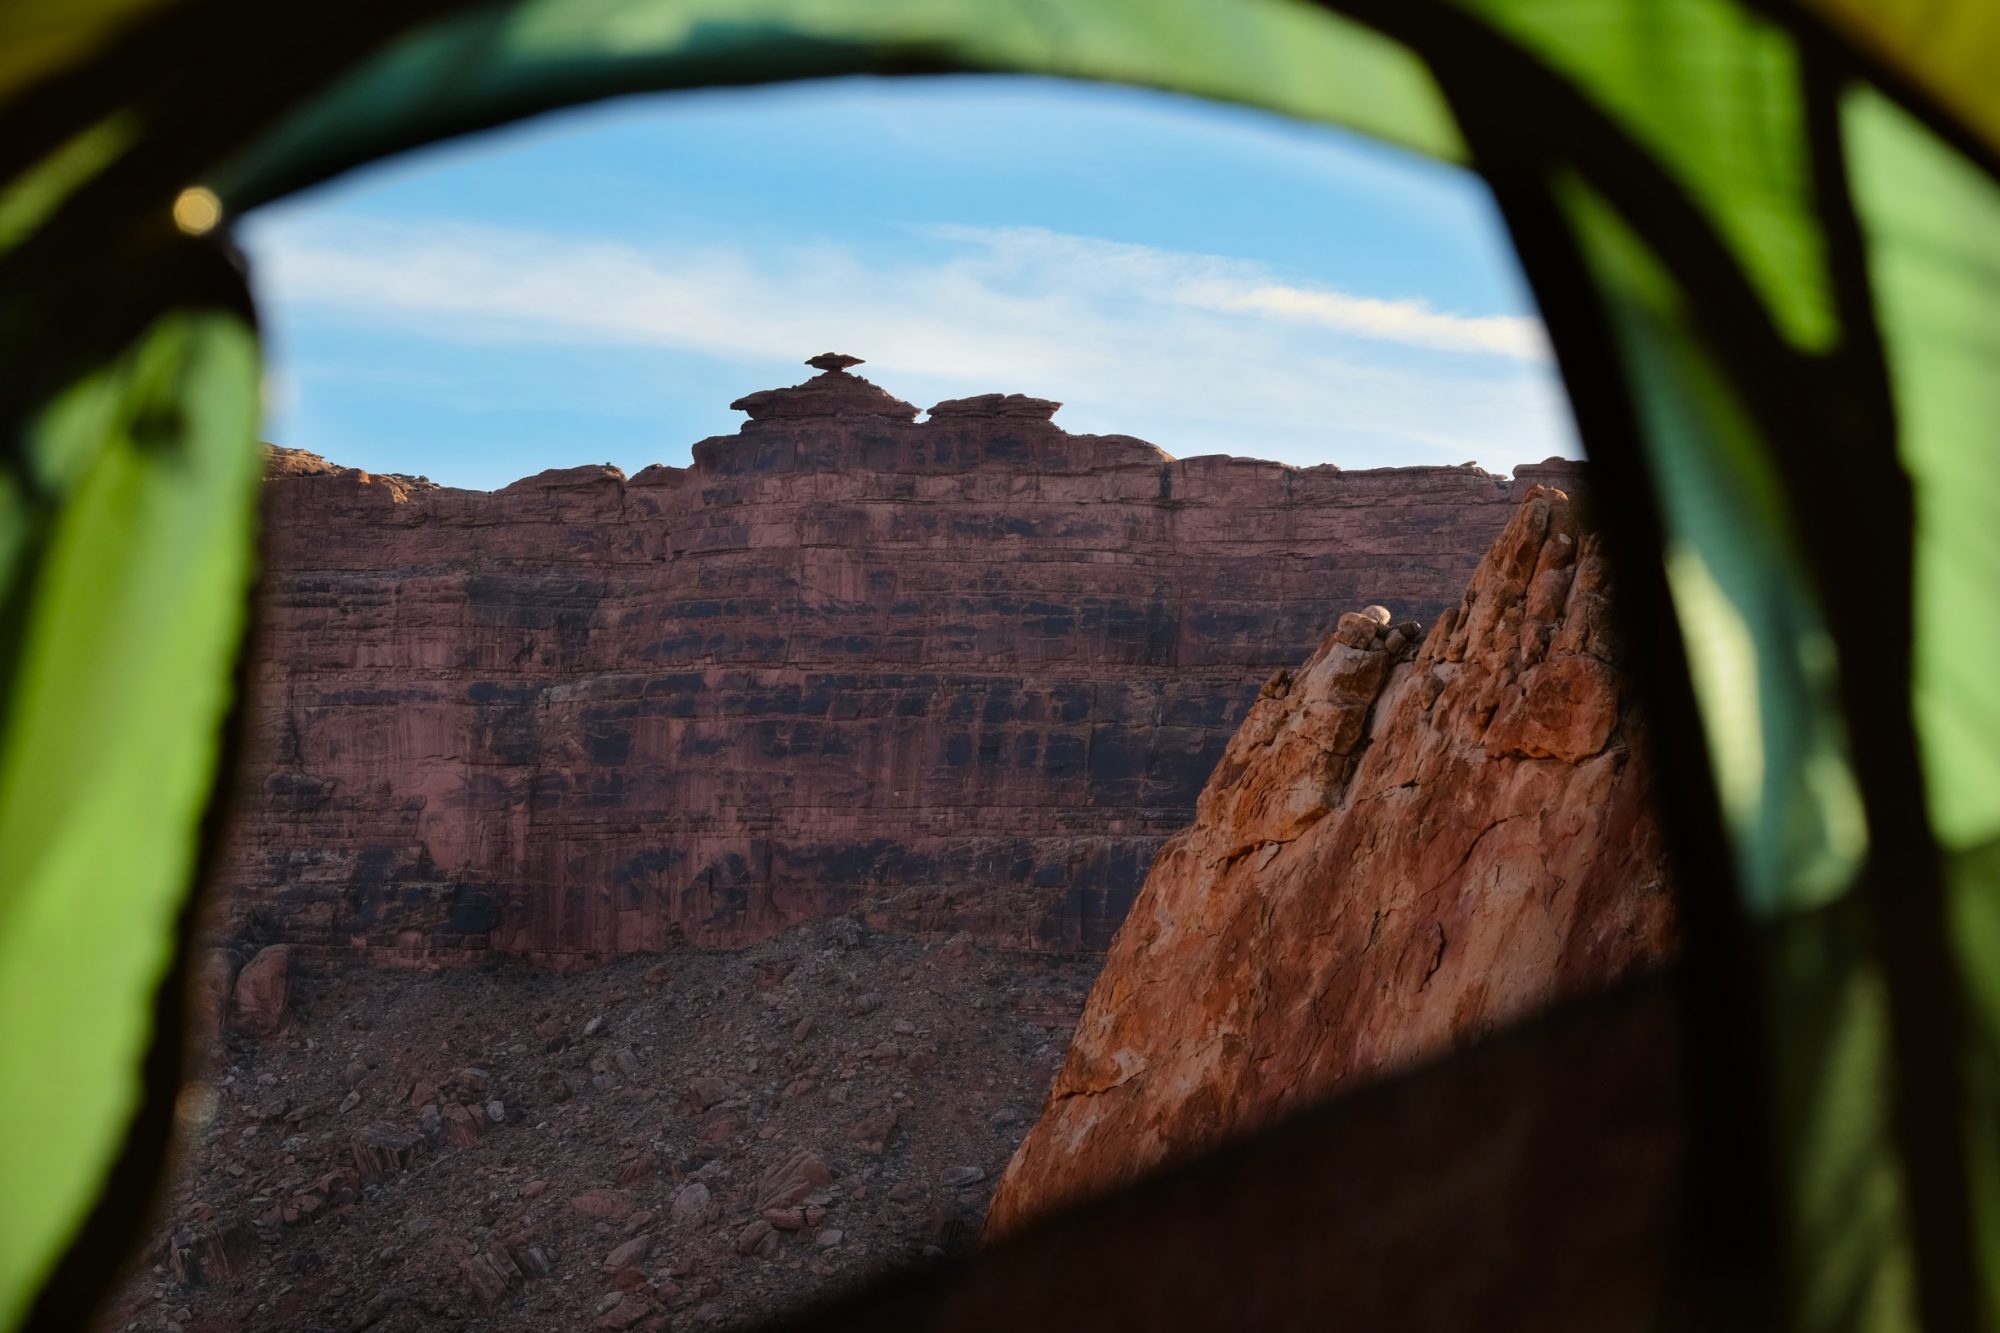
Katabatic winds and cold sinks
When camping near canyons and mountains, be aware that cold air sinks and can rush down side canyons and mountain gullies creating high katabatic winds. In cool months, camp on ridges or points where you can avoid the low spots where cold air accumulates. Or transversely, in warm months, use those low spots to take advantage of cooler air.
Beat the bugs
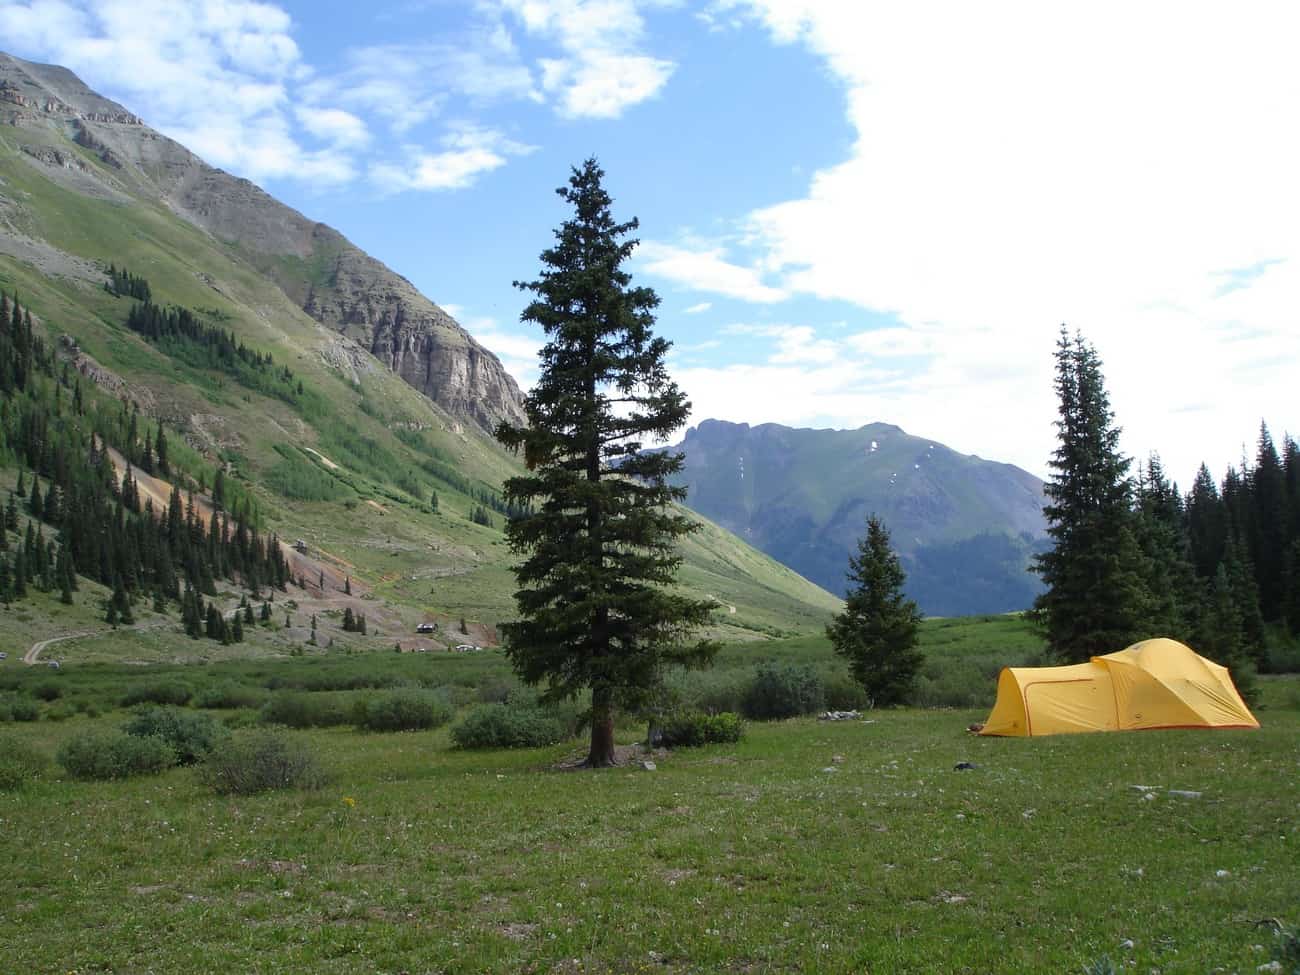
Some people like to camp in the trees or along the edges of a meadow. I prefer it out in the open if bugs are in the air. It allows me to utilize even the slightest breeze to keep mosquitos and flies on the move. Also avoid lakes and bogs where you know you’re just asking for bug trouble.
Now that you’ve located the perfect spot, let’s get to pitching.
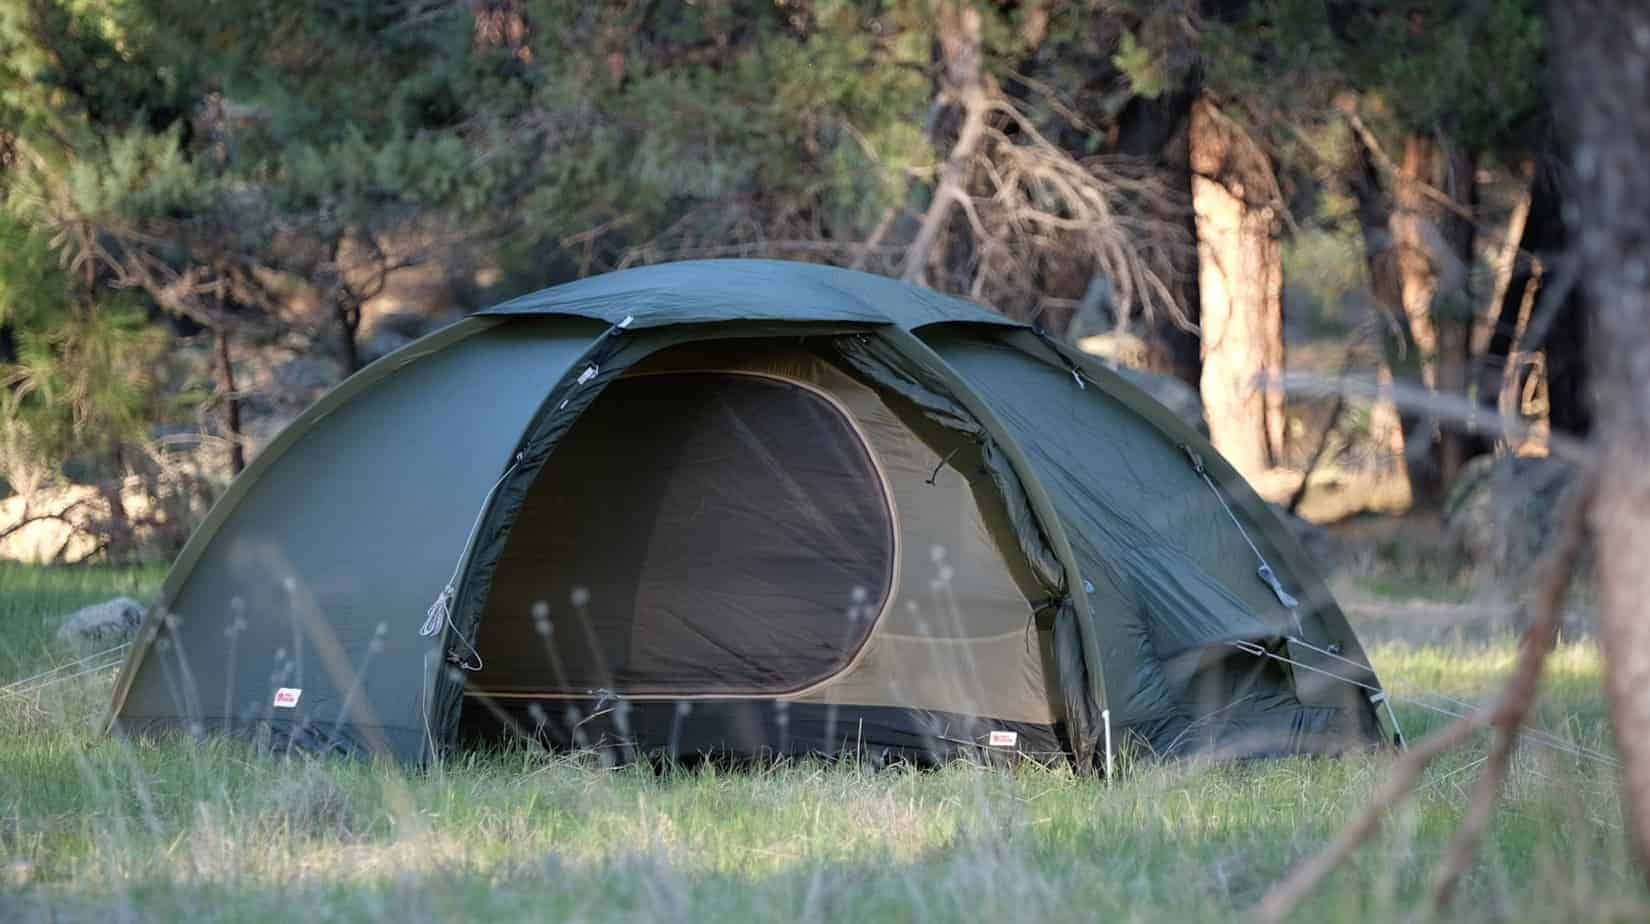
Ground prep and tent pitching basics
Make sure you carefully inspect the ground and remove anything sharp or lumpy like sticks, rocks, pinecones, or cactus needles which could puncture the tent floor or worse, an inflatable sleeping pad. In the desert, be aware that sweeping the ground with your feet or anything else can disturb cactus needles laying on the ground forcing them to stand at attention where they can do the most poke damage. For that reason, sometimes I inspect the ground but try not to disturb it too much.
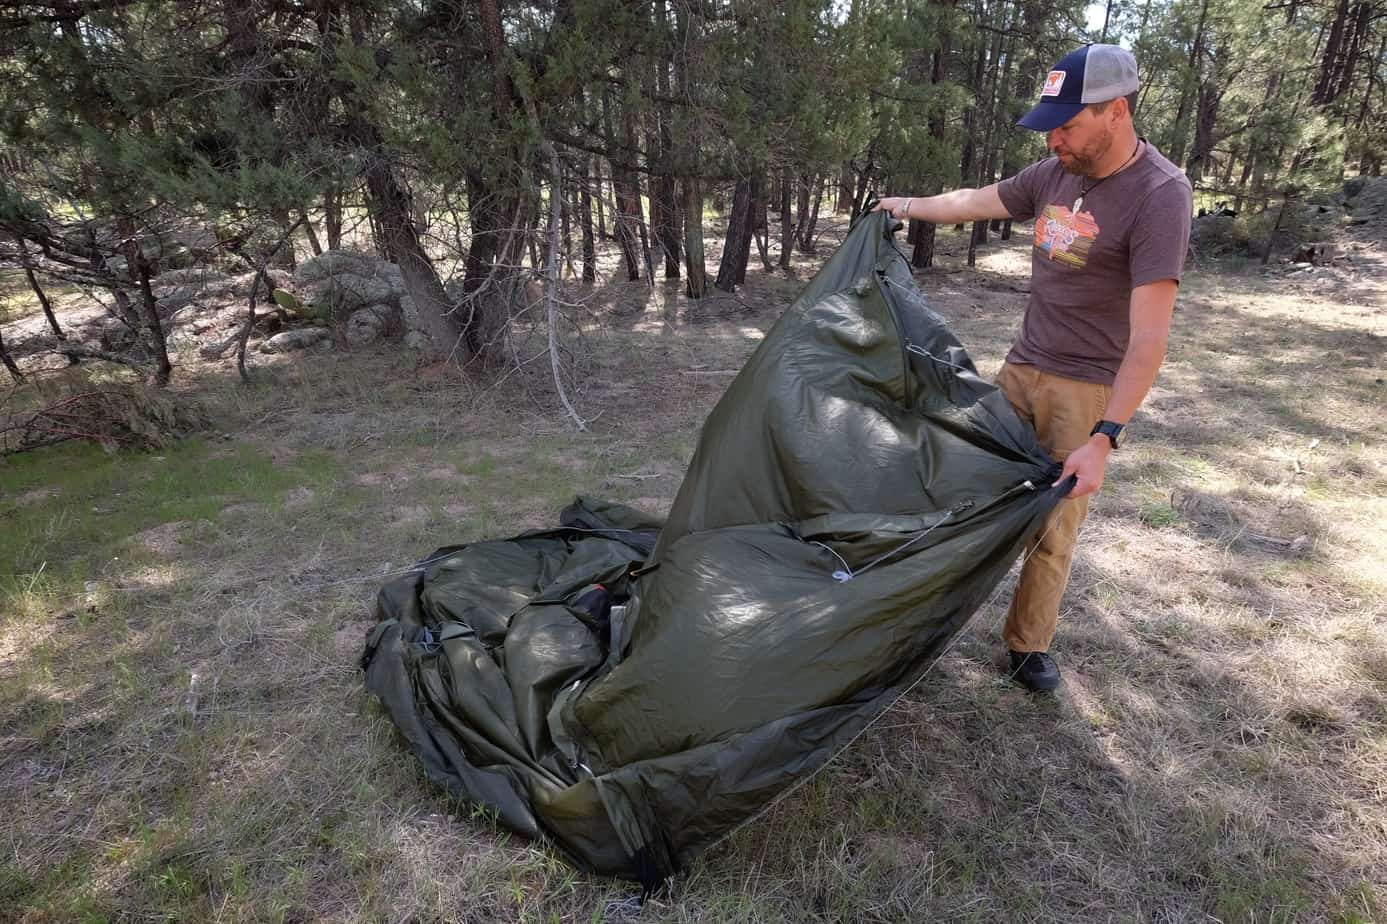
If it’s windy, be sure to stand upwind from your tent when you pull it from the bag. The first order of business is to secure at least one corner of the tent floor with a tent stake to keep it from blowing away. On a mountaineering trip 20 years ago I watched as a fellow climber’s tent blew down the mountain, covering 300 yards in 3 seconds.
Tent peg placement and removal – This one seems obvious, but it’s the most common source of a failed tent setup. Proper peg selection is the first key to a well-anchored shelter. Some types of pegs work best in sand, hard dirt, mossy grass, or snow. Knowing which pegs to use is critical; having them with you is even more so.
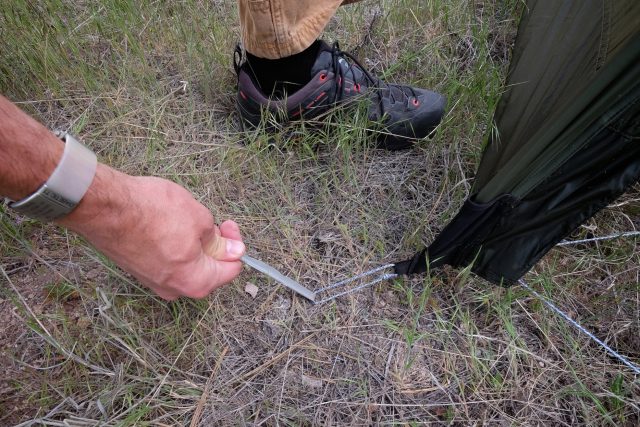
When placing a tent peg in the ground, always drive it at roughly a 45-degree angle. That will provide optimal mechanical leverage to keep it in the ground. Where to place the peg in relation to the tent body is important. A quick rule of thumb is to place the peg in line with the seam bearing most of the tension, not off to one side or the other. One trick is to place the pegs at all of the corners loosely, then once the tent body is positioned, go back around and drive them in the ground with full tension on the tent body. If you can, drive them all the way into the ground to reduce the trip hazard.
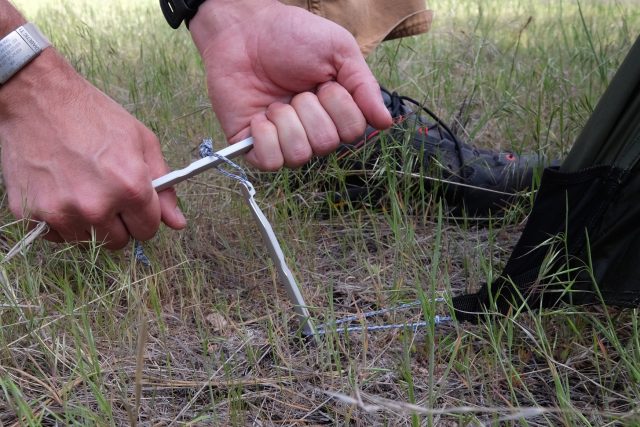
To remove a stubborn stake, use a small loop of paracord and another stake as a handle. To free the peg from the earth’s tenacious hold, give it a couple light kicks or tugs forward and back. Then it should surrender.
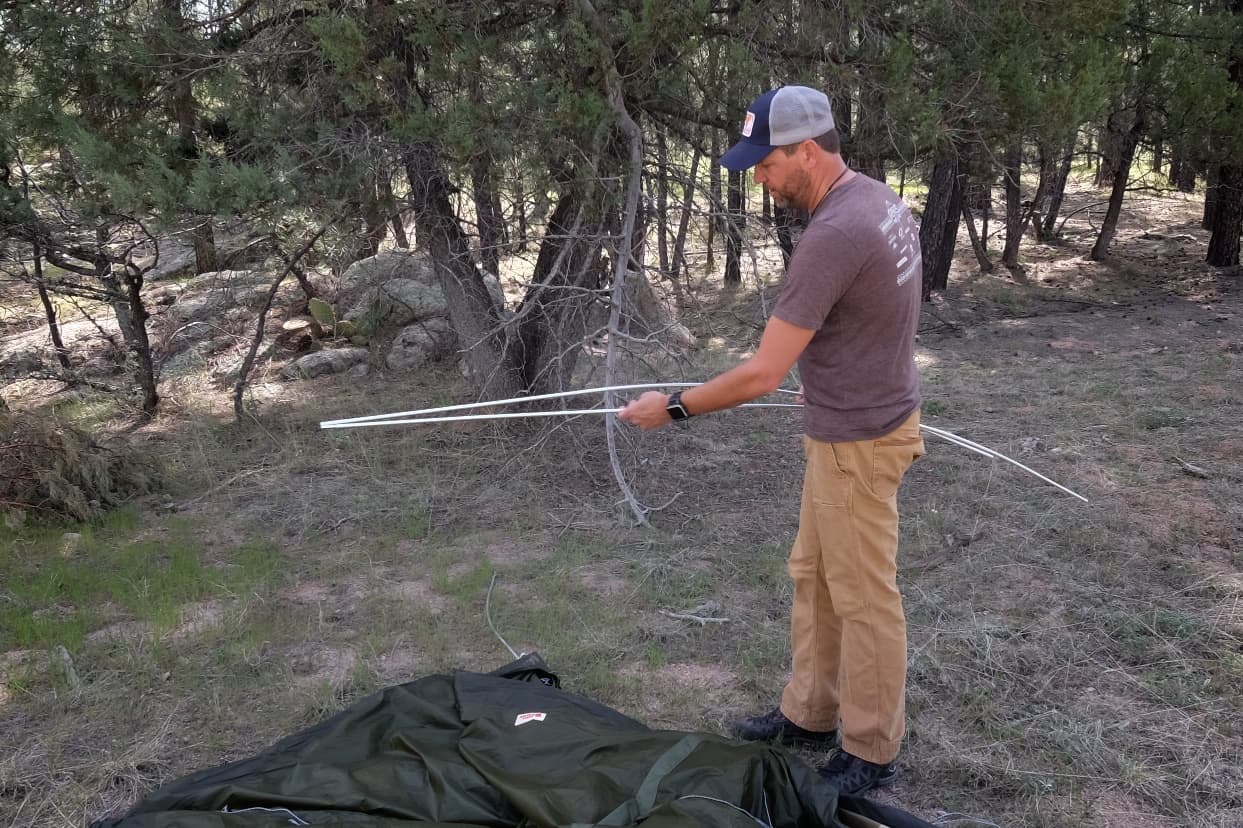
Connecting your pole sections – The worst thing you can do with fancy aluminum poles is to fling them out in front of you letting the inner elastic cord snap them all in place. That will eventually chip the ferrules where the poles connect. Connect each section carefully one by one. In many case, poles represent as much as 40 percent of the cost of a tent so take care of them. Some poles are fancy with rounded internal brass or aluminum fittings in the ferrules to help the segments slide together.

There’s also a proper process for breaking down your pole segments. Start at the middle of each pole assembly and break it down one segment at a time. This equalizes the tension on the inner elastic cord which will prolong its life.
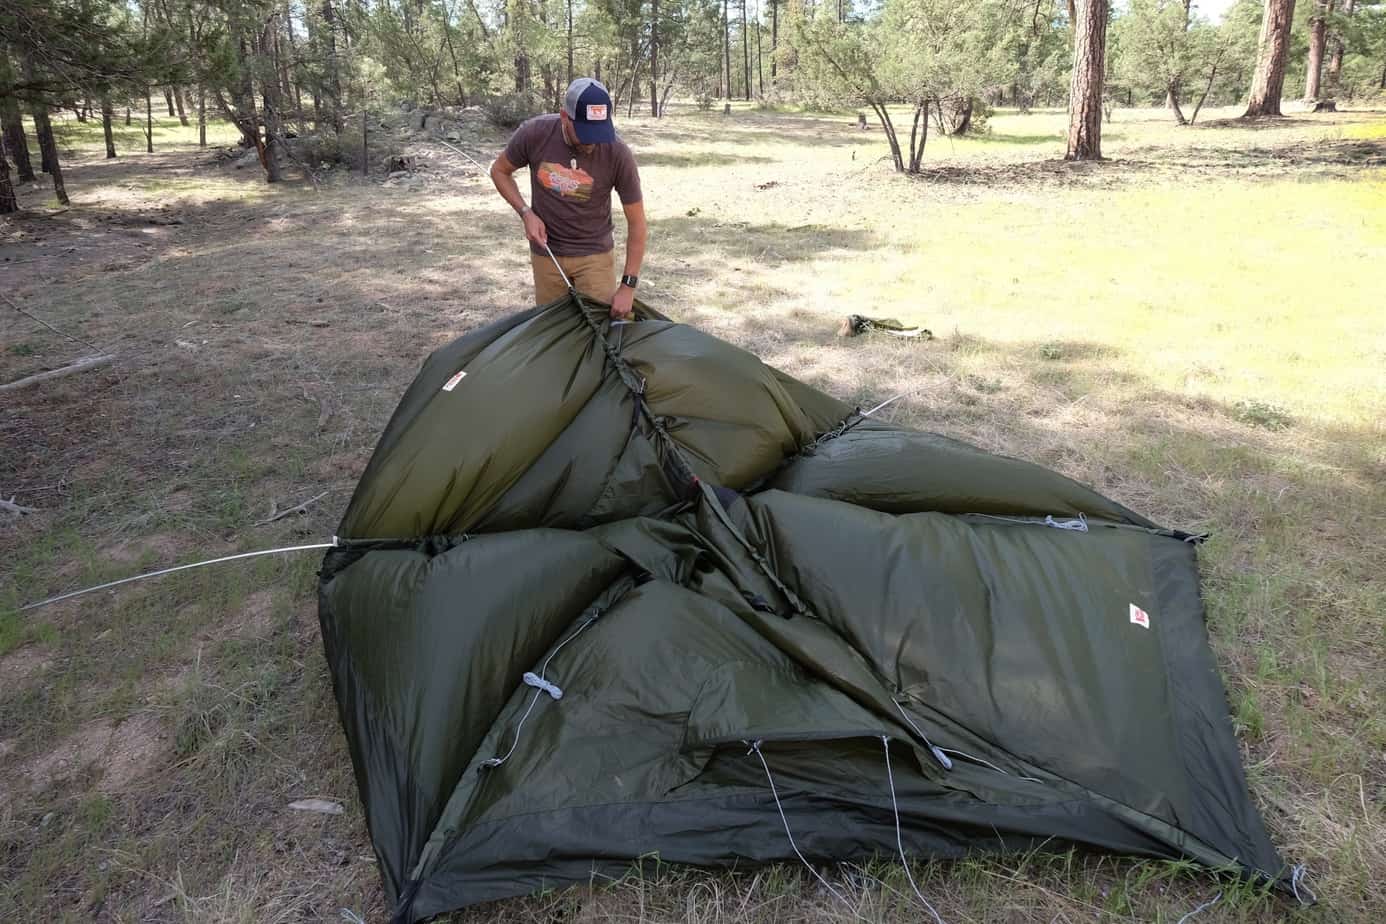
At this point, most tents will require you to connect the poles to the appropriate corners, then attach the tent body to those poles via clips or sleeves. Once completed, add the fly.
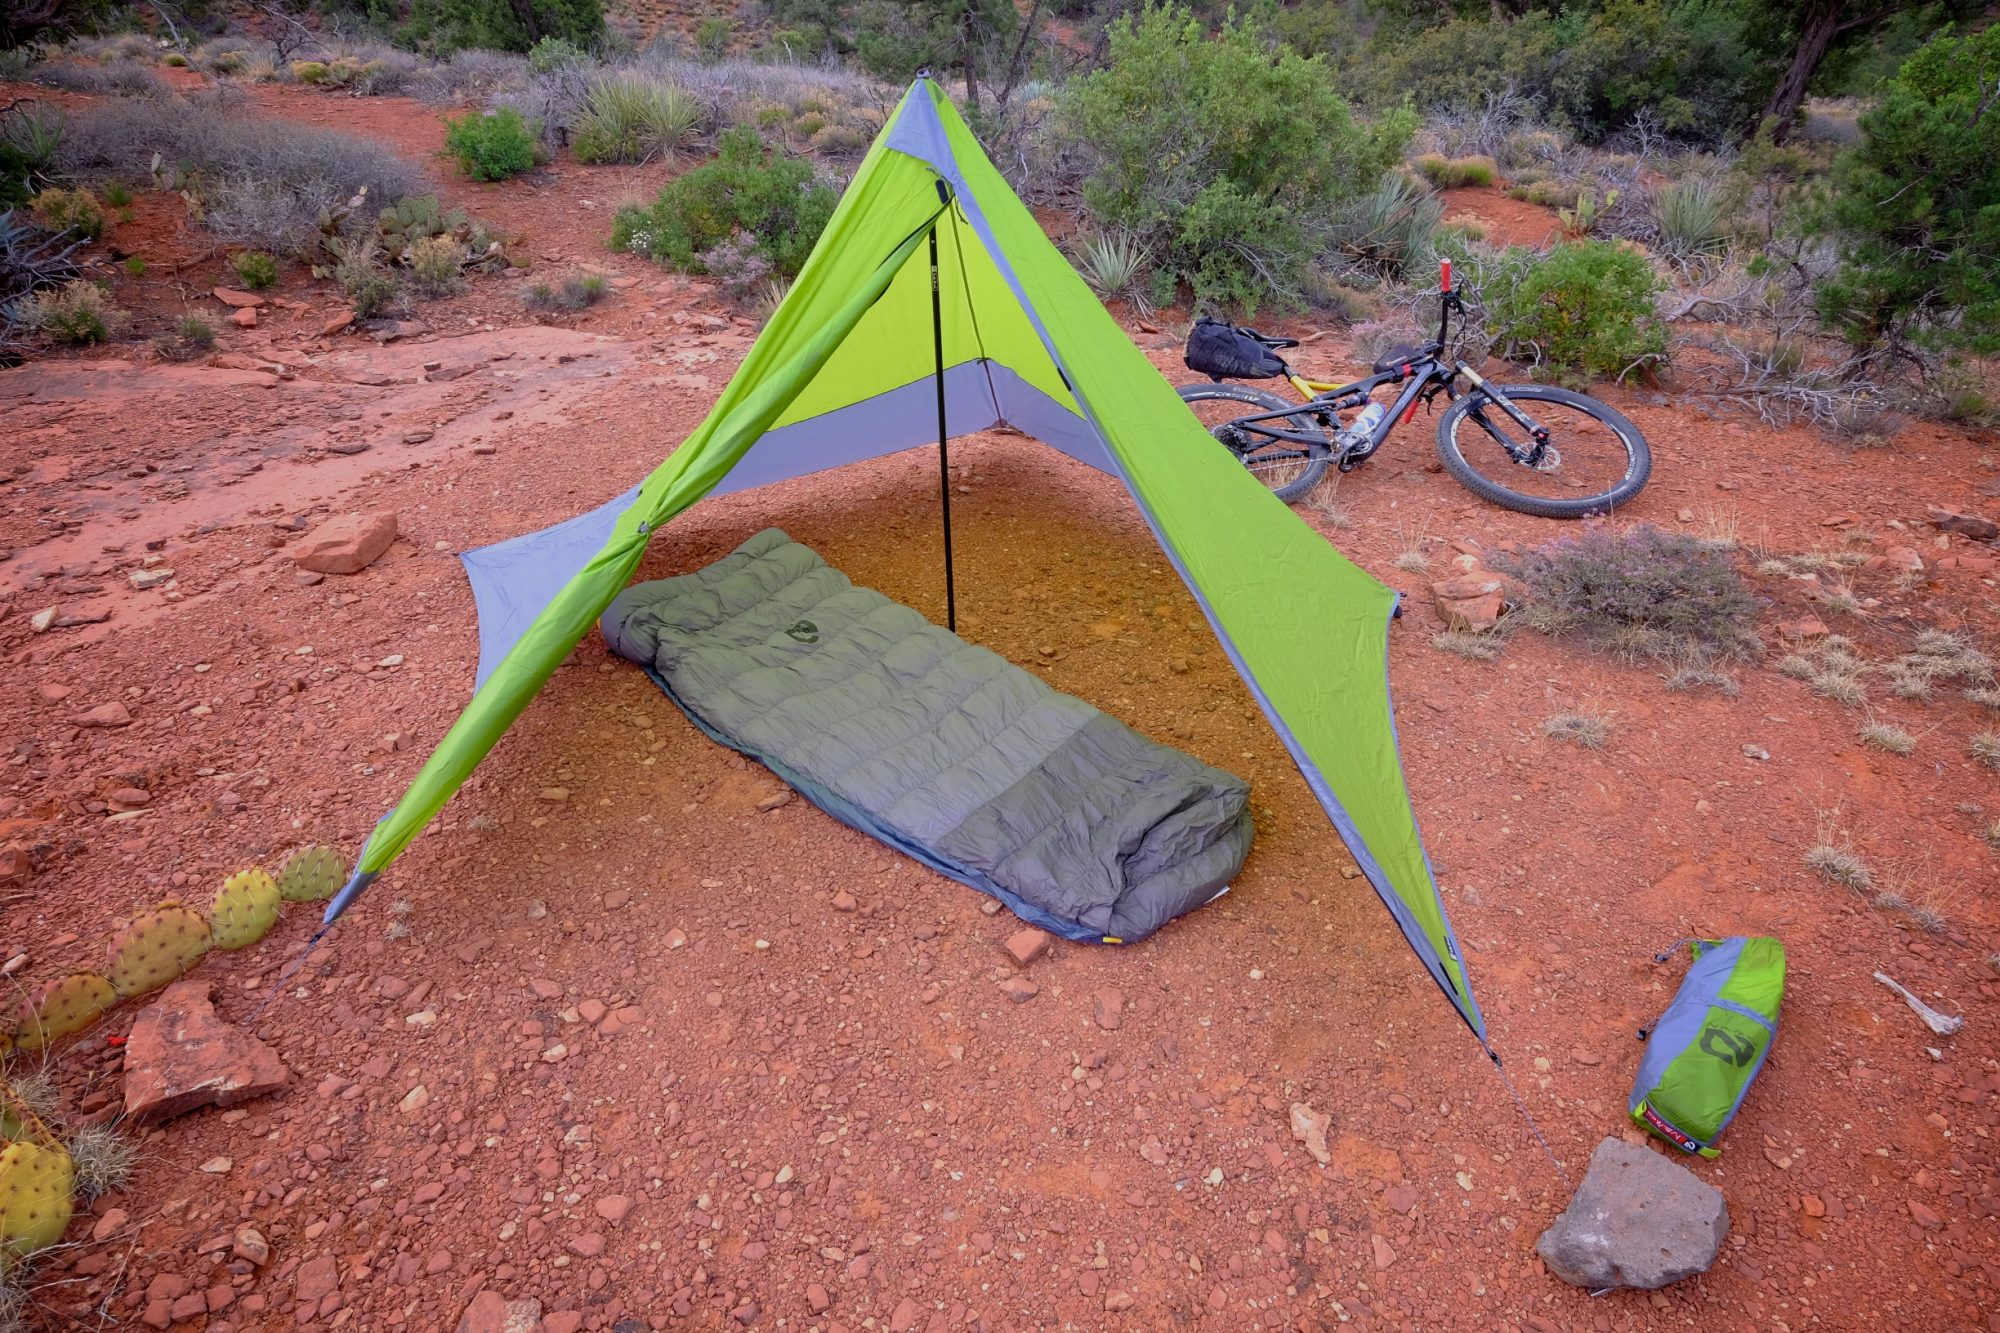
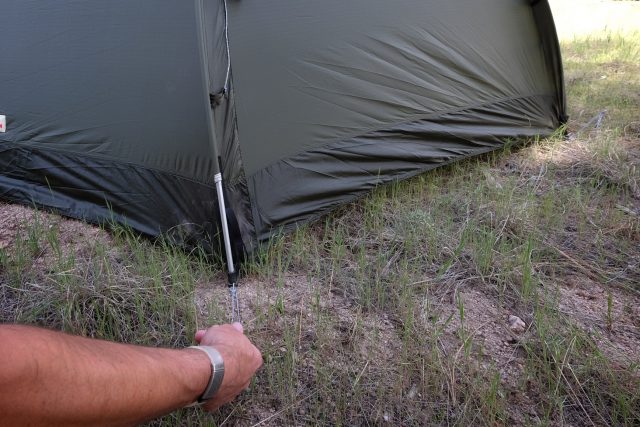
Guylines and proper tensioning – If you anticipate a storm, or even if you don’t, set up the provided guylines. Even in calm weather, some of these anchor points can pull the fly away from the tent body for better air flow. Some tents will allow you to manually adjust fly tension at the stake points. Those adjustments can also be used to increase or decrease airflow depending on your needs.
It’s important to inspect the interface between your tent body and fly to ensure they have connectors at the main guyline reinforcements. This insures the tent fly, and the body within, are supported by the guylines, and not just the fly.

Striking a tent
Naturally, all of this goes in reverse when stowing your tent, but there are some additional tips to consider. For starters, if it’s violently windy, don’t be too hasty removing tent stakes and deconstruct your tent carefully while detaching the downwind anchor points first. That way you don’t get a bunch of tent fabric shoved in your face.
If its calm, it makes the process of drying your tent of condensation or moisture much easier. I often remove my rainfly first thing as I start my morning and stretch it over a boulder or soft bush to help it air out and dry quickly. It seems silly, and maybe it is, but I always travel with a pack towel of some sort. It’s a great way to speed up the drying process and a wet towel is easier to deal with than a soggy tent.
If your tent is free standing, sometimes you can unstake it and expose the bottom to the sun to speed up the drying process. Be very careful not to stress the pole sections. I also take this opportunity to shake out the tent to rid it of dirt and debris that may have been tracked inside.
Never pack a wet tent. If you must, and it is necessary at times, make sure you get it out of its wet tomb as soon as possible. If it’s sunny at lunchtime, bust out your wet tent and let it dry midday. If you pack your tent wet for even short periods of time, it will be as good as dead. Mold cannot be removed from most technical fabrics.
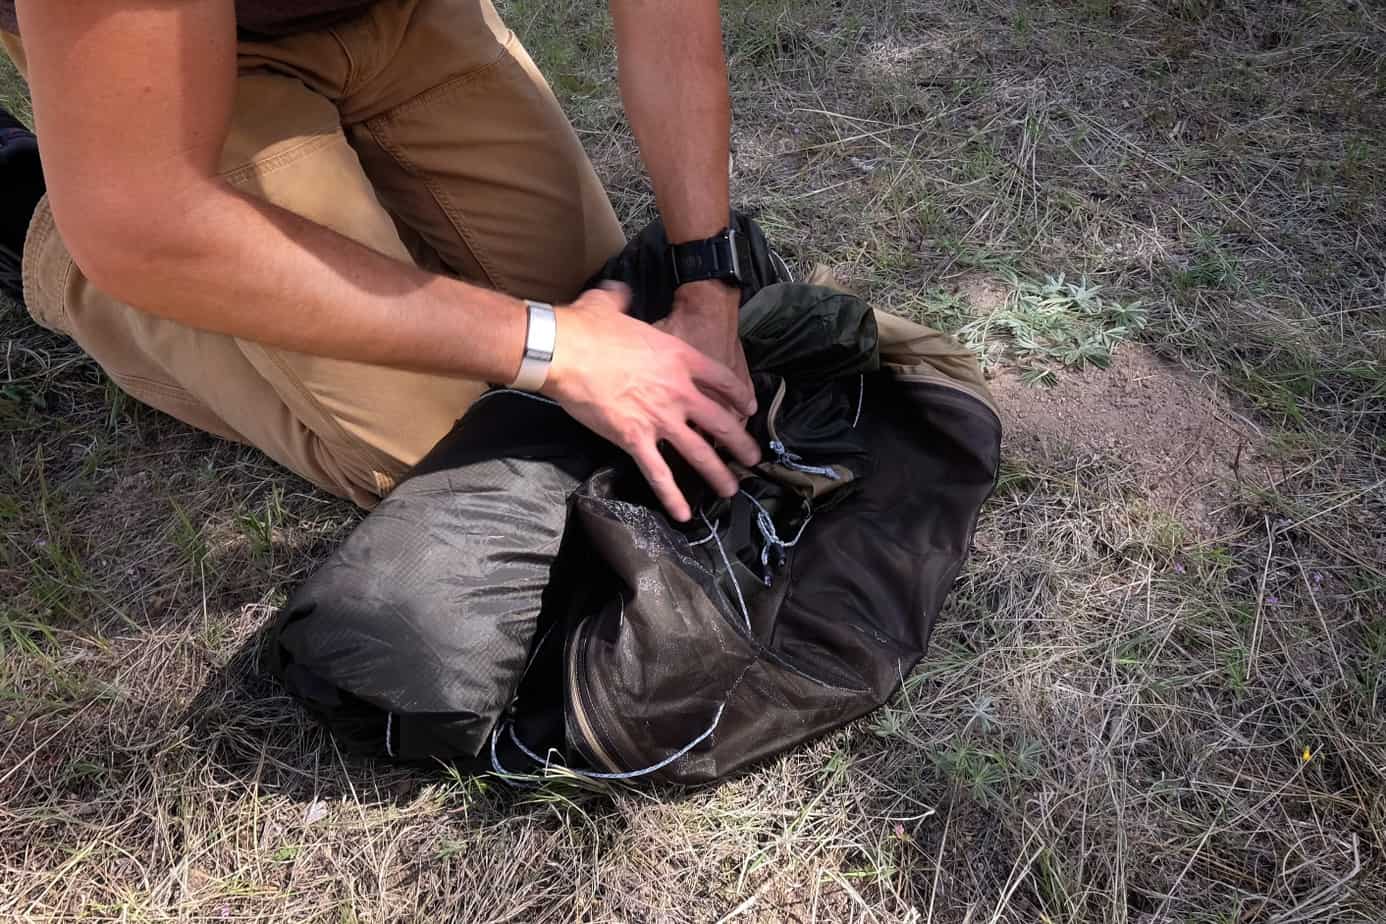
Folding or stuffing
Some people have steadfast opinions about stuffing or folding, but the reality is that either does the trick. If you’re a folder, just be sure not to repeat the same folding pattern as it develops hard creases which can prematurely stress laminated coatings on the fly and floor. I’m a folder-stuffer, but my folds are random and never repeated.
Other tips
I don’t roll my poles, stakes, and rainfly into the tent when I stow it in the stuff sack. In the event of a windy or stormy day, I like to be able to grab the components separately, in the order in which I need them. If pitching in the rain, I assemble the poles first to limit the inner tent’s exposure to rain. The fly is often packed at the bottom of the stuff sack as it goes on last. Everyone has a different process, but practice makes perfect.
Follow these tips and you’ll be a happy tent camper. – CN