
There’s a reason that auxiliary lights are used on expedition vehicles around the world, and it isn’t because they look cool. Well, not entirely at least. A high quality set of lights allows drivers to see obstacles and animals ahead of them before they become a problem, and that can be the difference between a safe arrival in camp, and a night stranded alone after a serious accident. Of course, these accessories only work if they are properly adjusted, and far too many of the ones we’ve seen are not. Since illuminating the sky or a tree off the side of the road won’t do you much good, we’ve created this brief guide to hopefully shed some light on the proper adjustment process. For this article, we will focus on driving lights only, and not fog lights.
 Required Equipment
- Tape measure
- Level
- Straight edge, flat board, or broomstick
- Painters tape
- Whatever tools are required for adjusting the specific hardware on your lights
Basic Alignment
1. The first thing you’ll want to do is perform a basic alignment of the lights. Start by making sure your vehicle is level on a flat surface, and that the hardware on the lights is loose enough to make small adjustments with hand pressure, but tight enough that they won’t fall over when you let go of them.

2. Next, you’ll want to set the lateral alignment of the lights. This requires a level, straightedge, or broom long enough to span across the lights. Make sure whatever you use has no bends or warps, as that will skew the outcome. Now, place it against the front of the lights, and move them until their lenses face flat against the level. They should sit even with one another, and each light should contact the level on the left and right side of the lens.

3. With the lenses now aligned laterally, it’s time to adjust them vertically. Take the level and place it vertically against the front of a light, with the narrow edge against the lens. Center the bubble and tighten the hardware. Repeat for as many lights as you have.

4. Now, double-check your work, and make sure that the lateral or vertical alignments didn’t change during tightening. If they look good, find a nearby road and see how they work. If you’re happy with the result feel free to stop here, otherwise, move onto the fine-tuning below.
Fine-tuning
1. The hardest part of this process is finding a suitable location in which to perform it. You’ll need flat ground on which to park, as well as a flat wall about 25 feet in front of the vehicle. Line the vehicle up facing the wall directly, and make sure it’s not slightly pointed to one side or the other. You can use ceiling beams, joints in the concrete, or other markings around you to line up the vehicle if necessary.
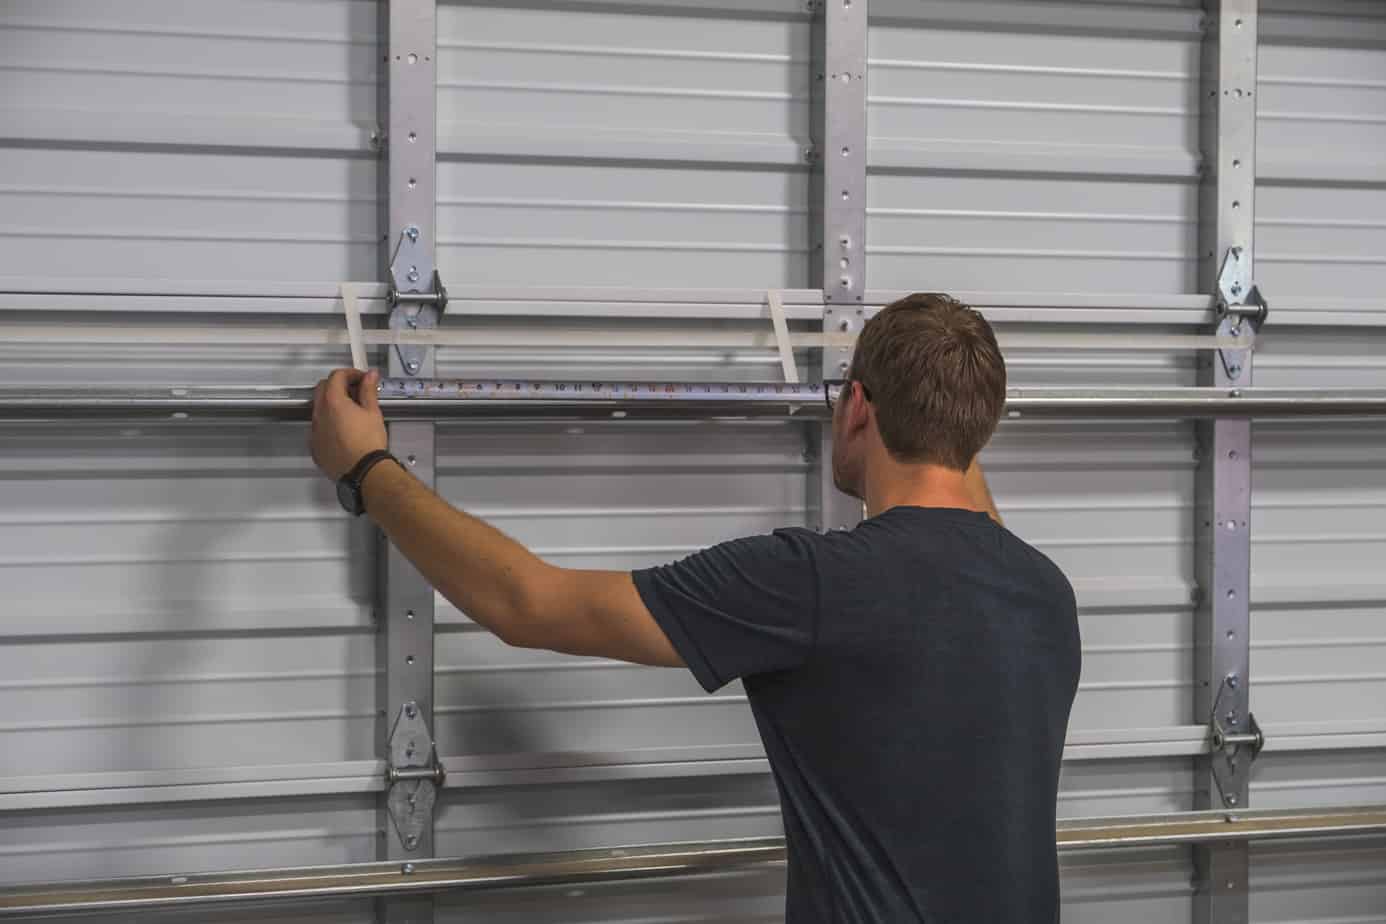
2. Start by measuring the distance from the ground up to the center of each of your lights. Mark that height on the wall in front of you with a line of tape about the width of your vehicle.
 3. Now measure the distance between the lights from center to center, and mark that distance with tape on the line you already created on the wall. You should now have one long horizontal line at the height of your lights, crossed by two vertical lines at the width of your lights. Think of them as the crosshairs you’re aiming your lights down on.


4. Turn your lights on, and see where they fall. Now adjust the hotspots, the center of the light beams, until they fall directly on the crosses. Keep in mind that the position may change based on weight. For example, I adjusted my lights with a full payload in the back of the vehicle, so I decided to leave them a little higher than center.

5. Double-check your work. If your lights aren’t centered on the crosses, don’t immediately start making adjustments. First, verify that your vehicle is in fact perfectly pointed at the wall and that there are no strange inclines or declines to where you’re parked. If everything is properly flat and aligned, then return to the lights and make the necessary adjustments.
After a little fine-tuning, you should have properly aimed driving lights. It’s now time for the best part, testing them on a new adventure! Get out there and experience something new.
