
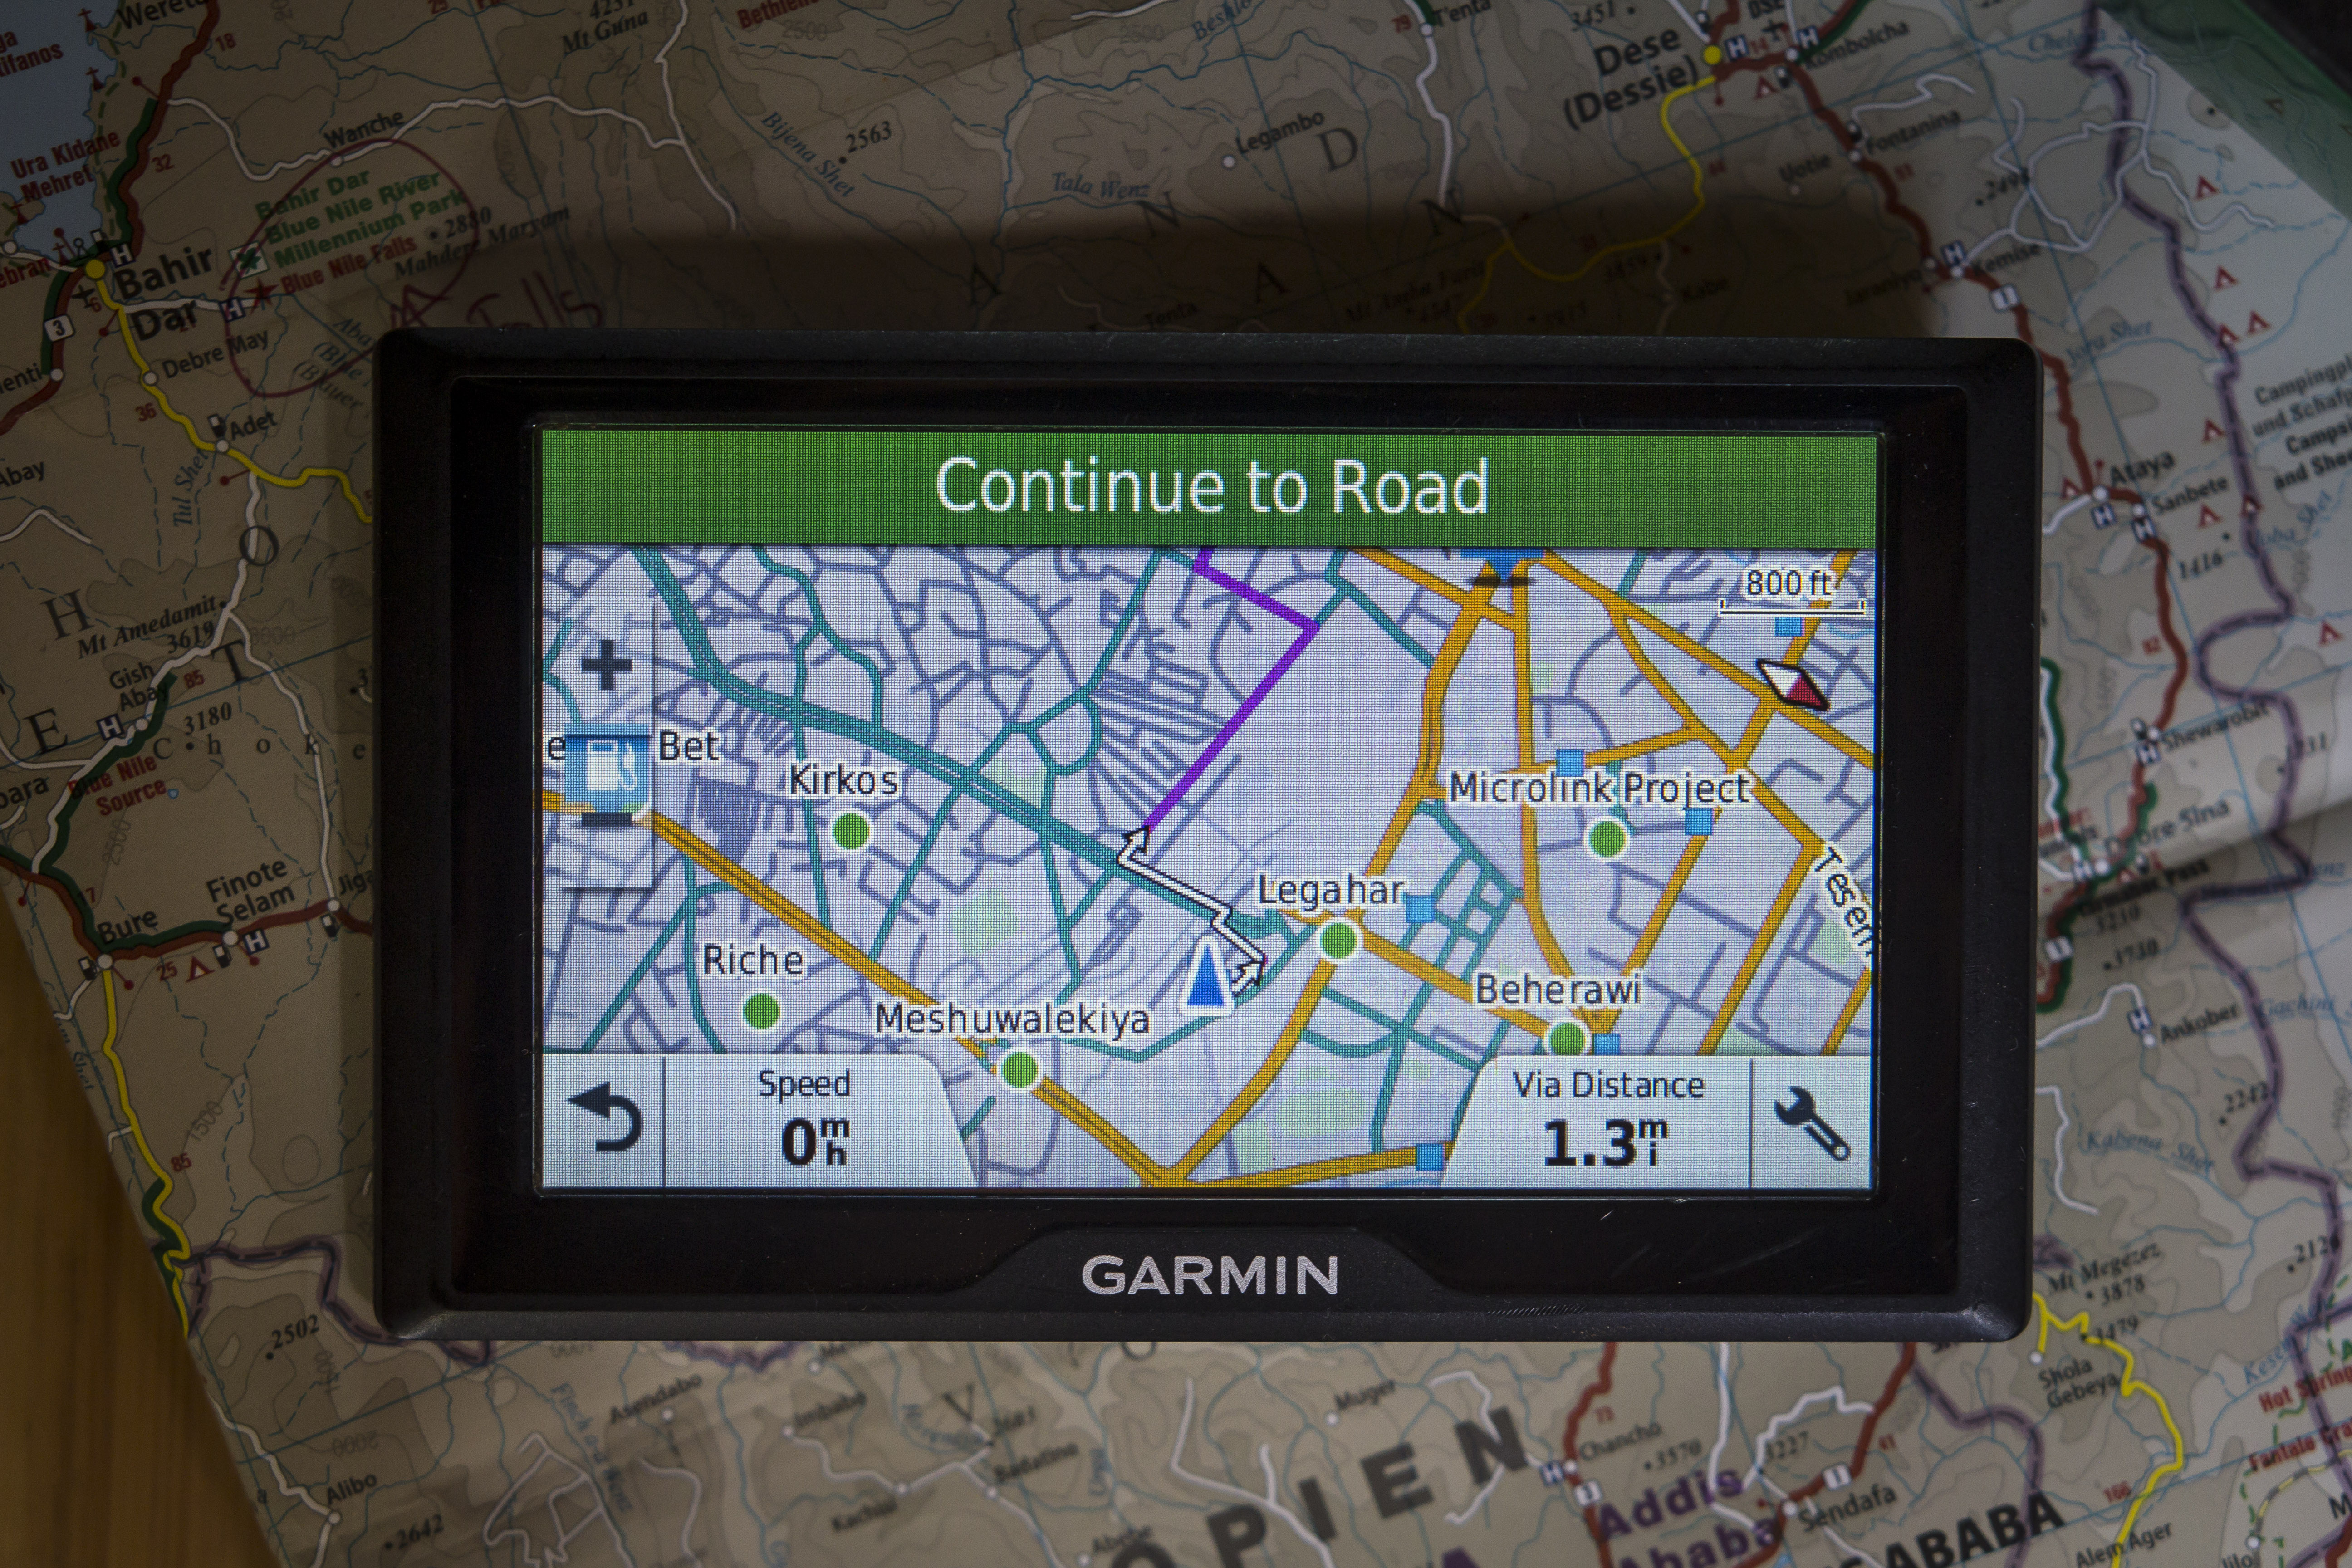
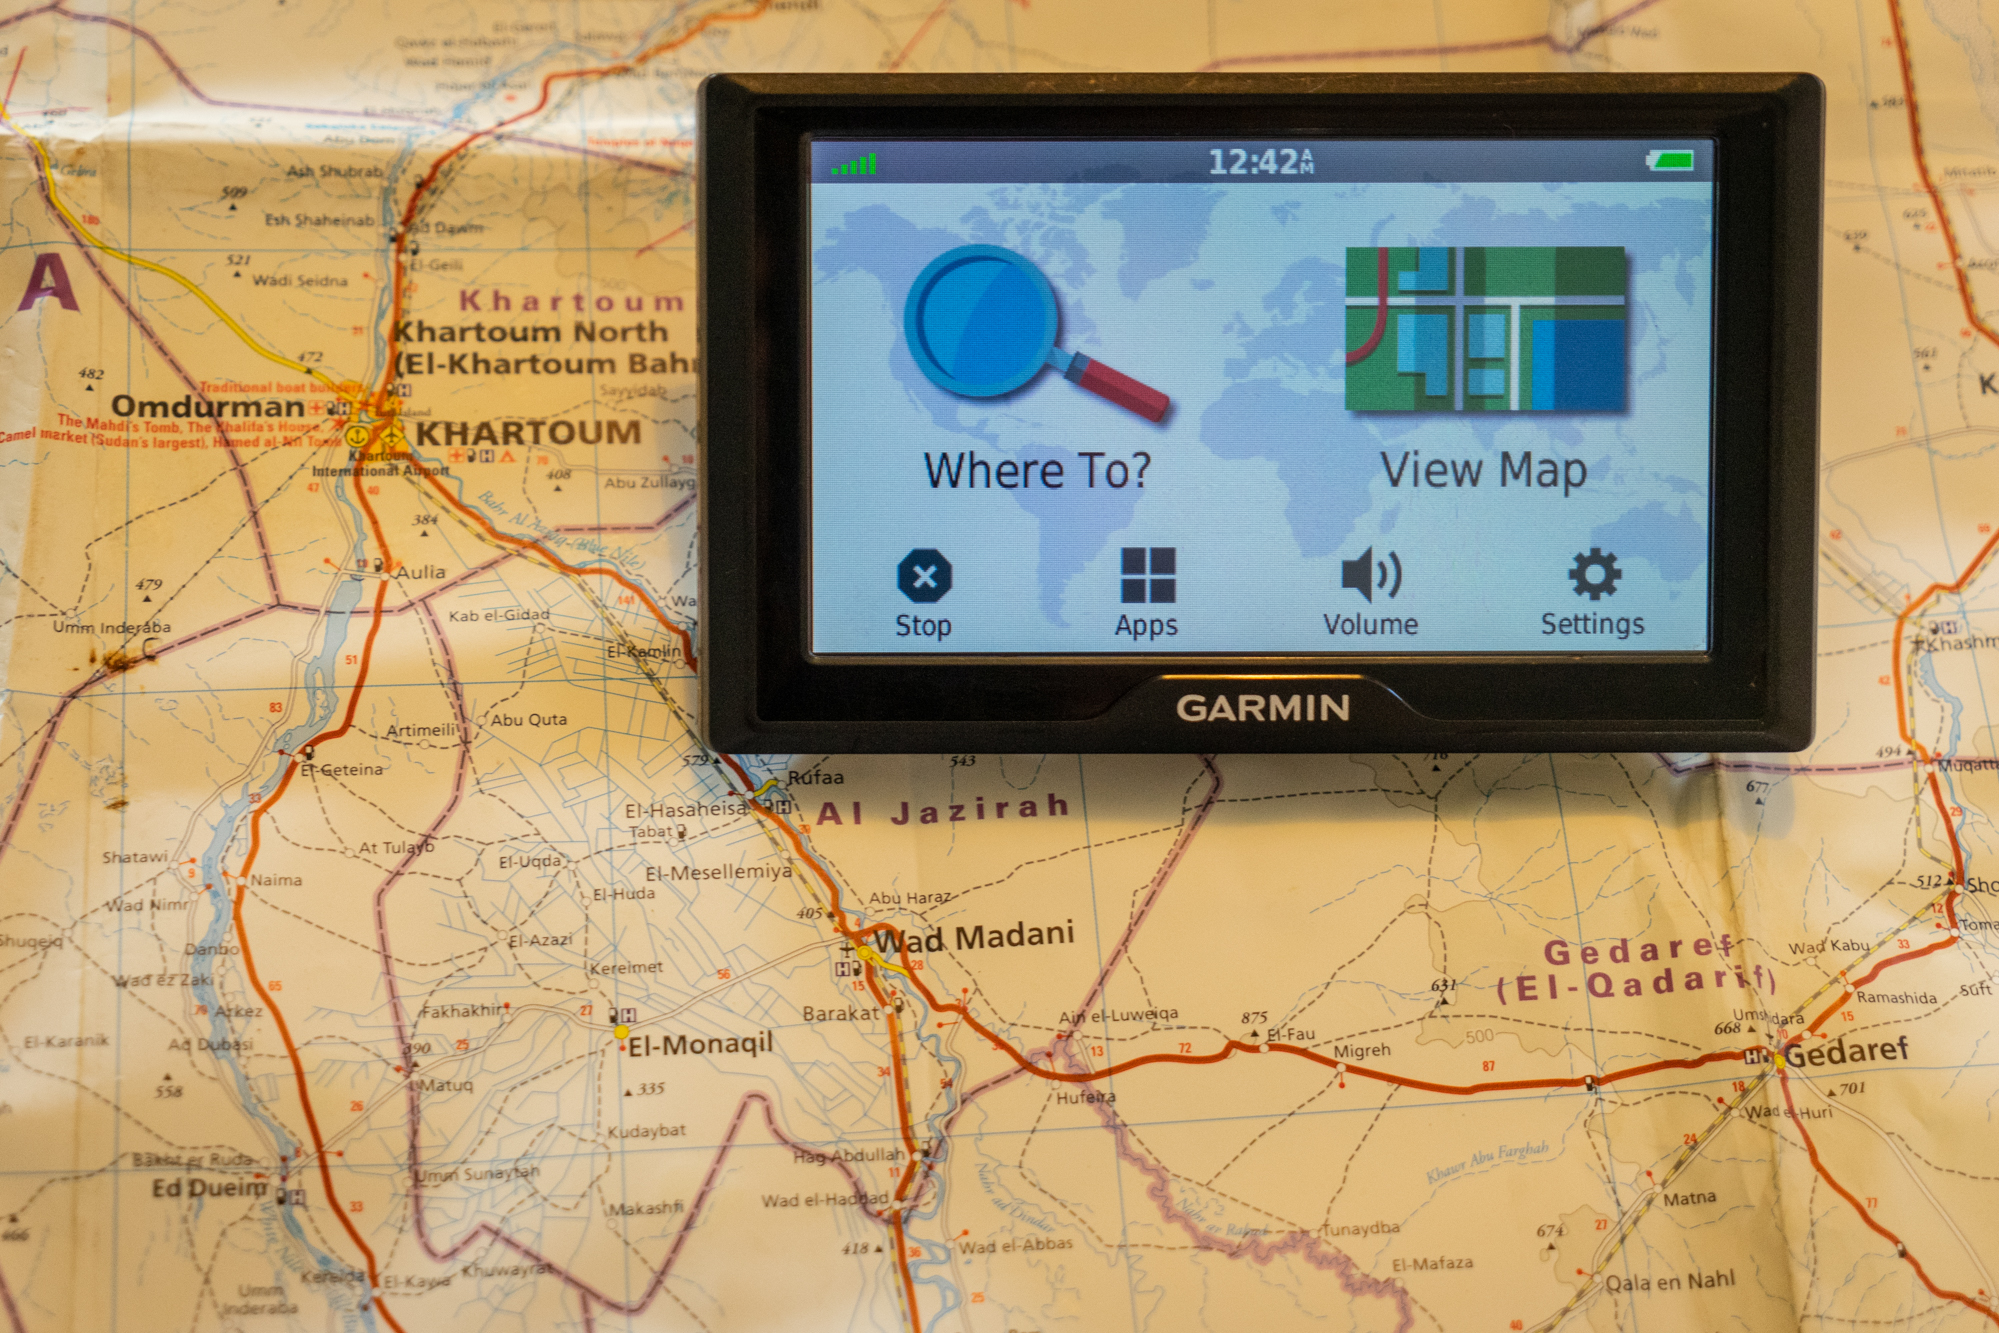
Garmin has been at the forefront of vehicle-based GPS systems for over two decades, and it shows in their latest flagship range, the Drive series, available in 5- or 7-inch screen sizes. The touch screen is bright and responsive and automatically dims to a high-contrast night mode to preserve night vision. Garmin’s mature route-finding algorithms make turn-by-turn navigation a snap.
The remarkable feature of this compact and durable unit is the flexibility provided by the micro SD card slot. The free Open Street Maps can be legally converted for the Garmin, opening up a world of possibilities. These maps are extremely accurate and detailed, containing not only all roads but also walking tracks, gas stations, hotels, restaurants, shopping centres, campgrounds, rivers, lakes, mountains, and borders—to name a few categories. I have repeatedly been in awe of the accuracy and completeness of the maps, whether in the most remote corners of the planet or the world’s mega-cities. After crossing multiple continents, I can count on one hand the number of times the maps have been anything other than millimetre perfect. Free Garmin software also allows iOverlander POIs to be added, combining Garmin’s route-finding with the invaluable community-sourced data, right on your dashboard. With all of this power in one tiny device, you will never again fumble with clumsy smartphone navigation software.
$100 and up | garmin.com
Here are the steps to load Open Street Maps (OSM) onto your Garmin device.
- Visit garmin.openstreetmap.nl/ and select a predefined country or region, or enable manual tile selection and choose your preferred areas of the world map.
- Download the predefined map directly as the file osm_generic_gmapsupp.zip or enter your email address to receive a link to download your custom-built map file.
- Create a folder on your SD memory card called “GARMIN” and place the file gmapsupp.img into that directory. The filename is not important, so long as the “img” file extension is preserved. Multiple map files can be placed in this folder.
- Insert the SD card into the Garmin device and hold the power button for 10 seconds to restart.
- In the Garmin’s settings, choose “Maps” and enable all maps called OSM Generic Routable.
Here are the steps to load iOverlander Points of Interest (POIs) onto your Garmin device.
NOTE: Once installed, the description of the iOverlander place will be displayed on your Garmin device along with the details (kitchen, shower, water, WiFi, etc.).
iOverlander comments are not downloaded or displayed on the Garmin.
- Download and install the free Garmin software “POI Loader” for your computer.
- Go to app.ioverlander.com/countries/places_by_country and download the GPX file on a per-country basis. Name each file downloaded as the country name, e.g., Mexico.gpx.
- Connect your Garmin to your computer with a USB cable, then open the Garmin POI Loader software on your computer.
- Choose “Load new custom POIs onto your device or computer” and select a POI GPX file.
- Select your Garmin device as the destination, and leave the filename as the country name.
- Choose express setup and complete the install.
- After disconnecting your Garmin from the computer, navigate to “Custom POIs” where a new category has been created as the country name containing all the POIs.
