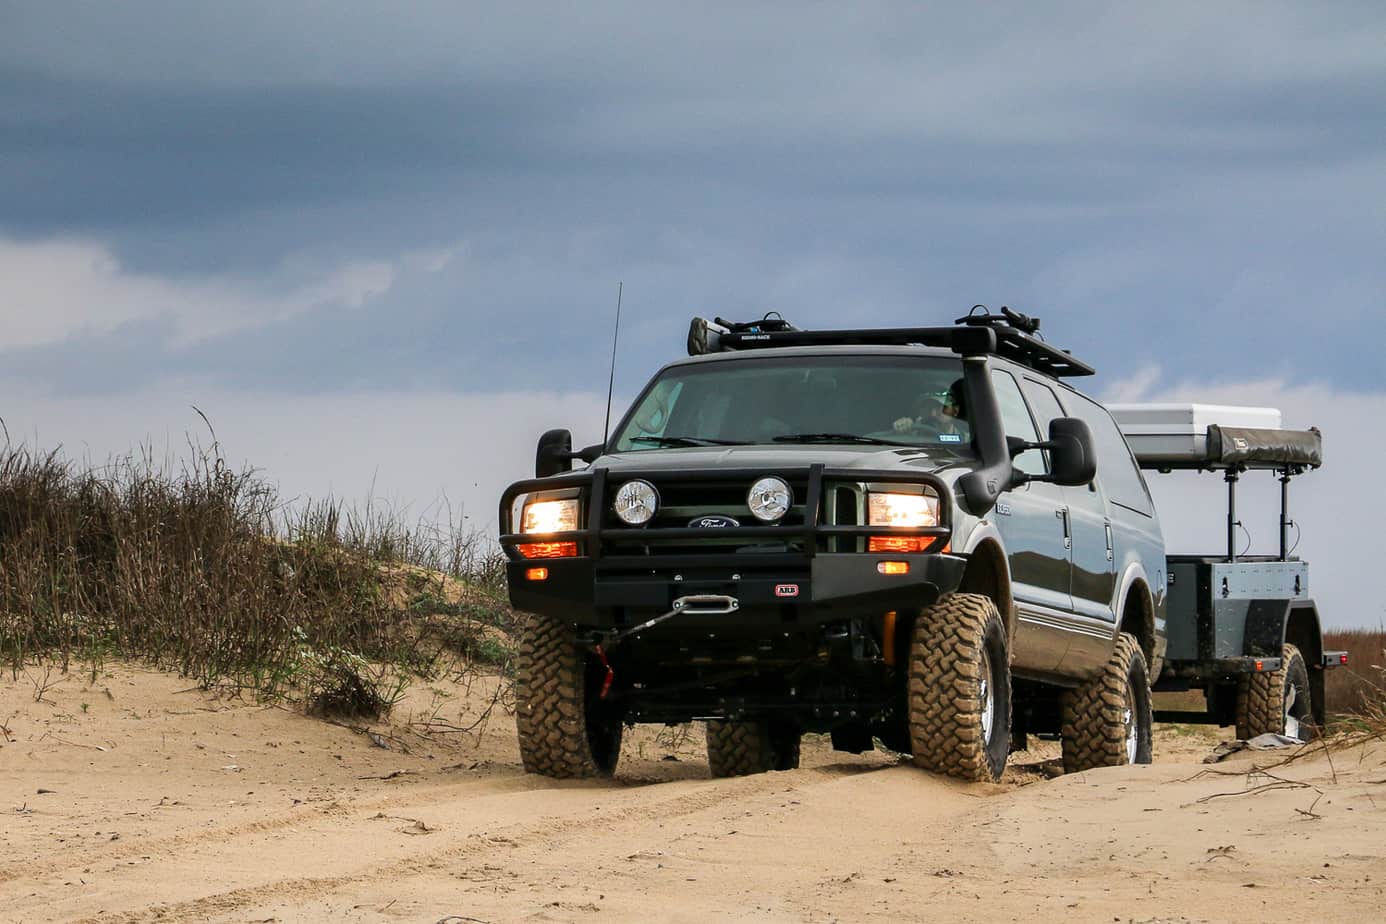
A little over seven months ago we introduced our latest project vehicle: a low -mile, 7.3-liter turbo-diesel Excursion. It had spent the last 17 years living the easy life in a small town garage, but with our purchase came a second chance for a life of adventure. The plan was to turn this low slung SUV into a versatile backcountry vehicle; one that could take the whole family camping, haul a 10,000-lb trailer, or set out on an around-the-world journey with equal ease. It was a tall order to be sure, but one that the Excursion was perfectly suited to fill with a little fine tuning, starting with the suspension.
Part one of this build can be read here.
Suspension
The Excursion has always had a reputation for terrible ride quality. In Ford’s infinite wisdom, they designed these trucks with a softer spring pack than on the F-250s to achieve a “smooth” ride. This concept worked fairly well for the first few inches of travel, but upon any meaningful dip or bump the suspension simply bottomed out and came to a spine-crushing halt on the bump stops. Add 17 years of towing to that system, and you begin to get an idea of the sloppy mess our new project was riding on. We needed a replacement, and fast.

My initial search drew me to the Carli and Icon systems. Both had an excellent reputation, but their prices were downright painful, between $5,000 and $7,000 for a full spring and shock replacement. That wasn’t going to happen without me selling an organ, so I did a little more research and stumbled upon a tried and true system from Old Man Emu. (OME)
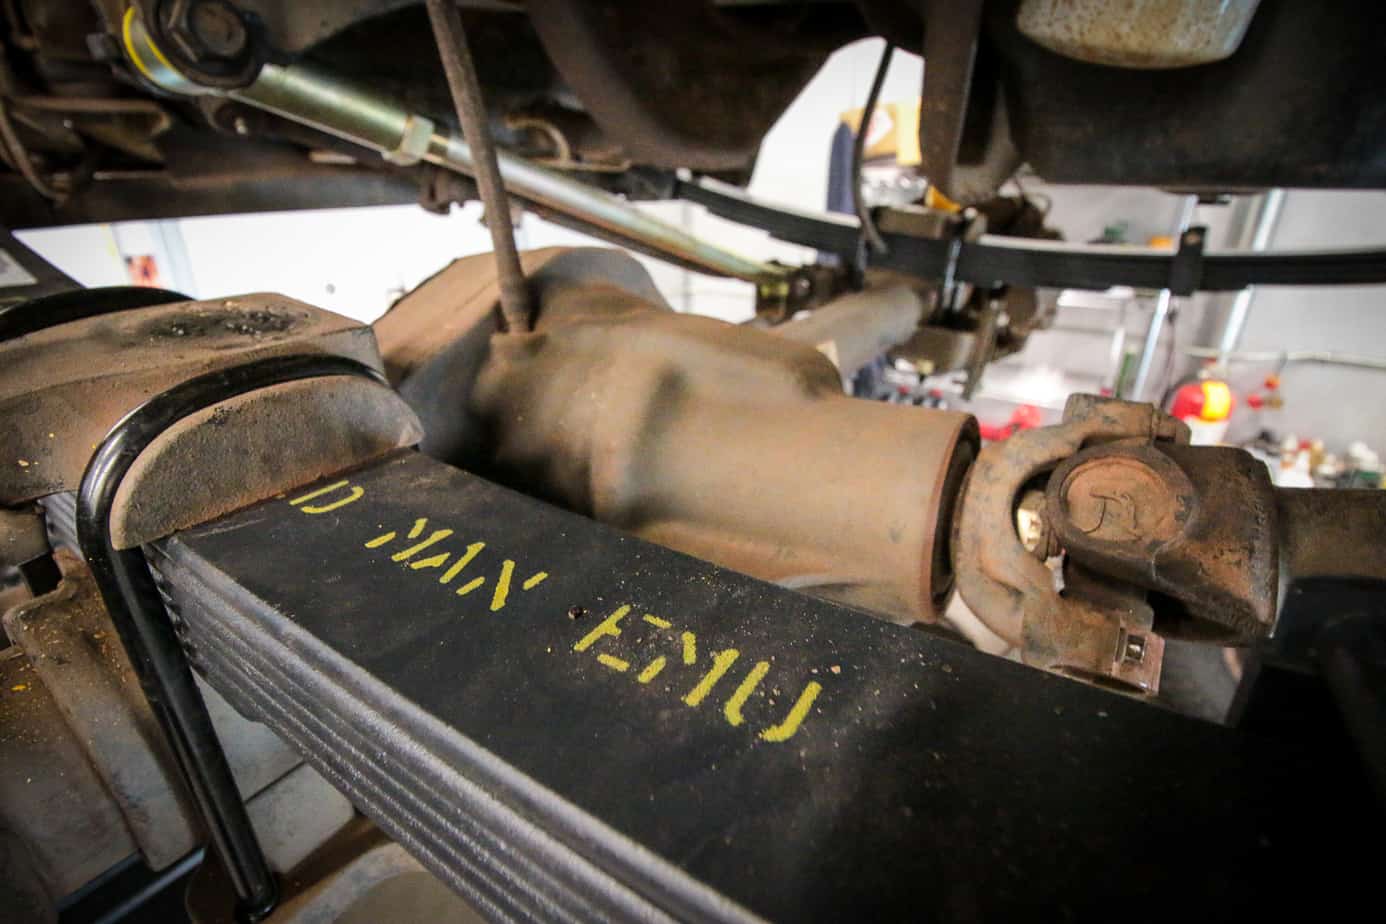
Technically their kit was designed for an F-250, but everything crosses over with the exception of a bar pin in the rear shocks. This isn’t the end of the world though, as you can order a new set online, or simply press the old ones out of your previous shocks and reuse them.
We also decided to install an additional leaf in the rear, which helps compensate for the Excursion’s 44-gallon fuel tank, which is not only larger than the F-250’s but situated further aft.
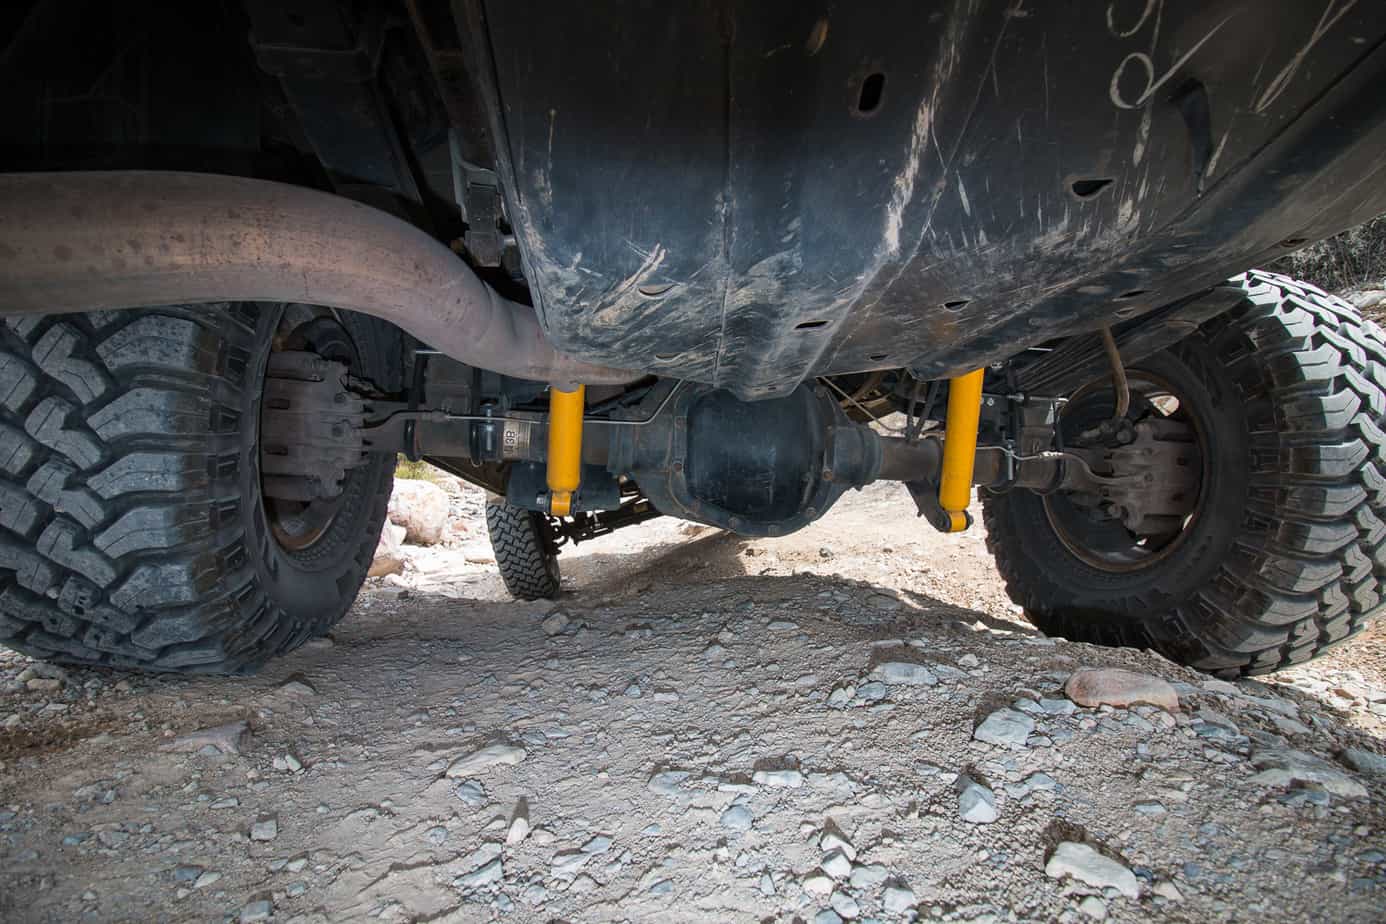
After installing the new shocks and springs, the difference in handling and ride quality was immediately apparent. On dips and ruts the truck no longer bottomed out, but compressed smoothly with a controlled extension cycle back to a neutral position. When making turns or traversing uneven surfaces it felt stable and predictable, despite the sizable increase in height. Of course this is an Australian suspension, so as you’d expect, it soaks up bone-rattling corrugations with ease. At higher speeds there is little to no wandering, and with the Falkens aired down to 30 psi, the ride is downright plush.
In technical terrain the lift gave our Excursion the clearance it so desperately needed to avoid dragging on rocks or high centering on crests, and the articulation is excellent, even with the sway bar attached. After thousands of miles there is really only one crucial weakness with this suspension, and I admit it can be annoying.
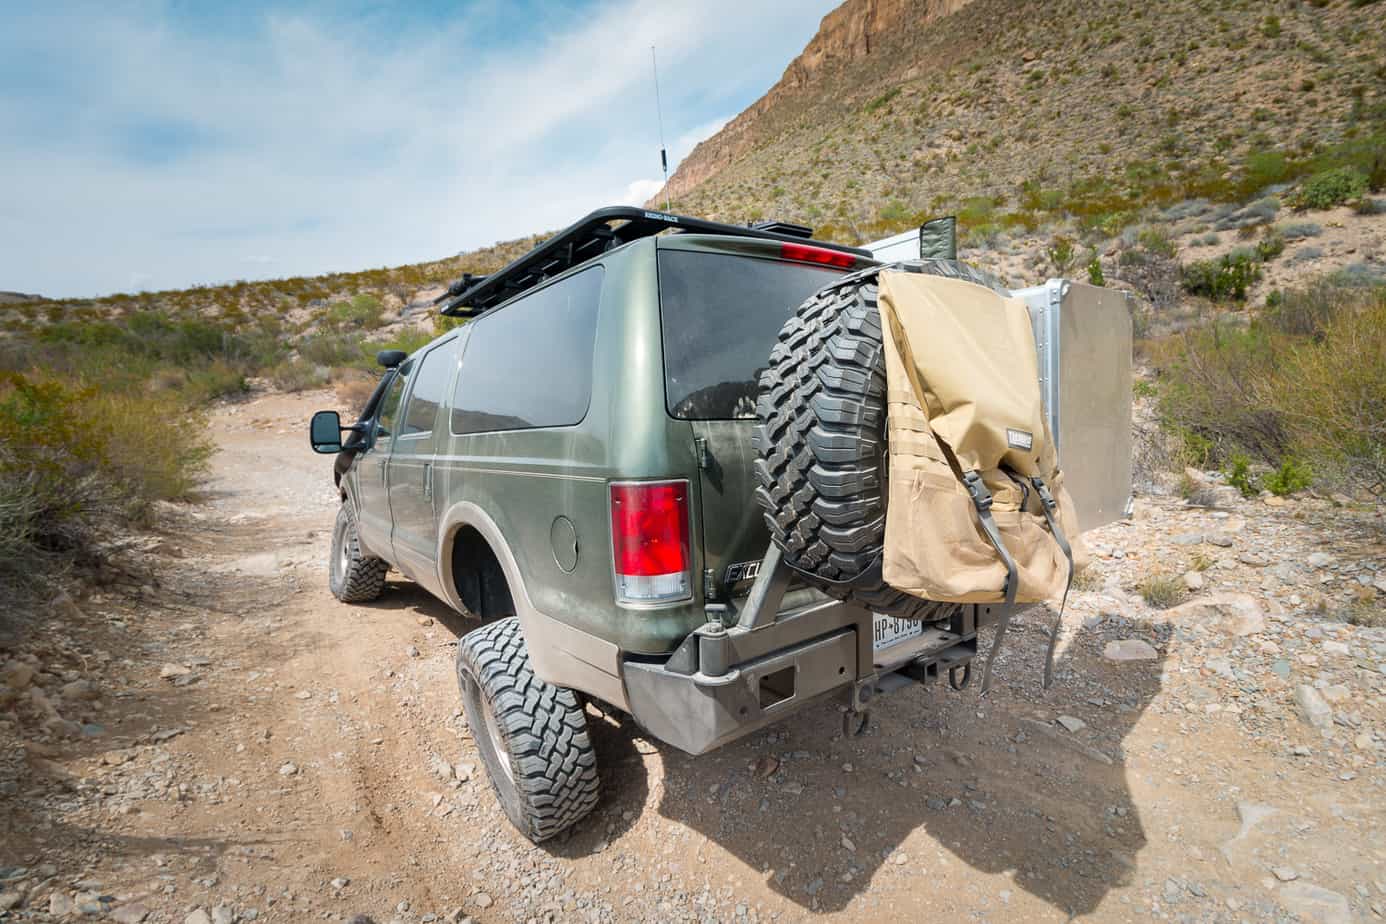
On trails with embedded stones or loose rock, the OME system simply has too much compression damping for the rough conditions, which results in a rather harsh ride regardless of speed. Bringing the tires down to 20 or 25 psi certainly helps, but after a few hours of bumping about the cab, a $6,800 Carli suspension almost sounds affordable… almost.
Tires
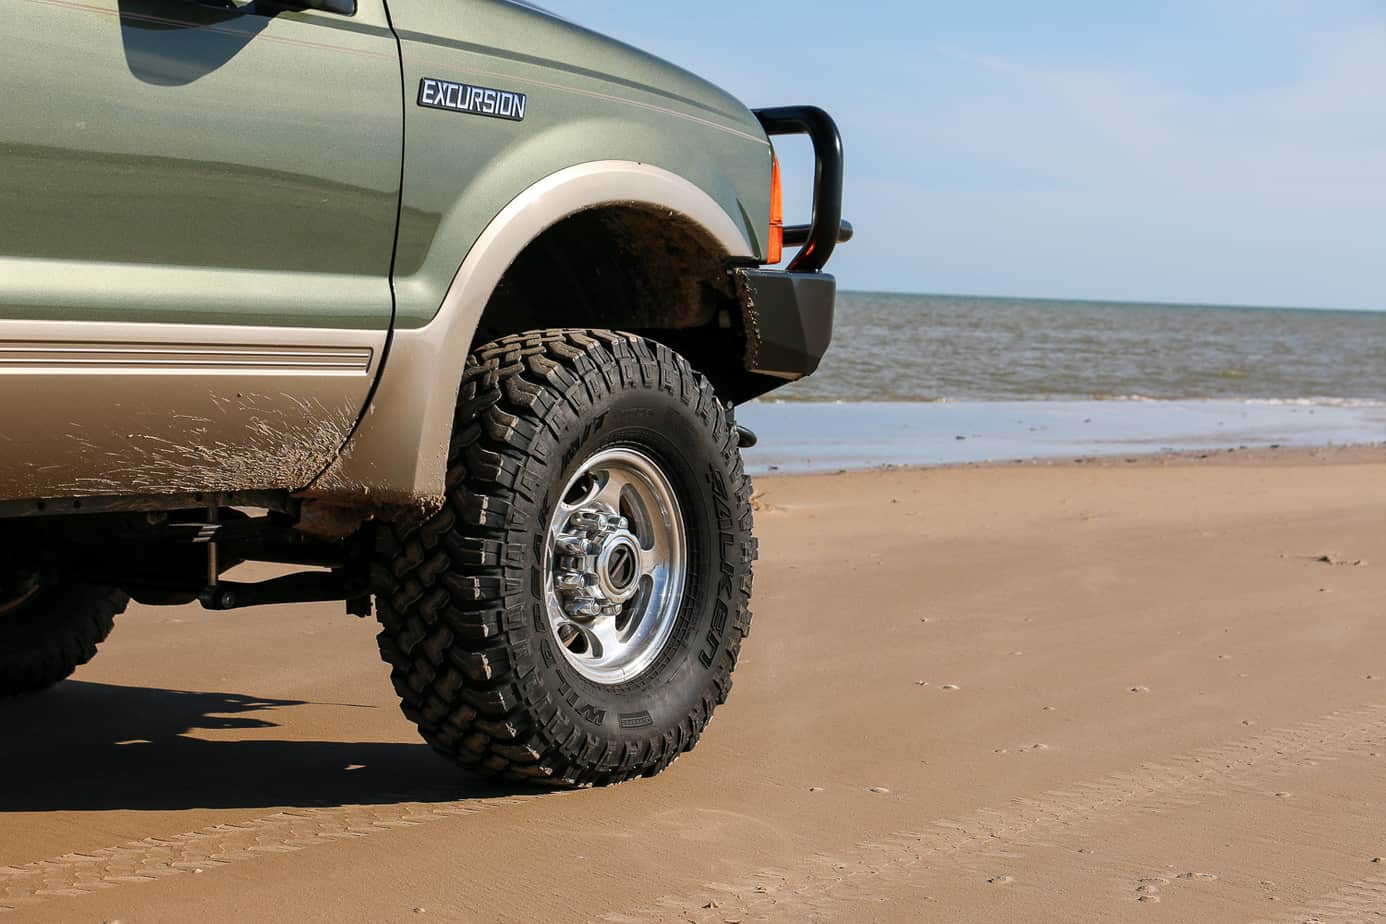
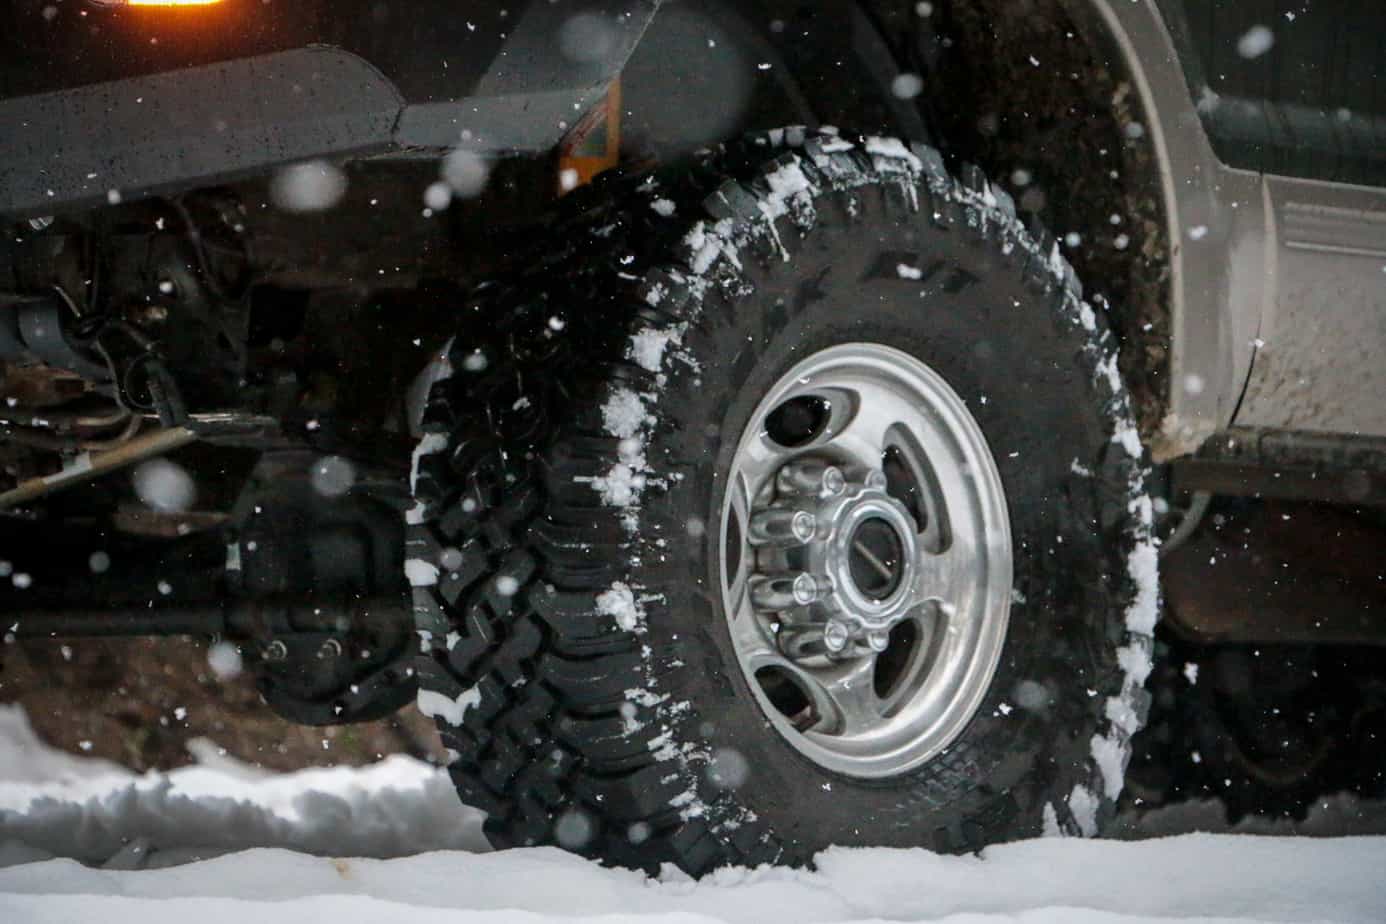
Since the Excursion is such a large and heavy vehicle, we wanted to run at least a 35-inch tire. This not only fills out the look, but more importantly provides additional traction and flotation on the trail. Given the truck’s 3.73 gears, we felt that a 37” might be too much for the transmission, so we selected a set of five 315/75/R16 Falken M/Ts. Thus far, we couldn’t be happier with that decision. Traction is excellent, their side walls are amazingly durable, and they are surprisingly quiet for a mud terrain. We have more to say about these tires than this article allows, so look for more details in our long-term review.
Front Bumper and Lights
Bull bars are a hotly debated subject around our office. Their positive and negative aspects balance out closely, and any number of factors can tip the scales for or against their use. Fortunately, our decision was an easy one thanks to our recent relocation to Texas. No, it’s not because bigger is better.
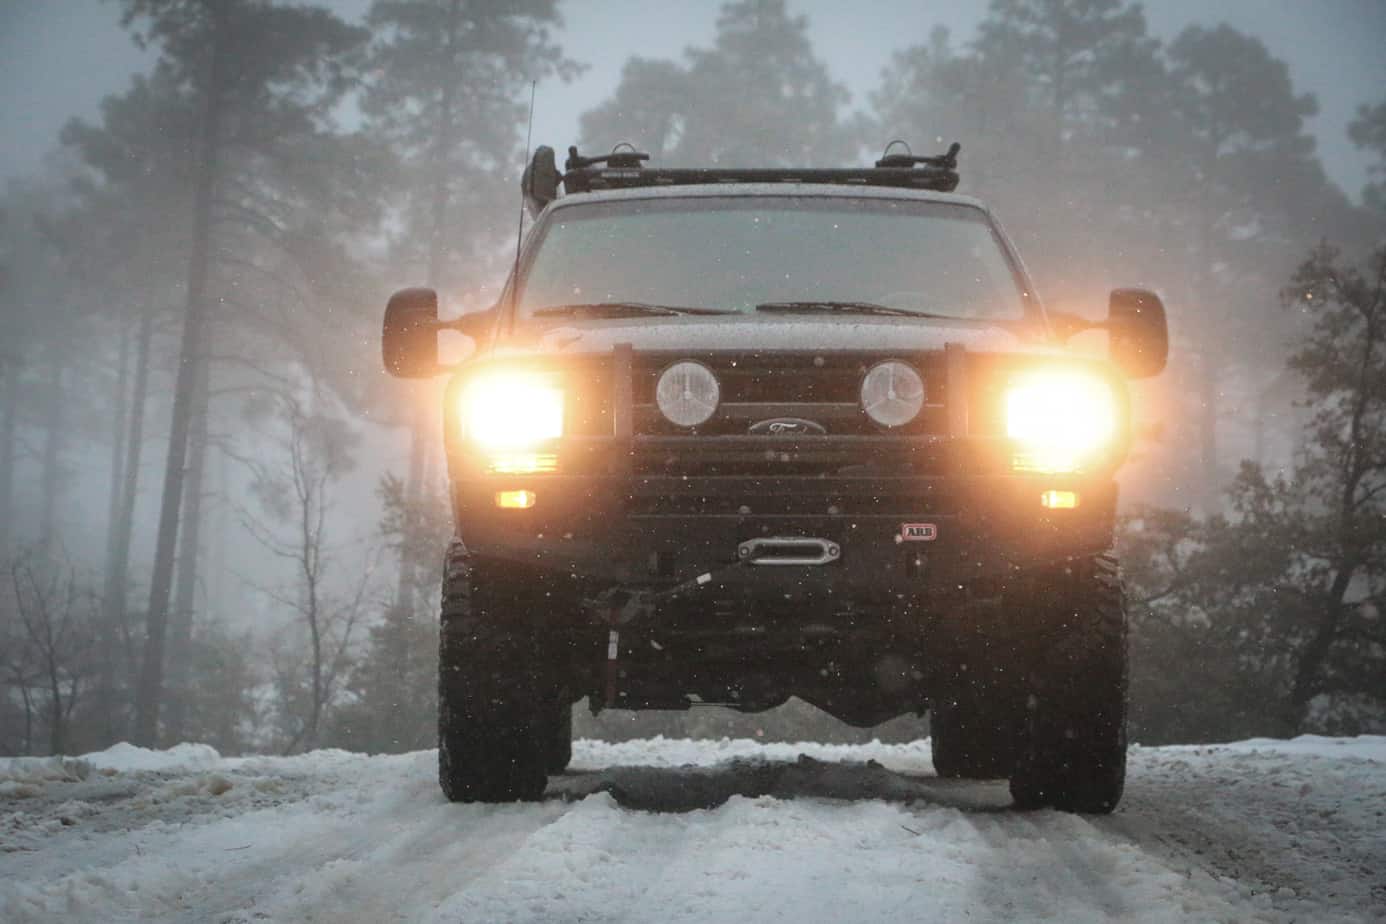
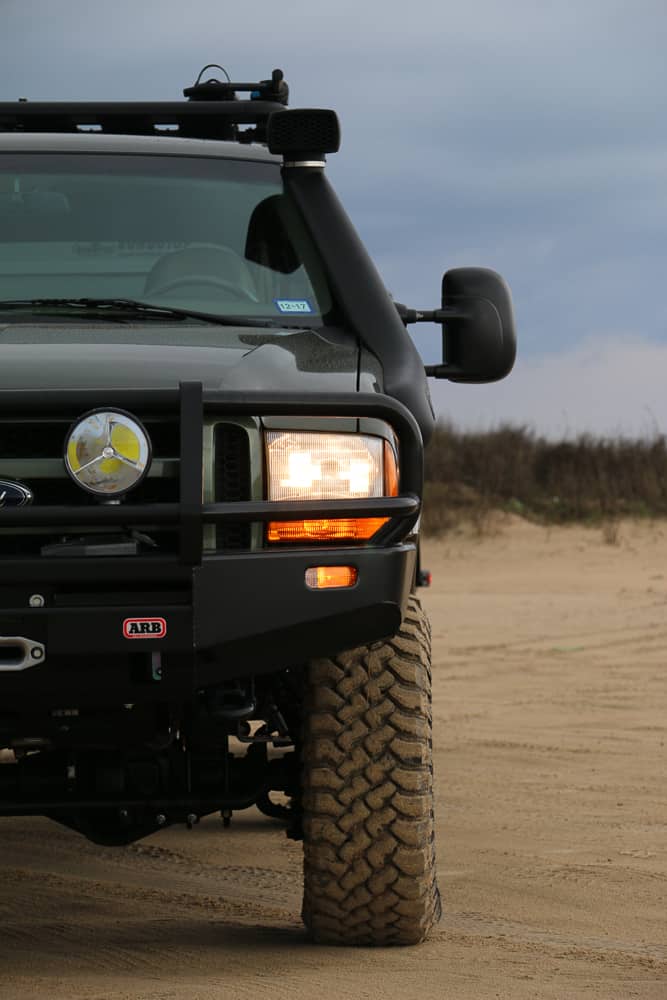
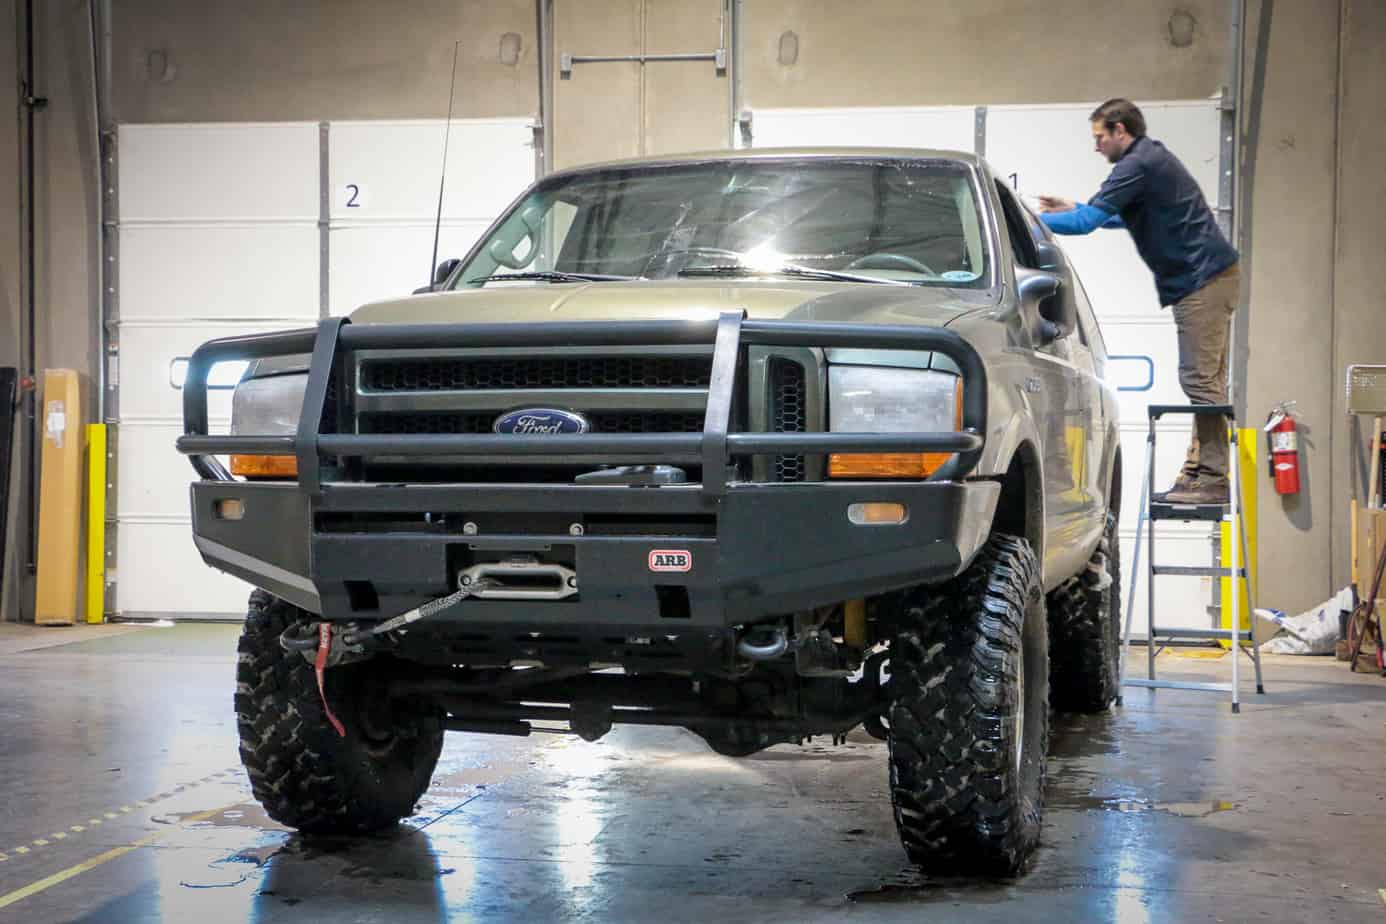
Deer are a part of everyday life here, and hitting one in the backcountry can quickly disable a vehicle, injure the occupants, or leave them stranded far from help. Even in the best case scenario, an animal strike would likely cause enough damage to lead an insurance company to total our excursion due to its low insurable value. Since none of those scenarios are particularly attractive, we decided that protecting ourselves and our vehicle with an ARB bull bar was a good investment.
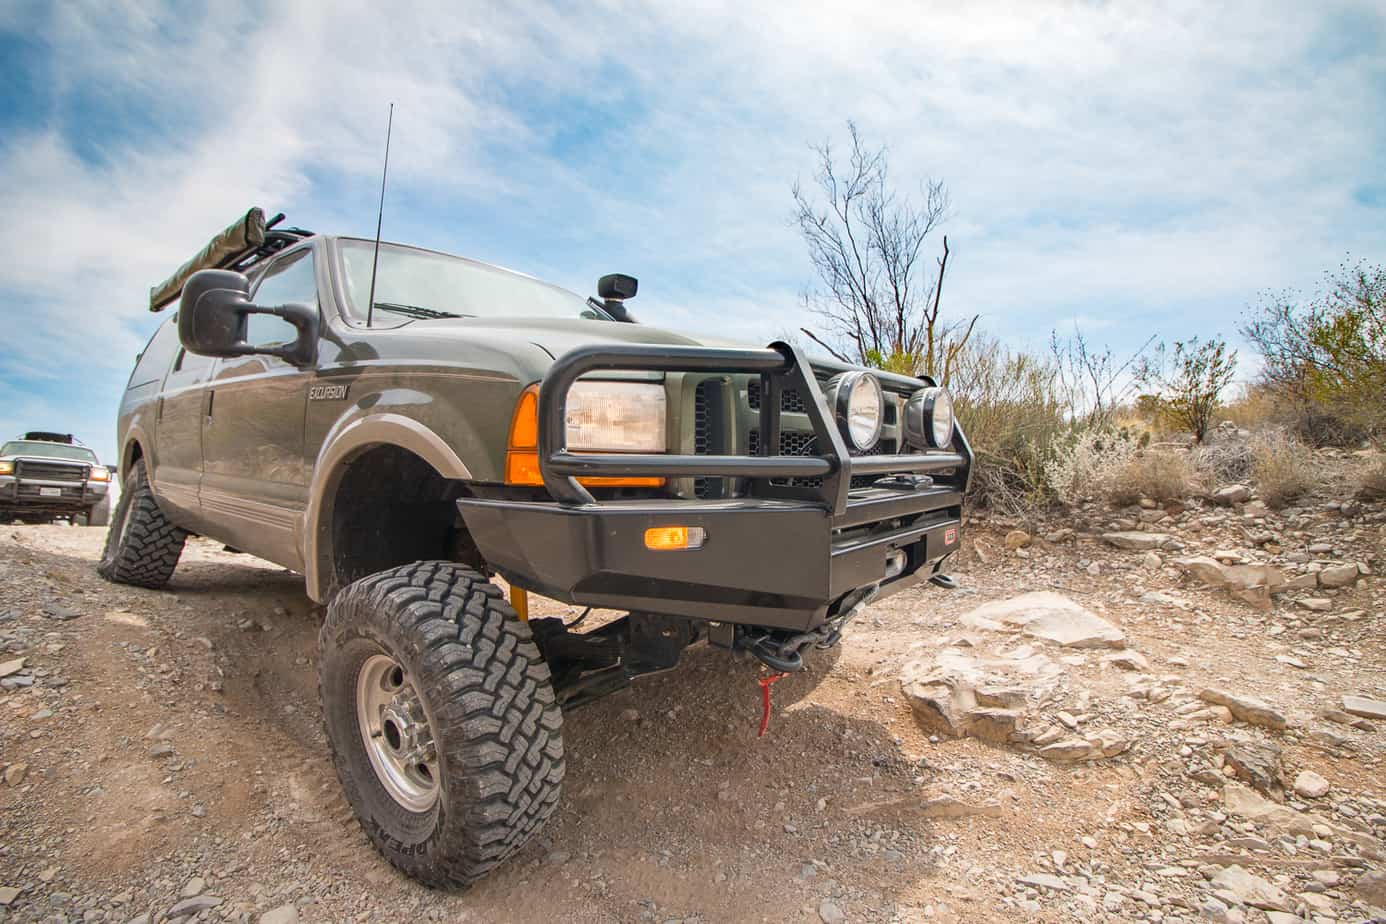
For those who aren’t familiar with ARB bumpers, I encourage you to read our full review of them here, but to summarize, they keep the occupants safe by deflecting animals down and to the sides of the vehicle, while shielding vital engine components from harm. Their modern bumpers are all air bag compatible, and each series has been crash tested to prove they maintain the factory crash pulse.
Of course enduring the strike is only half the battle. Seeing the accident before it occurs is equally important, which is why we chose to adorn our new bumper with a set of IPF Extreme LED Sport lights. The driver’s side light is a spot beam which illuminates a long and narrow stretch of the road ahead, while the passenger side is a touring beam for coverage to the sides of the road. This combination gives us far more visibility than our outdated headlights, and has already saved us from two impacts since January.
Winch
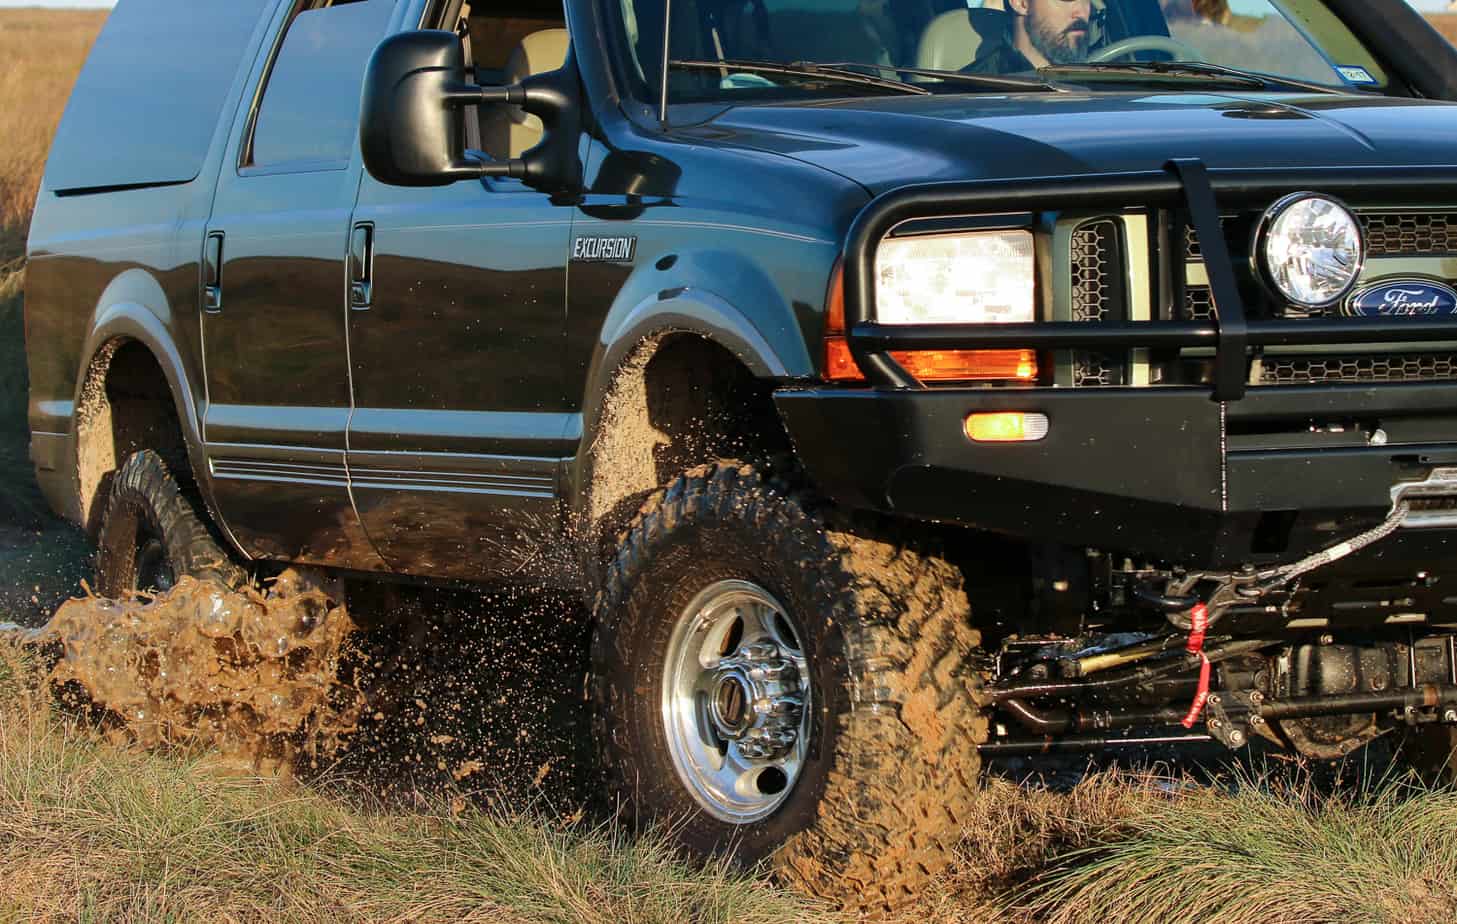
From the beginning we knew that our Excursion would need a winch. Due to its size and weight, there is very little chance of another four-wheel drive being able to extract the truck should we become stuck, so it’s imperative that we be entirely self-sufficient when it comes to recovery operations. For this, we turned to the oldest manufacturer of recreational winches, Warn Industries.
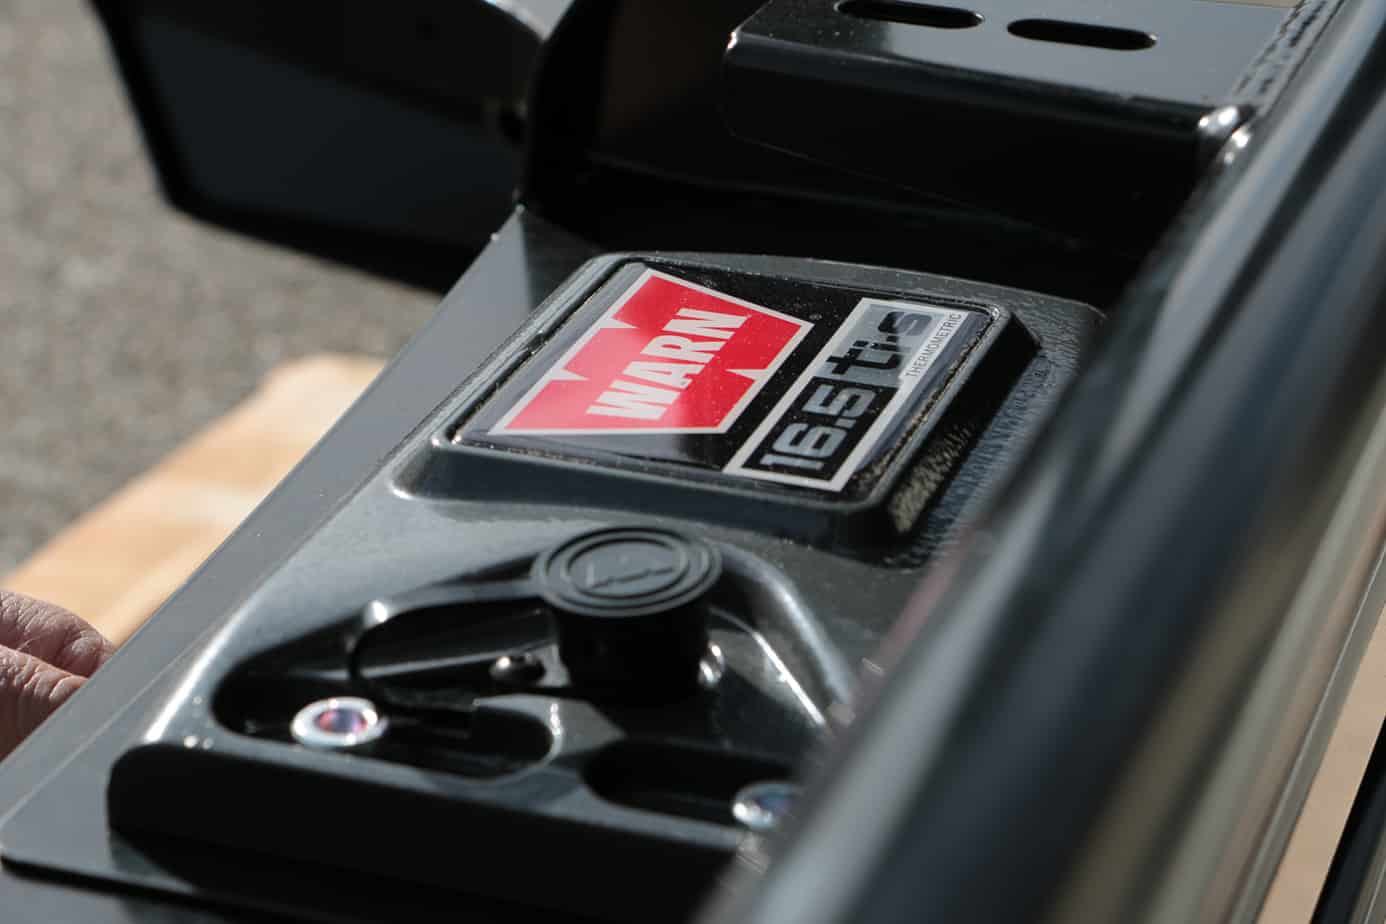
From their lineup we selected the 16.5 Ti-S, the most powerful winch in their truck series. As you might have guessed, the 16.5 stands for the 16,500 pounds of pulling power, and the S denotes synthetic, for the 80 feet of Spydura Pro synthetic line wrapped around the drum. It also features a thermometric indicator light for feedback during operation, and an 18,000-pound EPIC hook to handle the strain of large vehicle recoveries. I’m sad to say that we haven’t gotten the chance to truly put this winch to the test, but with months of travel coming this summer that will soon change.
Roof Rack and Awning
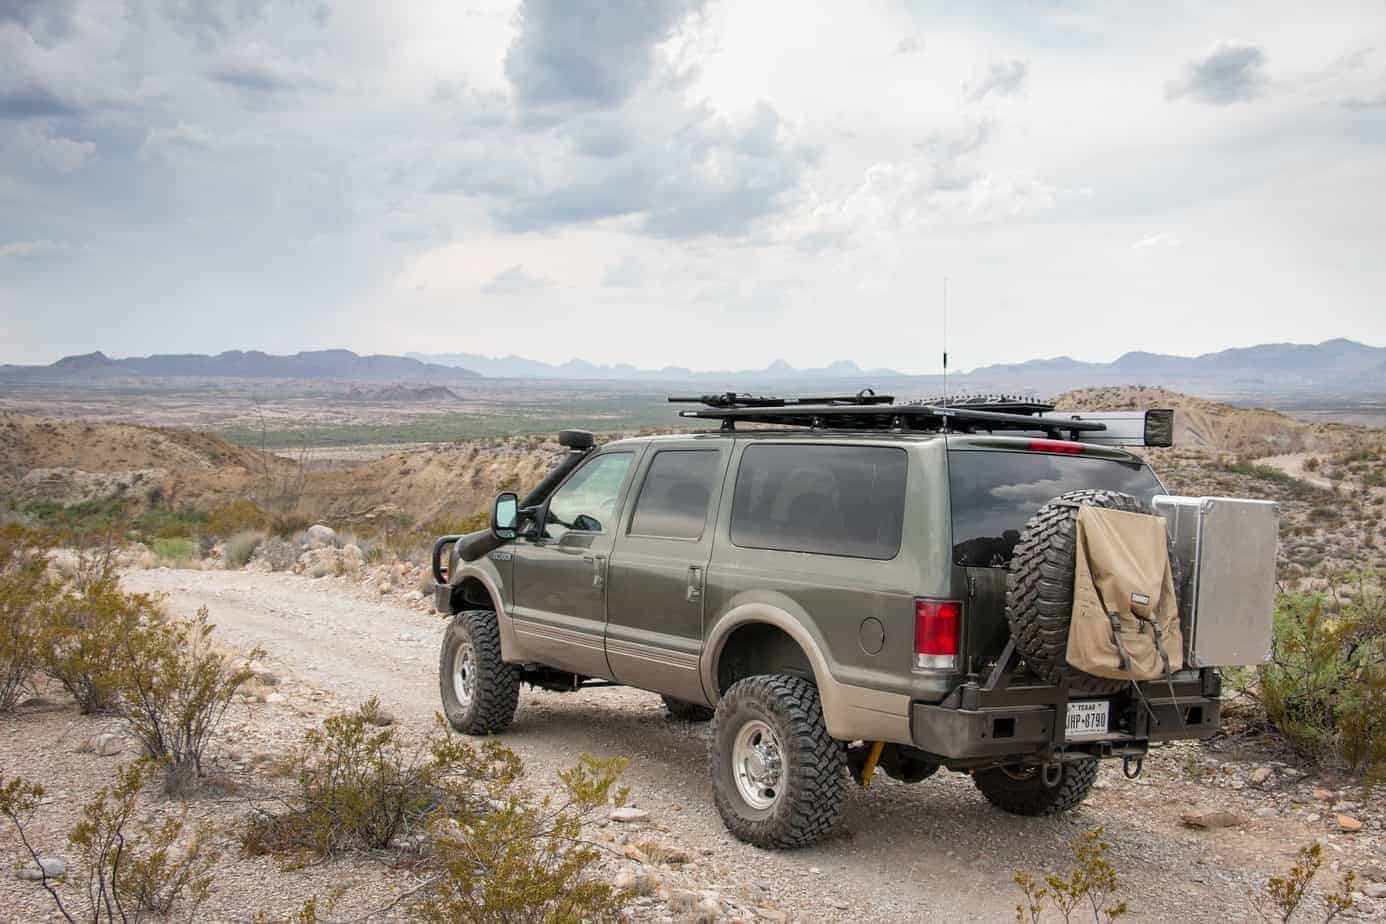
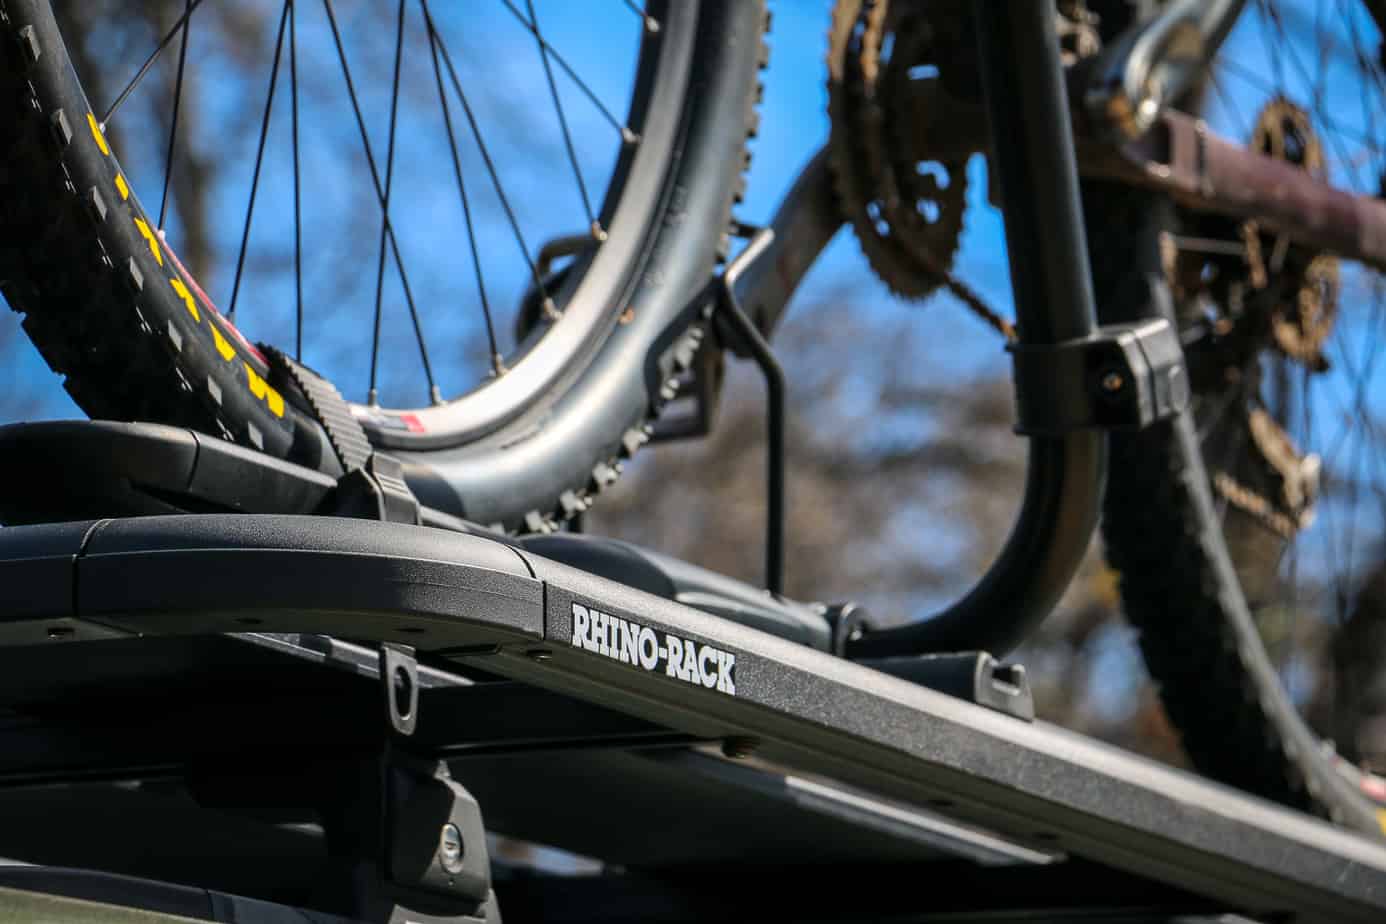
In order for the Excursion to comfortably serve as a daily driver, tow vehicle, and family camping machine, we needed to remain flexible with cargo space and seating capacity. This could have been done with drawers or other interior systems, but we opted for the simpler route of installing a Pioneer Platform from Rhino Rack. This allows us to carry seven people, their bags, and their camping gear out for the weekend, which would have otherwise been impossible with just interior storage.
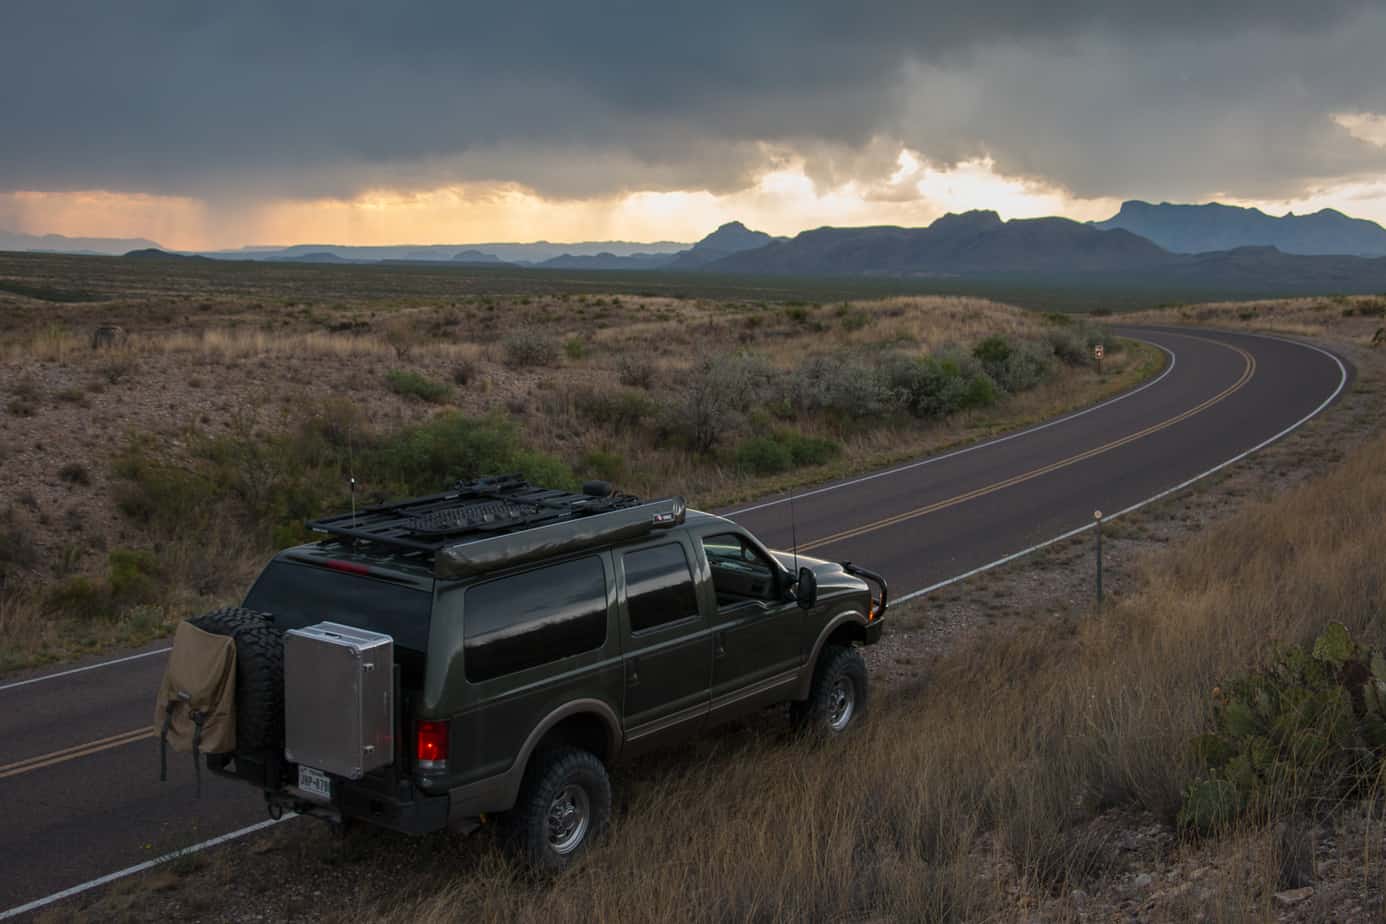
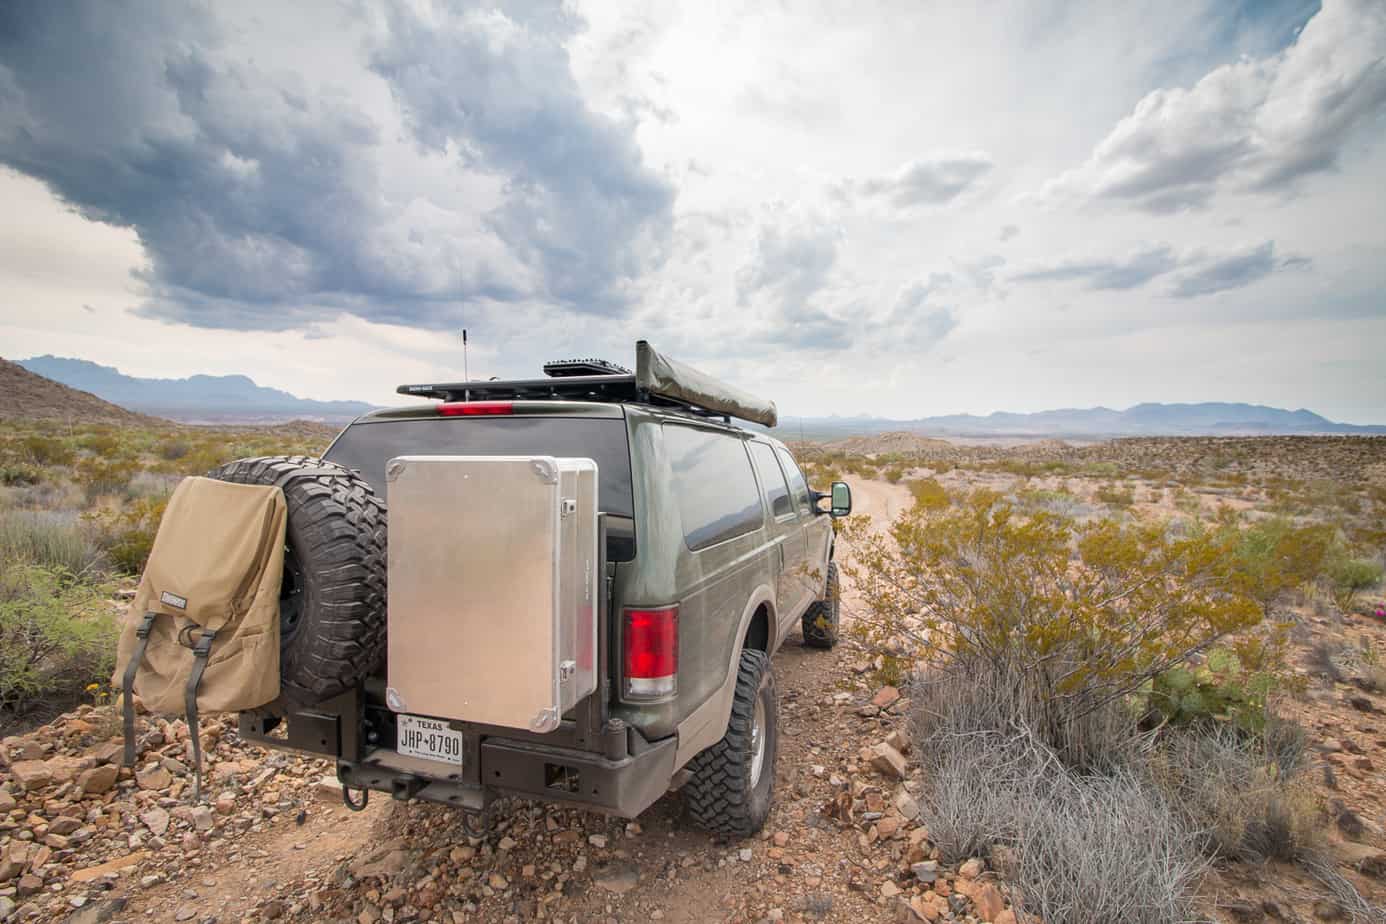
On top of the rack we bolted four different accessories sand ladder mounts, two bike racks, and a Foxwing 270° awning. All four have been used regularly since their purchase, but it is the awning that plays the most critical role. It gives us an escape from the heat and sun when we begin to burn, shields us from rain and snow during bad weather, and most importantly, provides a protected space for me to cook and work while living on the road.
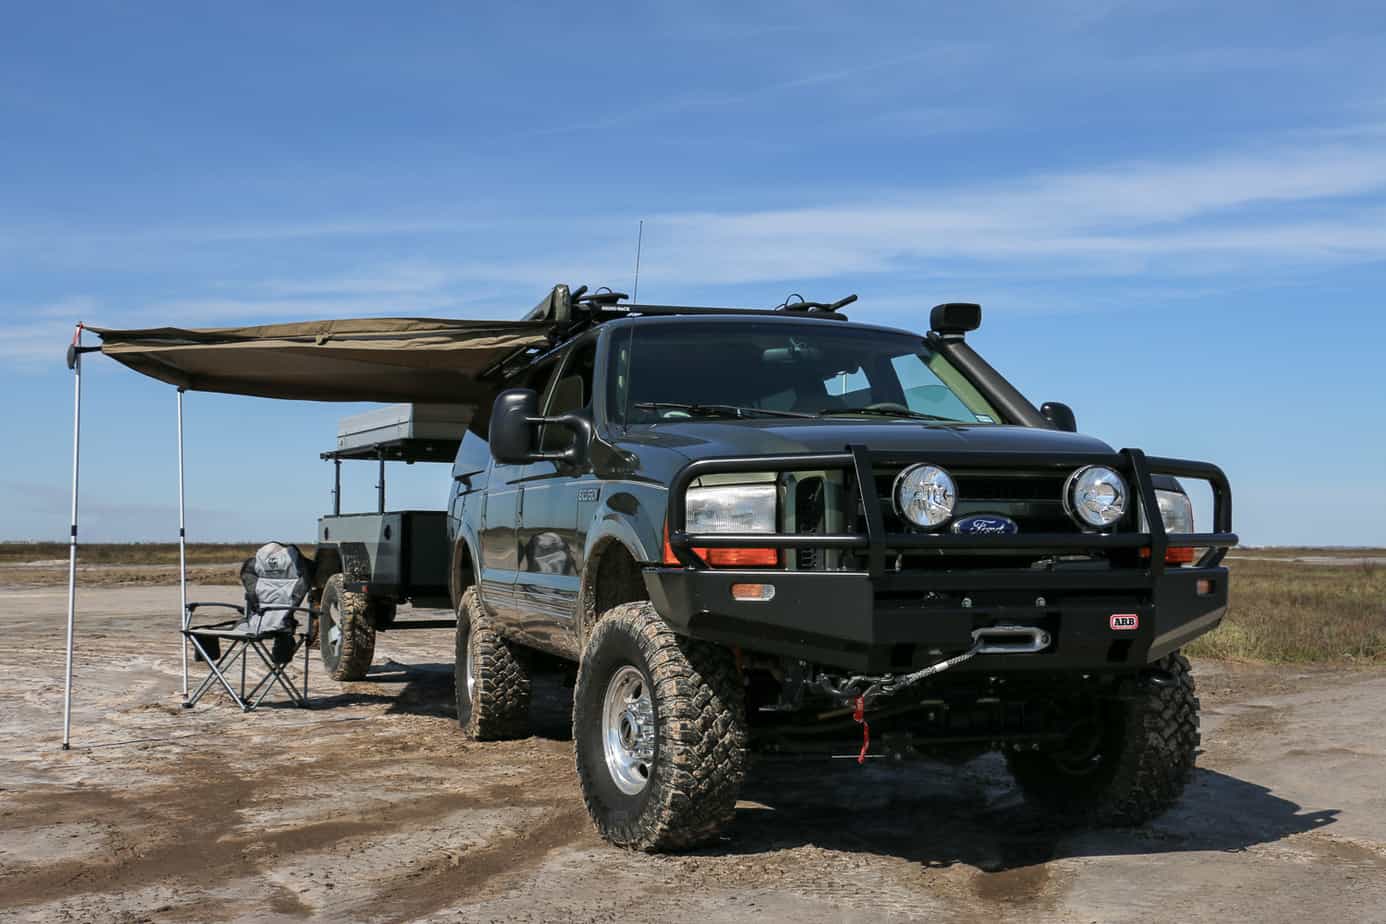
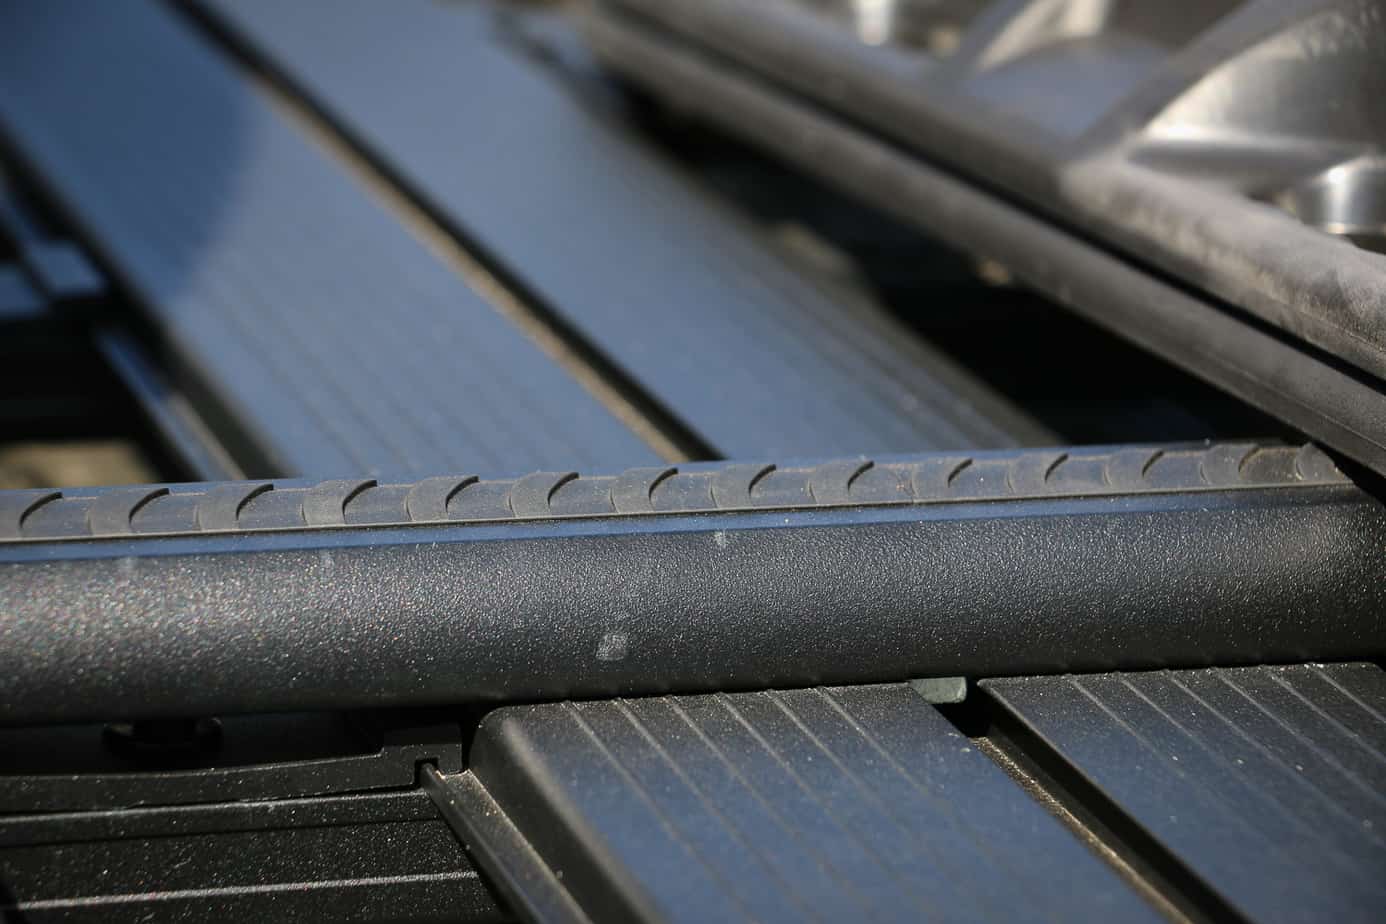
For the extra storage space of the rack and convenience of the awning we had expected to pay the cost of wind noise and decreased fuel economy, but surprisingly both are negligible. This is partly due to the rack’s low profile design, partly to the already massive size of the Excursion, and partly to the nearly obsessive way Rhino Rack streamlines everything. For example, the awning cover is made to be tighter than most which eliminates flapping, and the zippers are tucked beneath Velcro straps to prevent them from clacking in the wind. All edges are smoothed to let air flow over them, and Rhino Rack even provides rubber strips to fill in the gaps running against the wind. The combination of all these efforts is a seriously attractive roof rack that only produces a fraction of the noise and resistance of the old steel trays.
Snorkel
When consistently driving on back roads for work and weekend adventures, dust can quickly accumulate and block air filters. To help alleviate this problem, we purchased a new in box TJM raised air intake from a member on the Expedition Portal Forums. Truthfully, this was an amazing stroke of luck, as no one was stocking an F-250 or Excursion snorkel in the U.S. at the time. Since then we’ve heard that PSP Diesel in Houston, Texas, has ordered several, and will be stocking them and other hard-to-find parts for diesel overland vehicles.
Rear Bumper
The final piece of the exterior puzzle was figuring out what to do with our spare tire, which no longer fit inside the truck. We had the option to run it on the roof, but rather than raise the CG we decided to replace our already damaged rear bumper with a dual swing out from Buckstop Truckware.
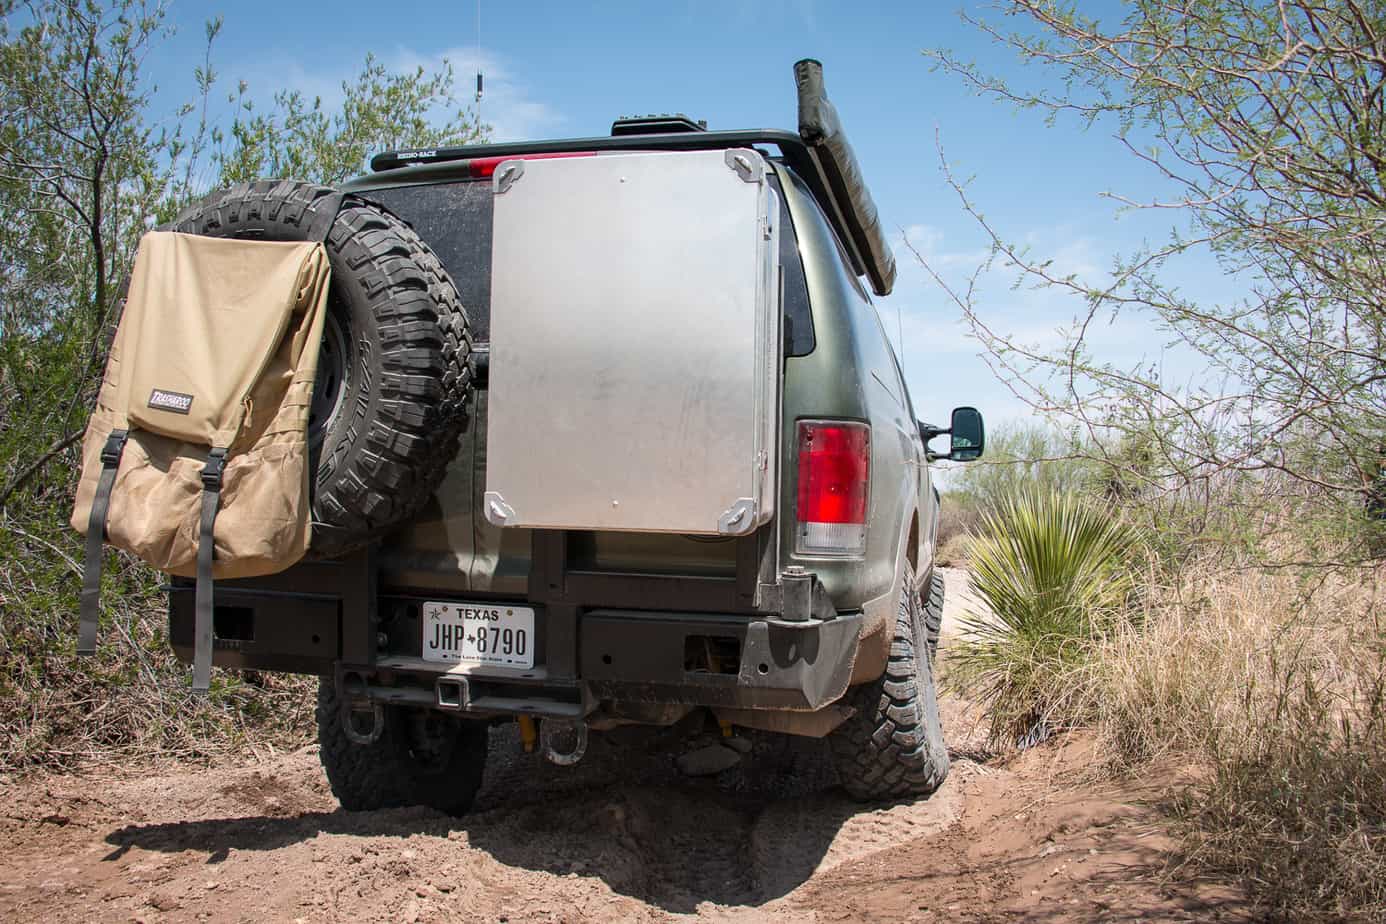
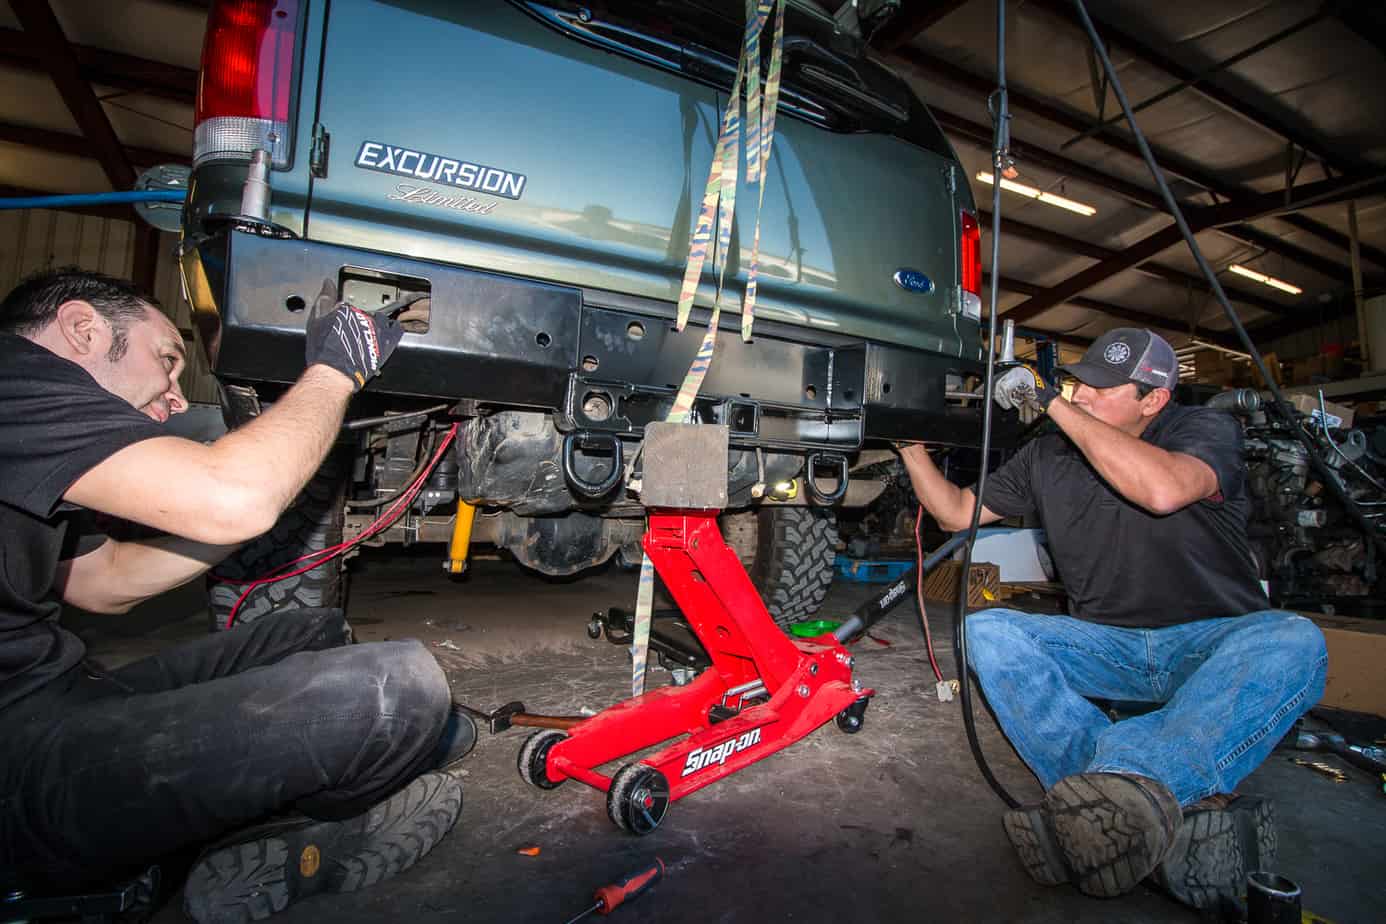
While I had originally been drawn to the lighter weight of aluminum, it was important that the bumper be able to take a hit on the trail or withstand a minor impact in traffic. This of course lent itself to steel, and after looking at Buckstop’s extensive client list, which includes the Turtle Expedition, I was sold. Thus far I’ve only completed one trip with this bumper, so it’s too early to give any kind of review, but you can expect to see one sometime this fall.
With one swing-out already dedicated to the tire, I felt that the other one needed some secure dry storage to free up even more interior space. For this we selected a 120 liter Alubox from Equipt Expedition Outfitters. I had originally seen the concept on Chazz Layne’s Discovery II, and simply upped the scale a little for the Excursion. Our current plan is to run the entire kitchen from this box, but the final design has not been set.
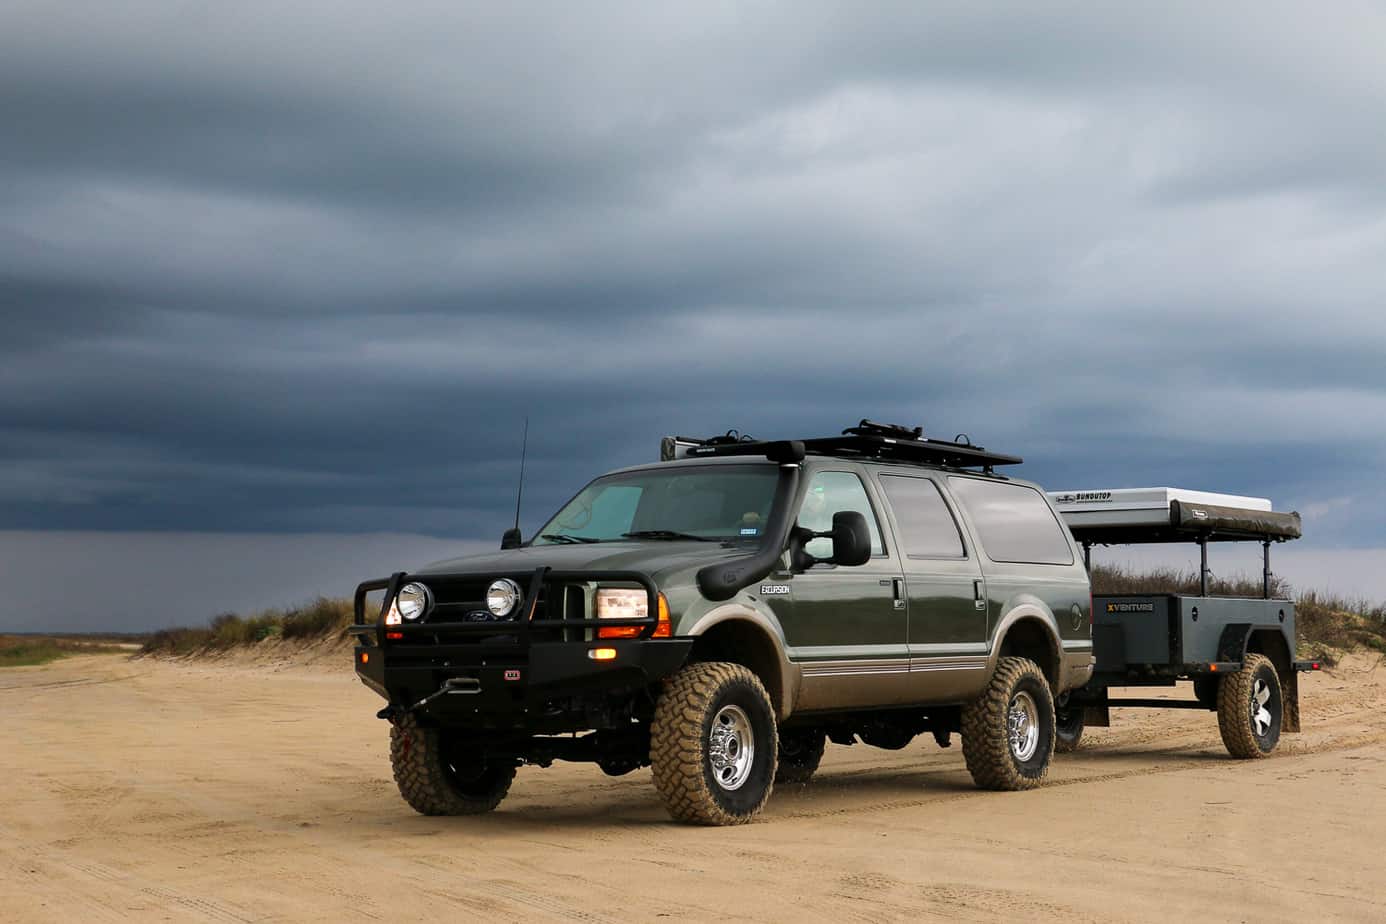
A lot has changed on our Excursion since the day we drove it out of a small garage in Georgia. It is more capable, more comfortable, and more versatile than ever before, but it is still not complete. Our last few alterations will be for camping and cooking, but for now, those must wait. Summer has finally arrived, and with it a chance to set out and enjoy what really matters; family, friends, and the beauty of the world around us. We’re off to see what new vistas we can find and new memories we can make, so until next time, keep exploring!




7 Comments
MATTHEW F BERG
August 13th, 2018 at 7:04 amOMG I think you’ve built my dream vehicle! I’m curious to know how you’ve built out the “Kitchen” Do you have any other links or videos?
Jon Anderson
September 20th, 2018 at 3:04 pmMr. Cordes,
It wasn’t clear to me how many inches the suspension lift was. 4″? I have the same green two tone excursion and this is very close to what I imagined building.
Good job!
J R
October 31st, 2018 at 2:35 amThe Excursion does ride lower than the f250 does. So it’s a 2.5 inch lift for the f250. Depending on how sagged out your original Excursion front springs are, the OME springs are at least 4 inches of lift on the Ex. I run the OME springs on my Excursion, plus a PMF 1 inch spring hanger kit in front. Even with the OME springs and spring hanger kit, I got rubbing with 315s on 8 inch wide stock offset Blackrock steel wheels. You will need to grab a Dremel, do some measuring, cut the inner fender liner, the plastic front flares (if you have a limited), and some of the metal behind the flares. Also remember that wheel choice (and offset) drive a lot of how badly tires rub. You may also get some rubbing at full lock on the leaf springs. I do, but it’s hurting anything or creating a situation that needs resolution.
Ryan
September 26th, 2018 at 6:02 pmI know you mention that it is a 2.5 lift for a f-250, but does that mean 4” on the Excursion? I have always been told the F-250 sits higher than the Excursion by 2”. Do you have a measurement on the height of your truck? I want to be able to keep the truck fitting in my garage and have always been a fan of OME and run it on my FJ 60 & 100.
Nick
February 27th, 2019 at 7:04 pmI have a 2001 f250 with the same exact wheel, but both big o tires and les schwab tell me i cannot get tires any bigger than my 31″ tires, and yet you have 35’s? they both tell me i need a new wheel if i want anything bigger.
Brad
March 1st, 2019 at 6:58 amNice rig
Robert
March 5th, 2019 at 10:42 pmGreat build! Your excursion has been the inspiration for my 7.3 excursion build. Thanks to your advice I hit the hip and bought the Carli lift kit. In addition to the lift upgraded the front axle to a Dana 60 with Dynatrac ball joints, free spin kit, and diff cover. Both axles stuffed with truetrac diffs and 4.56 gears. I am running 35” Maxxis RAZRs now but I think with the 4.56s I will upgrade to 37s or 40s soon. The Carli kit is sweet by the way but took a huge hit out of my build budget that being said I still have a ton of work to do. Thank you for the inspiration!