
One of the joys of adventure motorcycling is the DIY nature of the sport. Sure, you can plunk down a big wad of cash for a new motorcycle with a warranty and lots of fancy gadgets and electronics (and plenty of reliability), but you can also part with just a few hundred dollars on a mostly functioning used bike and spend some time and effort making it all your own. When I dragged my current ADV bike, a 2003 BMW F650 GS, from the back of an acquaintance’s carport in December of 2024, it was barely running and covered in a thick layer of fine New Mexico dust. An afternoon taking care of some deferred maintenance and minor repairs had the thumper purring once more, and new brakes and tires made it roadworthy.
Big Plans on Ice
With my sights fixed on a spring tour through five Western states, I continued to tweak the bike for long-distance riding and went on plenty of winter shake-down sprints through the high deserts of the Land of Enchantment. On one run in January into the Jemez Mountains north of Santa Fe, the optional factory grip heaters gave up the ghost. With temps hovering around 25ºF at over 11,000 feet near the Valles Caldera National Preserve, this was not ideal. On the chilly ride back to my home base in Albuquerque, I made a mental note to fix the faltering accessory, but never followed through.
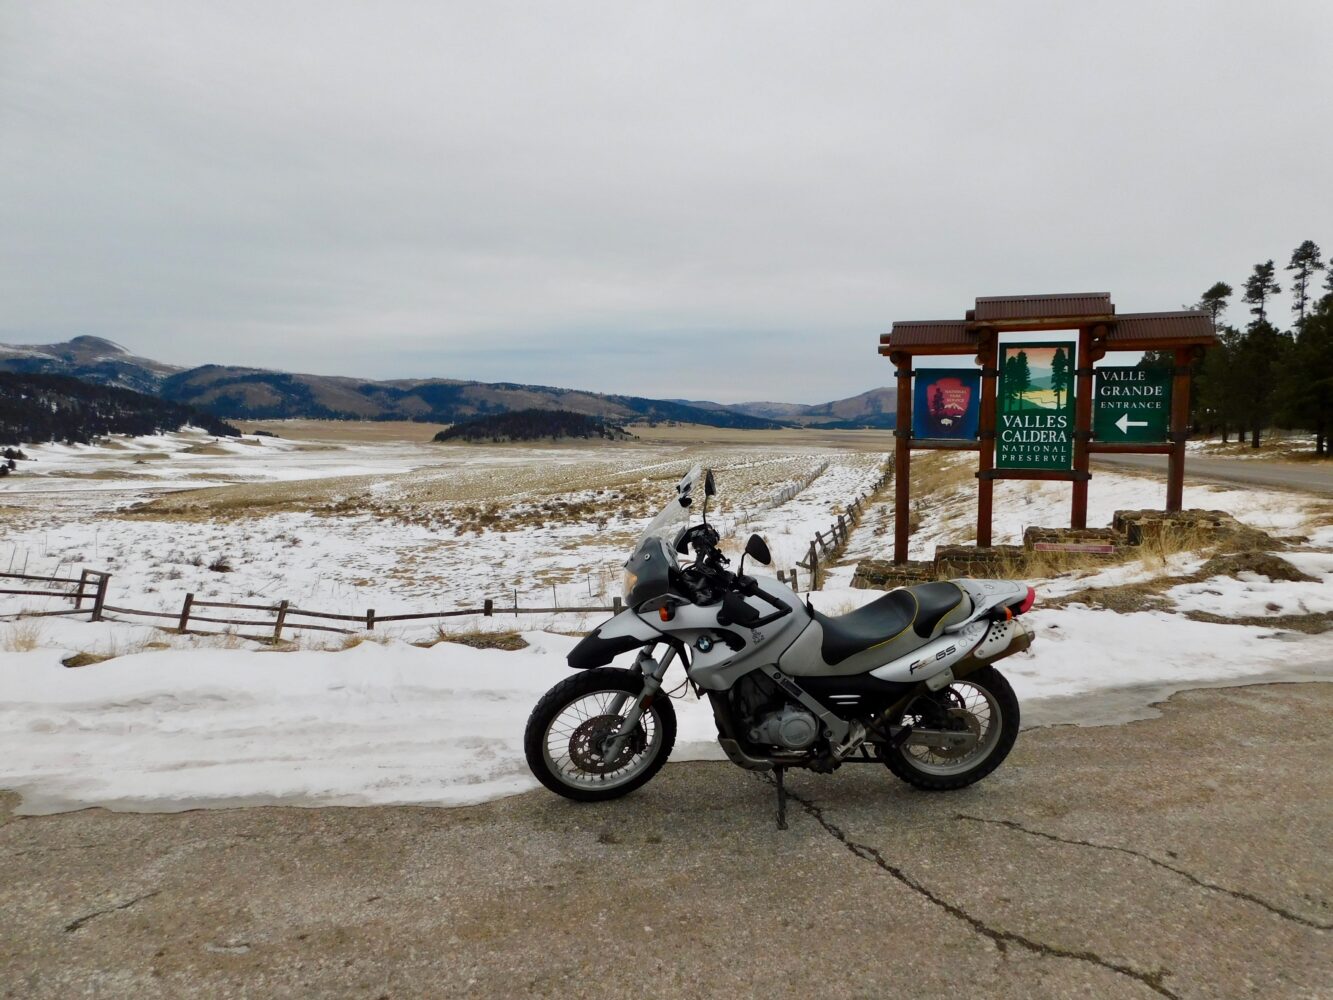
It’s cold at 11,000 feet in the Jemez Mountains of New Mexico.
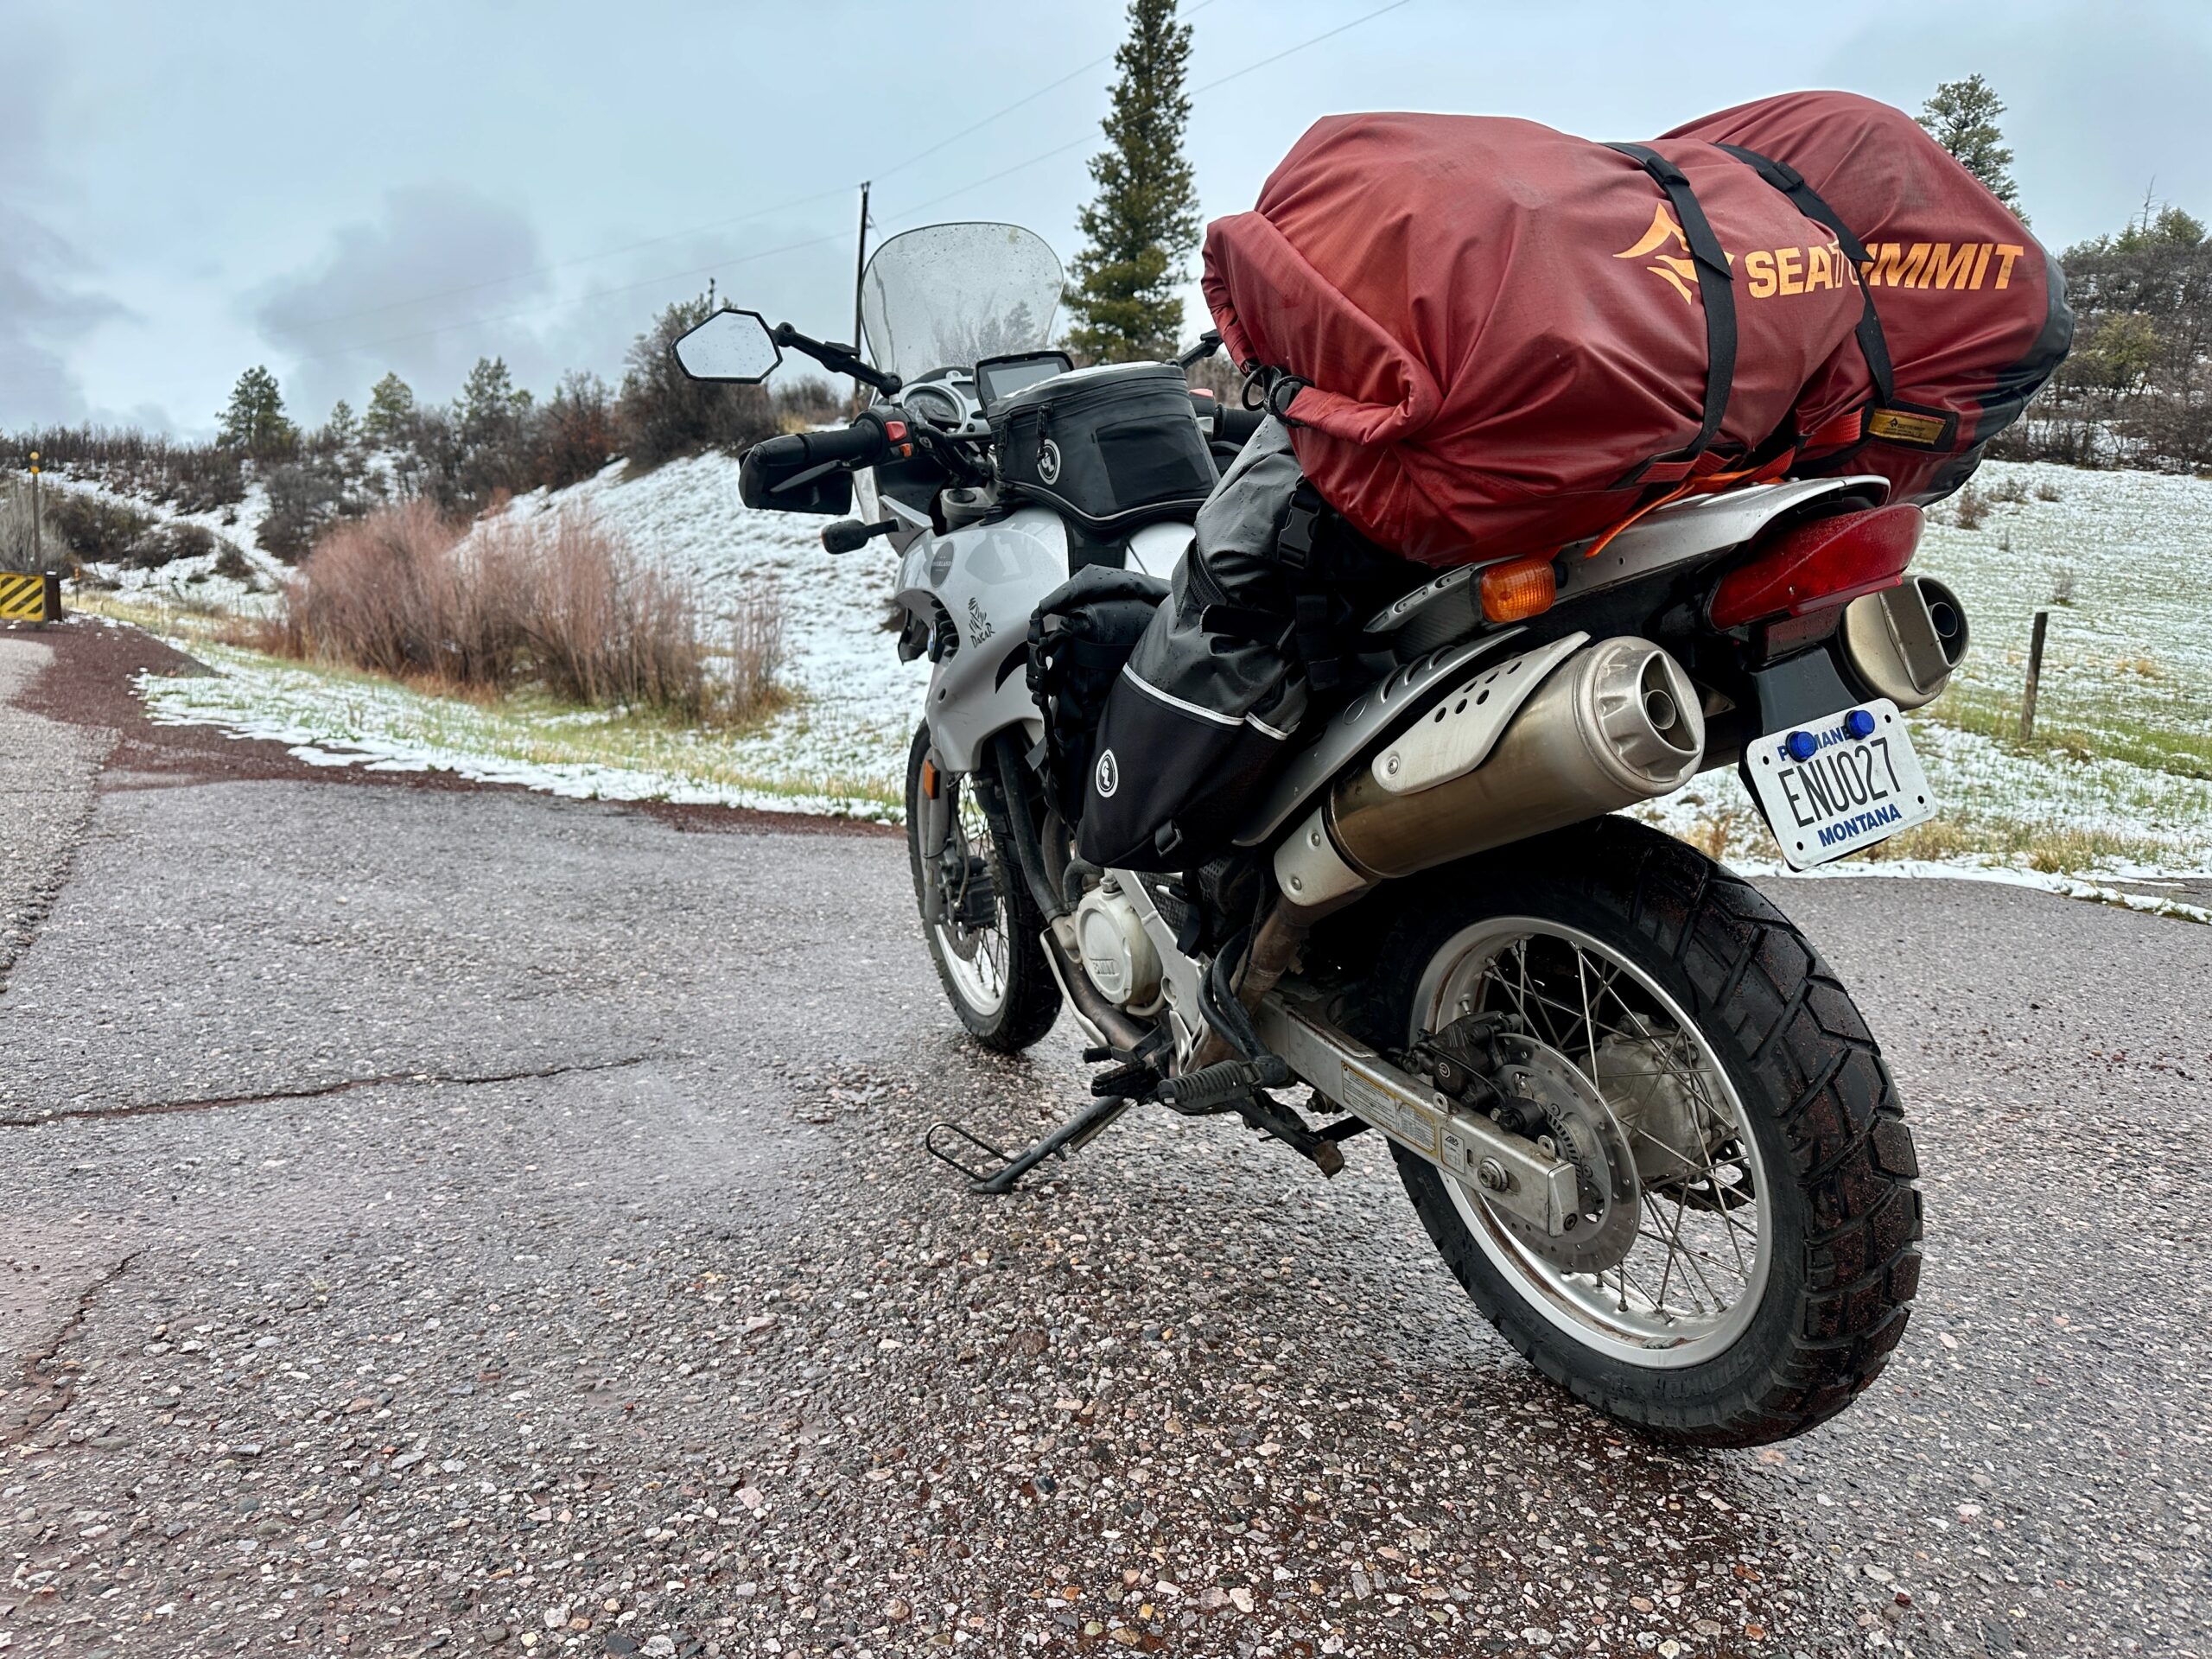
My failure to troubleshoot the heated grips came back to haunt me four months later as I saddled up for my long adventure north. The morning I left Albuquerque was soaking wet, and I rode through rainstorms the entire day that turned to snow as I crossed into Colorado. Cursing my inattentiveness, I toughed it out until I got to Utah, where my frozen mitts were reprieved by balmier weather. But my luck ran short again a couple of weeks later when I rode headlong into another snowstorm in western Wyoming on my way through Jackson Hole and Yellowstone National Park.
-
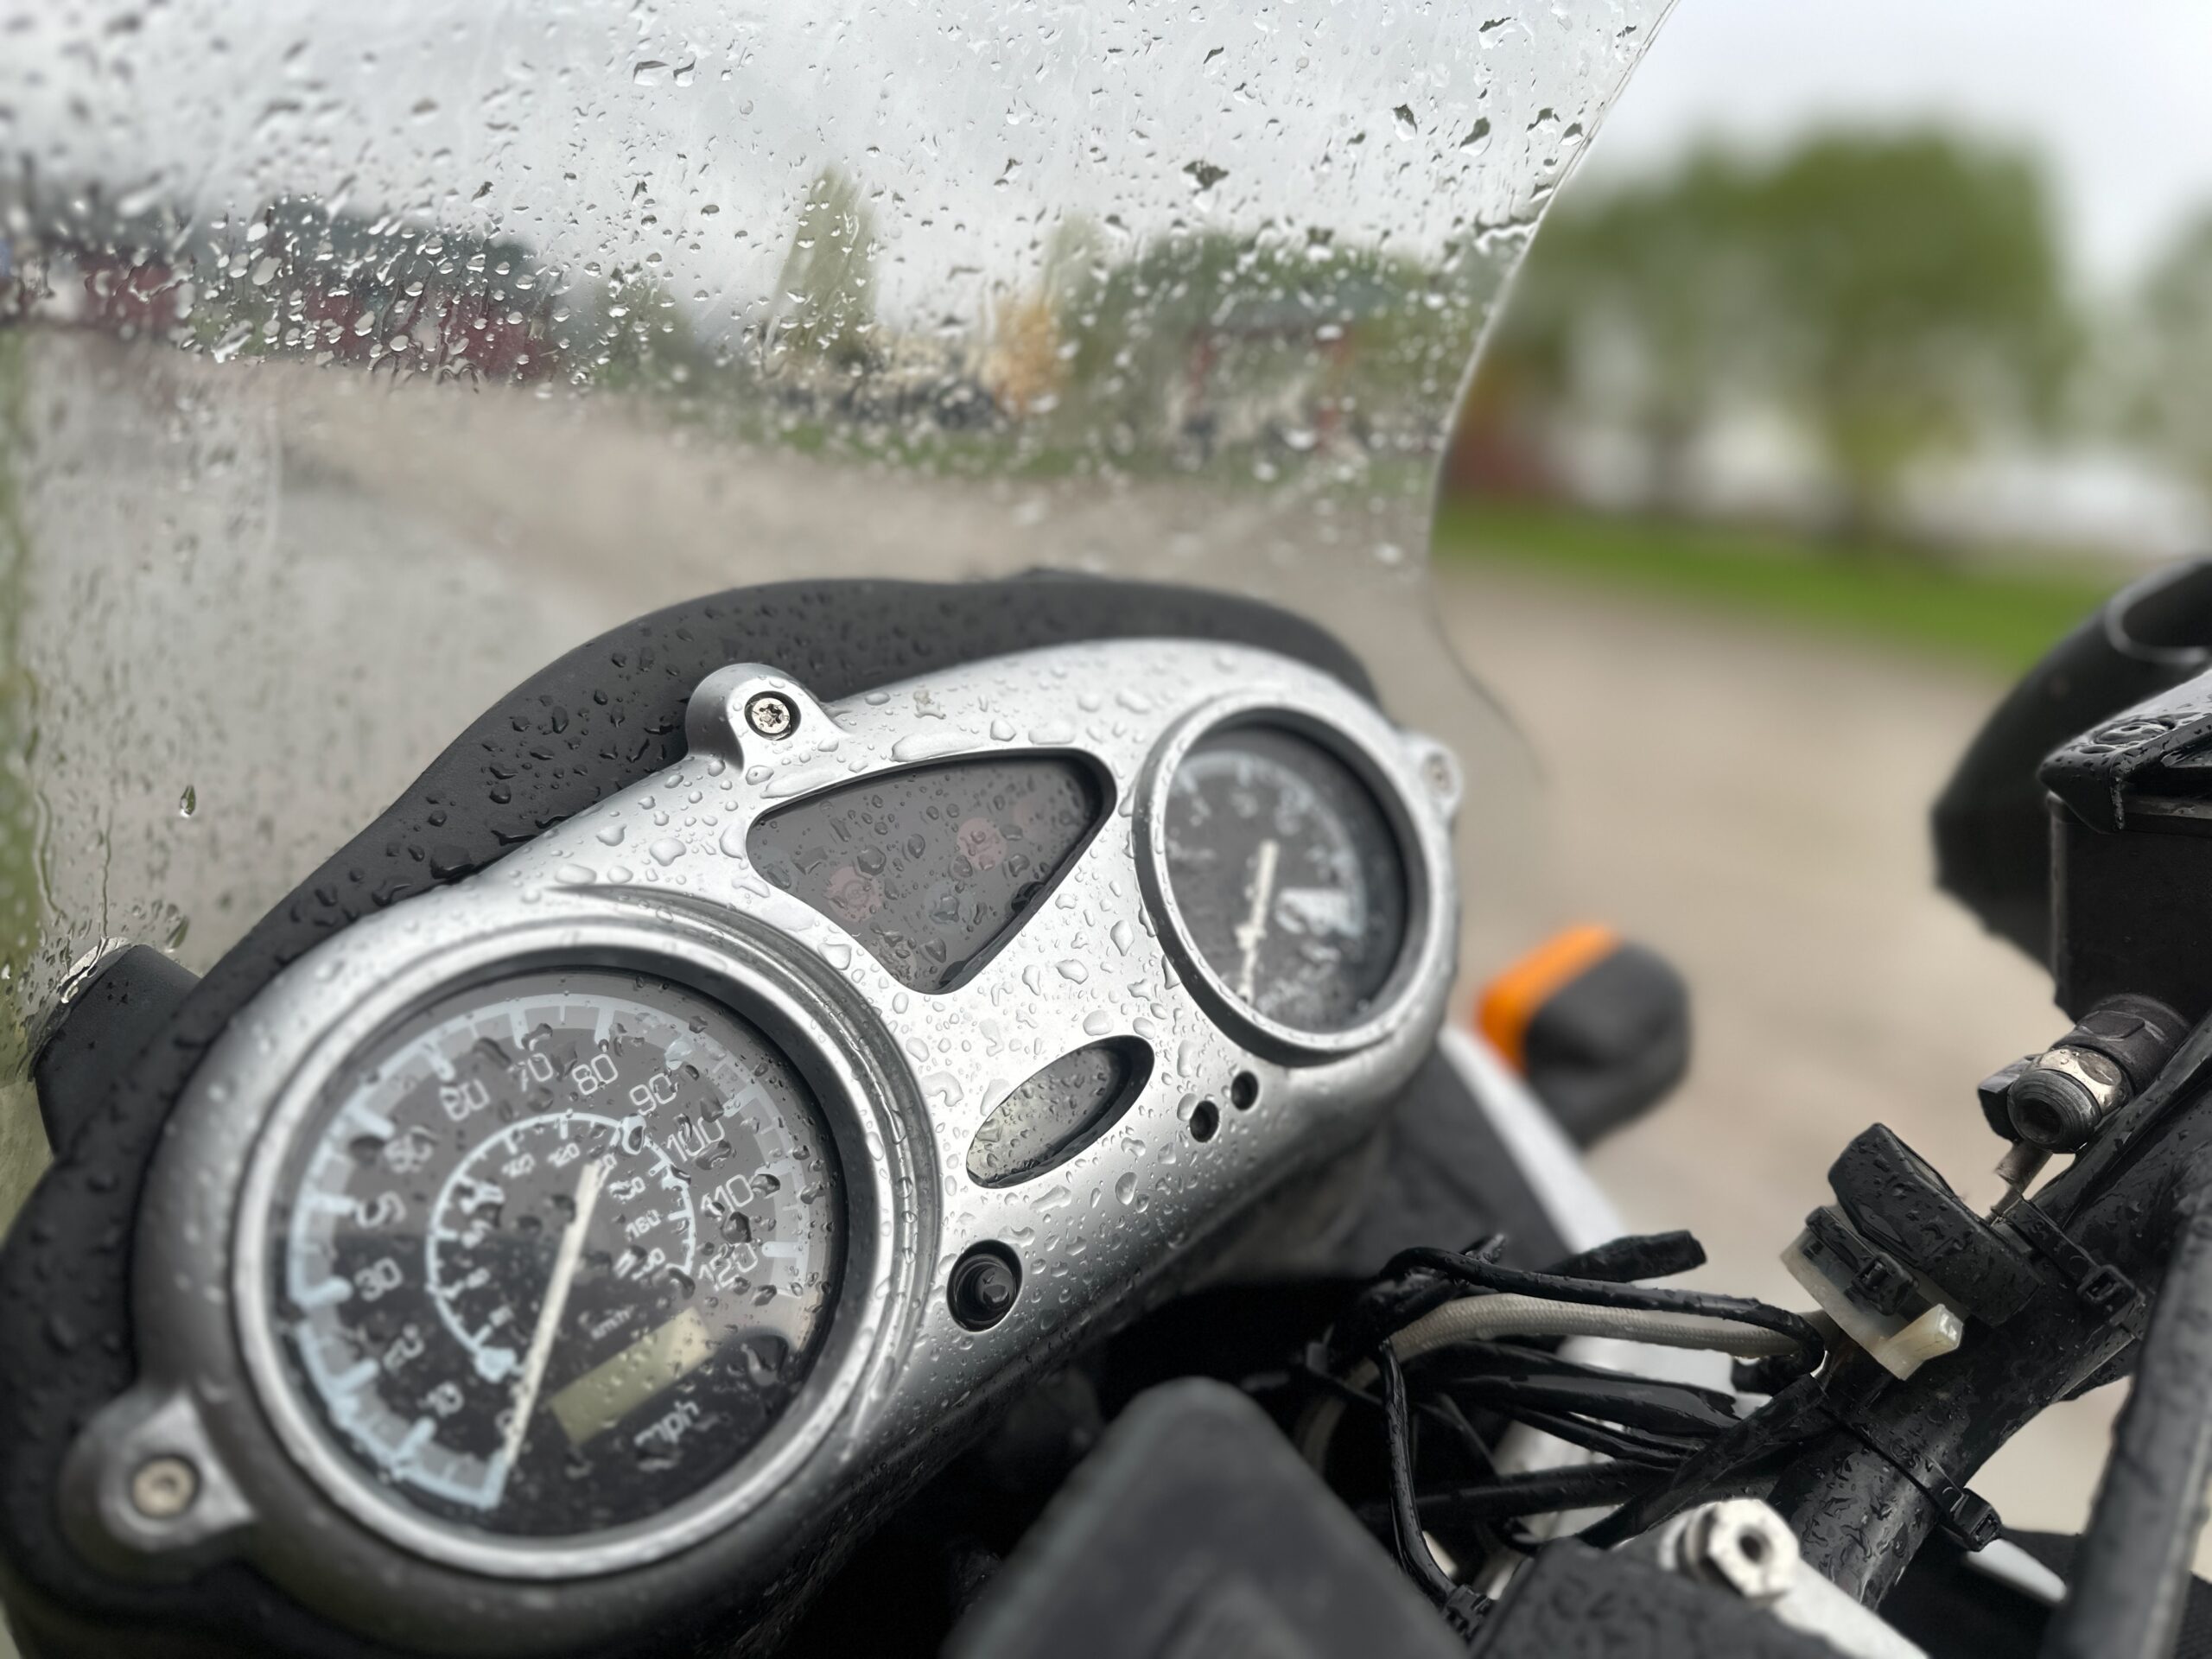
- Rain and snow dogged me on my springtime trip in the shadow of the Rocky Mountains.
Get a Grip
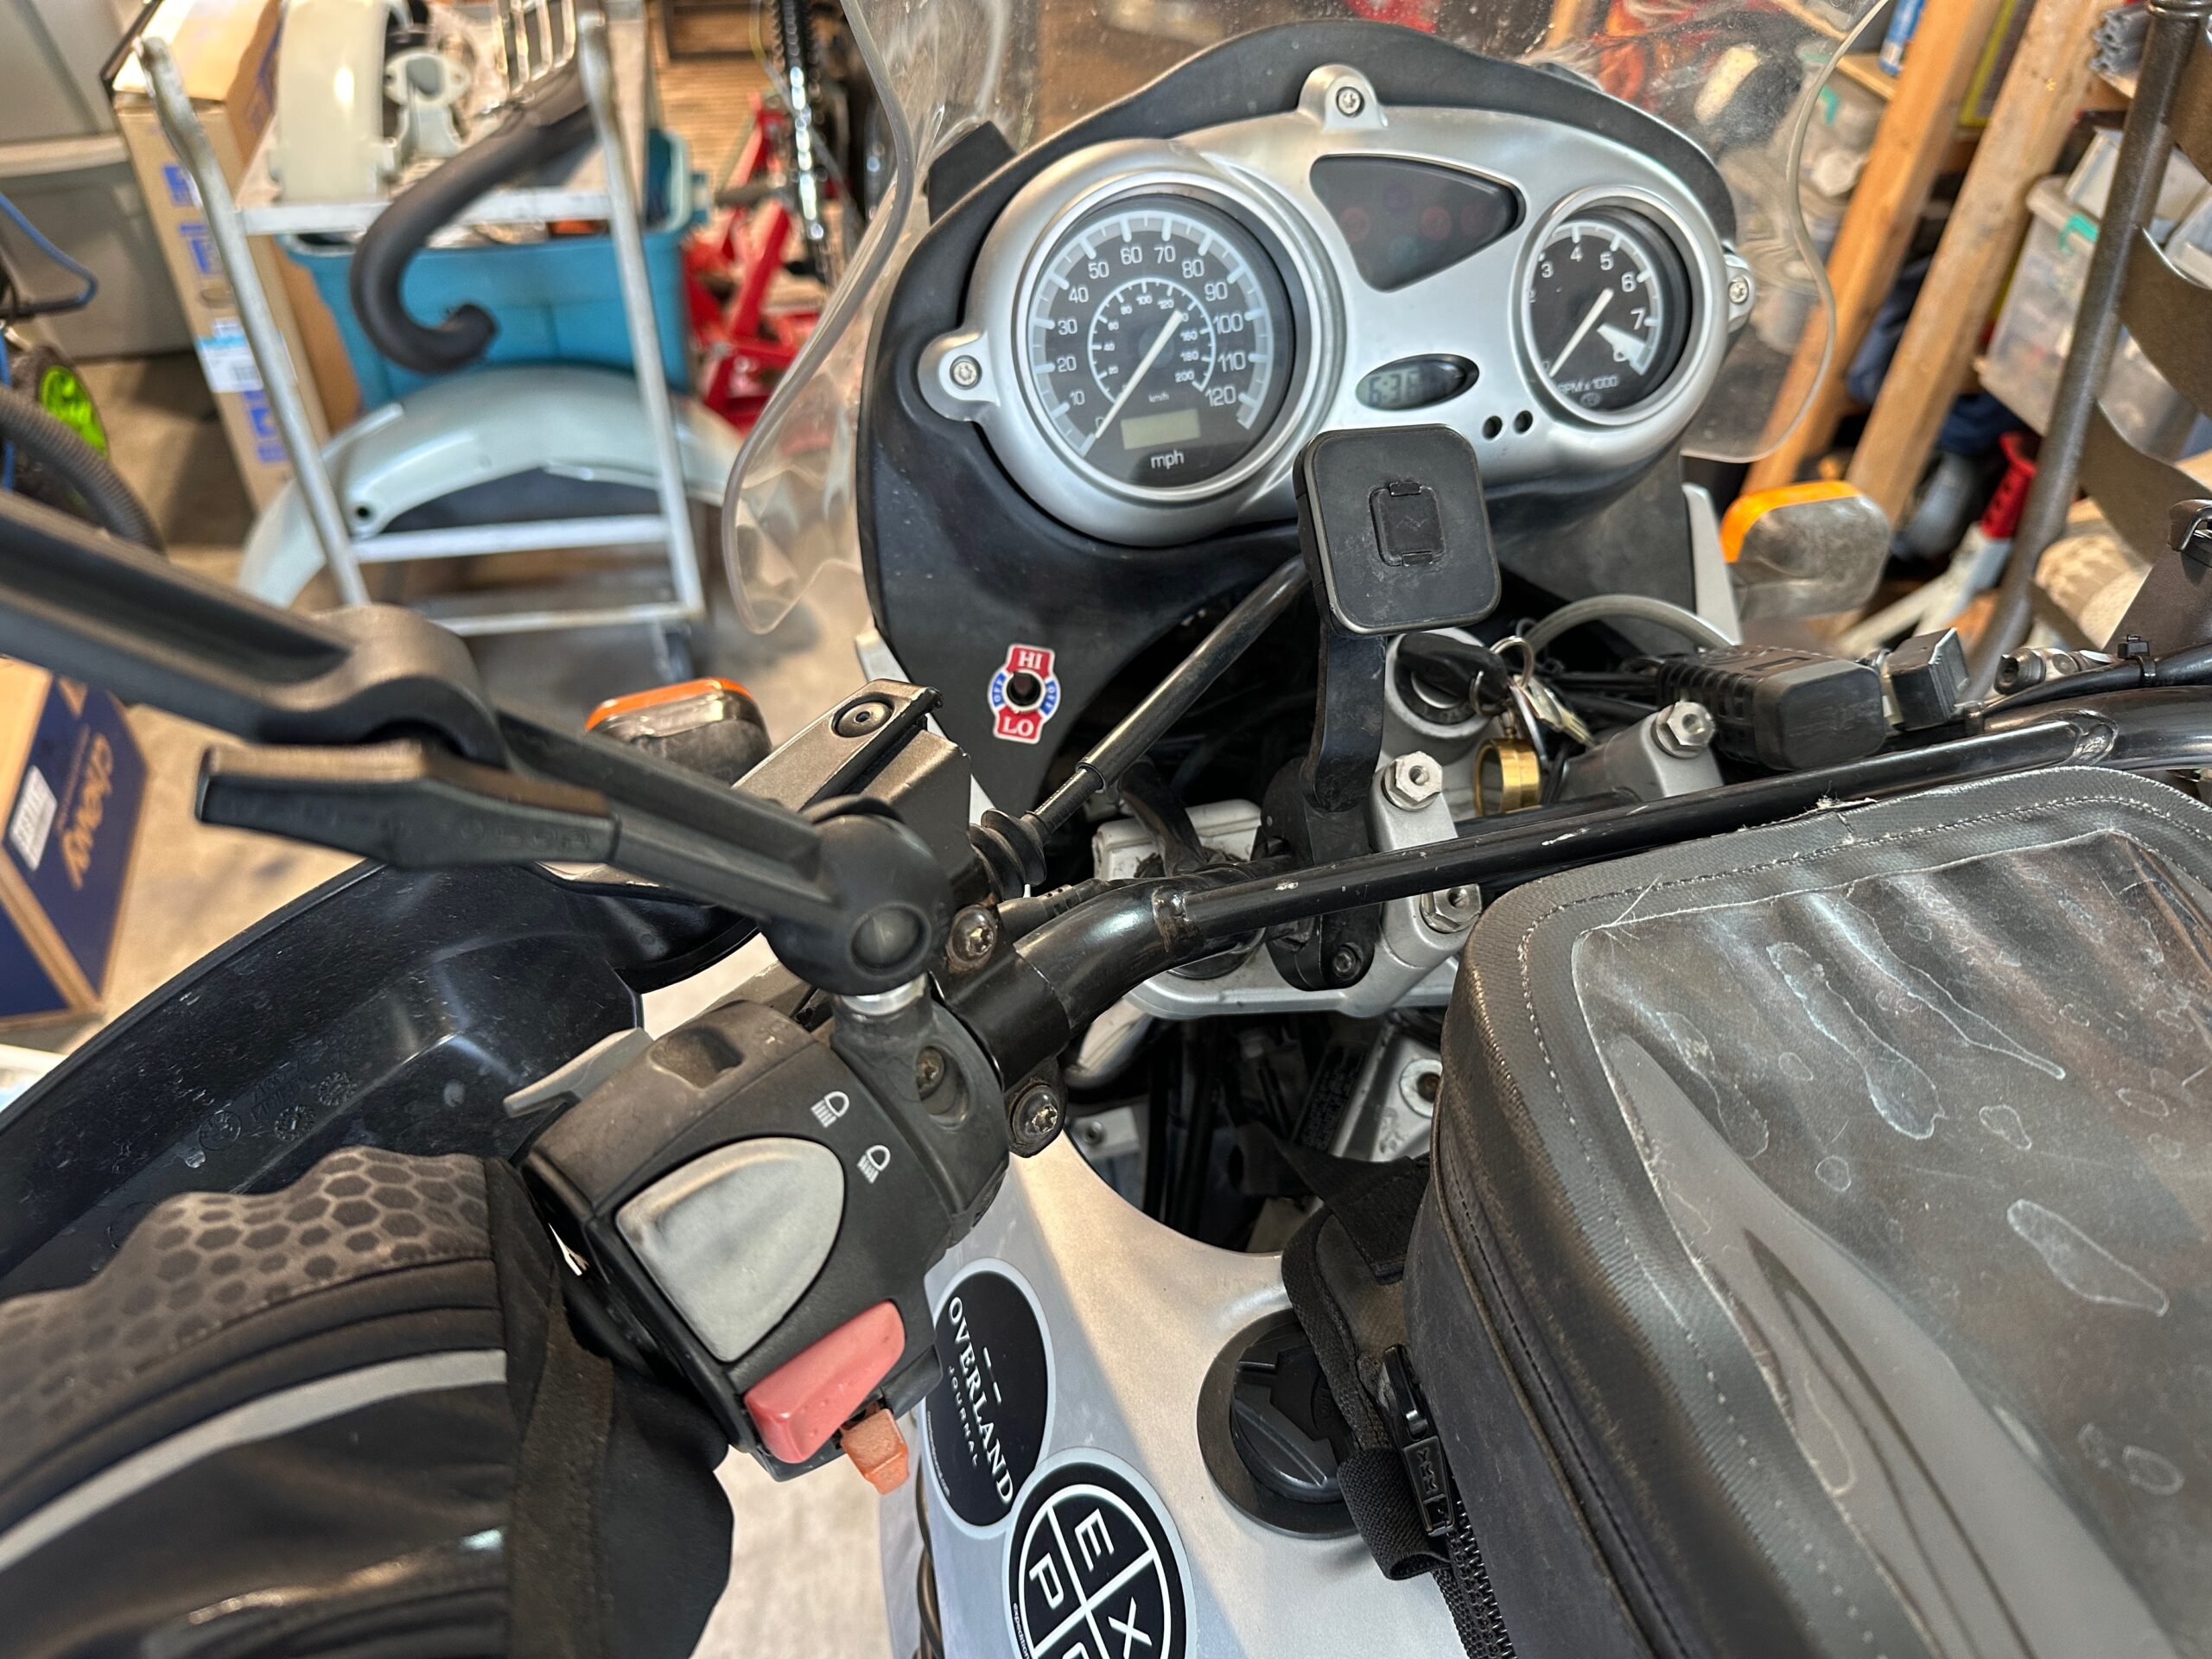
Finally home in Montana, it was definitely time to figure out the heated grip situation on my GS. The failure of the OEM system came down to broken heating wires in the grips themselves, which weren’t repairable. Heated grips are not just a luxury. Keeping your hands warm extends the riding season in northern latitudes, and in really frosty conditions, they even play a role in rider safety. Numb and cramped fingers reduce both feel and dexterity on handlebar controls, slowing reaction times and blunting feedback. A new or even used original replacement for my bike was very expensive (thanks, BMW), so I looked to the aftermarket. With the unique arrangement of the F650’s throttle tube, I needed a kit that was universal and not specific to a particular make and model. I used $23 of my own money to buy a Tusk grip heater kit from Rocky Mountain ATV and Motorcycle.
Tusk Grip Heater Kit Installation
Any universal accessory, especially an electrical one, will need some tweaking to fit the exact needs of your bike. The Tusk kit helps on this front in its simplicity, clarity of the included instructions, as well as plenty of extra length in the wiring. Rocky Mountain also has a deep catalog of tutorials on its YouTube channel to help guide the way. The general principles in the steps below can also be applied to other generic grip heater kits.
The Tusk kit comes with the grip heaters themselves, the necessary wiring, along with the switch for both low and high settings, and a handful of electrical connectors (more on these later).
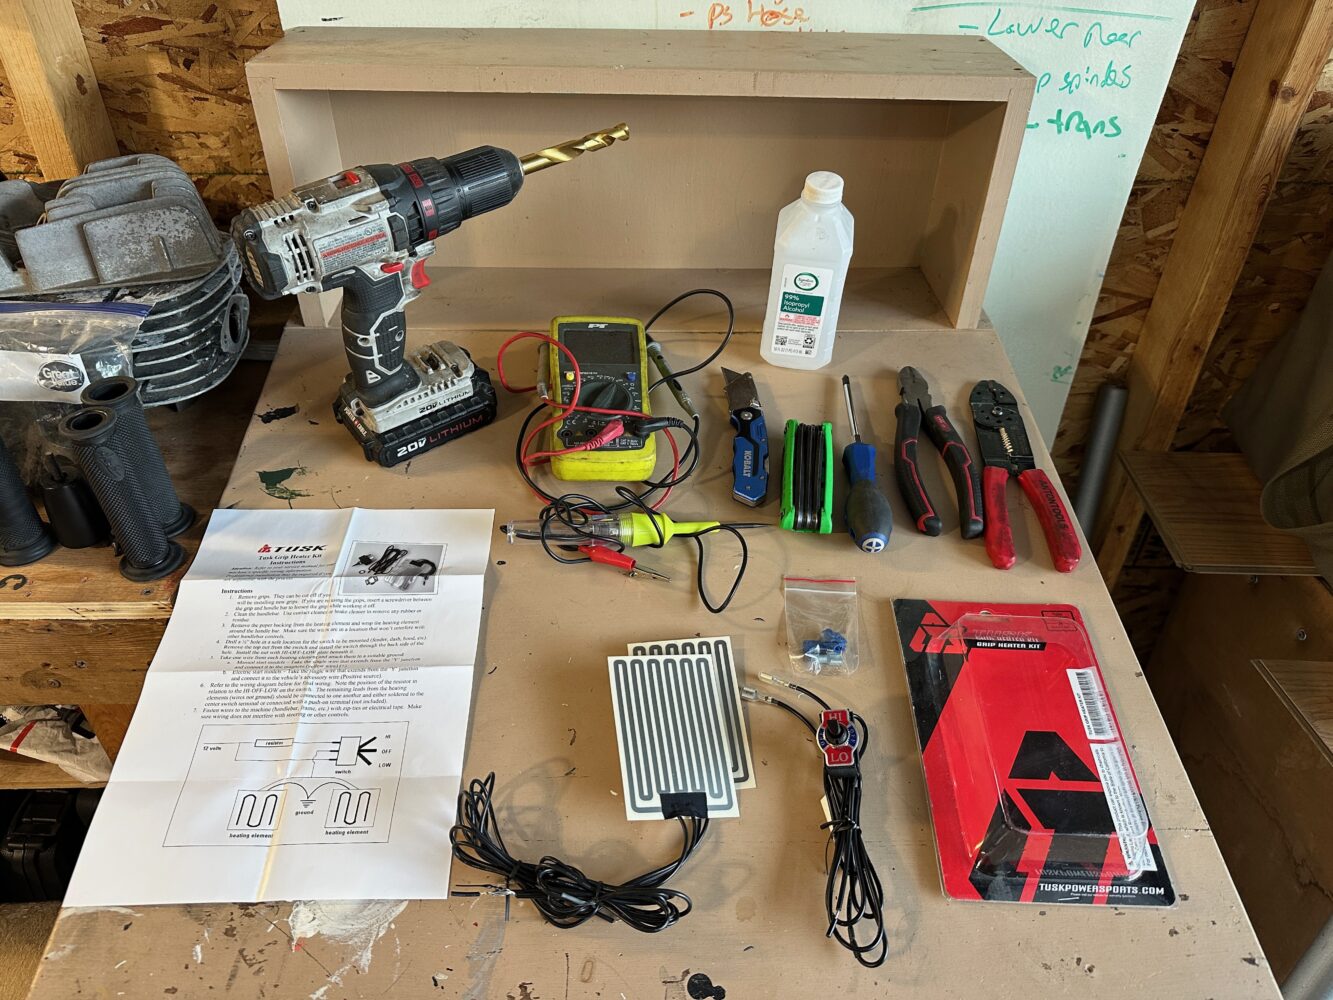
1.) Assembling your tool kit ahead of time helps keep your install efficient and on track. Tusk recommends the tools to remove your particular bike’s fasteners (screwdrivers, allen wrenches, or star bits), a sharp blade, a wire stripper and crimping tool, diagonal cutters, a test light or multimeter, and a power drill with a 1/2-inch drill bit. I added a heat gun, cable ties, and rubbing alcohol as a cleaning agent and a fast-evaporating lubricant to help with the installation of my new grips.
2.) Removing your old grips using compressed air, lubricants, or simply slicing them off your handlebars with a sharp blade is the first step. Use caution with razor blades, both for the sake of your own flesh and for any wiring or paintwork on the motorcycle. Clean the exposed handlebar surfaces with alcohol or another solvent, scraping away any old grip glue or other residue.
-
- Ensure the mounting surfaces for the heating elements are very clean.
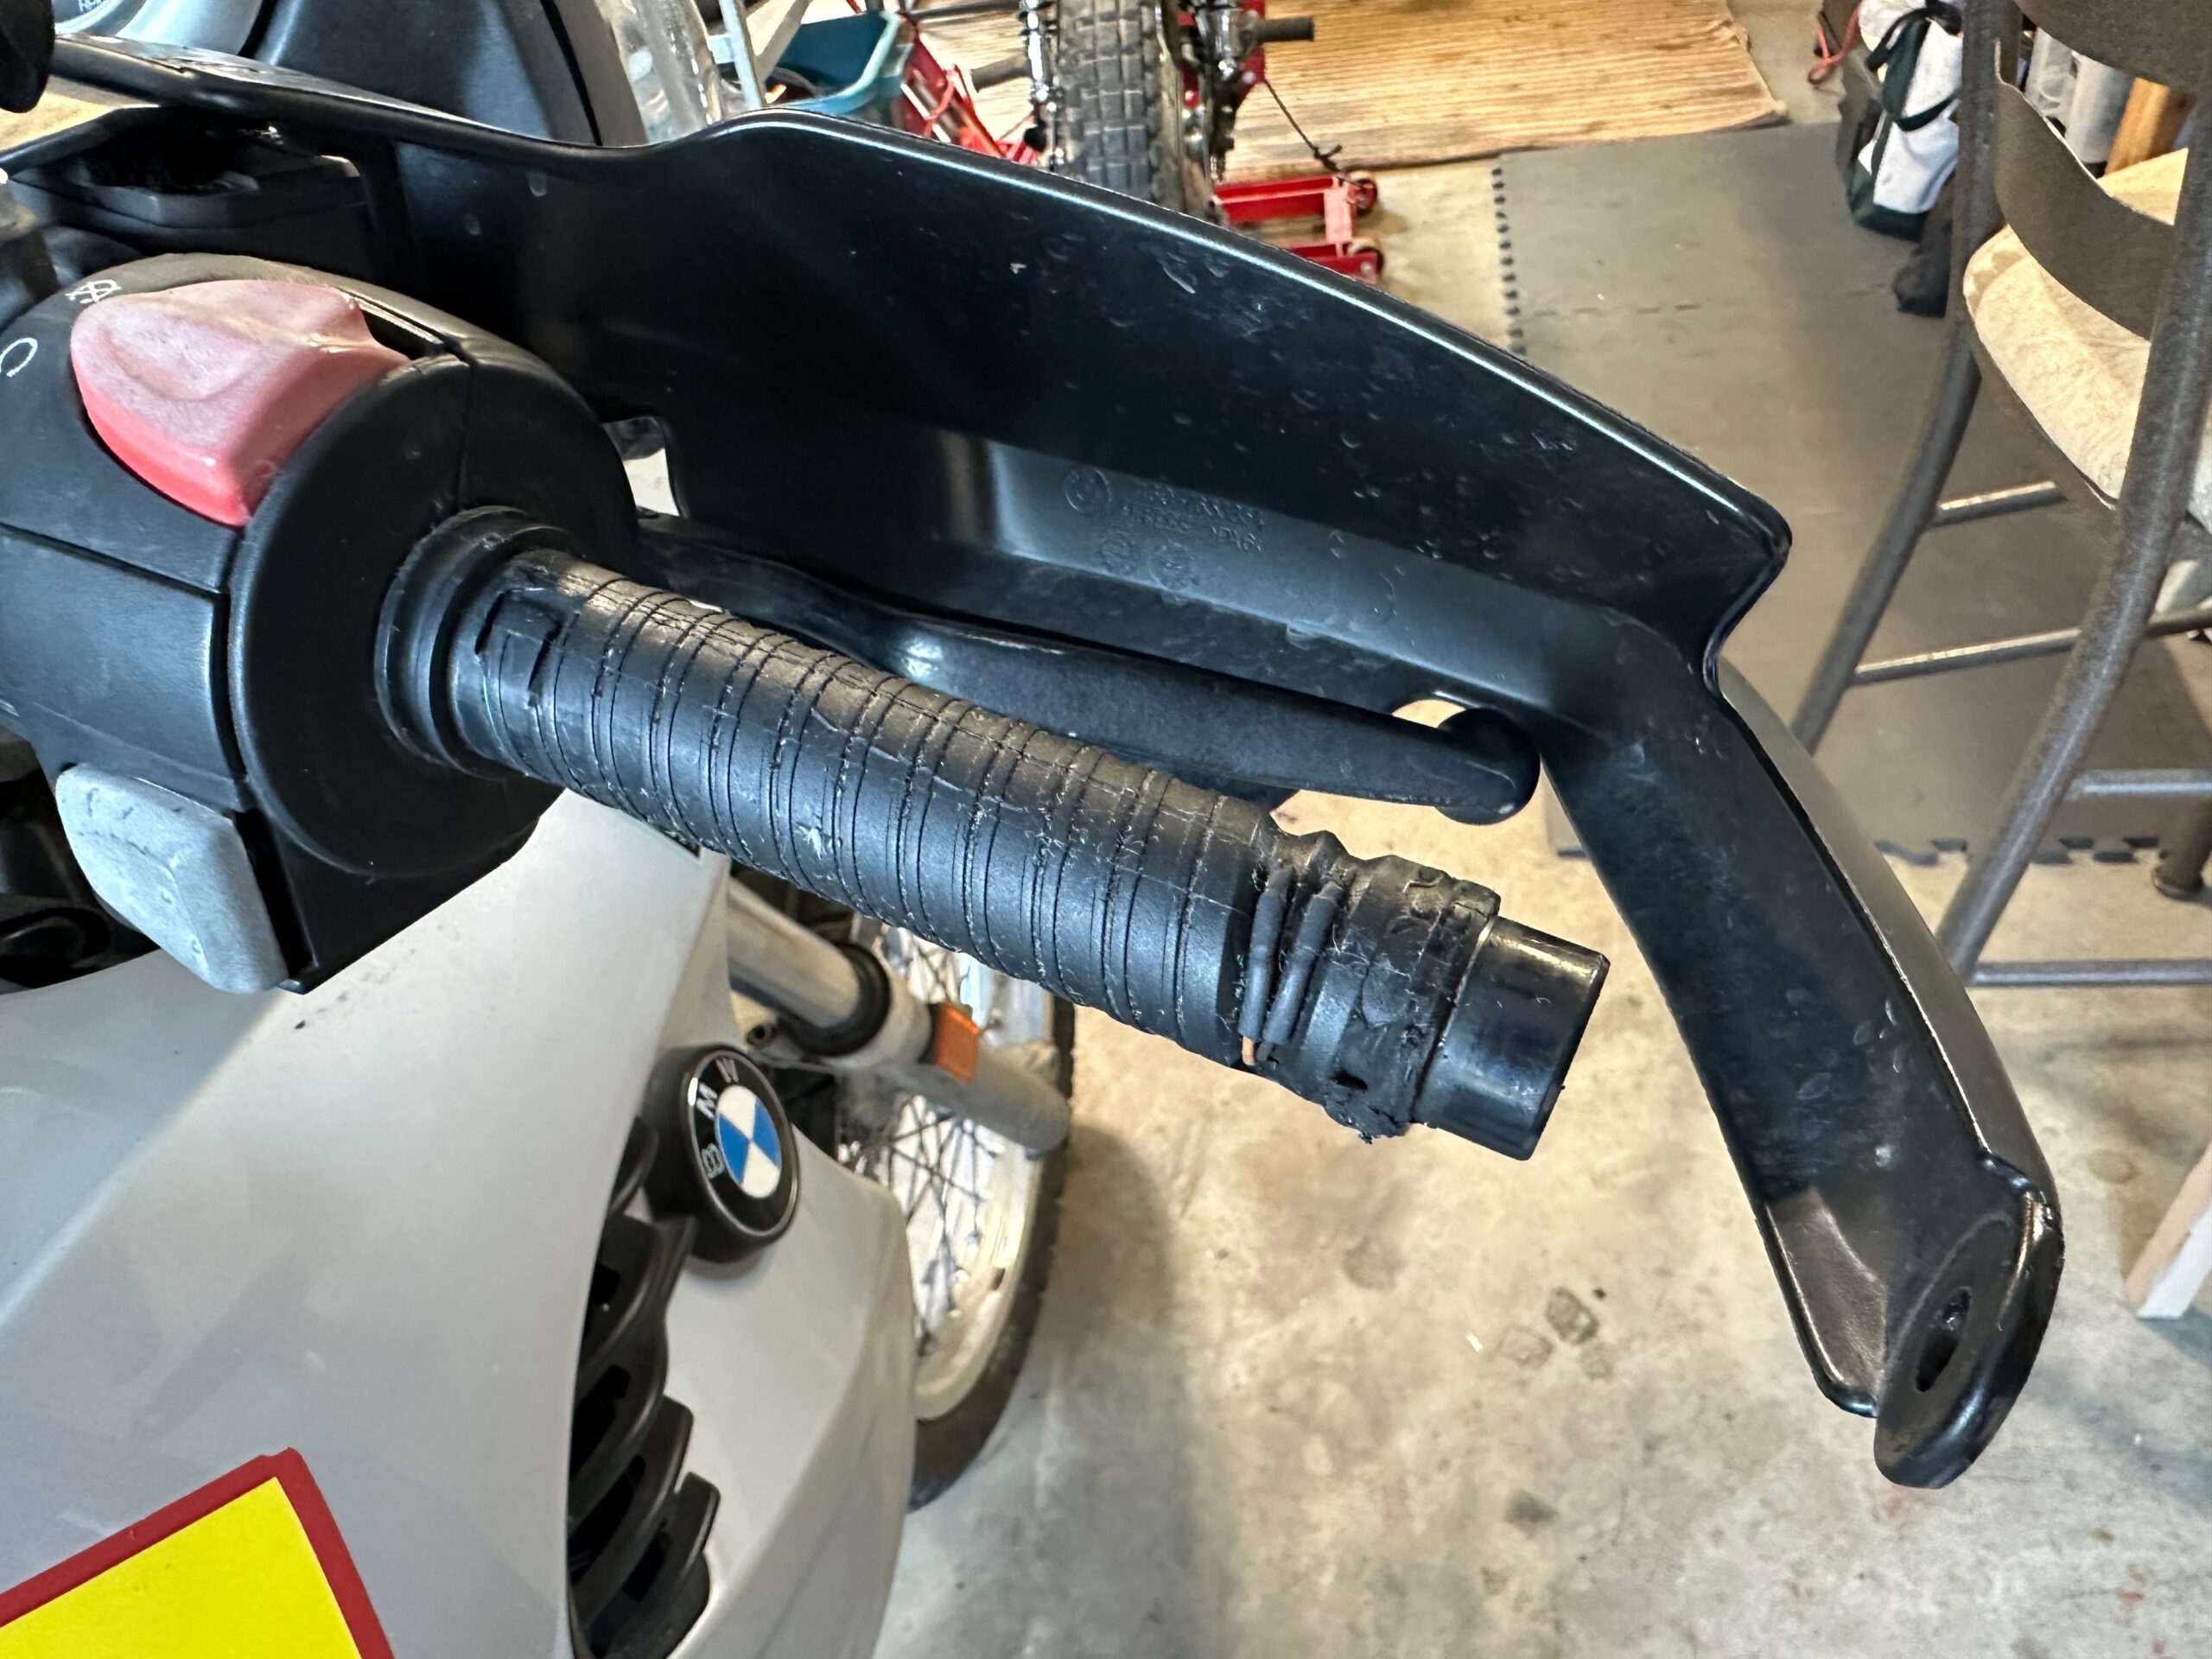
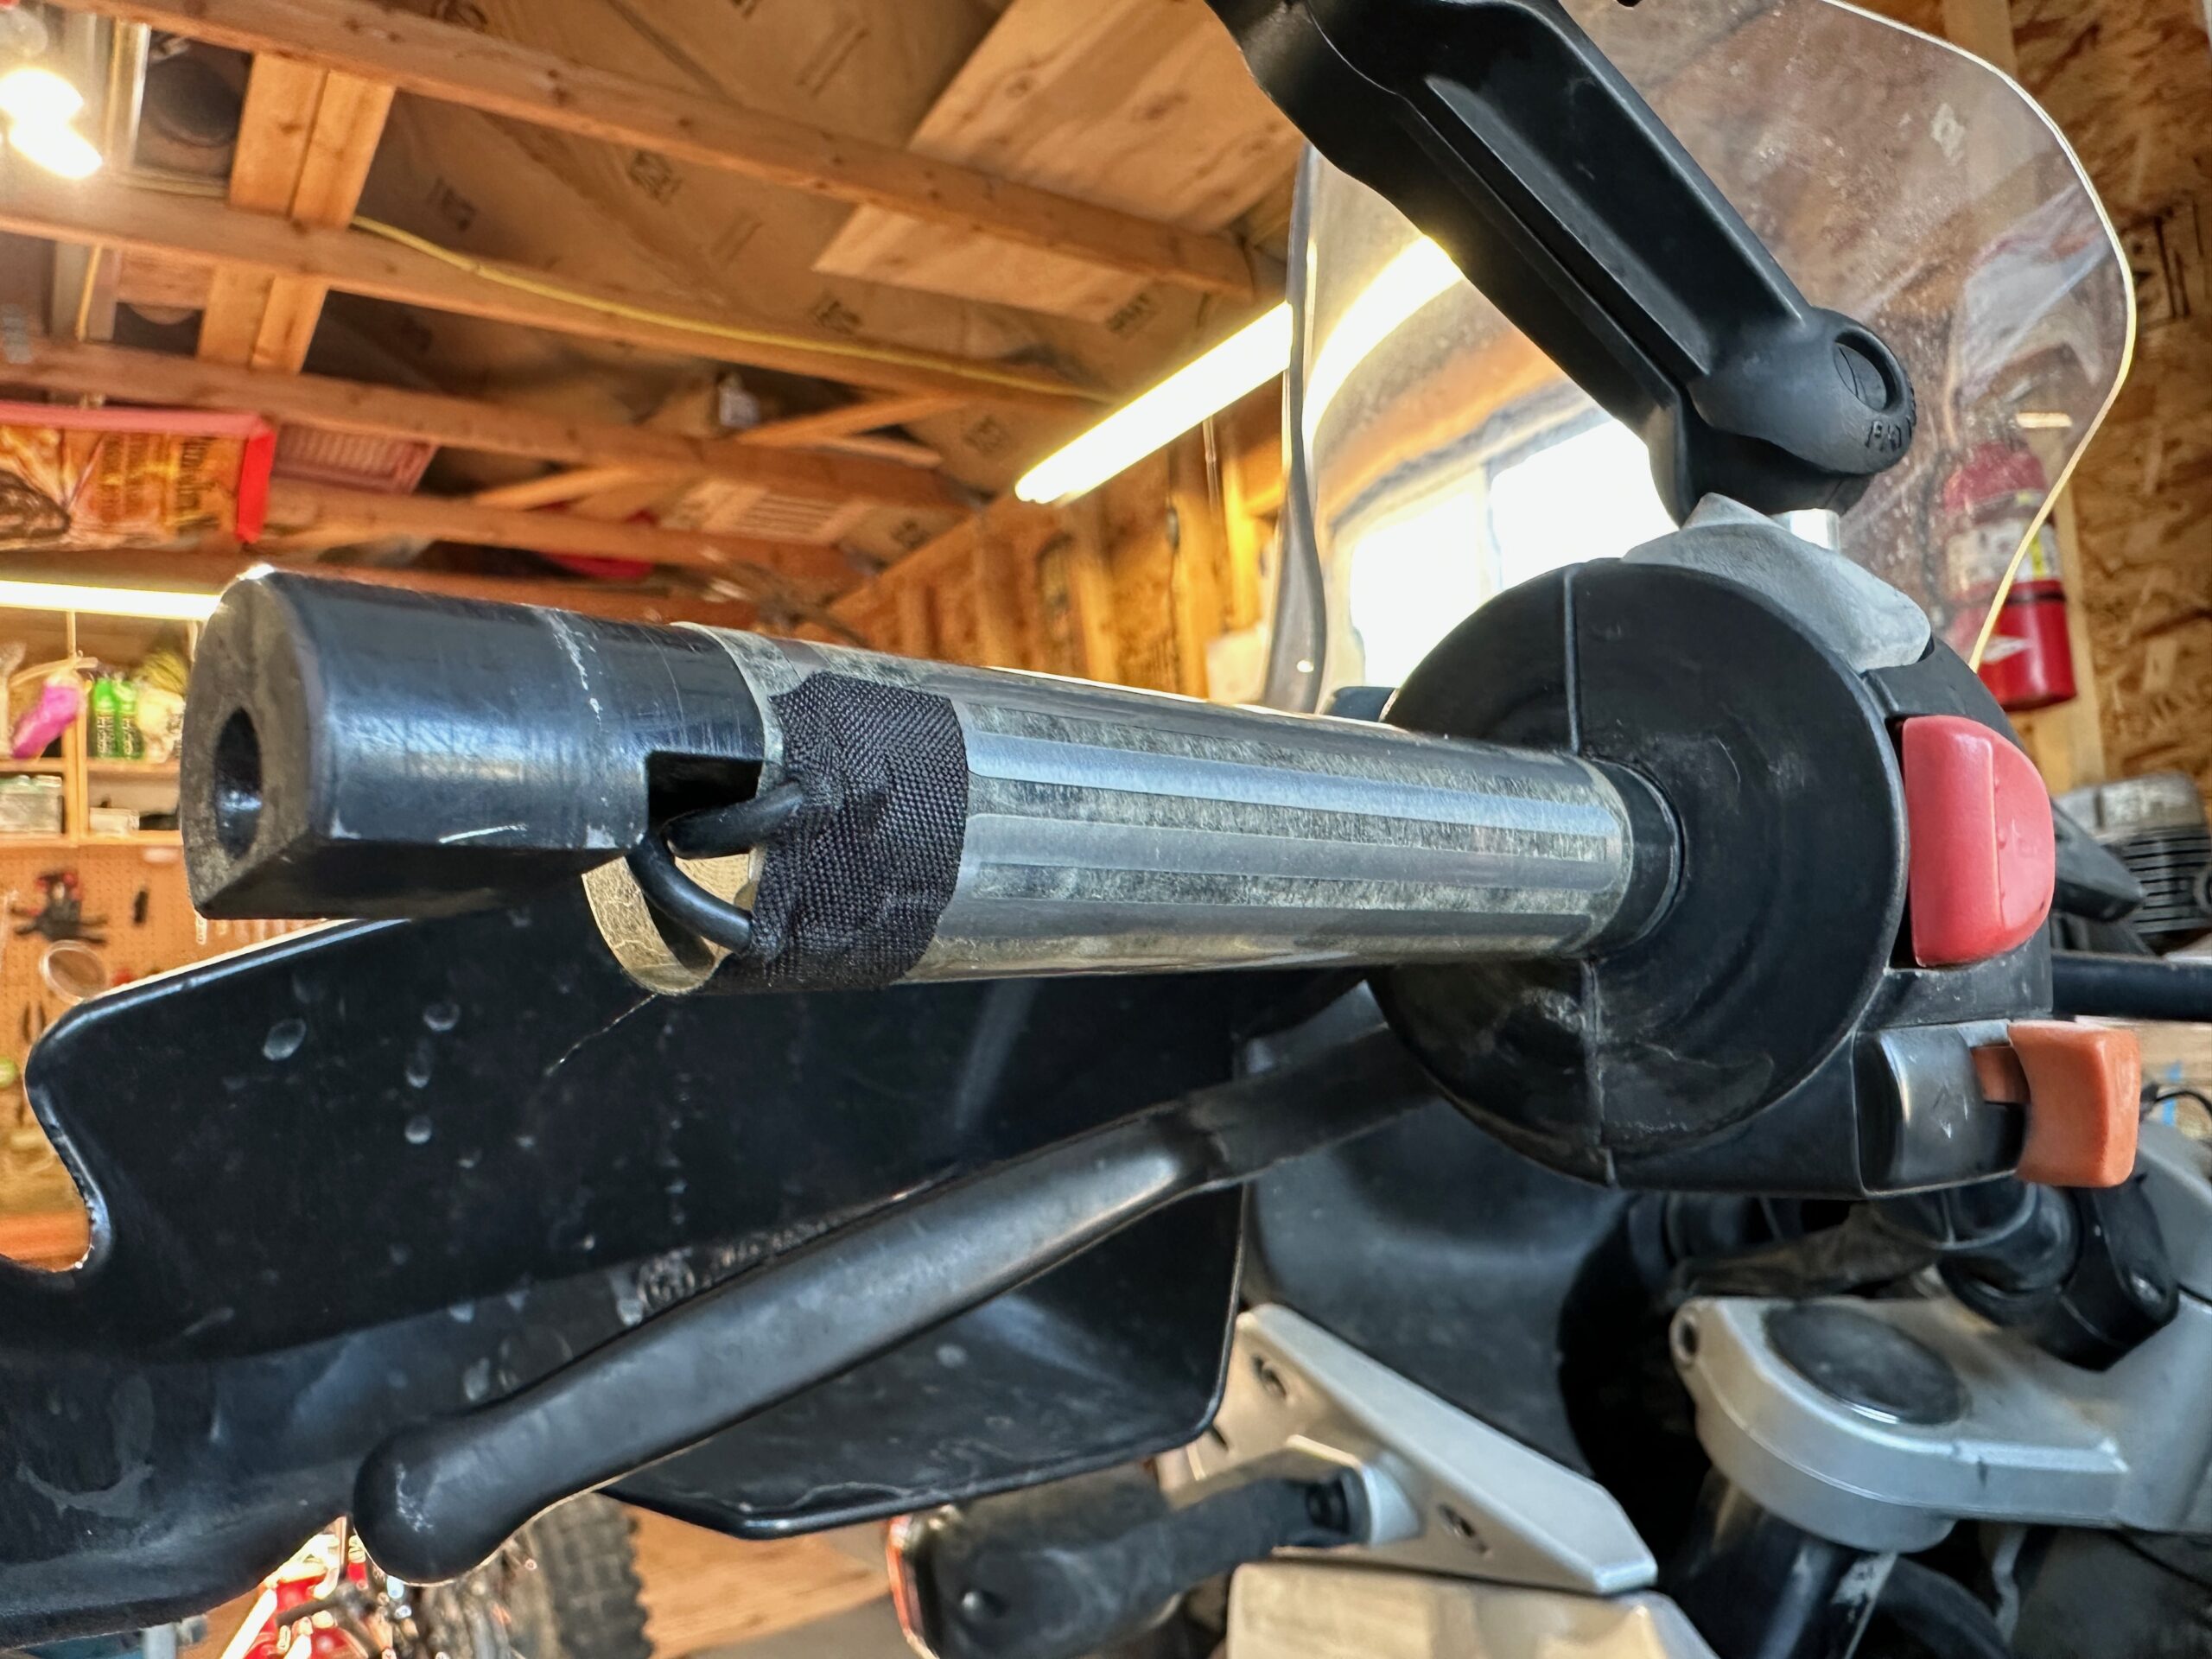
3.) Unwind the wiring from each of the heating elements to gauge its length and mock up the elements on the handlebar—this is an important step to make sure you have enough wire to reach both your switch location and your power source, as well as routing wires away from hot and moving parts.
Getting the position of the heating element on the throttle side of the handlebar is key. You need enough slack in the wiring to allow free movement of the throttle, but without placing strain on the solder holding the wires in place.
Allow enough slack in the heating element wires for full movement of the throttle.
4.) This is a good time to identify your power source, a clean and secure place to attach the ground wire, and a location to mount the control switch for the grip heaters. Resist the temptation to wire the kit directly into the battery (sometimes the easiest solution), and find an ignition-on power source. By splicing into ignition-dependent power, you reduce the risk of accidentally leaving your heated grips on when the bike is not running and draining your battery. I used the OEM power wire from my old heated grip system—the test light or multimeter (along with a factory wiring diagram) will help you identify an ignition-switched power source.
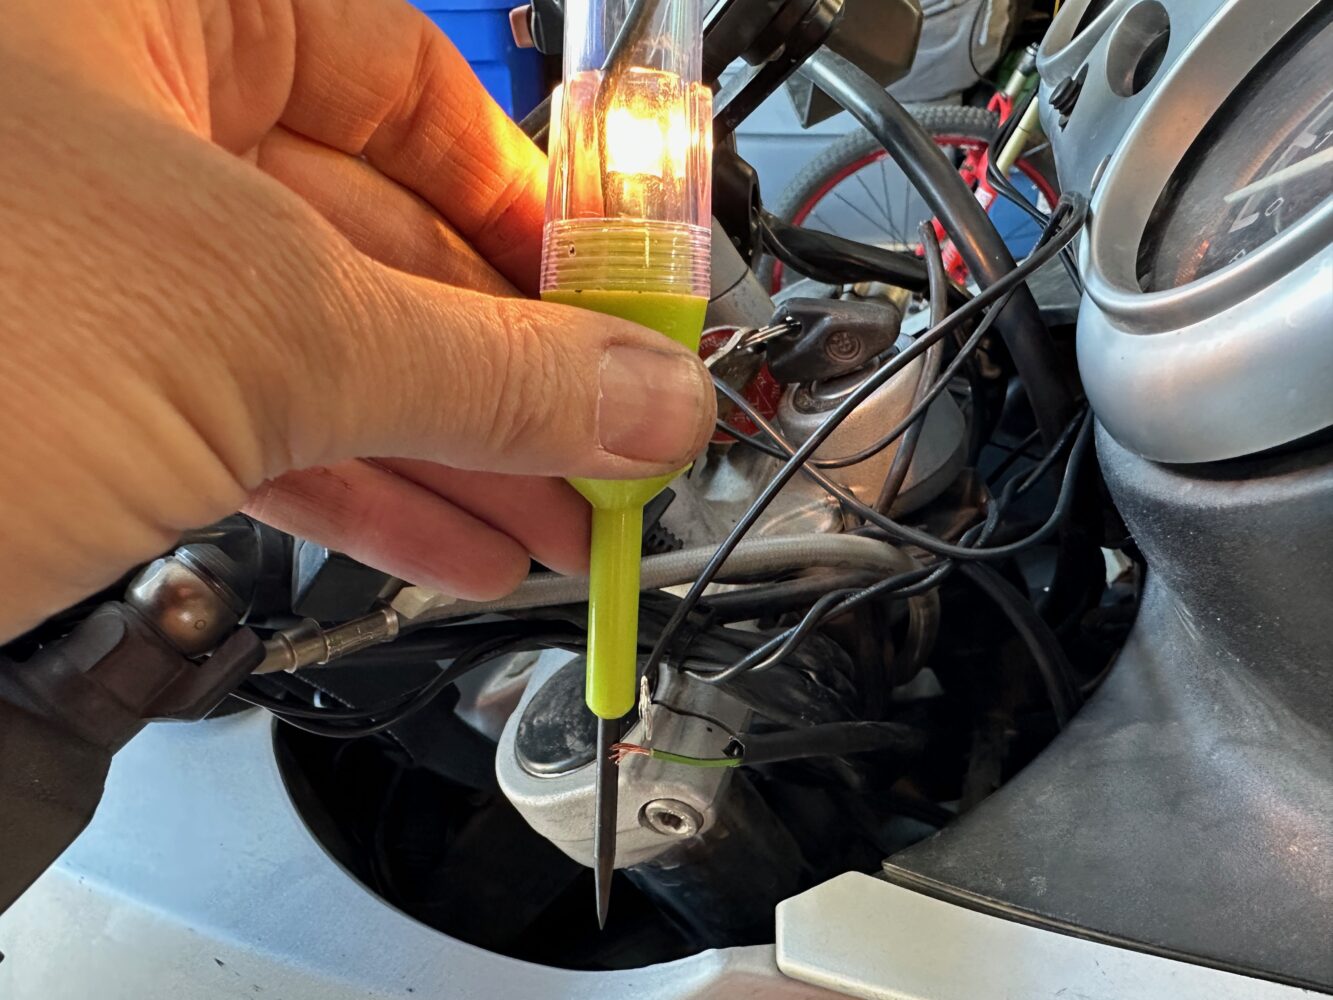
An inexpensive test light helps find an ignition-on power source.
Regarding the grip heater switch, you’ll need to drill a 1/2-inch hole in a panel somewhere within easy reach. Pay special attention to the space behind the hole, as there needs to be enough room to accommodate the switch body and the wires connected to the back of it. You’ll need 2 inches of depth at the very minimum.
-
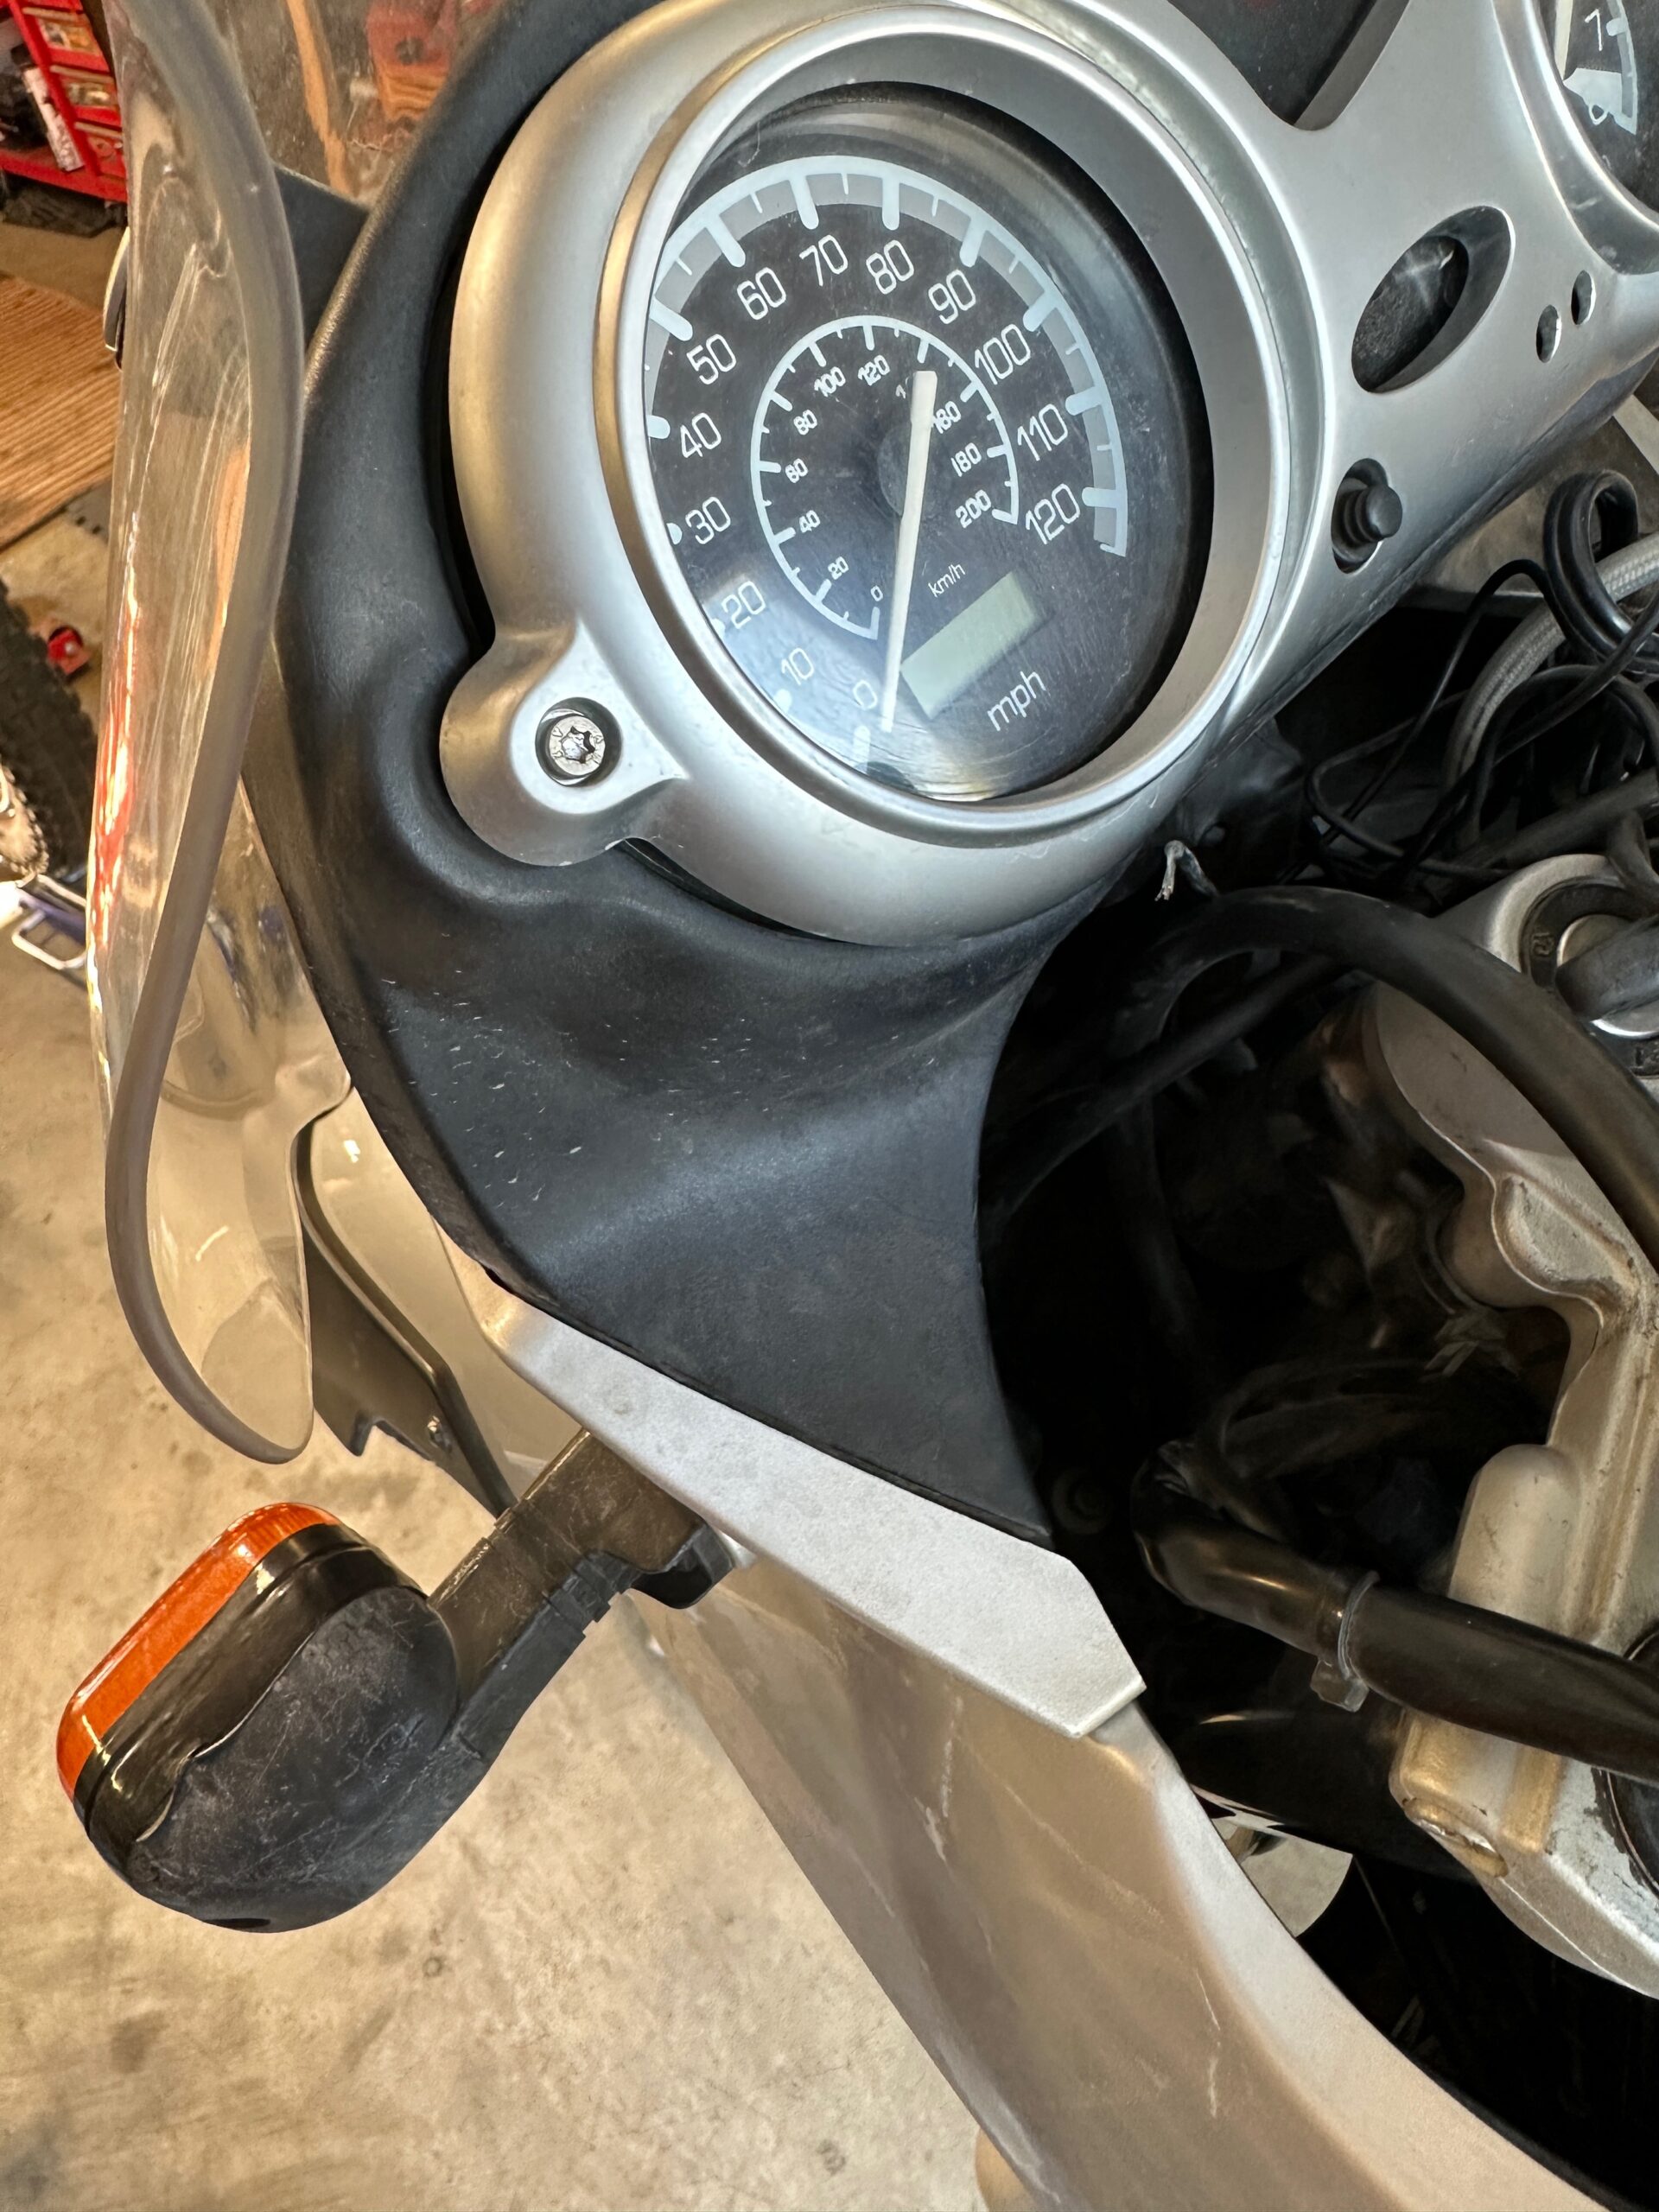
- One of the advantages of riding an old motorcycle is lack of anxiety about drilling holes in it.
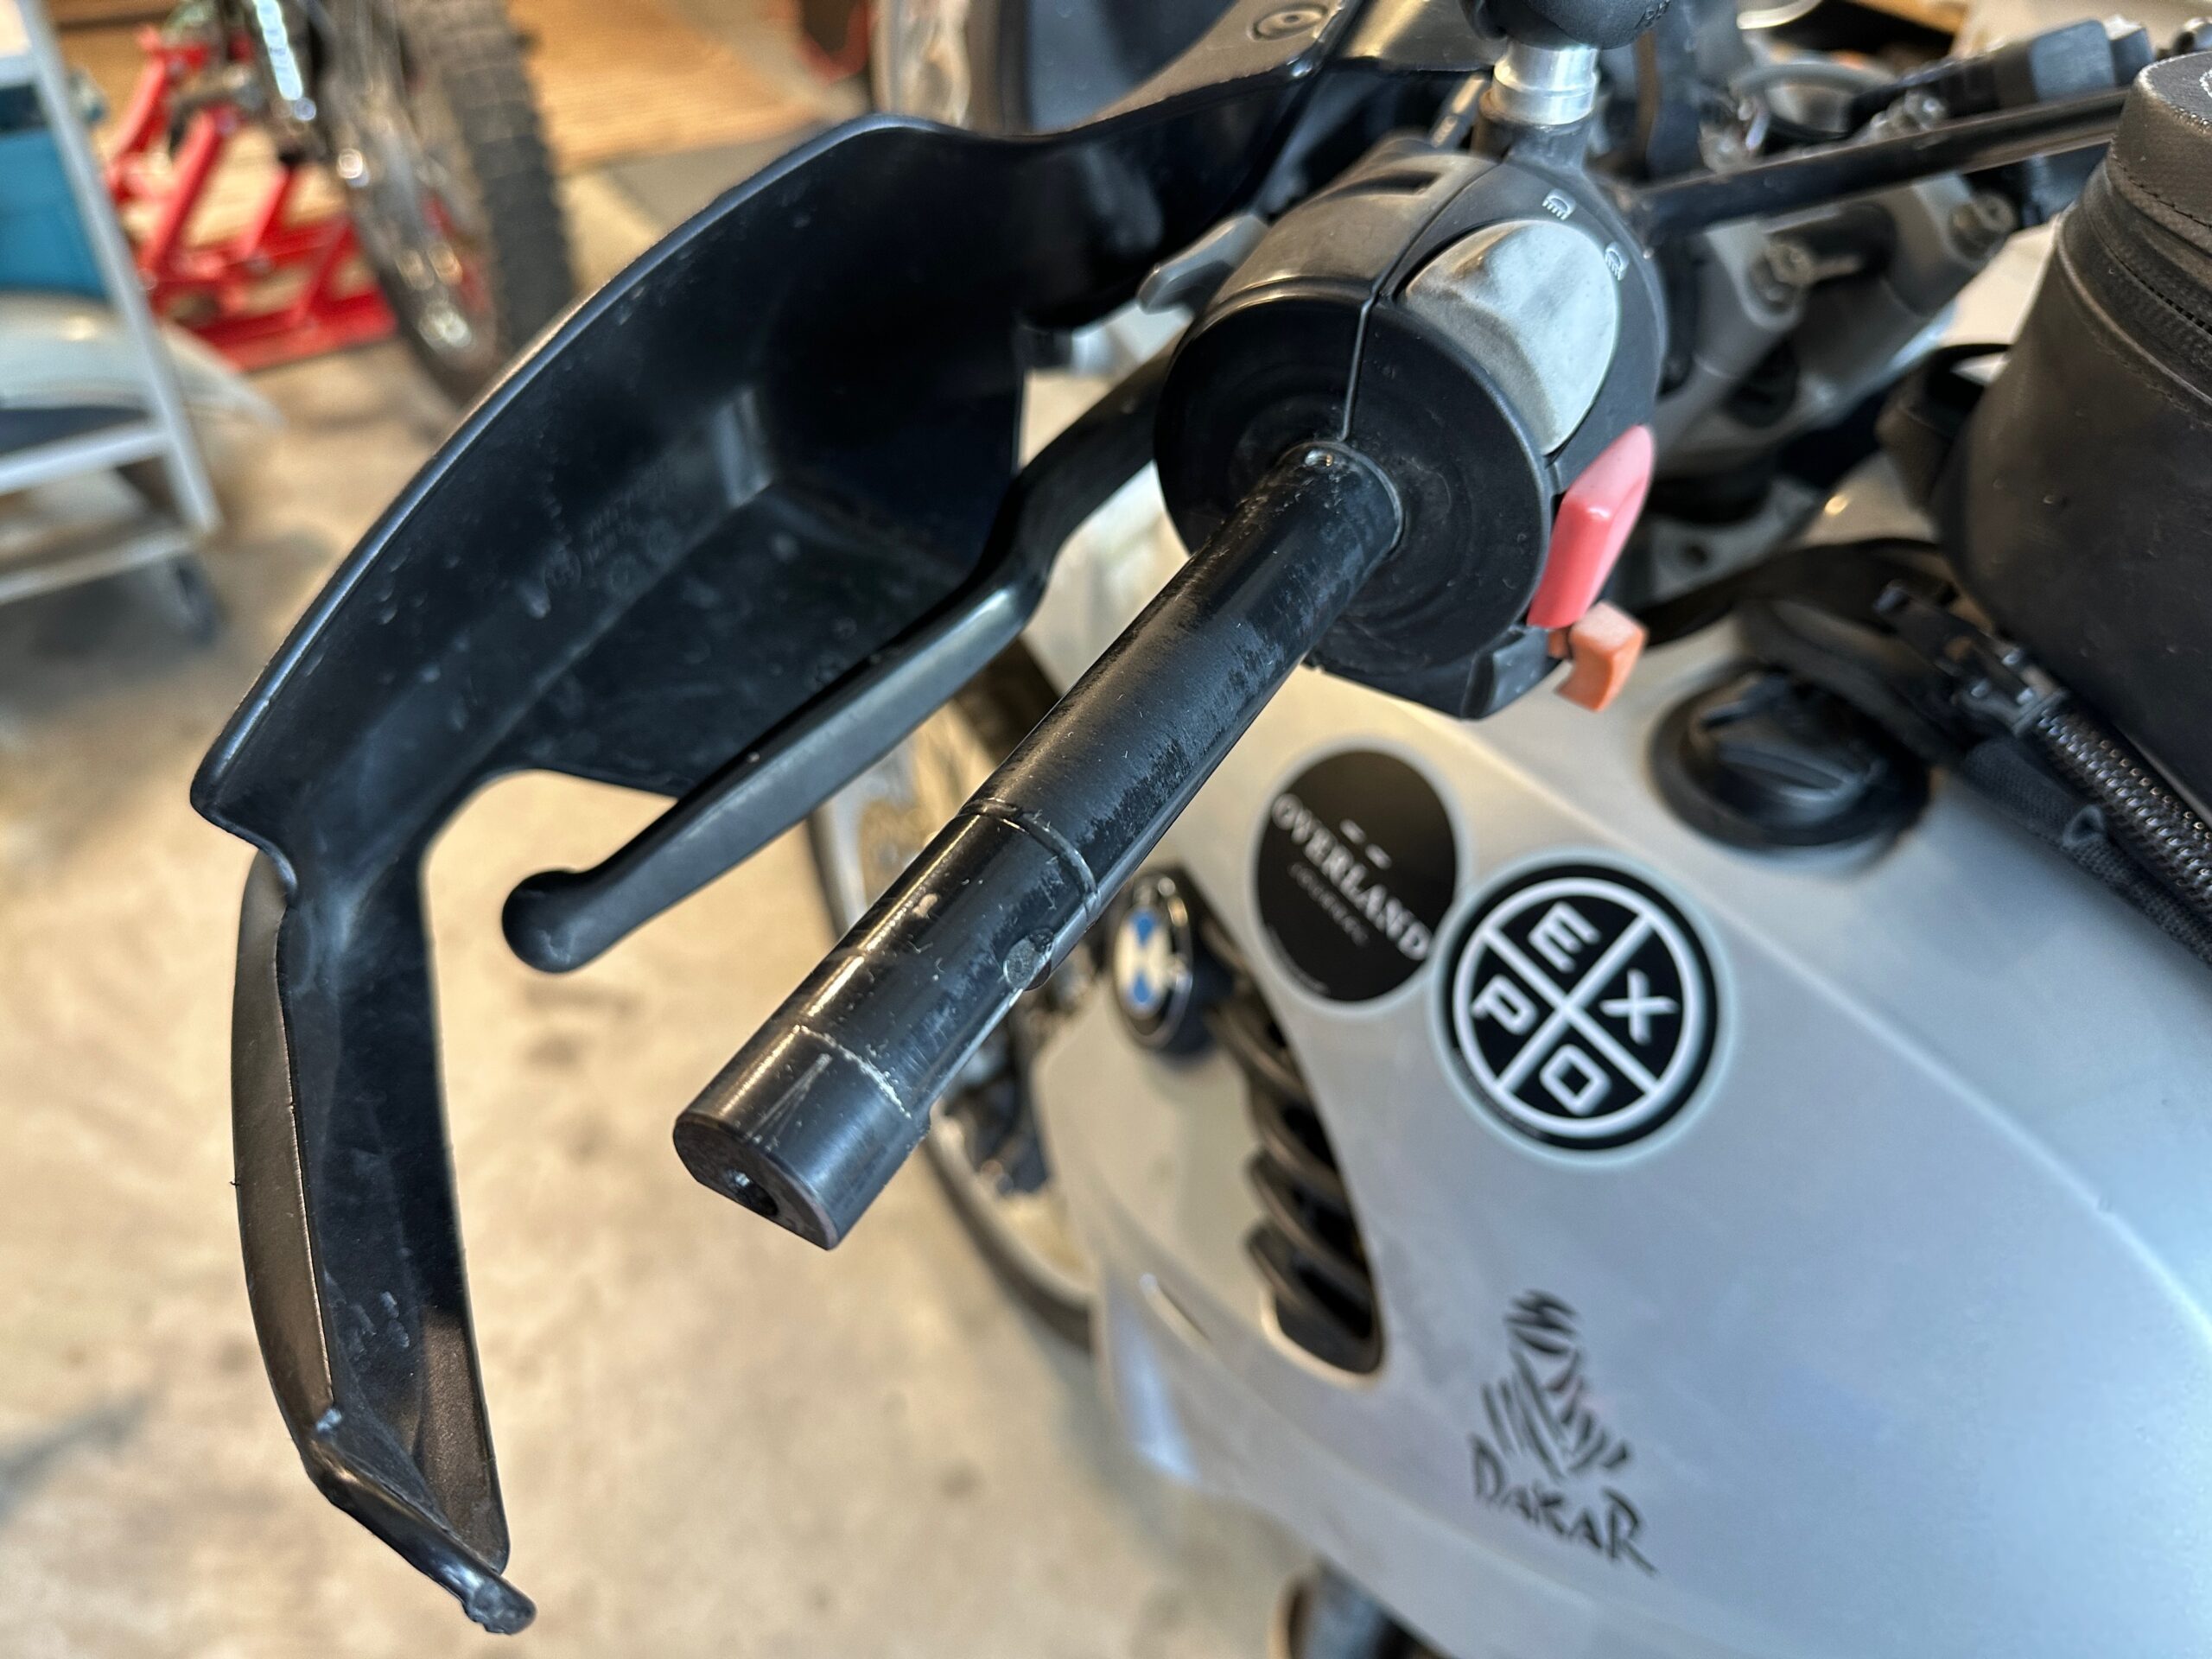
5.) Peel the backing off the elements, and stick them to the handlebars. Take your time getting the position right, as the adhesive is quite strong, and adjusting them once stuck is nearly impossible.
6.) Run the wiring the length of your handlebars toward the center of the bike, securing with cable ties or pre-existing wire management fasteners along the way. My handlebars happened to have a convenient hole to run my wires inside the bar itself on the clutch side. You can, at this point, install your new grips, or the old ones if you were able to preserve them. A fast wrap of electrical tape protects the soldered connections on the elements.
-
- My BMW had a convenient hole in the handlebar for running wires.
-
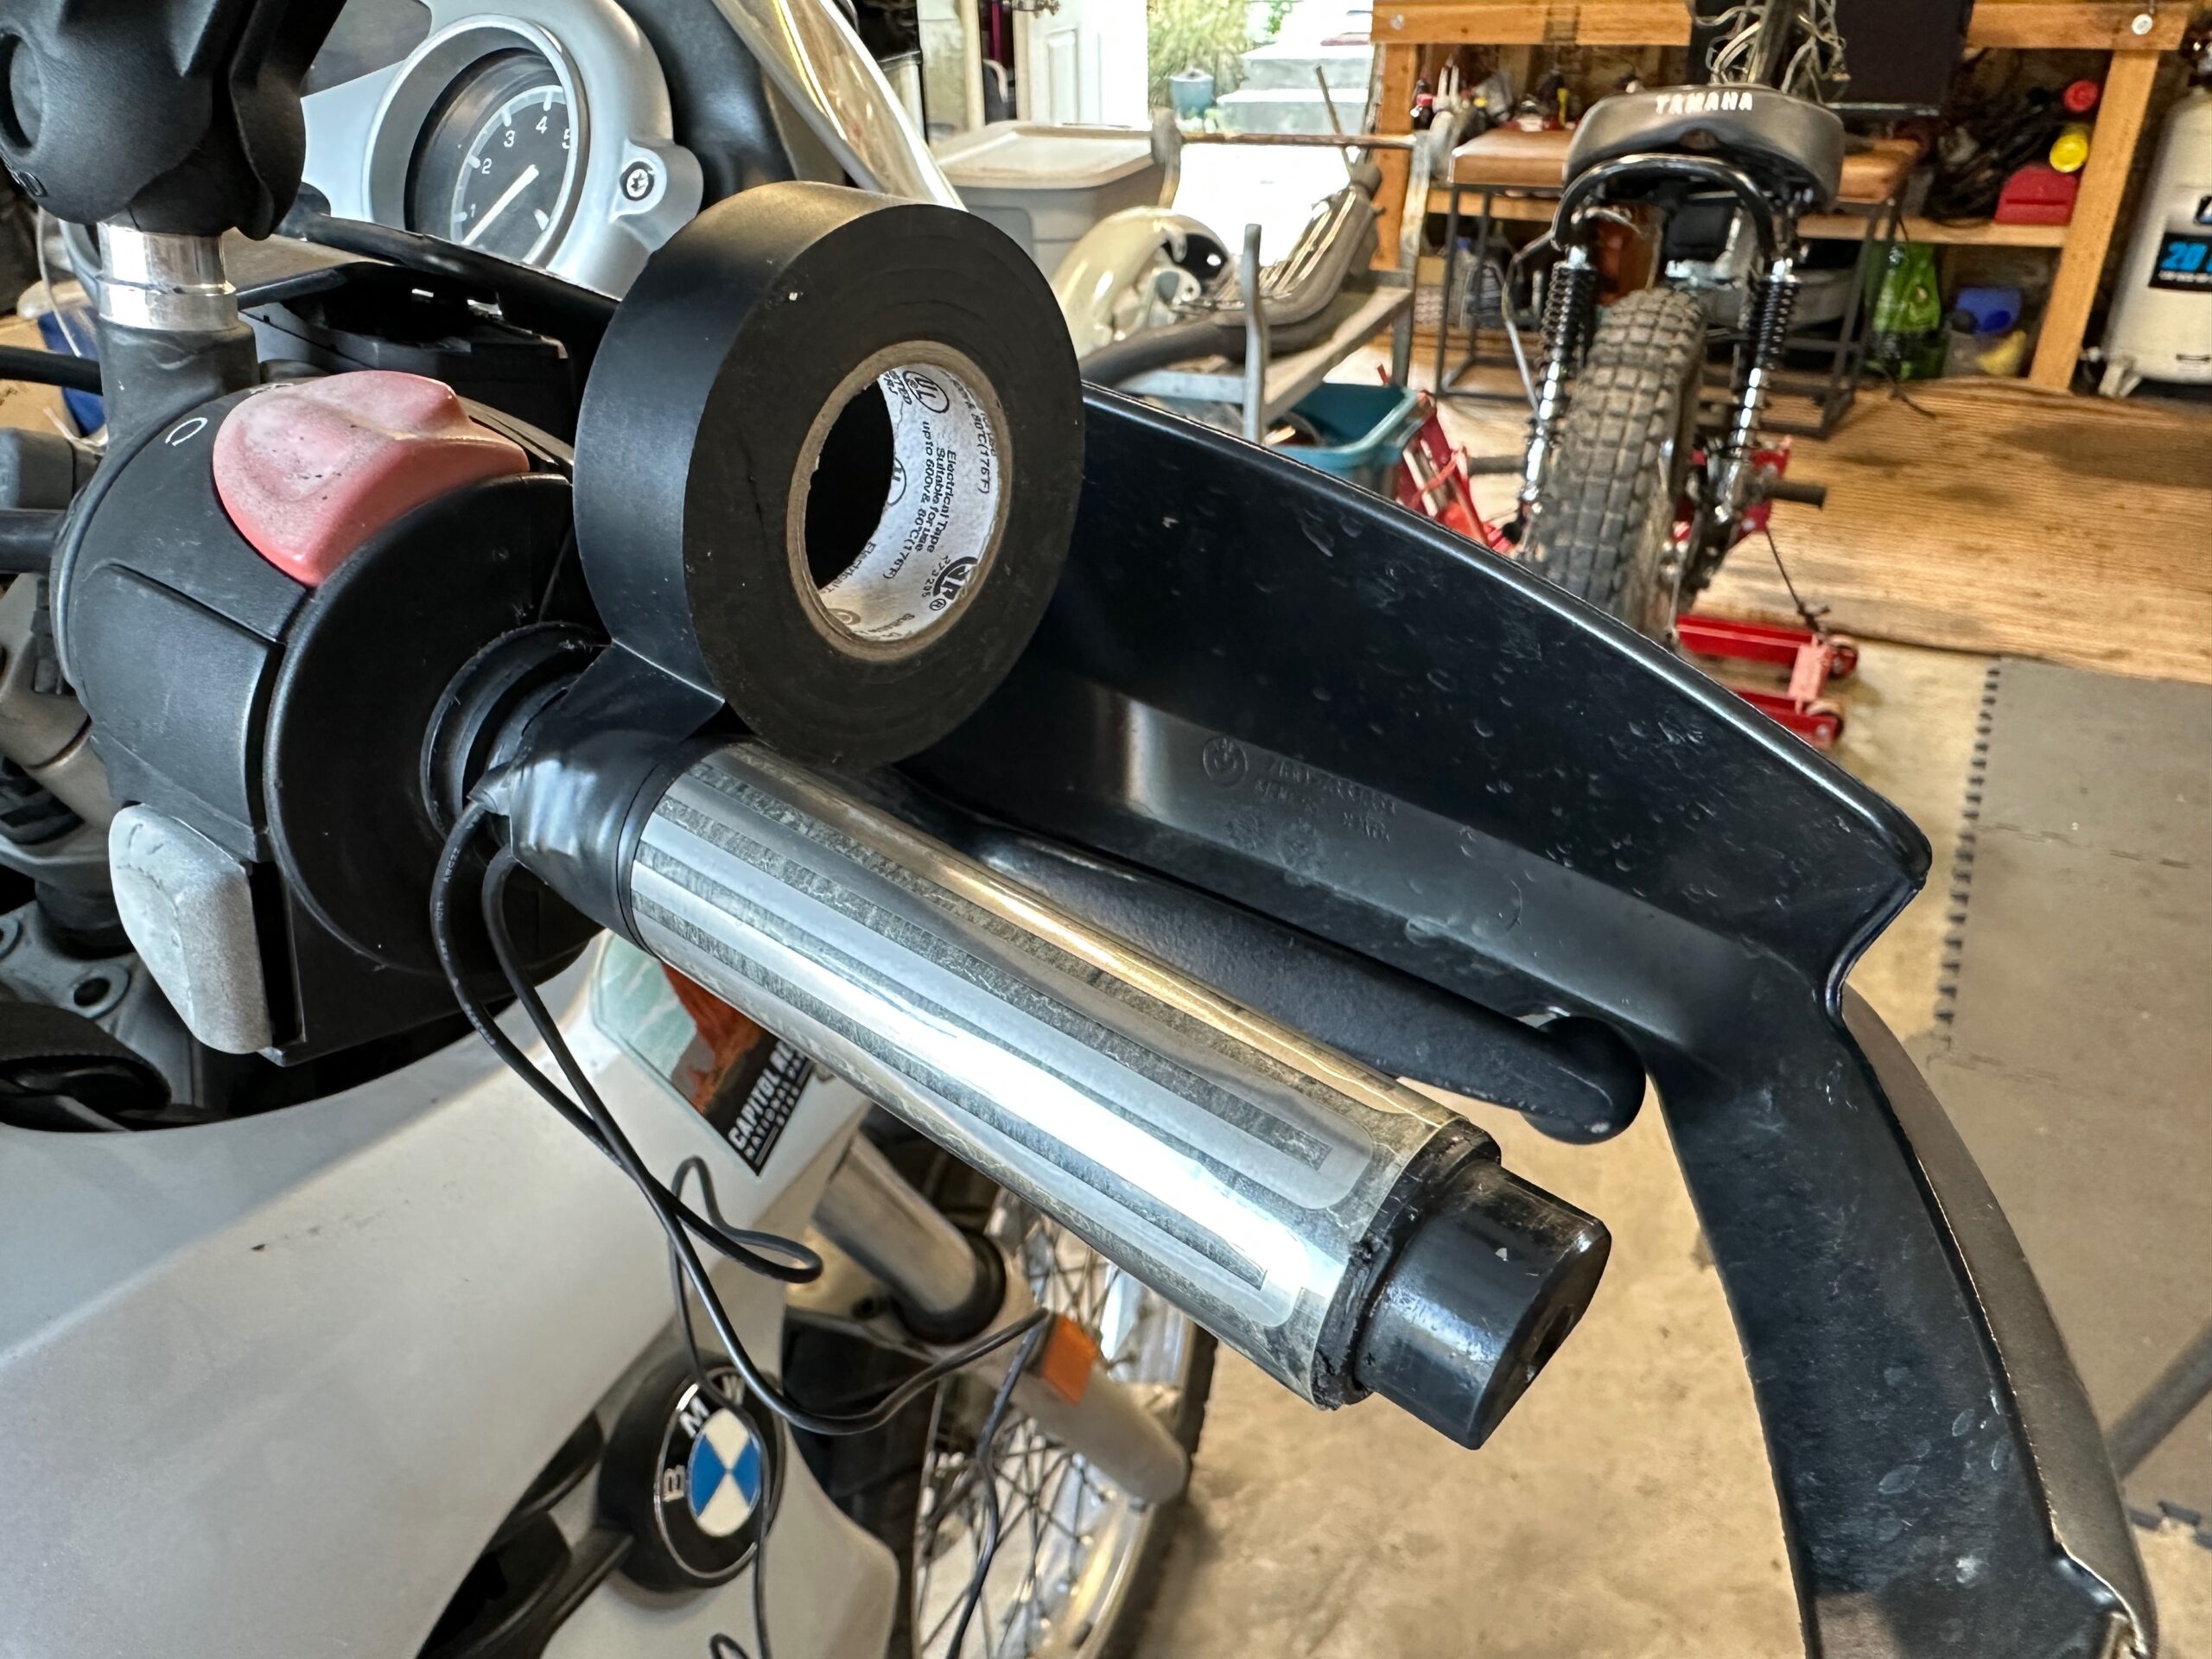
- A quick wrap of electrical tape protects soldered connections.
7.) With the wiring in place and the switch location locked in, you can now start connecting the electricity. The Tusk kit comes with a “quick splice”-style connector for tapping into the power wire. The only place this connector belongs is in the bin. They’re not water-resistant and tend to have weak continuity. Use high-quality crimp connectors and heat shrink instead, or my favorite, heat-shrink-style solder butt connectors that ensure a water-tight connection. Remember to disconnect your battery for this splicing step to prevent shocks and shorts.
-
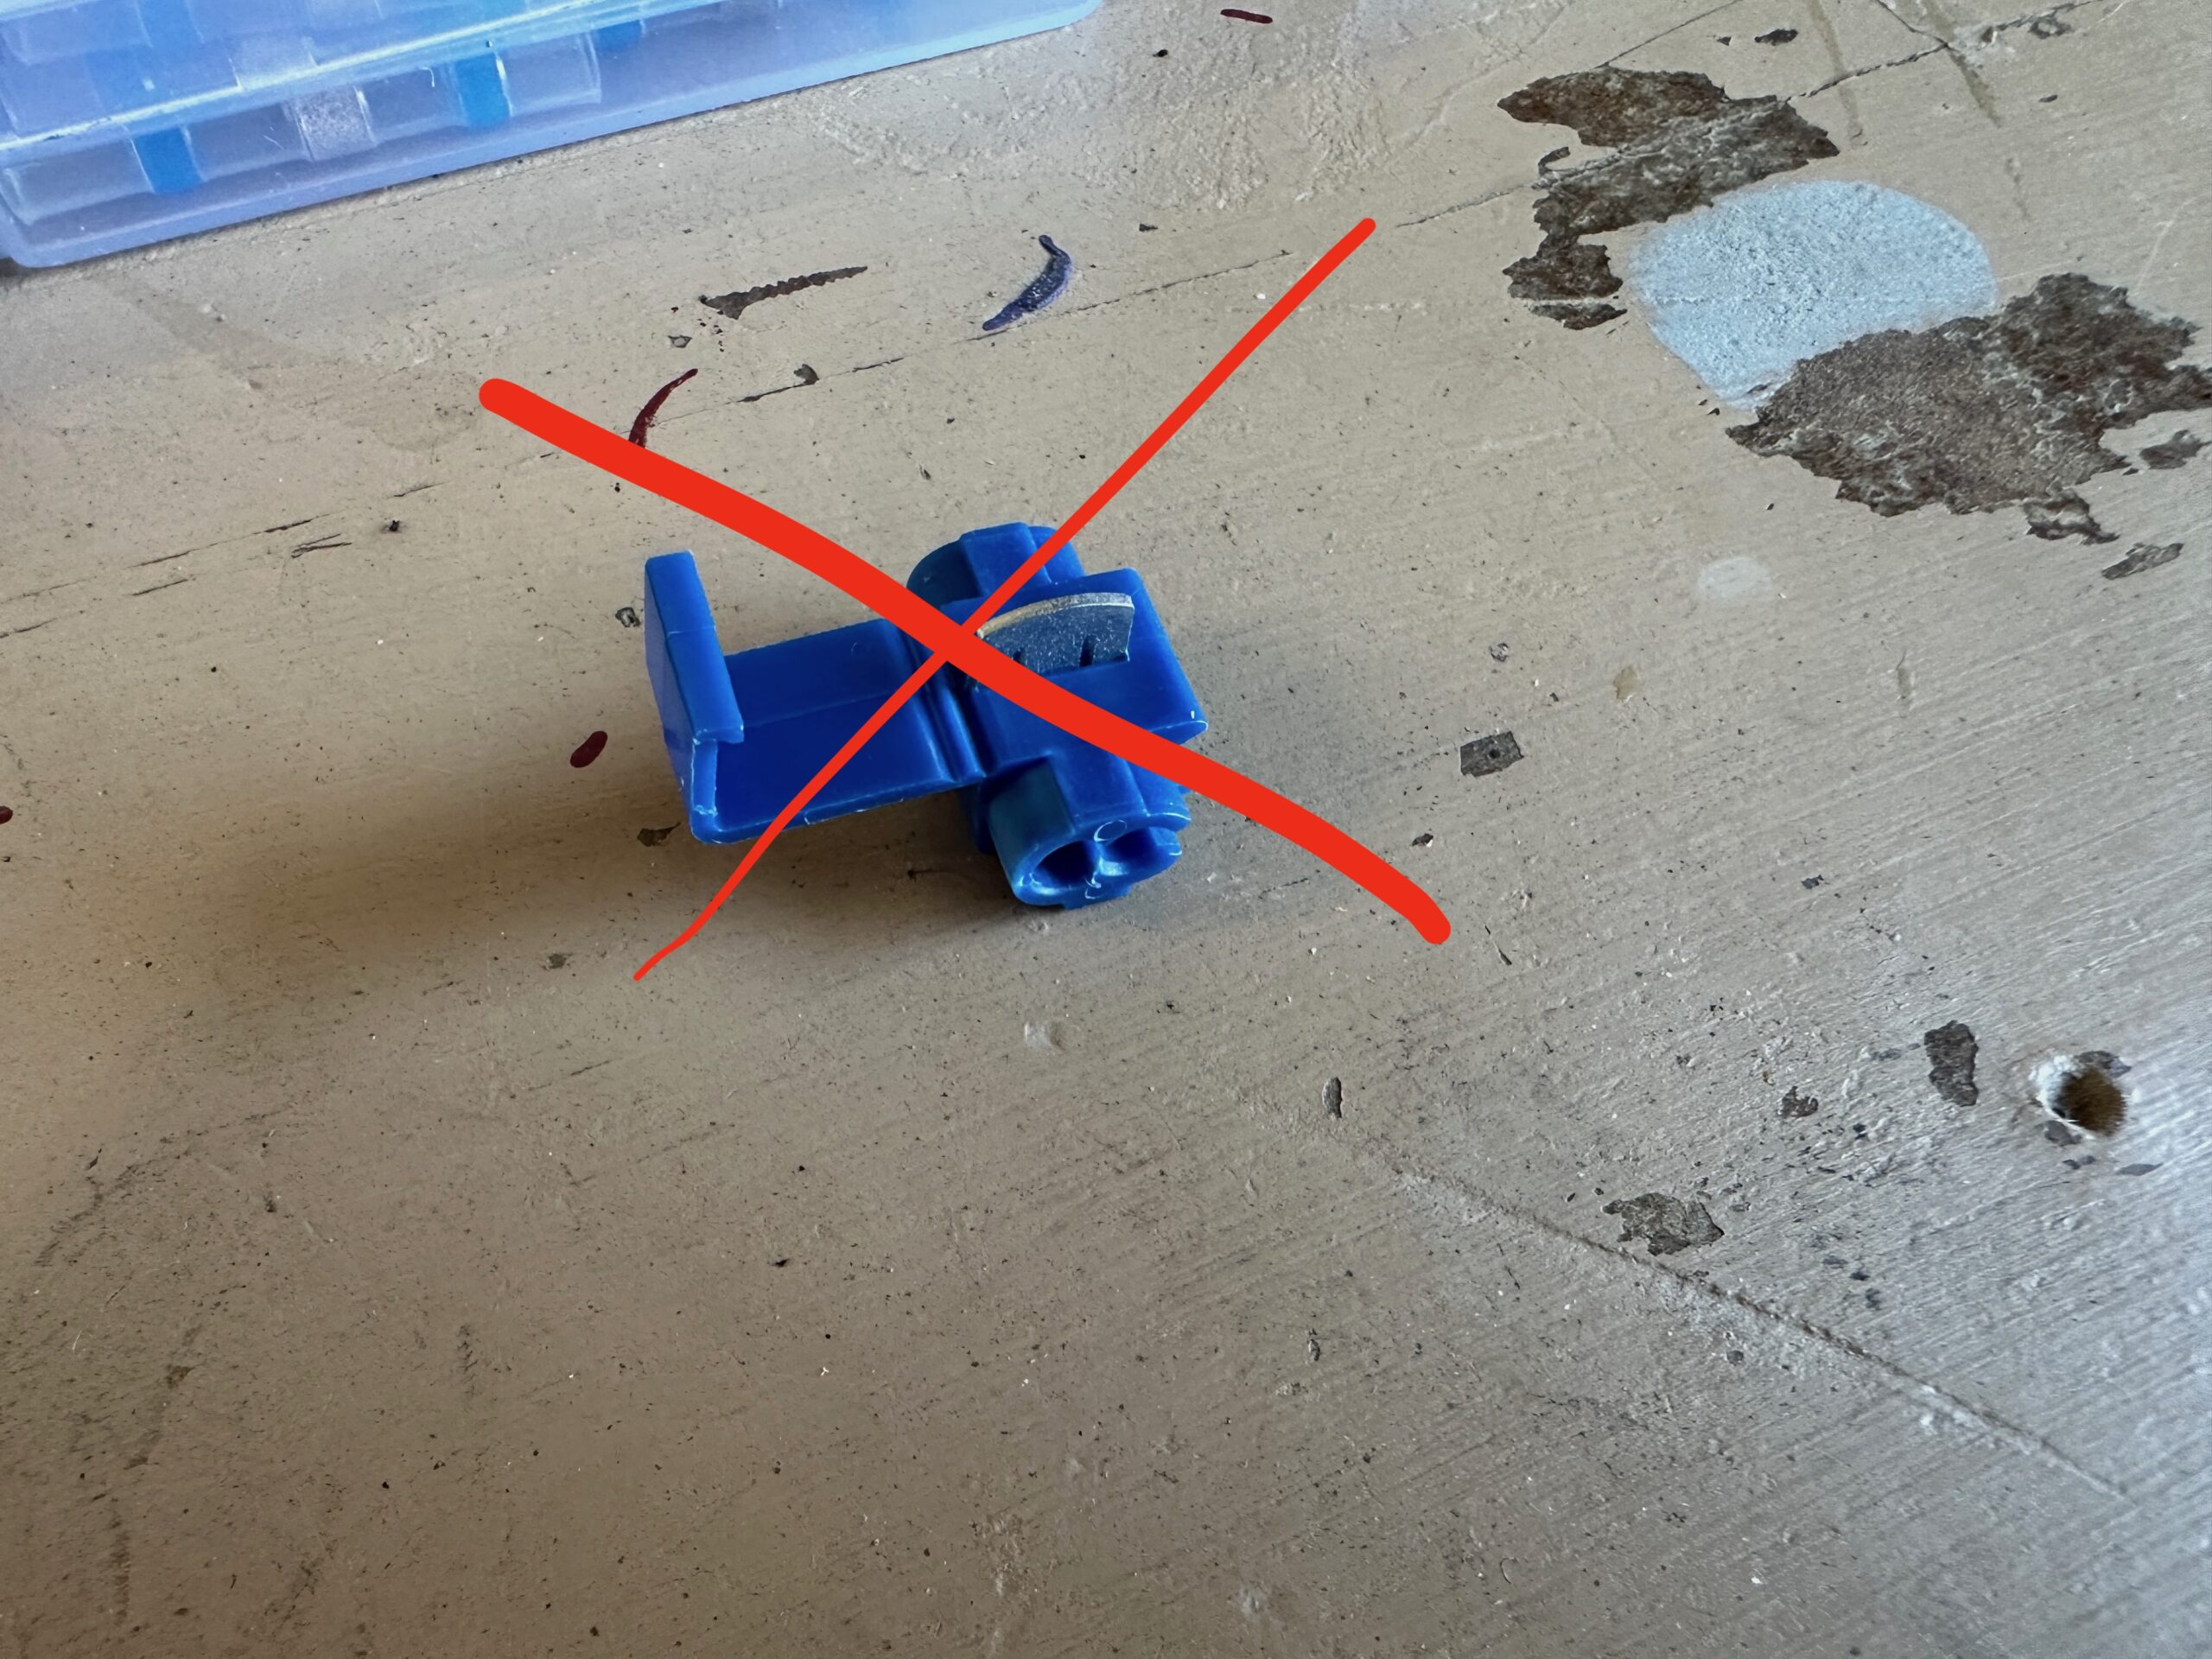
- Throw this away.
-
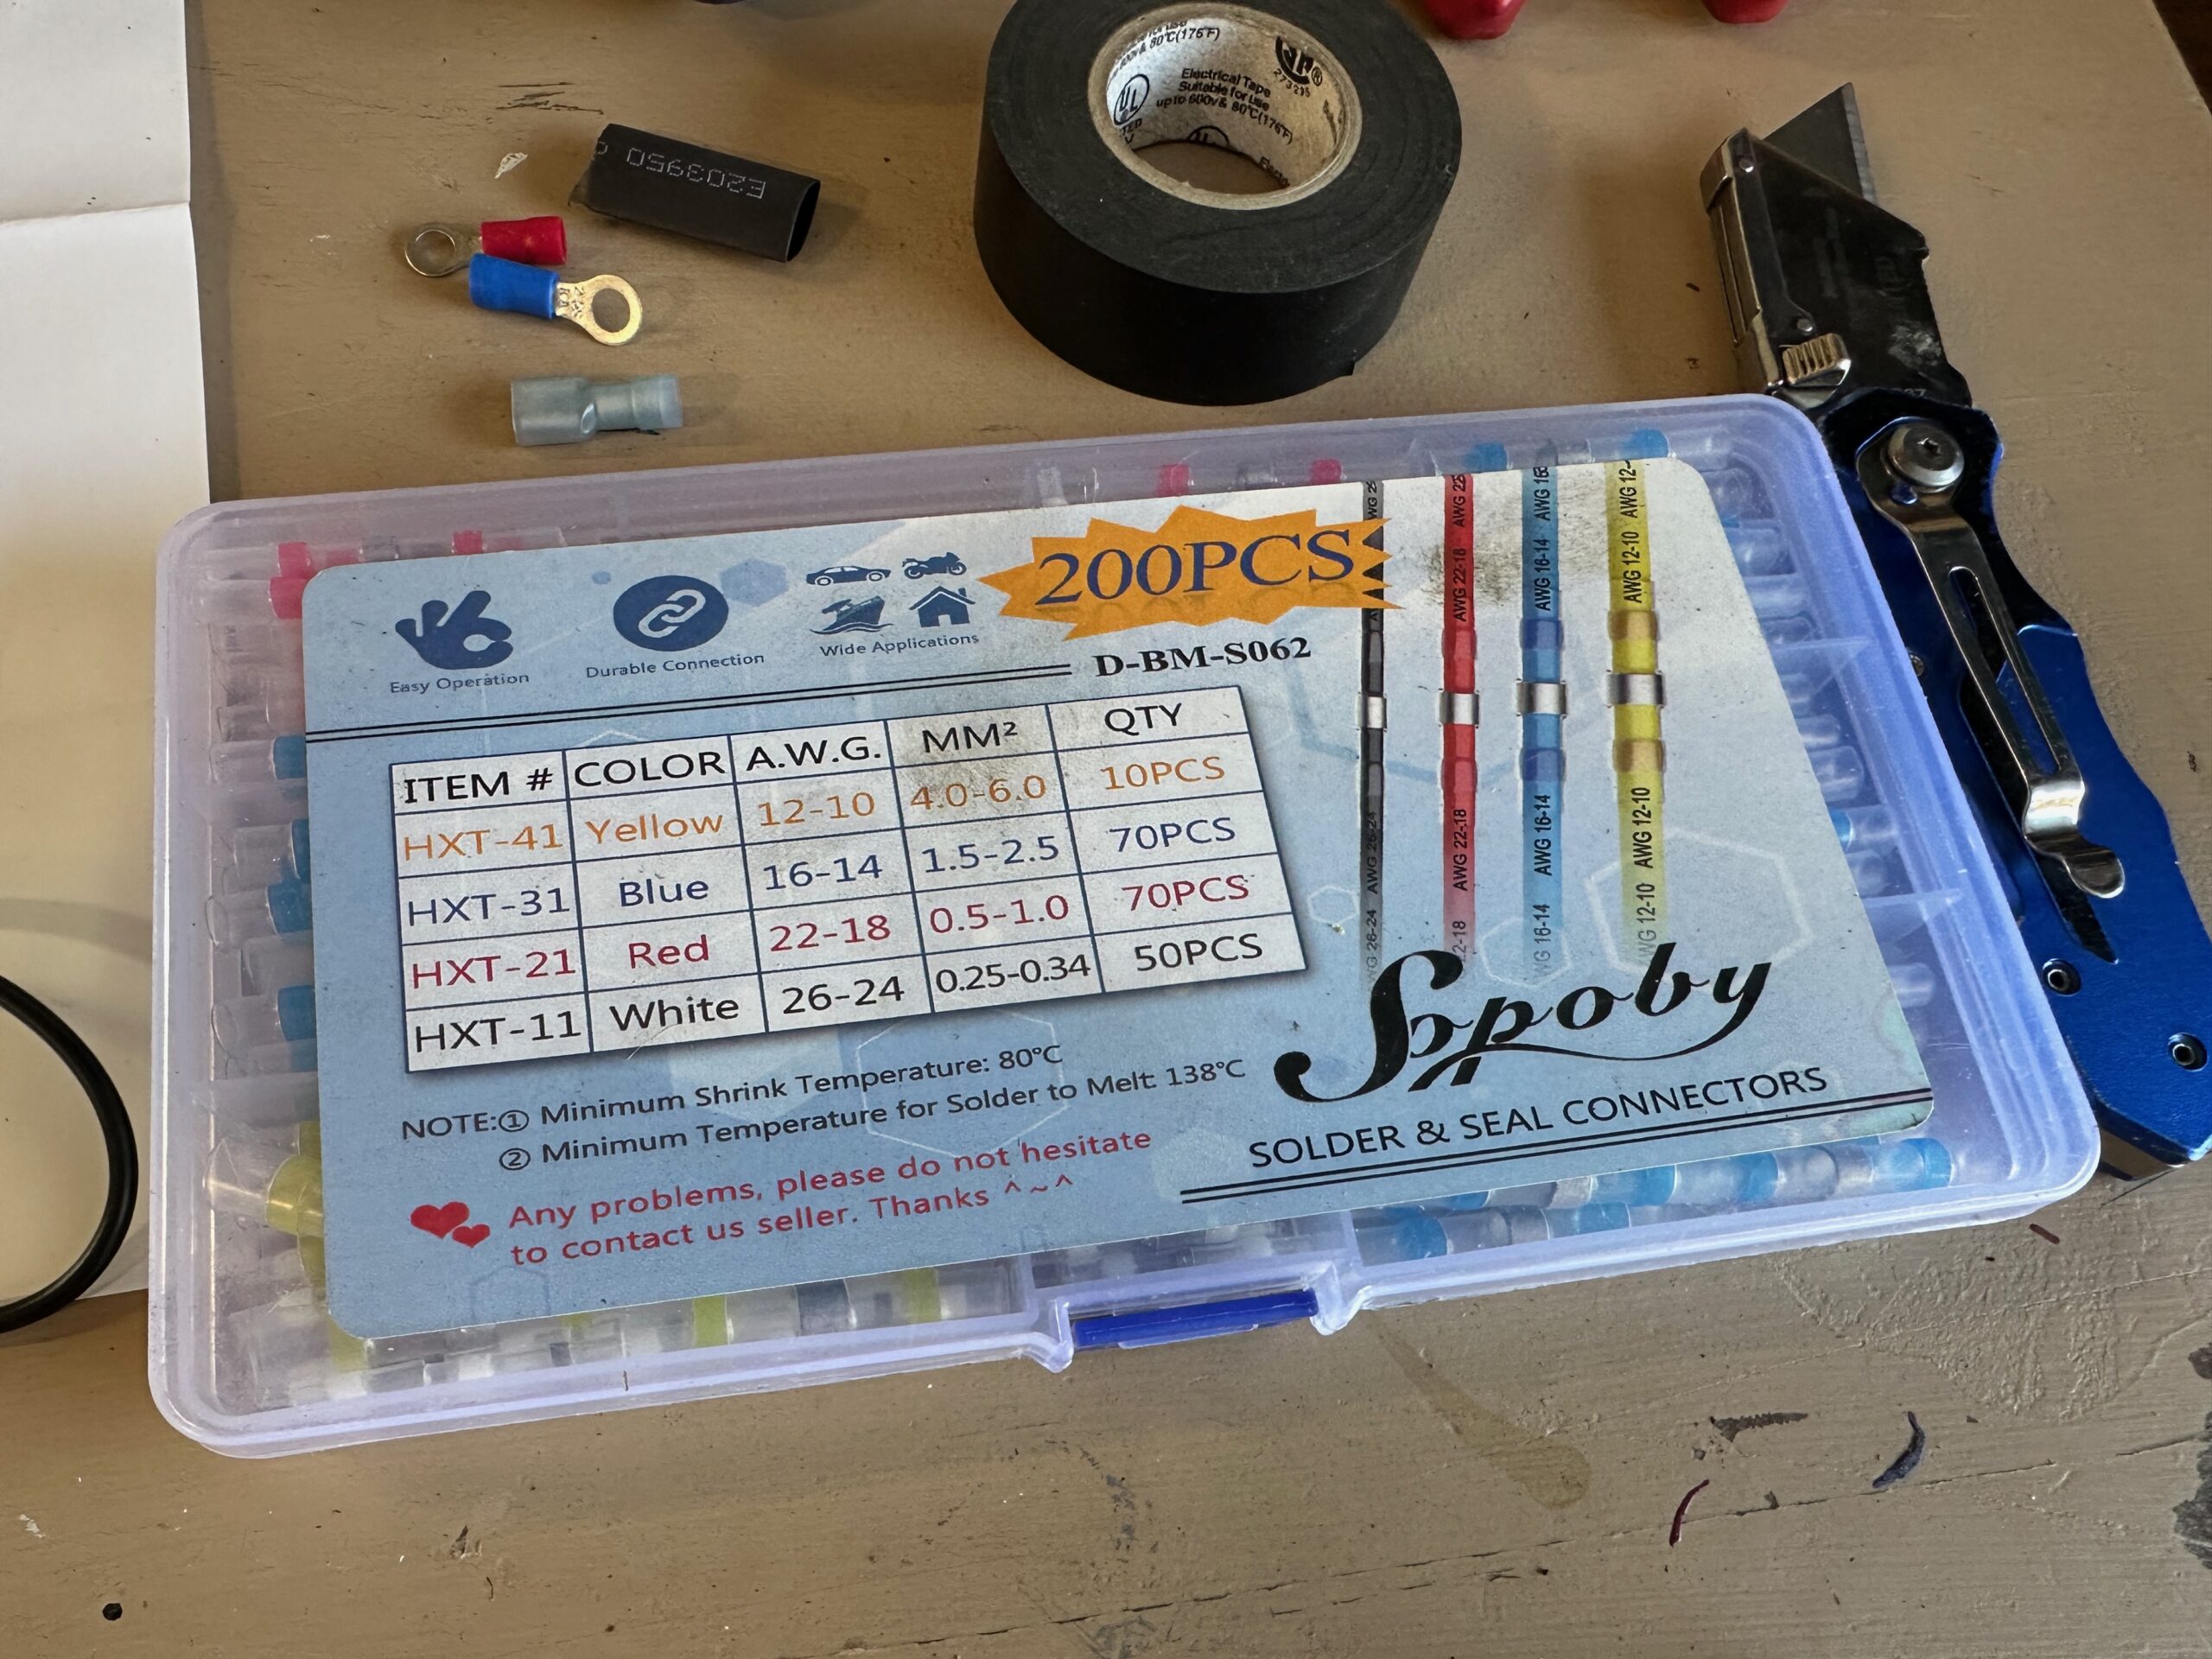
- Heat-shrink connectors can be purchased inexpensively online.
-
- Use the correct size connector and a heat gun for a strong and watertight connection.
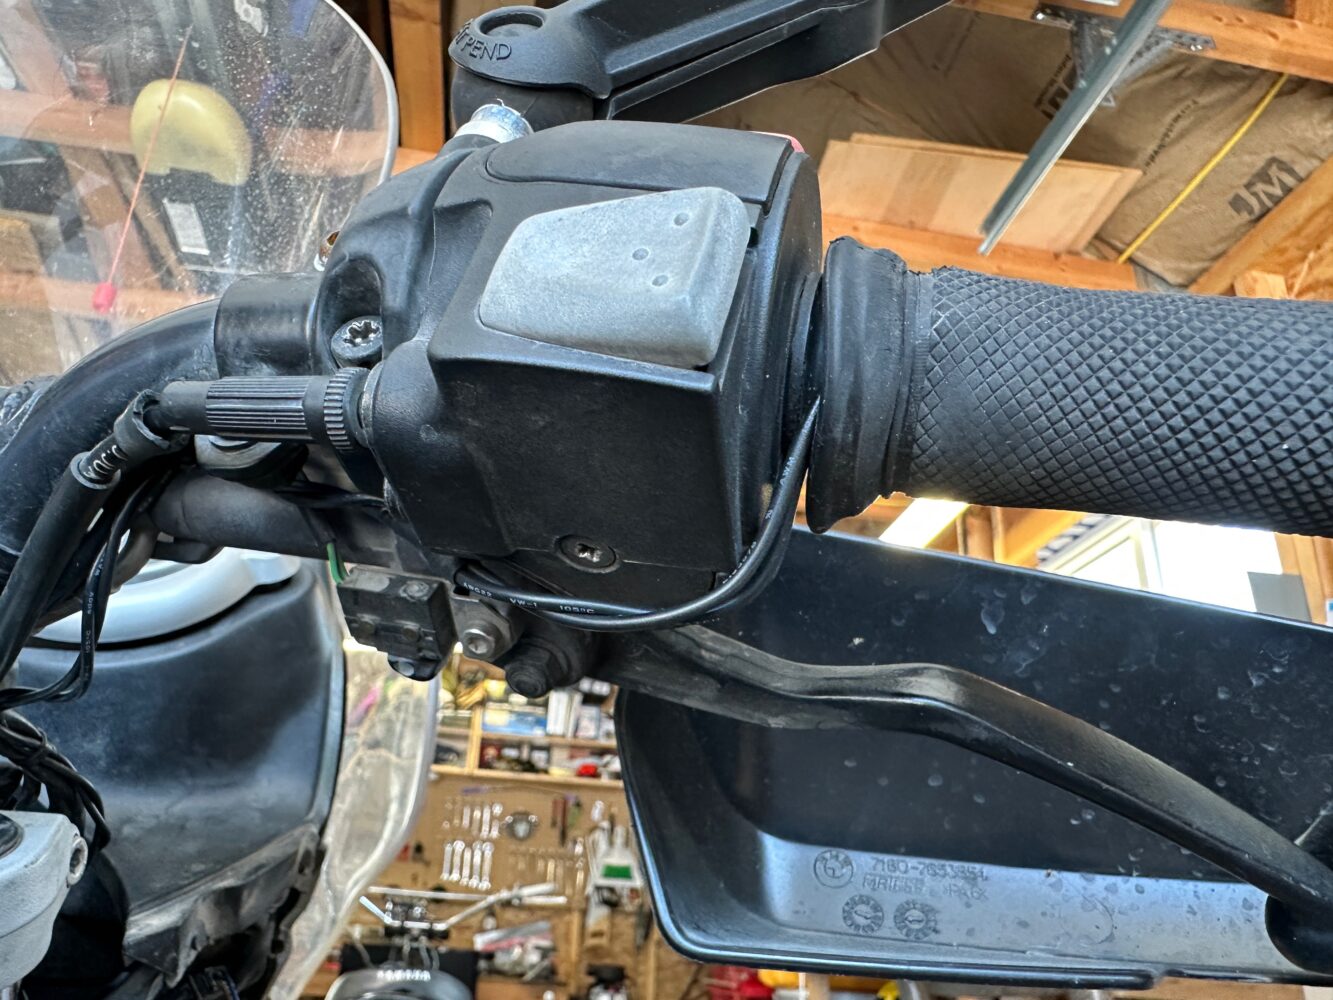
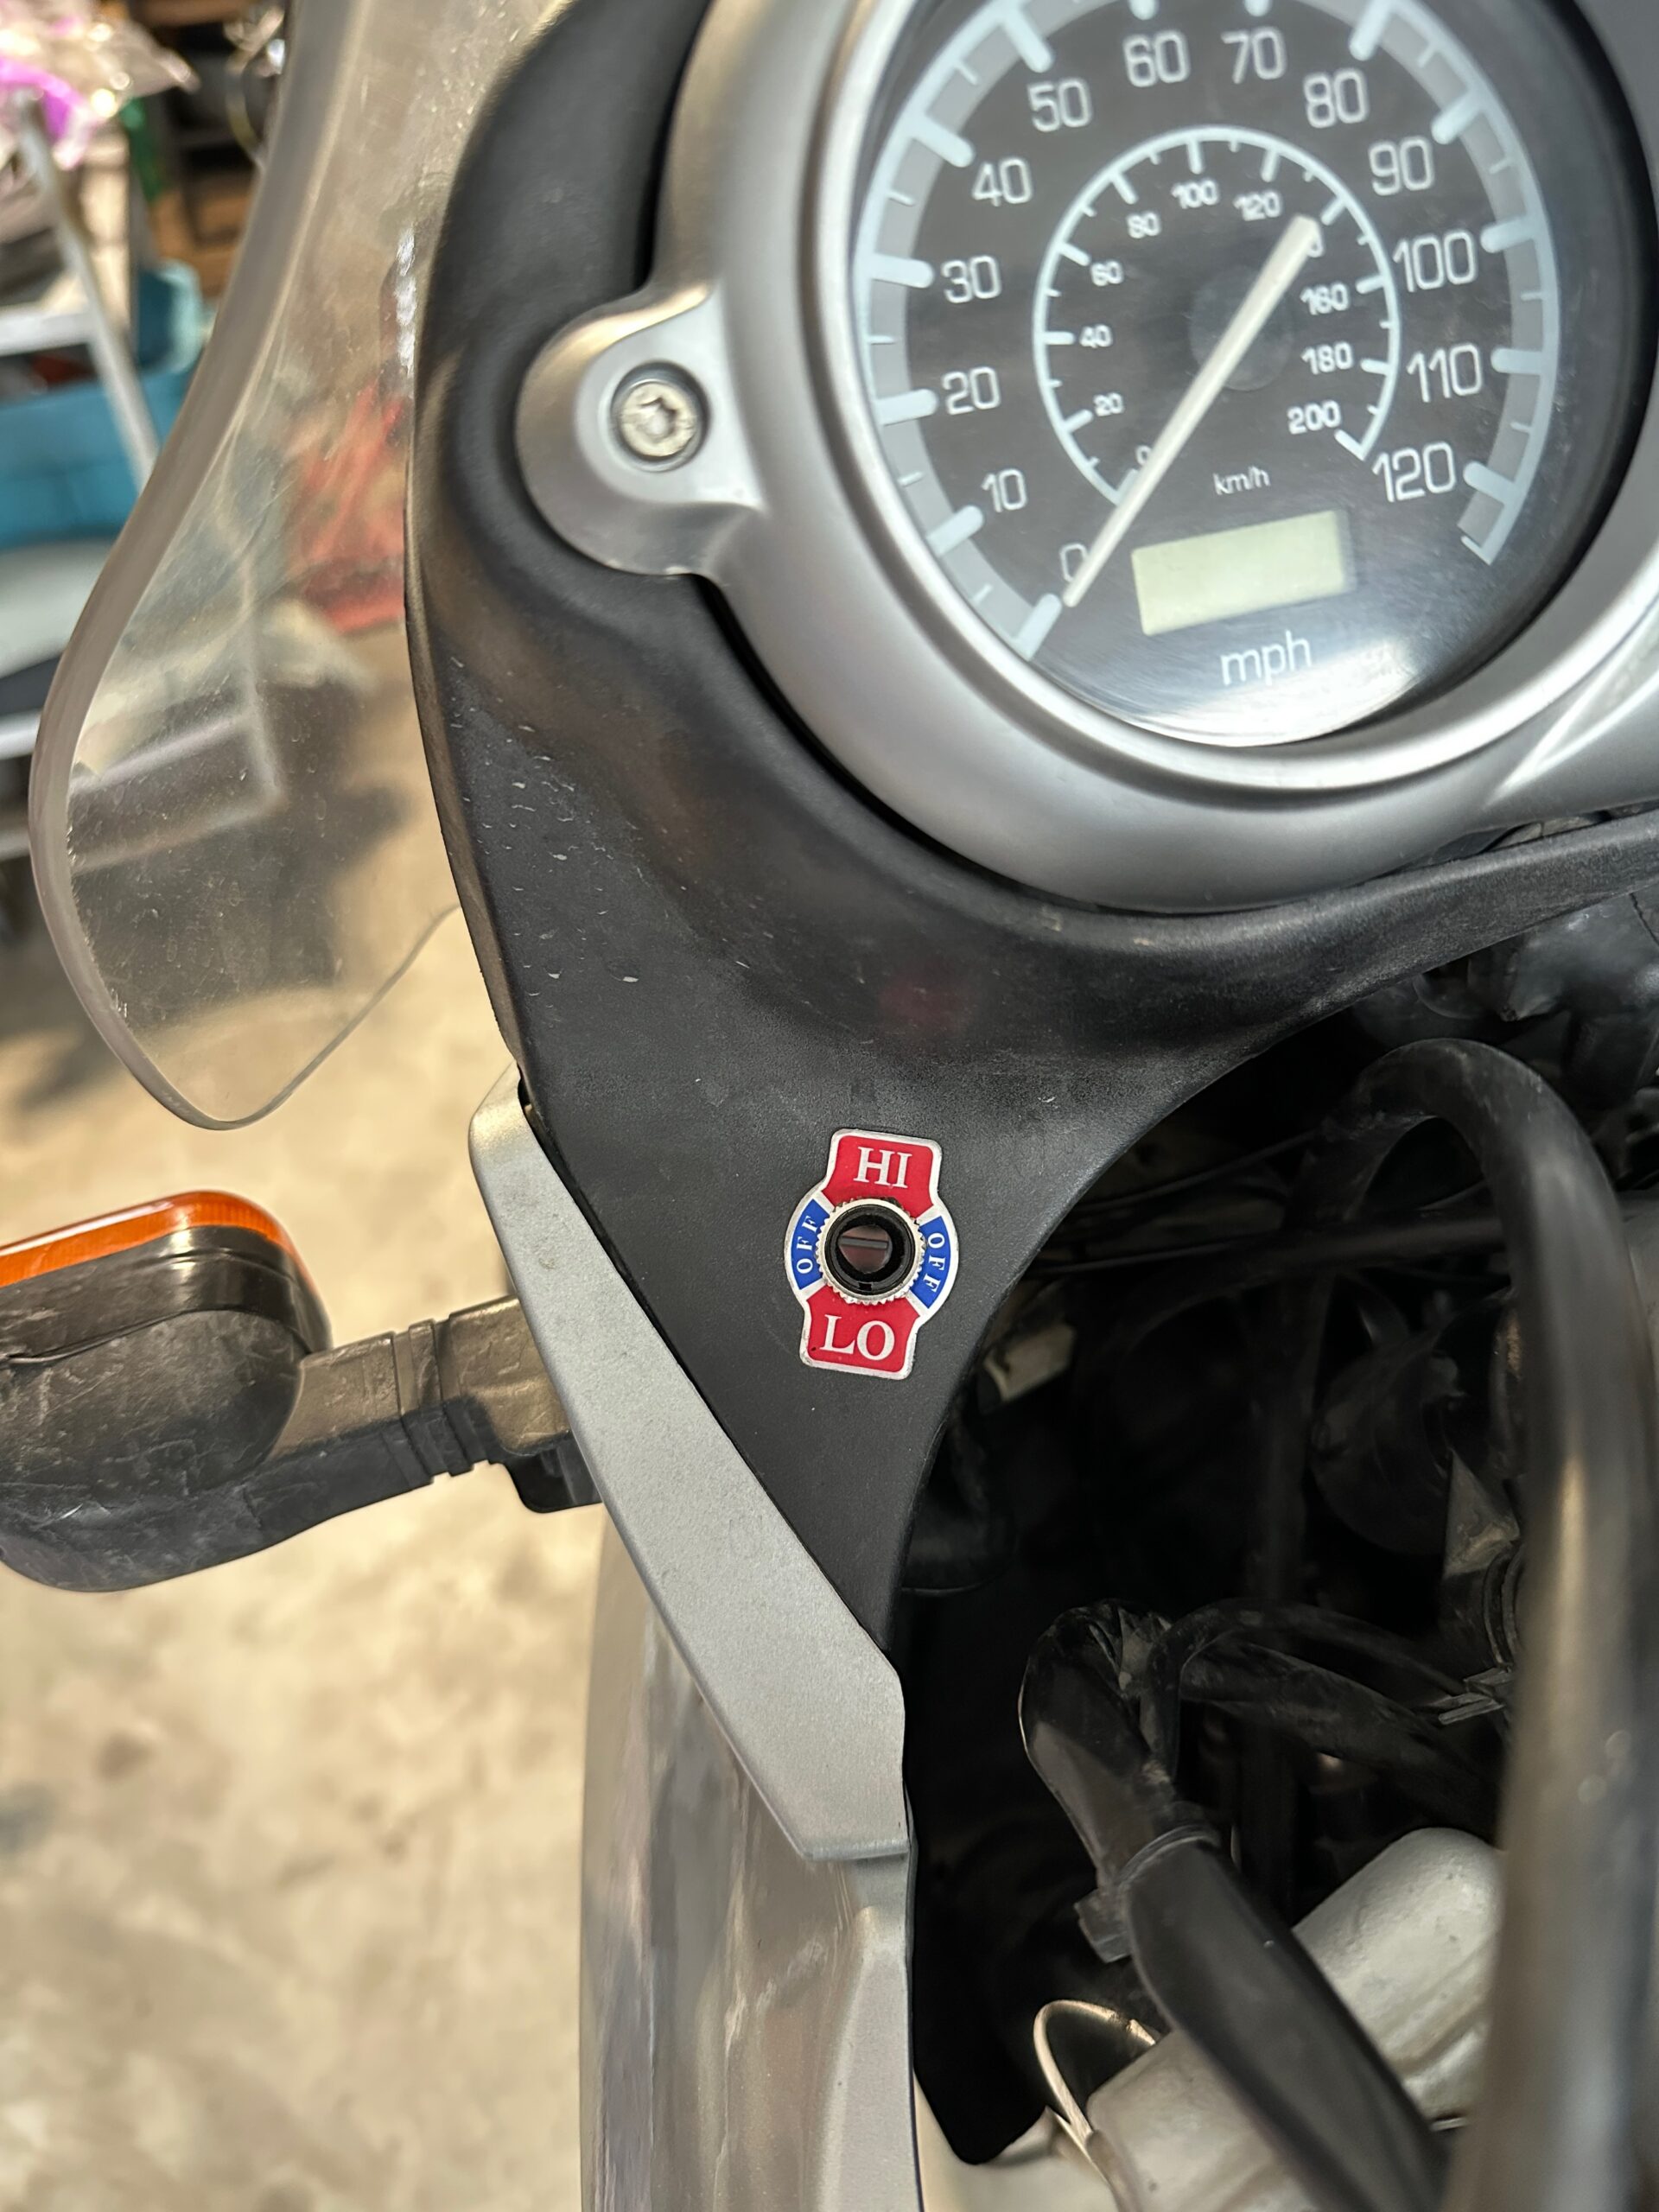
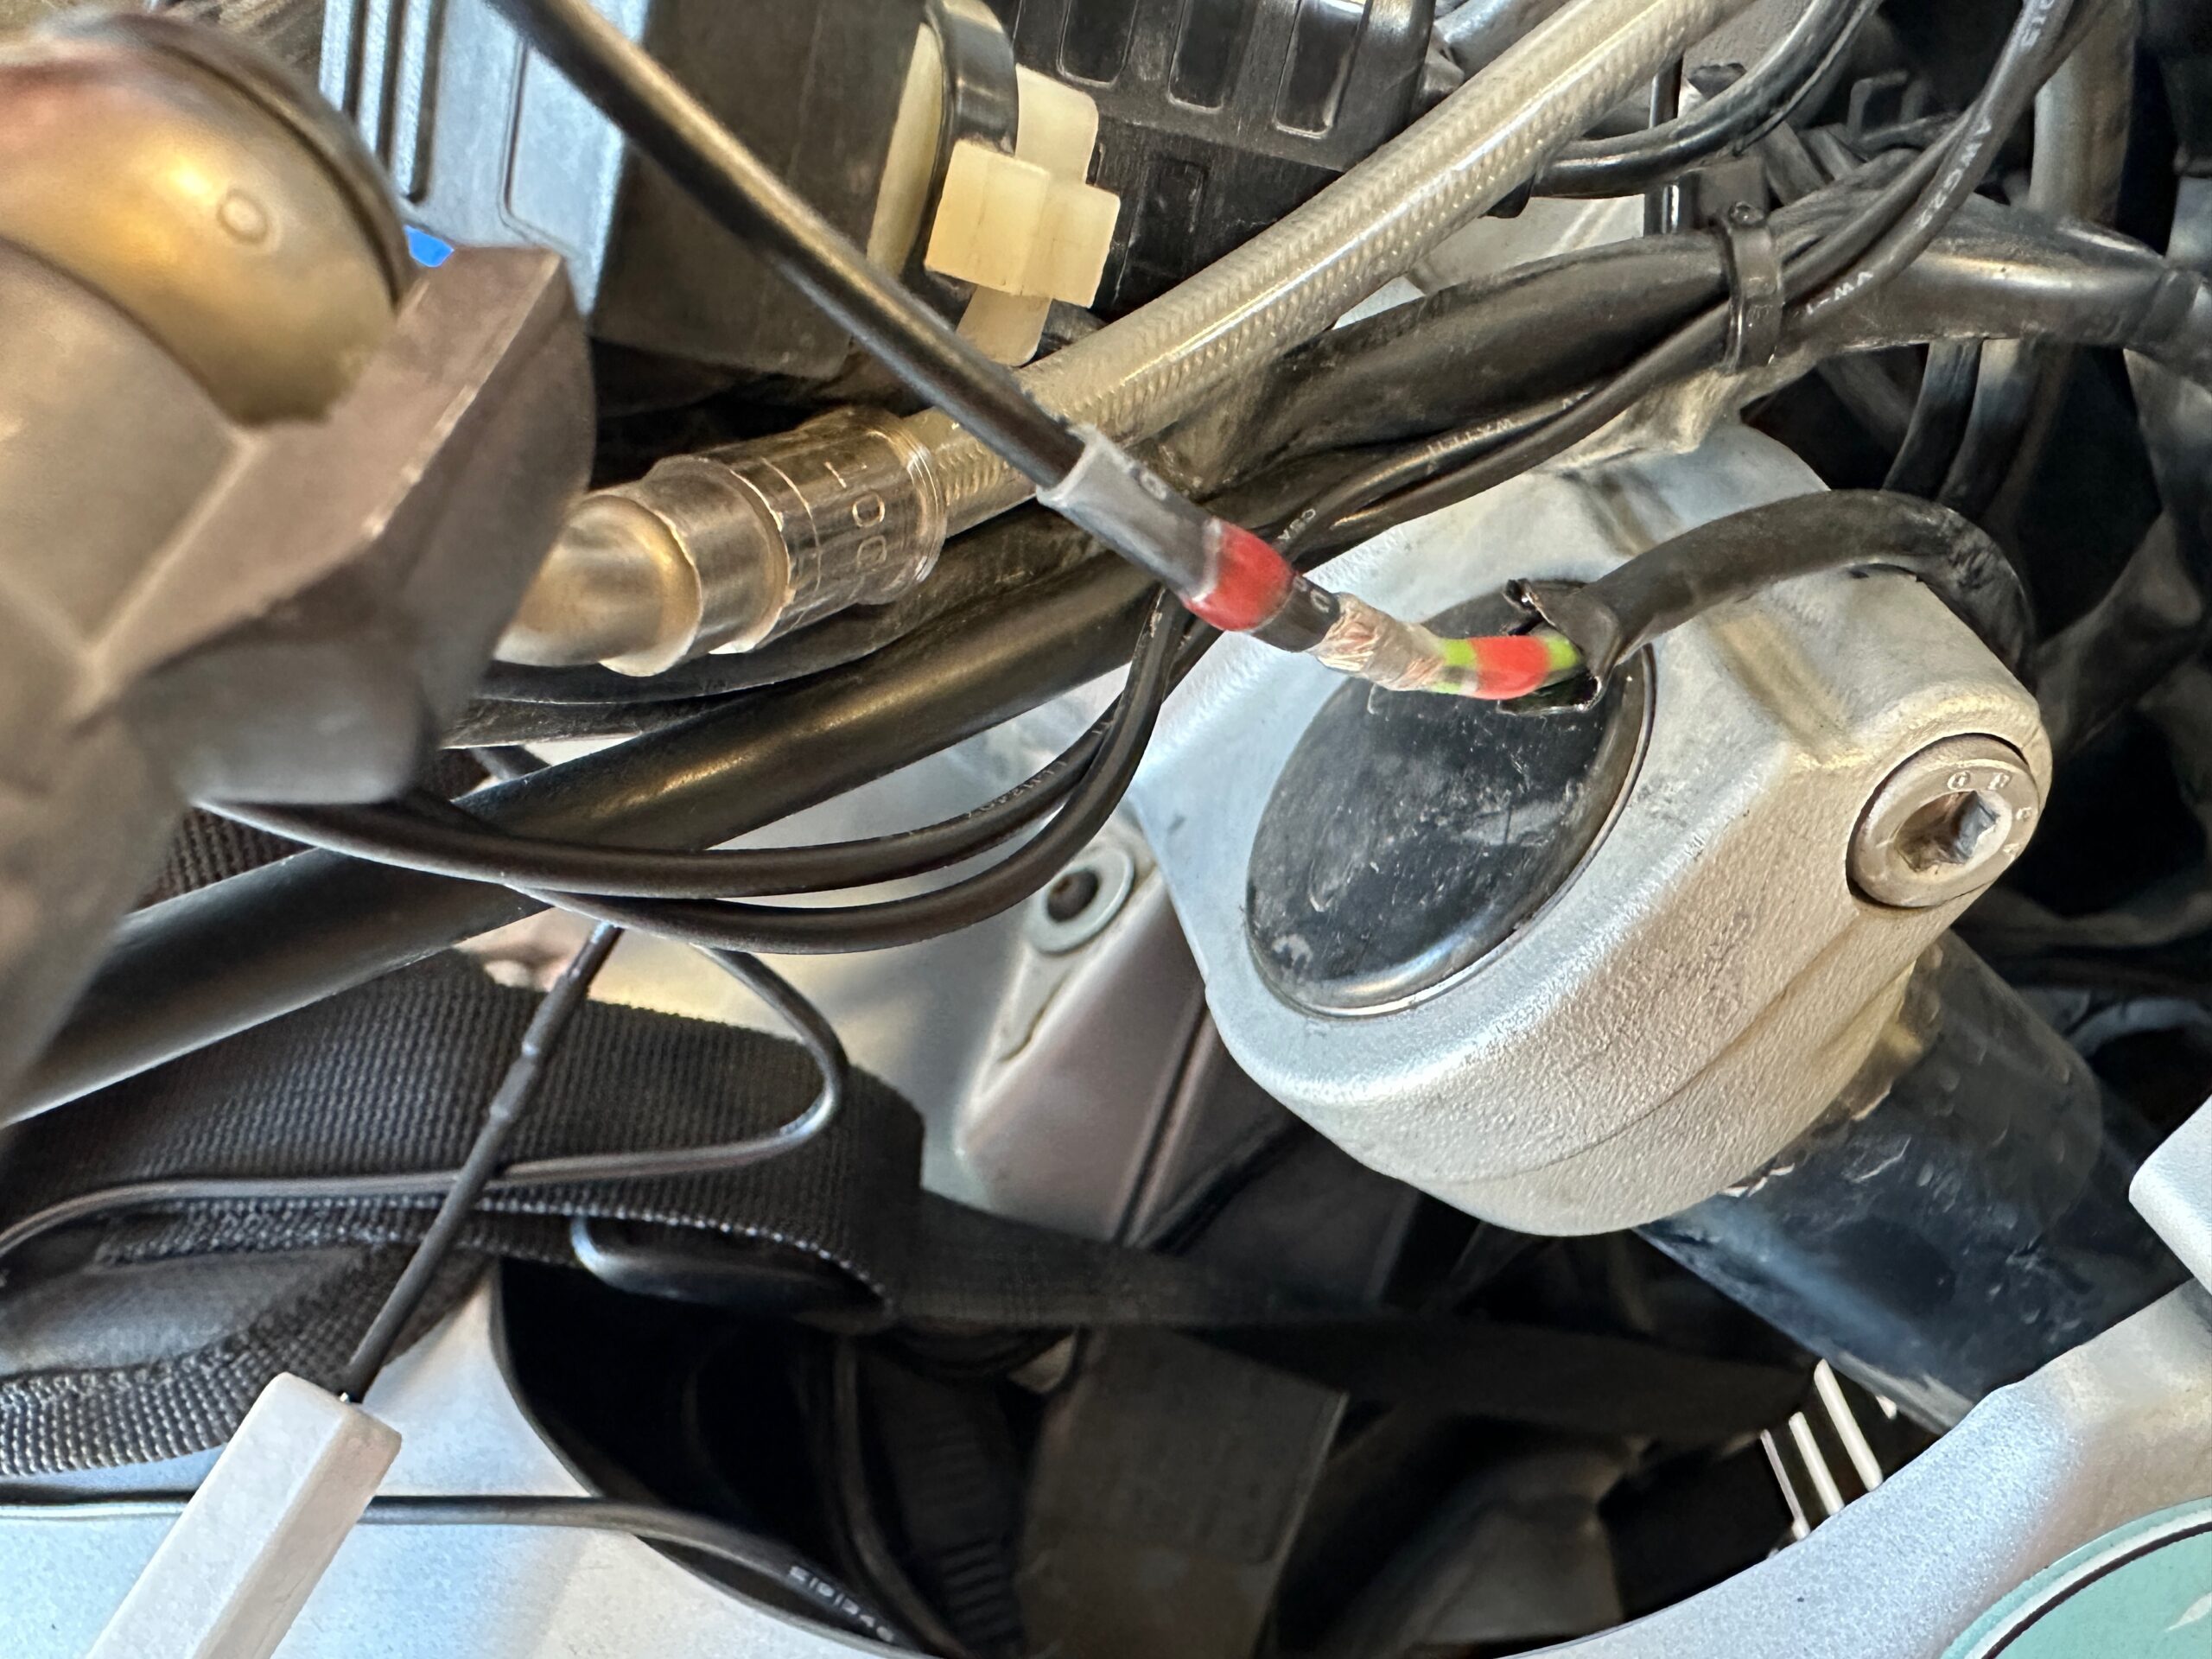
Connect the power, the ground wire, and all the wires to the heating elements and the switch according to the included wiring diagram. Mount the switch in its hole, route all the wiring cleanly and away from areas where it might snag or be too exposed to the elements, and secure with cable ties.
8.) Reconnect the battery and test the system both on the high and low settings before reinstalling any bodywork you may have removed.
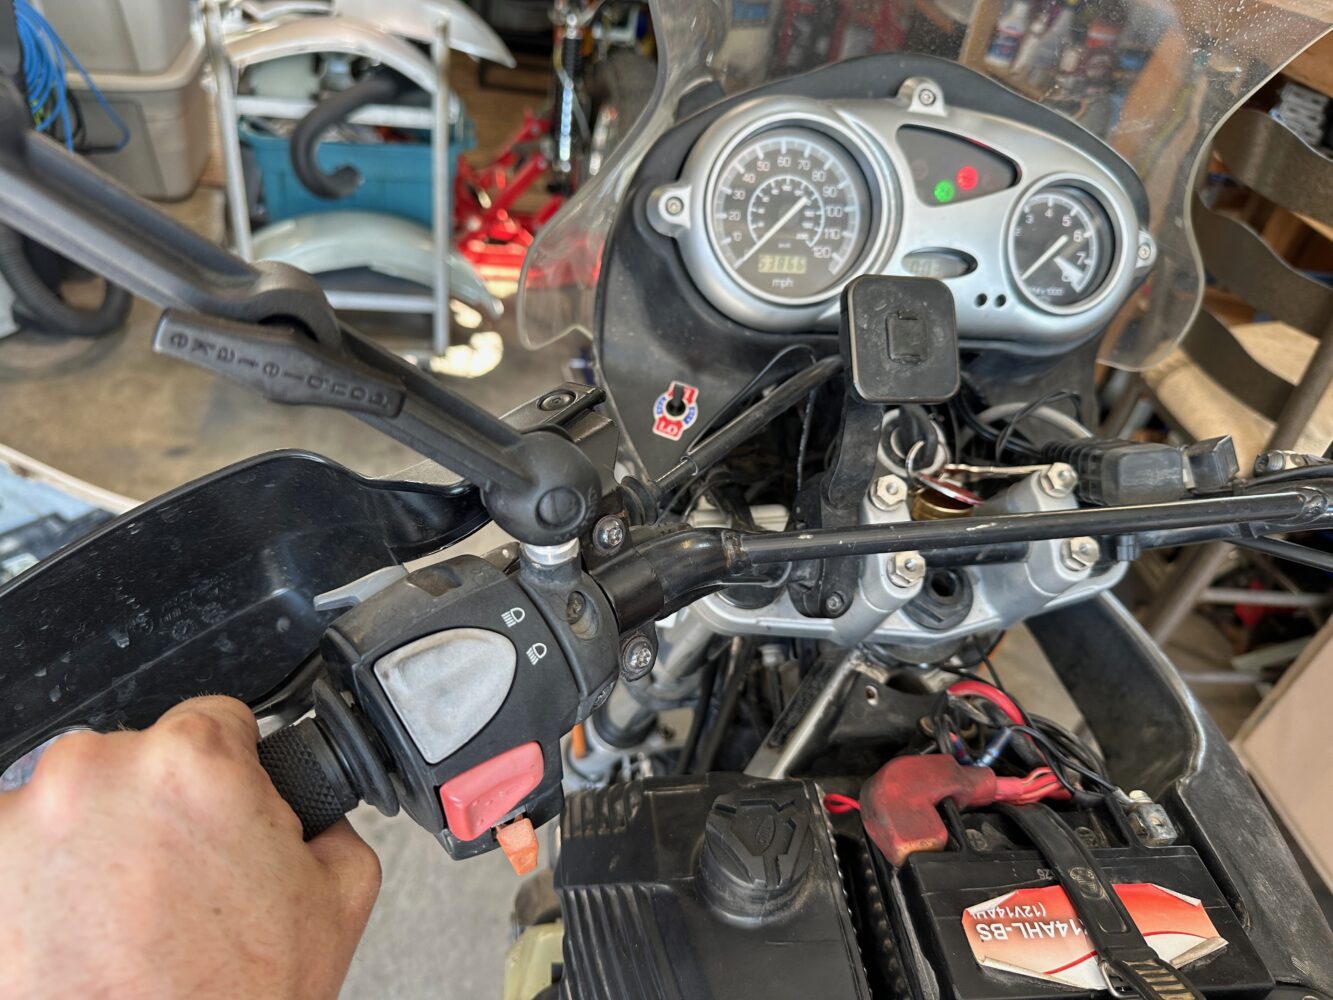
Test the system before buttoning up your bodywork.
Conclusions
With autumn knocking on the door, my GS is finally ready for cold-weather riding. The entire installation process, moving methodically and taking photos, only took about 45 minutes. At just over 20 bucks, the Tusk grip heater kit is a good value, especially for a bargain-basement bike like mine, but we’ll see how the components hold up over the long run. The system isn’t fused, the wiring is a little thin, and the connections for the in-line resistor that controls the high setting feel very exposed and fragile. That high setting is legitimately toasty, though, even through my thick water-resistant winter gloves, which I’ll definitely be wearing during the colder riding months in western Montana.
Rocky Mountain sells other fancier grip heater options at higher price points, most of which include heating elements integrated into the grips themselves (similar to my old BMW heaters). An advantage of the universal kit is that you can use the grips of your choice, and when they inevitably wear out, you can swap new ones in without needing to replace the entire system.
Tusk Grip Heater Kit | $23
Read More: Expedition Portal Exclusive :: Sneak Peek at the Montana Backcountry Discovery Route (BDR)
Our No Compromise Clause: We do not accept advertorial content or allow advertising to influence our coverage, and our contributors are guaranteed editorial independence. Overland International may earn a small commission from affiliate links included in this article. We appreciate your support.