Words By Lisa Morris, Photography by Jason Spafford
I’m always drawn to photographing water, whether in the form of white-fringed waves crashing on the shoreline to a lake as still as a millpond or the sheer power raining down in a waterfall. Shooting water is a tonne of fun and easy to create results that will float your boat, so long as you know the basics and go with the flow. To aid you in optimising your water photography, here is some helpful guidance.
Equipment and Settings: I lake what you’ve got there.
- Neutral density (ND) filters are colour-accurate sunglasses for your DSLR; they control exposure time for the water effect you want. Consider 3, 6, 8, and 10 stops, which can be stacked to enable a longer exposure time during bright daylight hours. Trial and improve upon which exposure time yields the desired results. Each shot will create varying patterns of water motion. Before sunrise and after sunset may need no filters.
- A polariser will remove unwanted reflections and glare, bringing the colour detail of water to attention.
- A tripod is an indispensable stabiliser to avoid camera shake, particularly for longer shutter speeds when you’re stood in the water or it’s windy.
- Cable or remote releases enable releasing the shutter at that precise moment to capture a particular effect without risking camera shake/motion blur. Alternatively, set two seconds on your camera’s timer delay between pushing the shutter and when the shutter flips up.
- A Visible Dust Magic Cloth or a microfibre equivalent wipes salty spray off your lens in a jiffy.
- A waterproof cover/protective rain sleeve keeps your kit dry in wet/moist conditions, as does a lens hood for your lens. Otherwise, a clear, reusable, and resealable plastic bag acts as an inexpensive rain cover.
- Wellies/waders are necessary if you plan to seek out those unique vantage points (e.g., from rivers and streams) and get closer to interesting foreground elements where the water is rushing towards you. Just don’t put yourself in danger for those leading lines; you can always use a zoom lens.
- Waterproof trousers will pay dividends when near the water’s edge or on wet ground.
- When water is involved, it never harms to ensure your kit, pack a towel, and a Thermos of something hot.
Set-up Guide
- Compose the scene: Once you’ve located a sweet position, e.g., looking down from above or low to the water, consider where the light is coming from, what kind of movement and mood you wish to convey, and where the shadows are.
- Manual mode: Shoot in Manual, set the ISO to 100 and aperture to f/16 or f/22 as a starting point. The aperture allows the least amount of light in, which means longer shutter speeds are available to you for those blurred water captures.
- Focus: Choose the focus point, such as a rock in the stream or piece of driftwood, and keep image stabilisation settings off to minimise any camera shake during long exposures.
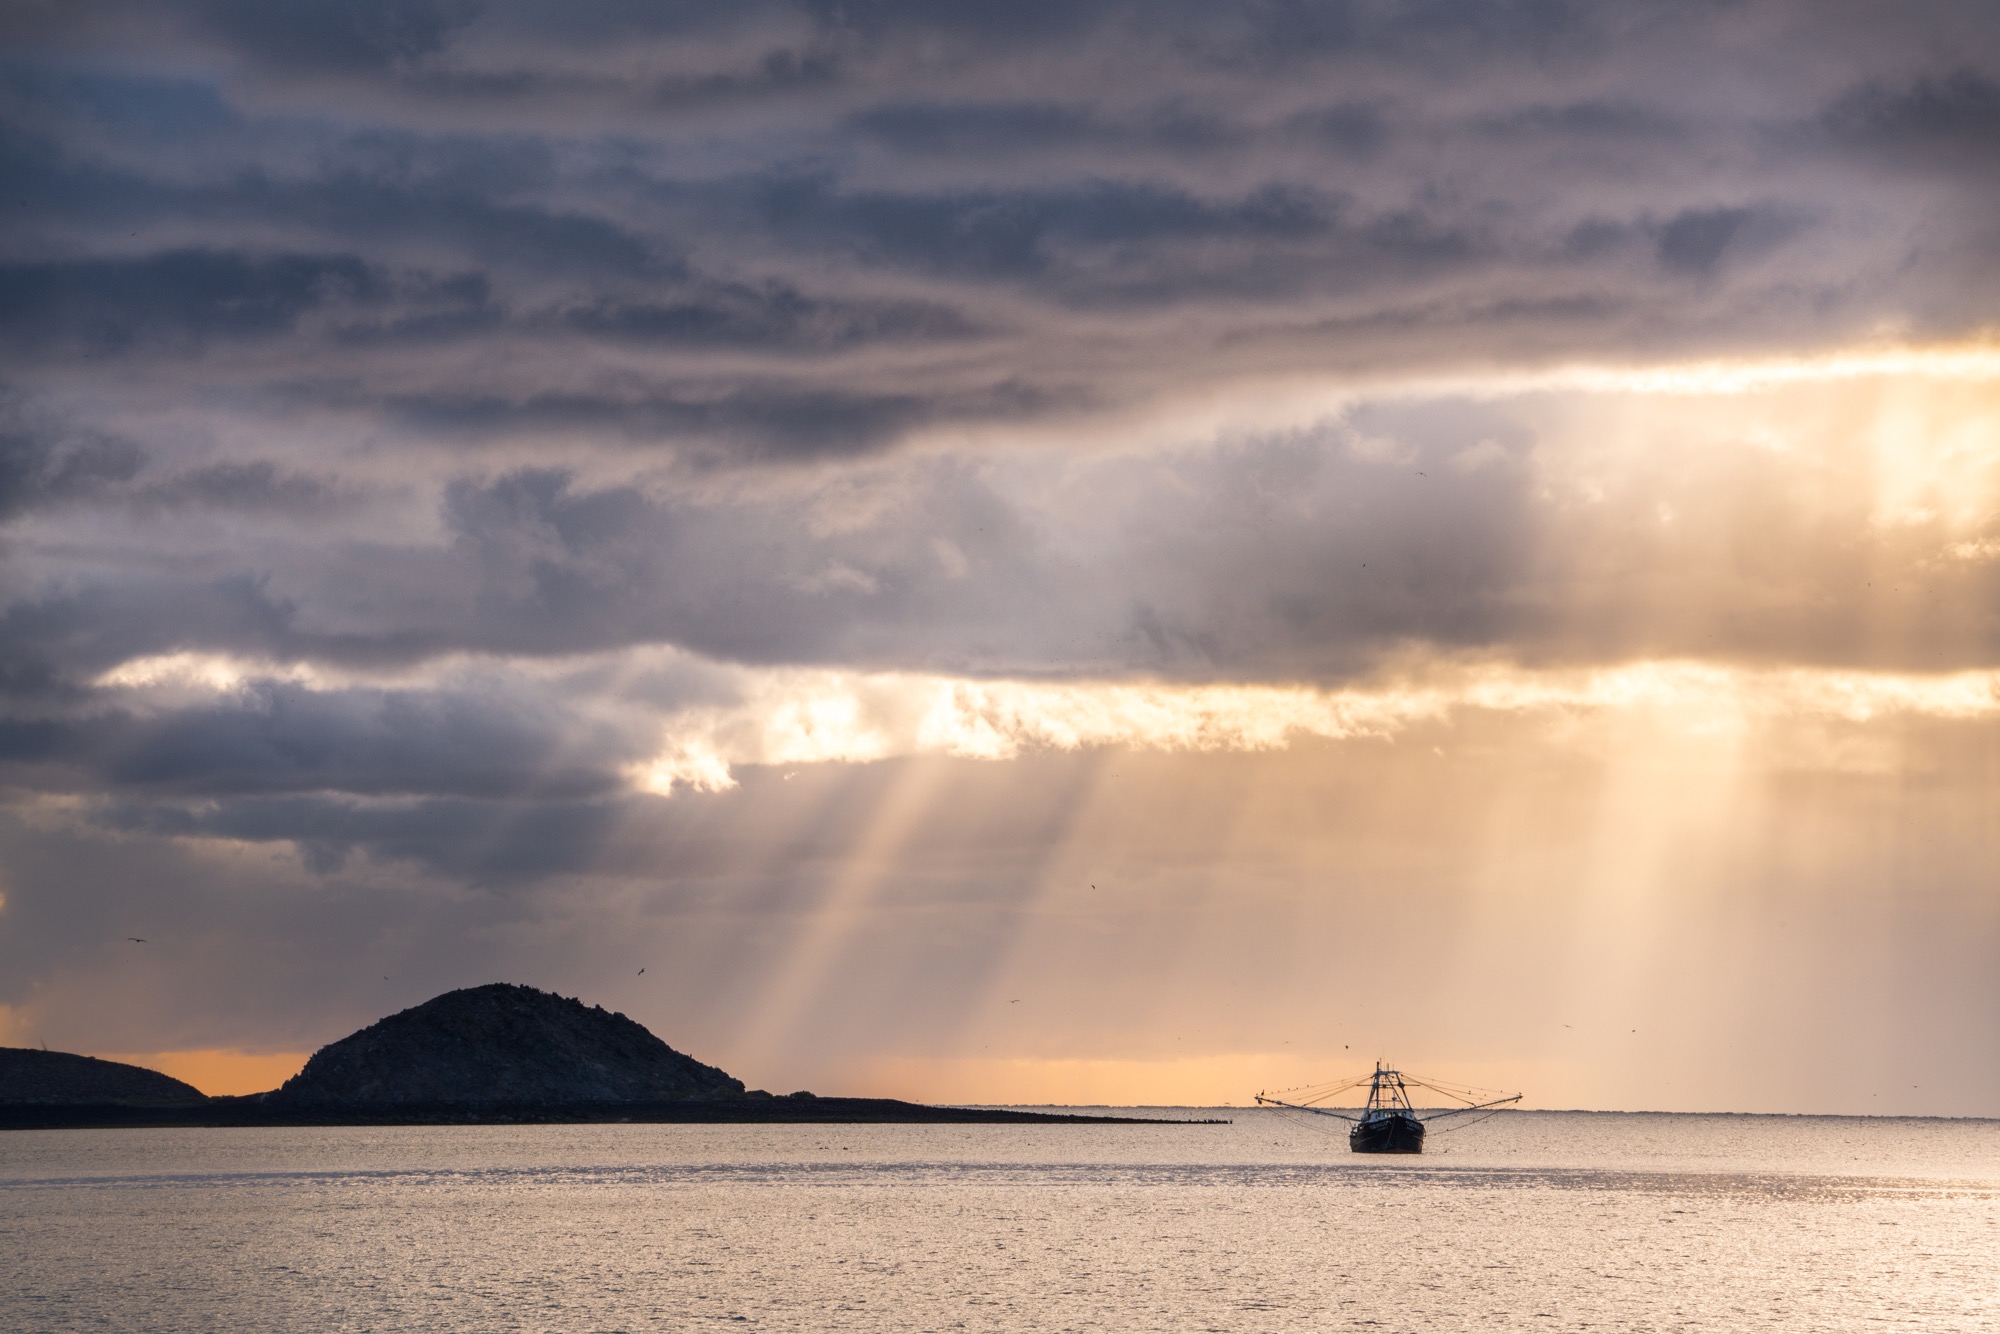
- Shutter speed: If your camera doesn’t give you sufficient light, tweak the ISO. Slower shutter speeds required for longer exposures result in soft, misty, silken effects, capturing greater motion—try an exposure between 0.5 and 10 seconds (cue the tripod and a remote shutter release).
- Underexpose: Your camera’s metering system can get confused when shooting fast-flowing white water; take care that you don’t end up with blown-out highlights. Try under-exposing by 1/3 to 1/2 a stop.
- Fine-tune: Adjust your shutter speed, f-stop, focus point, and ND filters until you get what you’re after.

The Waterfall Diaries
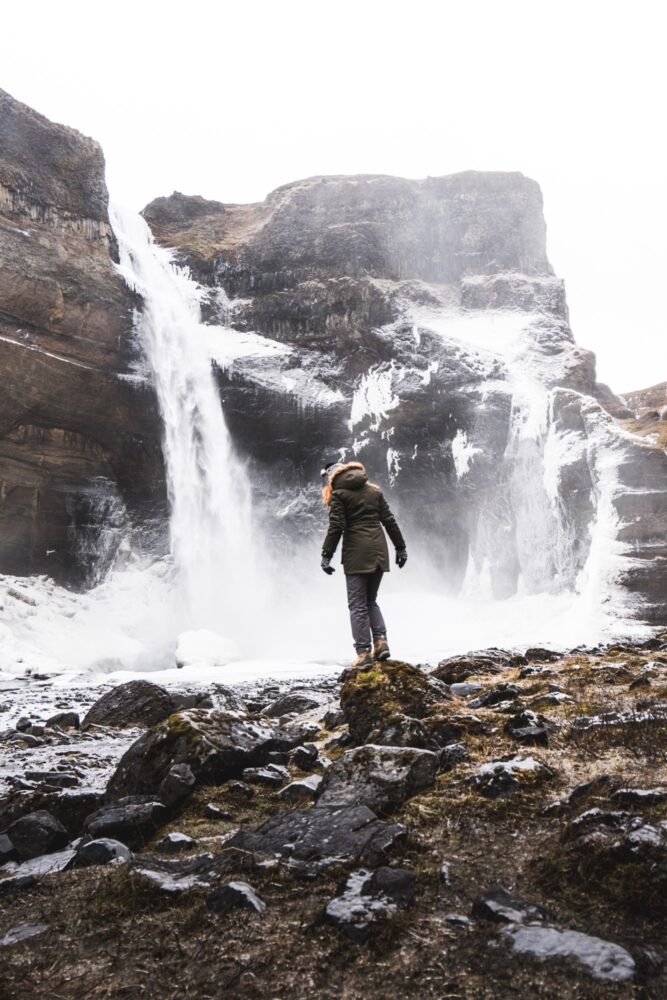
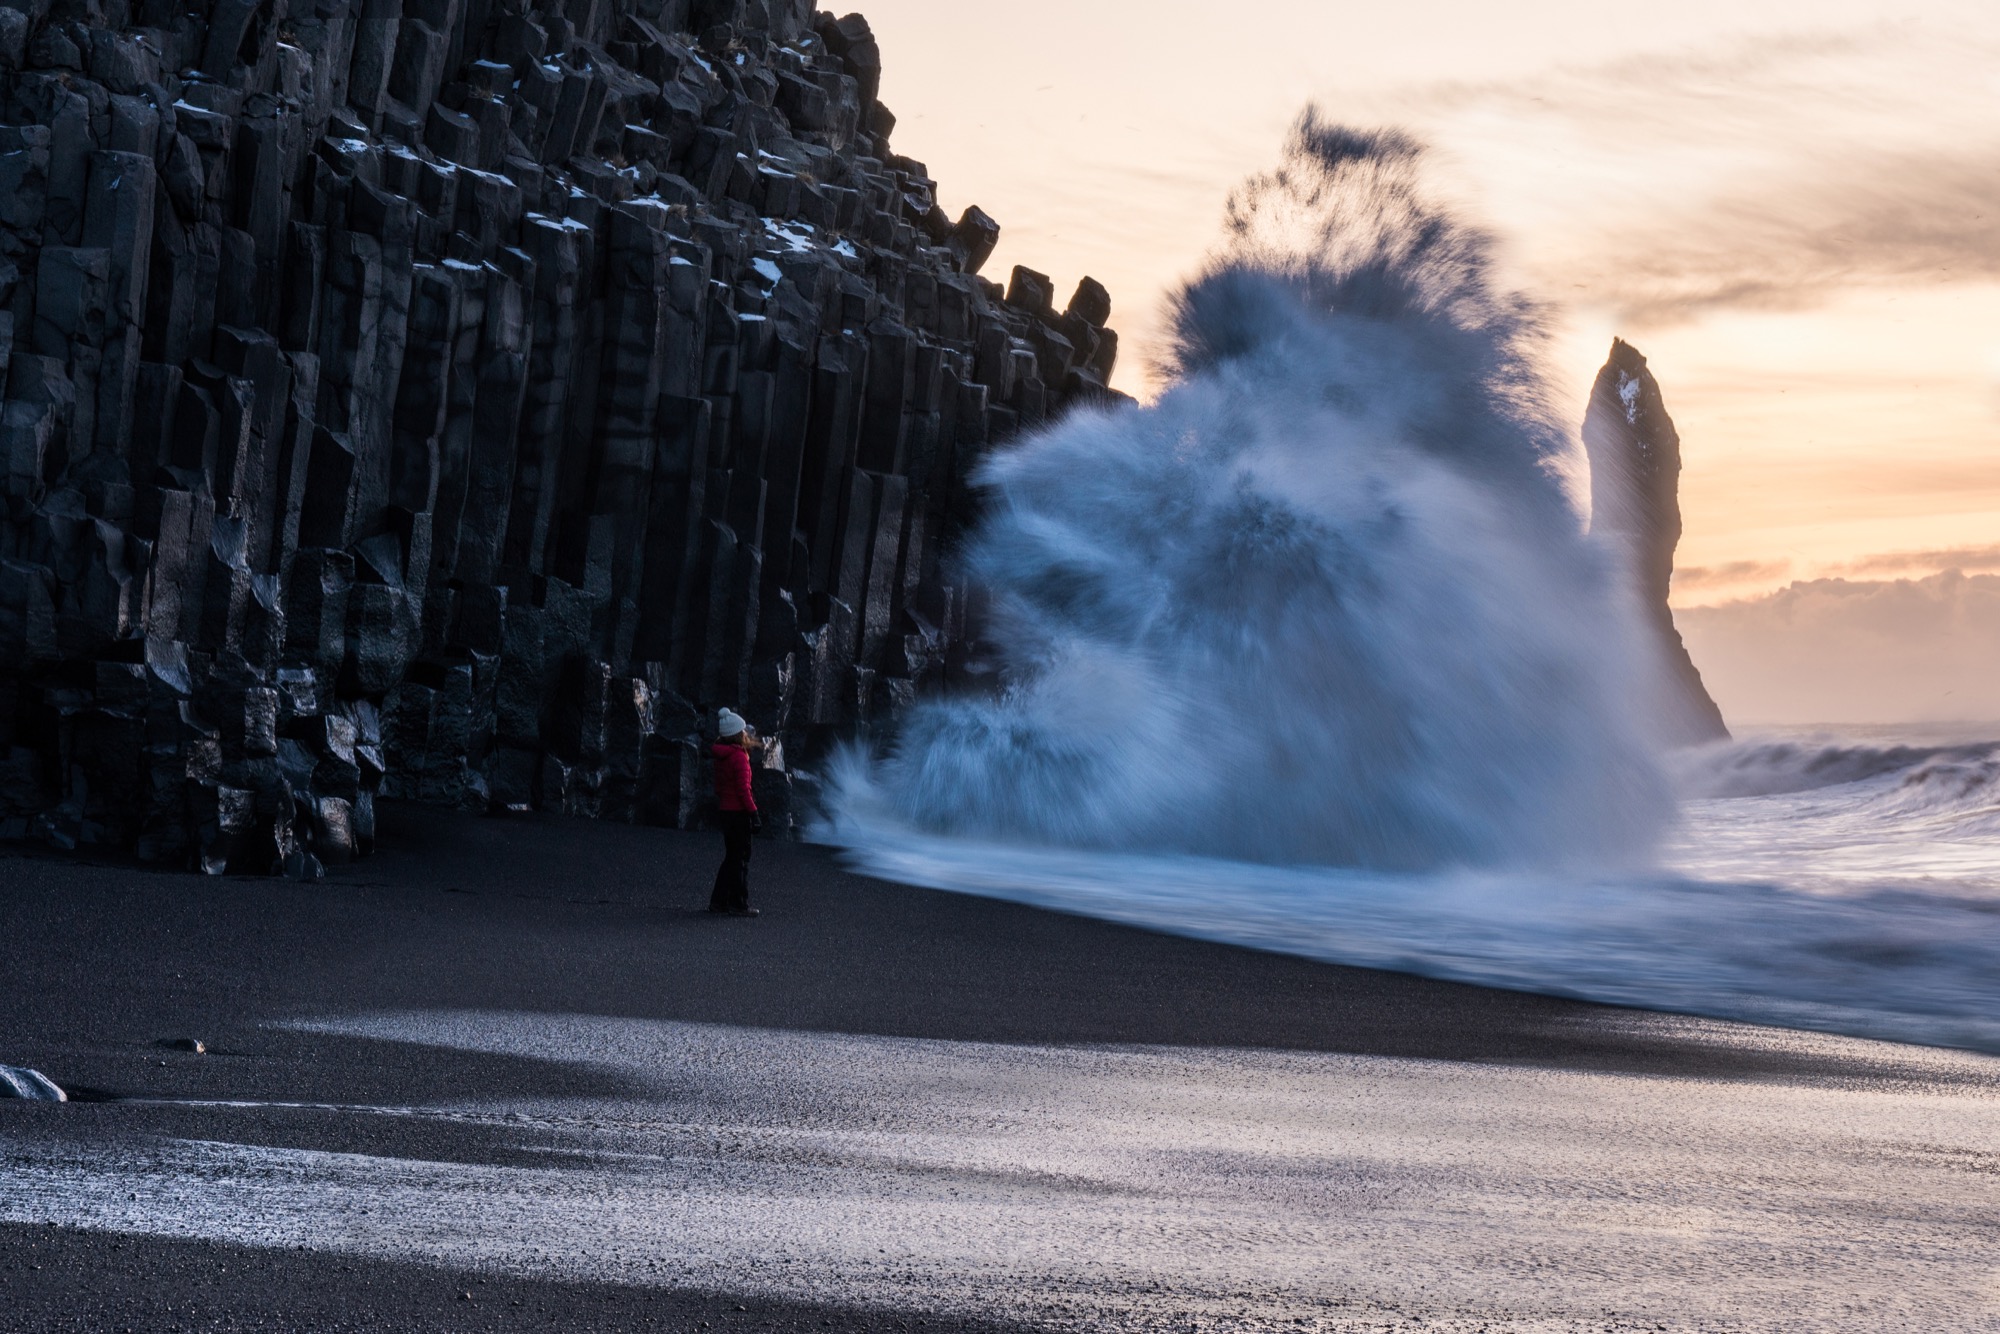
The longer your camera’s shutter stays open, the greater the movement recorded in the photo. Blur to your advantage; it creates the flowing, rushing movement in a water image. Blur can create a waterfall that’s full and soft, capturing the scene’s atmospheric mood. Apply this to a babbling brook to the sea’s mighty waves.

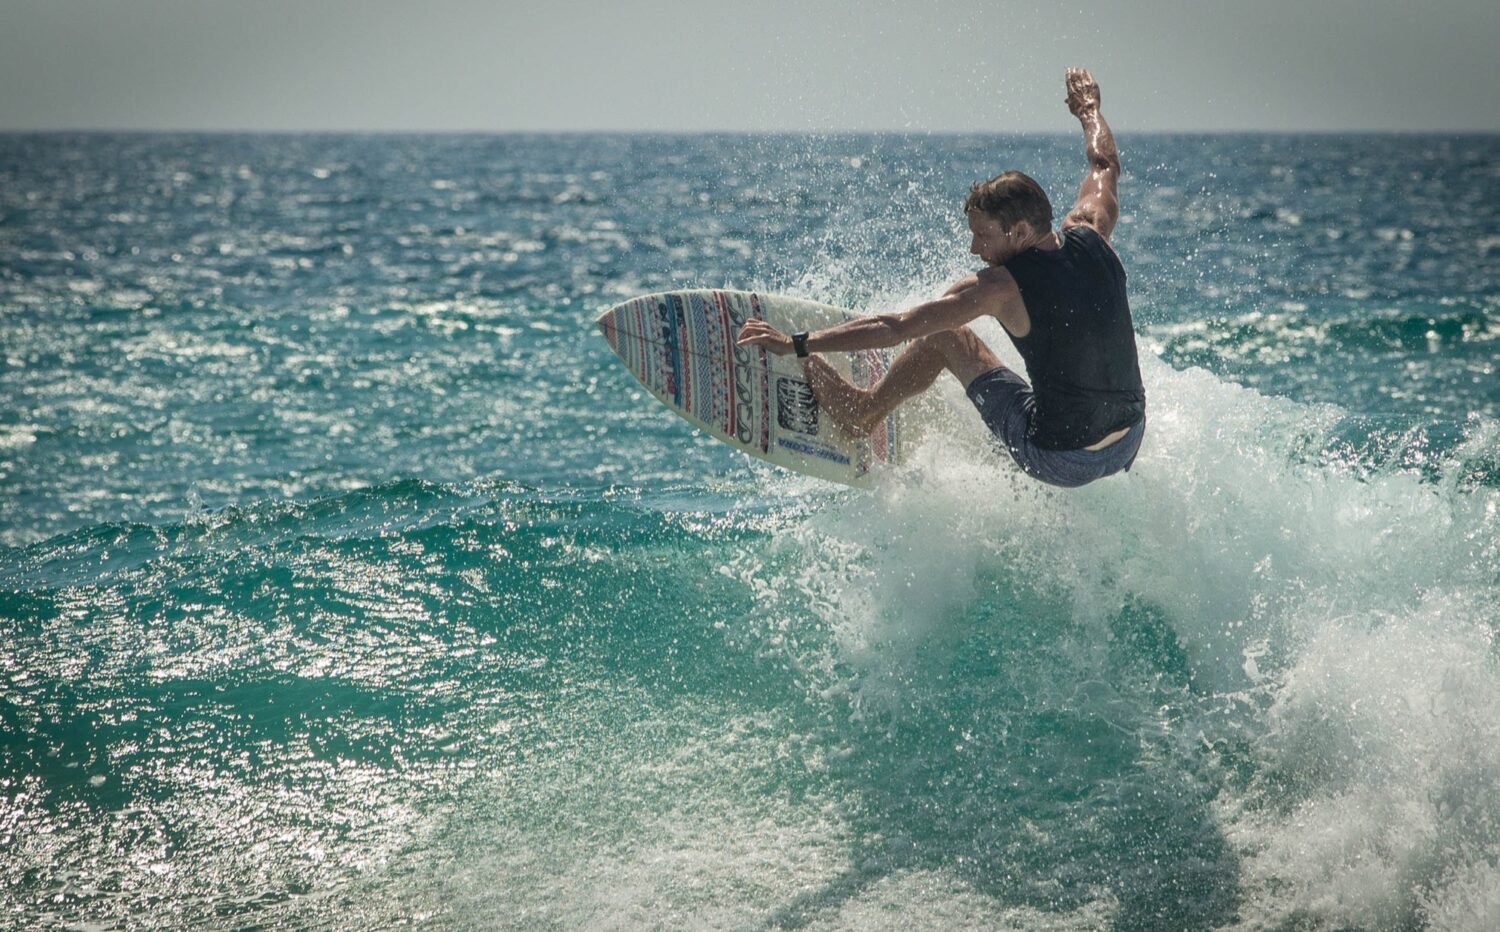
Freeze Wave Action
Typically, 1/500th shutter speed will freeze a wave, so it’s reflective, but slower speeds can also be impactful.
Mirror, Mirror
Calm skies often give rise to tranquil, colourful reflections on still water, especially at dusk and dawn. Aim to capture eye-catching symmetry in your composition, close to the water’s edge and from a low perspective. Wait for a duck, heron, or swan to cruise into shot. Ripples can give value and interest as they add texture and effect. Abstract reflections also create impact in moving water, e.g., cityscape lights.

Background Impact
Water can create atmospheric bokeh or provide a vivid background colour, for instance, when shooting close-ups of birds, insects, or mammals near the water. A telephoto lens and large aperture will yield vibrant reflections as a diffused swathe of colour.
Dramatic Water
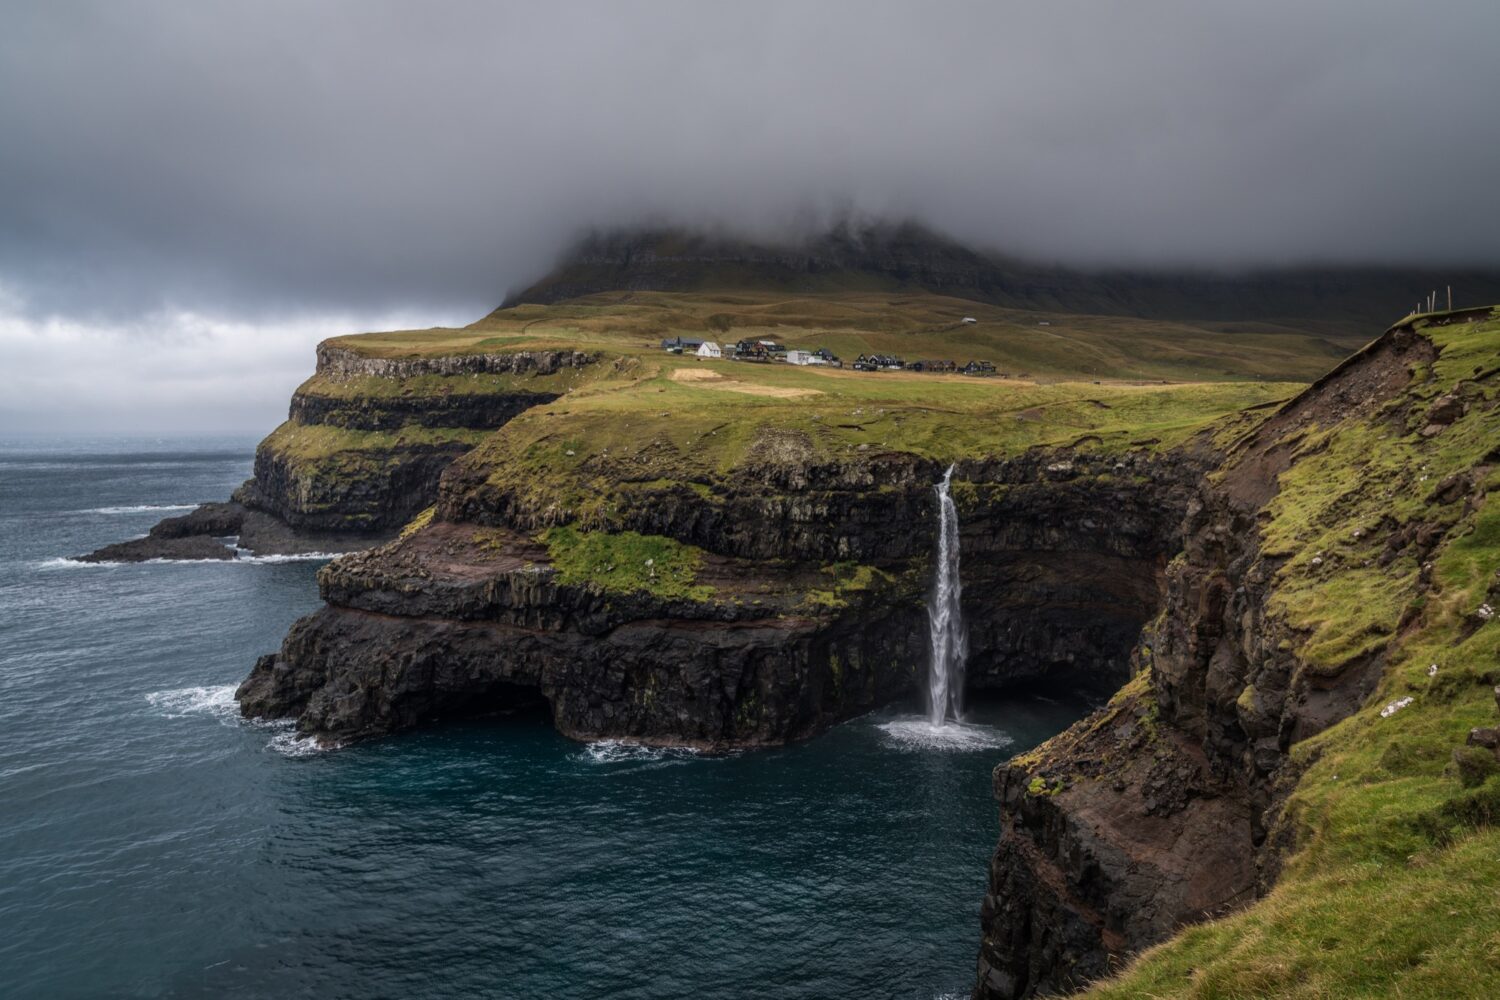
A composure framed against a striking seascape can lead to incredible results. Underexpose the background by a stop to bring out the textures in the sky, clouds, and sea. Time your shot right, and the waves will look spectacularly arched.
Conclusion: Aboat Time
Water is an infinitely fascinating subject with endless ways to encapsulate it, so why not give it a whirl? Try shooting a variety of water at different times of day in varying weather conditions for a rainbow of outcomes. Something different will ensue from the same spot when you change the day, season or camera angle, etc. You may be pulled into the dreamy motion of long exposures or prefer to get wrapped up in a perfect reflection boasting textbook symmetry. Doubtlessly, you have myriad creative options when shooting water. So, roll up your trouser legs, kick off your shoes, and (cautiously) dive right in.
