Editor’s Note: We elected to feature this editorial as a service to our readers, recognizing that so few of us know the dangers of asbestos in older vehicles, often encountered during the restoration process.
No matter where you go to camp, it seems like you can’t go without spotting a restored vintage camper these days. For some, traveling in a vintage camper is a cost-effective way to get away and enjoy the outdoors. But for many, vintage campers are a passion and a way to relish in charm and nostalgia while traveling. It certainly goes uncontested to say that a restored vintage camper will make heads turn and start a conversation with your camp neighbors.
More often than not, a vintage camper will need some kind of restoration work. There are numerous things that could require repairs such as the tires and bearings, electrical and gas systems, interior components, and anything that has suffered water damage. These items should be carefully inspected before making your purchase. However, some things like water damage are difficult to see while inspecting a vintage camper. Without a doubt, you will likely have some demolition to do before redoing the interior. Here are some important things to consider for your restoration.
Tear Out and Prep
Vintage campers were made in a time when people cared deeply about craftsmanship and took pride in their work. They are often beautifully designed with diligence. However, the interior design of many old campers left something to be desired in the way of modern amenities, styles, and conveniences. To restore the camper’s interior and bring it up-to-date, one usually needs to tear the camper down to its bones. Not only does this provide an opportunity for updated insulation and interior design, but it’s also a chance to carefully inspect the trailer for water damage and structural integrity.
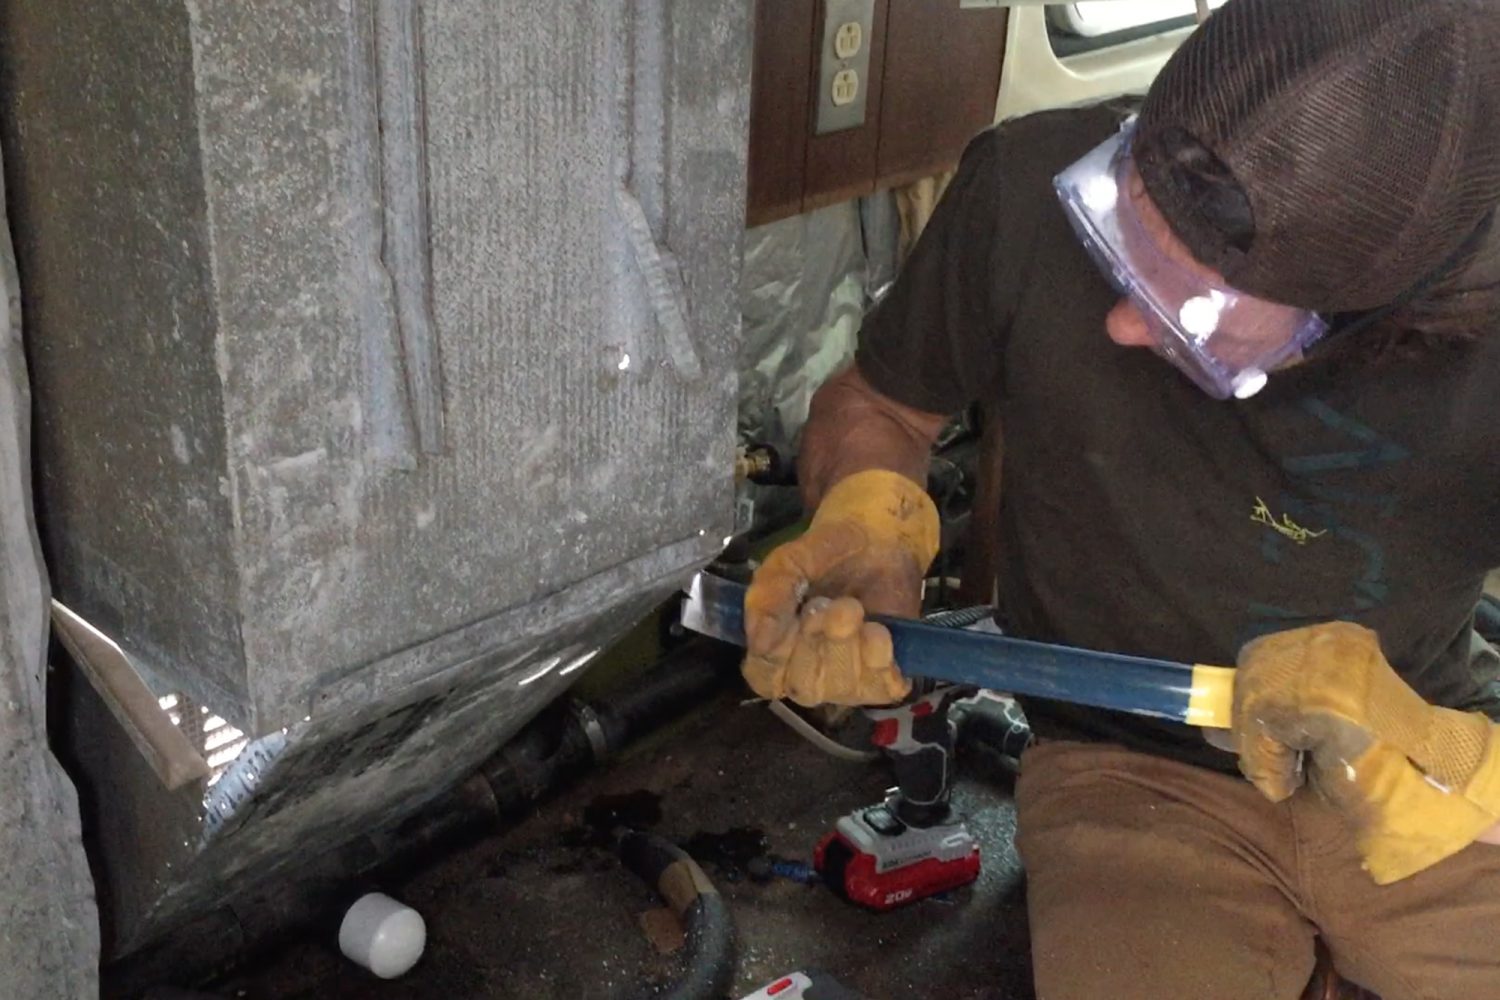
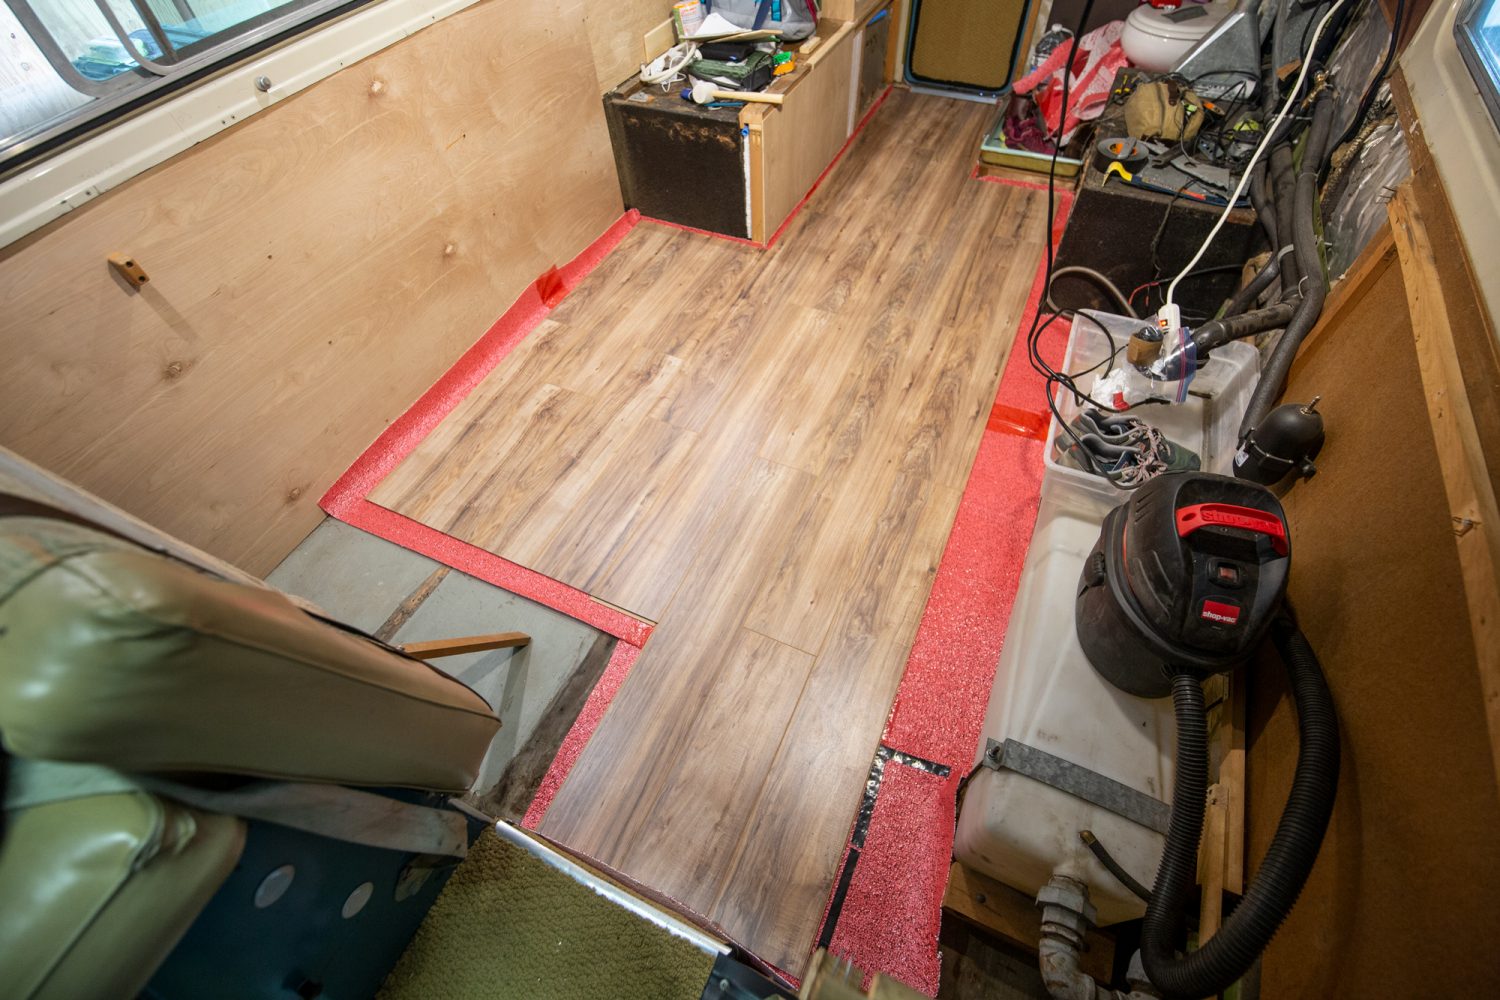
Before undergoing the demolition, you should consider the possibility that asbestos may be present in some of the original materials used. Before the US partially banned asbestos in the 1980s, it was often used in vinyl tile, adhesives, and insulation. Before tearing out the old vinyl tiles, it would be wise to test a small piece for asbestos. If you don’t want to test the material yourself, you can hire an asbestos abatement professional to do the testing for you. You could also cover the old vinyl tile with your new flooring. But you may need to remove the old floor to add insulation or replace part of the subfloor. If this is the case, it’s best to play it safe since friable asbestos can cause mesothelioma cancer if inhaled or ingested.
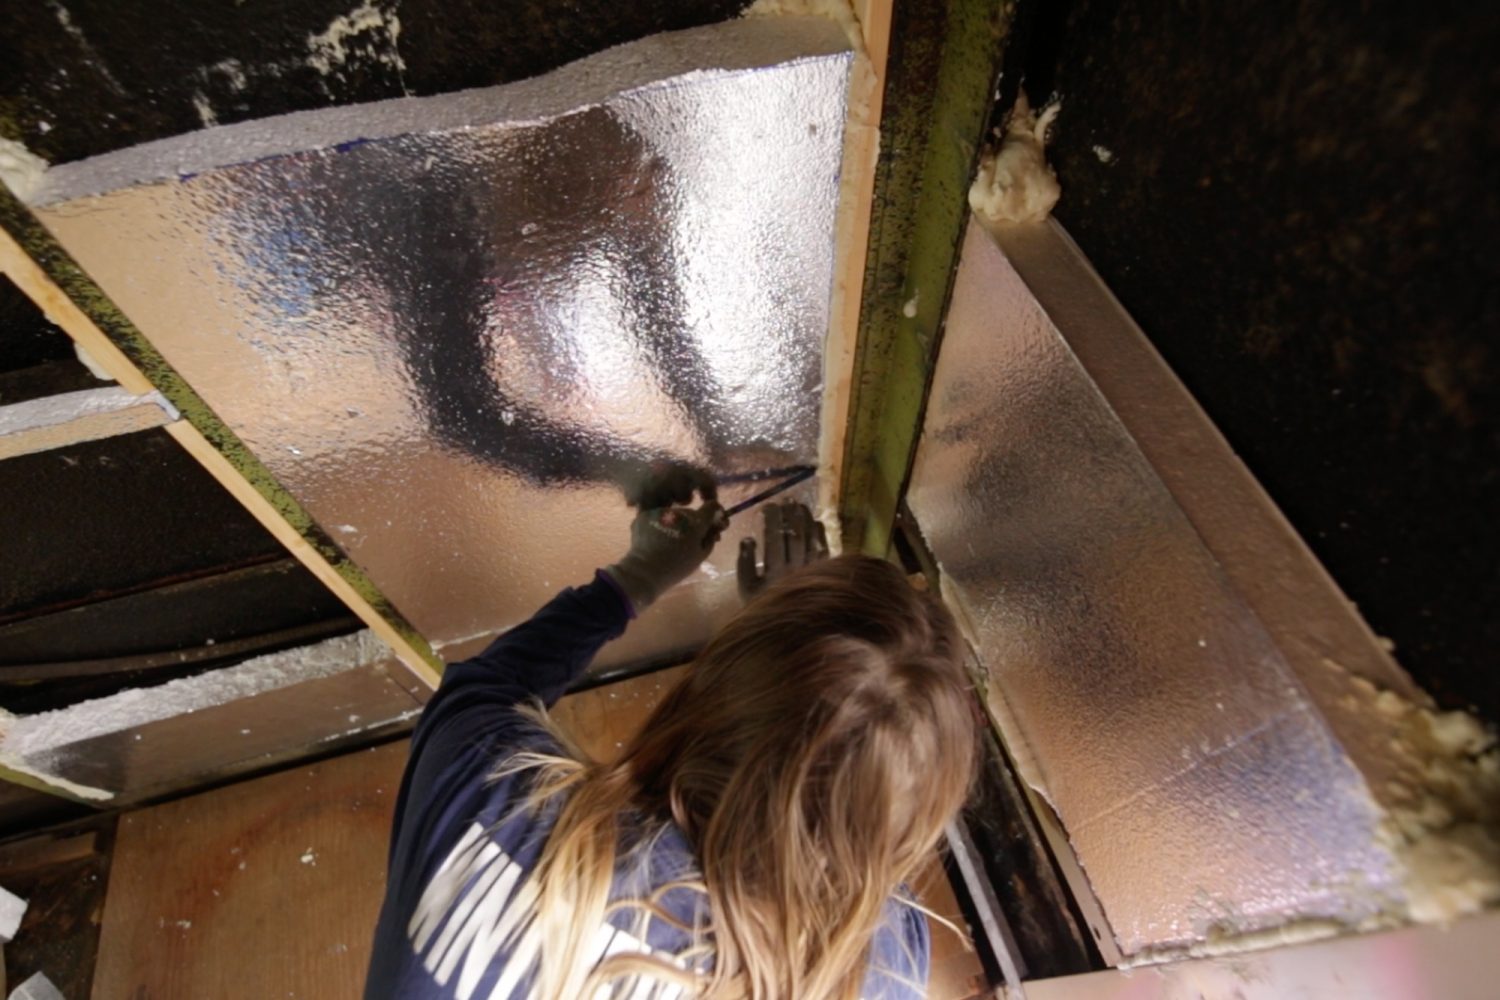
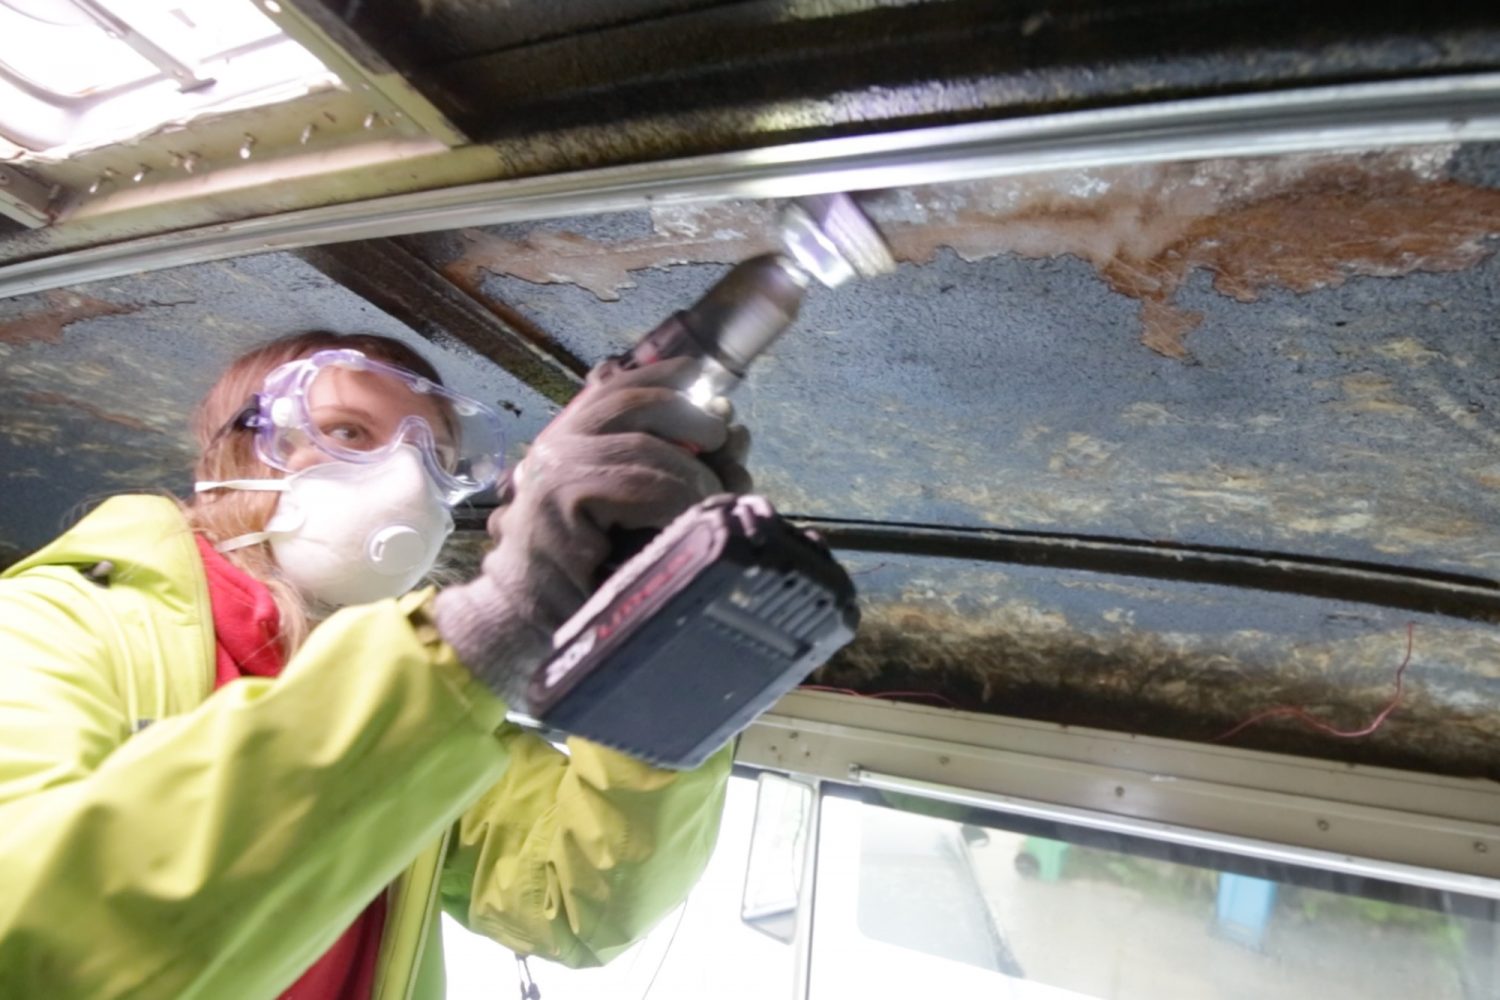
Loose-fill insulation was often made with asbestos as well, although it’s likely that batt-style insulation was used in your vintage camper. But caution should be used while removing walls and old insulation. Pipe insulation is more likely to have contained asbestos, and if any water piping is insulated and appears to be asbestos, you should take precautions by wearing a respirator and Tyvek suit. Proper disposal of asbestos-containing materials is an important measure to take, too.
The Wheels and Hubs
If the trailer is equipped with drum brakes, this could be another source of asbestos. Many brake linings were made with asbestos for added heat resistance and strength before the 1980s. When replacing the brake shoes, you should cautiously remove the drum as brake dust may have collected on the bottom. Do not use an air compressor and blow gun to remove the dust. This doesn’t just put you at risk for inhaling asbestos but a slew of other harmful heavy metals, too. To safely remove asbestos-containing brake dust, one should use a HEPA vacuum with the proper brake drum attachment. If you don’t have this equipment, it may be best to have a professional perform the initial brake job.
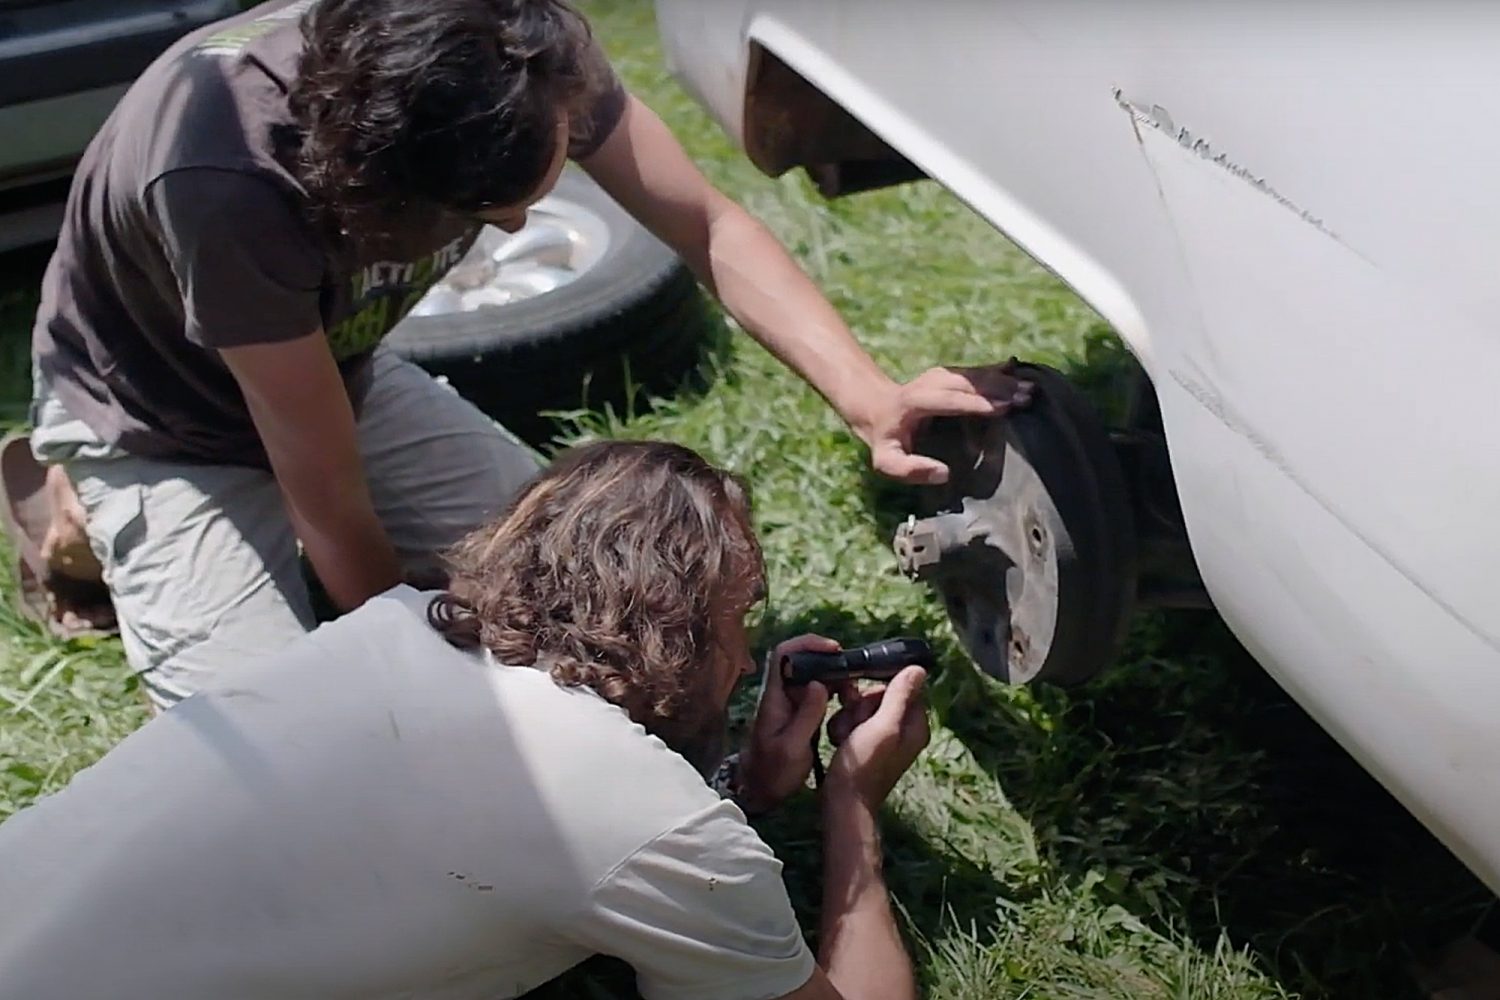
It’s important to check the wheel bearings and tires on vintage campers as well. Bearings can seize if the grease seal has failed, and tires can easily succumb to dry rot when sitting in the same place for extended periods. Driving on dry rotted tires or seized bearings can be catastrophic.
Electrical Wiring and Appliances
One of the most critical aspects of your restoration project will be updating the electrical system. Not only have many old campers had appliances been recalled for fire hazards, but there’s the possibility that animals have disturbed the wiring. An alarming 20,000 campers and RVs catch fire every year, and electrical faults cause many of these. If your vintage camper has not had its electrical system inspected and updated, doing so could save your camper and possibly your life.
With many boondockers and overlanders camping off the grid these days, upgrading to a solar system is common. Doing so is a great way to provide power to your rig without having to spend precious fossil fuels or find a campsite with shore power. If you do install a solar system, upgrading your electrical system becomes even more paramount. Old wiring was not designed to sustain the modern devices you may choose to plug in while out on the road. Not only will upgrading your wiring and outlets provide peace of mind that your camper won’t catch fire, but it will also ensure that your solar system isn’t at risk of being damaged by an electrical fault.


Do-it-yourself camper restoration is a great way to learn new skills and truly invest yourself in the craftsmanship of your restored vintage camper. However, if you are not a trained electrician or don’t have someone who can assist you with the installation and updates, you should hire a professional to do so. This will ensure your electrical system is correctly installed and save you a lot of time on YouTube. Additionally, having it installed professionally will get you to the interior build faster. Even if you hire a professional, it is still a good idea to have a basic understanding of the electrical system in your camper. This will help with troubleshooting and maintenance in the future.
Propane Tanks and Lines
It’s essential to make sure the propane system is up-to-snuff in your camper—especially if you plan to take it offroad. Firstly, the propane tanks and regulator should be inspected for any signs of damage to the valves, corrosion, or bulging. If the camper came with the older style propane tanks, they will likely need to be replaced as it is now illegal to refill any tanks without an overfill prevention device (OPD).
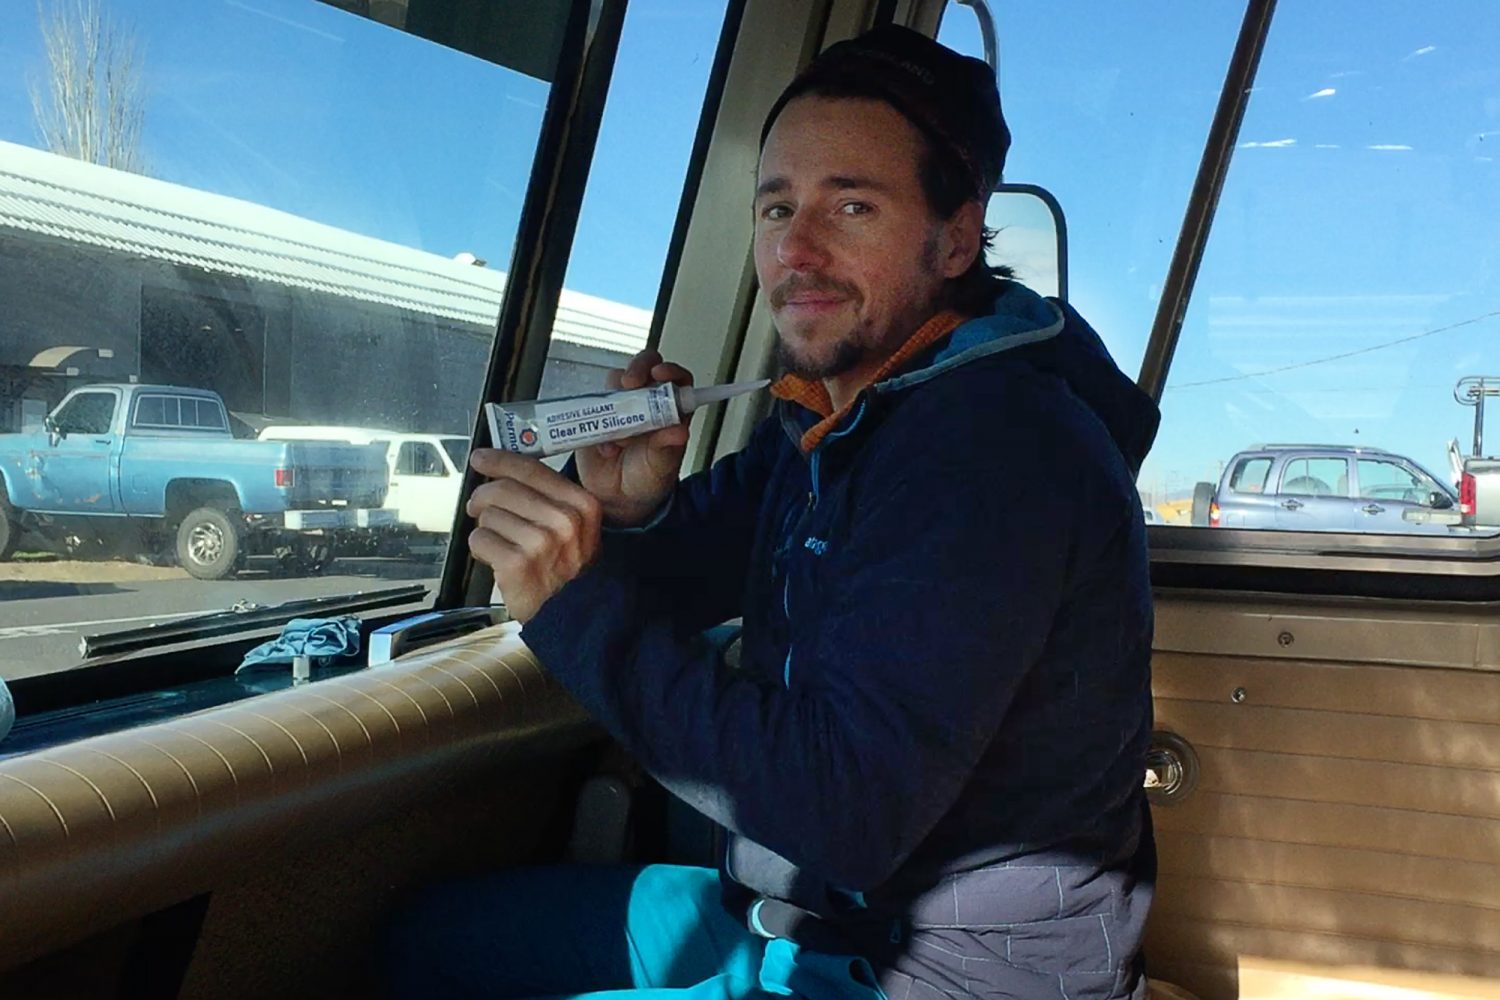
Propane hoses and connections should be inspected as well. Propane hoses are prone to dry rot when not properly maintained and can leak. Propane gas could build up in your camper and lead to devastating consequences. Not only is a propane buildup a serious hazard for explosion and fire, but it can also have negative health effects like headache, nausea, vomiting, dizziness, and even suffocation.
Being heavier than air, propane will collect at the bottom of an enclosed space, making it difficult to detect. This is why it’s pertinent to have a propane detector at floor level, as well as a carbon monoxide detector. If you decide to store your propane tank inside the camper, it’s important to install a floor vent in the storage area so that if a leak does occur, the gas will escape.
Lastly, be sure to perform regular maintenance on your propane system following your restoration. Always check vents for debris before leaving and after returning home, and when you arrive at your destination. Regularly inspect your tanks and regulators, especially if you’ve traveled on uneven surfaces where the trailer may have been jostled.
Moisture Problems and Mold
Possibly one of the most common hazards in vintage trailers is water damage and the presence of mold. Water damage frequently occurs in campers that have not been well maintained or adequately stored. Make sure to check for leaks and water damage to the camper’s structure after you’ve gutted the interior. If any part of the framing has rotted, it should be replaced before any other work is accomplished. If the rotted framing is not replaced, it could lead to a structural failure later on.
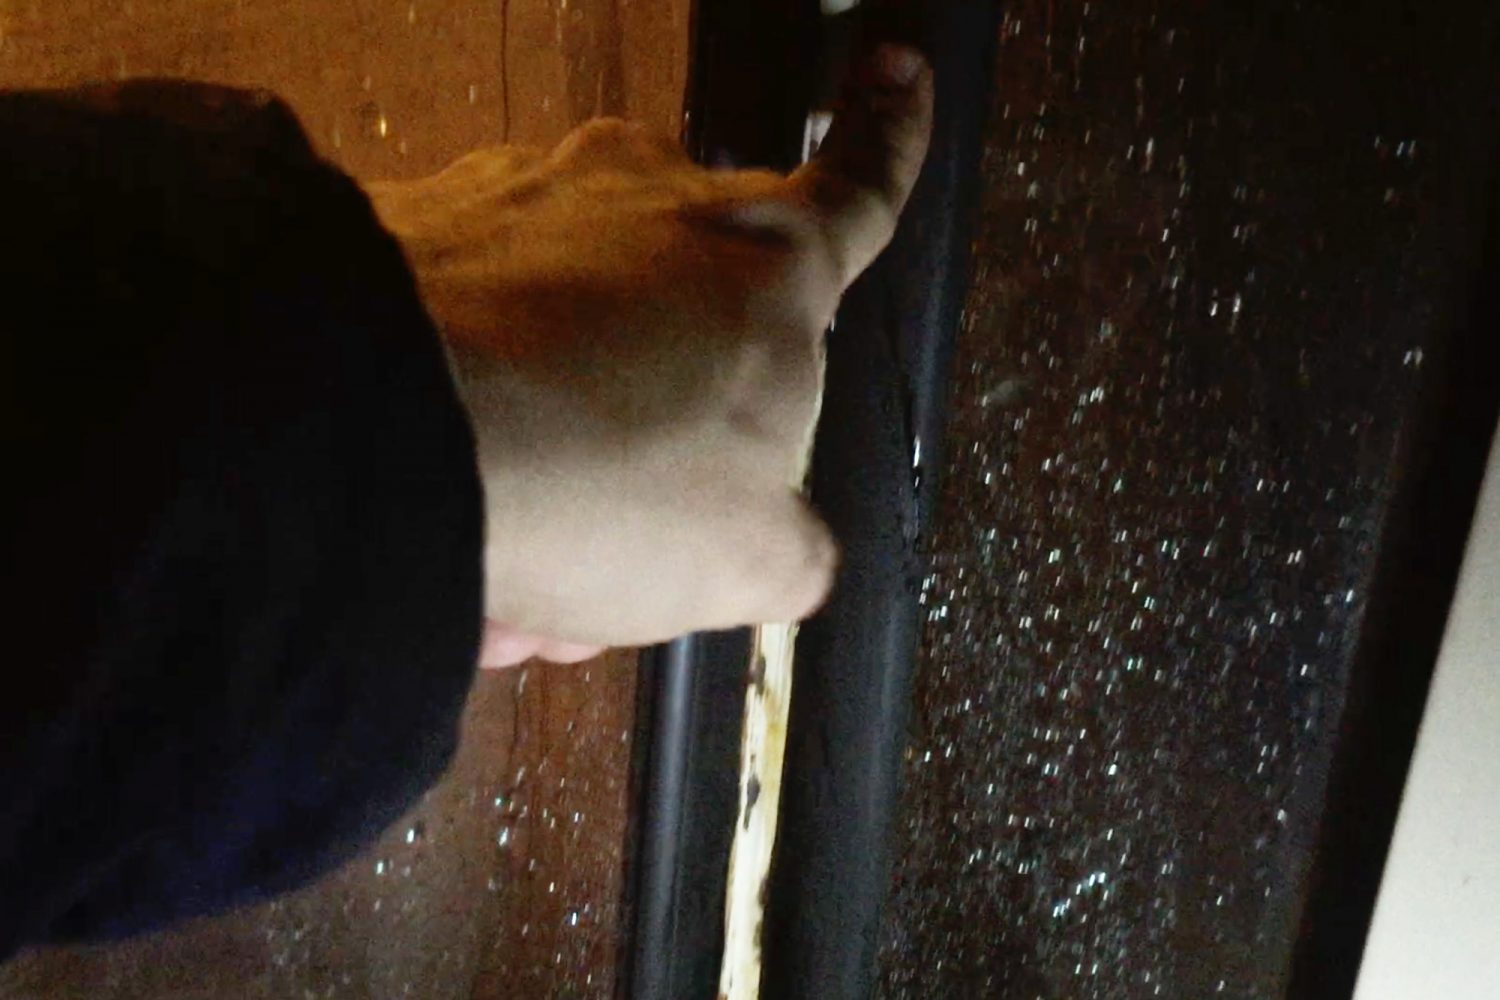
Possibly more dangerous than a structural failure is the emergence of mold in your camper. If mold begins to take hold of rotted framing or other interior parts, it can be difficult to control. The last thing you want to do after completing your camper’s interior is to start all over due to mold from water damage. Mold will not only ruin your hard work, but it can also cause damage to your health. Other side effects include aches, pains, headaches, nosebleeds, memory loss, and respiratory problems; however, the most notable health effect is mold poisoning. It’s crucial to solve any moisture issues before moving forward with your project.
Conclusion
Restoring a vintage camper is an exciting experience. The restoration process will likely be as much of an adventure as the journey ahead in your newly renovated travel trailer. If you’re considering restoring a vintage camper, that goal is certainly achievable with some dedication and persistence. These hazards shouldn’t deter you from going after your dream of a restored camper, but rather give you the tools and knowledge to ensure it’s done safely and correctly so that you’ll be able to enjoy it for years to come.