Words by Lisa Morris, photography by Jason Spafford.
When done right, starry-night-sky shots are impressive. Astro-photography can seem like a daunting genre, but trust me when I say it’s an easier task to undertake than you think. A few hundred shots in, that light will be shining as bright for you, and I’m here to share the experiences gained and information I gleaned along the way. With any luck, I will illustrate how to capture the beauty of space and the galaxy that lies beyond. So, let’s look at the basics of how to select the equipment needed, hunt for a perfect dark sky, and how to start taking dynamic nighttime photographs.
Night Sky Shoot Preparation: Before We Head for the Stars
Don’t sacrifice on achieving quality, crisp nighttime shots—grab the following:
- Full-frame camera (generates more light and less noise at higher ISOs); lower the LCD screen’s brightness to avoid glare
- Fast, wide-angle lens, e.g., 10-22mm or a fish-eye lens
- Robust tripod to keep any unwanted blur at bay, e.g., Really Right Stuff, Manfrotto, etc.
- Remote shutter-release cable; alternatively, set your camera to shoot on a 2- or 10-second delay
- Head torch with a red light mode to preserve your night vision, warm clothes, and a hot drink
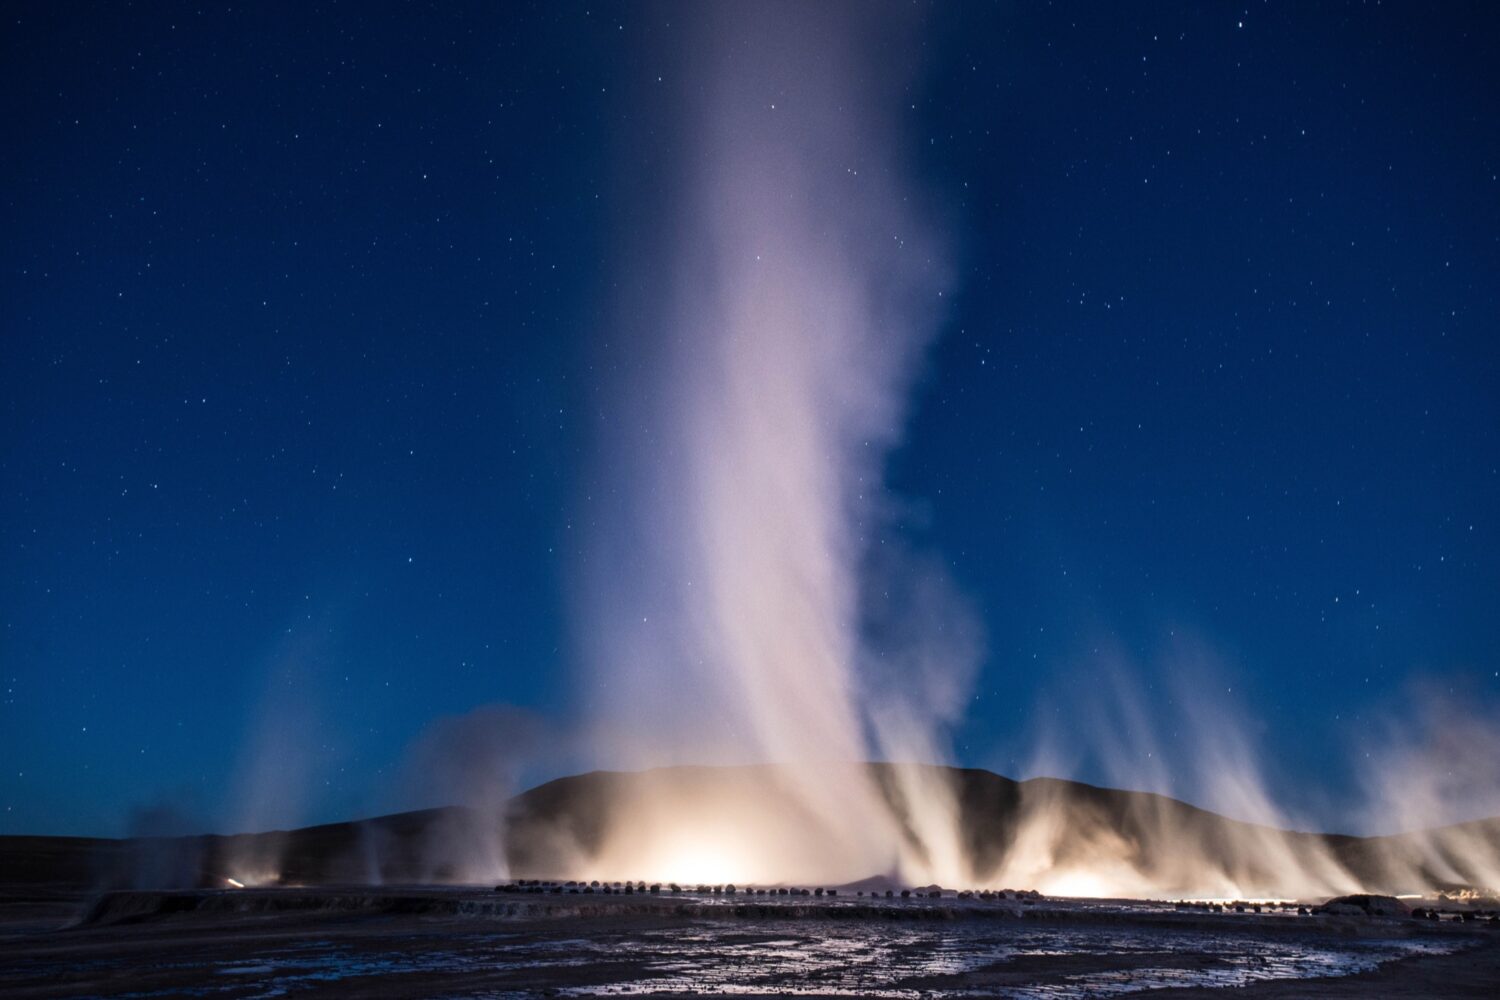
- The weather forecast and moon cycle; slow-moving clouds can add depth, so pick a clear-ish, windless night sky without the brightness of a new moon (starlight can’t compete) and shoot from dusk to midnight; pre-dawn also works when light pollution levels are low
In case you don’t live in a Dark Sky location, visit darksky.org, lightpollutionmap.info, darksitefinder.com, and photoephemeris.com to find a place in nature offering ample darkness away from the pollution of artificial light. Sky Map and PhotoPills apps are great resources to track which stars are overhead.
Camera Settings: All the Night Reasons
Pop your camera in Manual mode, turn on the camera’s Long Exposure Noise Reduction feature if it has one, and try out some test-shots in RAW. Play around with the settings suggested below.

- Focus: Deactivate autofocus and manually focus your lens to infinity; peer through the viewfinder and turn the focus ring until a point in the far distance is crisp. Once the lens is focused beyond 6 metres, its hyper-focal distance will project to infinity, and your stars will be pin-sharp.
- White balance: Set at 2800°-4000°K, tungsten, fluorescent, or daylight (you can alter in post-processing).
- Aperture: If you want stars as pinpoints over trails, choose the widest aperture possible to cram as much light into the camera as possible while keeping the exposure time down. NB: When the aperture is wide, the depth of field is shallow; any foreground interest will be out of focus. So, try f/2.8 or f/4.
- Shutter speed: To capture stars well, expose for 20 to 25 seconds. Longer exposures will give star trails, a blurriness that may or may not please you.
- ISO: Start at ISO 800 and increase to 1600+ for a good exposure; the higher the ISO, the more sensitivity permitting you to shoot a darker subject, but watch for grainy noise creeping in.
- Review: Evaluate your images for artistic value by zooming in on the LCD to check sharpness as well as the histogram for exposure. If required, raise the ISO to 2000-3200 to see how this impacts the outcome.
![]()
Composition: the Price is Night
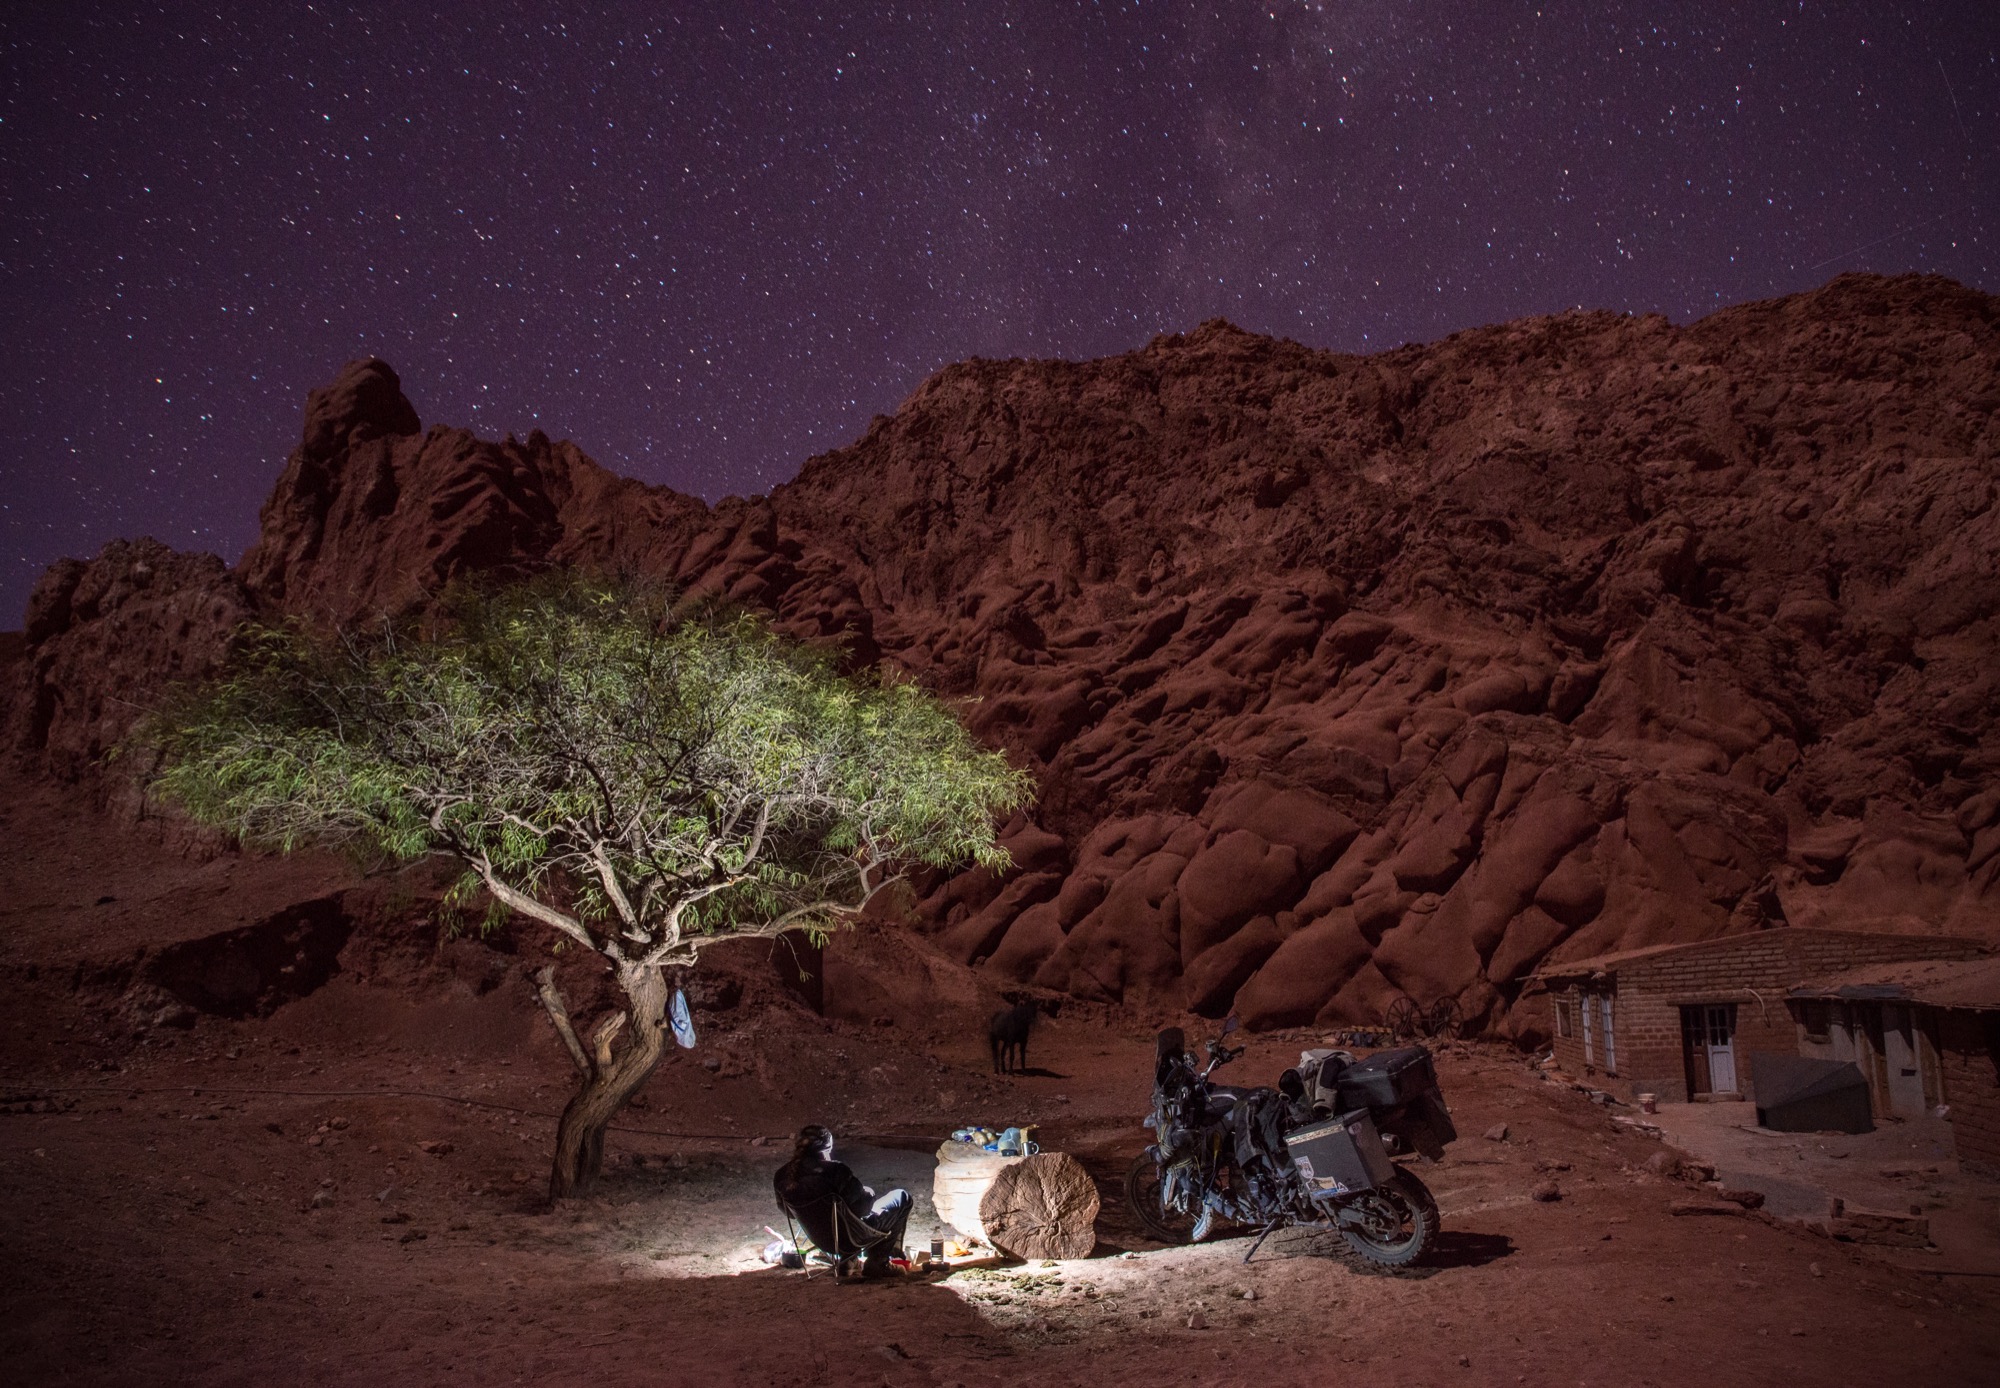
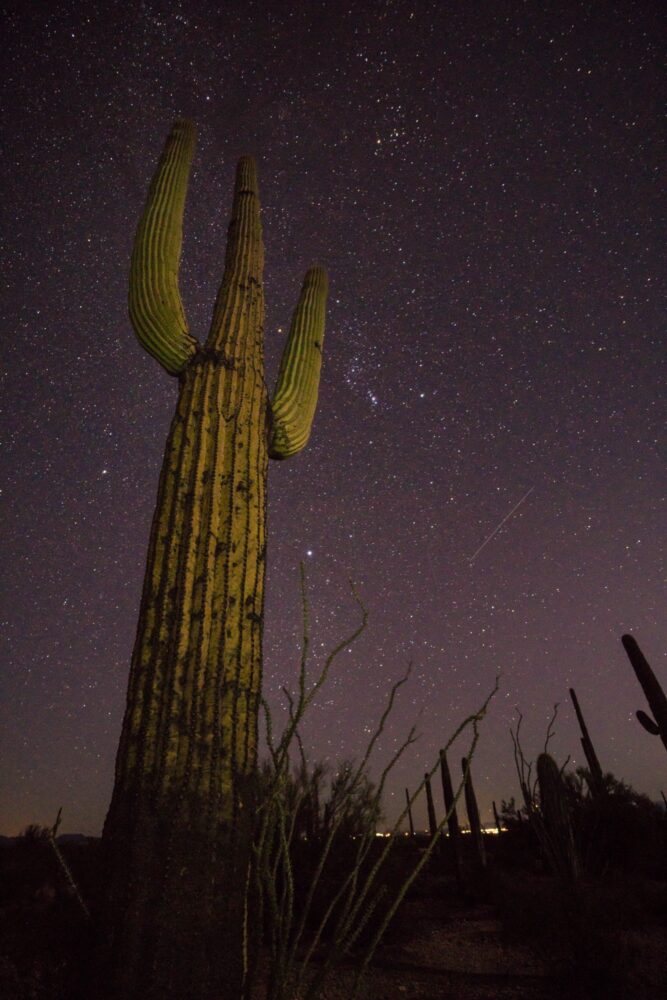
A sky adorned with a field of twinkling stars is an aesthetic creation alone. However, shoot them in context with some foreground interest to add a sense of place and value to your narrative. During the day, scout out a composition with a building, church, mountains, tree, lake (water may reflect starlight!), or another countryside feature. Visualising a silhouetted subject against a backdrop of sky ablaze with swirling stars will give personality and perspective to the nighttime scene. At higher elevations and when temperatures are cooler, there are fewer particles in the air to scatter light, which will lead to a more precise and detailed result.
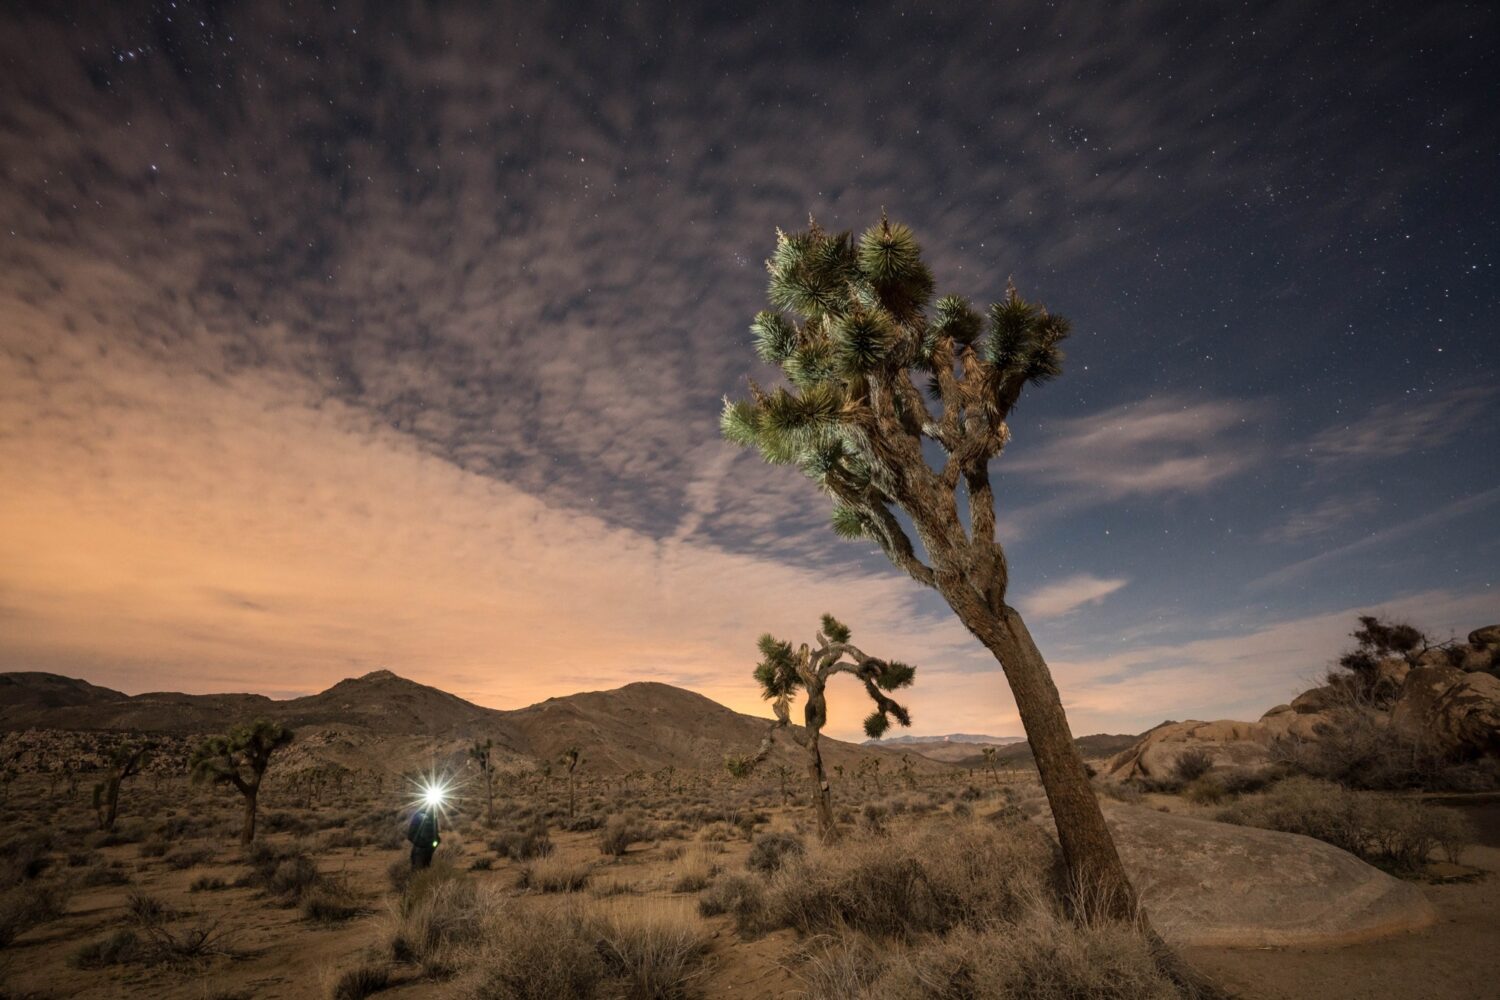
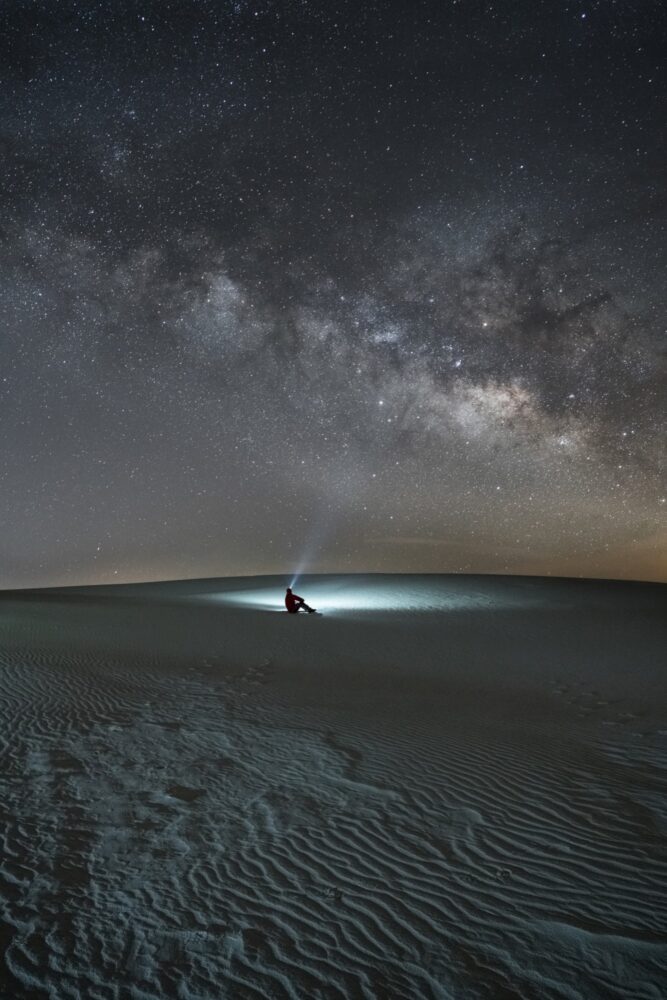
Light Up the Foreground: Blinded by the Night
The foreground can be lit using a variety of techniques.
Non-stop light: When the shutter is open, employ a constant light source to irradiate the foreground. Keep the light moving around inside the frame to avoid any hot spots.
High Dynamic Range (HDR): Take several images, varying or bracketing the time of exposure, and amalgamate them as HDR to then composite with the last shot of the correctly exposed night sky.
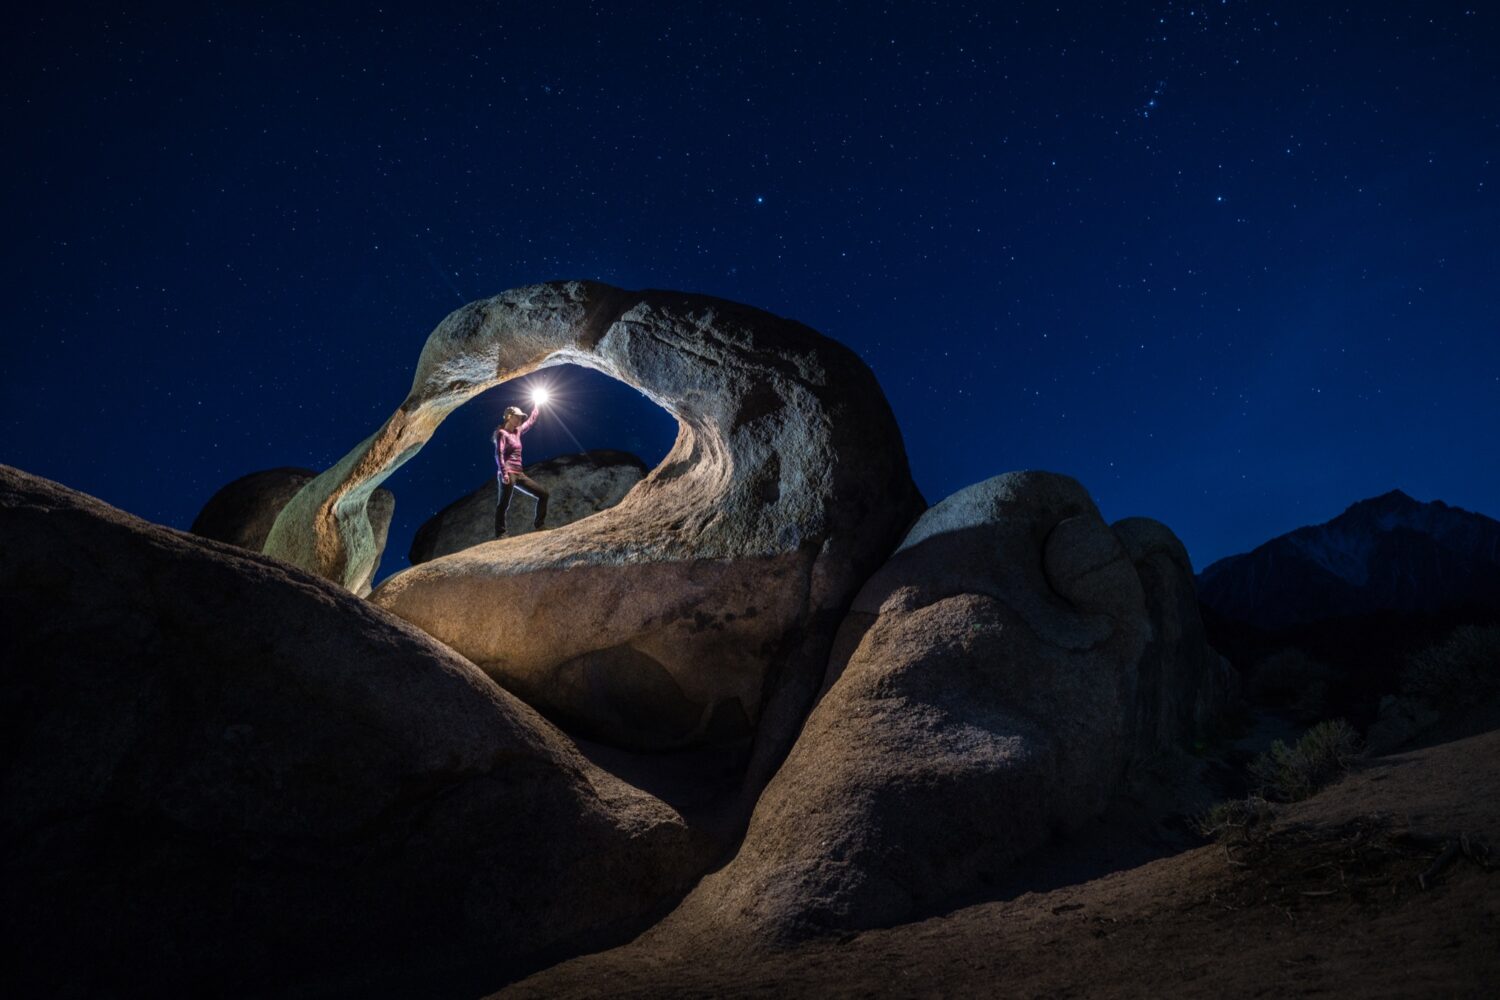
Painting with light: This is an ideal technique when the foreground is in close range. Paint with light by projecting a constant light source, such as a dimmable LED head torch set to low.
Speedlight: When the shutter is open, press the speedlight’s flash button. As described in the technique above, orbit the speedlight through the exposure, so the flash throws light on all of your foreground.
Post-processing: Pigs Night Fly
Higher ISOs can create “noise” in an image as well as extra coloured pixels. Most editing suites remedy this issue with a noise-reduction feature. Editing software Fotor and PhotoScape are both free and will get you started. I love Lightroom, although some prefer Photoshop, among others.
Conclusion: Night Therapy
Astro-photographers who specialise in capturing remarkable terrestrial foregrounds with unique celestial backdrops have arisen. However, taking pictures of distant stars is no longer just the artwork of such a group. Anyone can successfully capture the light of distant suns hundreds and thousands of light-years away. In fact, you can capture the mystery and intrigue of the galaxy with a simple camera. You don’t need expensive equipment running into the thousands – all you require is a dark, clear evening and the willingness to shoot for the stars. Having fun with it while you experiment is the best way to create something that captures the black magic above. Standing beneath a night sky and gazing up at the stars is a truly magical experience. And now, thanks to constant innovations in camera advancement, it has become easier than ever to get out in nature and take some incredible shots during the night-owl hours.