Words by Lisa Morris, Photos by Jason Spafford
The sun, a brilliant round disk of light and warmth, can be tricky to encompass in a well-balanced picture. Due to an acute intensity of brightness lies an inability to view it directly overhead. Although challenging, with some inexpensive equipment, the sun is a dramatic image-enhancing inclusion. It can cascade rays of gold in every direction, illuminating the world with such brilliance and drama, your images will shine with living art. This column will give you an idea of the basics involved in the rewarding craft of shooting into the sun.
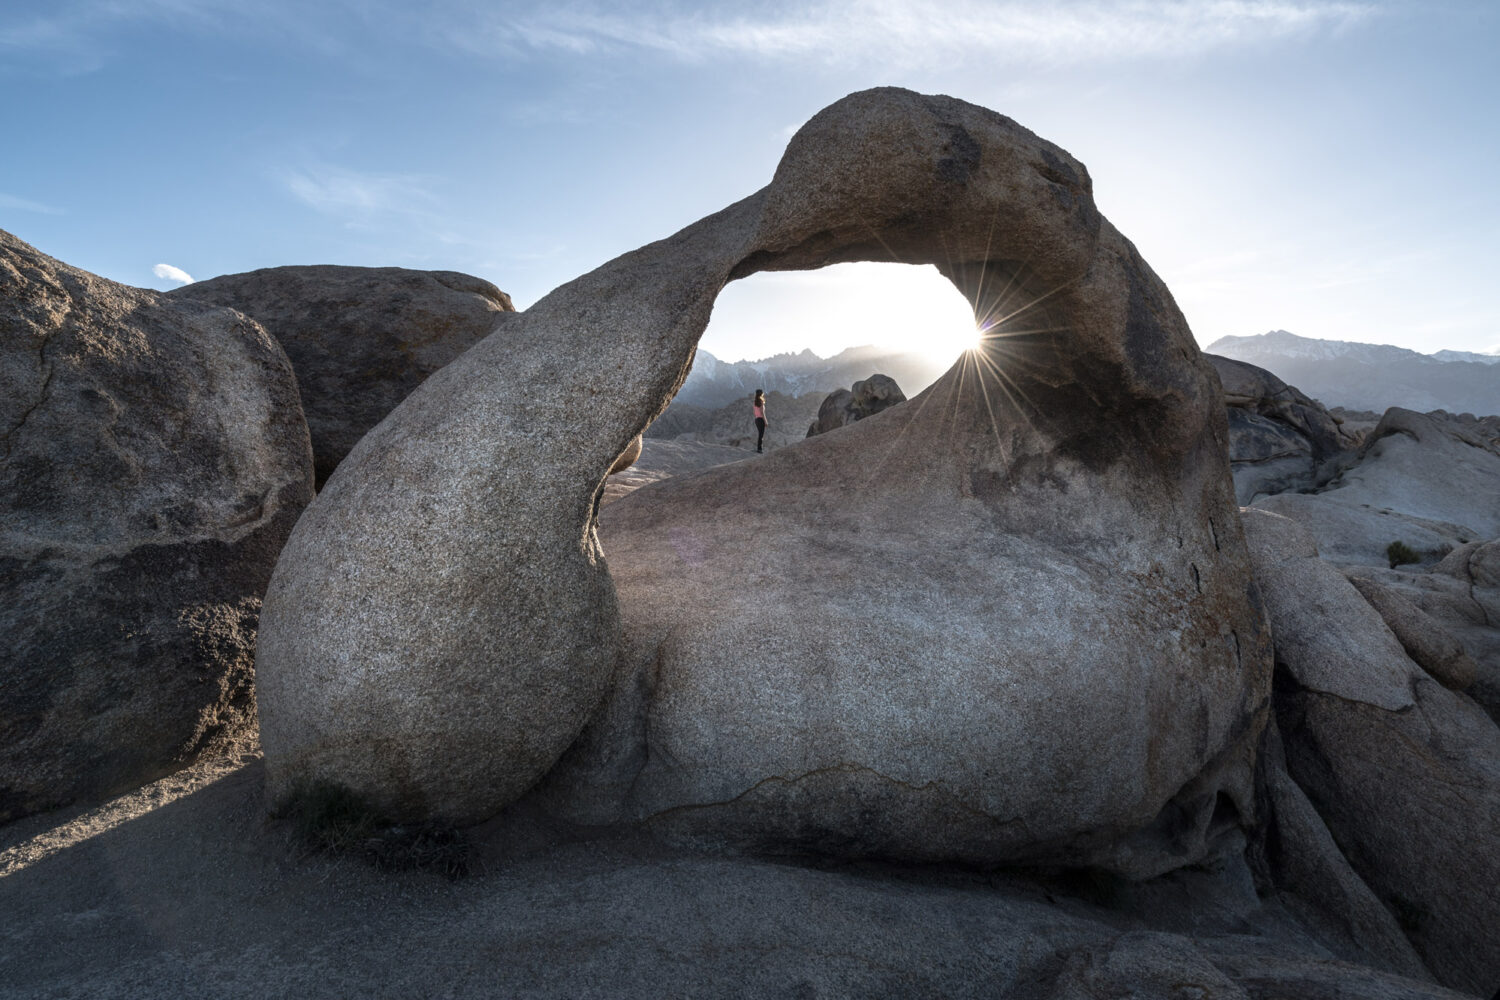
Safety First: A Multitude of Suns
Never look at the raging ball of fire with your naked eyes or through the lens of any magnifying optics, as it can cause damage to your sight and sensors. Compose your image using the screen on the back of your camera.
Avoiding Lens Flare: What UV is What You Get
When shooting into direct sunlight, you may encounter lens flare—swathes of glaring light, causing your image to have a blurred, washed-out appearance. However, that can embody a dreamy, enviable romance in the picture. If this isn’t what you’re striving for, moving the camera slightly will change the angle at which the light enters the lens and thus reduce or eliminate any lens flare. Failing that, attaching a lens hood will remove any overbearing light from reaching your front element; they are inexpensive and offer protection to your lens too. You could cup your hand around the top of the lens to obstruct the light. Or, reframe your image and use what’s around you: a lone tree, mountains, an architectural structure—anything to impede the light.
Enigmatic Silhouette

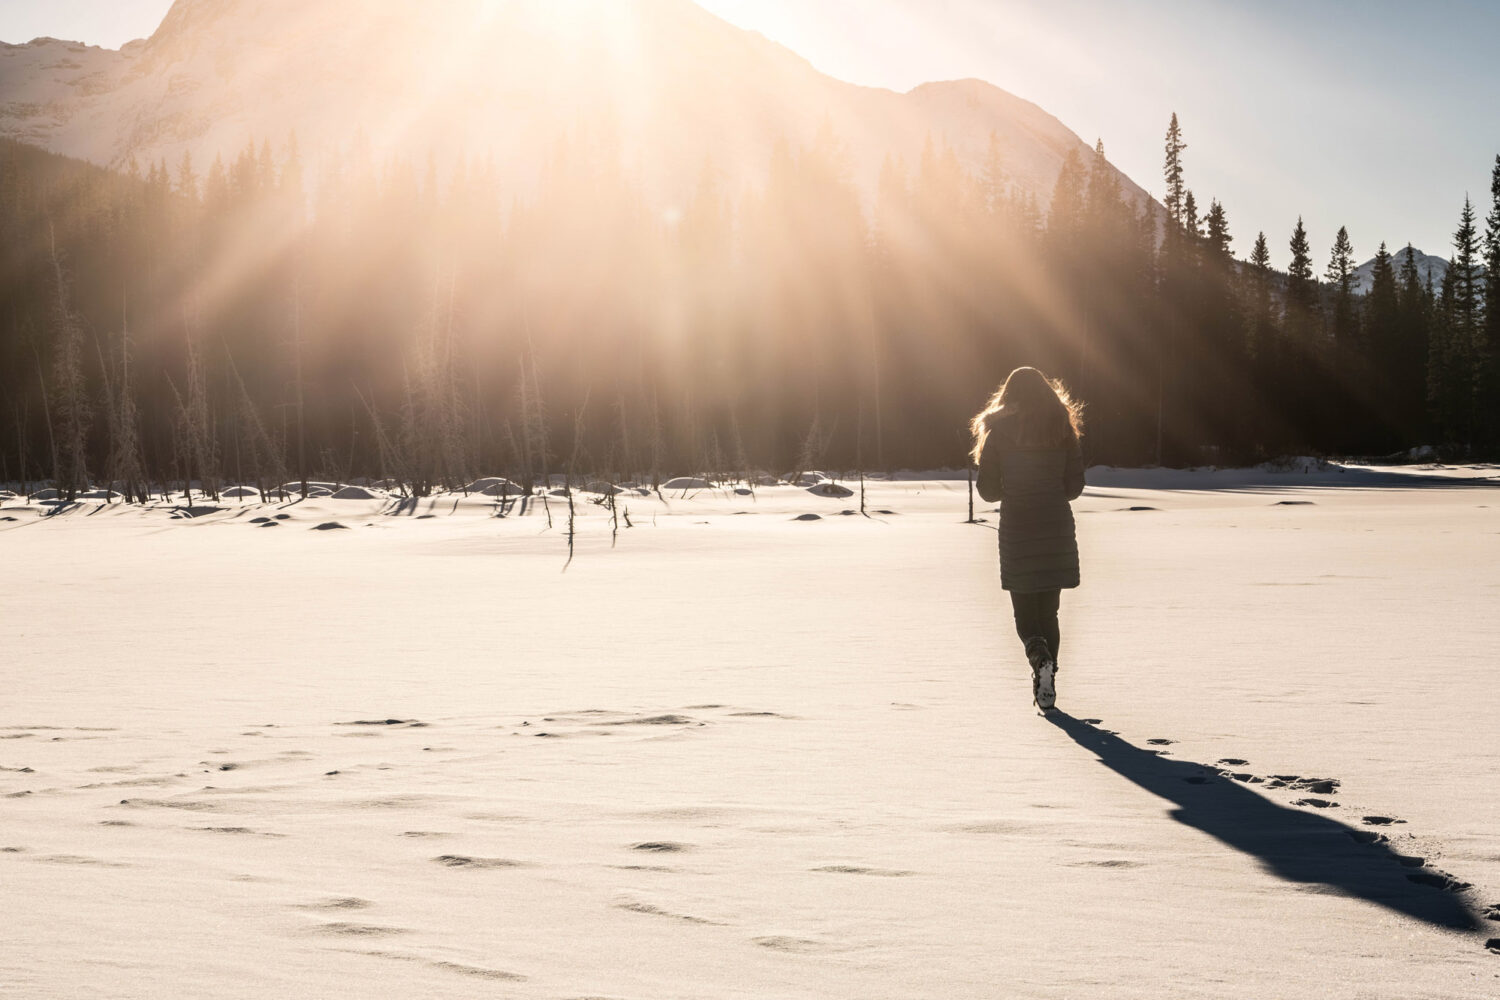
Convey dramatic intrigue with a sun-induced silhouette, leaving the viewer marvelling at its simplicity and contrast.
- Golden hour, sunset, and sunrise are optimum timeframes for capturing silhouettes whenever the sun is low.
- Position a recognisable subject to form a distinctive two-dimensional shape in front of the sun.
- Set your camera’s exposure based on the brightest portion of your background to under-expose the subject.
- Frame your image: big open spaces free of clutter lend themselves well. Think space, definition, separation.
- Aim the camera at the brightest area using spot, partial, or centred metering off the sky. Recompose the shot and fire. Polish in post-processing.
Golden Halo
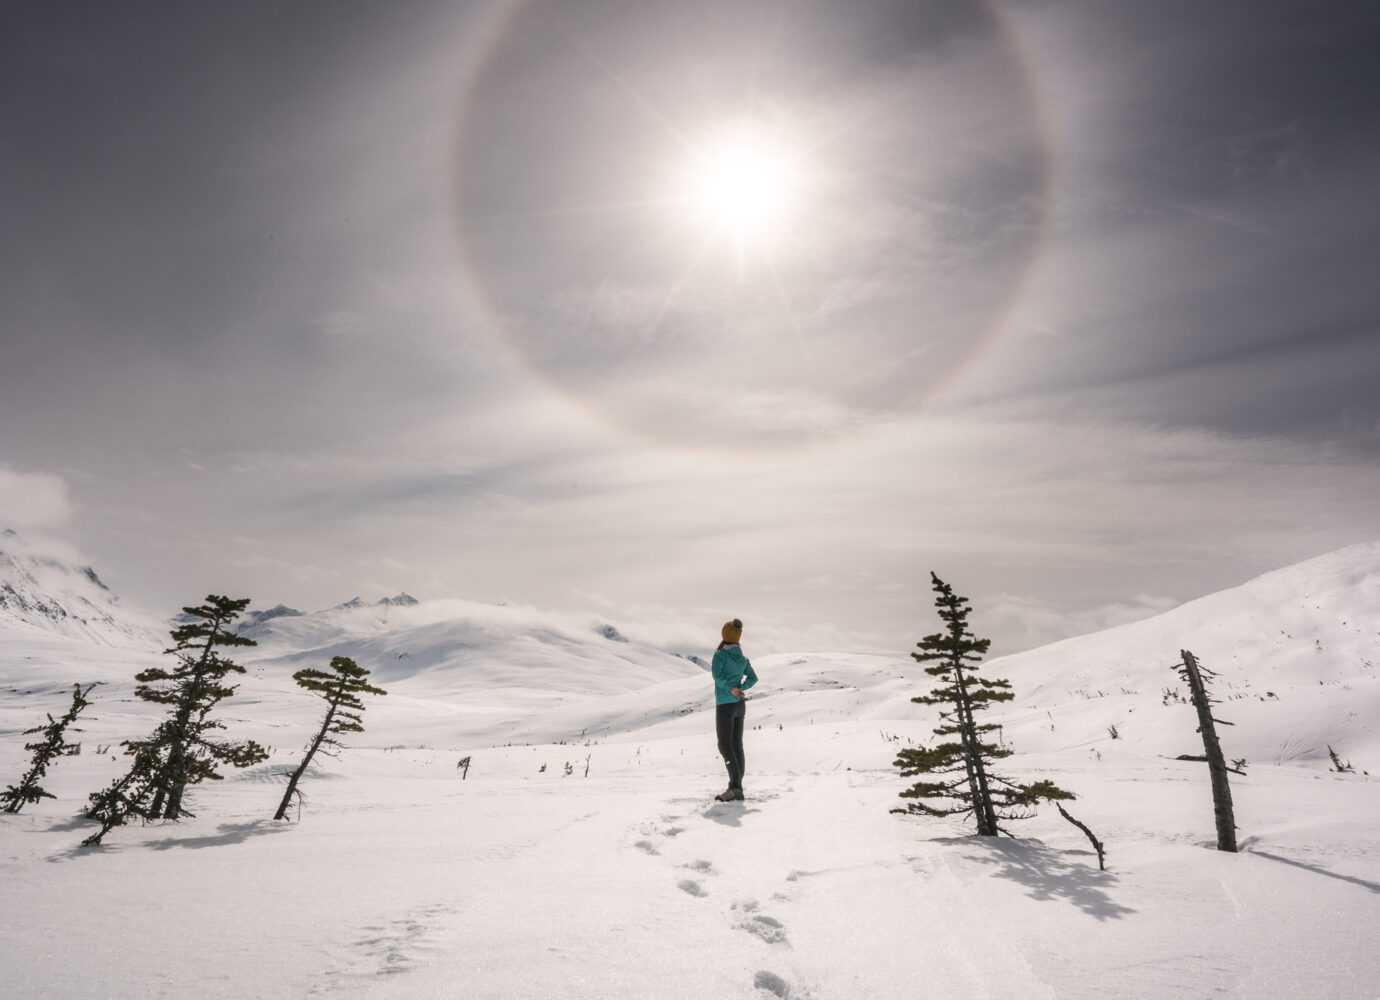
A little strategic framing of the sun can give your pictures a golden halo effect. Using the earth’s white-hot star to backlight shots will imbue a summery warmth to images. Here’s how.
- Manual: Shooting in Manual avoids your camera overcompensating for the light and silhouetting your subject.
- Get in focus: Shooting into the sun often means Autofocus will grapple. It’s just easier to focus manually.
- Find the right angle: To avoid an overblown photo while keeping your subject’s features defined, keep the sun behind the subject. Backlit at the Goldilocks angle, a lower sun will create a beautiful highlight around the subject. Try lying on the ground and shoot upwards if the sun is higher. A cheap reflector or strobes will bounce light in shaded areas to yield a brighter, more balanced image. Experiment with positioning and settings until you ascertain the desired effect.
Show Some Flare
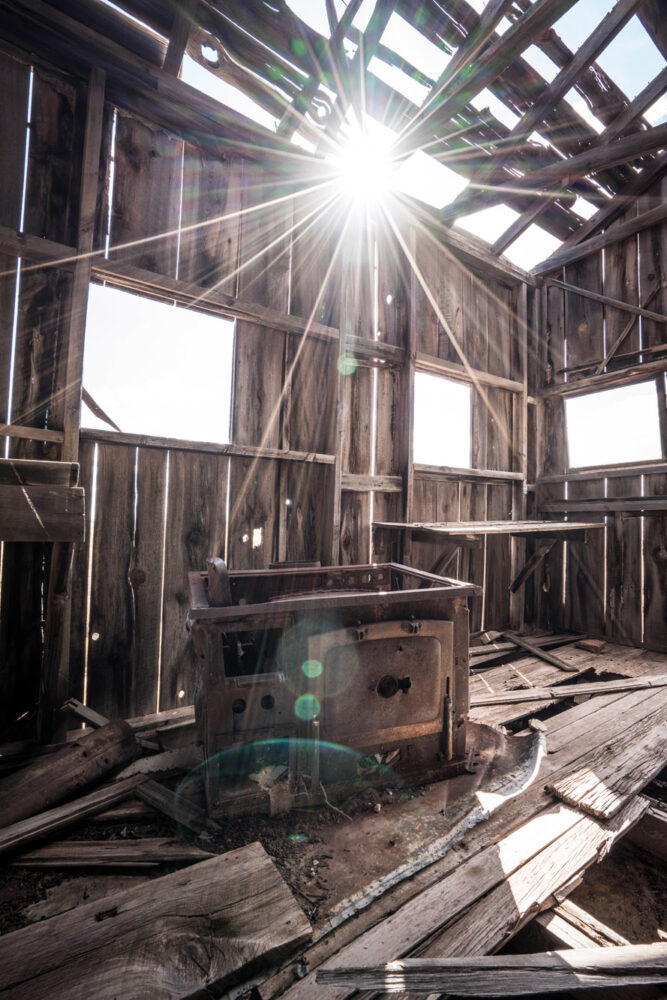
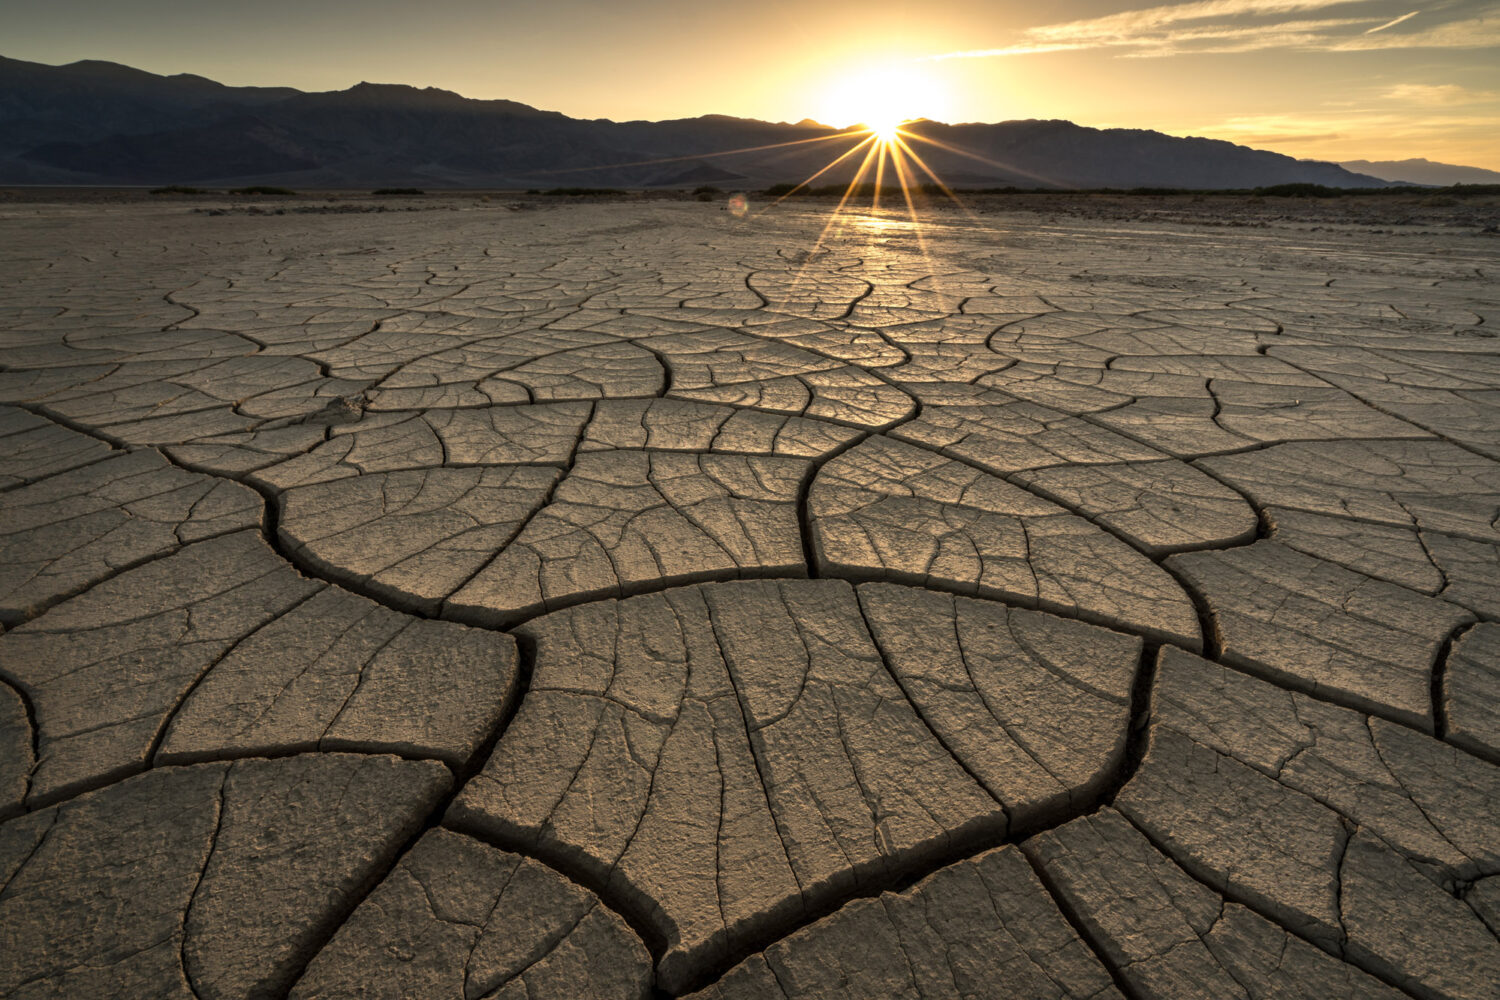
Sun stars or starbursts are derived by the light passing through the small aperture and being spliced across the lens’ aperture blades. The higher number of blades your lens possesses, the more points your starburst will have.
- Choosing diffused sunbeams or sharper, defined ones will depend on the feel you’re after. Wider apertures, e.g., f/5.6, give rise to softer rays. Smaller apertures, around f/22, create crisper rays. Selecting Aperture Priority mode and Auto ISO will facilitate experimenting freely. Even a compact can create sparkly magic; just alter your settings to avoid any wobble or distortion when the shutter is left open a tad longer than usual.
- Add some artistic flair by using an object to partially hide the sun. Manoeuvring around the object permits the sun to peek out, nudge the object, and shine at more pleasing angles. You’ll soon dial into how much sun to include for the most eye-catching starburst.
- Achieve a less-defined outcome with a composition where the sun’s not entirely in the shot, e.g., only its bottom third. Take advantage of when the clouds, mist, or haze dilute the light to bestow a beguiling soft glow.
Get Your Sunny’s Worth
Apart from when it’s rising or setting, photographing into the sun can be a technique that will stretch you but opens a world of beauty. Some specialised gear can be helpful and need not come with a price tag that will make your eyes water. If you’re curious about that blinding fusion reaction in the sky, try shooting its amber, honeycomb, saffron, and yolk yellows. Decide on the overall feeling you wish to imbue in your images: softly glowing, brightly shining, or scorching hot. Then go ahead and capture pure joy in arrows of sunlight bathing a meadow, lances of sunlight dappling through a forest, or shafts of light pouring onto a lake—there’s no end to the depth and dynamism that will comfort and soothe here. Whatever comes to light in the sweet spot, I bet you’ll be pleasantly surprised at the rolled gold you can compose.


