
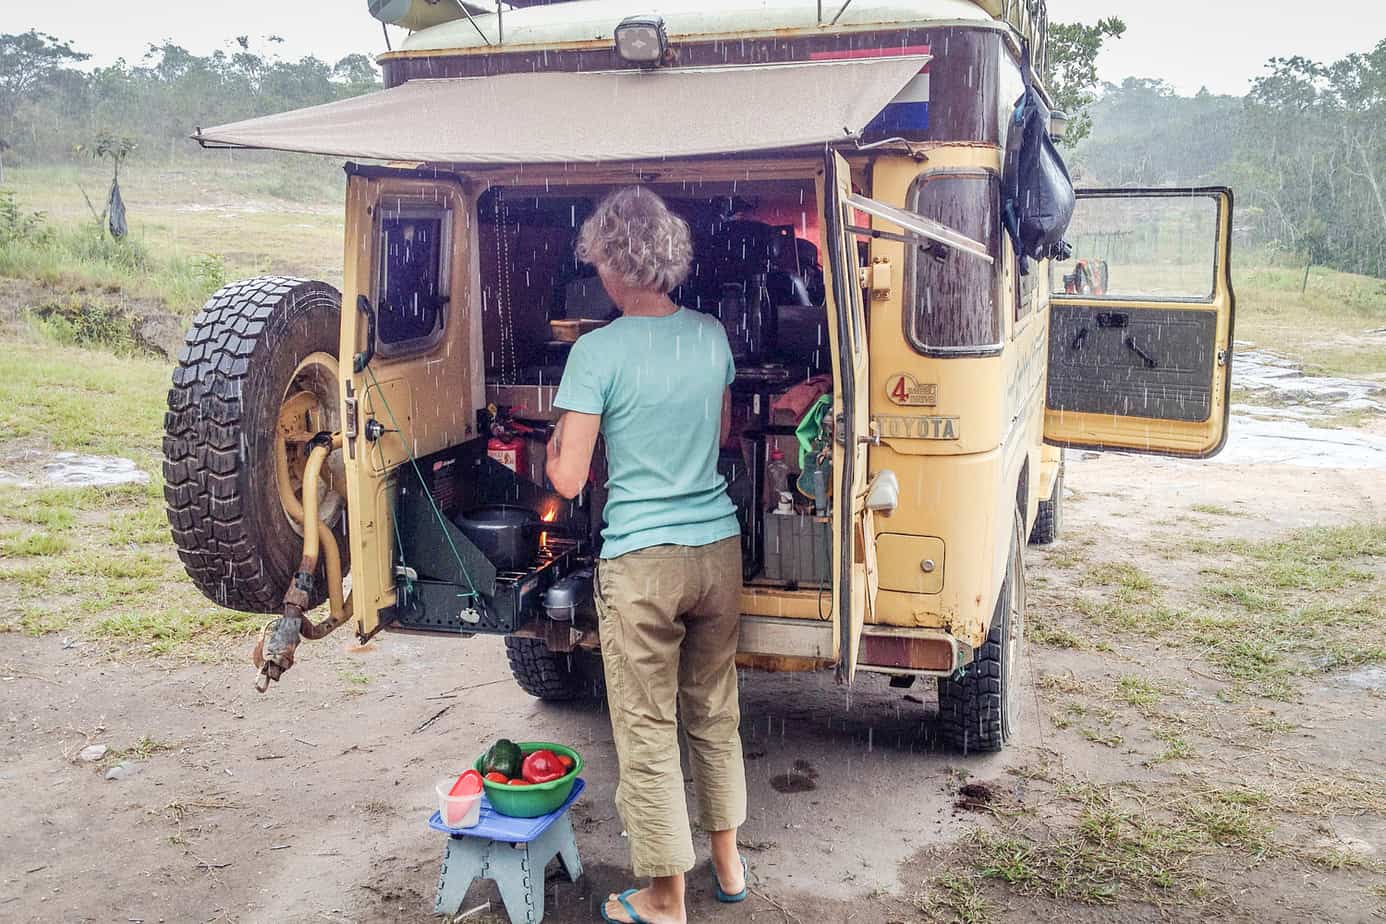
“Gosh, how I love that small awning,” Karin-Marijke exclaimed, raising her voice above the noise from the rain pelting on the canvas. She stood cooking outside but stayed dry.
“How come it took us this long to build one?”
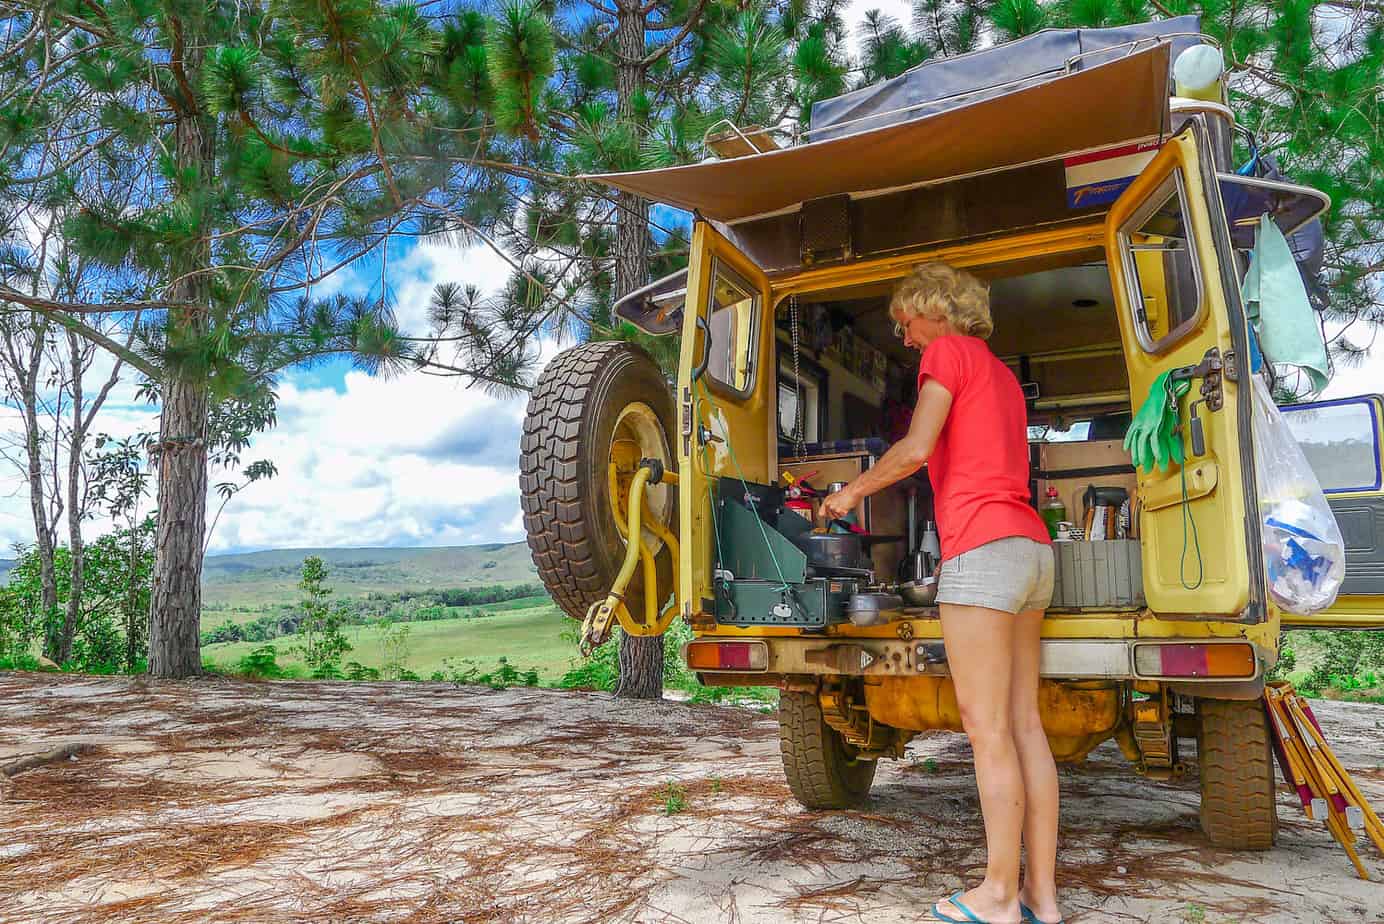
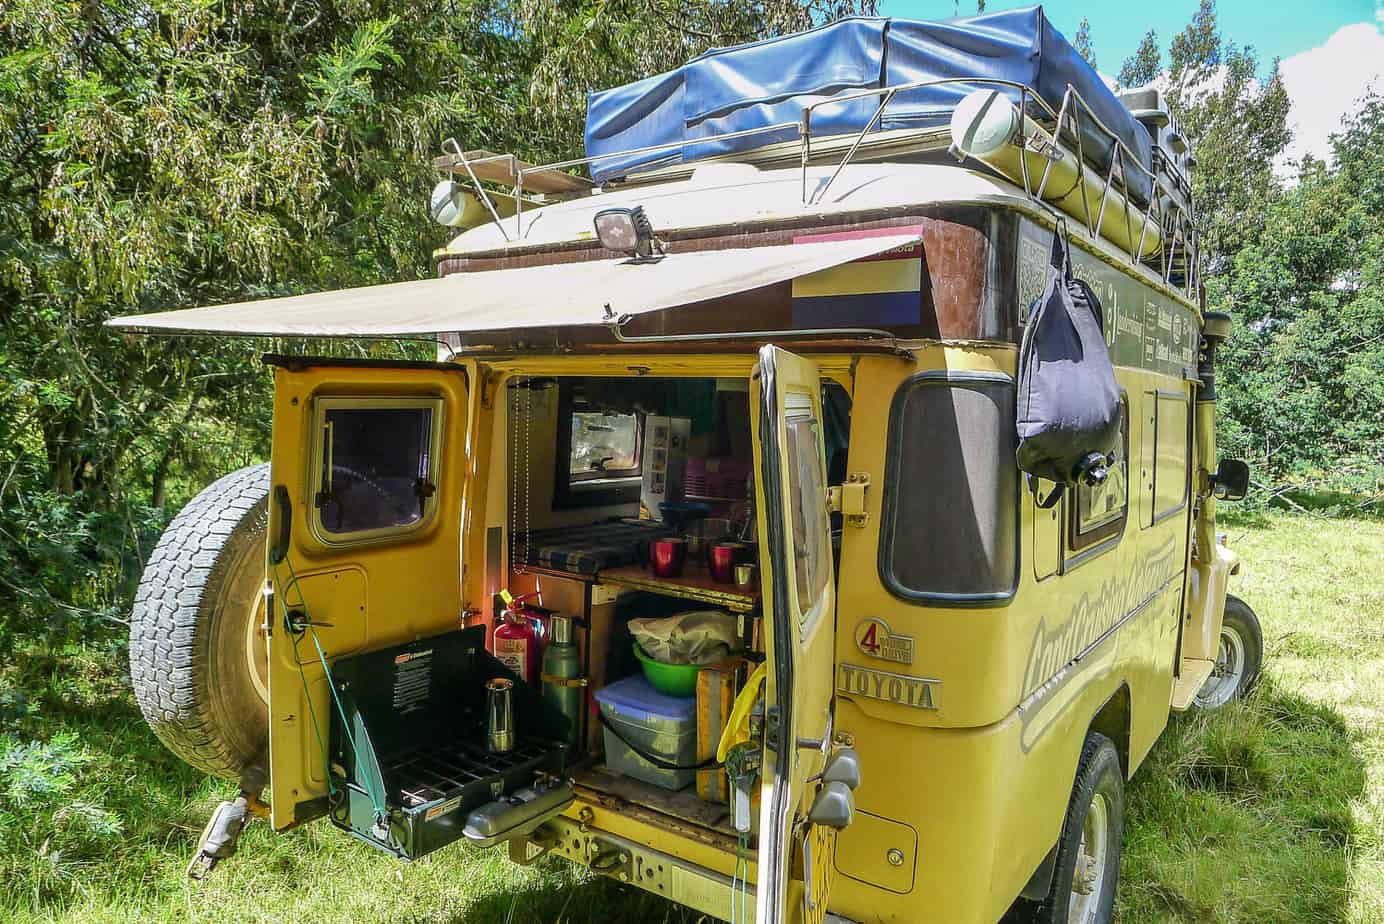
I had pondered that question myself and reflected on the start of our trip. The first couple of years we mostly slept in the rooftop tent, which unfolds over the rear of the car. This gave us a sort of extension of the roof at the rear that provided a bit of shade. Our preferred spot for cooking at the time was on the winch or on one of the sides of the car (depending on the wind). But since our brilliant idea of the “Hanging-wonder Kitchen” —simply using a piece of rope and hooks to attach the Coleman stove to the rear door—we had enjoyed cooking at the rear of the Land Cruiser. By the time that happened, however, we were not sleeping in the rooftop tent that much anymore for a number of reasons, and thus lacked the shade it provided.
We were in need of a solution to be able to cook outside protected from rain as well as fierce sun.
Not all overland vehicles are blessed with a tailgate solution, where you can cook and mess around in the rear domain of your vehicle, comfortably shielded from rain and sun. For those of you who do, great! This story might not be for you, although you might pick up the idea to construct a side awning in the same style.

Our solution is one that evolved over time and got perfected by trial and error.
During our travels, we have seen many different awnings. From the standard camping-car awning to the now more popular fox wings. These options all have the same characteristic that we both dislike: you have a box sticking out on the side of your vehicle. Our first awning stuck out like that and at one of our first bush encounters the awning was damaged. Not beyond repair, but it was a lesson learned. From that day on, we’ve kept our awning on the roof rack. It’s not ideal as it takes more time to set up, but at least it is out of harm’s way.
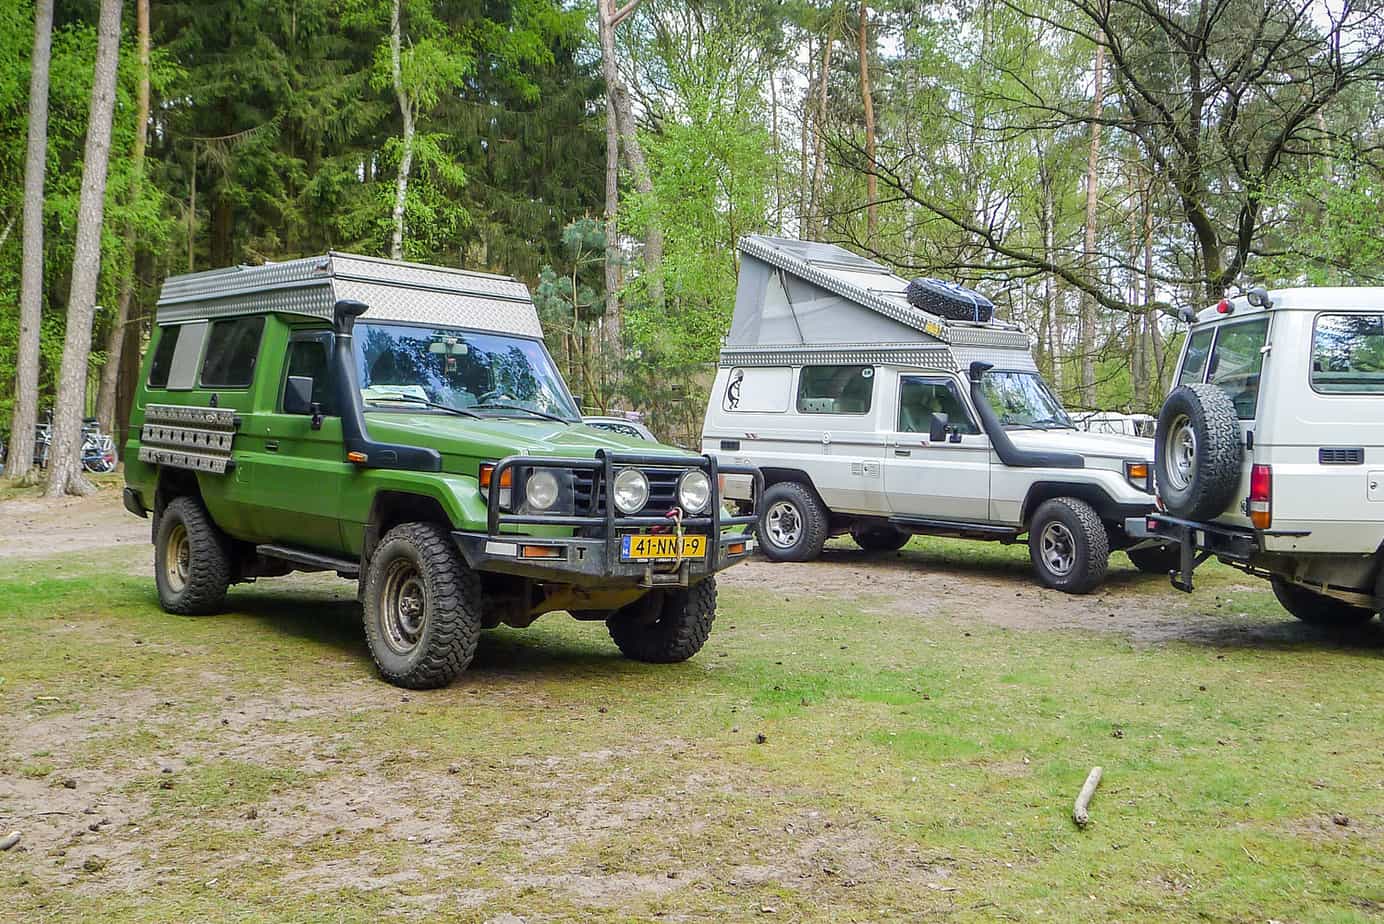
During one of our Overland Reunions that we yearly organize in the Netherlands, I noticed that many of the 78 Series Land Cruisers with a pop-up tent from a German builder had rails on the side. When I asked, Marijke and Coen [not to be confused with ourselves] showed me how their awning quickly attached and detached by sliding the whole thing in and out. This, in fact, was much like attaching a side skirt to a RTT. “This was it,” I realized. This was how I wanted to have our awning. The seed was planted. The only thing now was to convince Karin-Marijke of the importance of it and to get my hands on those special rails in South America.
It took us 2.5 years to come to the conclusion that those extrusions are very special indeed and cannot just be bought at any aluminum-window shop. We had to take them with us from Europe, with the drawback that we had to cut the rails in 1-meter pieces to fit them into our checked luggage.
With the strips glued to the sides and rear, and our main awning finished, I then used the leftover materials for a smaller rear awning. Let me walk you through the ideas and steps that I went through.
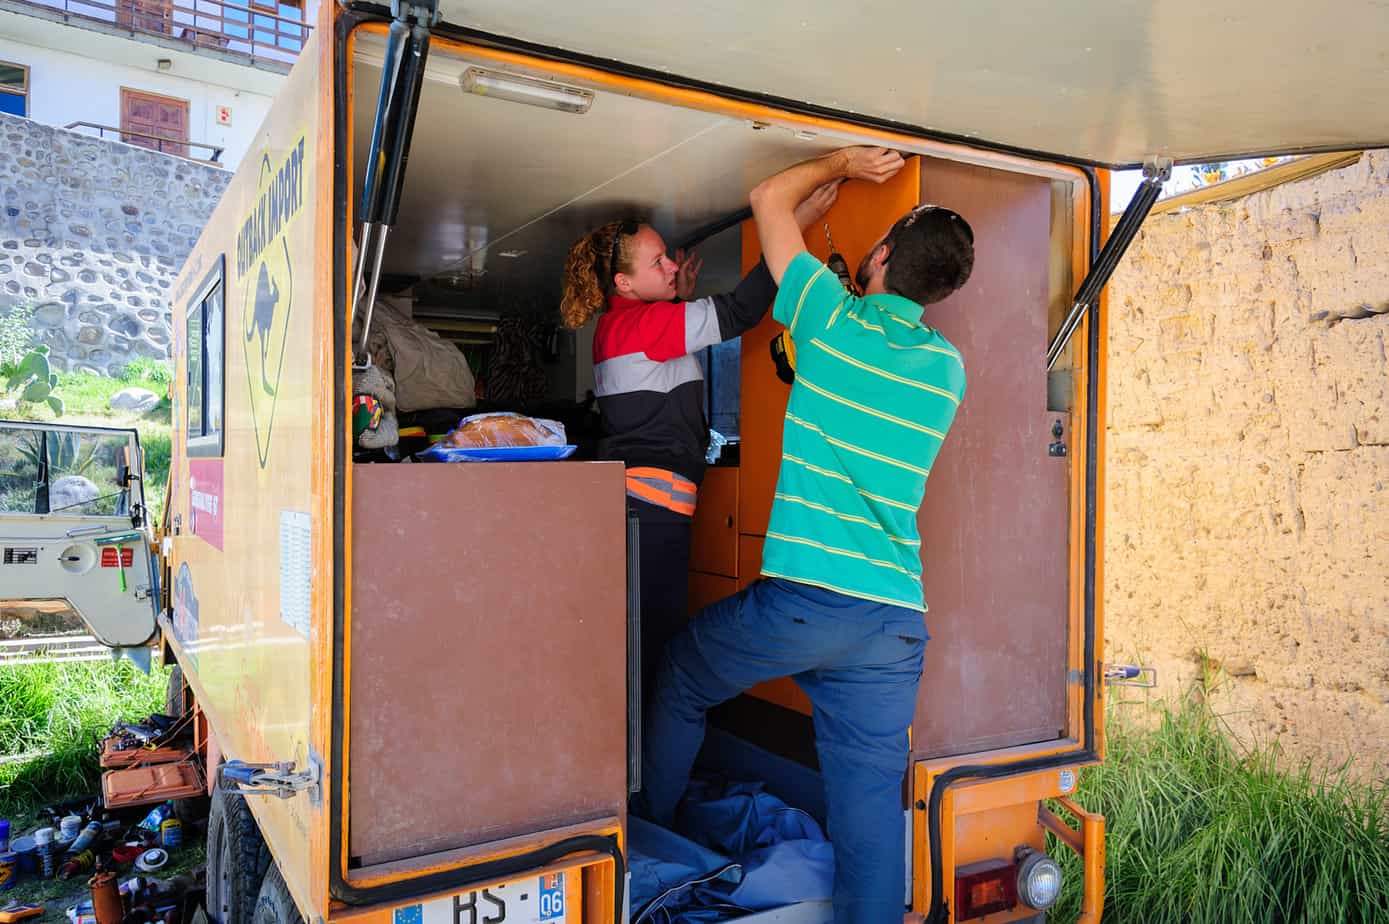
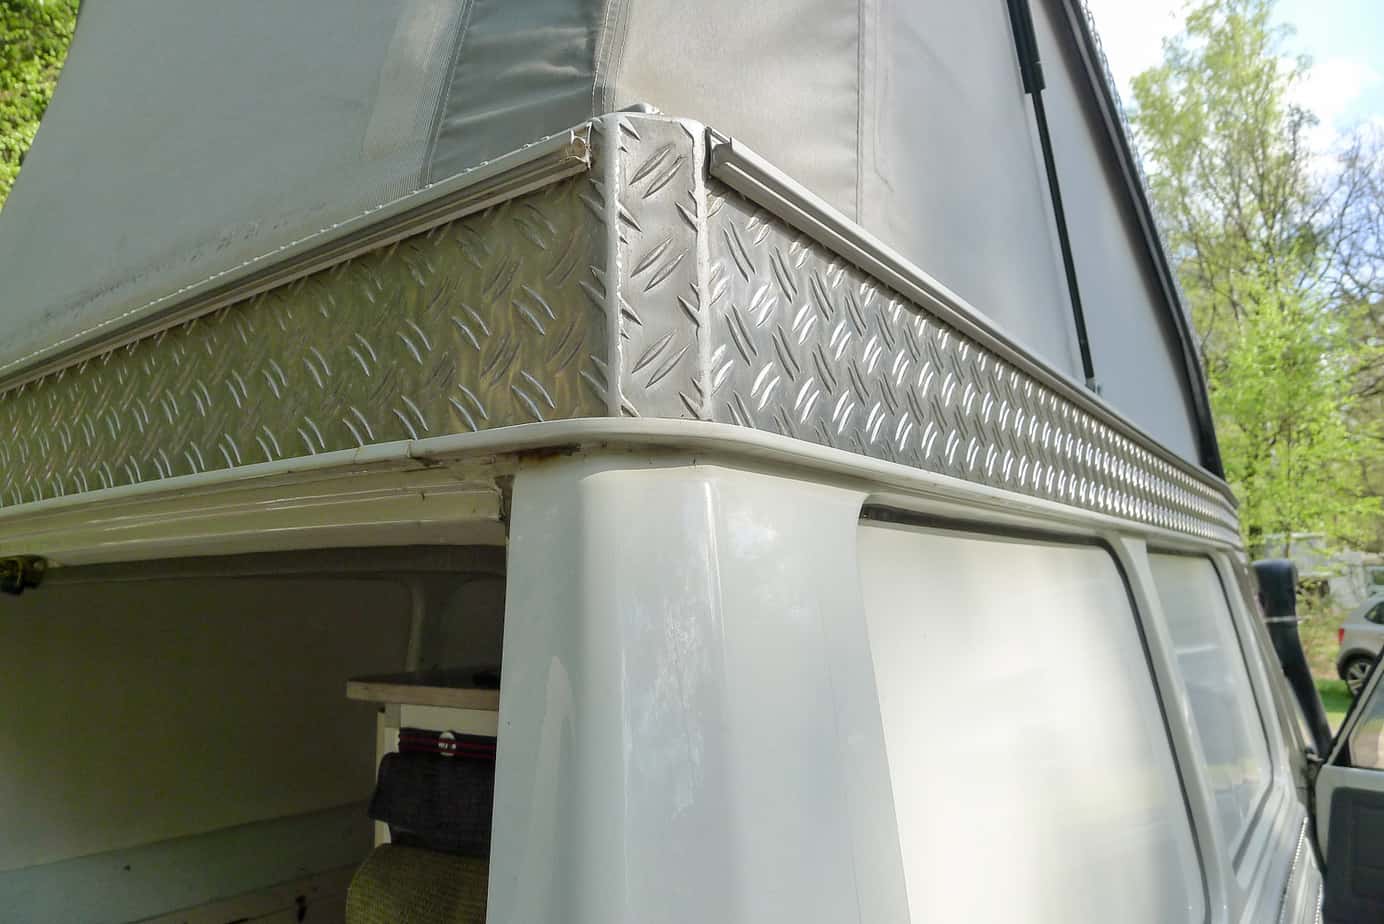
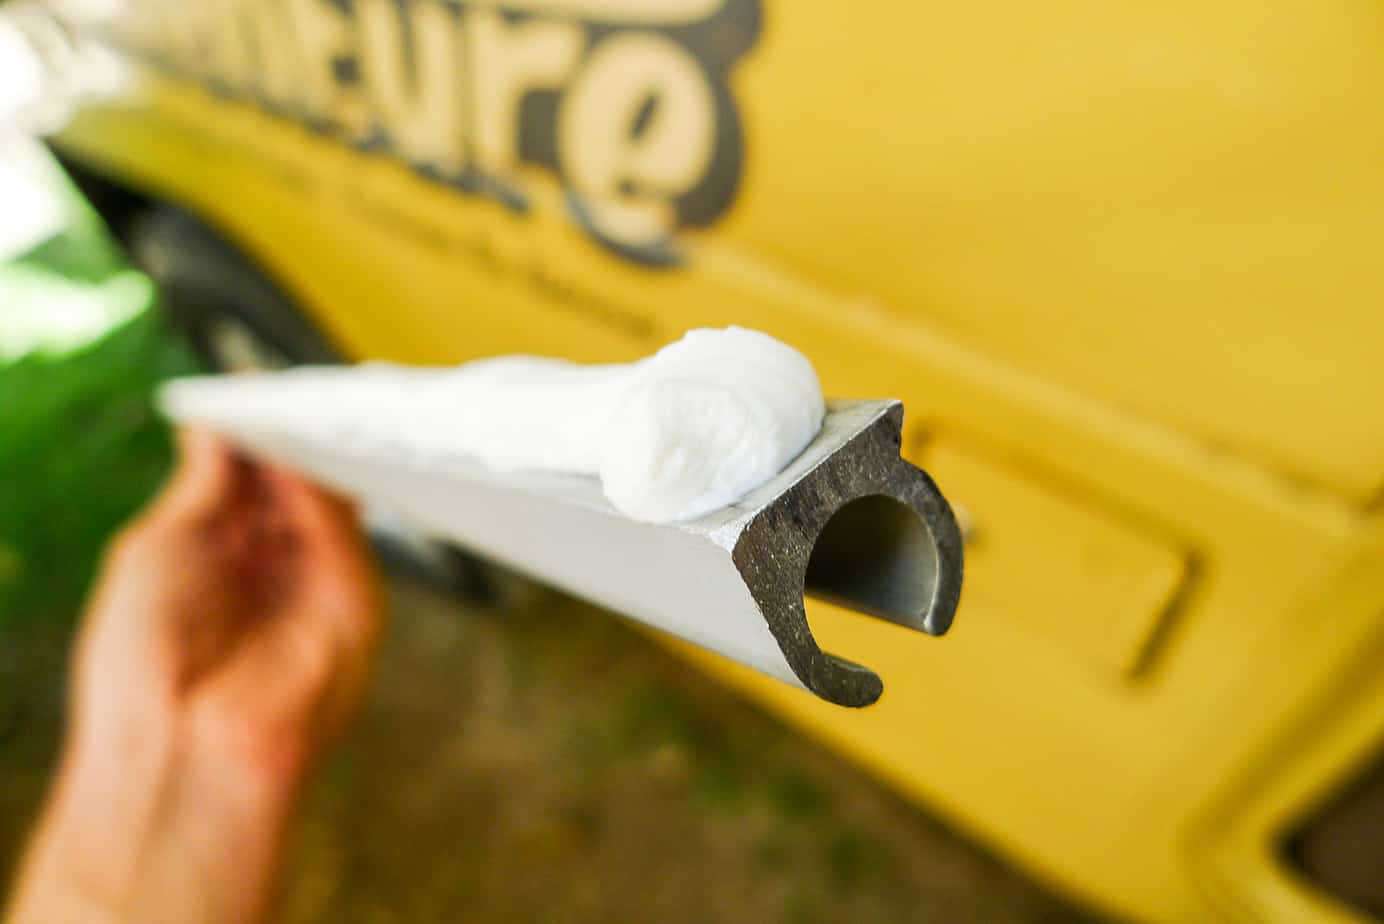
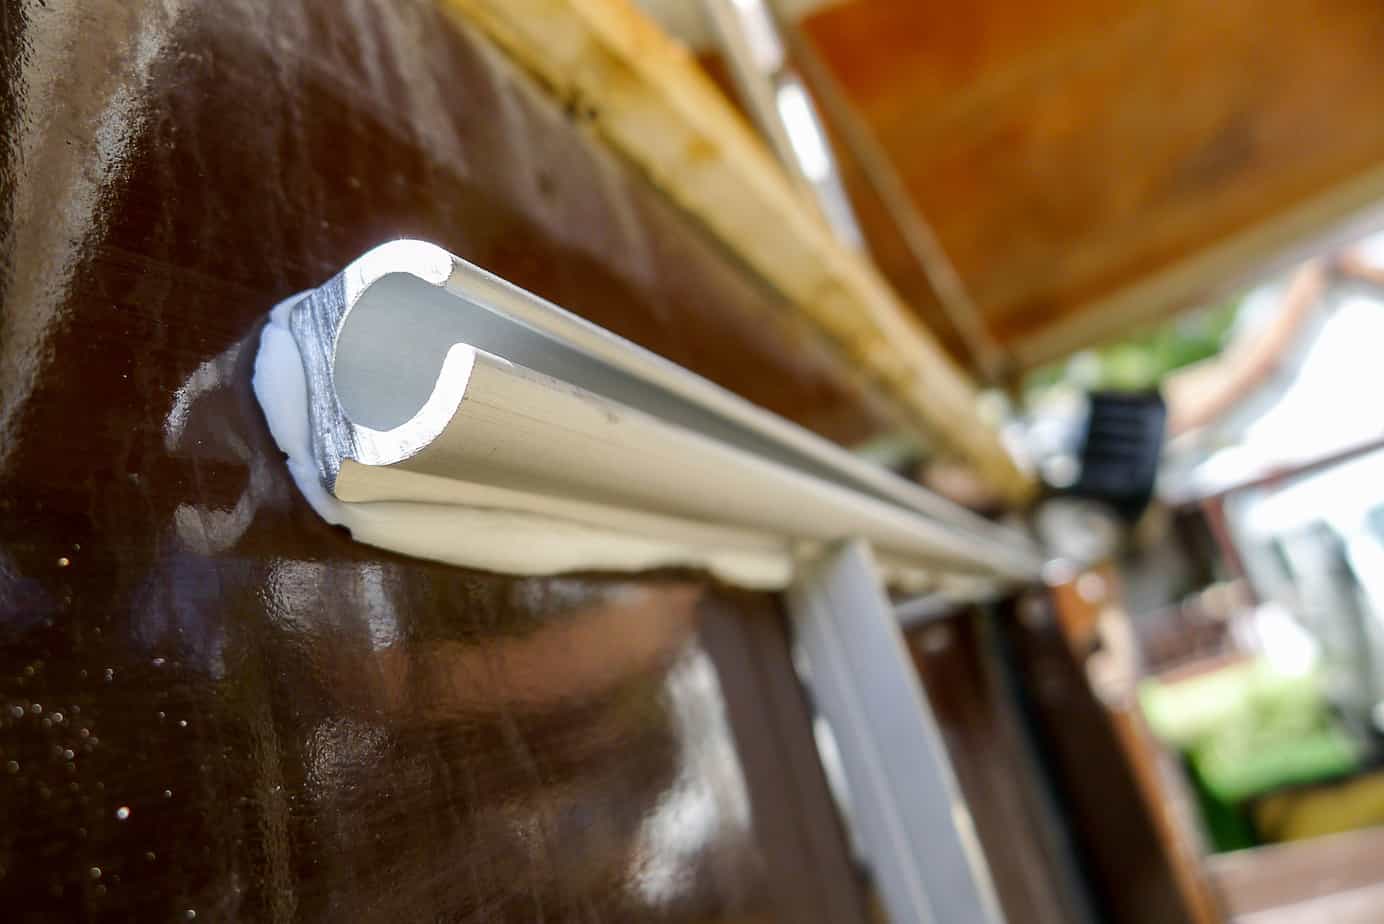
1. Mount the slide-in track on the vehicle
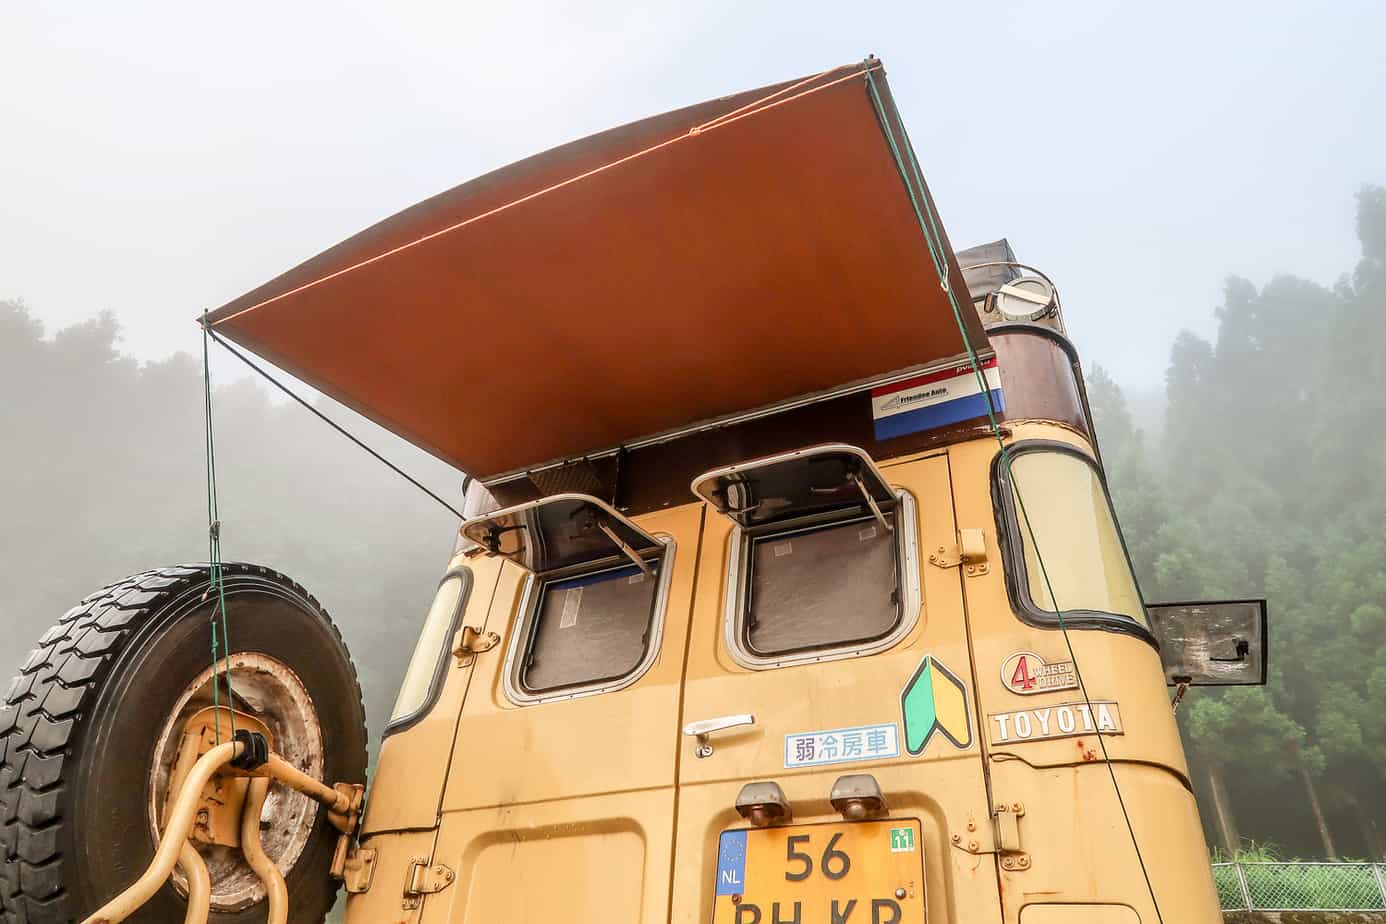
Obviously, the slide-in track must be mounted as high as possible so you can stand under the awning without hunching. Make sure not to attach it to the roof rack as rain runs off from the roof to the rear and thus it will leak under the awning. Our Land Cruiser has a roof extension, and so I glued the strip as high as I could, just under the floodlight. To do so, I used an industrial PU glue such as Sikaflex or Bison Polymax.

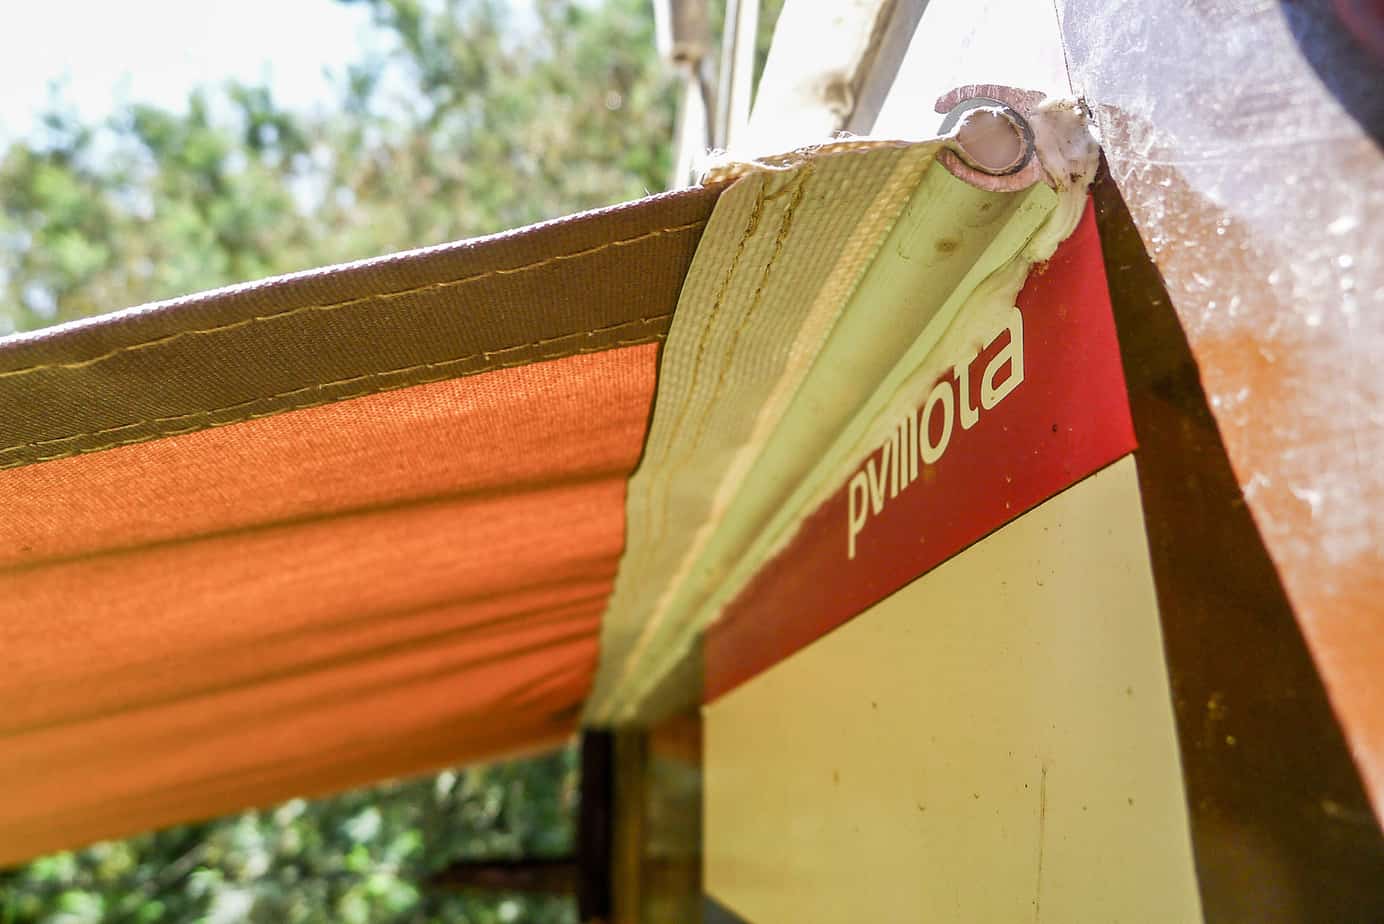
2. Sew the slide-in strip on your canvas
There are numerous types of keder. They come with a variety of ways to weld or sew the canvas to the keder. Most important is to get an outer size keder-cord that matches the inner dimensions of your aluminum track. I suggest buying them in the same camping store, which may sell canvas and waterproof yarn as well. Maybe the shop will offer to sew the whole thing together for you. If not in a camping store, try a shop selling sailing gear. I used a rest piece from the main awning and took it to a shop in Bogotá (Colombia) that specialized in repairing backpacks and such.
3. A rigid awning, or not?
Initially, I wanted to use some sort of tube on the outer side of the awning for it to stay tight. It would also be easier to roll up when storing it. Drilling holes on both ends of the tube would enable the stays to poke through. This would have worked perfectly, however, since I found a piece of leftover stainless steel plating, I used that instead. I drilled two holes in the ends, and we sewed it into the ends of the awning. It was not as stiff as I wanted, but that would turn out to be a great benefit.

4. Make the stays
I had a good idea of how the awning was going to slide into the rail and what length I wanted, but I had no idea how I was going to support the other end. I knew I wanted something simple and nothing fixed to the ground. I wanted to be able to drive a short distance, if need be, without having to take down the little awning. So, poles to the ground were out.
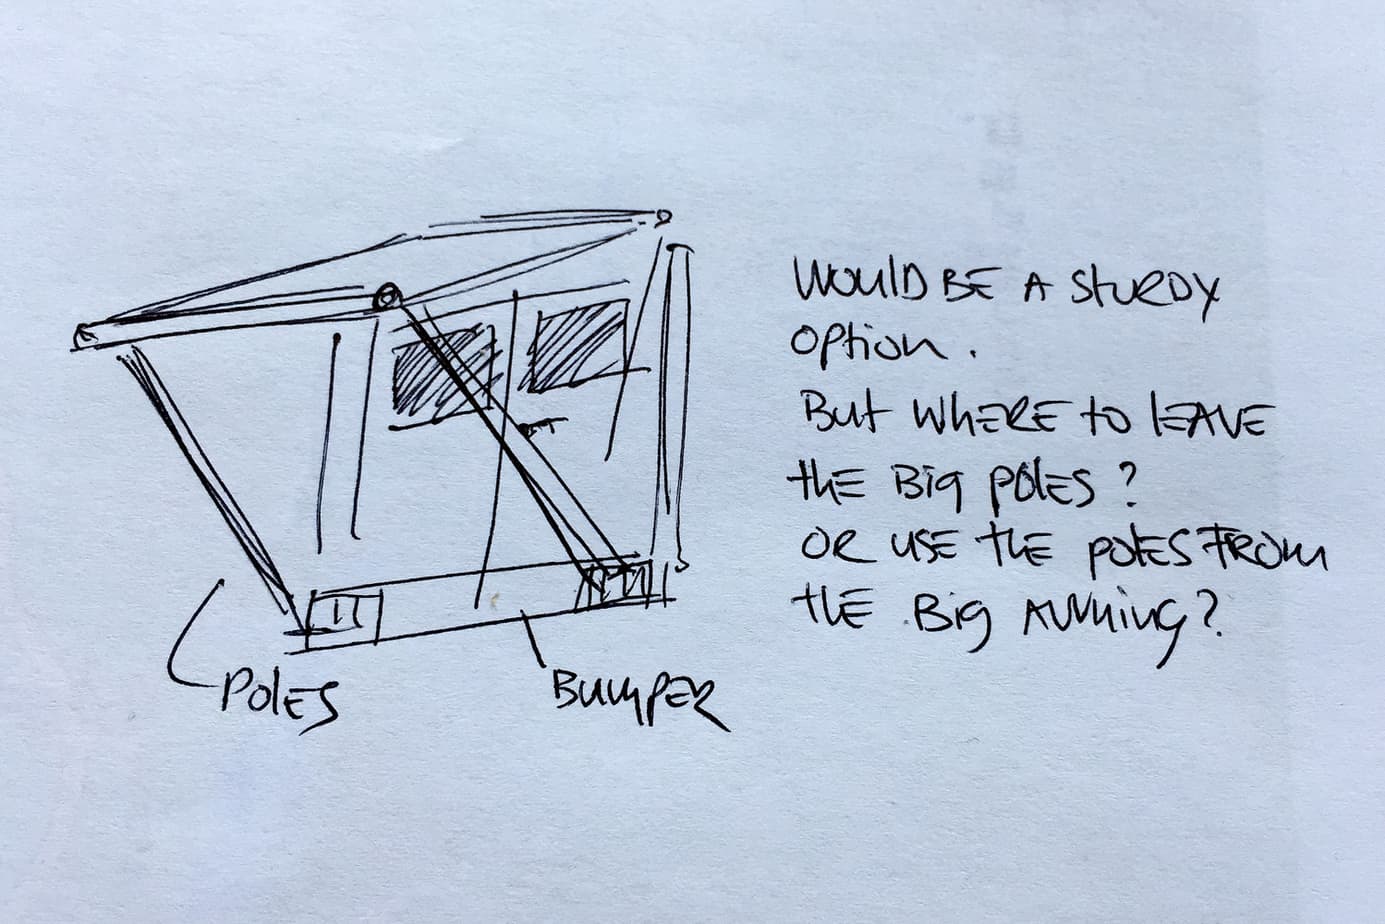
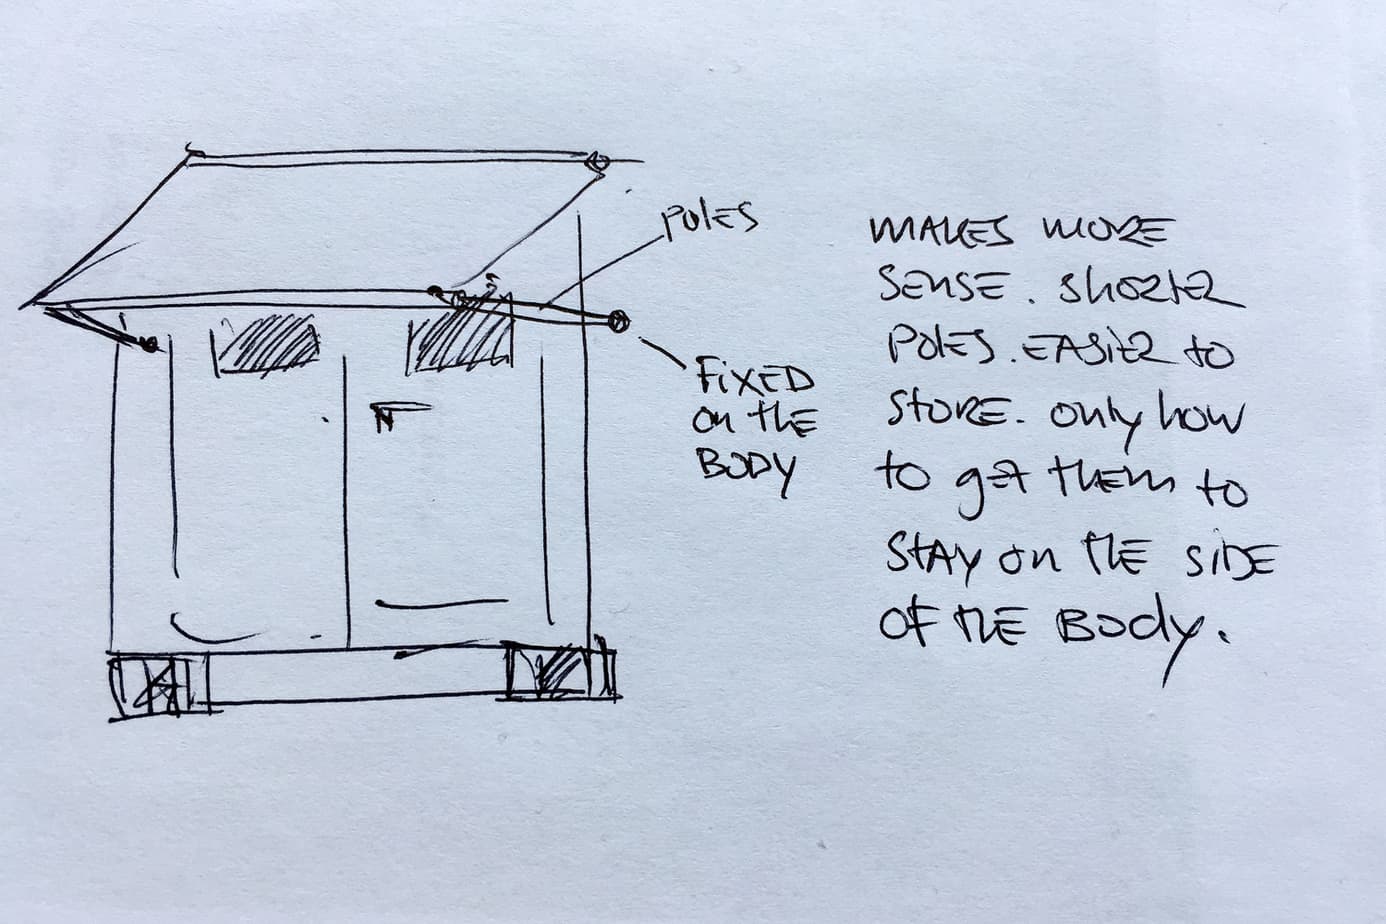
Poles attached to the bumper crossed my mind, but it all came together when I was fooling around with the struts of the RTT. As I inserted one end in the awning, I randomly rested the other end against the bodywork. I did the same on the other side, and it looked good from the get-go. Gravity ensured the downward pressure was enough to hold the struts in place, but it would need a firmer foothold on the vehicle in case of wind. It could be a small rubber cap glued to the body that would prevent the strut from slipping off the side of the Land Cruiser. Or a strong magnet with a receptor hole would also work.
Then I saw it. Just above the rear doors, I had (10 years ago in Cambodia) made a crude gutter to prevent leakage at the doors. I just needed to drill a little hole on the side in order to secure the struts.
5. The 10-second install
From leftover materials, I sewed a sleeve that holds the rolled-up awning and the two stays. This is attached with two Velcro straps inside the car, just above the rear doors. Whenever there is a need for some quick shade or a drizzle protector, I take out the rear awning and install it within a minute.

6. Test and improve
When it was pouring, or a stiff wind blew, the setup showed flaws. The wind picked up the complete contraption and the stays came undone. To prevent that from happening, I fabricated two guylines from a piece of rope, sliders, and hooks I had lying around that I can attach from the lower side of the awning to the bumper. No wind is messing with that anymore.
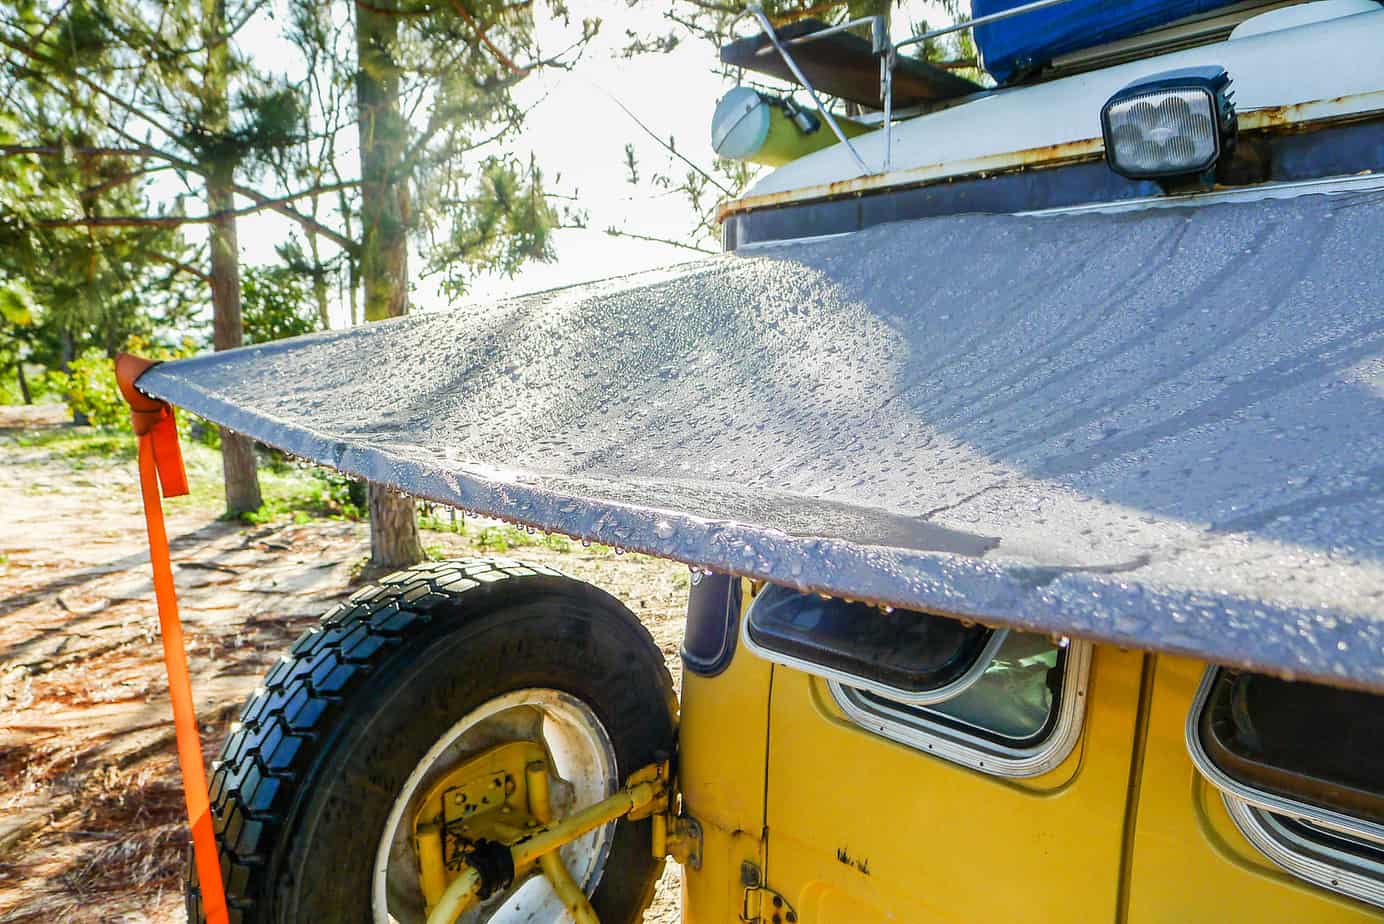
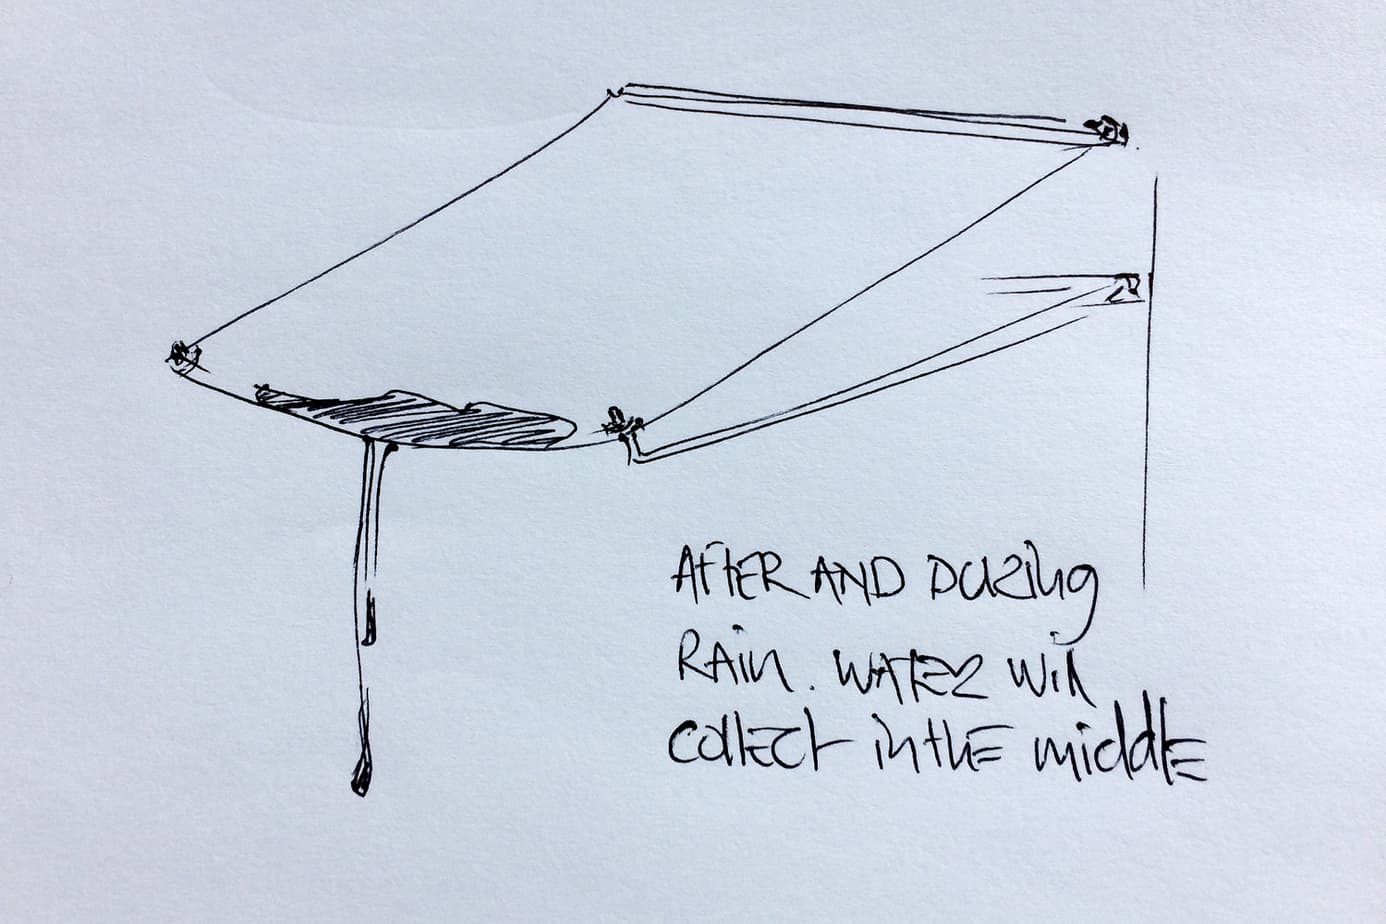

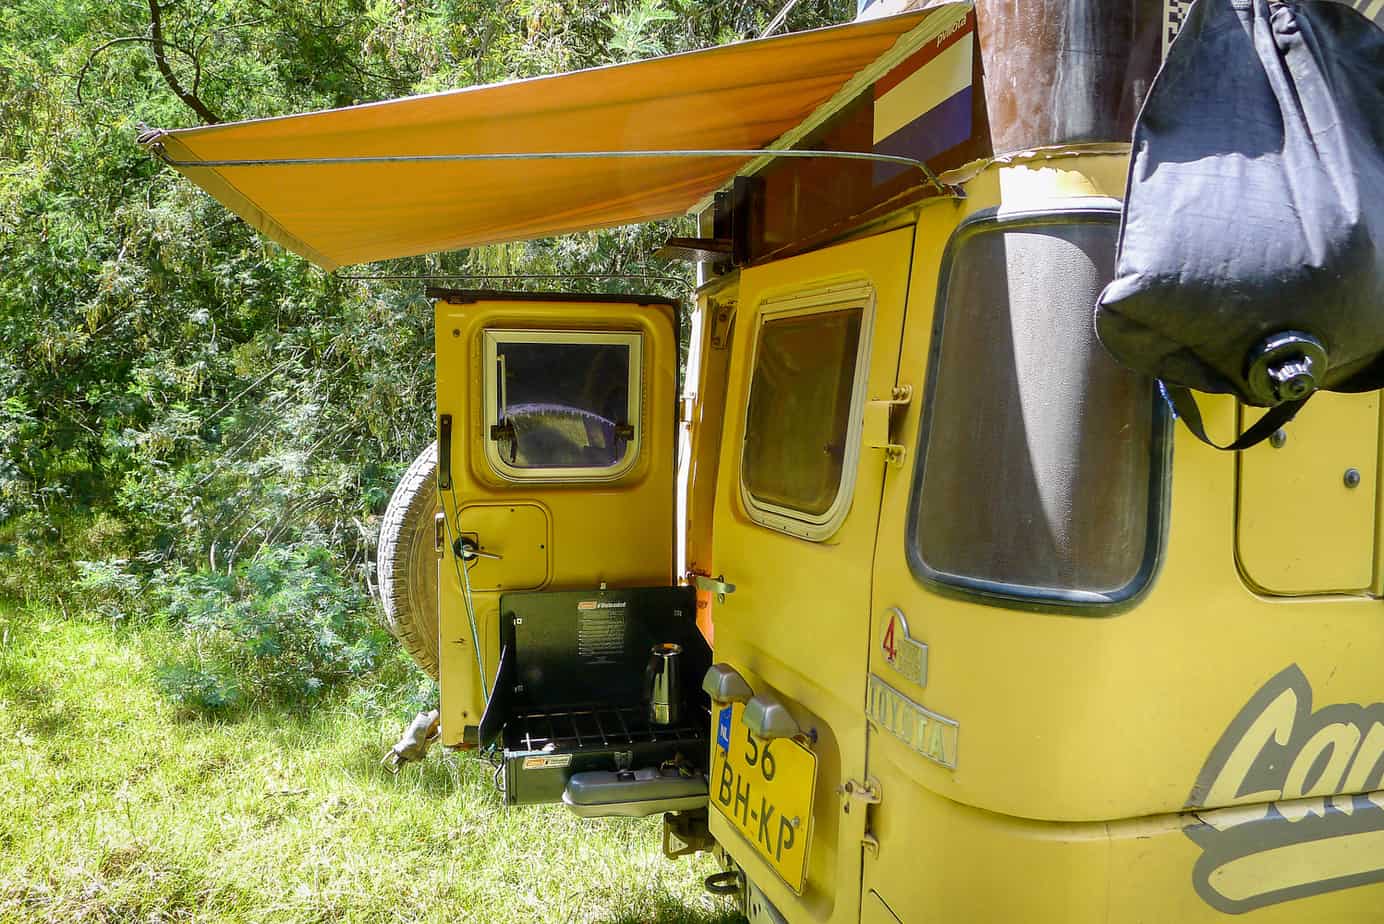
As to rain, if enough fell, it collected in the middle of the awning and ultimately spilled over, creating a puddle and a wet cook. Here, the flexibility of the stainless strip came in. By attaching a third guyline to both endpoints I forced the strip to arch and create a dome. Now the rain neatly runs off to the sides. And, as a bonus, the water no longer just spills over the sides of the awning but beautifully follows the guy lines that are holding the struts in place. Small as the awning is, the cook stays dry.
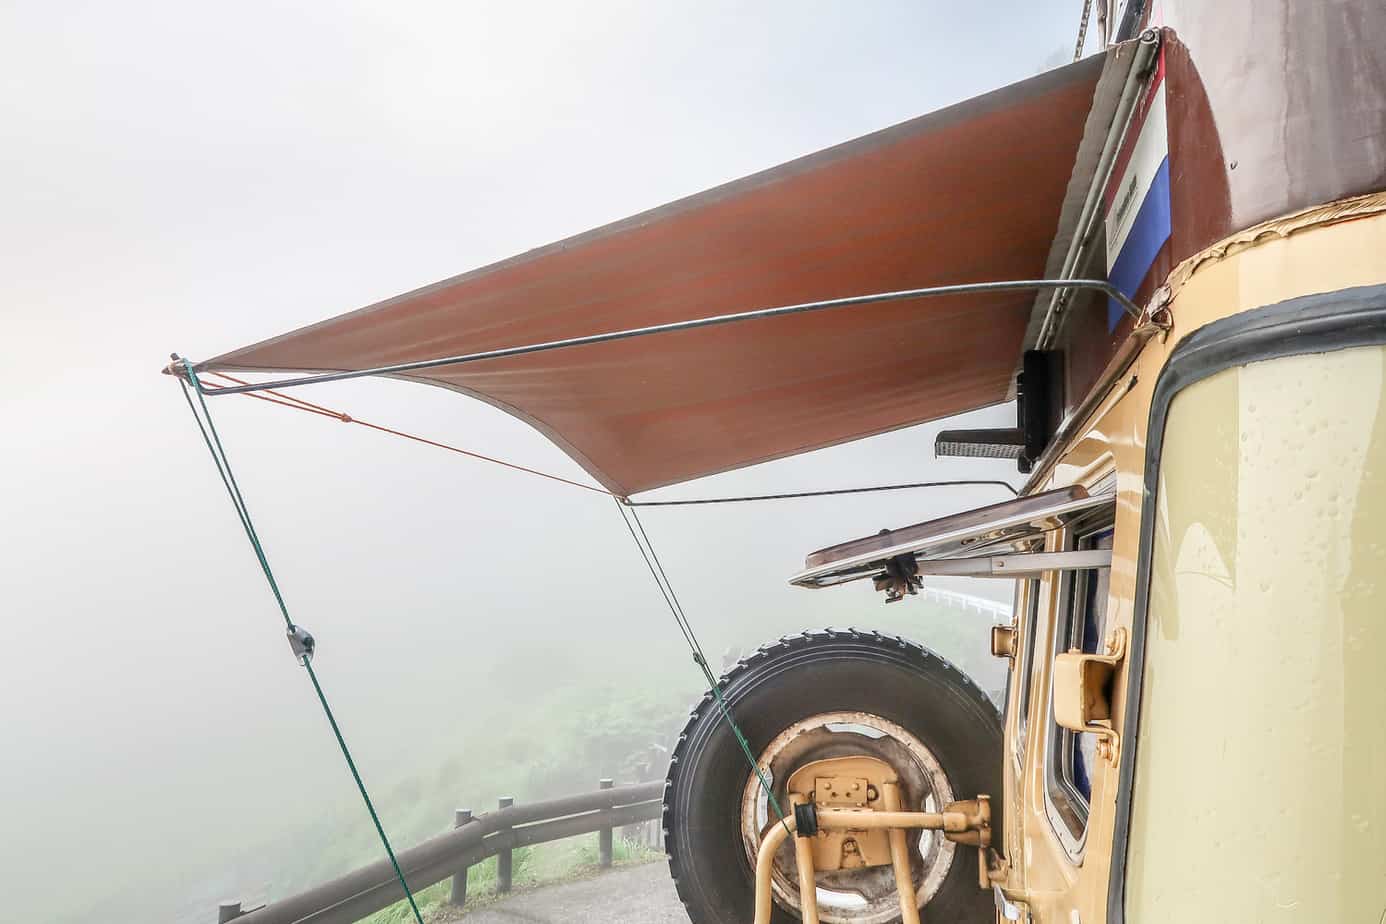

There you have it. With the ambulance doors open, this little awning protects us from the elements on three sides and the top. It serves as a nice extension and makes our outdoor kitchen experience near perfect, rain or shine.
To learn more about Landcruising Adventure or read more of their amazing stories, visit their website by clicking the banner below!
