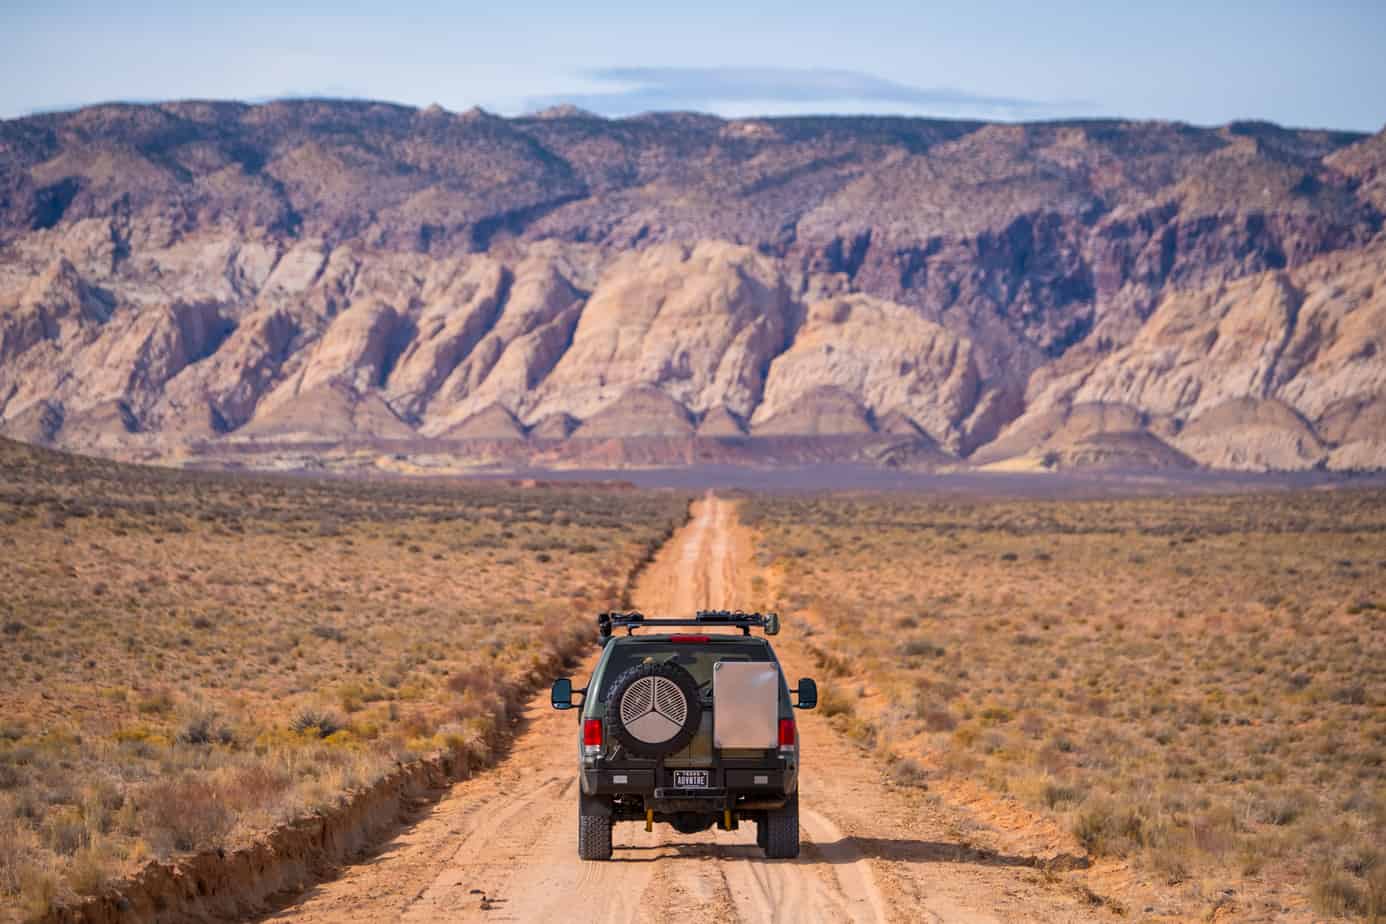
When Ford designed the Excursion, it’s clear that they had a few things in mind; durability, reliability, and versatility for example, but somehow I doubt overlanding made the list. Despite its solid axles, massive payload, abundant storage space, and diesel motor, this truck has a couple issues that can make four wheel drive touring difficult, and few are as frustrating as the lack of room for an oversized spare.
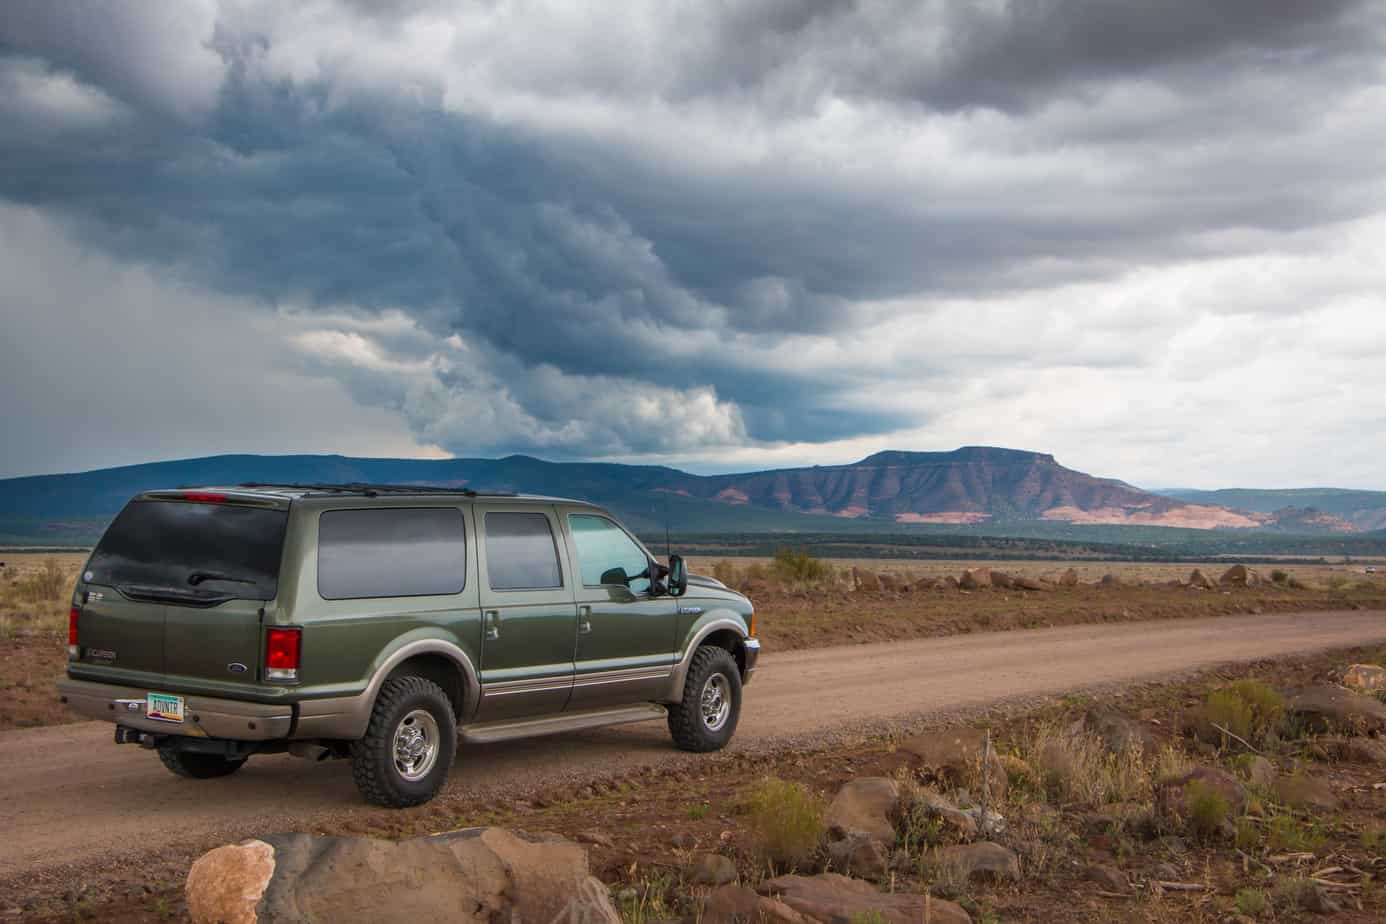
Unlike the F250 which carries the extra wheel beneath the bed, the Excursion has a 44-gallon fuel tank in that location, which forced Ford to put the spare tire in the cabin. That’s not a huge problem in itself, but anything larger than a 255/85 won’t fit easily, and most people with lifts want to run 35s at a minimum. So what’s the solution? Well, there are a few.
 1. Run the tire in the cargo area This is the cheapest option, but probably the most inconvenient. If the tire won’t fit in the stock spare location, seen above, then it takes up a massive amount of interior space, which eliminates most of your storage and makes it impossible to sleep in the vehicle. It would also represent a hazard in the event of an accident. That’s three strikes for me.
2. Roof rack mount This option assumes you already have a roof rack that can support a tire, but if you don’t, that’s an additional investment. The roof option is even less attractive than the interior spare in my opinion. First, it raises the vehicle’s center of gravity, destabilizing the truck and increasing the chance of a rollover. That is enough of a reason to skip this option on its own, but there are more. Having the tire on the roof is also loud, reduces fuel economy, is dangerous if not secured with proper mounts, and is extremely difficult to lift on and off the roof. That’s way too many strikes for me; this option is out.
3. Undersized or no spare If you’re traveling off-pavement, this is not an option.
4. Spare tire carrier A spare carrier is by far the best option for this truck. It puts the extra wheel outside the vehicle, doesn’t raise the center of gravity, and doesn’t increase wind resistance or take up storage space. There are some disadvantages though. They can make it more difficult to access the rear hatch, are often expensive, and can add weight.
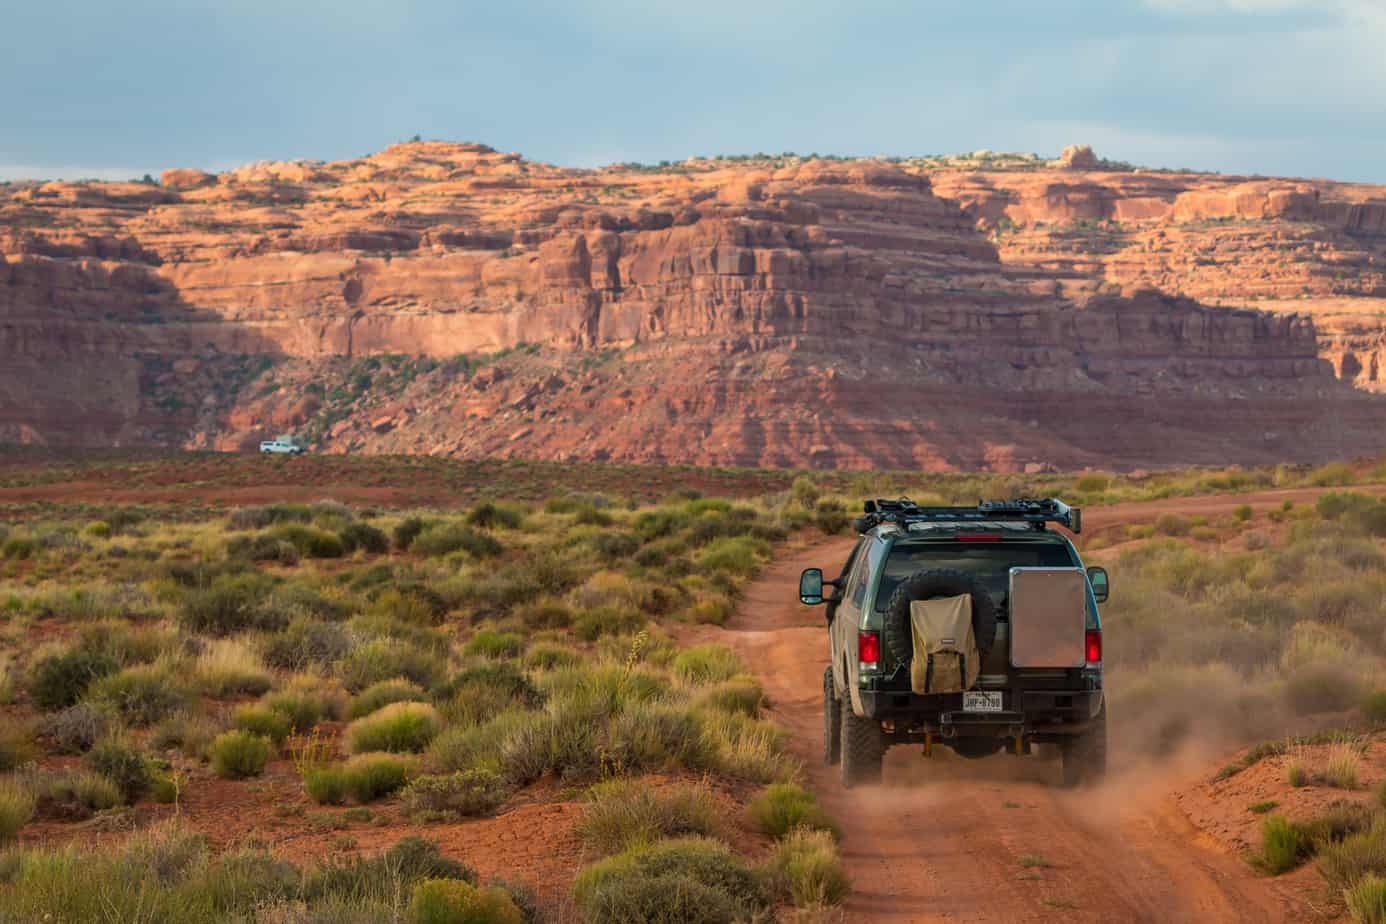 After considering these options carefully, it quickly became clear that the benefits of a tire carrier far outweighed the drawbacks. It would be our best bet by far; the only question was which one to buy. It needed to support hauling large trailers, and I needed to retain or improve my current departure angle, which eliminated the use of any hitch carriers. I also wanted something that looked attractive and came from an experienced manufacturer, which narrowed my options significantly. The final decision came down to materials: steel or aluminum? I loved the corrosion resistance of aluminum as well as the weight savings, but the Excursion is large and has a good chance of dragging its rear end on rocks. I knew if I wanted real impact protection in an accident or on the trail I would want steel, and that gave me my answer, Buckstop Truckware.
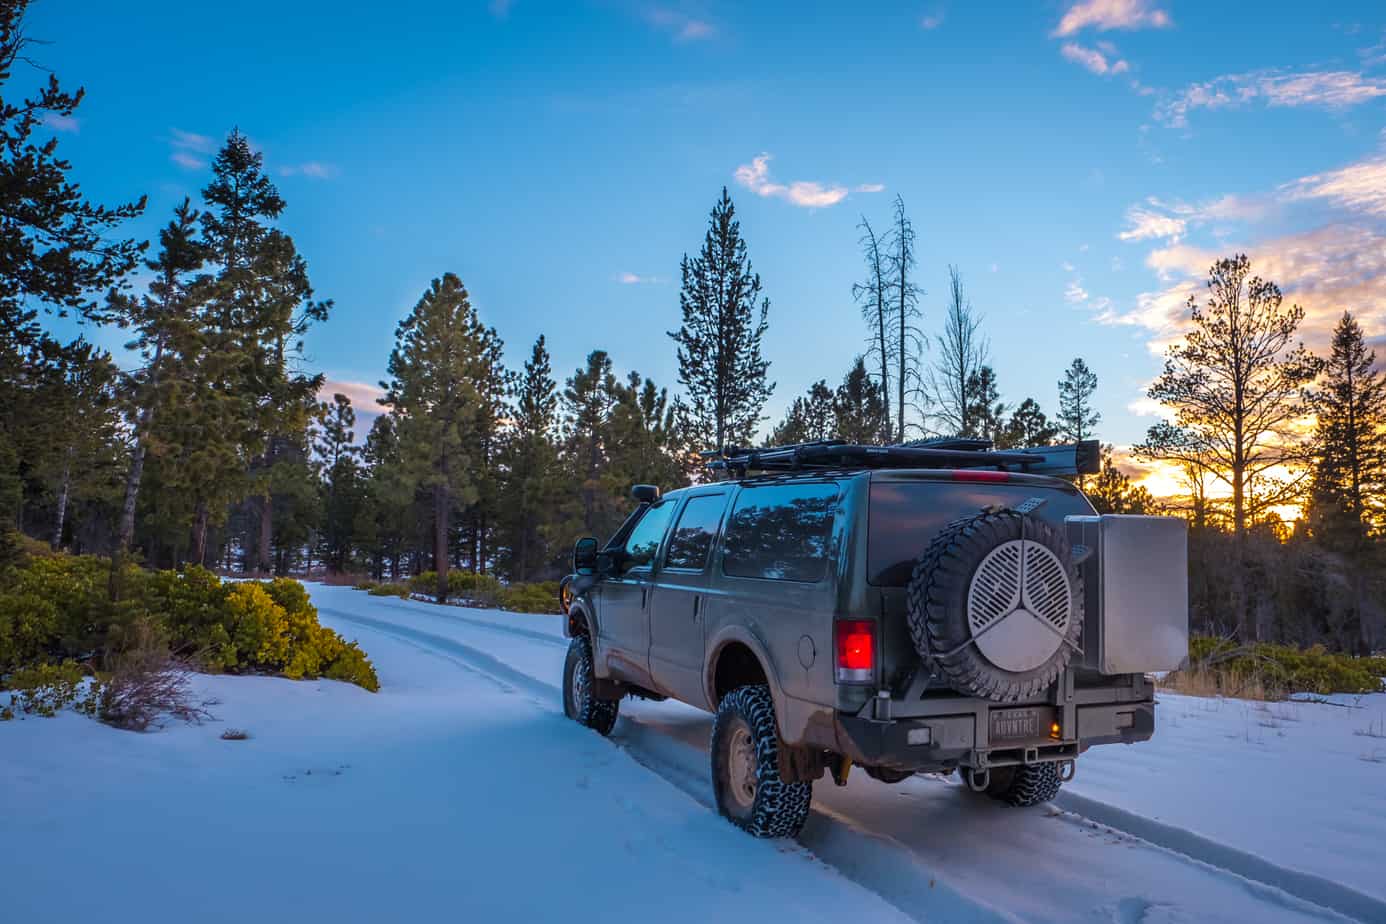
Buckstop has been making bumpers for over 20 years, and if you don’t recognize their name, you might recognize their clients. Folks like The Turtle Expedition, first responders, fire departments, police forces, wildfire crews, and the US military have been relying on these products for decades, and continue to do so today. If you need a ridiculously tough bumper with a proven track record, these are your guys.
First impressions
The purchase process starts online or over the phone with a Buckstop representative. Each bumper is made to order right here in the USA, so customers can choose the features and colors they want to match their needs. The downside to getting exactly what you want is that you’ll have to wait longer for it than ordering an off-the-shelf model from competitors, but it is well worth it.

We ordered ours with dual swing-outs, cutouts for two Grote reverse lights, backup sensors, mounts for a 120L Alubox, and of course, a spare tire.
After what felt like an eternity, a big box eventually arrived at our shop, and I do mean a big freaking box. It weighed more than I could move, and it was barely manageable with a friend. You’ll definitely need assistance unloading it. 

After unwrapping everything, I realized that this thing could do more than survive a bump or two on the trail. It looked downright bulletproof. The entire structure is made of heavy gauge steel, and the main supports are a 1/2-inch thick! It features an integrated hitch rated to 10,000 pounds, and reinforcement brackets that run along the bottom of the frame provide even more stability than the stock system. The integrated tow hooks seem more at home on a tank than a truck, and I wouldn’t be surprised if that’s where they got them.
Installation
The installation was the only frustrating part of this bumper. It did not come with instructions, and Buckstop doesn’t have any online or in their office to send. I guess they figure the process is self-explanatory, but I think most people would appreciate them.
The installation starts with unbolting the original bumper and hitch which drops a lot of weight. Good thing too, since your new bumper weighs even more. You’ll need to save the bolts, backup sensors, and trailer wiring, as they are reused for the install of the Buckstop.


Once you’ve removed the other bumper, you’ll need to rig up a jack or lift system to hold the Buckstop in place while you bolt it in. This is where things get tricky. Our bumper didn’t slide right on. In fact, it required some grinding and a lot of sweat to make it fit, so I was very thankful I had enlisted the help of PSP Diesel in Houston, Texas, for assistance. They got the bumper on without much trouble, but this level of difficulty still seemed odd for Buckstop. Thus far, I had only heard great things about their products and installation, but after a little communication it soon made sense.

Buckstop recently bought Reunel, the manufacturer who originally made the bumper I had just purchased. After seeing the original Reunel designs, Buckstop upgraded to thicker reinforcements and improved the overall quality of the product, but unfortunately, they didn’t have an Excursion to do a test fit on. My truck became the trial run, and unsurprisingly, it needed to be dialed in. After working with them on the design and providing additional feedback, they’ve made several variations to create a truly solid and easy to install design. These difficulties should now be a thing of the past.
Long-term performance
I’ve now been using the bumper for over a year in all kinds of conditions. It has been dragged in the dirt, rattled on corrugations, frozen solid with ice, and generally been used every day for 30,000 miles. So what have we learned? Quite a lot.
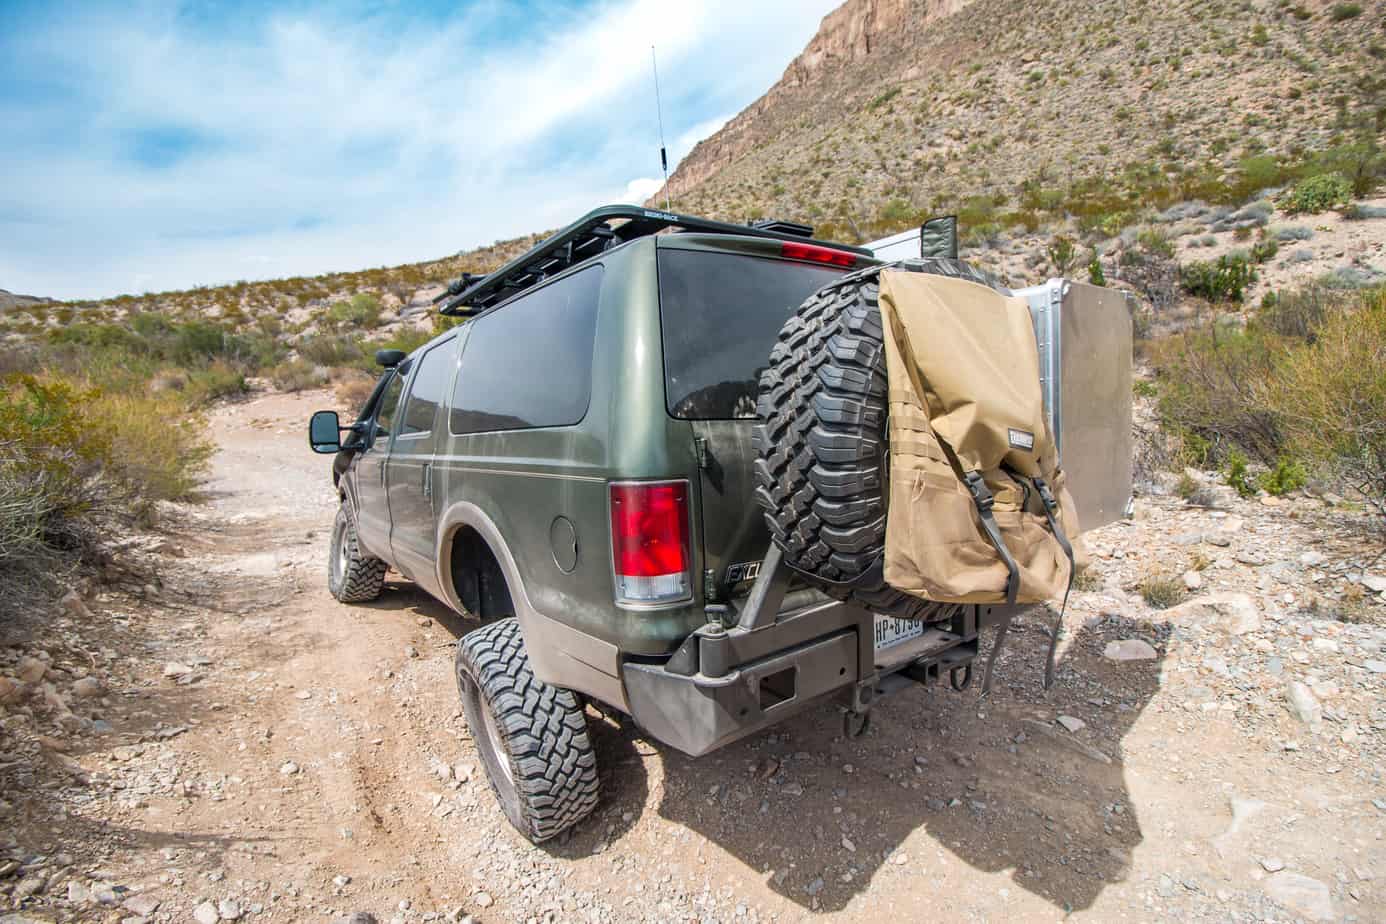
As expected, the Buckstop is an absolute tank of a bumper. It stands up to everything we throw at it and could probably take much more. The swing-outs are strong enough to be used as steps when accessing the roof rack, and I love the fact that they rest on the bumper itself when in the stored position as this will reduce wear on the spindles.
What I like less, however, is the design of the tire mount. It uses a hitch that bolts into the swing-out, allowing you to remove the tire and install other hitch-mounted accessories on the rack. That’s pretty cool, but the downside is that the hitch allows for more movement of the tire, which already has enough force to make the swing-out flex. I would say that eventually this would cause enough stress in the frame of the bumper to bend or crack something. It would be years down the line, but I will probably weld the hitch into place to avoid this problem.
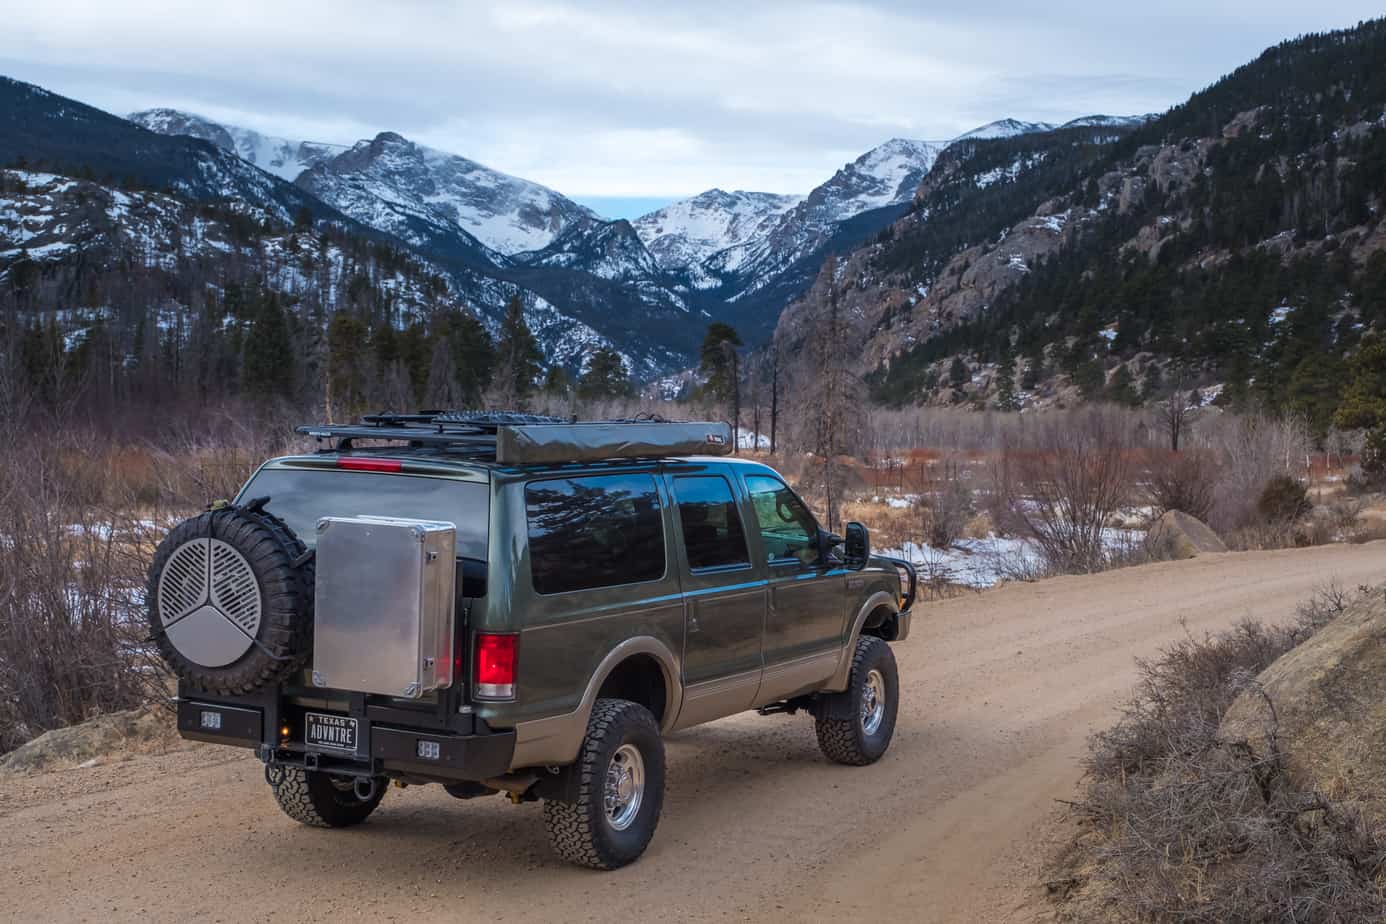
The interior of the bumper has plenty of mounting points and hidden nooks and crannies to run wiring for lights and other accessories, which has made subsequent installs tremendously easy.
After a rather unfortunate few weeks in the Northeast where the bumper was absolutely soaked in salt, water, and snow repeatedly, there is slight rust showing through on various bits of the swing-out arms, but not on the bumper itself. I can’t say that I’m surprised, but I had hoped for a slightly better seal. Even so, the bumper still looks great and hasn’t become difficult to open or close thanks to the greaseable fittings on each spindle.

The slam latches are cleverly hidden behind the swing-out structure, which gives the bumper a clean look and eliminates the need to reach around the tire to close the bumper. Just slam it shut. You do have to pull the tabs to open the bumper, however, and they can be a little testy. You sometimes need to push the swing-out in first, then pull the latch to open the bumper. It’s not extraordinarily hard, but if you lean against the tire you might get a bit dirty.

Overall, I’m very pleased with the Buckstop bumper. It has solved my spare tire issue, given me additional storage, and just looks fantastic on the truck. The Excursion may not have been designed to be an overland truck, but with the addition of this bumper, it has been able to become one.
To learn more about Buckstop, their applications, design process, or to order your own bumper, check out their website here.
