
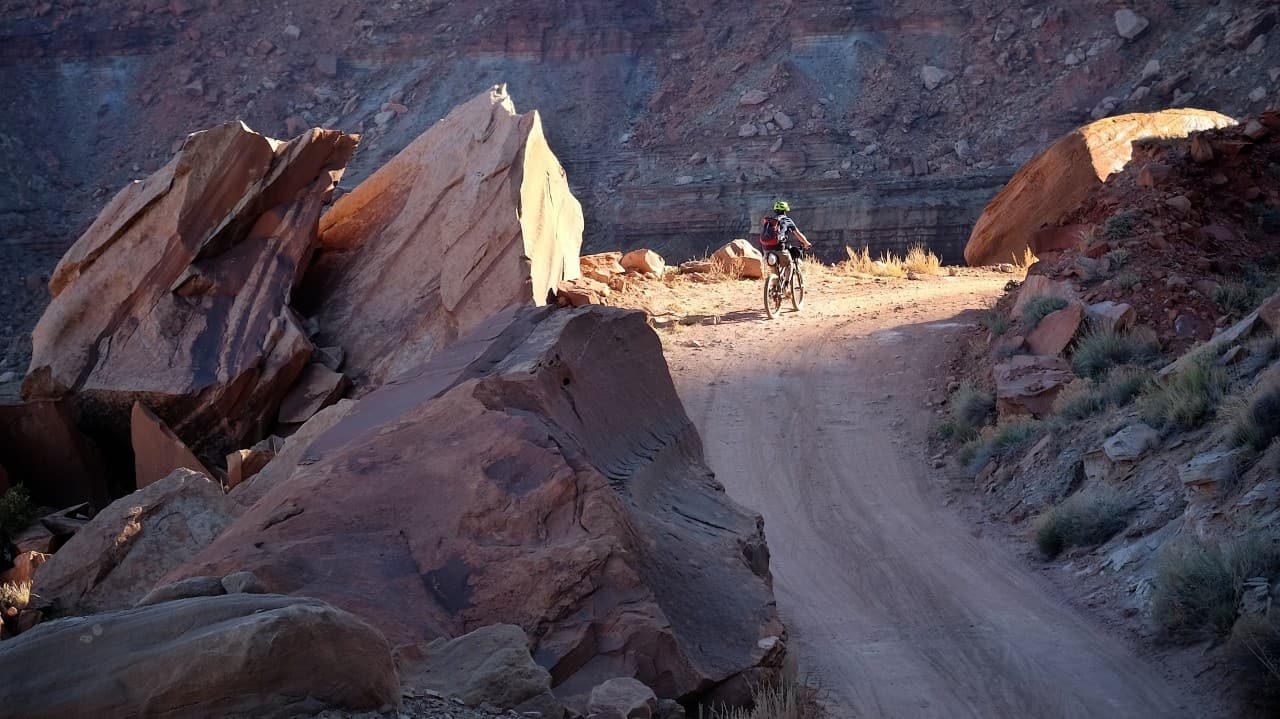
When bikepacking started to gain momentum roughly 10 years ago, concerns over bike reliability were not just overstated, they were wildly overblown. The reality is, most bikepacking trips clock in at well under 500 miles—if not fewer than 200. If your bike can’t survive a week of use without catastrophic failure, you need to rethink how you love and care for your machine.
The key to keeping your bike rolling while on a multi-day trip is sticking to a regular maintenance regimen and fully inspecting your bike prior to departure. For this exercise, I’ll assume your day-to-day bike maintenance is up to snuff, so let’s focus on what you should do to pre-flight your bike for an extended trip into the boonies.
 Tires and Wheels
If anything is going to foil your ride it’s going to be a flat tire or many of them. Minor punctures are no big deal and easily remedied, but severe casing cuts and tears can be a monumental bummer. If not prepared for significant trailside tire surgery, you could be looking at a very long walk back to the car.
- Tread condition: If you have a big trip planned, treat yourself to new tires. As a word of caution, ride them for at least a week prior to departure to make sure they seat well and there are no surprises. Inspect your tires inch by inch including the sidewalls before taking off, and try not to experiment with new tires. This is all about reducing variables and mitigating risks.
- Sealant: If you run tubeless tires, and why wouldn’t you, be sure to not just recharge your sealant, but add a little extra for good measure.
- Components: Carefully inspect your rims for cracks and your spokes for damage or severe tension imbalances. It takes but a minute, but could avert a walk-out disaster.

My favorite tools reside in a small box always at the ready. You don’t need much anymore. The tools listed here are sufficient to pull a drivetrain, reseat tires, check chain ware, clean dirty drive bits, and set shock pressures.
Brakes
Nothing burns through a set of brake pads like a fully loaded mountain bike barreling down a steep and technical trail for an hour straight. I always start demanding bikepacking trips with new brake pads, and like my tires, I use them for a week or two prior to ensure they burn in properly. I also recommend inspecting your brake lines for signs of damage or weakness. Even if you don’t see fluid leaks, carefully inspect every inch and fitting for looming problems.
If you use a bar-mounted bag, double check to ensure those attachment points are not putting stress on brake and cable housings. Most brake failures are the result of ham-fisted bag lashing.

These are tools every rider should own. If your cassette gets really dirty, the best way to clean it is to pull it from the wheel and give it a good soak.
 Drivetrain
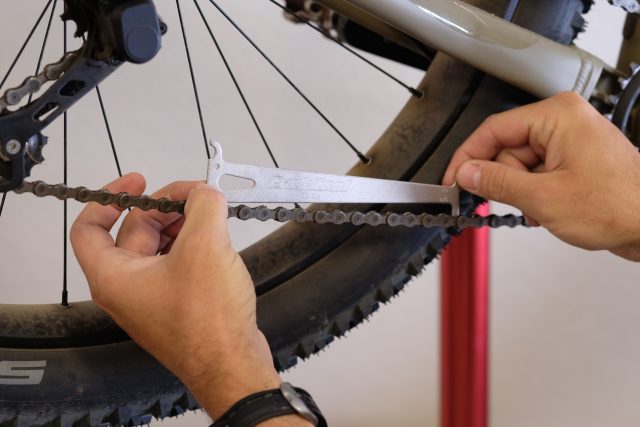
Some of the more catastrophic failures involve damage to your drivetrain. Broken chains are not uncommon, nor hard to fix in the bush. When I worked as a bike mechanic it was staggering to see how many worn-out chains and cassettes I’d see in a week. Chains need to be replaced somewhat often if you’re an avid rider. Fail to do so and the cassette will also suffer an untimely death. Know how to properly measure chain life and identify the time to replace it. The same goes for inspecting your cassette. Look for damaged or worn cog teeth.

Considering how tight some tire beads are these days, strong tire levers are a must. I use Park Tool steel levers and the VC-1 valve core remover to simplify my tubeless tire setup.
Avoiding the derailleur-eating rear wheel
This is the most common major mechanical woe in cycling, and it will not only end your bikepacking trip full stop, it can cost hundreds of dollars to remedy. Even more tragic, it’s extremely easy to avoid. So how does it happen?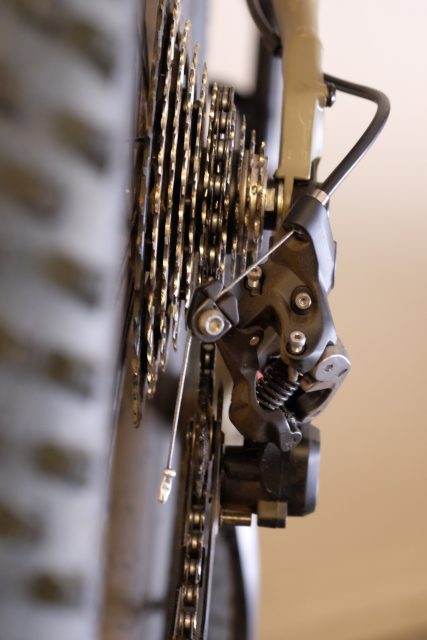
The most delicate piece of metal on your bike is likely your derailleur hanger. Should your bike fall on the drive side, or your derailleur get even lightly bumped, the hanger can bend inward. This allows the derailleur to shift outside of its preset limits, particularly over the large cog and into the wheel. Many riders don’t know they have a bent hanger, start struggling up a steep hill with their legs and lugs searing, then shift into their lowest gear. The bent hanger allows the derailleur to drop into the wheel and all hell breaks loose, often trashing the derailleur, chain, and wheel, in less than a full rotation. All because the rider didn’t inspect their hanger, or know how to align it once it was bent.
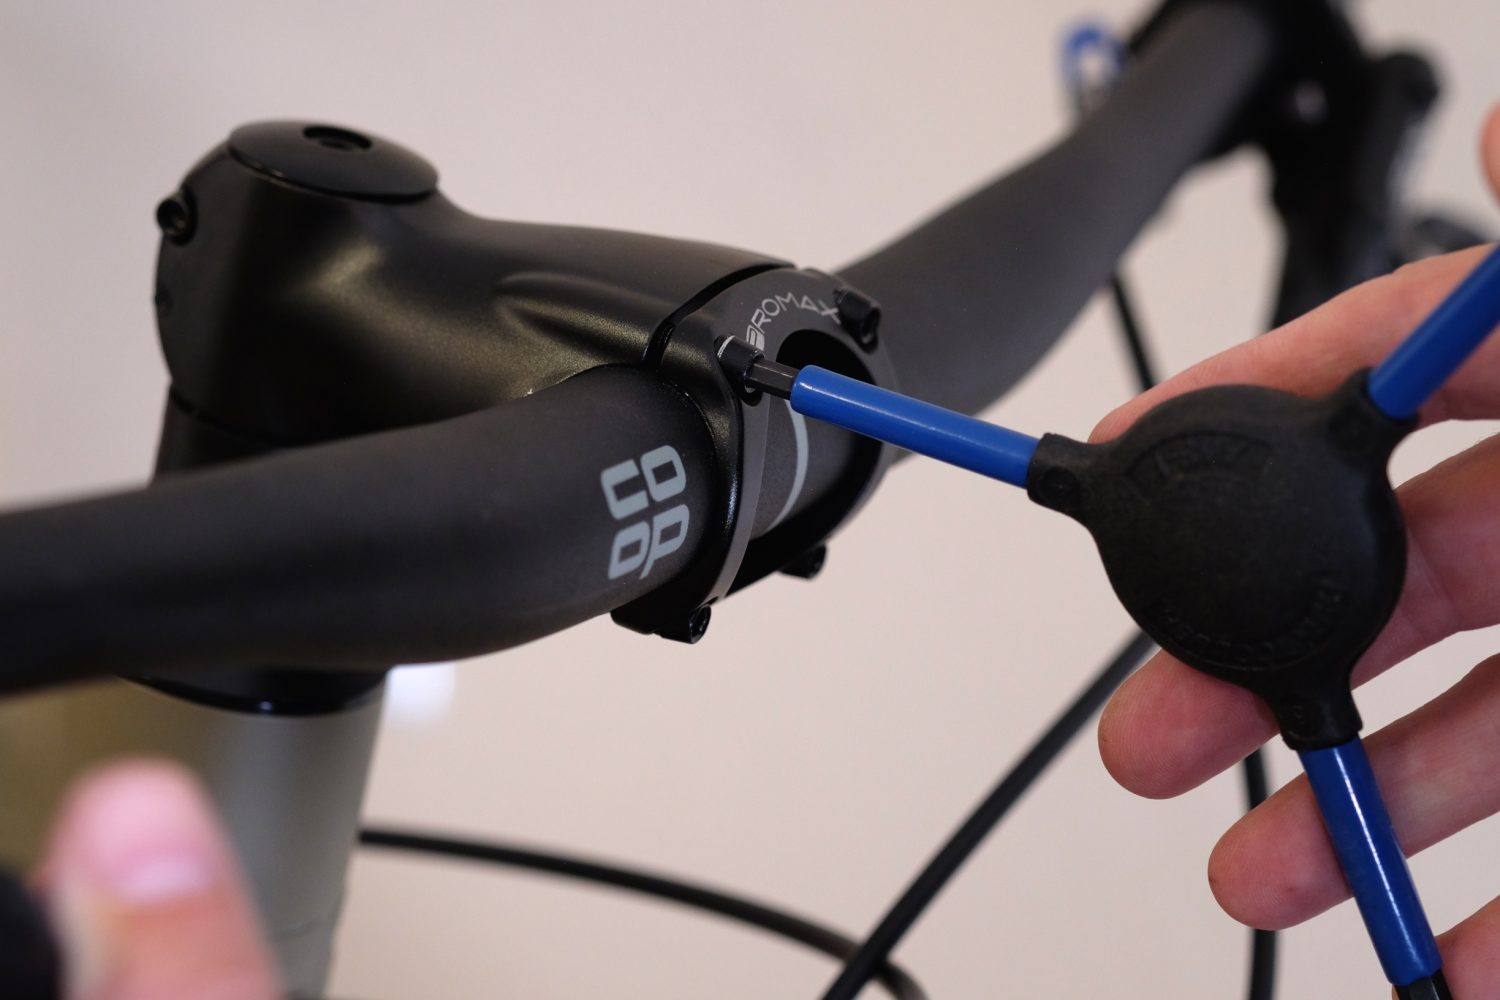
Bolt check
I used to pooh-pooh torque wrenches and assumed I was a bolt tensioning savant. I’m now a torque wrench disciple. If you simply plop a wrench on every bolt to check tension, you run the risk of inadvertently increasing tension every time you do so.
Cables and housings
Even a $10,000 bike uses $5 cables. While the cables themselves seldom show signs of weakness, the housings may. Most housing blowouts occur at the ends where they are put to flex-induced stress. This includes the interface at the shifters, forward part of the frame, and sometimes at the rear derailleur junction. If you want to do your bike an additional solid, lube your shift cables with a light grease.
Start clean
If you don’t clean your bike regularly, you should. A clean bike is a happy bike. I use a Rinse Kit to hose down my bike after most rides, particularly those prone to gather dust on delicate and scratch-prone suspension parts. Make it a habit as it comes with the added benefit of forcing you to inspect your bike with more regularity.
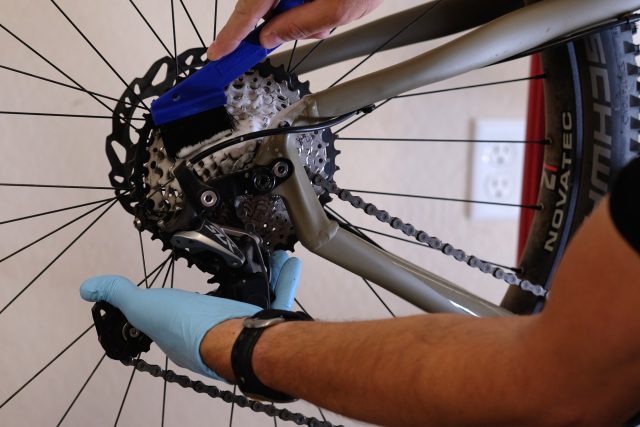
Drivetrain cleaning
Your drivetrain is not only expensive to replace, it’s the portion of your bike most likely to fail and leave you on a long walk home. Take care of it. I’m of the opinion you need to clean your drivetrain often to get maximum life and performance out of it. The best way to clean it is to pluck it from your bike, soak it, scrub it, then reinstall it, but it can be done on the bike with a few basic tools. My preferred method is to use Simple Green foaming bike cleaner, White Lightning degreaser, and a basic dishwashing brush. To really give the chain a good scrub I use a Park Tool chain cleaner. It’s a bit messy, but worth doing.

My preferred magic solutions. For wet weather, I like a variety of different lubes. For dusty desert conditions I like to use Squirt wax-based lubricants.
I like to pre-rinse everything to get to the gunk that really sticks to metal. If you use wax-based lubricants, the buildup that occurs can be persistent and even resist some degreasers. That buildup will likely need to be forcefully removed with a brush. Before I attach my chain cleaner, I often hit the drivetrain with a little White Lightning degreaser, particularly to get into the intricate parts, and maybe with a second hit of foaming Simple Green to loosen things up even more. Never leave any of these solvents on your drivetrain for more than a minute or two as they can discolor some alloys.

Park Too chain cleaners have been around for ages. Although they’re a bit messy, they do a great job of quickly de-gunking a dirty chain.

(Above) I’m a big fan of White Lightning degreaser. It allows me to apply it with precision to hit areas prone to get clogged with dried and dirty lubricants like upper and lower derailleur pulleys. (Below) I like to use Simple Green Foaming Bike Cleaner for cassettes. I never go more than a few rides between lubes which always include checking my chain for stretch with a Park Tool Co. Chain Checker.
Death by chain lube
The most frequent bike maintenance gaff I see, and it’s been around for decades, is the tendency to over-lubricate the chain. Chain maintenance is about cleaning and lubing. In fact, more time should be spent cleaning than lubing or the buildup of dirt and lube will become excessive and damaging. Whatever you decide to use for lube, read the instructions and resist the urge to apply more lube than necessary. And for the love of Pete, don’t lube your cassette, just the chain. Make sure you’re lubricating the rollers within the chain, not just the outer plates. With your lube applied, ensure there is no excess by wiping it down repeatedly.

Pre-ride
Odd as it sounds, many mechanicals on the trail pop up after a thorough cleaning or rebuild of a bike. For that reason, I always perform my pre-trip maintenance several days before a big trip to give me time to ride my bike on local trails to ensure everything is working perfectly.
The wrap-up
Over the span of a decade of bikepacking I can happily say I’ve had very few serious mechanicals to overcome. I attribute that to good luck and a tendency to care for my bikes better than most. Bicycle technology has evolved such that your bike should ride like it’s brand new on every ride. If it doesn’t, something needs to be addressed quickly. – CN
The how-to
If you need a quick reference for how to fix your bike or what maintenance tasks should be performed regularly, I recommend a stop by the Park Tool website. Click on the banner below to access their informative repair pages.
