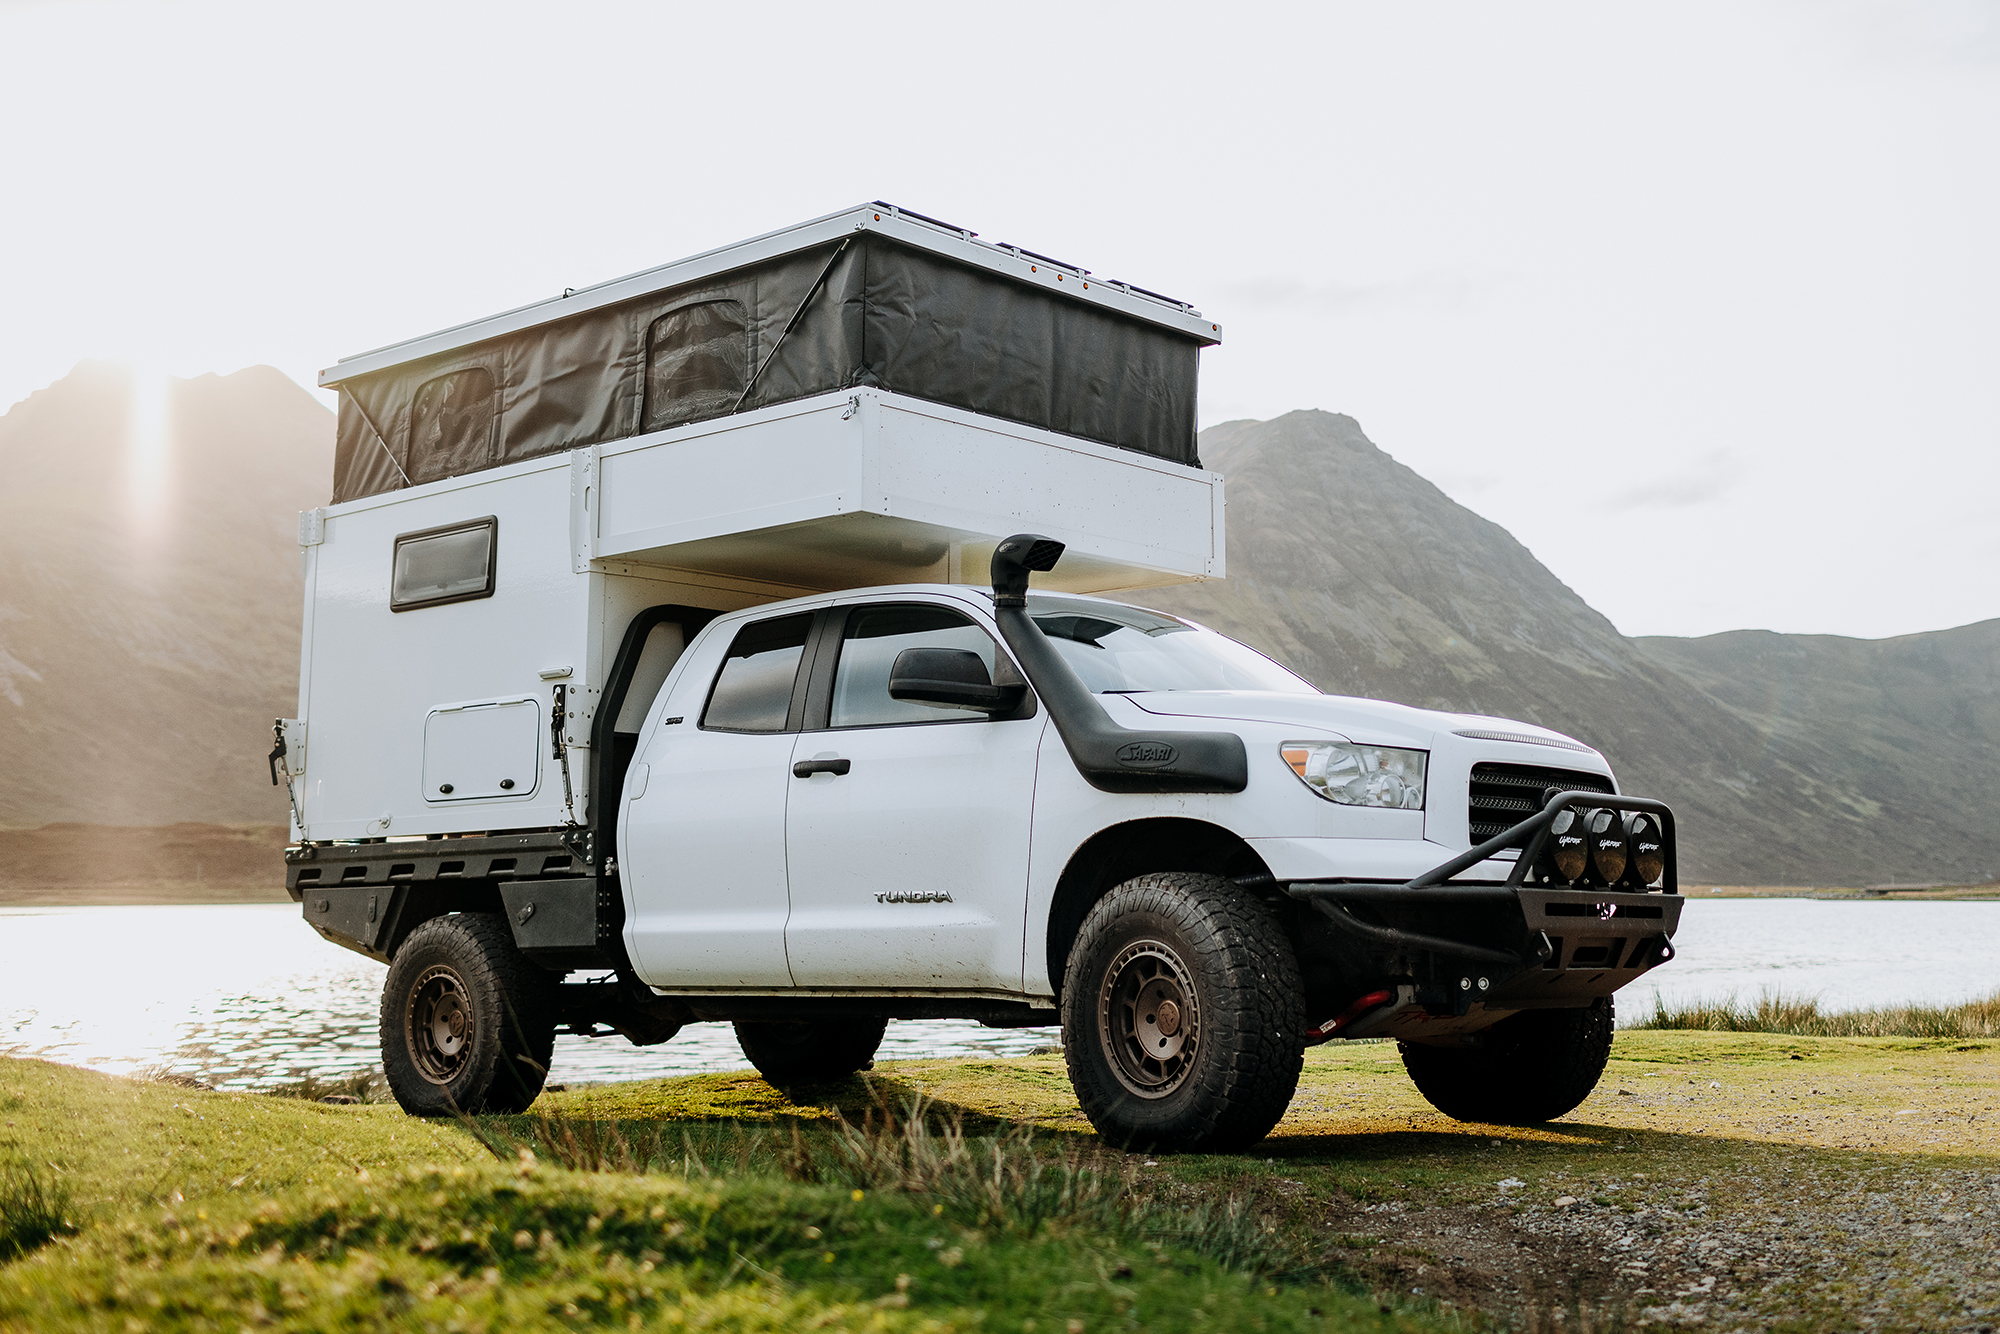
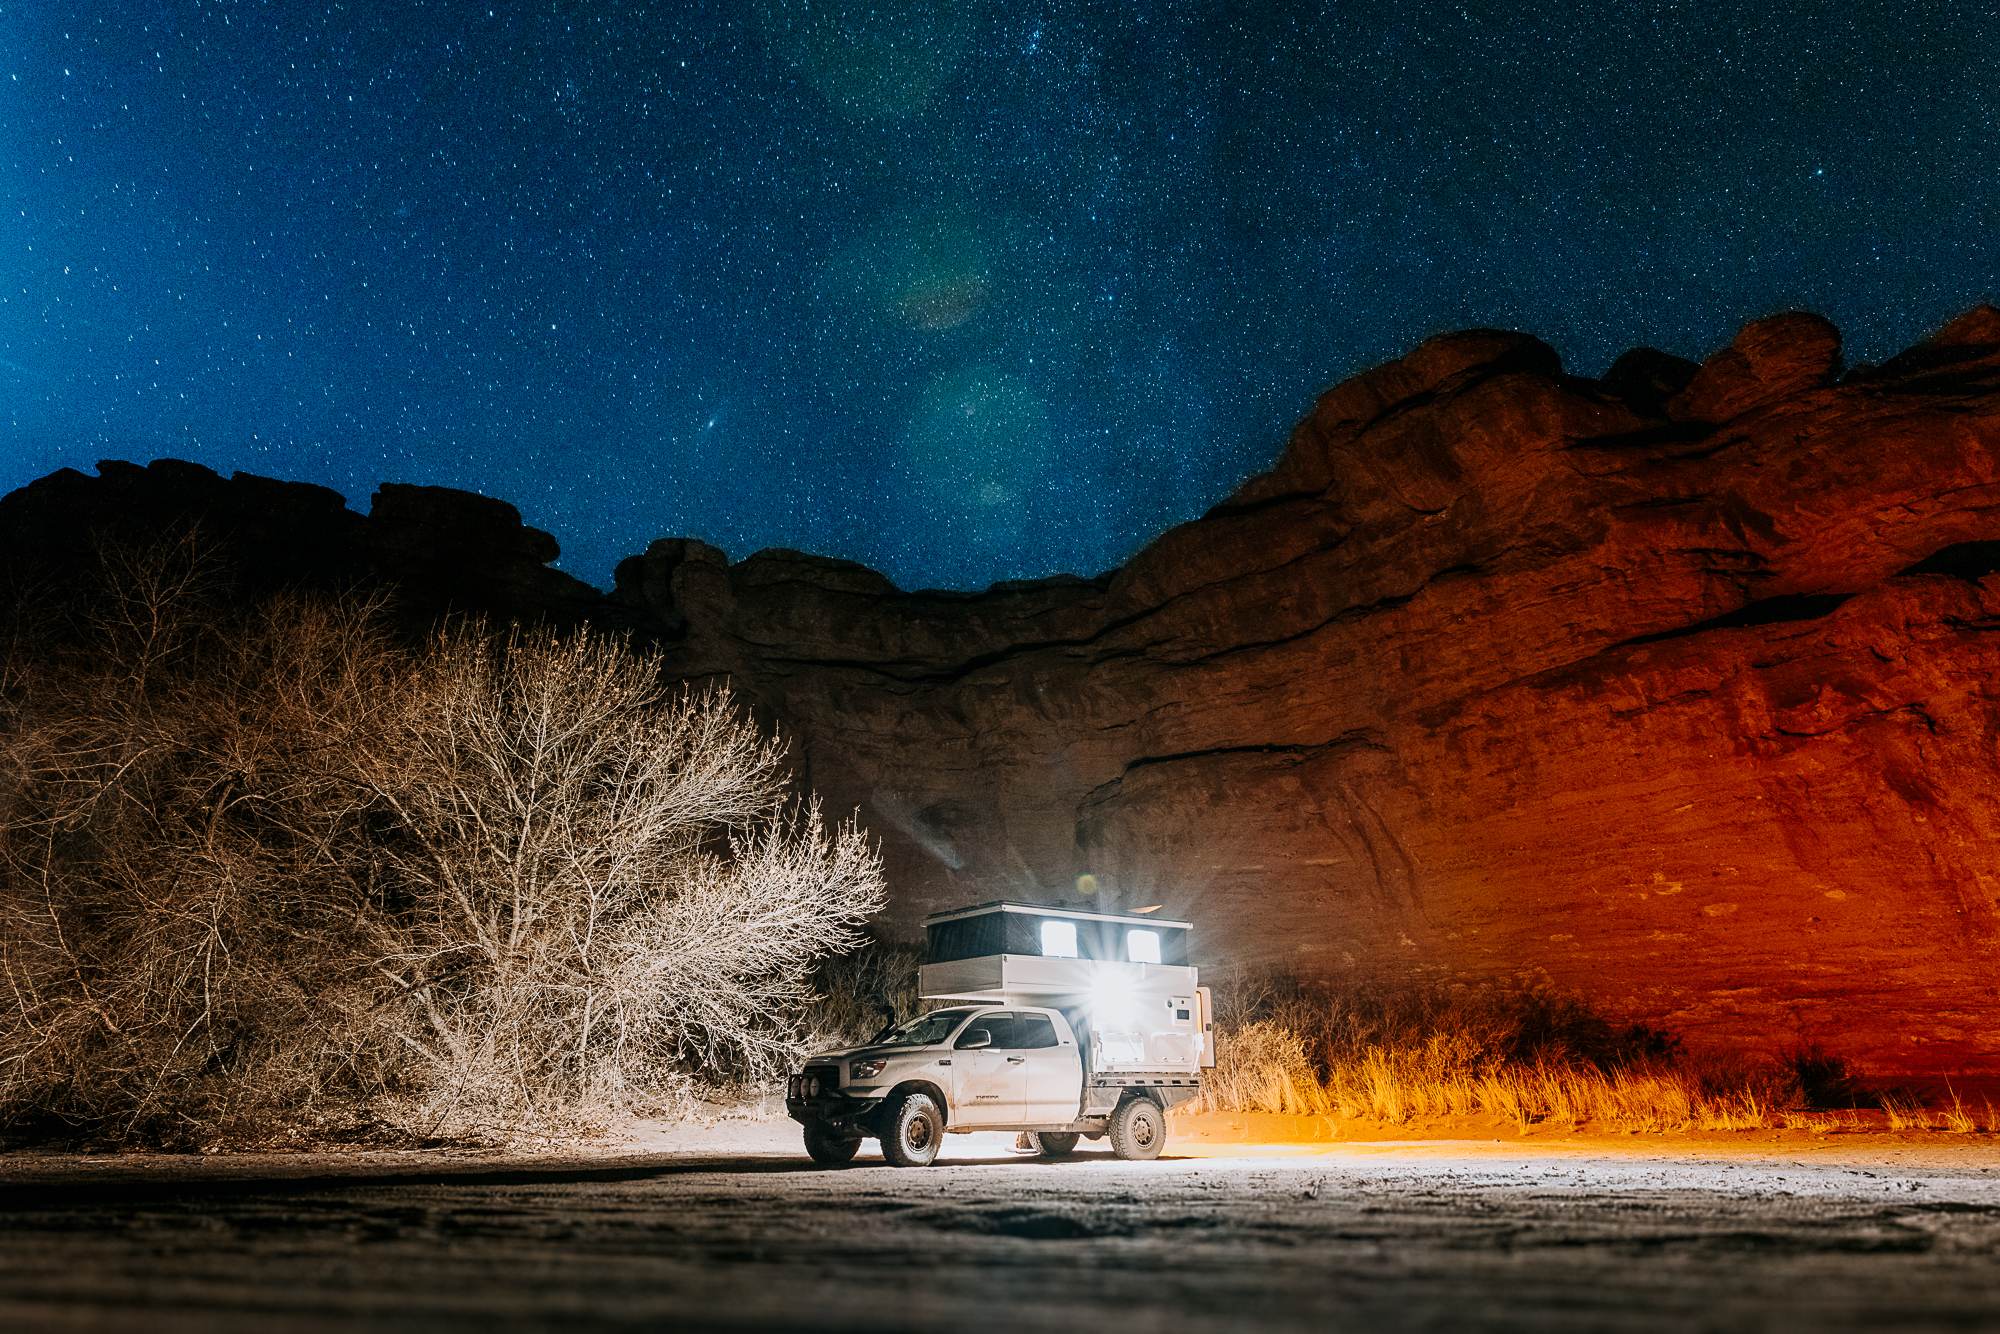
The Overland Explorer Vehicles Alpine camper comes well-equipped for comfortable off-grid camping, but for our purposes, not entirely ready for full-time life on the road with the flatbed model. Sure, there are factory options available that would provide a turnkey camper, but we chose to order ours as simple (and lightweight) as possible with no options whatsoever (including deleting the normally standard Thetford cassette toilet). This gave us the opportunity to gain as much living space as possible and select components based on our specific wants and needs.
Fridge
A fridge is the first modification we make to any vehicle we travel in. Since the Overland Explorer Vehicles (OEV) Alpine camper doesn’t come standard with one, we had to make a choice about type, size, and where to install it. We had good success with a 35-liter top-opening fridge when traveling full time in our 1990 Toyota Pickup, but found ourselves yearning for a little more volume at times. For this build, we decided the Dometic CFX3 55IM would be a good option. Not too big externally and not too small inside.
The “IM” in 55IM stands for ice maker. The rapid freeze plate and included ice cube trays have ice cubes ready in a matter of hours, just in time for our next happy hour on the beach or in the middle of the desert.
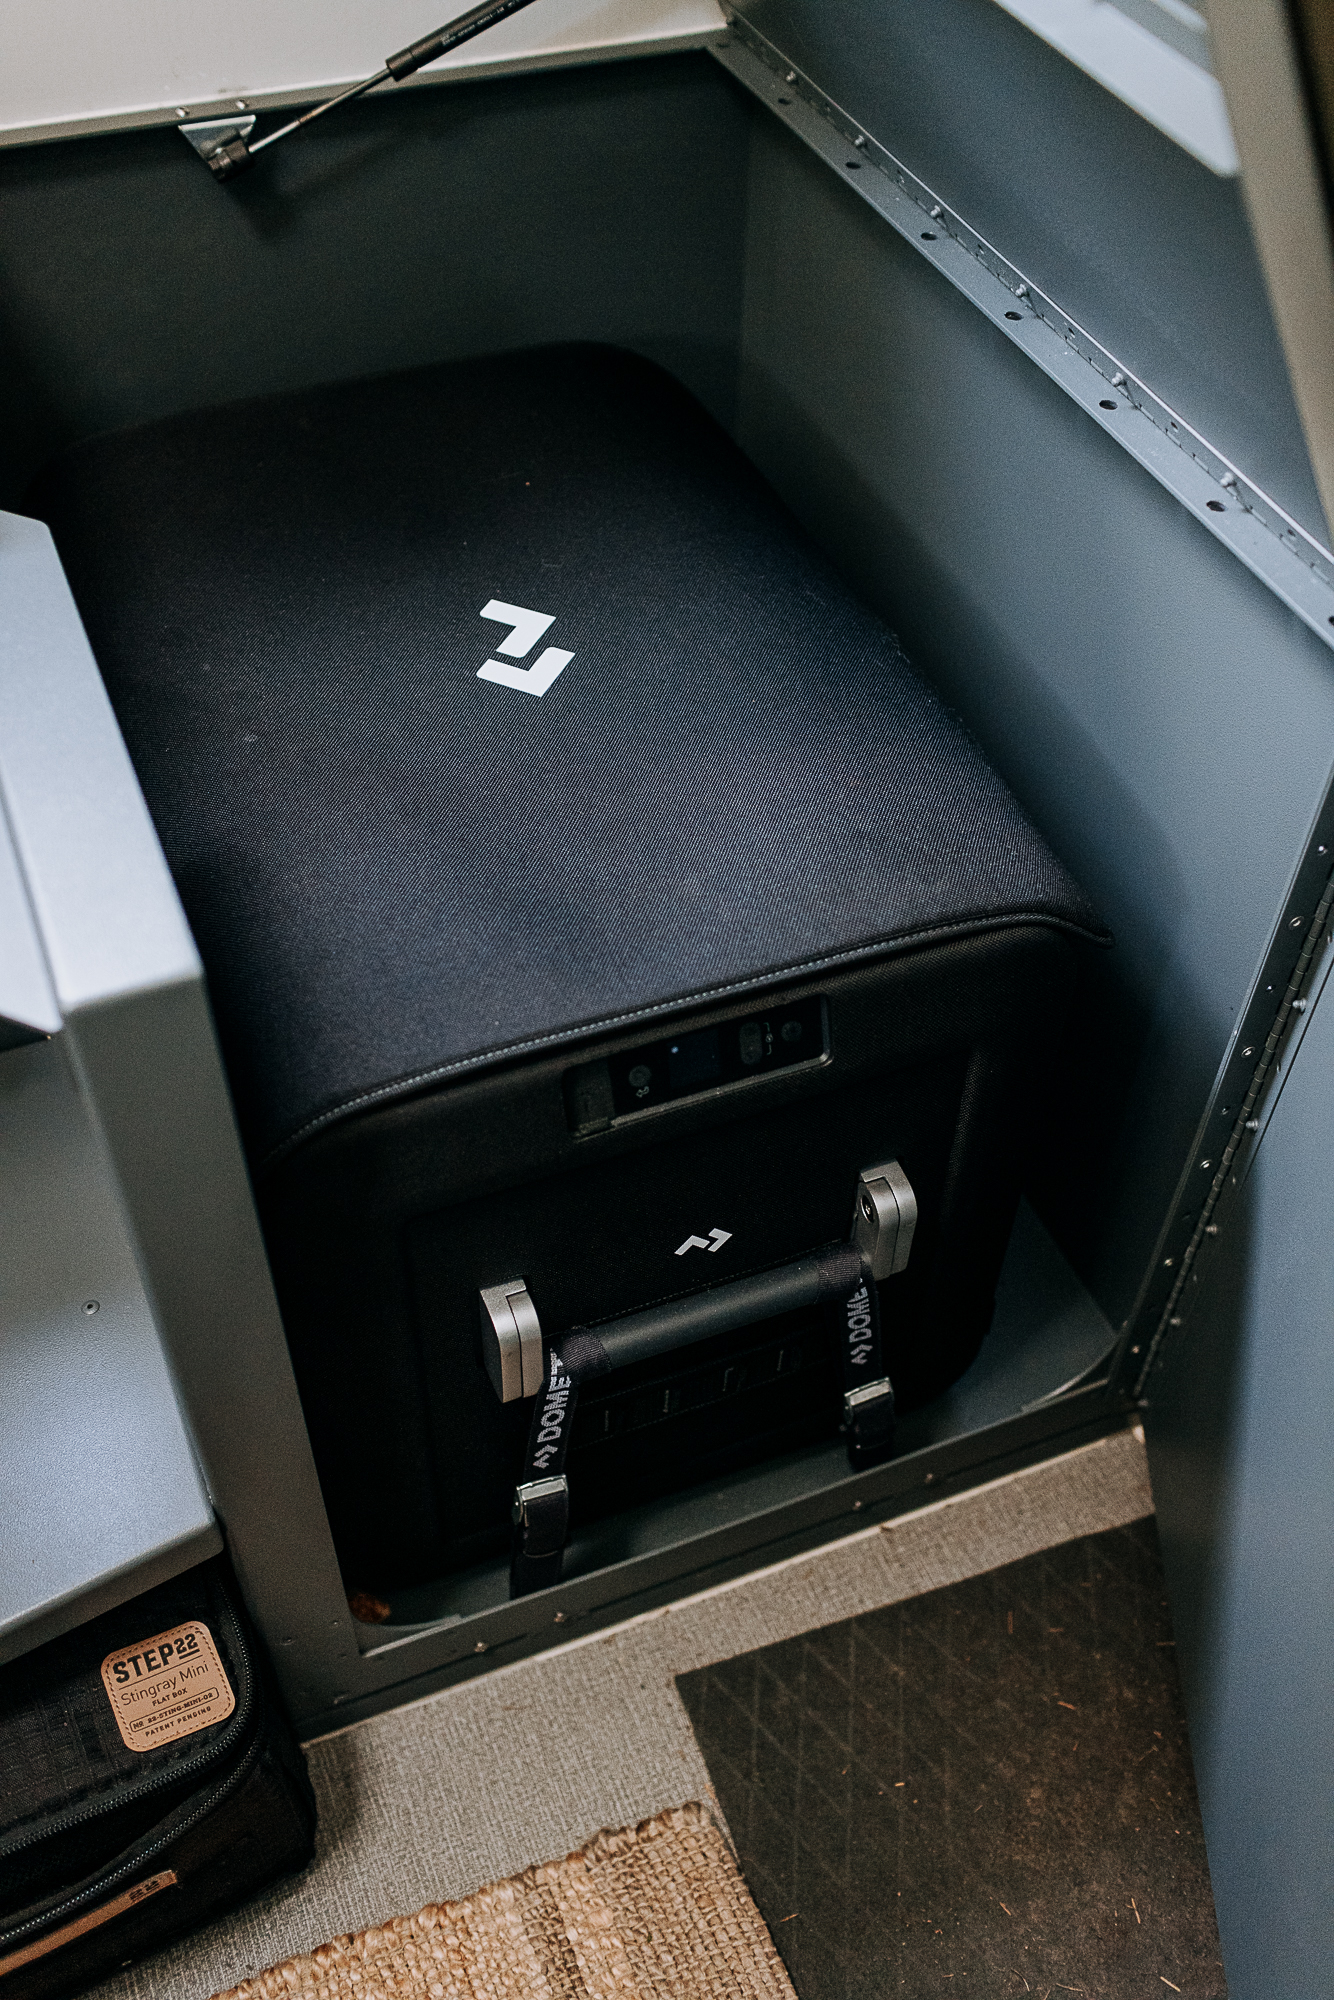
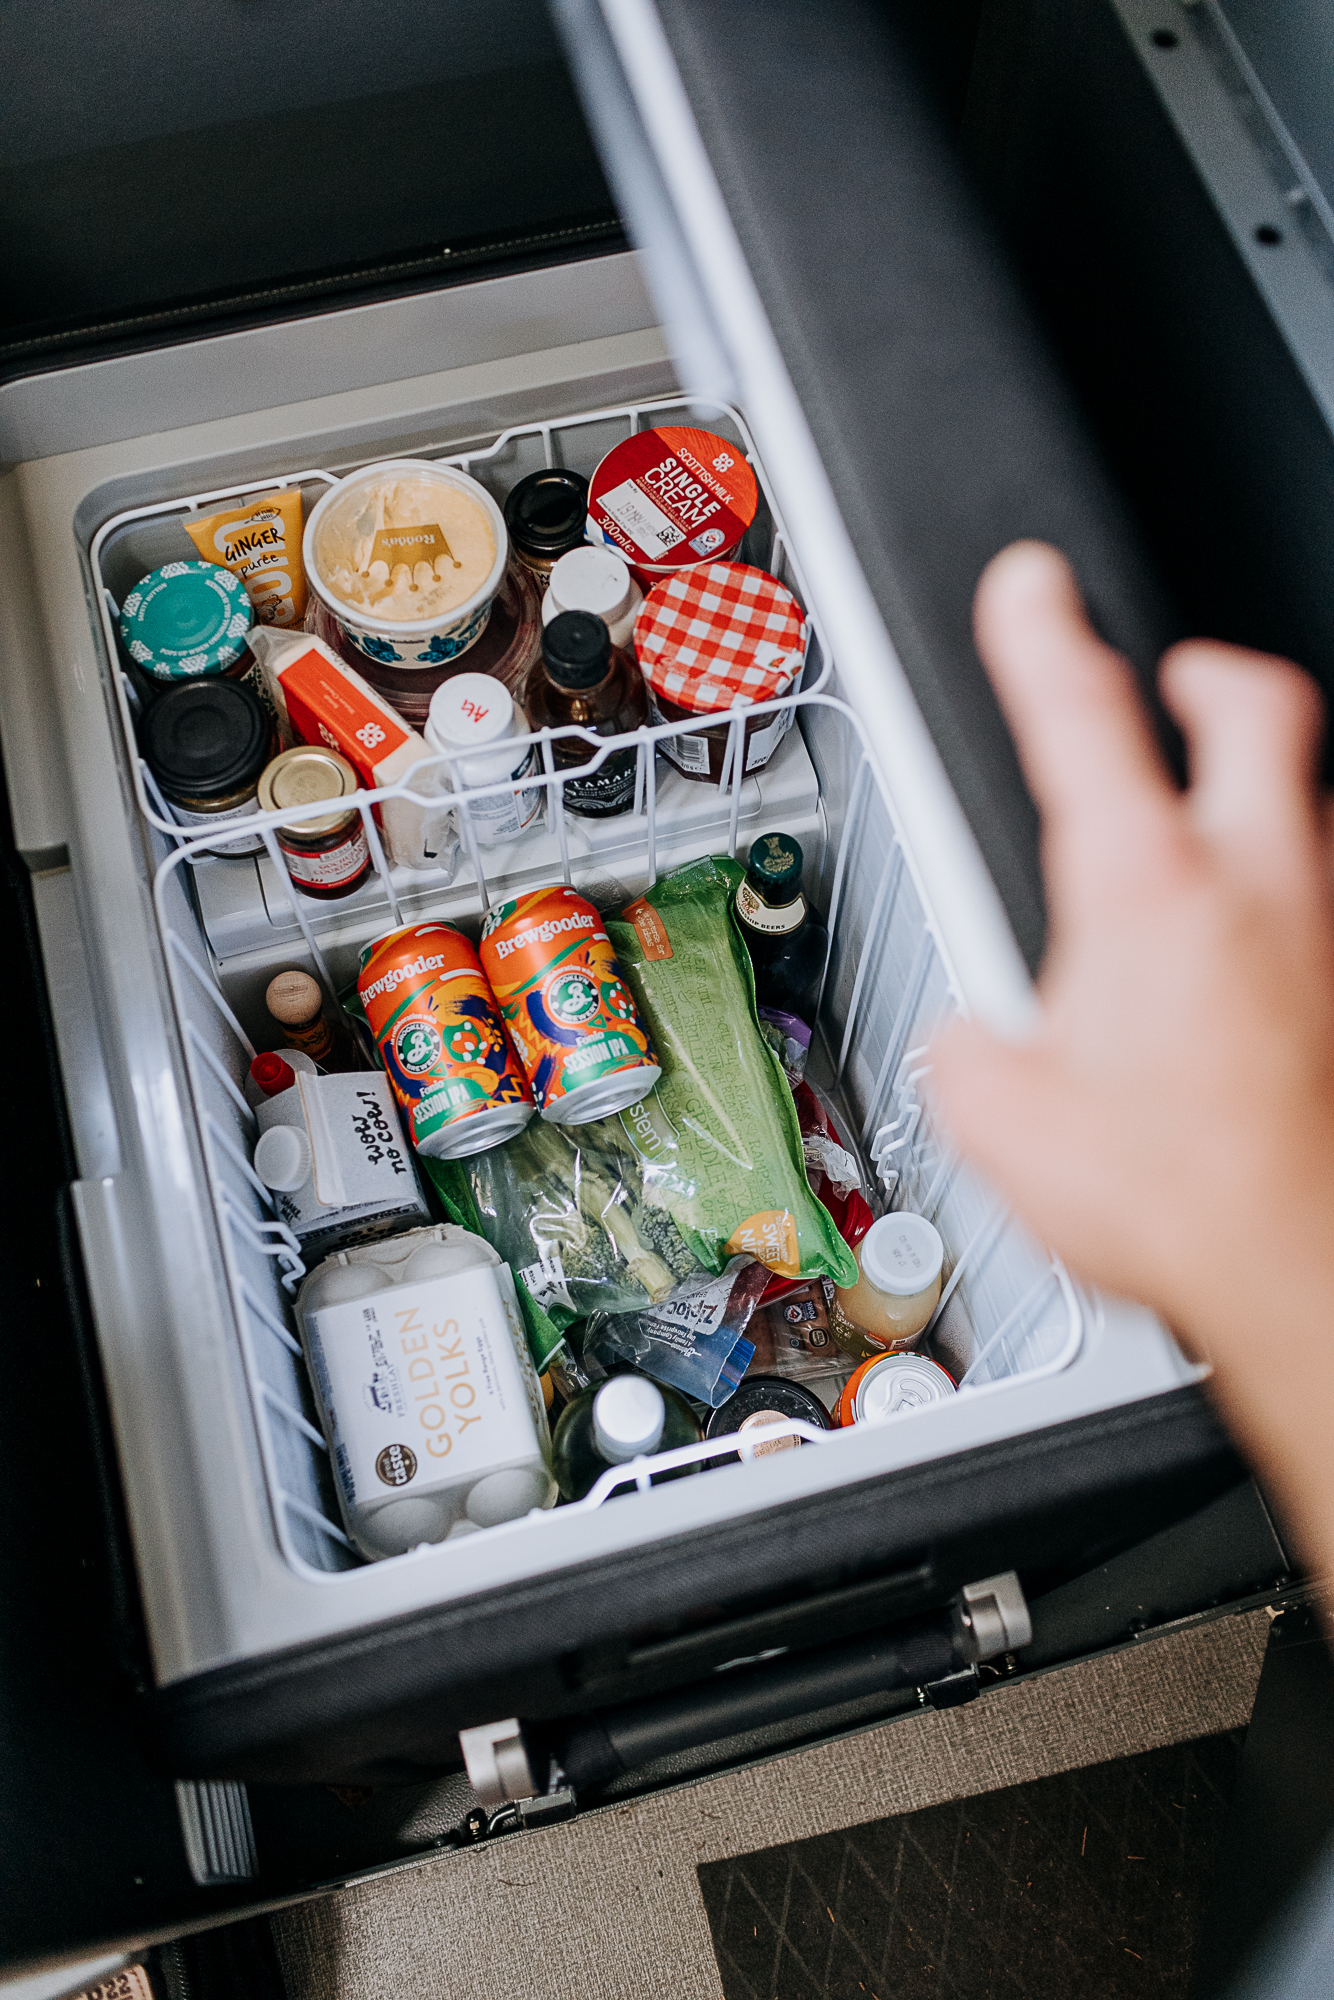
Since we eliminated the toilet (and don’t expect to use the shower in the short term), we installed the fridge in the wet bath location. Although the fridge is slightly more difficult to access in this location, it leaves our large wrap-around dinette free and clear for guests and easy access to the queen-size bed.
Inverter
Inverters are used to convert DC power to AC, allowing the use of normal household electrical loads such as computer chargers, camera chargers, and induction cooktops. It’s almost always more efficient to use 12-volt power or USB chargers, but for much of the camera and computer equipment we have, there aren’t USB charging options. The Samlex America NTX-2000 inverter is more than large enough for normal loads, but we sized it for an induction cooktop.
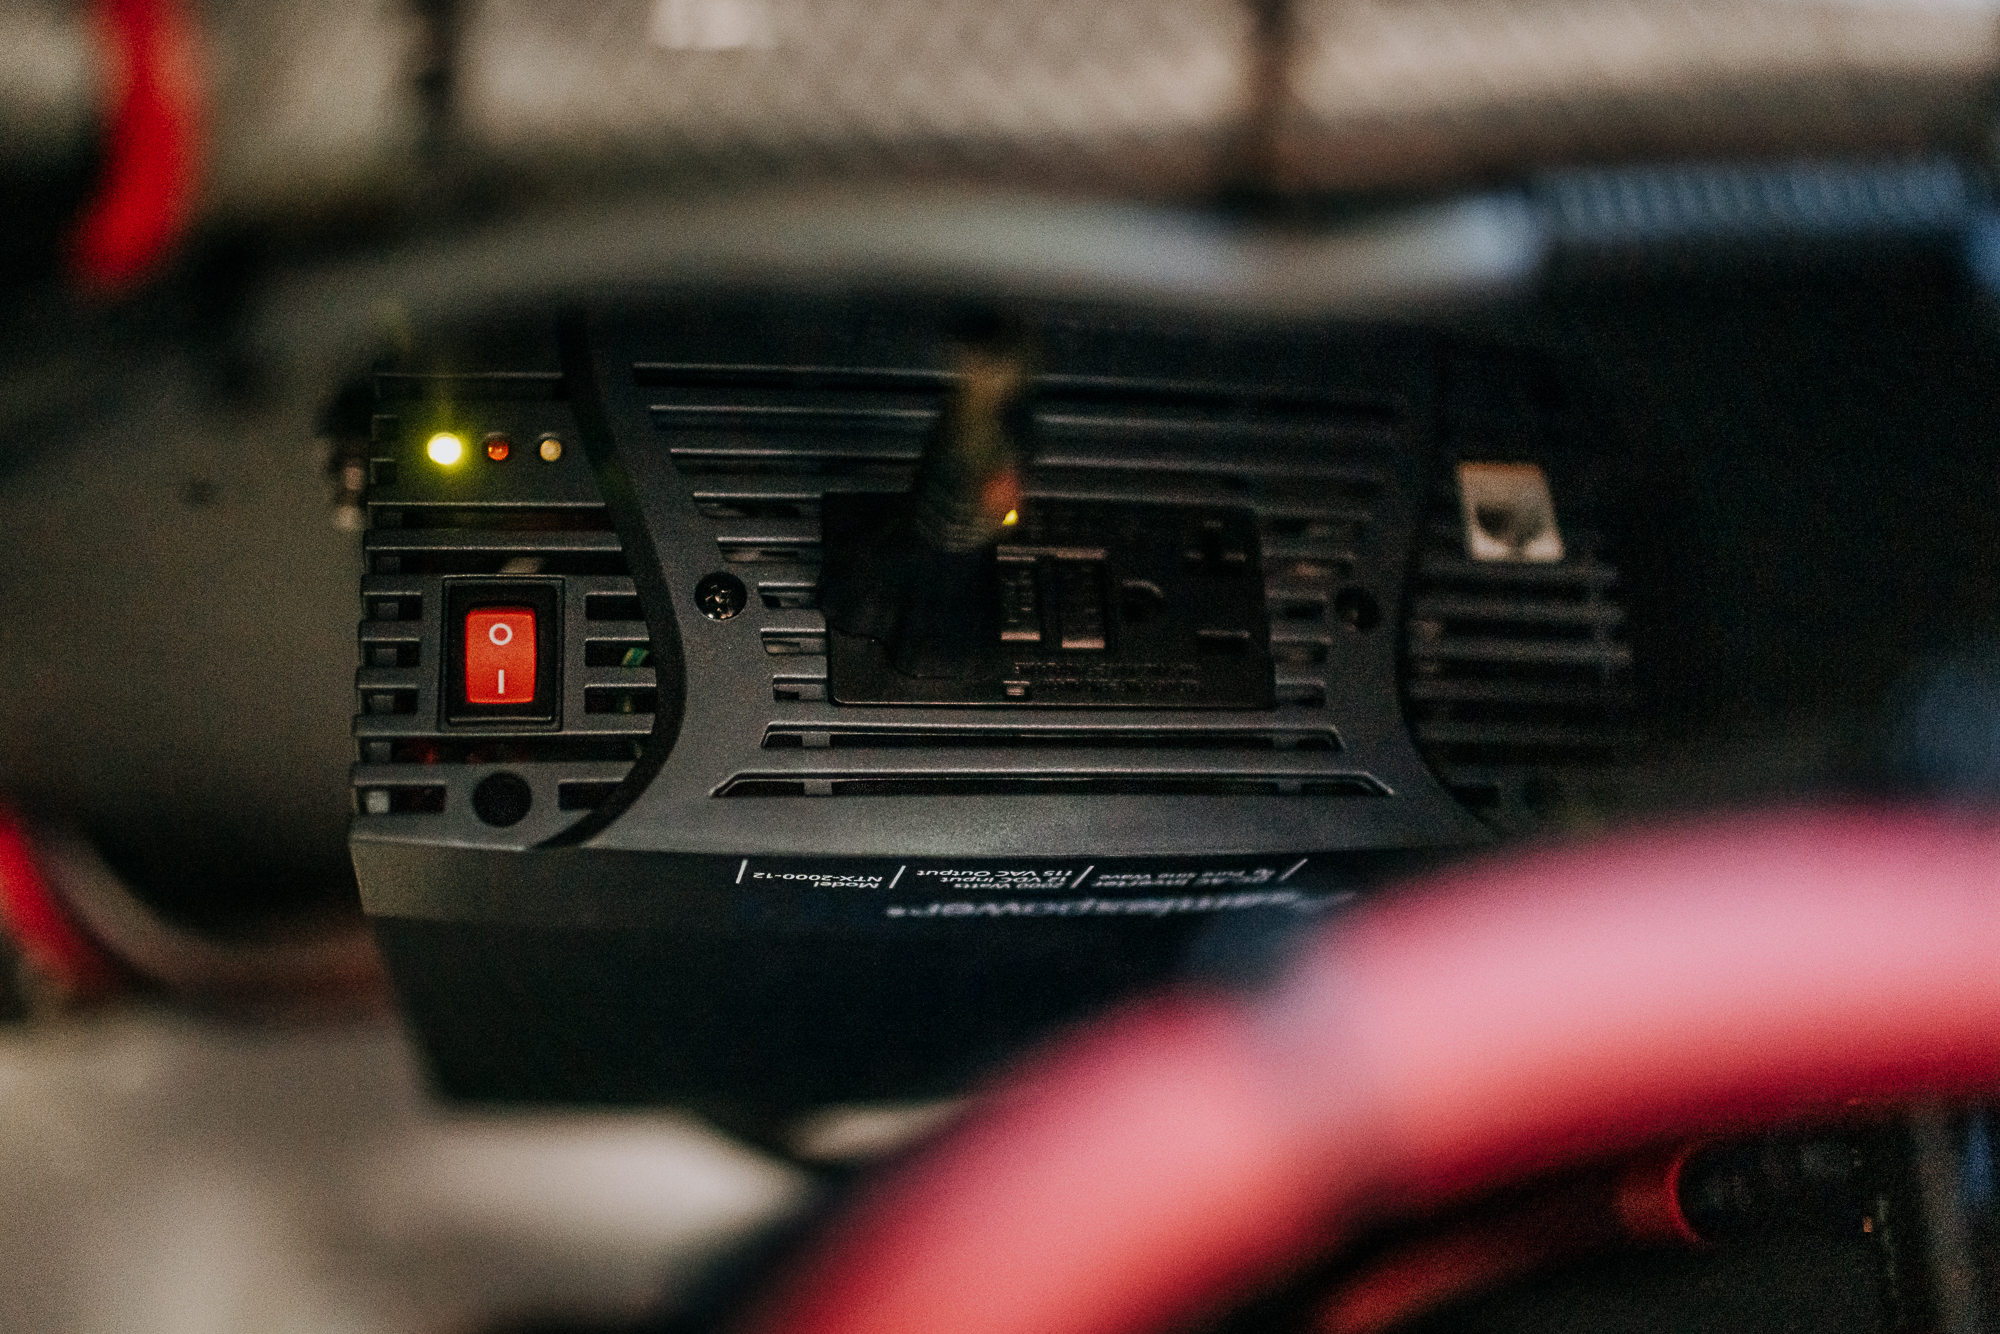
Samlex solar panels and inverters have found a home in each of our vehicles since 2013, making it easy to stick with this brand. As usual, we selected an inverter with a pure sine wave, ensuring that all of our sensitive electronics will live a long life.
Induction Cooktop
The OEV Alpine comes standard with a stainless steel Suburban drop-in two-burner stove. Although it works perfectly fine and looks great with the bamboo countertop, we want to minimize the use of propane during international travel. Sometimes it can be difficult to find, and many suppliers require a selection of adapters to connect to a tank with an Acme fitting.

Yes, the Truma VarioHeat heater still uses propane, but since that is more of a luxury than a constant use (especially if traveling in mild weather), we thought it made the most sense to swap the stove for a Dometic CI20 Induction Cooktop. We can continuously make power to run the induction cooktop via the solar array. An added benefit is that there is one less source of carbon monoxide in the small living space.
Water Filtration System
We’re normally quite particular with our international water sources, but for good measure, we decided to add a Guzzle H2O Stealth under the counter to filter the water at the point of use.
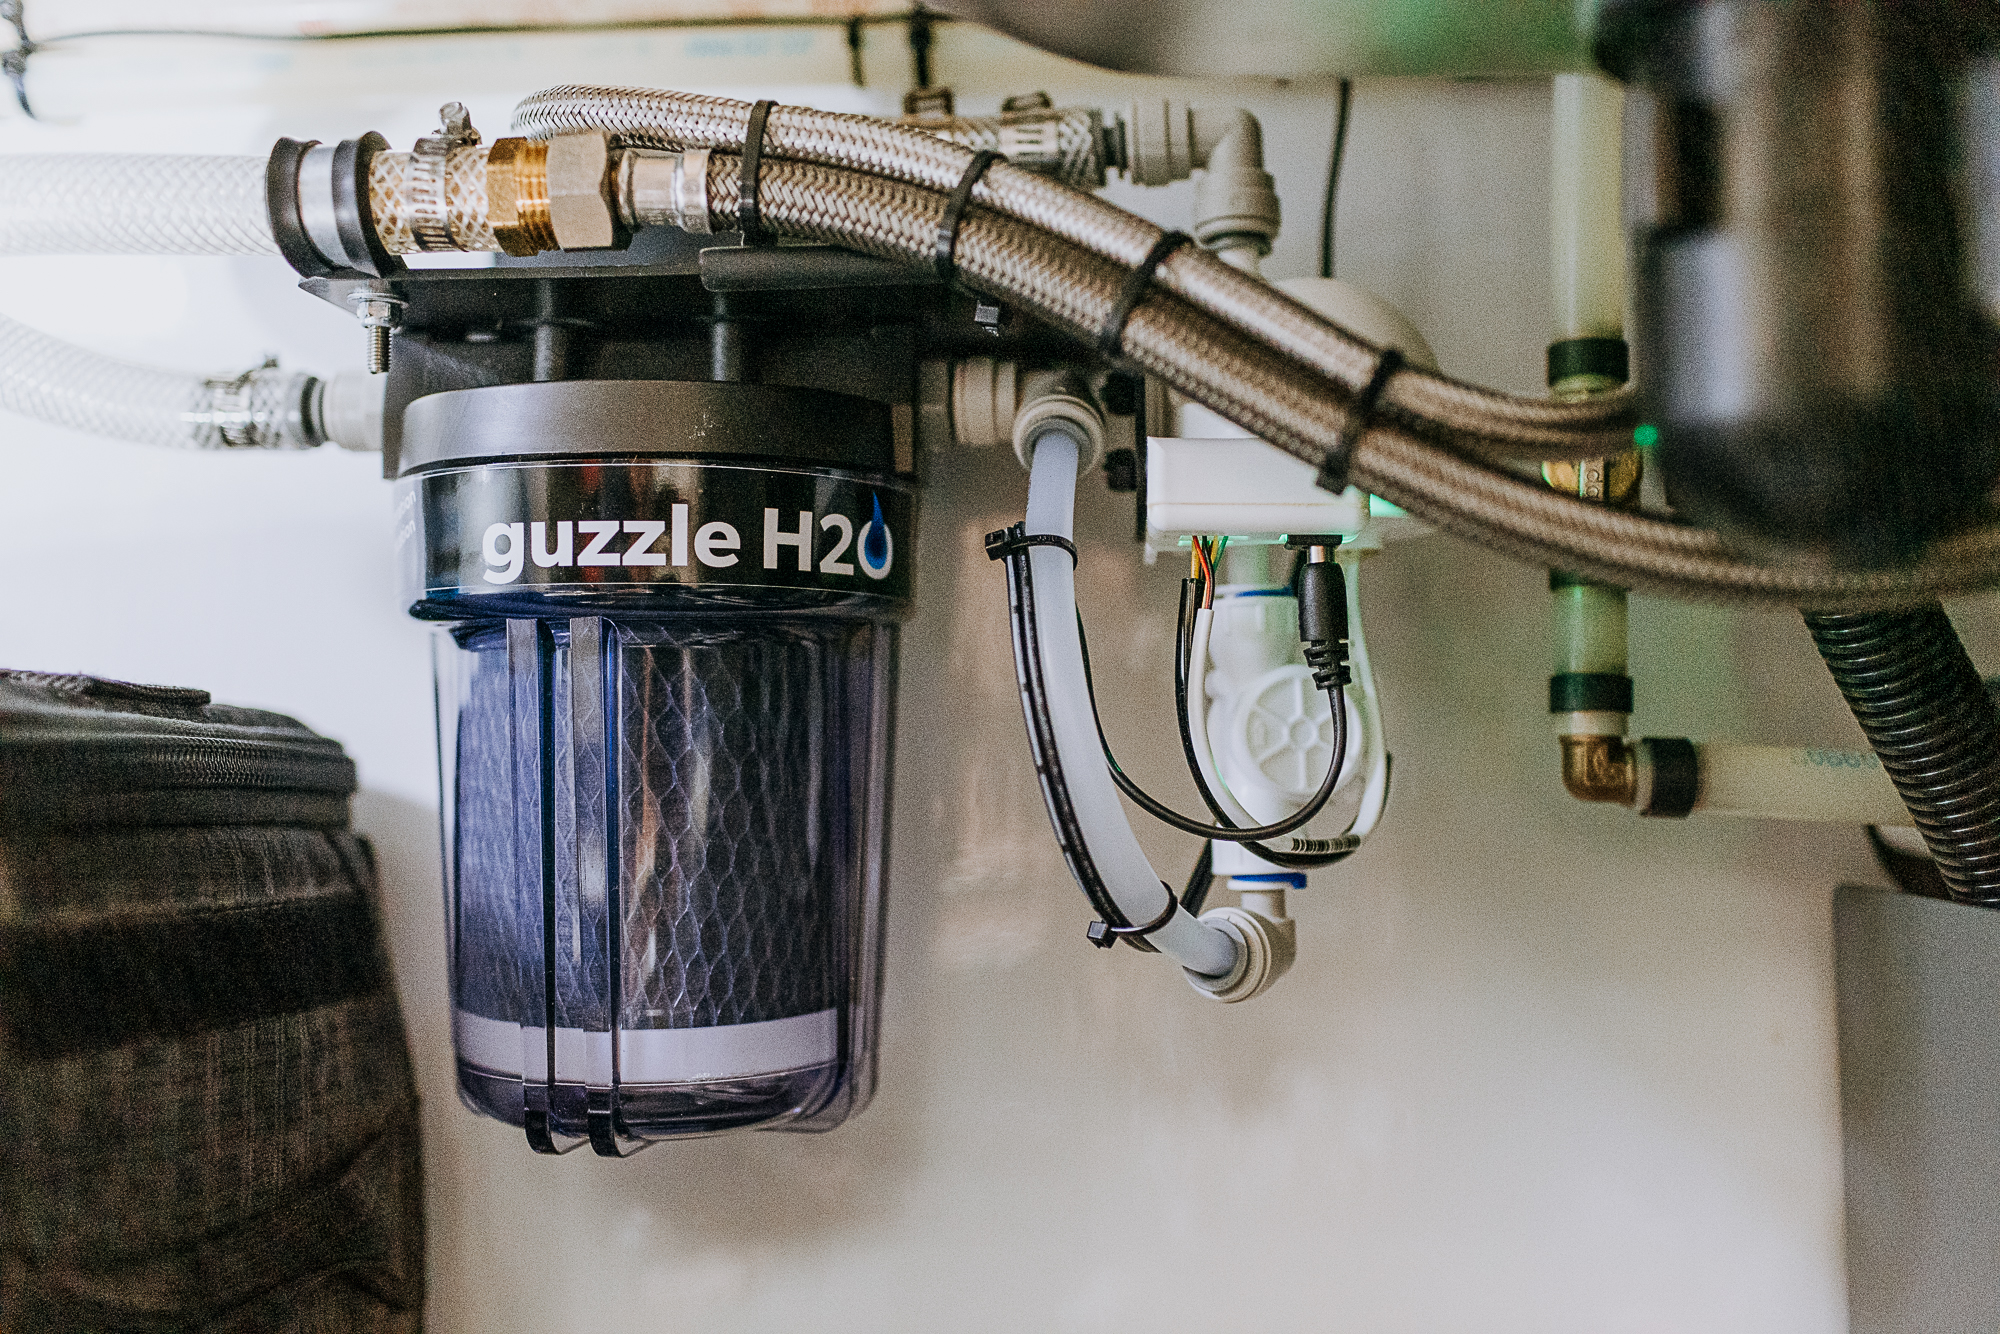
The Stealth features both ultraviolet (UV) and carbon block filtration. The carbon block filters and keeps the water tasting great, while the UV filter eliminates 99.99% of harmful bacteria.
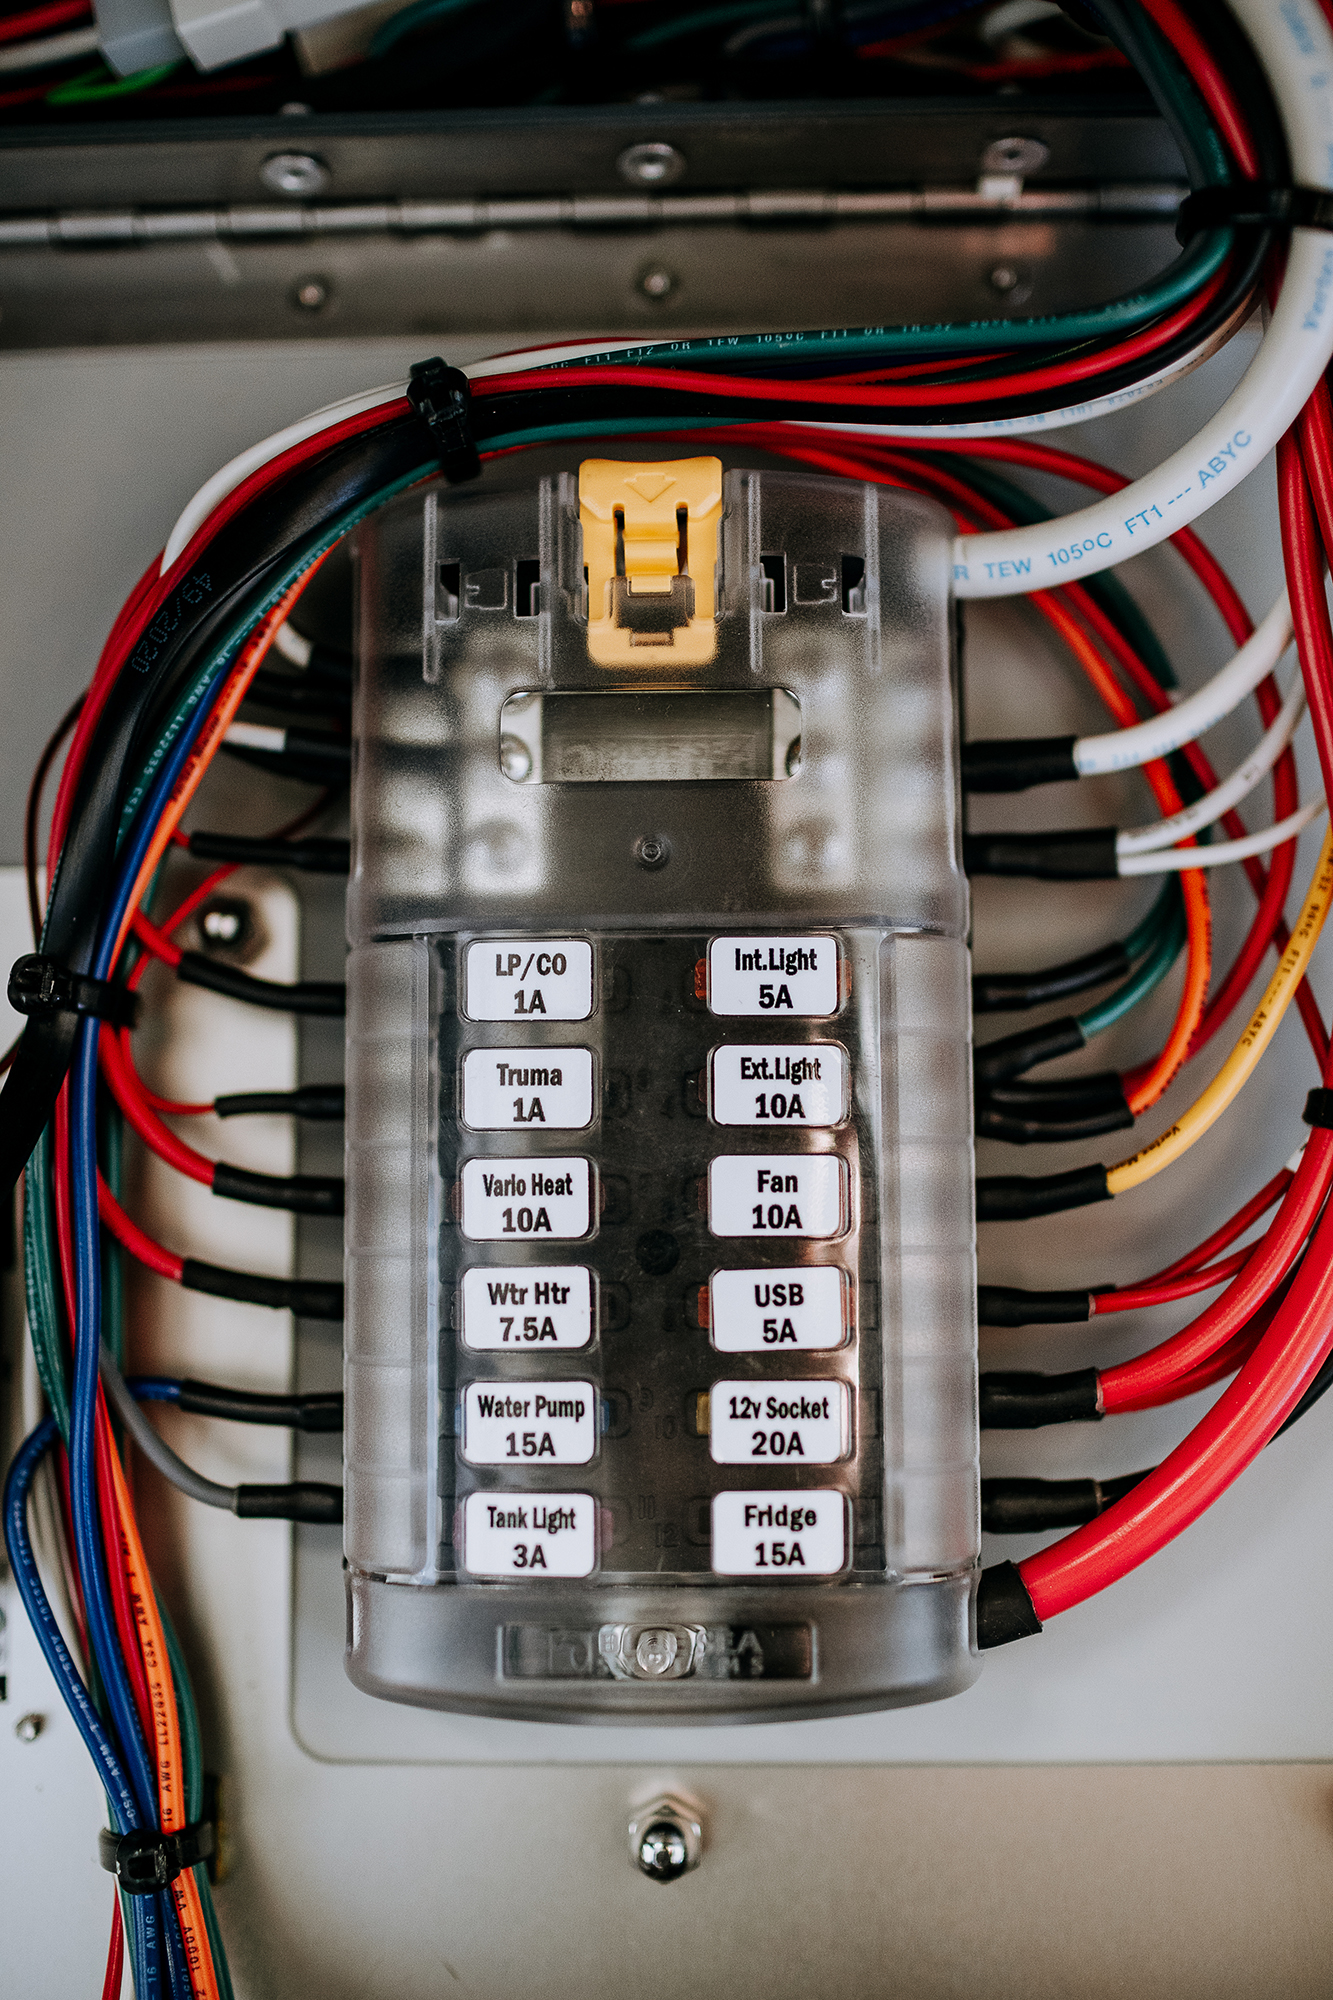
We found a mounting location directly under the sink. It’s close to the cold water tap, has easy access to swap the filter, and is just a short electrical run to the Blue Sea fuse block.
Since the camper came with a sink, it already had a stainless-steel braided hose connected to the cold water side. I disconnected this from the tap and attached it to the inlet side of the Stealth water filter. An additional braided hose was then connected from the outlet side of the water filter to the cold water tap. Once 12-volt constant power was attached to the UV light, the system was ready for use.
Although the Guzzle H20 Stealth has constant power attached to it, the UV filter won’t turn on until it senses water flow.
Storage
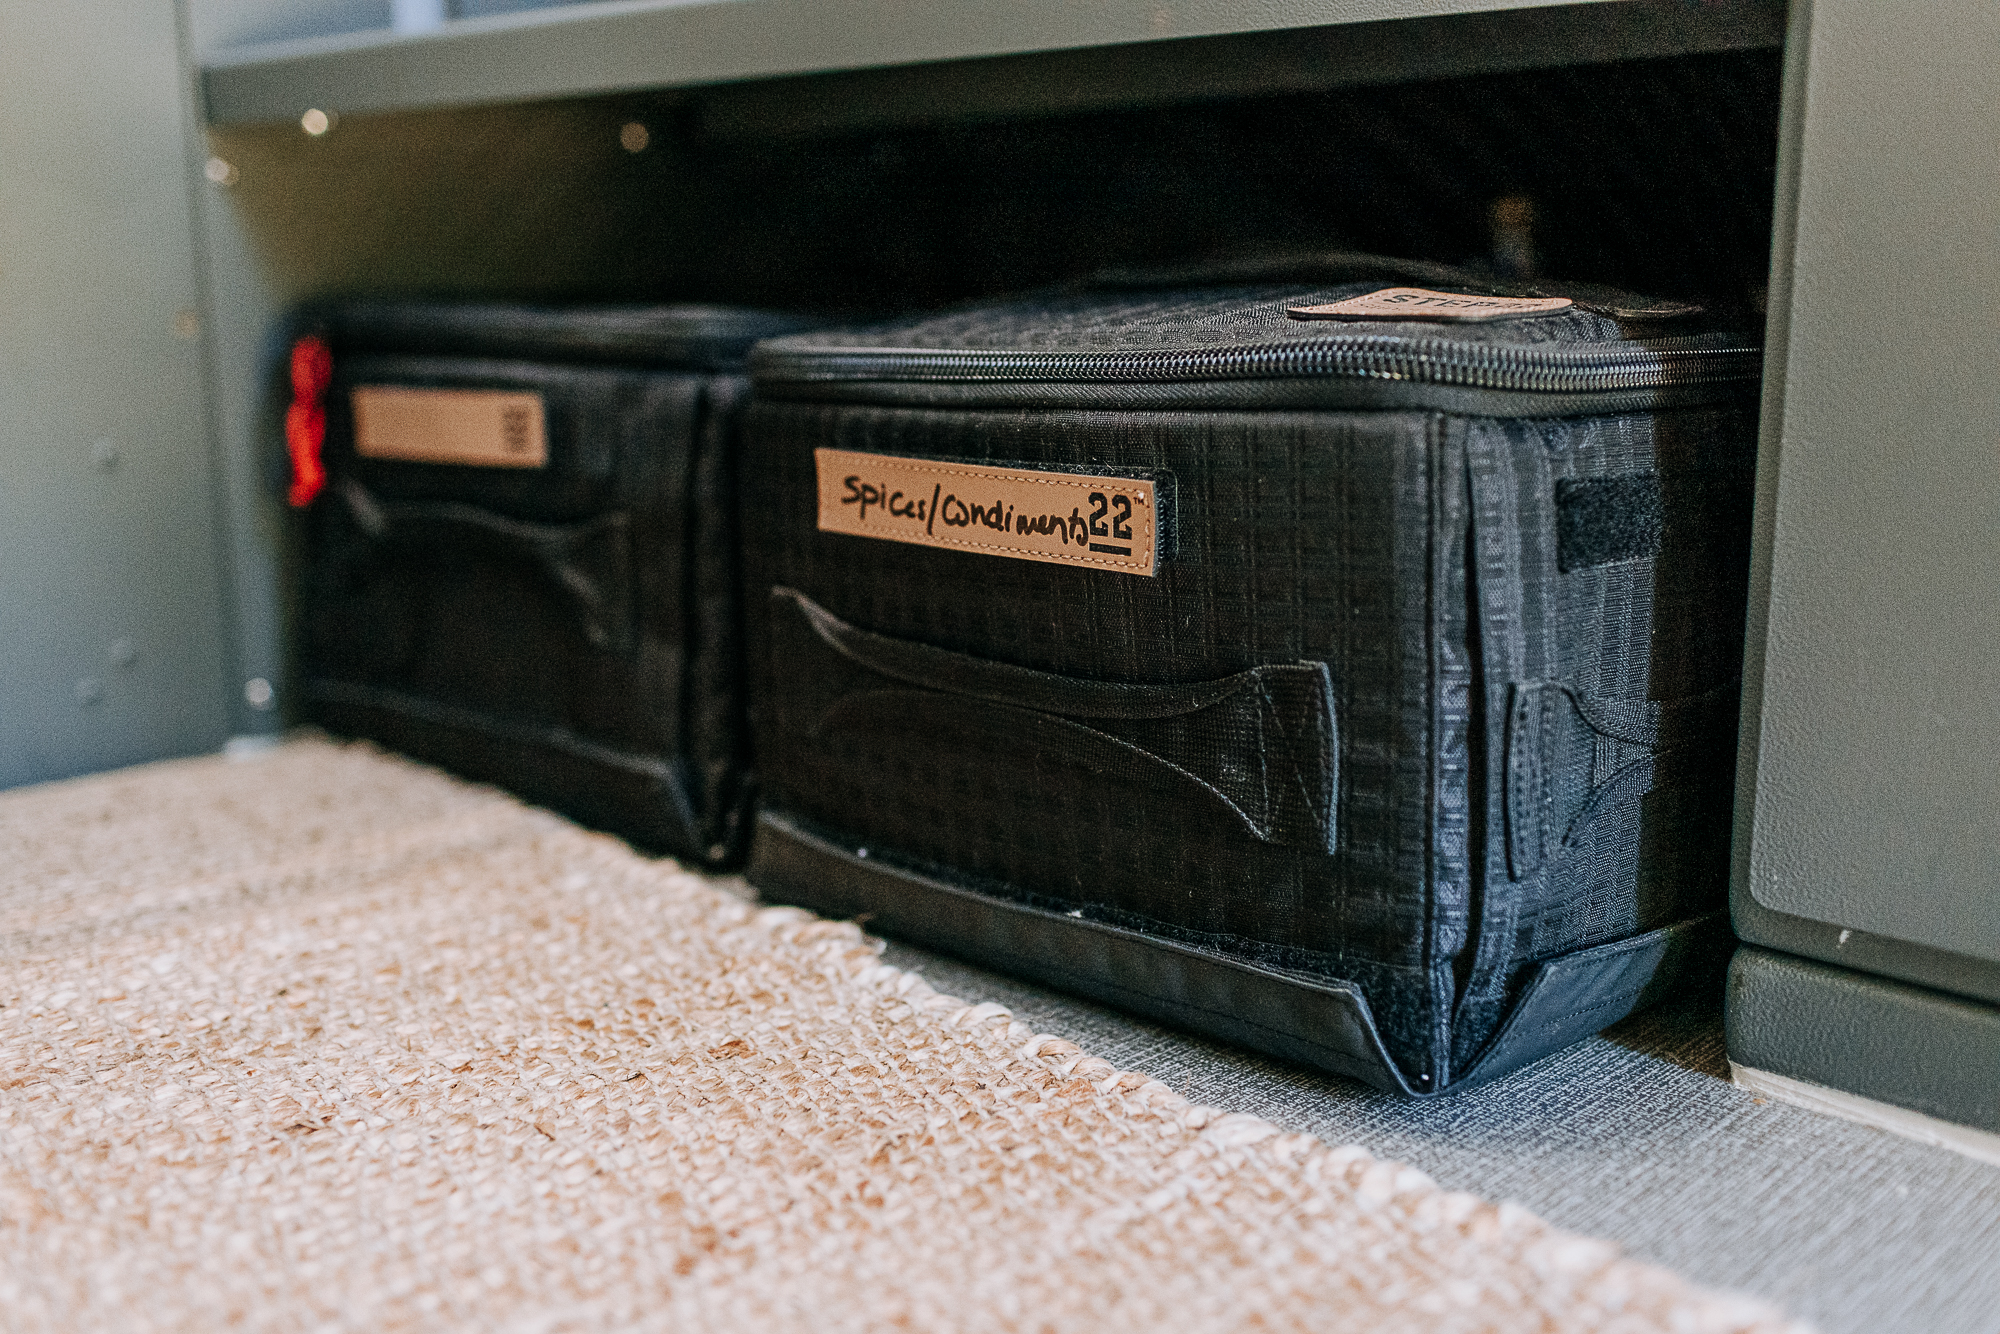
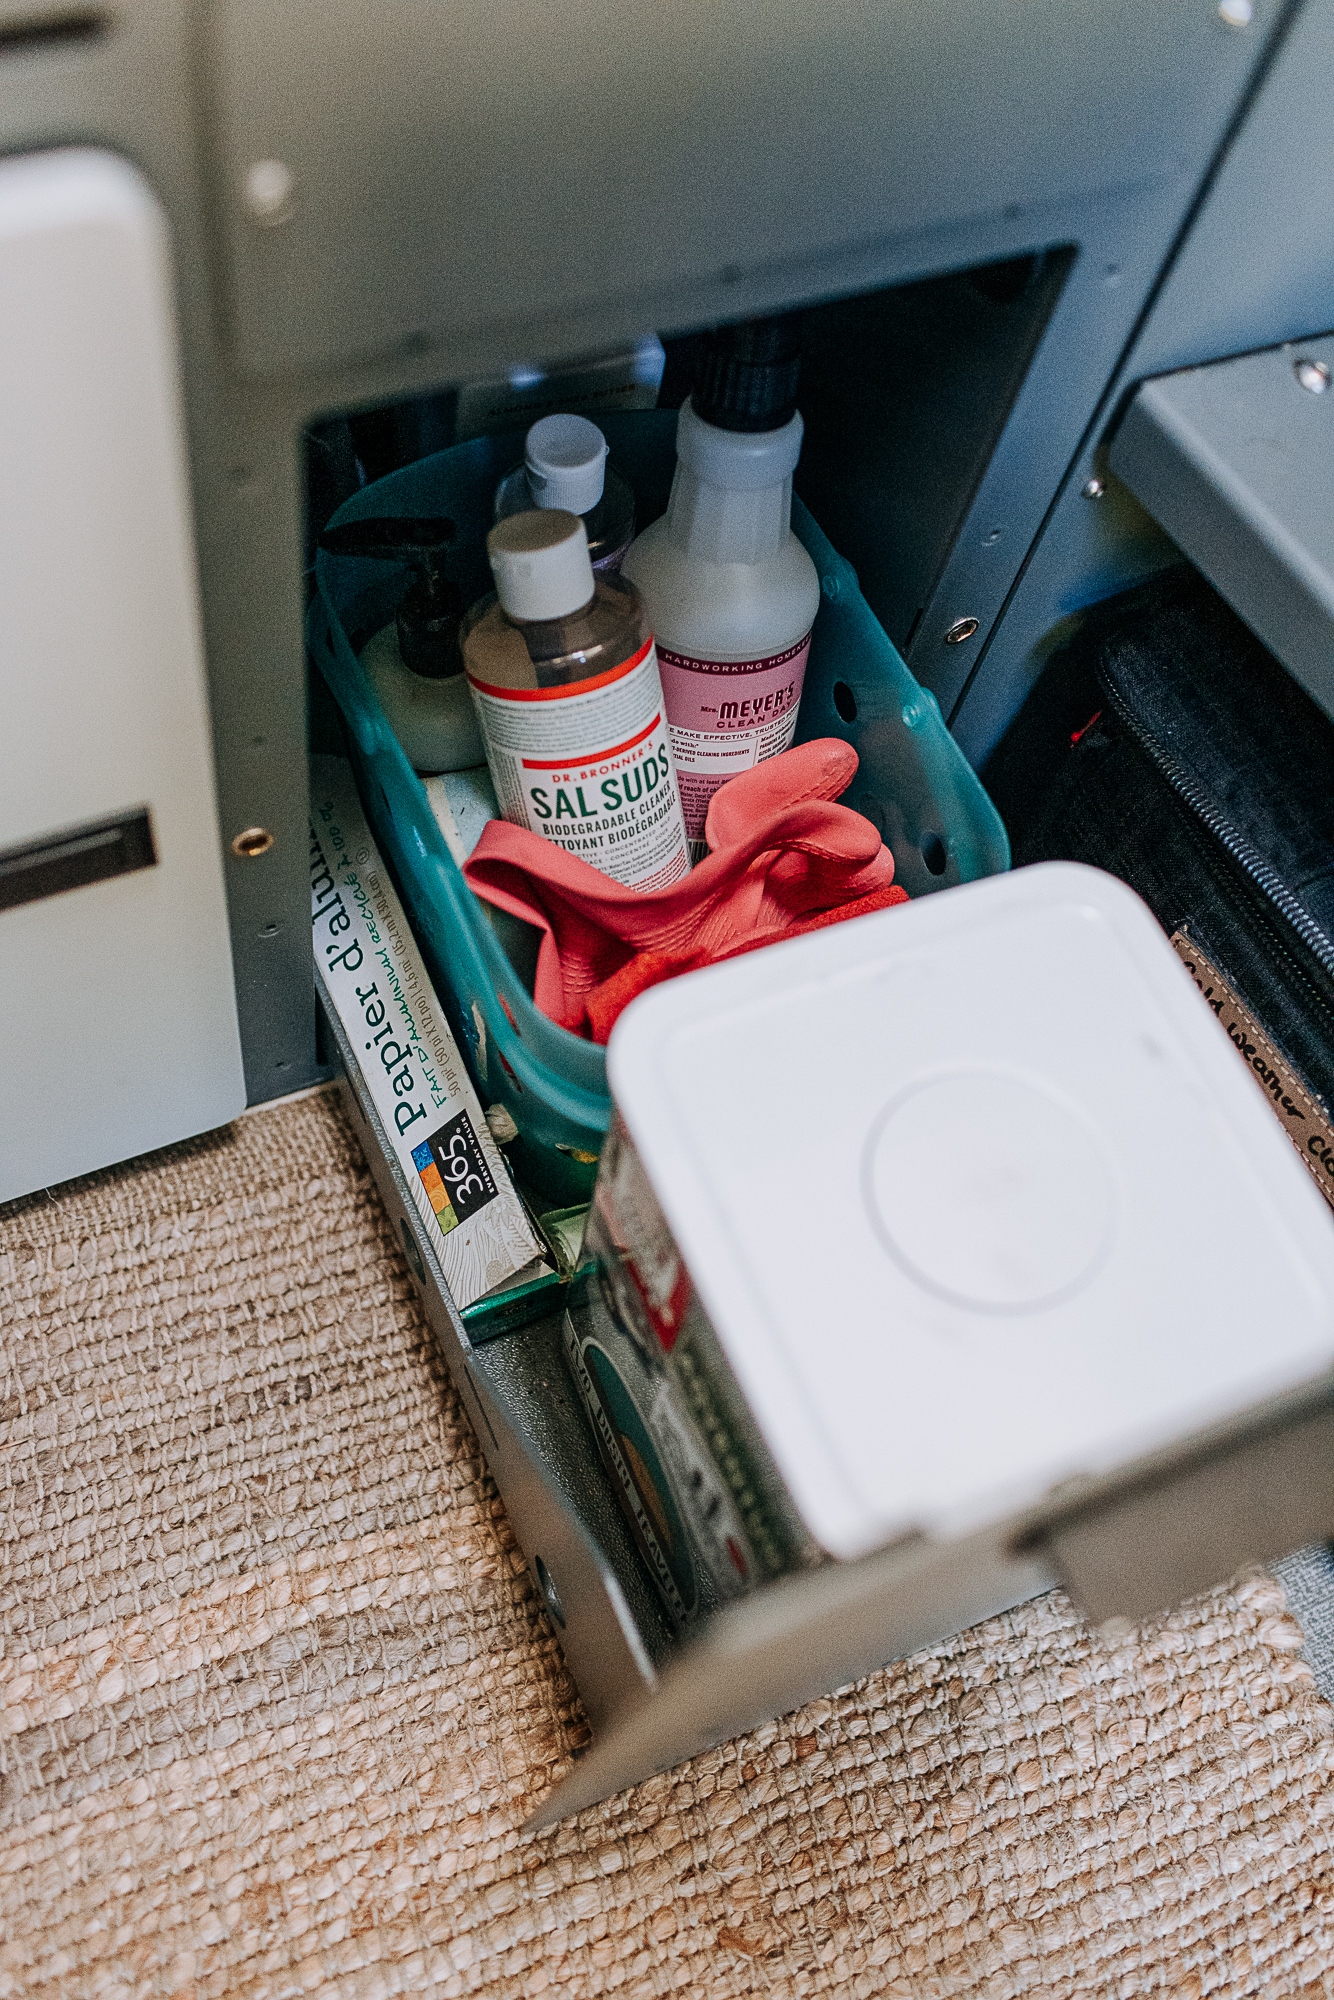
We likely needed to fill our precious pantry space with a trio of lithium batteries, so we immediately utilized the battery tray (only large enough for two batteries) for garbage and cleaning supplies. The under-dinette storage turned out to be perfectly sized for two Step 22 Stingray Flat Boxes and two Step 22 Flat Box Minis, which conveniently hold our dry goods and keep them close at hand for quick meals.
House Batteries and Energy Use Calculations
We calculated our energy usage based on both the current electrical loads that came standard in the camper and the ones we added.
After making a list of all these loads, we estimated how many amperes each would draw during use. By multiplying the amps by the approximate length of time each load runs during the day, we calculated how many amp-hours we would use in a day and, therefore, the capacity of the batteries required.
| Assumed Load | Amps | Hours of Use Per Day | Daily Ah Total |
| LED camper lights (interior/exterior) | 2 | 2 | 4 |
| Truma VarioHeat Comfort | 5.4 | 2 | 10.8 |
| Water pump | 5 | 0.1 | 0.5 |
| Guzzle Stealth H20 water filter with UV | 2 | 0.1 | 0.2 |
| Dometic CFX55IM fridge (average based on 24/7 use) | 1 | 24 | 24 |
| 12V USB sockets (phone charging, etc.) | 2 | 8 | 16 |
| Samlex 2000-watt inverter (calculations below assume inverter efficiency of 85%) | |||
| MacBook Pro, 85-watt charger | 8.33 | 1.5 | 12.50 |
| MacBook Air, 65-watt charger | 6.37 | 1.5 | 9.56 |
| Dometic induction cooktop, 800-watt average | 74.11 | 0.5 | 37.05 |
| Total Max Ah usage per day | 114.61 |
Assumed solar panel choice: Zamp 100W Obsidian rigid panels
Assumed maximum output: 4.5 amps
Assumed number of panels: 3
Assumed hours of sun per day: 6 hours
Assumed maximum input per day: 81 amp-hours
As you can see, using the numbers above with an assumed 300-watt solar panel array, our usage is -33.61 amp-hours per day in an optimum scenario. Therefore, after a few days of assumed “normal” use, a 200-amp-hour battery bank would be drained. On average, we don’t spend more than two to three days in one place, so the Victron Orion DC-DC charger would make up the remainder of the charging from the truck alternator/starting battery.
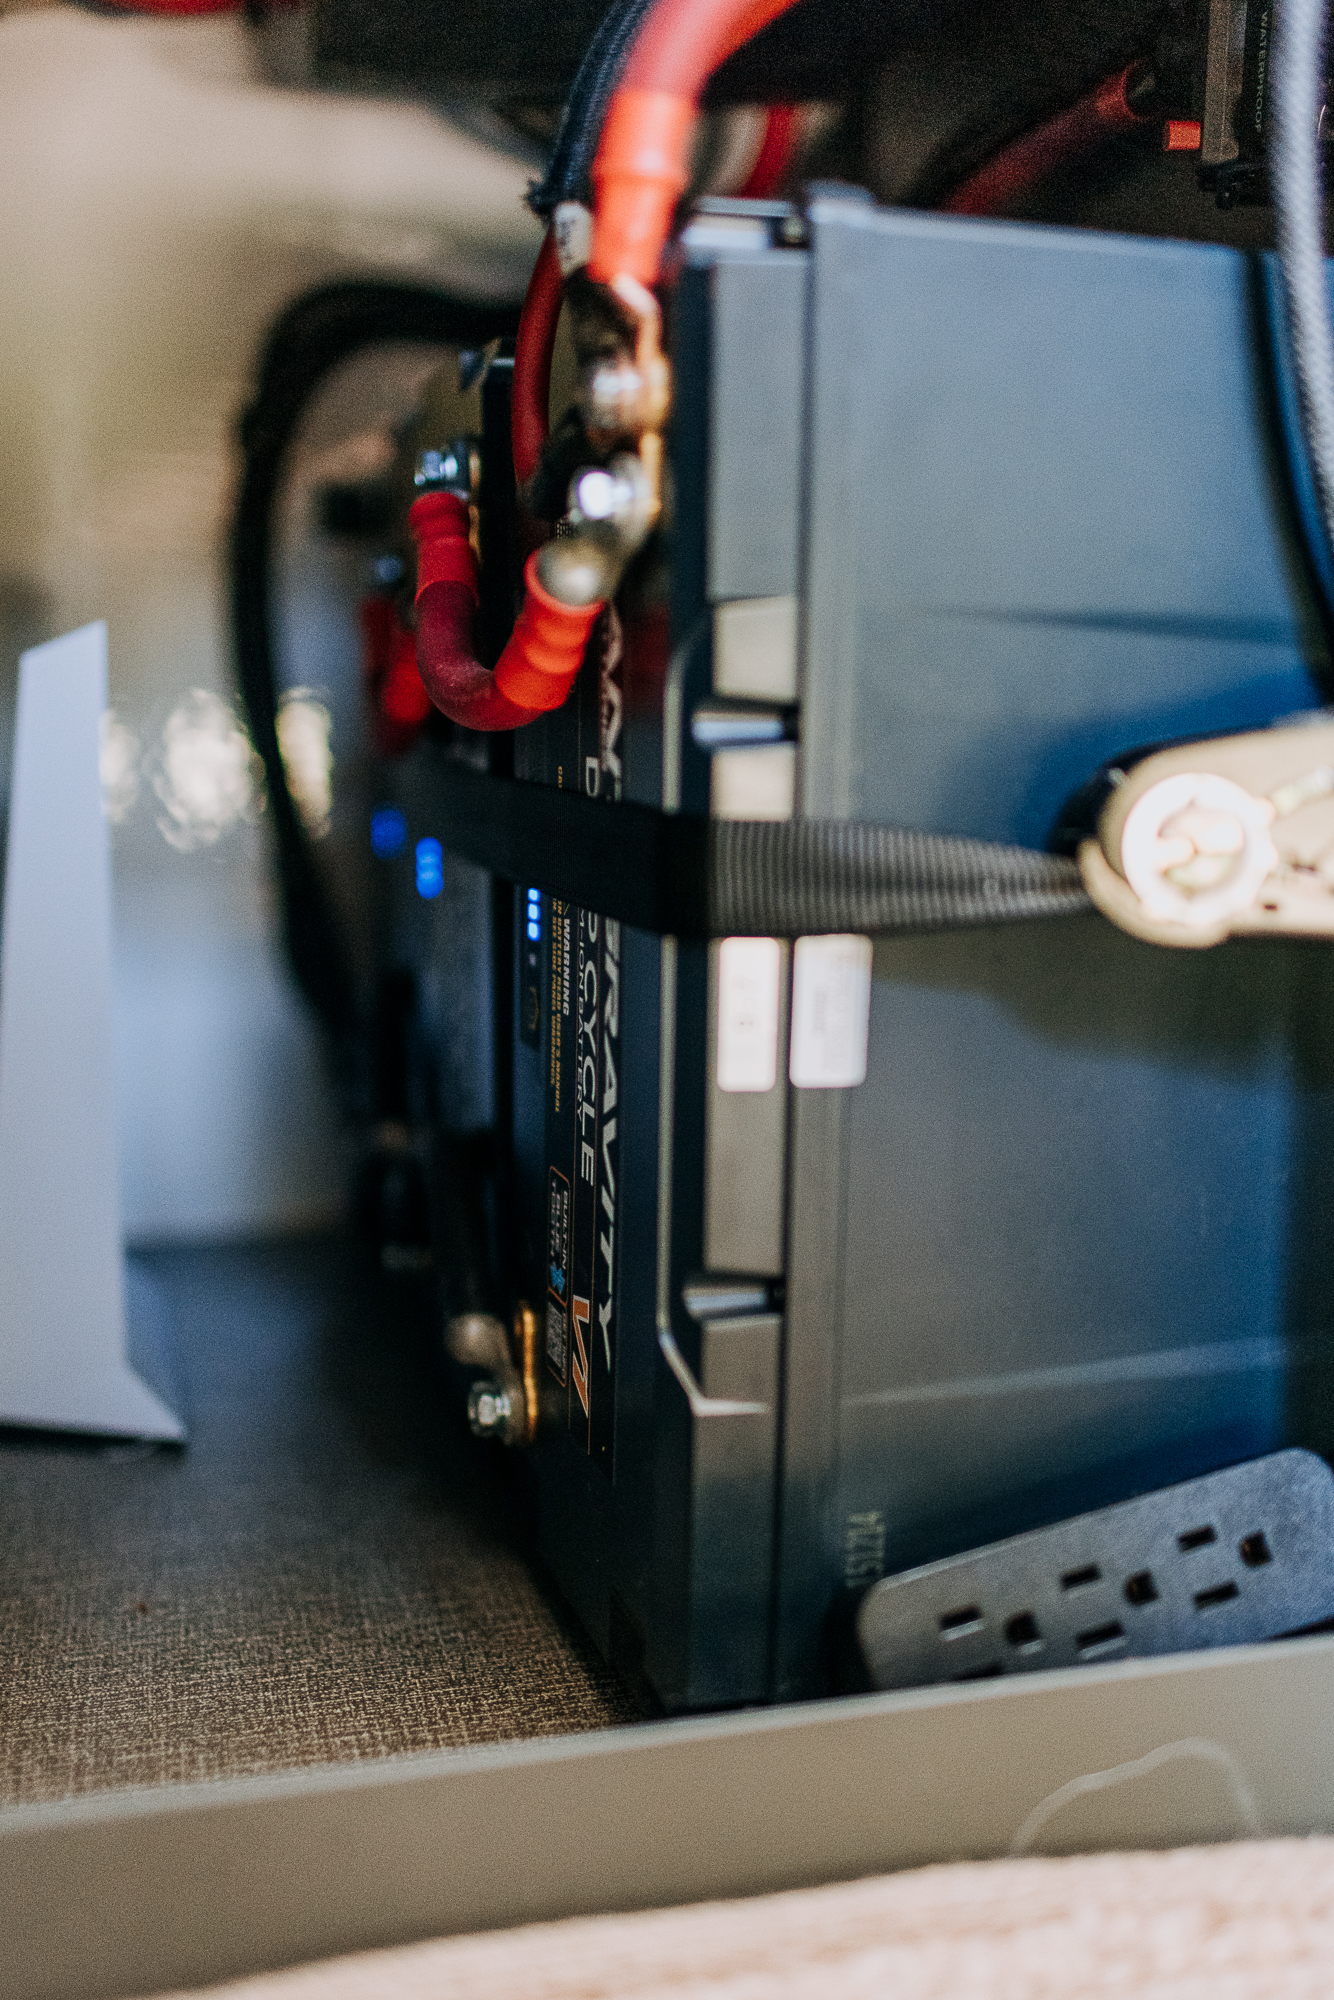
Although meatball math suggests we could probably get away with a 200-amp-hour battery bank, it’s not always possible to recharge the batteries as quickly as we’d like—we may want to camp in one place for a few days without recharging via the truck alternator or there may not be sufficient sun to charge with the solar array. Using this information, along with some comparisons with other trucks with similar loads and use cases (such as others we have built in the past), we decided to install three self-heated Antigravity Batteries DC-100-V1 in parallel for a total of 300-Ah of capacity.
The OEV Alpine camper has a battery tray that holds a couple of 100-Ah batteries, but in order to fit three batteries, we needed to come up with another solution. There is a cabinet adjacent to the battery tray (which we would have otherwise used as a kitchen pantry) that is a perfect location. With some strips of foam between the batteries, they were secured with a ratchet strap.
Solar Panels
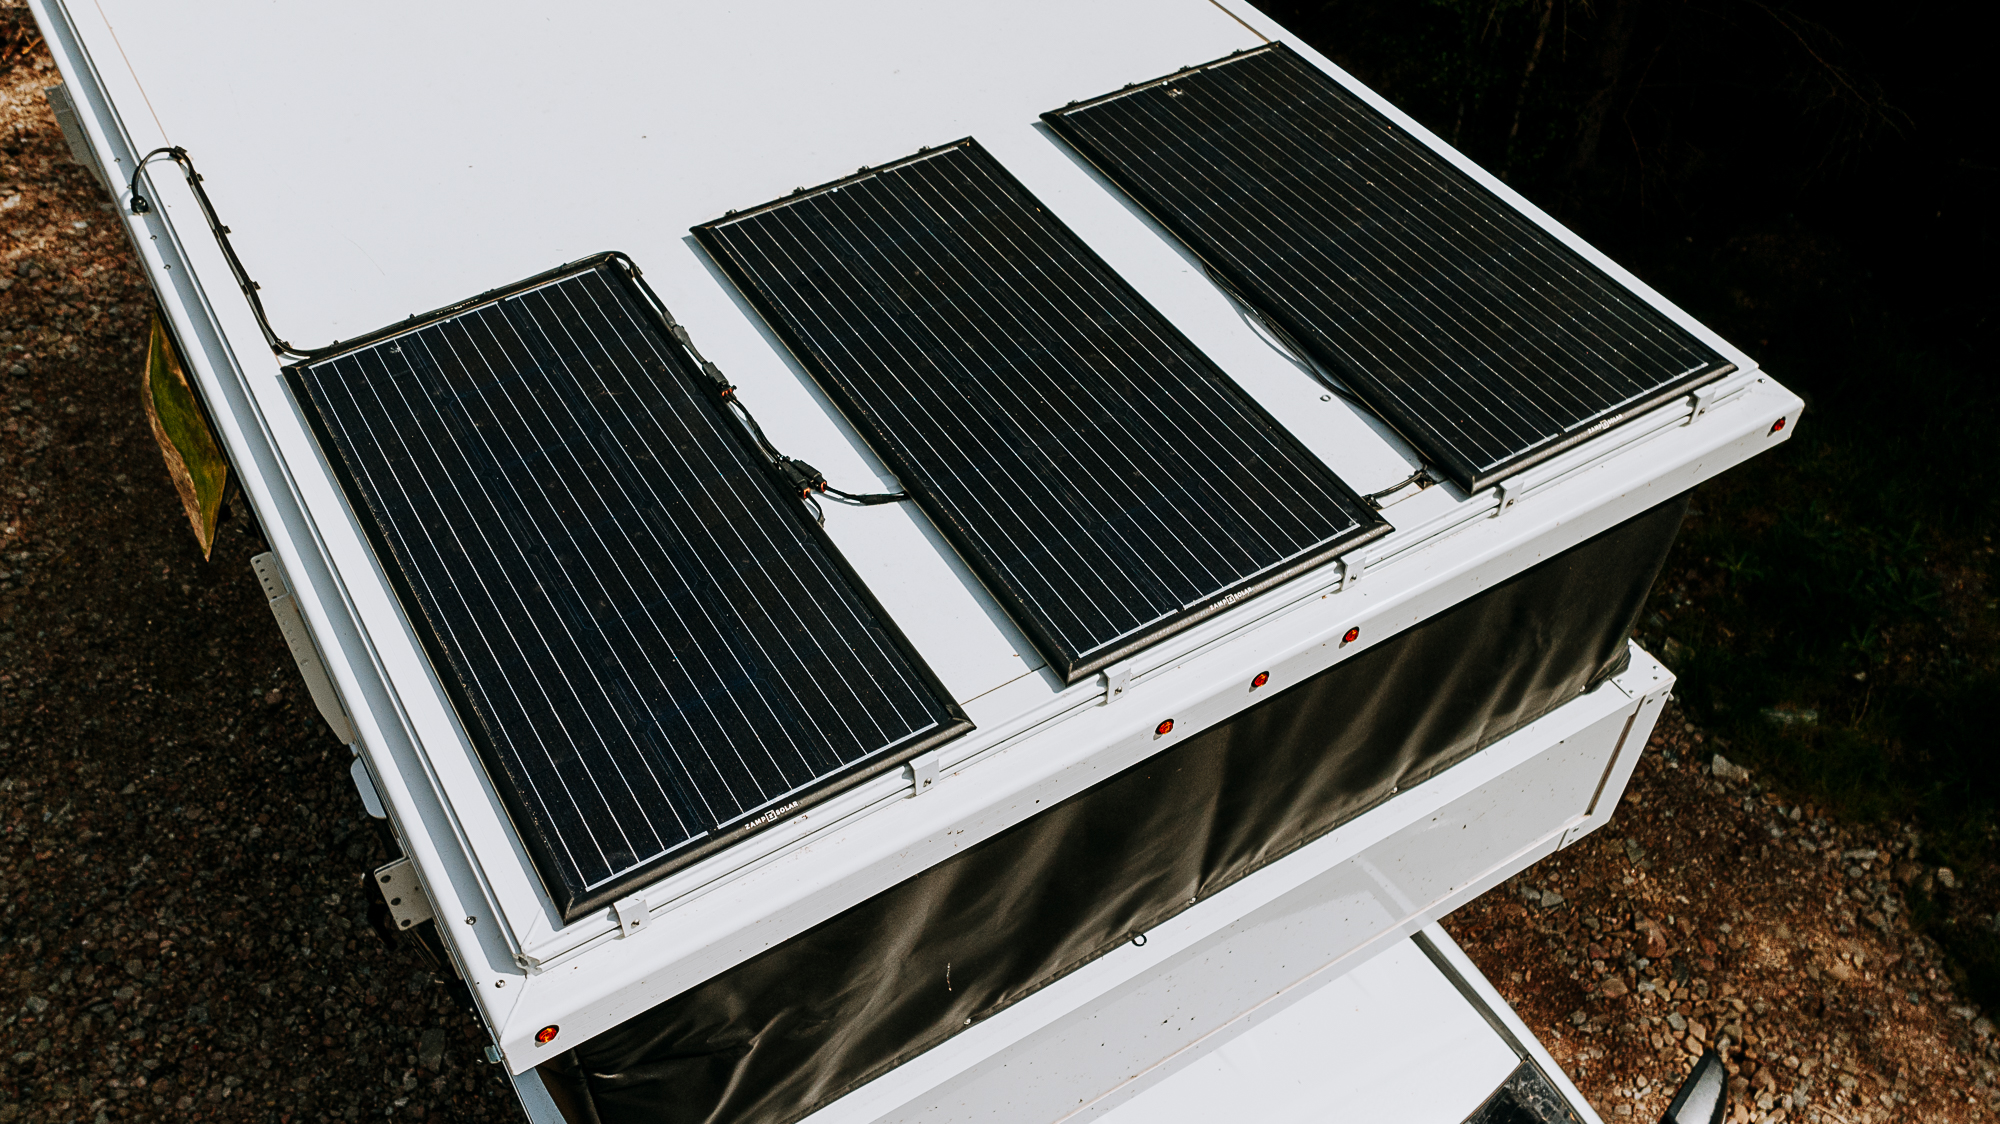
We selected three Zamp Obsidian 100-watt rigid solar panels. These panels are about half the height and weight of standard rigid panels, which will be useful since we need to maximize the roof area and payload alike.
Flexible panels would indeed be lighter but can create a significant amount of heat without an airspace between the panel and mounting surface. It is not recommended to affix flexible panels directly to the roof of the OEV (and many other composite panels) due to the likelihood of permanently damaging the panel or composite roof with high heat. Semi-flexible panels, such as options from Overland Solar, are a good option as well but require mounting to a roof rack, in our case, negating any weight savings from the panels.
My original calculations suggested that 400 watts of solar would be more appropriate for our electrical needs, but I was aware that reducing the number of panels from four to three would drop the weight by 10 pounds (not much, but everything counts). More importantly, the installation of three panels on the front edge of the camper was much more straightforward than finding a place for the fourth.
OEV provides a perimeter mounting frame on the roof of their campers. This made attaching the front edge of the solar panels nice and simple by using the Zamp Low Profile Mount Kit MFT3005, some aluminum 90-degree brackets, and T-slot nuts. For the rear, I used four (instead of the recommended two) mounting feet on each panel. These were secured to the roof with the included 3M VHB tape and then sealed with SikaFlex 252 adhesive/sealant.
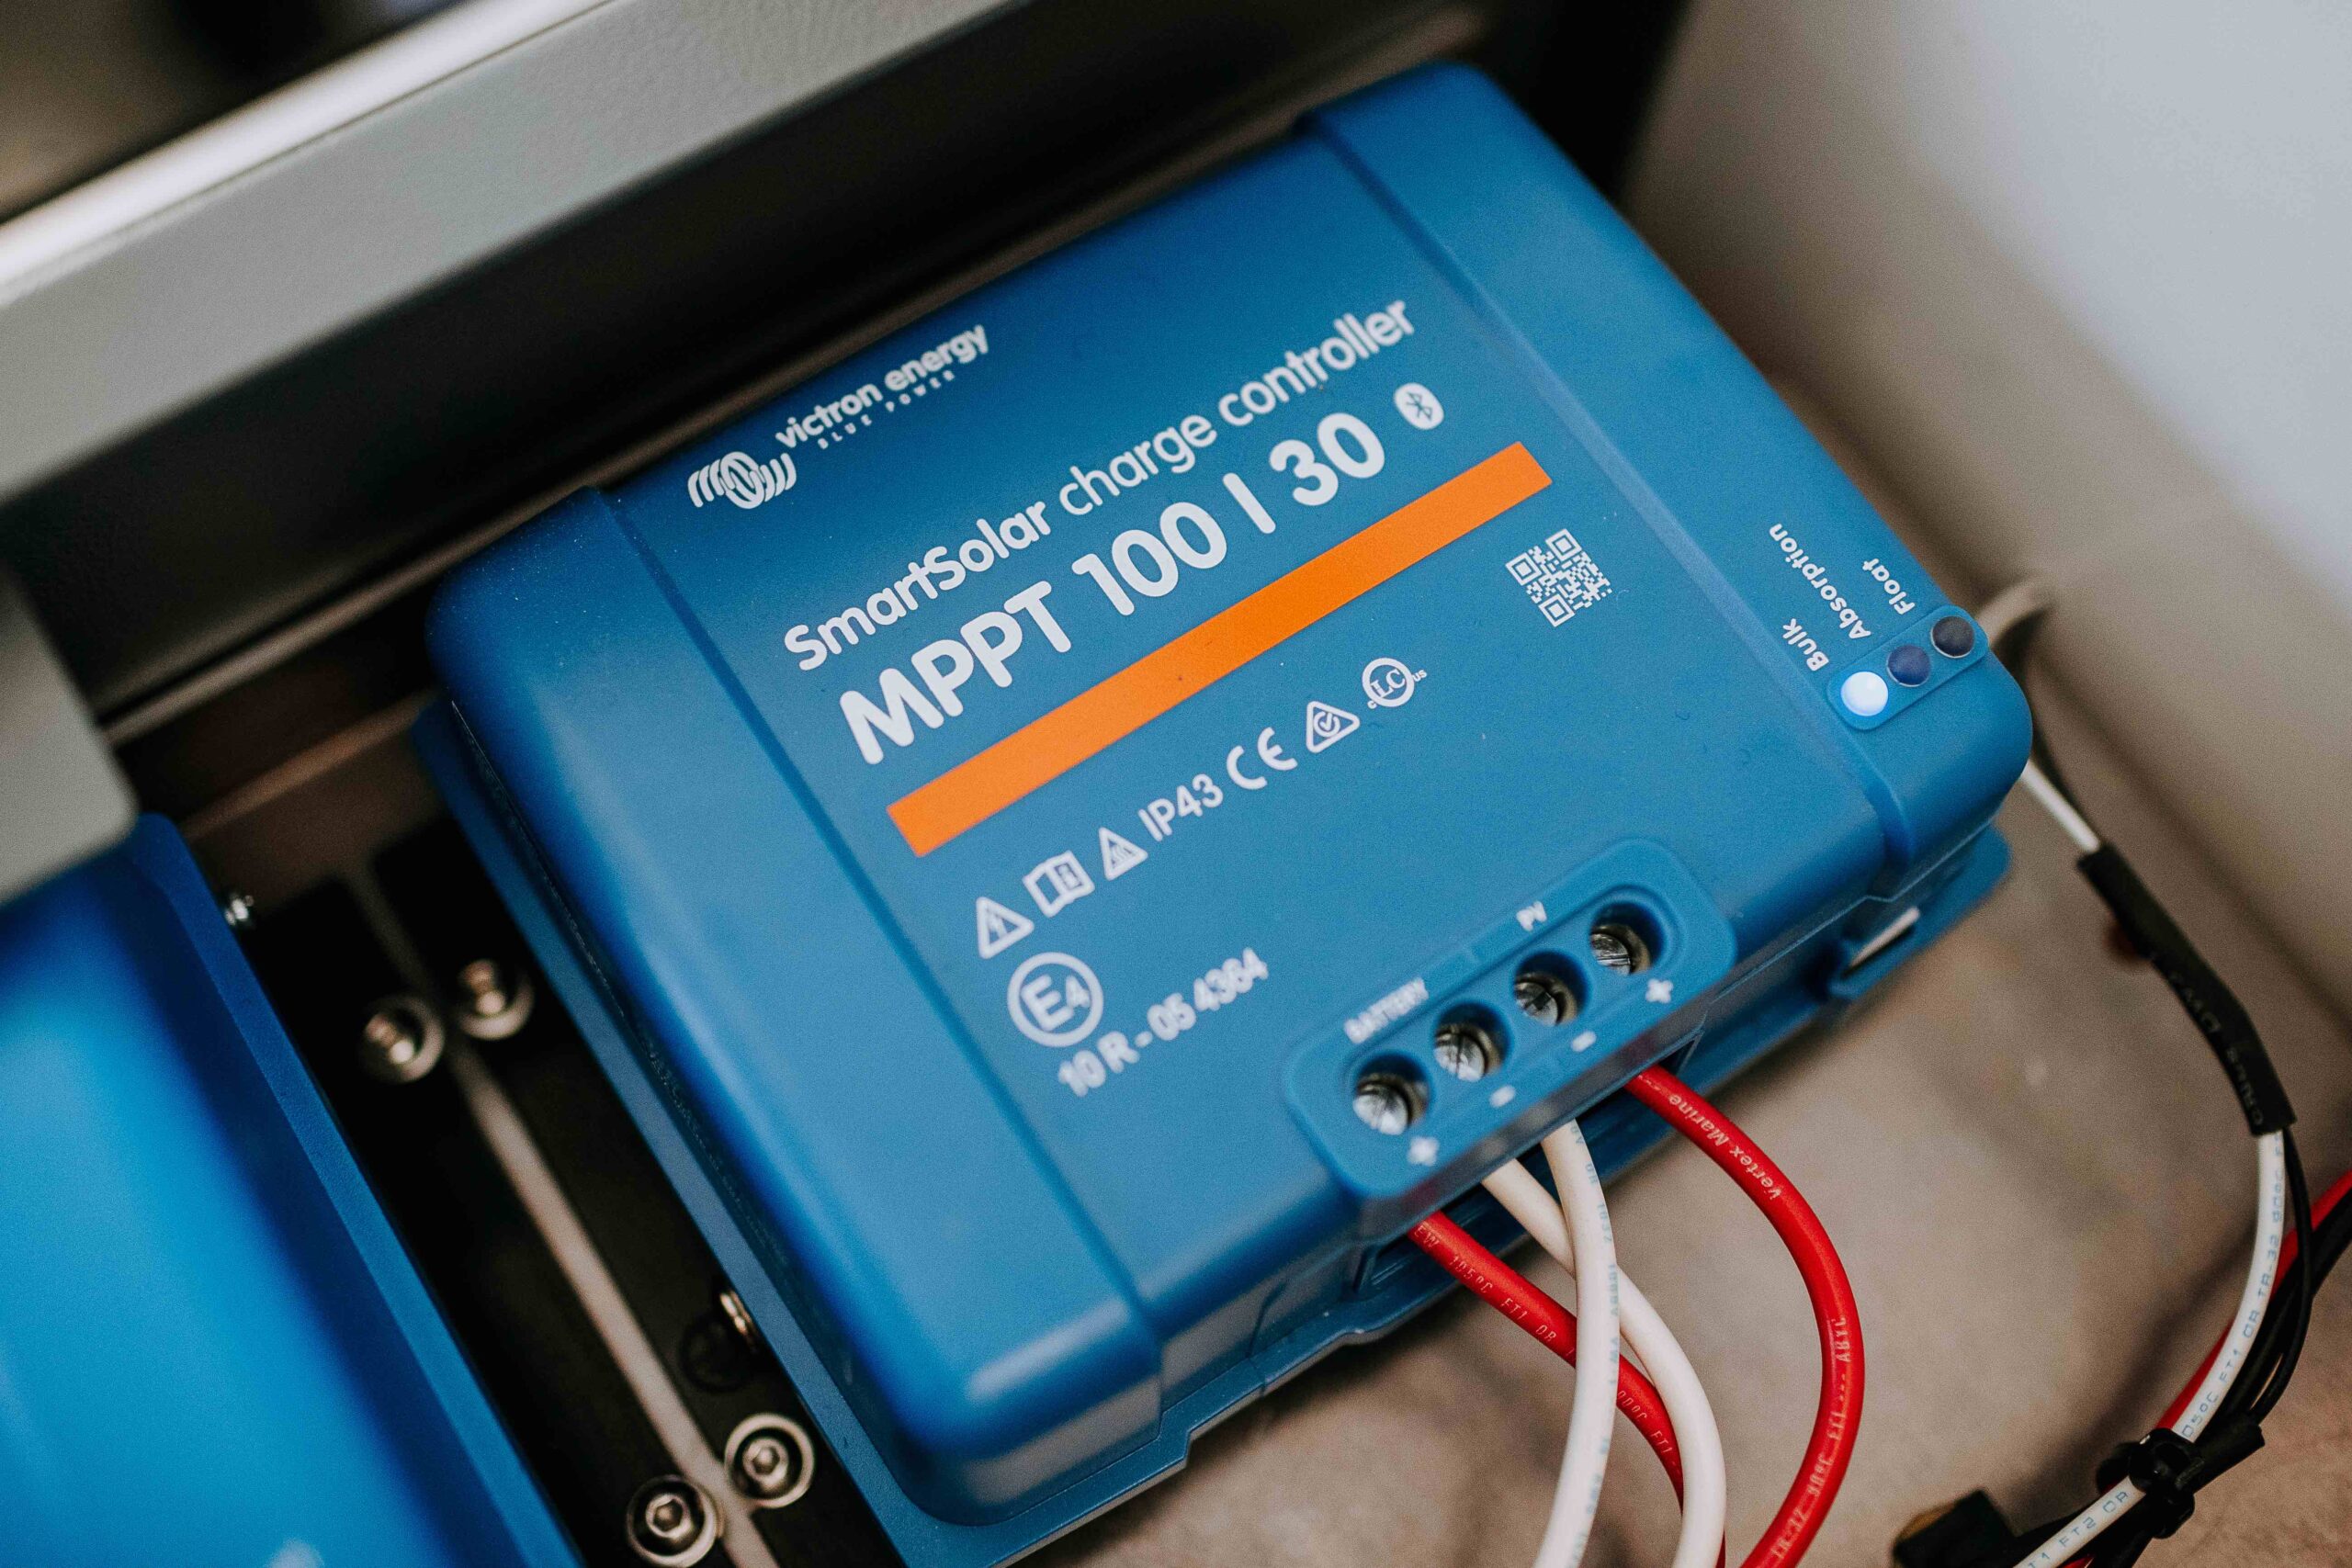
We used a waterproof cable gland (found at a local electrical store) to transition the solar wiring through the camper roof. The OEV Alpine had solar wiring roughed in when constructed and came complete with a Victron SmartSolar MPPT 30/100 solar charge controller.
Portable Solar Panel
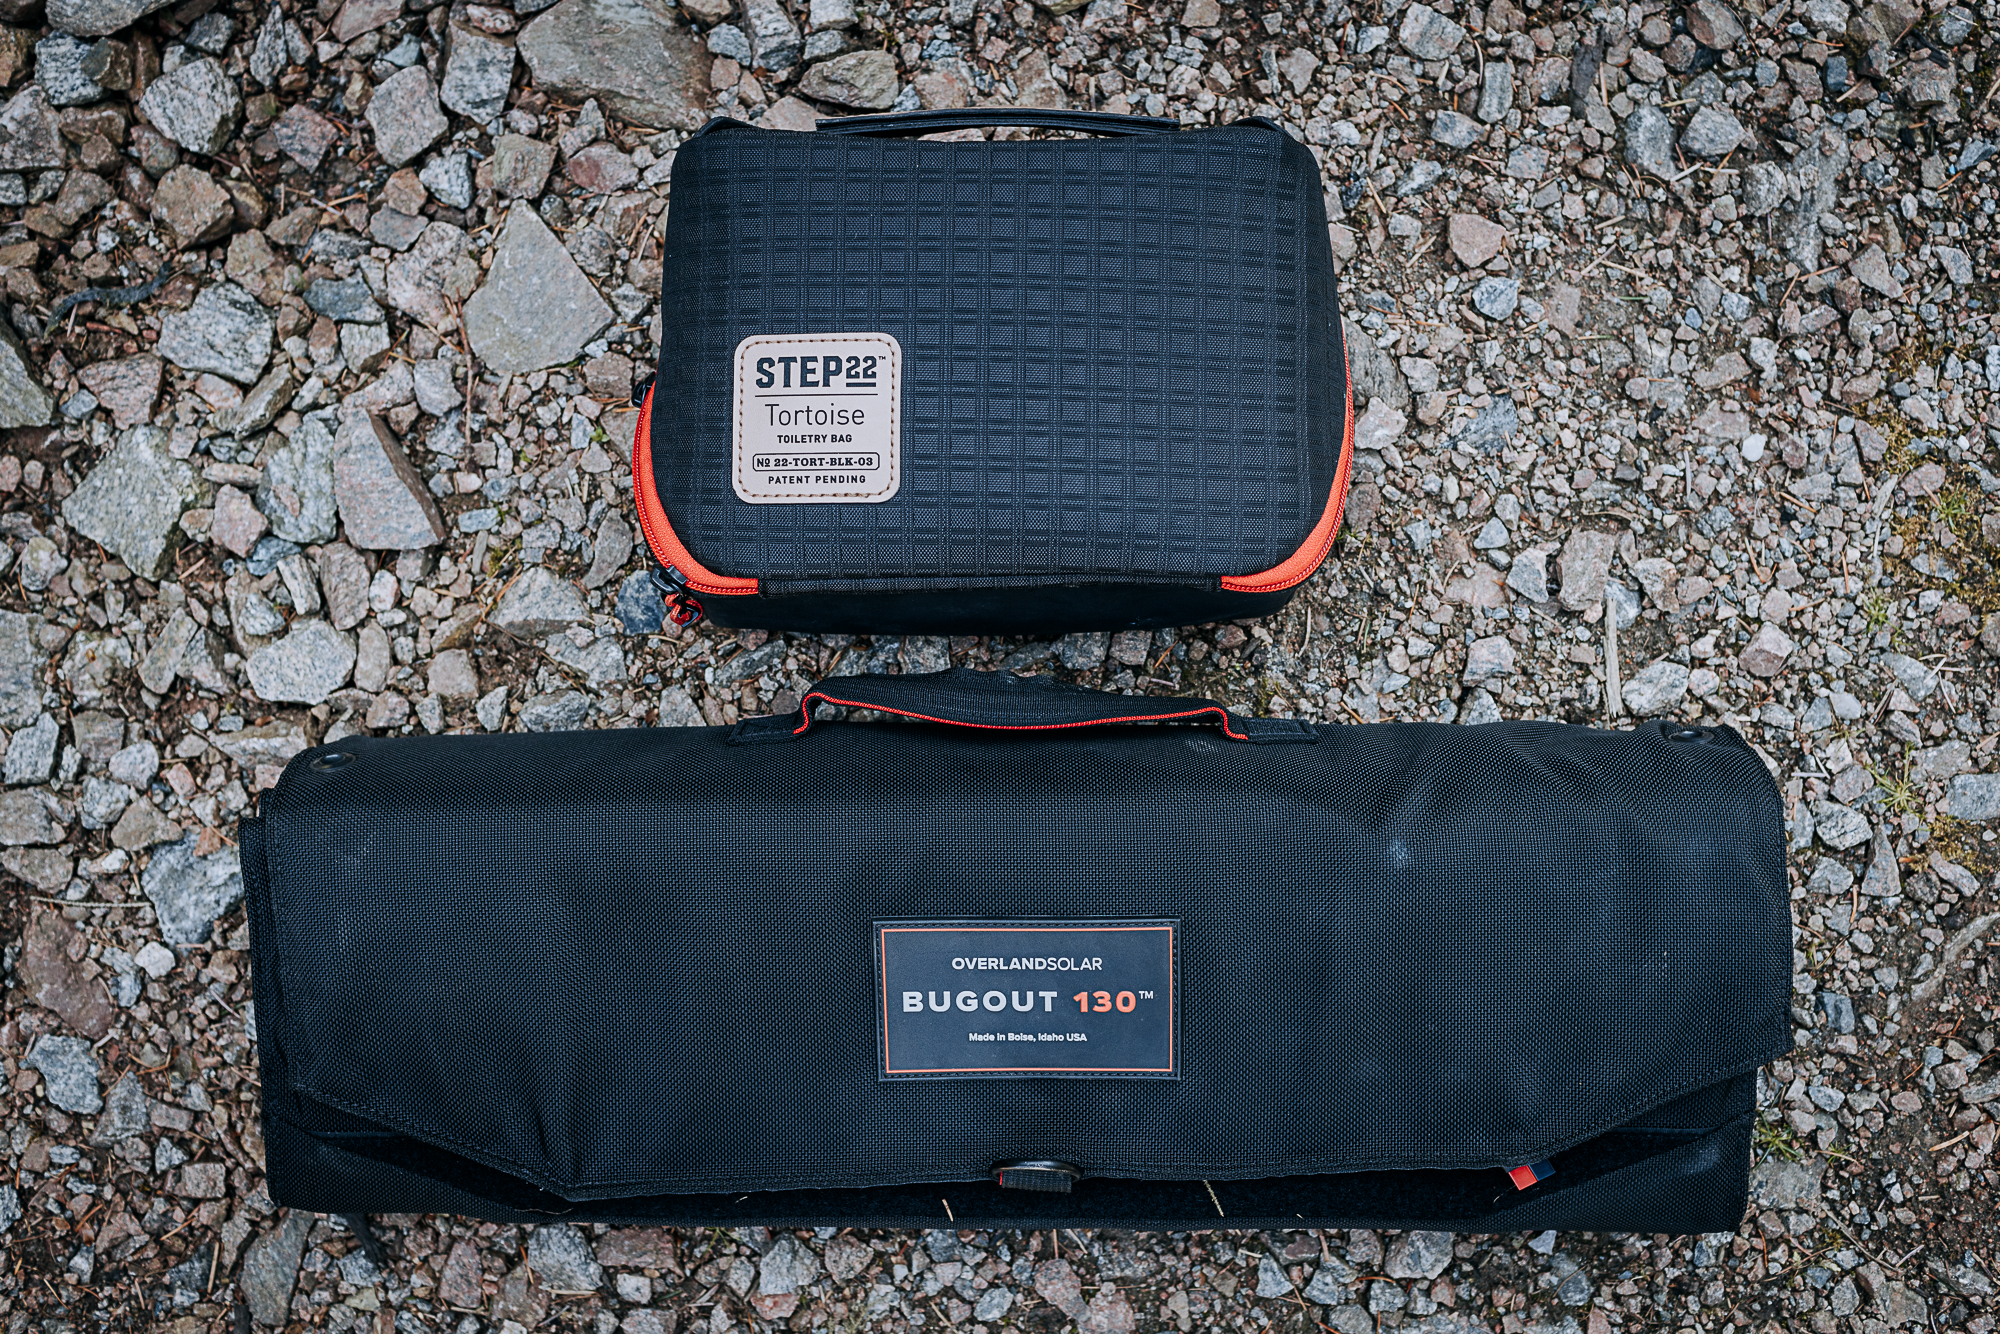
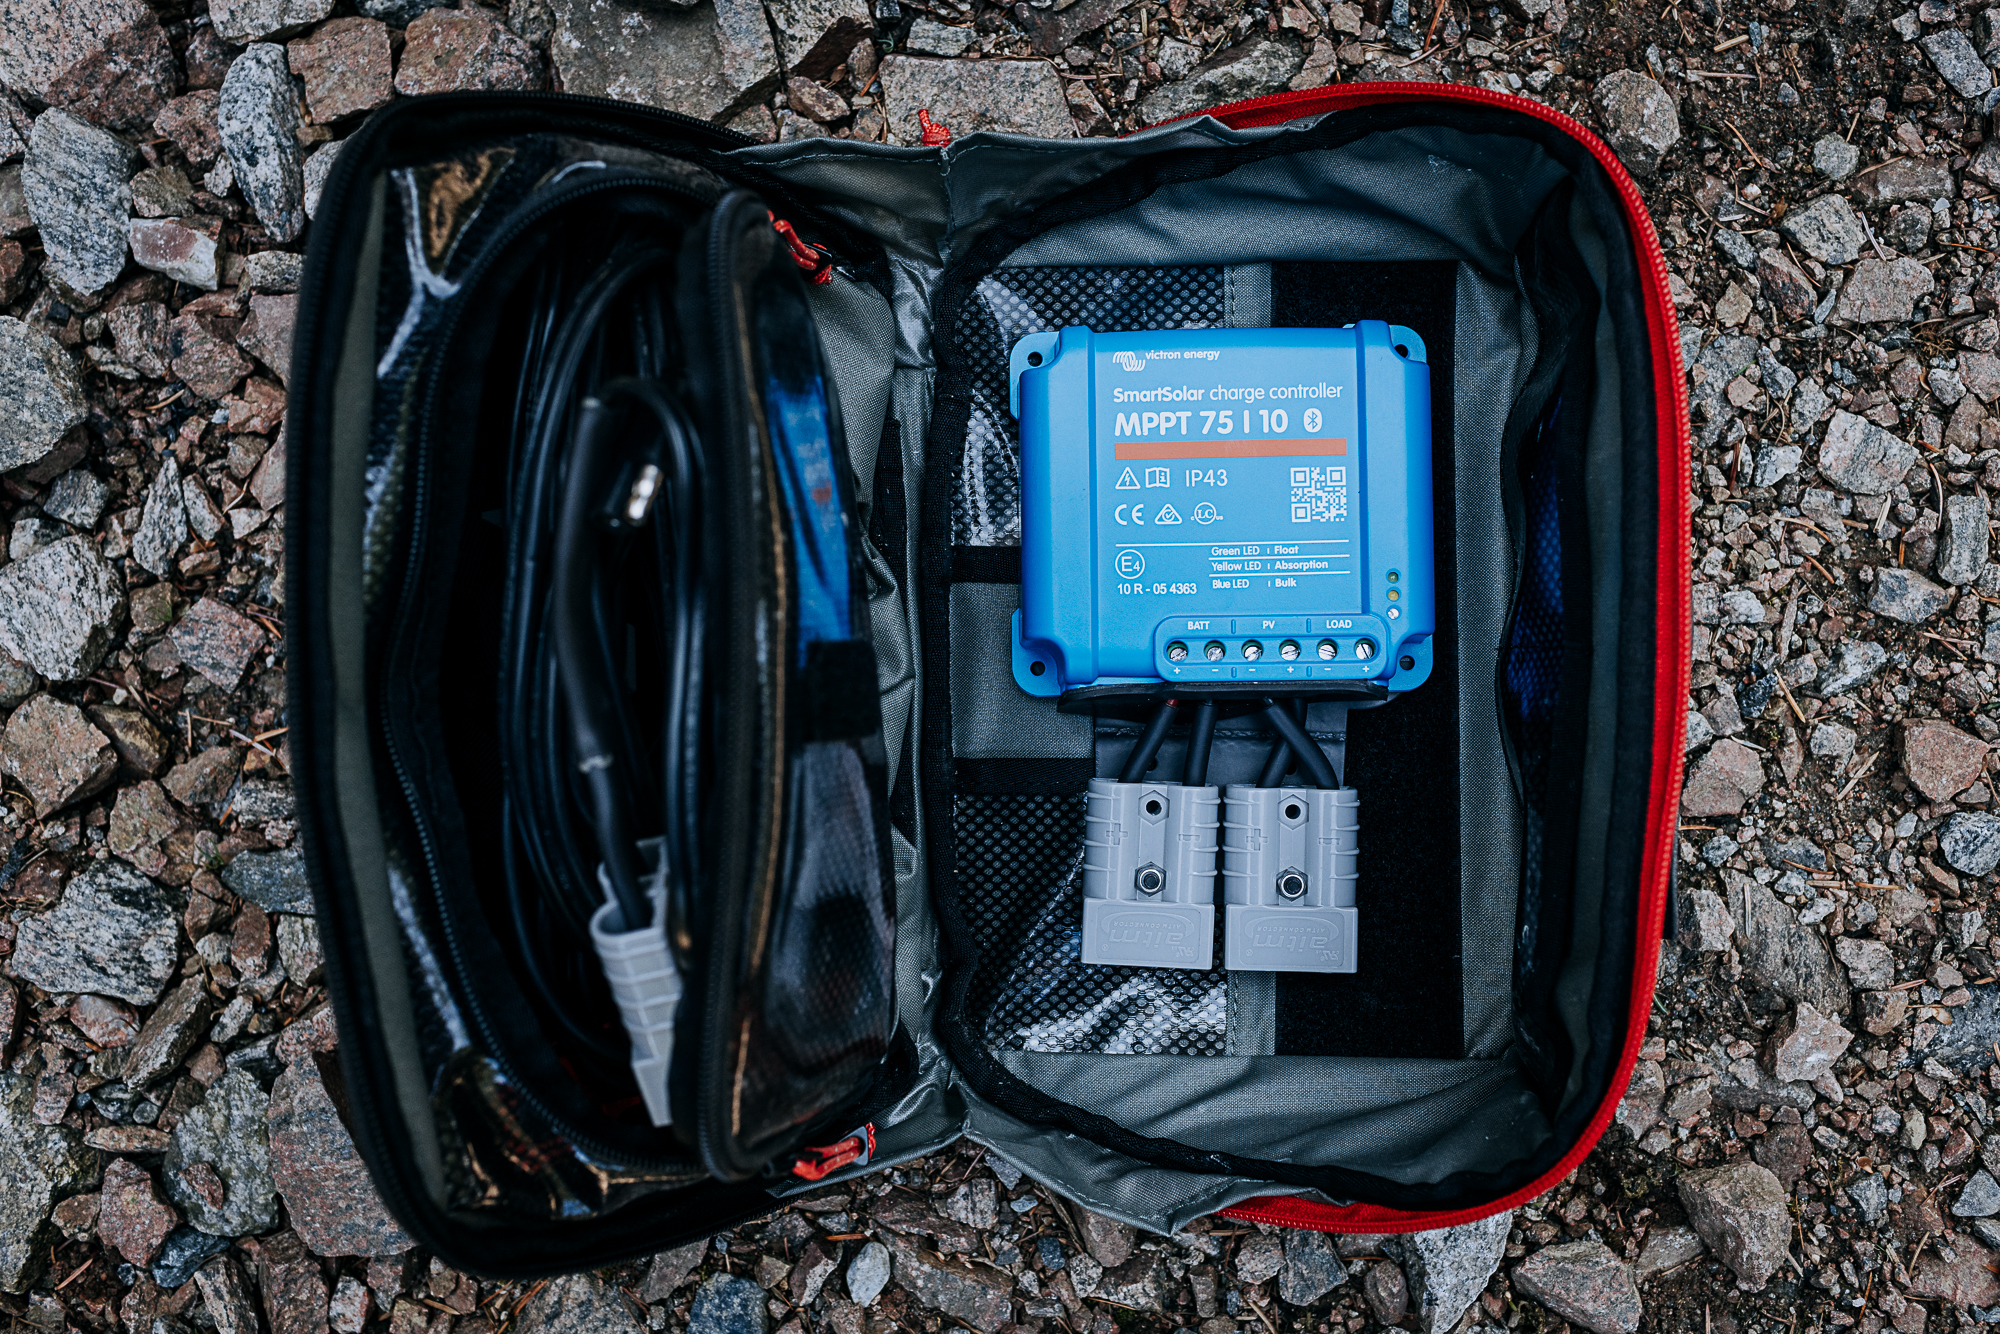
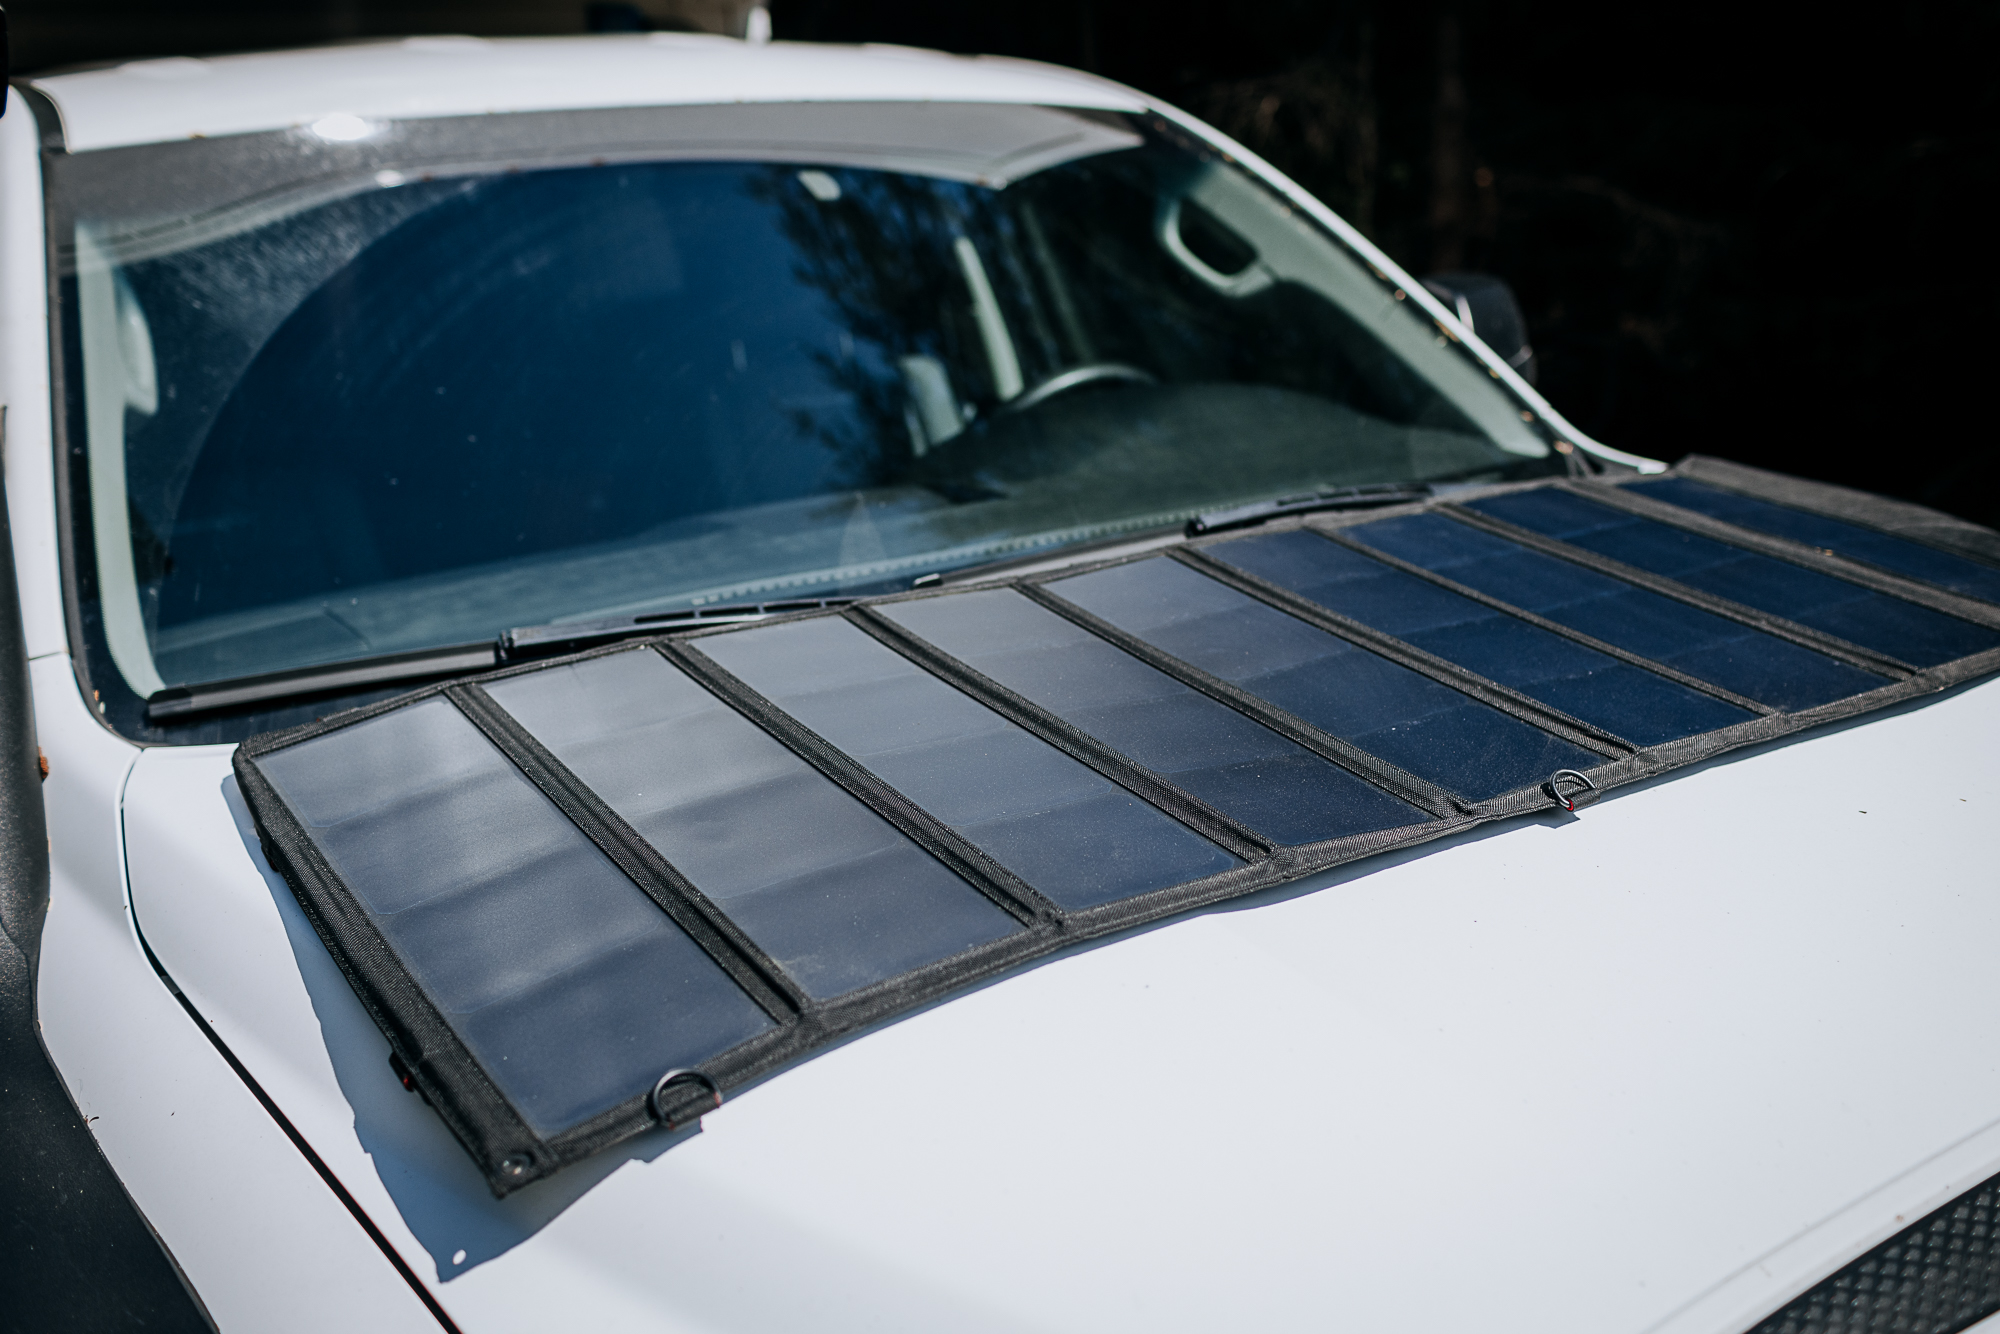
In addition to the Zamp panels, I packed an Overland Solar 130-watt Bugout portable panel and Victron Smart Solar MPPT 75|10. It’s light, packs nicely, and can be connected to the starting battery with clamps and charge the camper via the Victron Orion DC-to-DC charger or connected directly to the house batteries via the external SAE port on the side of the camper. Additionally, the portable panel will give us the option to camp in the shade but lay the panel in the sun. I built a simple bracket for the charge controller and used a handful of Anderson connectors for ease of connection. The Victron and all cables fit neatly into a Step 22 Tortoise toiletry bag.
Last Minute Addition – Starlink
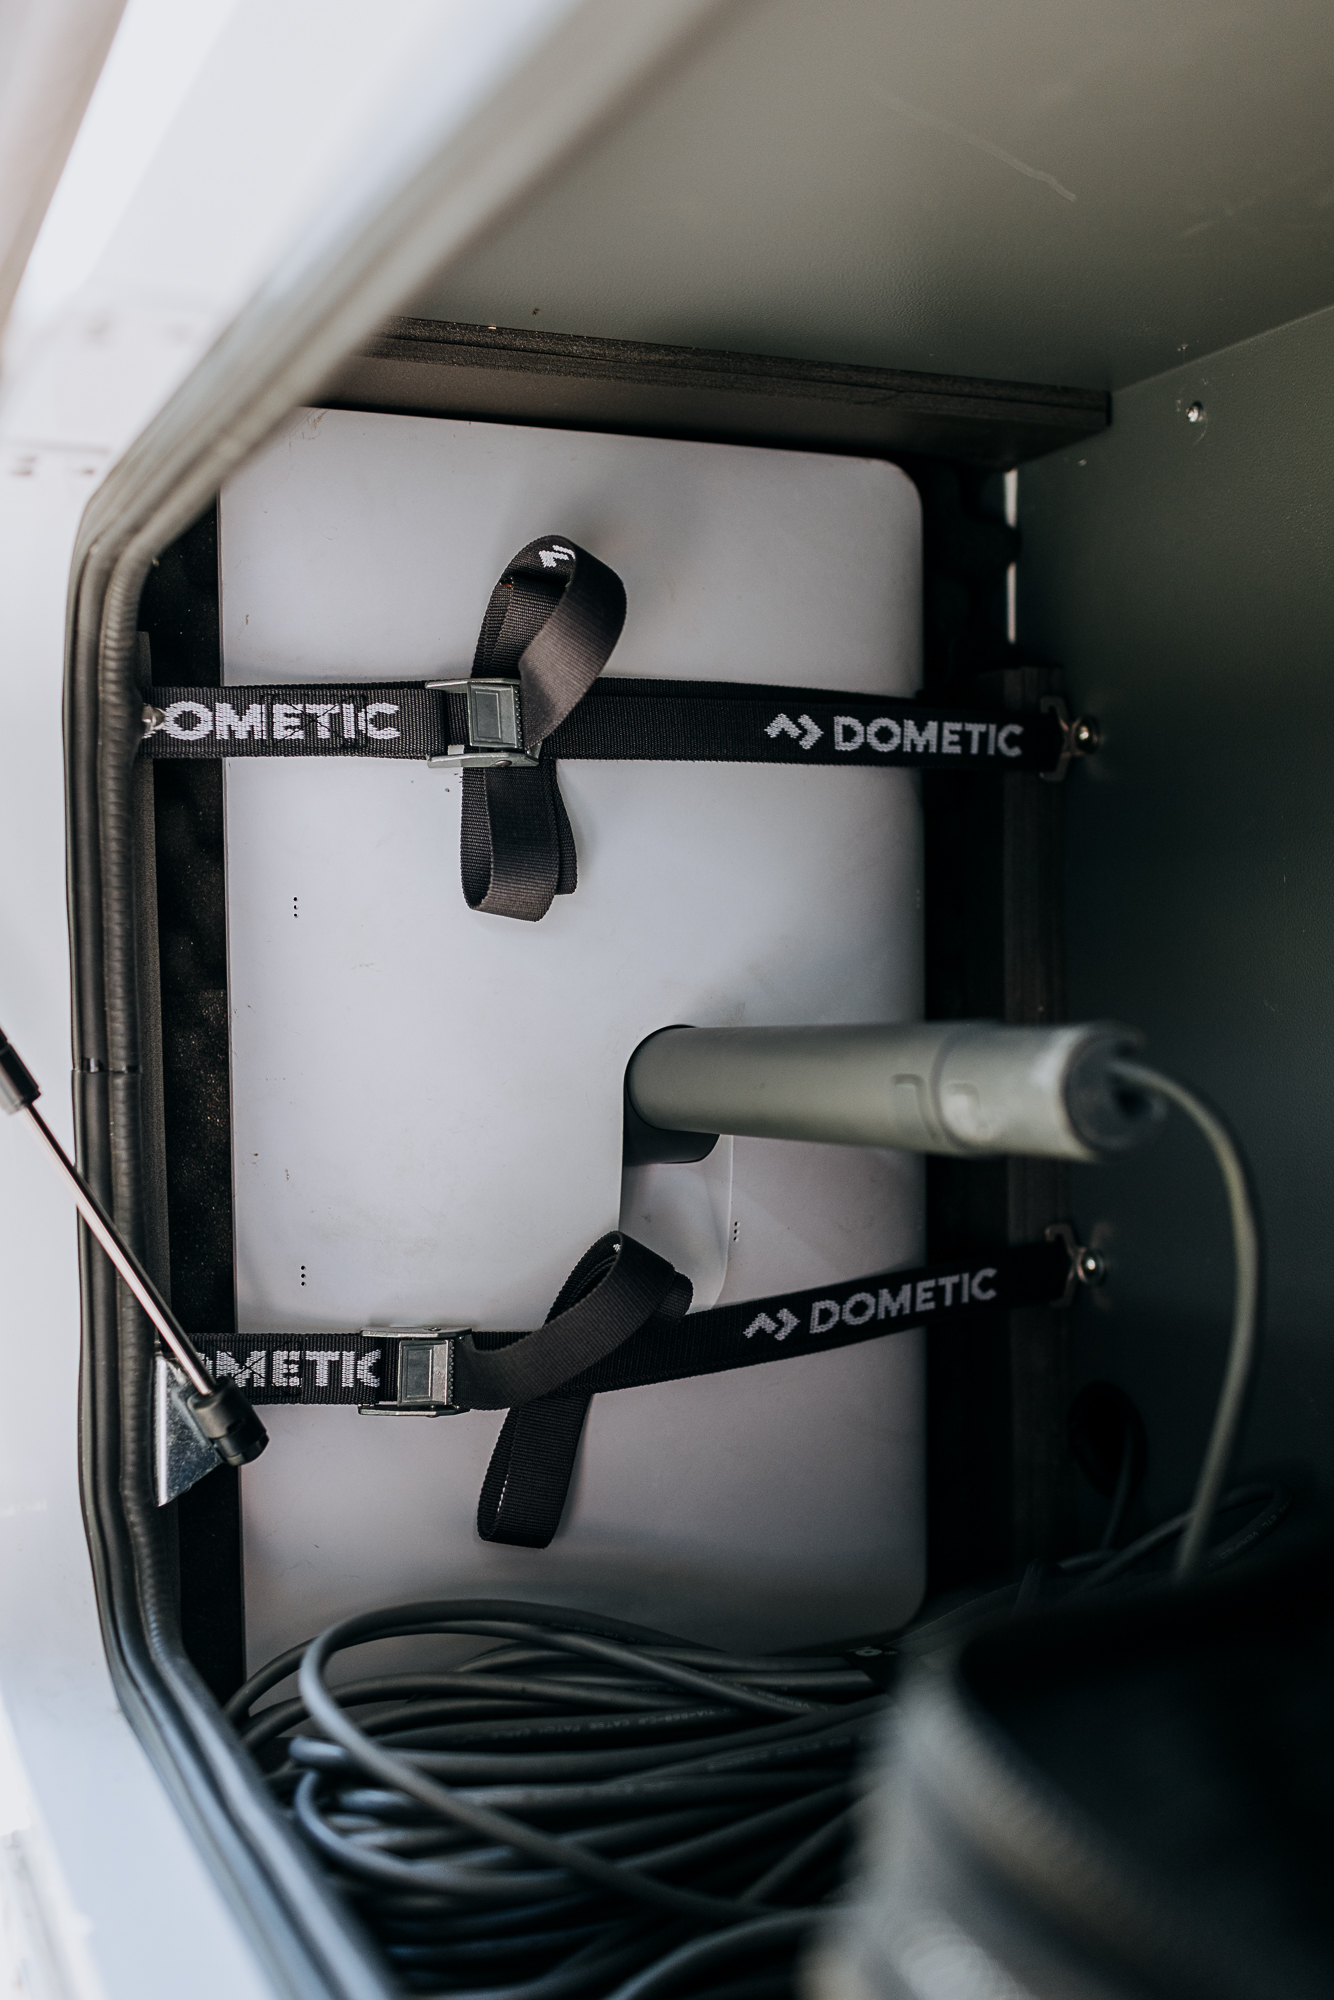
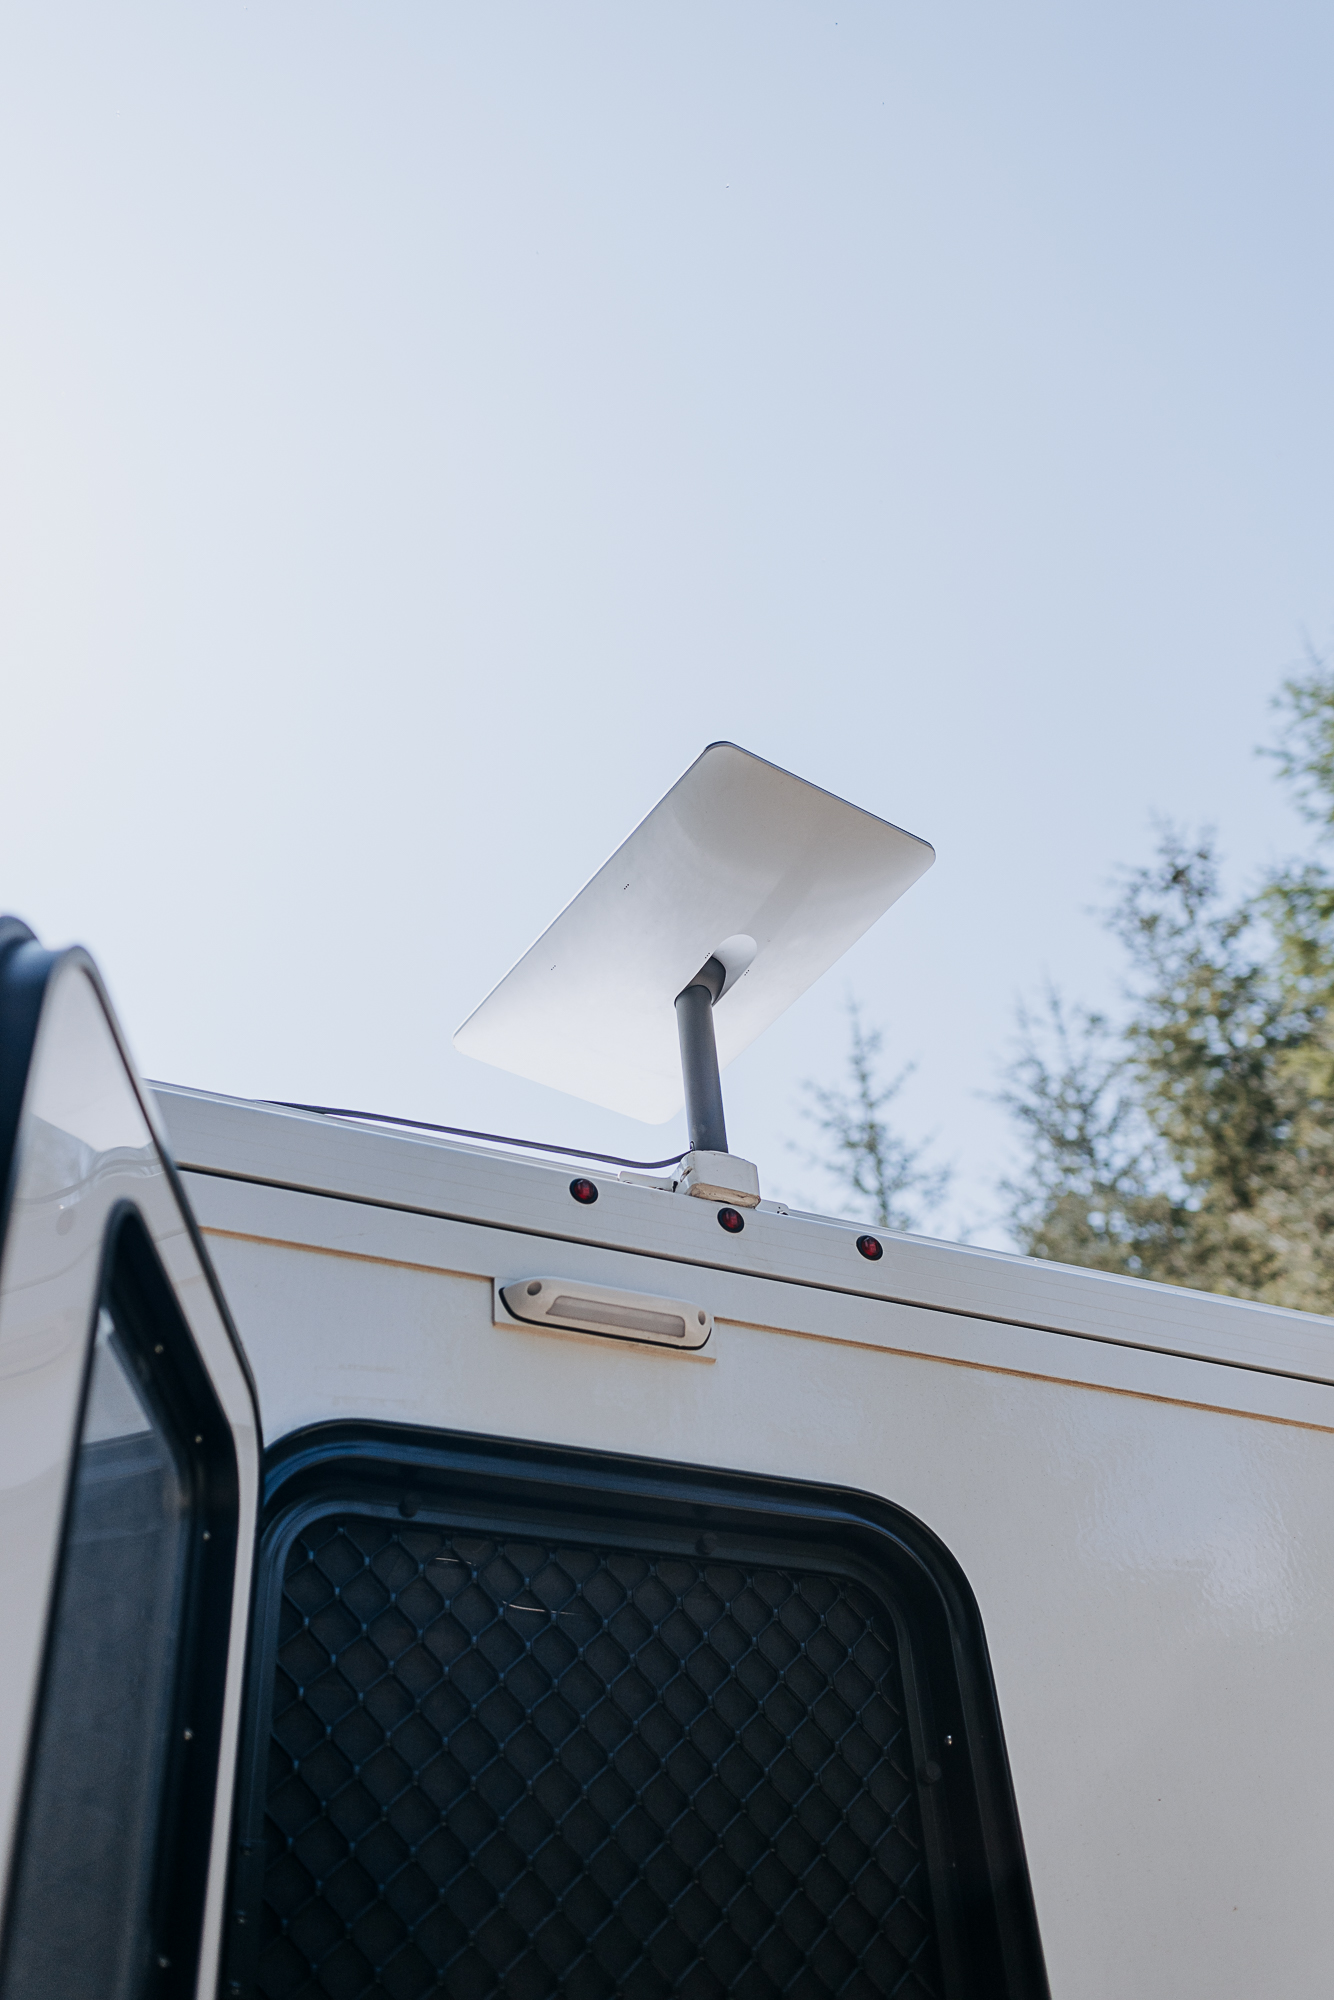
In the last remaining hours in the US, before shipping the truck to the UK, we ordered and installed Starlink. Yes, it’s an additional power load (about 3 amps on average), but a tool that is too good not to live without. When working from the road, we used to look for beautiful campsites in remote locations but with a cell signal. Eliminating that last need from our list means that we can focus on finding scenic camp spots—period. It’s probably going to tip our power draw to a point where we’ll have to pay attention to electrical usage on consecutive cloudy days when sitting still, but that’s a compromise we’re willing to live with until I can convert it to 12-volt power.
Conclusion
The above changes to the camper were all made with plenty of assumptions, some calculations, and a little bit of personal experience. After three months of use, we have mostly positive things to say about each of the changes.
The 55-liter CFX55IM is large enough to stock a week’s worth of fresh fruit, veggies, meat, and dairy. Since our next limiting factor is water (which also lasts about a week), the mid-size Dometic looks to have been a great choice. We haven’t used the ice maker function yet, but then again, we haven’t been in temperatures higher than 18°C in months.
At this point, we have only used the camper in North America and the UK, but the Guzzle Stealth water filtration system on board has added peace of mind regardless of where we fill our freshwater tank.
Although power-hungry, the induction cooktop has been a game changer. Cooking in an enclosed space with gas is something I try to avoid, so the ease and safety of using the Dometic cooktop have proven that induction is my preferred stove type. As expected, LPG has been hard to find on this side of the pond, so rationing the propane for the heater has worked out quite well.
In the far north of Scotland, especially on consecutive cloudy days, we do have to pay attention to battery input and output. At these latitudes, solar output is decreased, and when you combine that with plenty of time inside the camper working or waiting out rainstorms, power usage is increased. The backpacking stove has been put to use to boil water for coffee or tea on occasion to save battery capacity for Starlink, but that’s a small price to pay compared to buying another solar panel or lithium battery. This will likely be less of a concern in lower latitudes combined with more sun. In the future, converting the Startlink to a flat mount and to 12-volt (instead of powering it from the inverter) will make connection possible while moving and use a fraction of the power. That surely will be the next modification, but until then, we’ll enjoy our Alpine camper as we trundle through Europe, Northern Africa, and beyond.
Our No Compromise Clause: We do not accept advertorial content or allow advertising to influence our coverage, and our contributors are guaranteed editorial independence. Overland International may earn a small commission from affiliate links included in this article. We appreciate your support.
