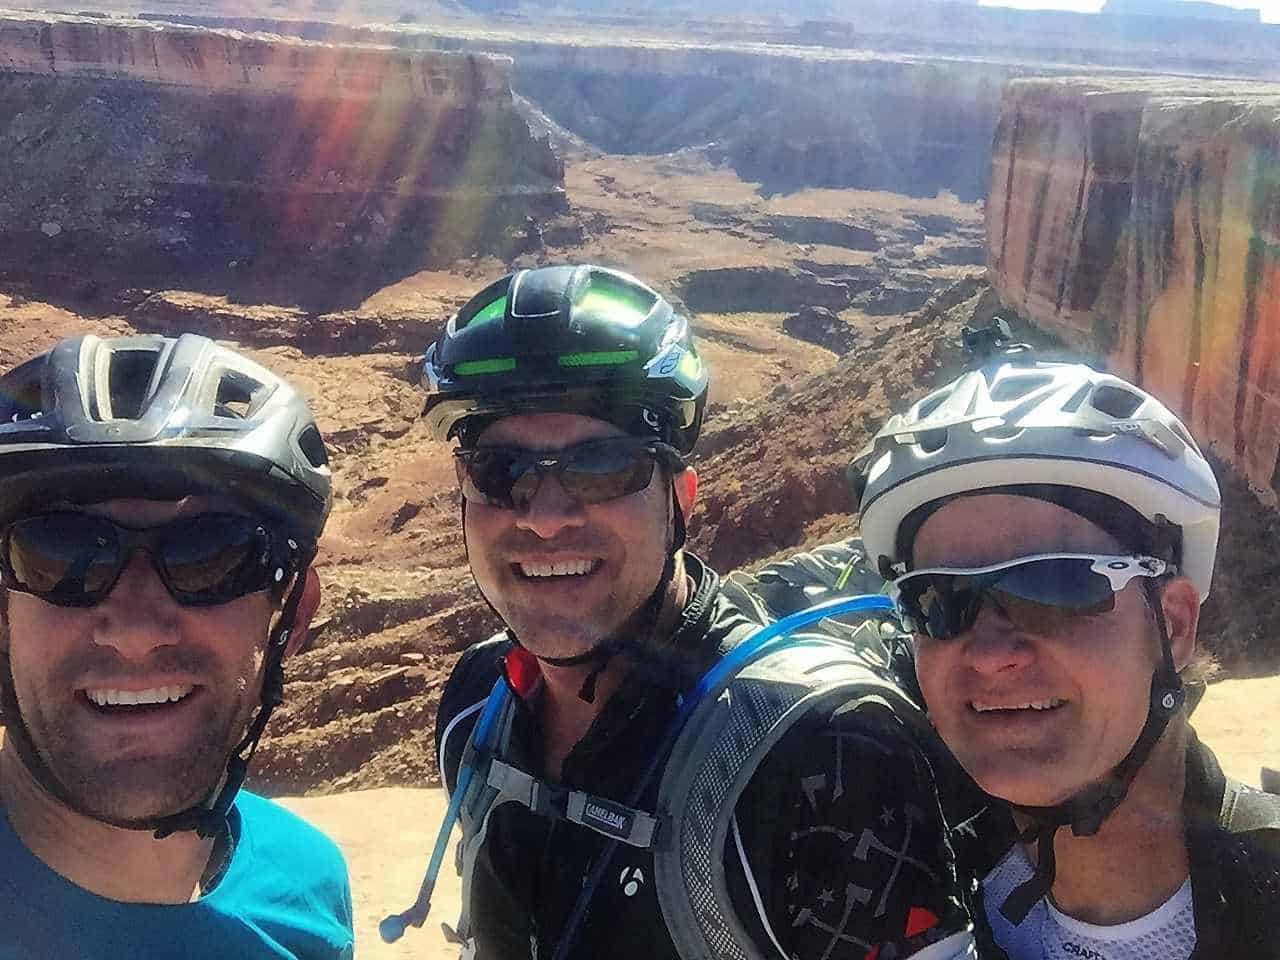
The word “epic” gets thrown around way too much these days in the adventure realm – and rarely is it used accurately. But there are quite a few truly epic one-day mountain bike rides in this country for which the word is spot on, and the White Rim Trail (WRT) in Moab Utah is a perfect example. For many years this was a staple for my Boulder cycling gang’s spring training, and after a too-long hiatus, I returned the Rim for another epic ride, and brought my cousin Blair and colleague Nic along for the ride – both rookies to the Rim and in fact to mountain bike centuries.
Webster’s defines the word epic as, “extending beyond the usual or ordinary especially in size or scope,” and there is absolutely nothing about riding the White Rim in a Day (WRIAD) that is usual or ordinary. Riding this famous 100-mile (give or take) loop through the Canyonlands National Park in a single day is as demanding as it is rewarding. There’s simply no other way to experience this magnificent park in this rider’s humble opinion, and every self-respecting endurance rider should have this on their list.

While the vast majority of riders who ride the WRT do so in 3-5 days, with full logistical support from one of the many guide services in the area, WRIAD riders must finish the rim in a single shot and are generally self supported over the ~8-13-hour affair. I say “must” because the only other options are getting pulled out by the park service or an unplanned bivy for the night, since most of this journey is many miles/hours from paved roads or any services. For this reason – and just to assure a safe and relatively comfortable adventure – riders need to plan meticulously, assuming the worst and hoping for the best. We’ve put together this guide to help you do just that.
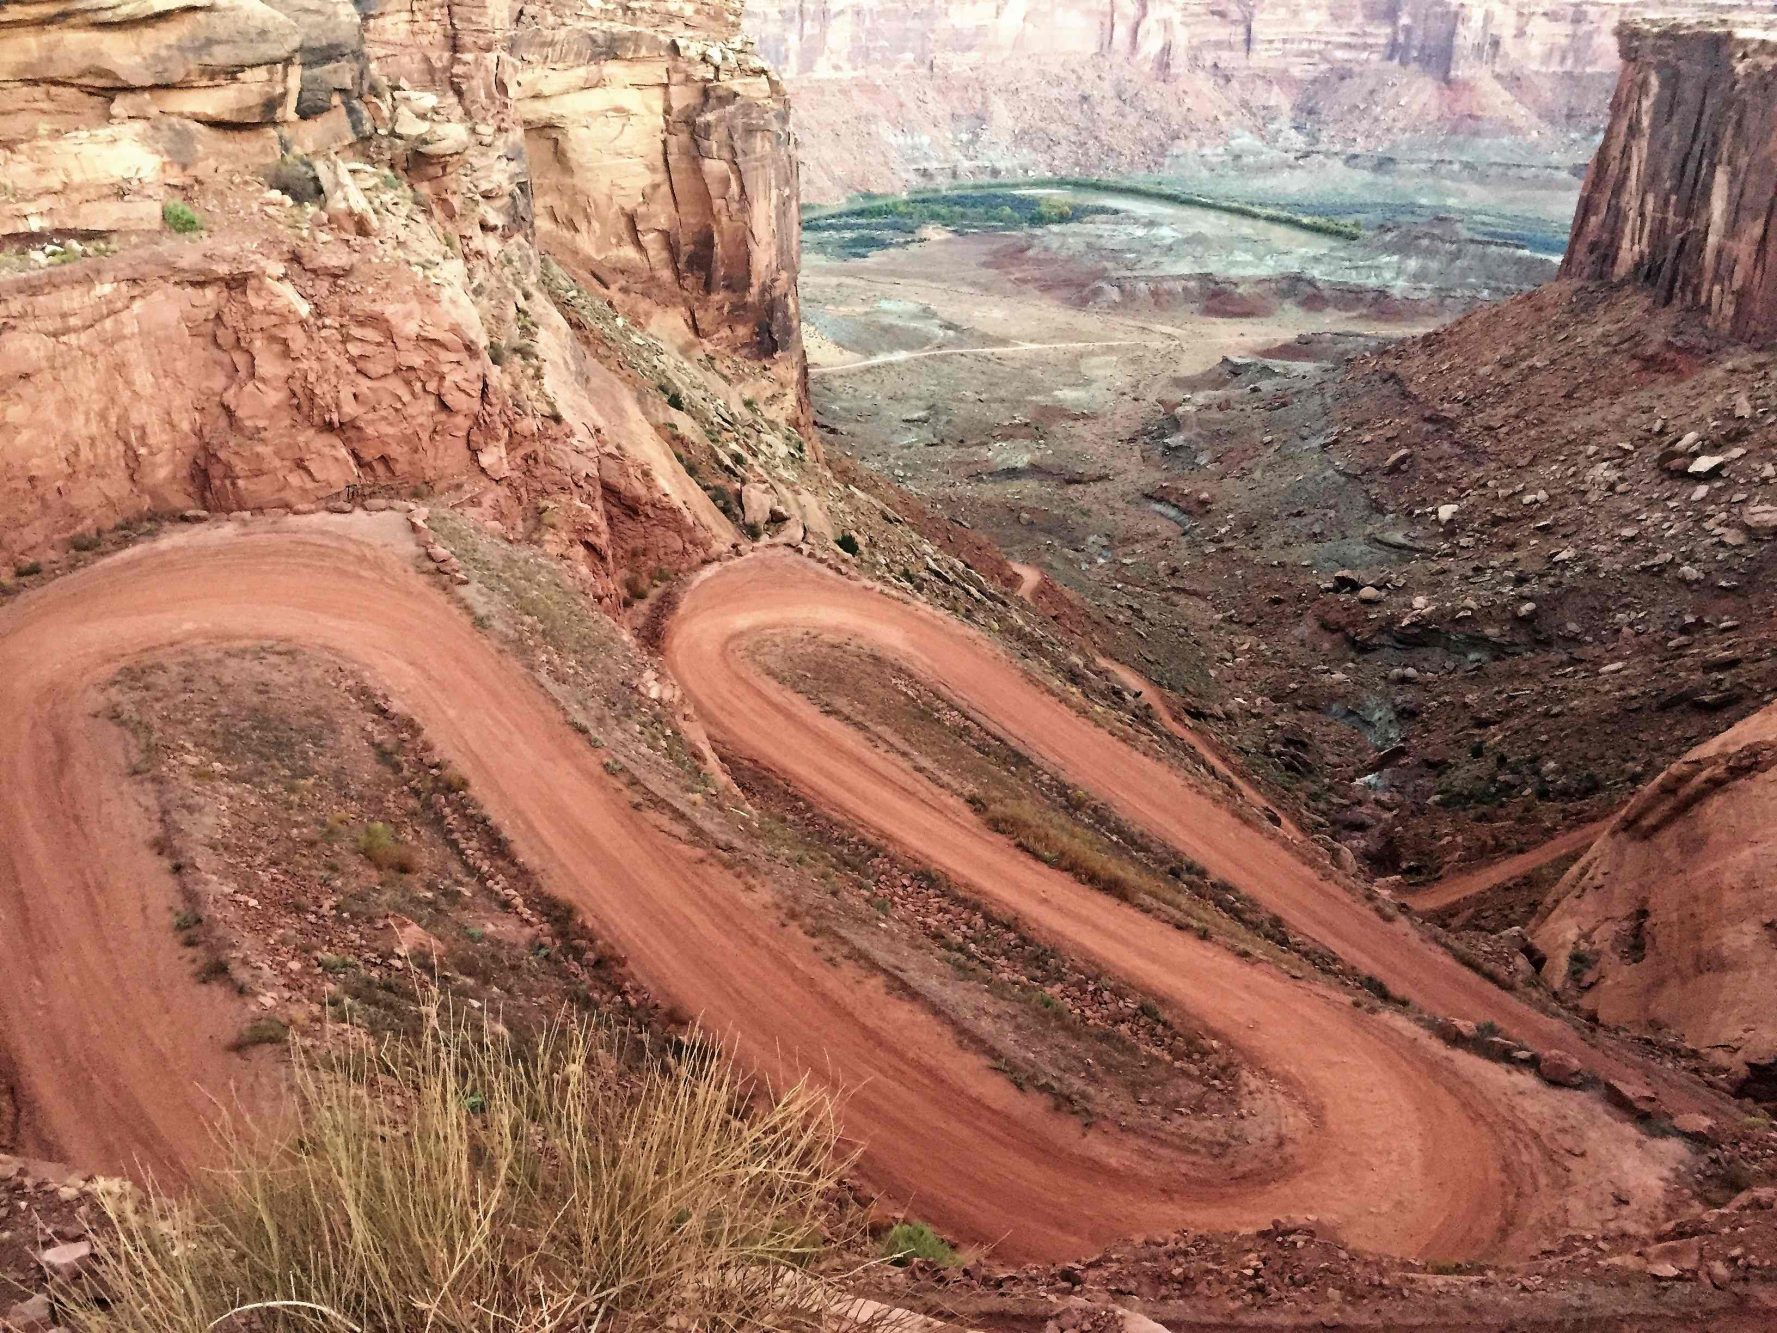
White Rim Trail Terrain, Climbs and Specs
- Terrain: The vast majority of the trail is non-technical, dirt/sandstone road. There are long sections of deep sand, some long climbs with very steep grinds, and a few short technical sections with bigger obstacles and loose rock. Otherwise the surface is relatively fast and grippy, albeit almost entirely covered in small bumps and ripples in the sandstone, making for a rough ride over the long haul.
- Shape: Oval (north/south) with zig-zag pattern throughout
- Total distance: 97.3 miles (Google Maps); 101 miles (most computers)
- Highest Elevation: 6200’
- Lowest Elevation: 3950’
- Ascent/Descent: ~7000’ (depending on device)
- Schafer Road Climb: 5.5 miles; 1450’ (most climbing in 2-mile section)
- Mineral Bottom Climb: 1.5 miles; 900’
- Murphy’s Hogback: 1.2 mile, 500’ (CW); 1 mile, 400’ (CCW)
- Hardscrabble Hogback: 1.7 miles, 420’ (CW); 1.1 miles, 400’ (CCW)
When To Go:
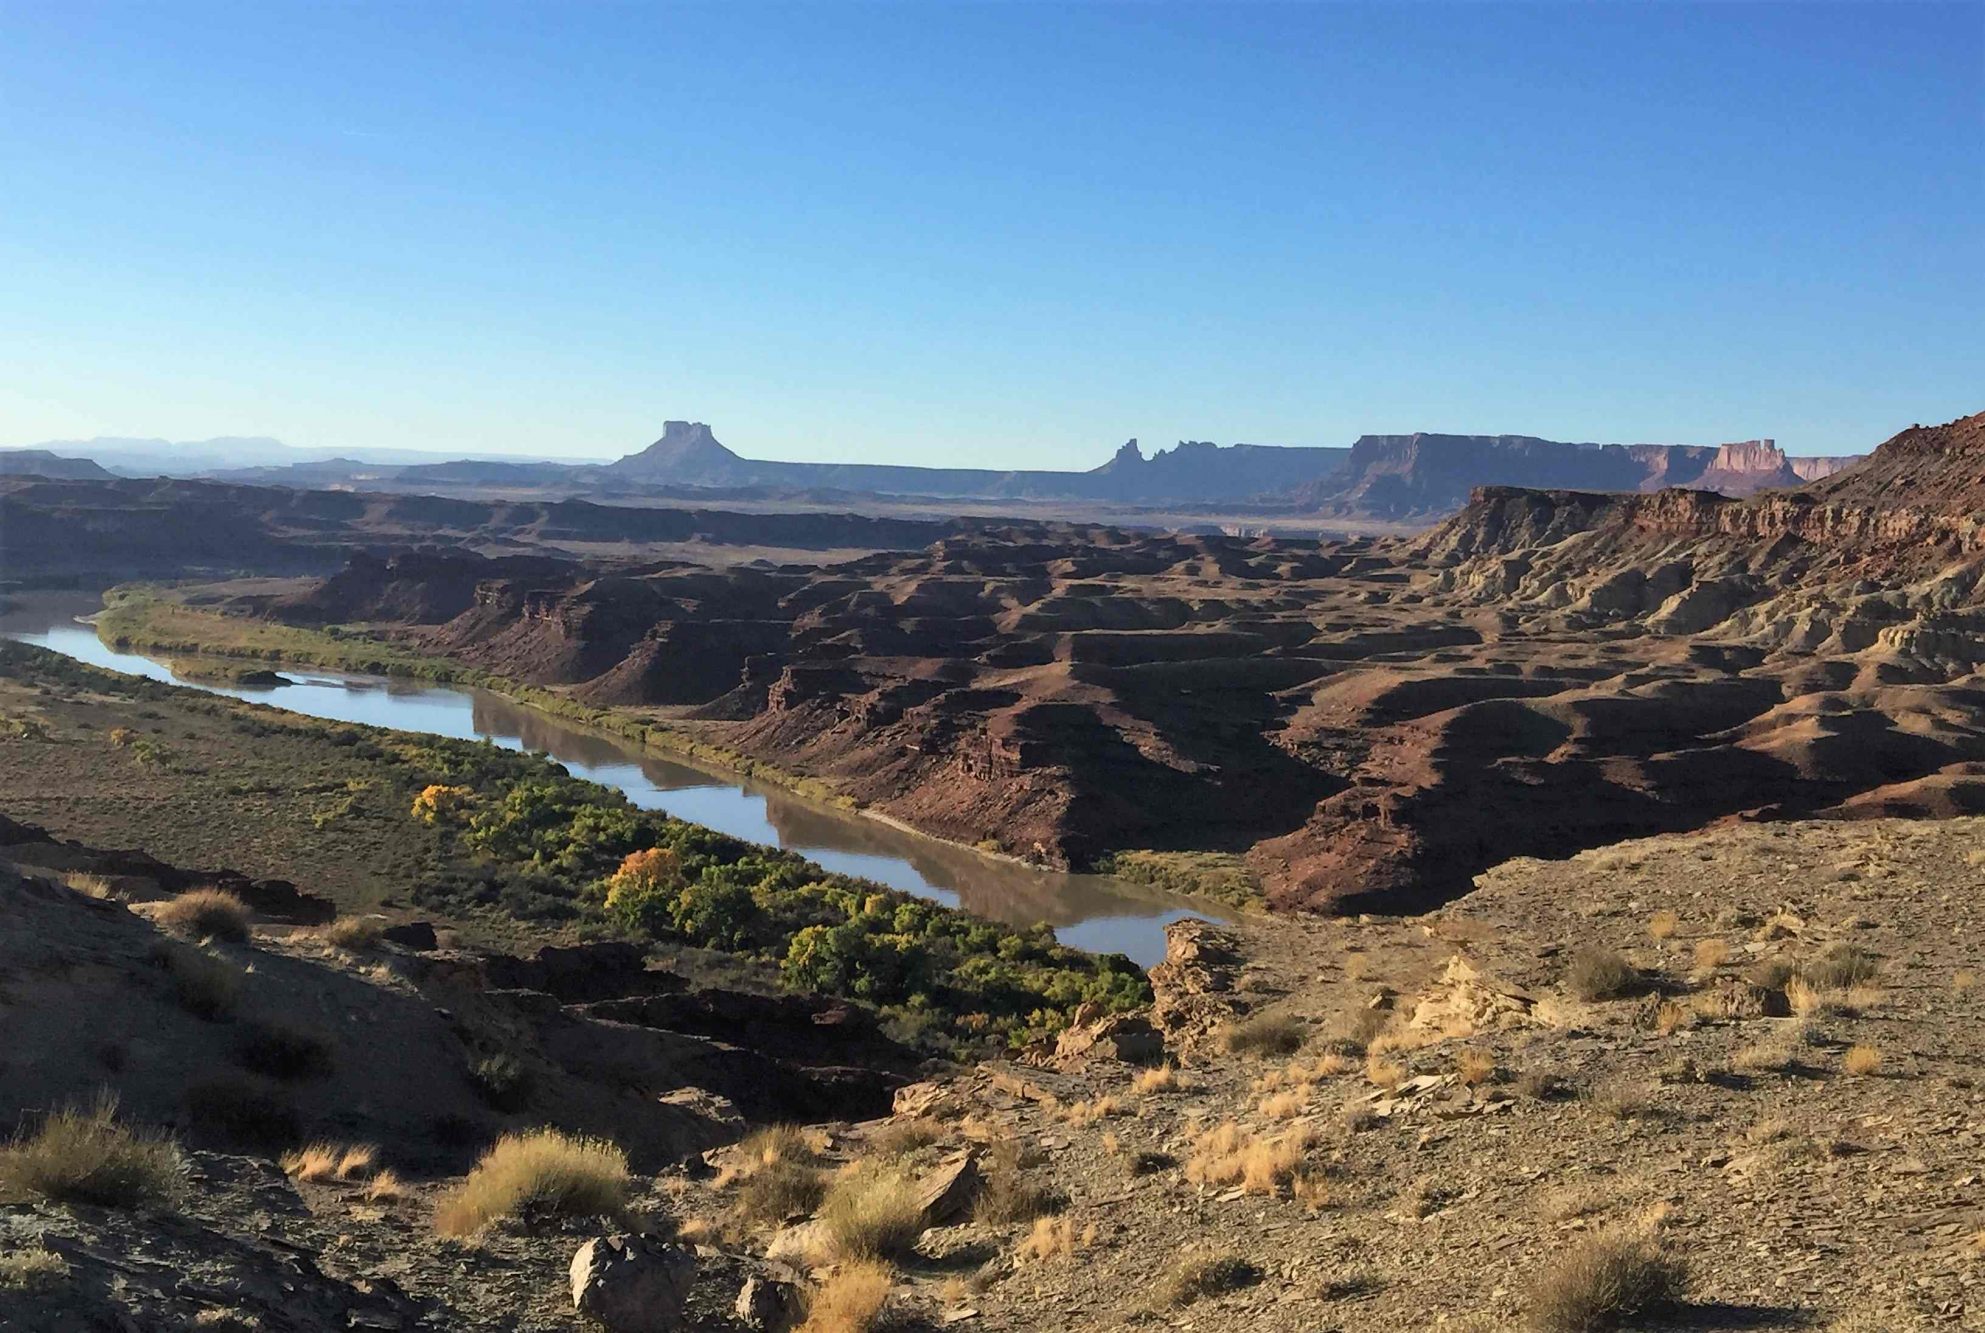
The heat in the Utah desert can be stifling and even dangerous during the height of summer, so we highly recommend doing WRIAD in the shoulder seasons: late March through early June or September-October. You’ll need to weigh the benefits of cooler versus warmer highs and lows. Lows during these periods generally hover in the high 30’s and low 40’s with highs in the 70’s and 80’s. Shoulder seasons also mean less daylight of course, so slower riders will need lights (more details below).
Vehicle Support or Self-Supported?
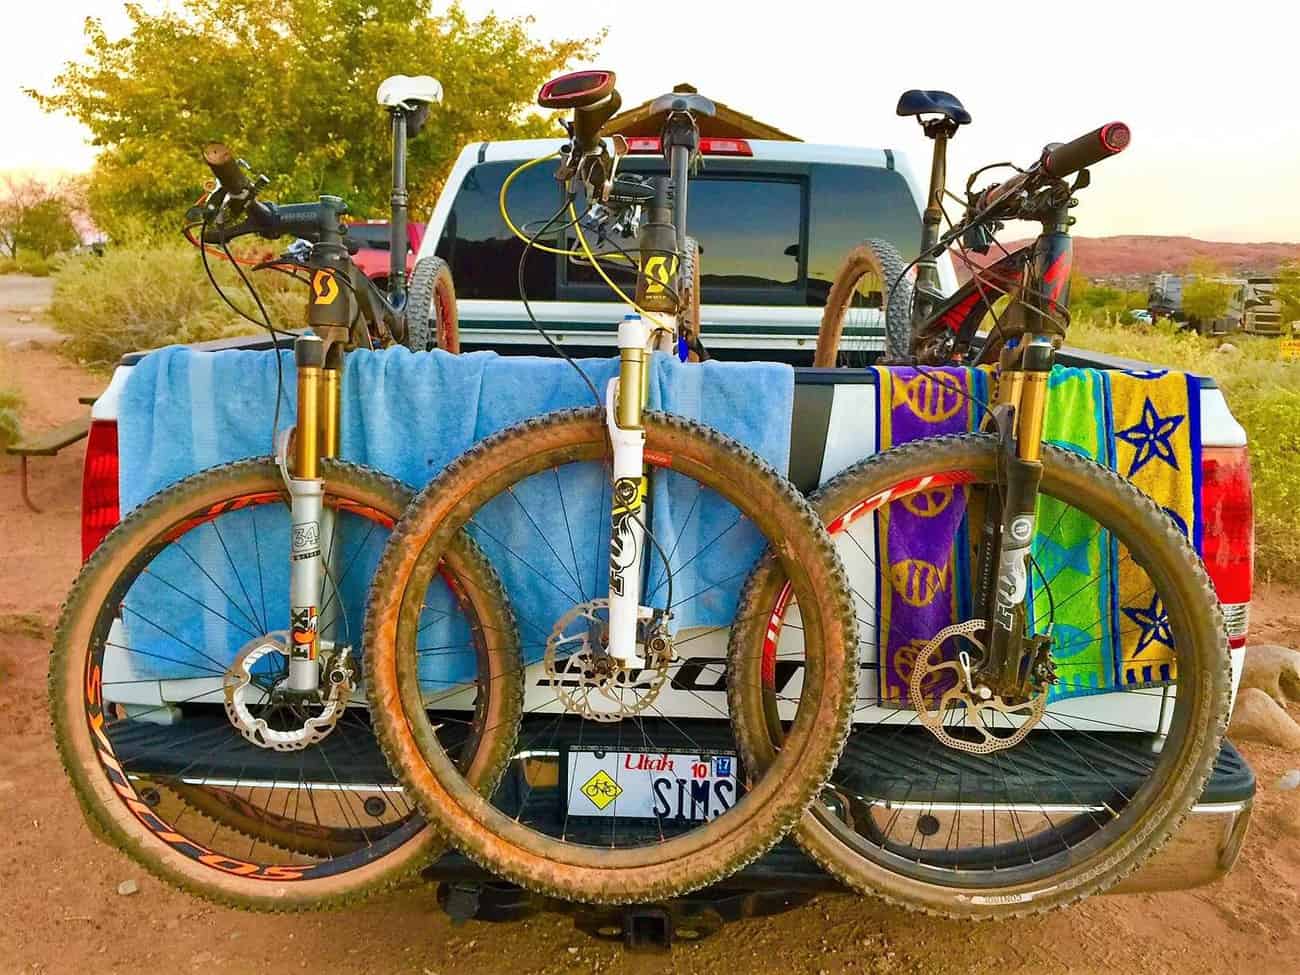
Ok, so you’ve decided you’re going to do this and you know when. Now you need to start planning – and the first decision should be whether you want to tough it out on a self-supported attack, or have a SAG vehicle accompany you on the loop. Unless you’re highly experienced at self-supported endurance efforts – and you have some first-aid and wrenching knowledge – we recommend having support. While the purists out there may say this is “cheating,” we’d rather see you safe and successful than hardcore and stuck in the desert! Trust me, having done this multiple times self- and sag-supported, I’m equally happy with and proud of each of my finishes.
That said, if you’re confident in your ability, this route is definitely rideable without support, especially considering the popularity of this route with tour companies – there are usually several opportunities to bum some supplies if needed, and people are happy to help the “crazies” who are attempting this route in one day! We’ve detailed the supply list below, and we IMPLORE you first-timers to heed our advice. And if you want to have a sag wagon out there, make sure the driver is confident driving on 4WD roads, highly reliable and prompt, and willing to put in a long day in the dust. This may not be the most thrilling day for the driver, but they’ll be rewarded with some of the most stunning scenery in the world from a perspective few park visitors ever enjoy. Again, see below for more details on prep for the sag wagon.
Starting point and Direction
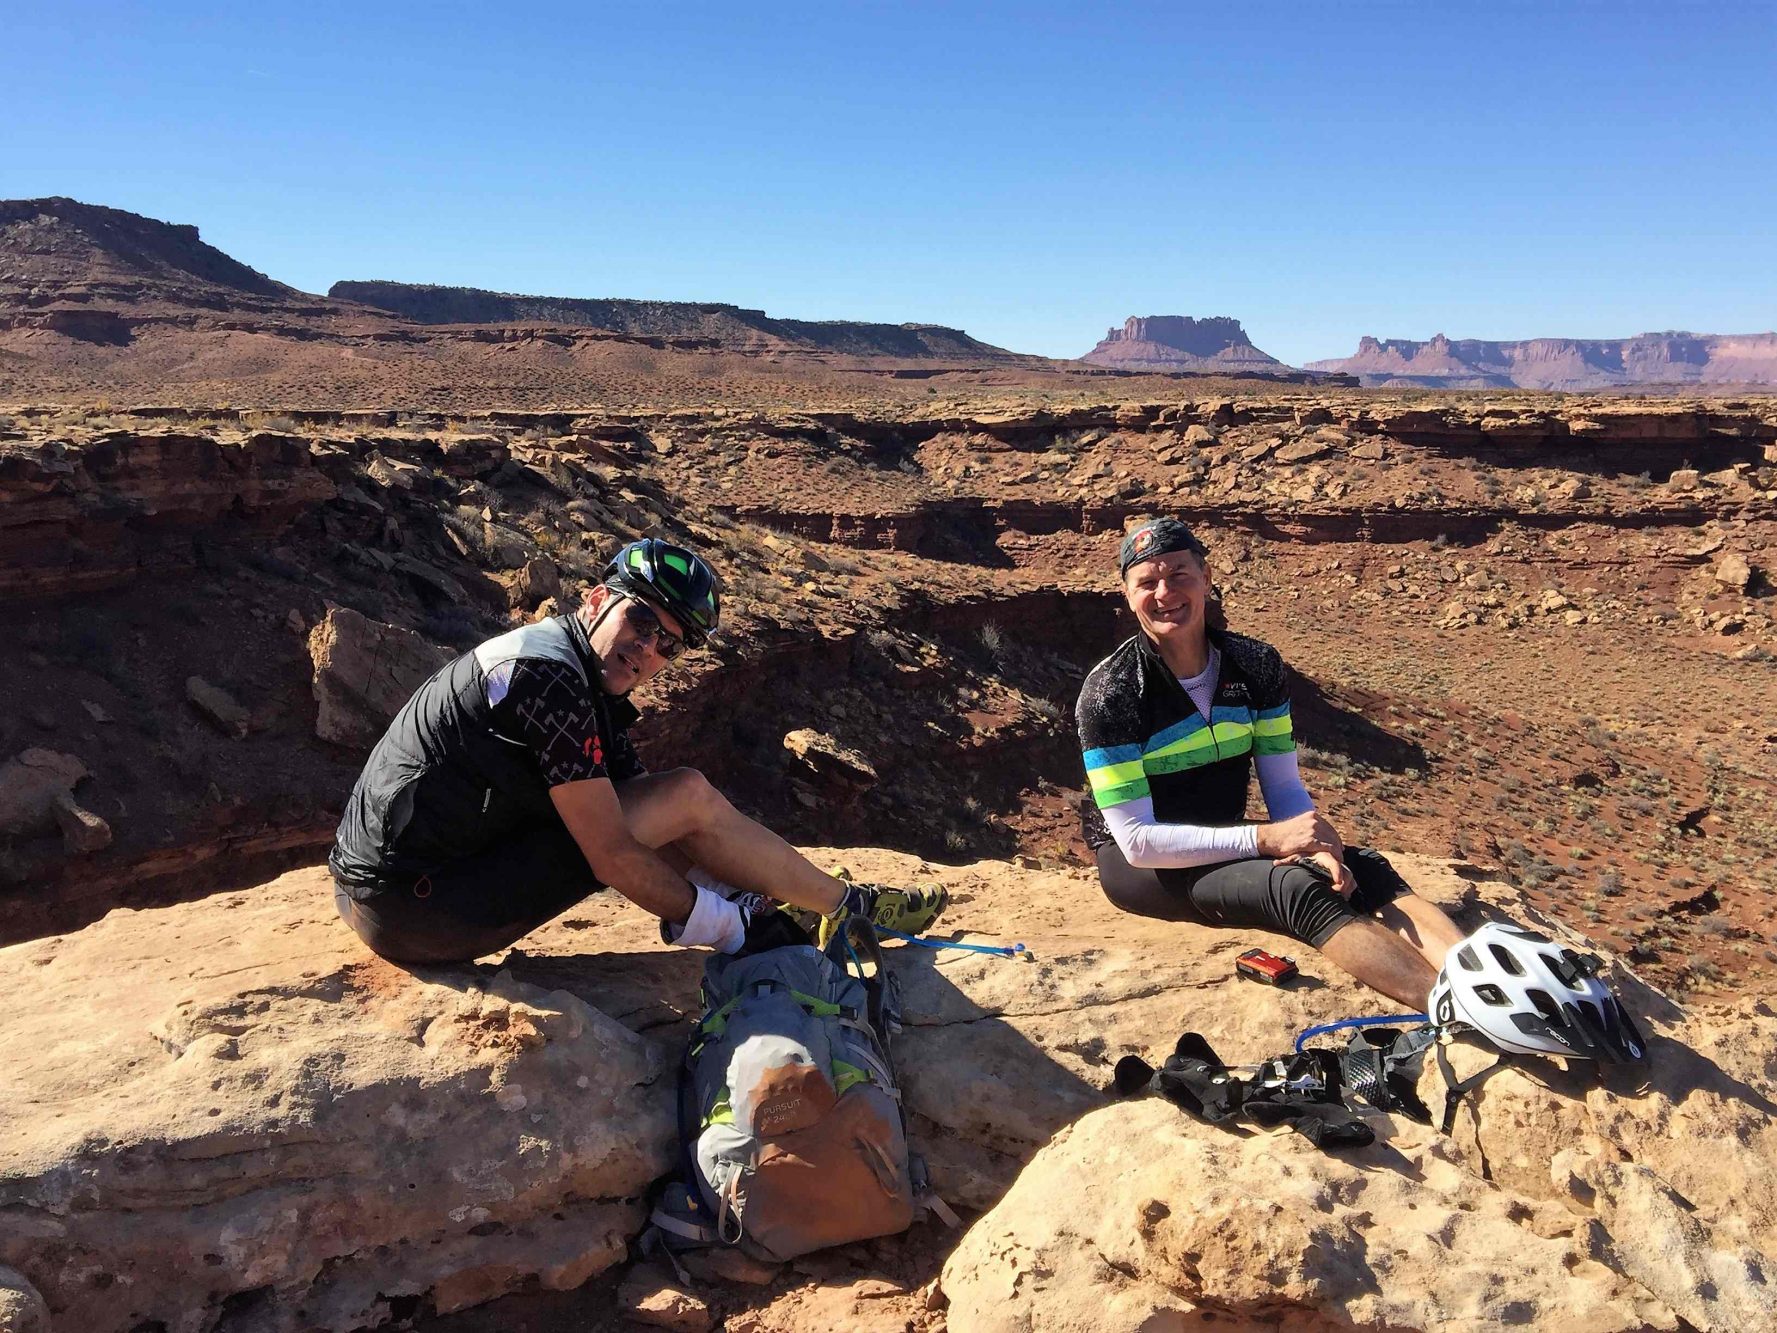
Once the support question is answered, the next decision you’ll probably need to make is where to start and which direction to ride. Since only about 20 miles of the route is easily accessible by (the rest is 4WD road), that limits your start options to this stretch of the loop regardless of riding direction. We’ll break this into clockwise and counter and go from there.
Whichever direction you choose, most of the start will be downhill. Since we highly recommend starting early and getting the dark hours over at the beginning, this means an easy start. And a cold start. This may help you choose a direction. Let’s start with clockwise. If you’re highly susceptible to cold, or temps are especially cold, you may want to start with a climb to warm up and limit the wind in your face. The best way to do this is park at the top of the Mineral Bottom climb and start riding UP the BLM 129 road toward the visitor’s center. This is a gradual (5.2% average) smooth dirt road climb for 12 miles, connecting to a 4-mile paved section before dropping into the Schafer Road (SR) descent onto the Rim. This also means a shorter and somewhat easier (NOT easy!) climb back up Mineral Bottom (MB) – only 1.5 miles at 11.6% average instead of SR at 5.5% average with a 2-mile section around 14%!

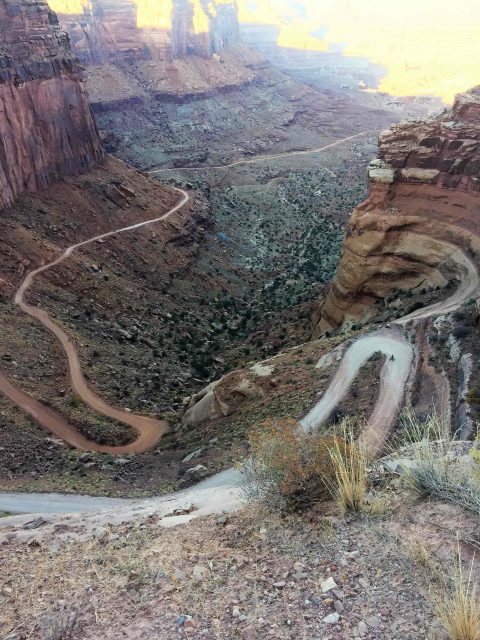
However if the cold is not a major factor, and you don’t want to drive as far (or on dirt roads) to the start, you can start at or near the visitor’s center (starting at the actual parking lot will add 2 miles to your total) and drop down SR onto the rim. You may freeze for the first half hour or so, but soon you’ll be in the “flats” working again, so you’ll warm up quickly. The downside to this route is the long climb out – while MB it’s not nearly as difficult as SR, once you hit the top of the canyon you still have almost 17 miles of mostly gradual uphill (1200’) before the finish. This can prove brutal at the end of this ride.
The other difference in direction is terrain: Most of the more difficult climbing and technical riding is on the MB side of White Crack (the southernmost point and emotional “halfway” point). So if you prefer lots of shorter climbs in the second half instead of one killer one (SR) then you’ll want to head clockwise. However if you want to get these sections over with while you’re still fresh, counterclockwise is generally better.

My most recent ride, however, was counterclockwise because of something else entirely: We had a support car planning to meet us late in the ride (instead of looping with us) just in case. Since the Schafer side is much less technical driving, we had the car drive down SR and head out clockwise, while we rode counterclockwise. At about mile 80 we met them for a last-chance aid stop. This is a great way to compromise between self- and sag-supported – while not completely self-supported, we still had to bring everything needed for 80 miles of hard (and hot) riding. Riding this direction, you again the two best options are starting at the top of Schafer (or the nearby visitor’s center) or at the top of MB. The former means a long, potentially freezing, descent – although there are a few miles of very gradual, paved uphill at the very beginning – to the MB descent to the Green River. And you won’t warm up as quickly in the flats because the sun is still far away and you’re right on the riverbank. But the upside is when you hit the SR climb, you’ll know you’re almost done. If you start at the top of MB you’ll still have a few miles of uphill and 10-plus miles of gradual descent to the finish (some of which you’ll need to pedal).
What You Need
- Bike (duh!): Some riders may choose a hardtail (or full-rigid if totally crazy!) but we HIGHLY recommend a full-suspension XC rig. No need for more than 100mm of travel, but full suspension will be very appreciated after 10-plus hours of bumpy sandstone riding. Lighter is better of course, especially at this distance. Also, RUN TUBELESS! “Goat heads” are everywhere along the trail, so tubes are not the best idea.
- Light: Most riders can’t possibly finish this within daylight hours. But no need for a heavy light; just a 2-watt commuter will do.
- Water/Sport Drink: Most experts suggest between 12-16 ounces per hour: For most riders this will mean over 160 ounces. We recommend two separate bladders in your pack, one sport drink and one water. If you have support you can cut back according to how often you’ll see your vehicle. If not, but you refuse to carry this much, you MIGHT be able to bum liquids from others on the trail, but we don’t recommend this, especially for rookies.
- Food: You’ll want to consume at least 100 calories per hour, although we recommend much more, especially for rookies, so plan accordingly. Most of this can be traditional training foods, but we also recommend some more enjoyable, high-calorie food like candy bars, nuts, dried fruit, and/or even a sandwich or some pasta for a full mid-ride meal. Just be sure to eat these foods on some training rides so you know your stomach can handle it!
- Tools/Supplies: Every rider should have a large pack for hydration and tools: a pump, multitool, two tubes (or one if riding tubeless), and a patch kit. At least one rider should have a chain tool, shock pump, knife, duct tape and a first-aid kit and emergency blanket.
- Apparel: Early and late hours during shoulder seasons are COLD and midday can me HOT! So each rider should have start with a basic kit of chamois shorts and a short sleeve jersey (and perhaps a base layer). Along with that each should have AT LEAST: full-finger gloves, vest and/or jacket, headband or skull cap, arm and knee warmers, sunglasses. You may also need an extra jersey if especially cold. It rarely rains out there, but when it does it can be quite cold, so a slicker may be a good idea as well.
Now Go Ride!
I could write another whole story on how to actually ride when out there, but all I really need to say is this: Start Slow and Taper (SST)! This is a LONG day on the bike. It’s hot and dusty. You’ll probably have to conserve water. Your bike WILL have issues. If you’re riding this for the first time, or if you don’t have loads of ultra-endurance riding experience, there is no reason to go for speed. Simply finish!


One Comment
Beck Hickman
January 8th, 2019 at 8:06 amThanks for the great write-up! I primarily road cycle, and have done plenty of centuries on my road bike. I’d really like to try White Rim in one day, but since I have very little experience on a mountain bike, I’m concerned. Do you think this is doable for someone who is in decent shape and rides hours on a road bike? Are the technical parts something that could be walked instead of biked over? Thanks so much!