Get your tickets to THE BIG THING 2026!

Installation: Cycleracks Rear Rack for Suzuki DR200

A black metal Cycleracks Rear Rack with horizontal bars and mounting brackets, designed for easy installation on a Suzuki DR200, lying on a smooth gray surface.

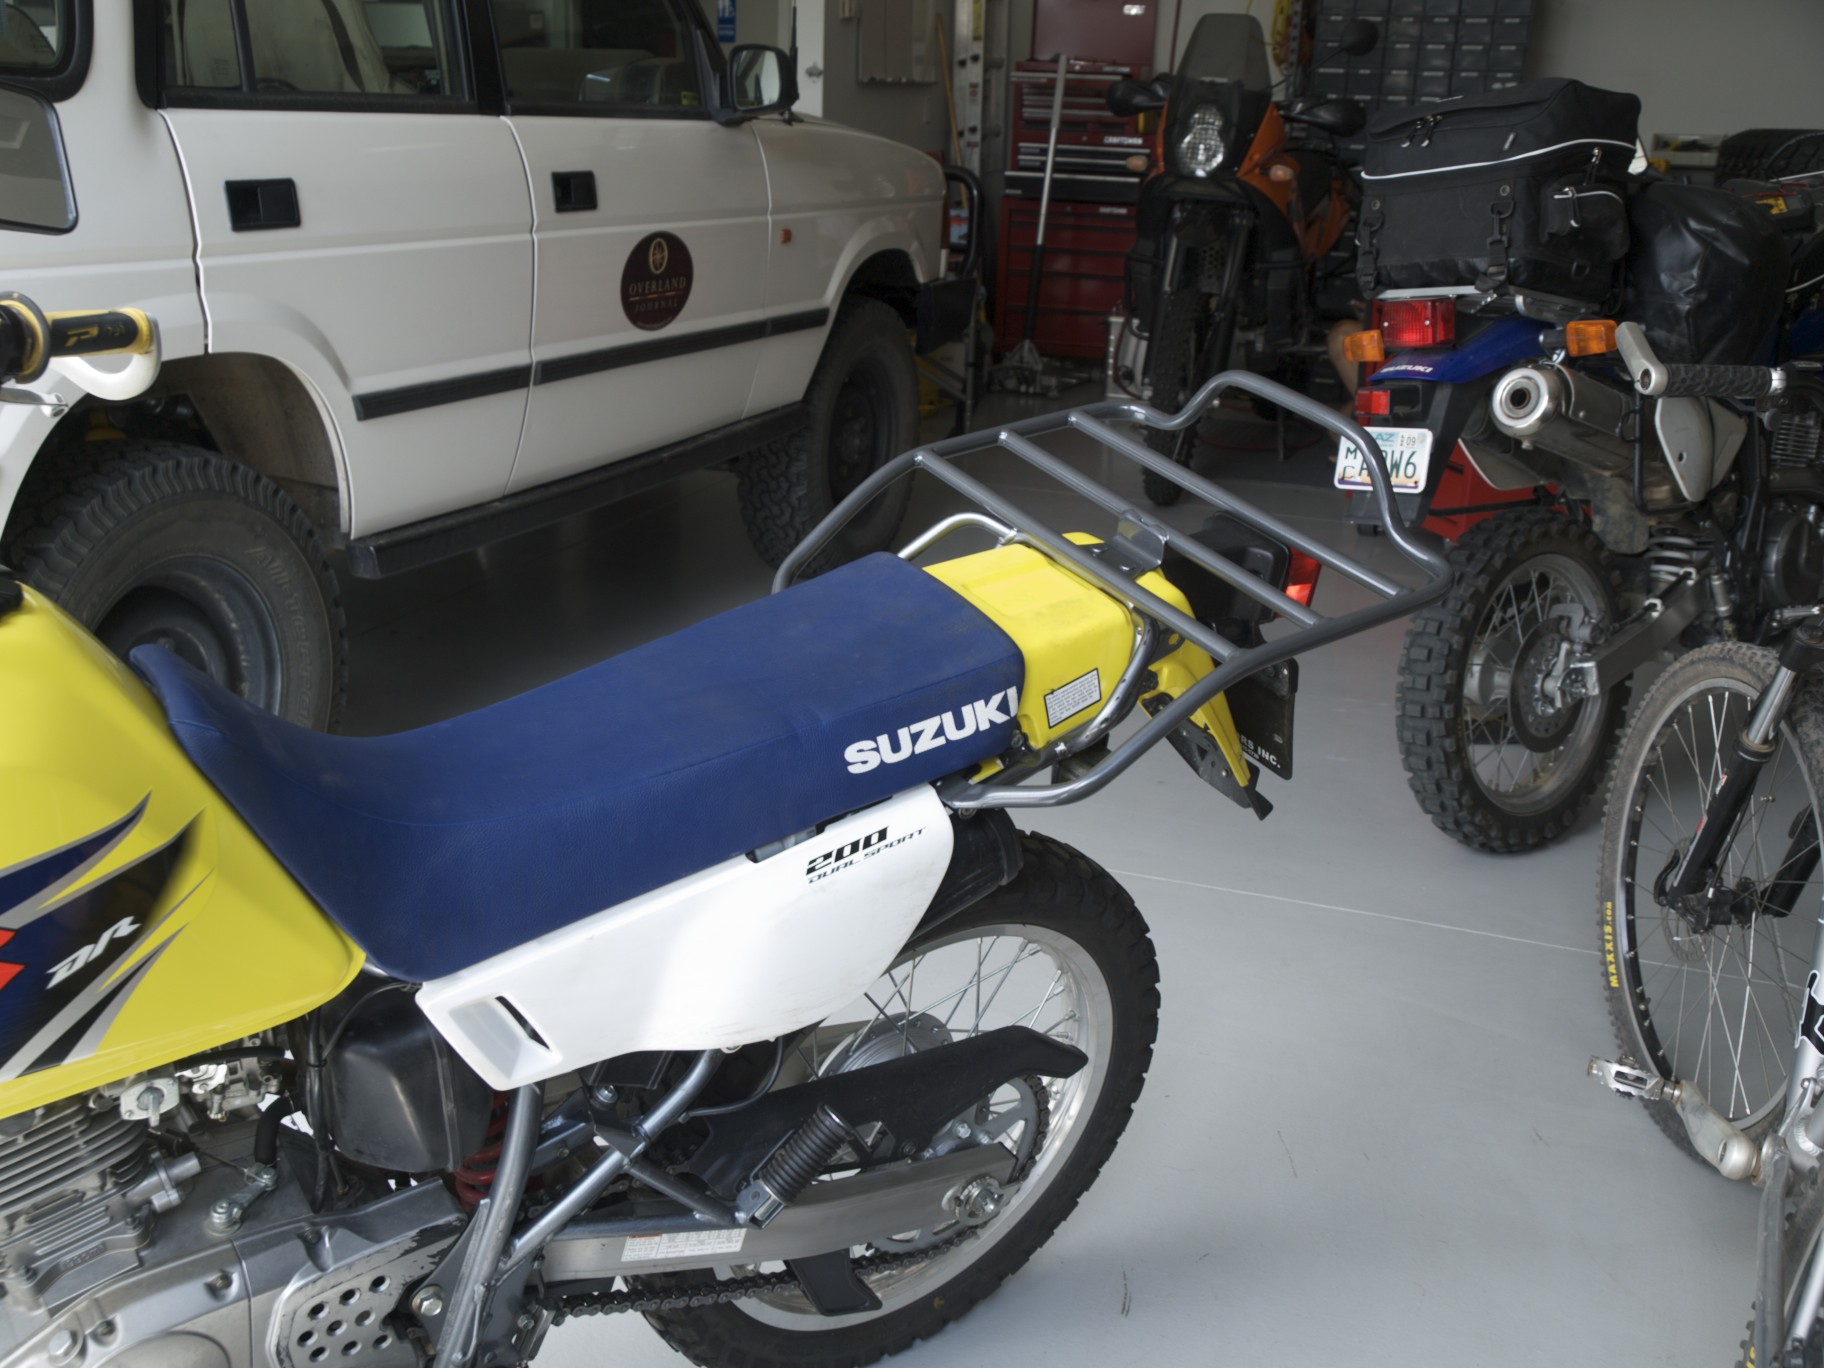
The stock DR200 comes only with pillion handles, which I have used as a rear rack. I was able to strap some bags/panniers to it, but it does nothing to keep the material away from the exhaust. After doing some research, it looked like Cycleracks made one of the best rear racks for my bike. It provides for a nice large platform for a top box or bag, as well as a place to mount side panniers, well away from the heat of the exhaust. These are constructed from schedule 40 black pipe and powder coated. The bends and welds are all nicely done. No hardware is necessary, as these racks use existing bolts on the motorcycle.

The first step is to remove the 8 bolts from the pillion handles – 6 on the outside, and 2 underneath the fender:

A hand uses a wrench to adjust a bolt on a yellow metal surface, possibly during the installation of a Cycleracks Rear Rack on a Suzuki DR200, with visible cables and bolts nearby.
A hand uses a hex wrench to tighten a bolt on the frame of a yellow Suzuki DR200 motorbike, with a black component and visible tire in the background during Cycleracks Rear Rack installation.

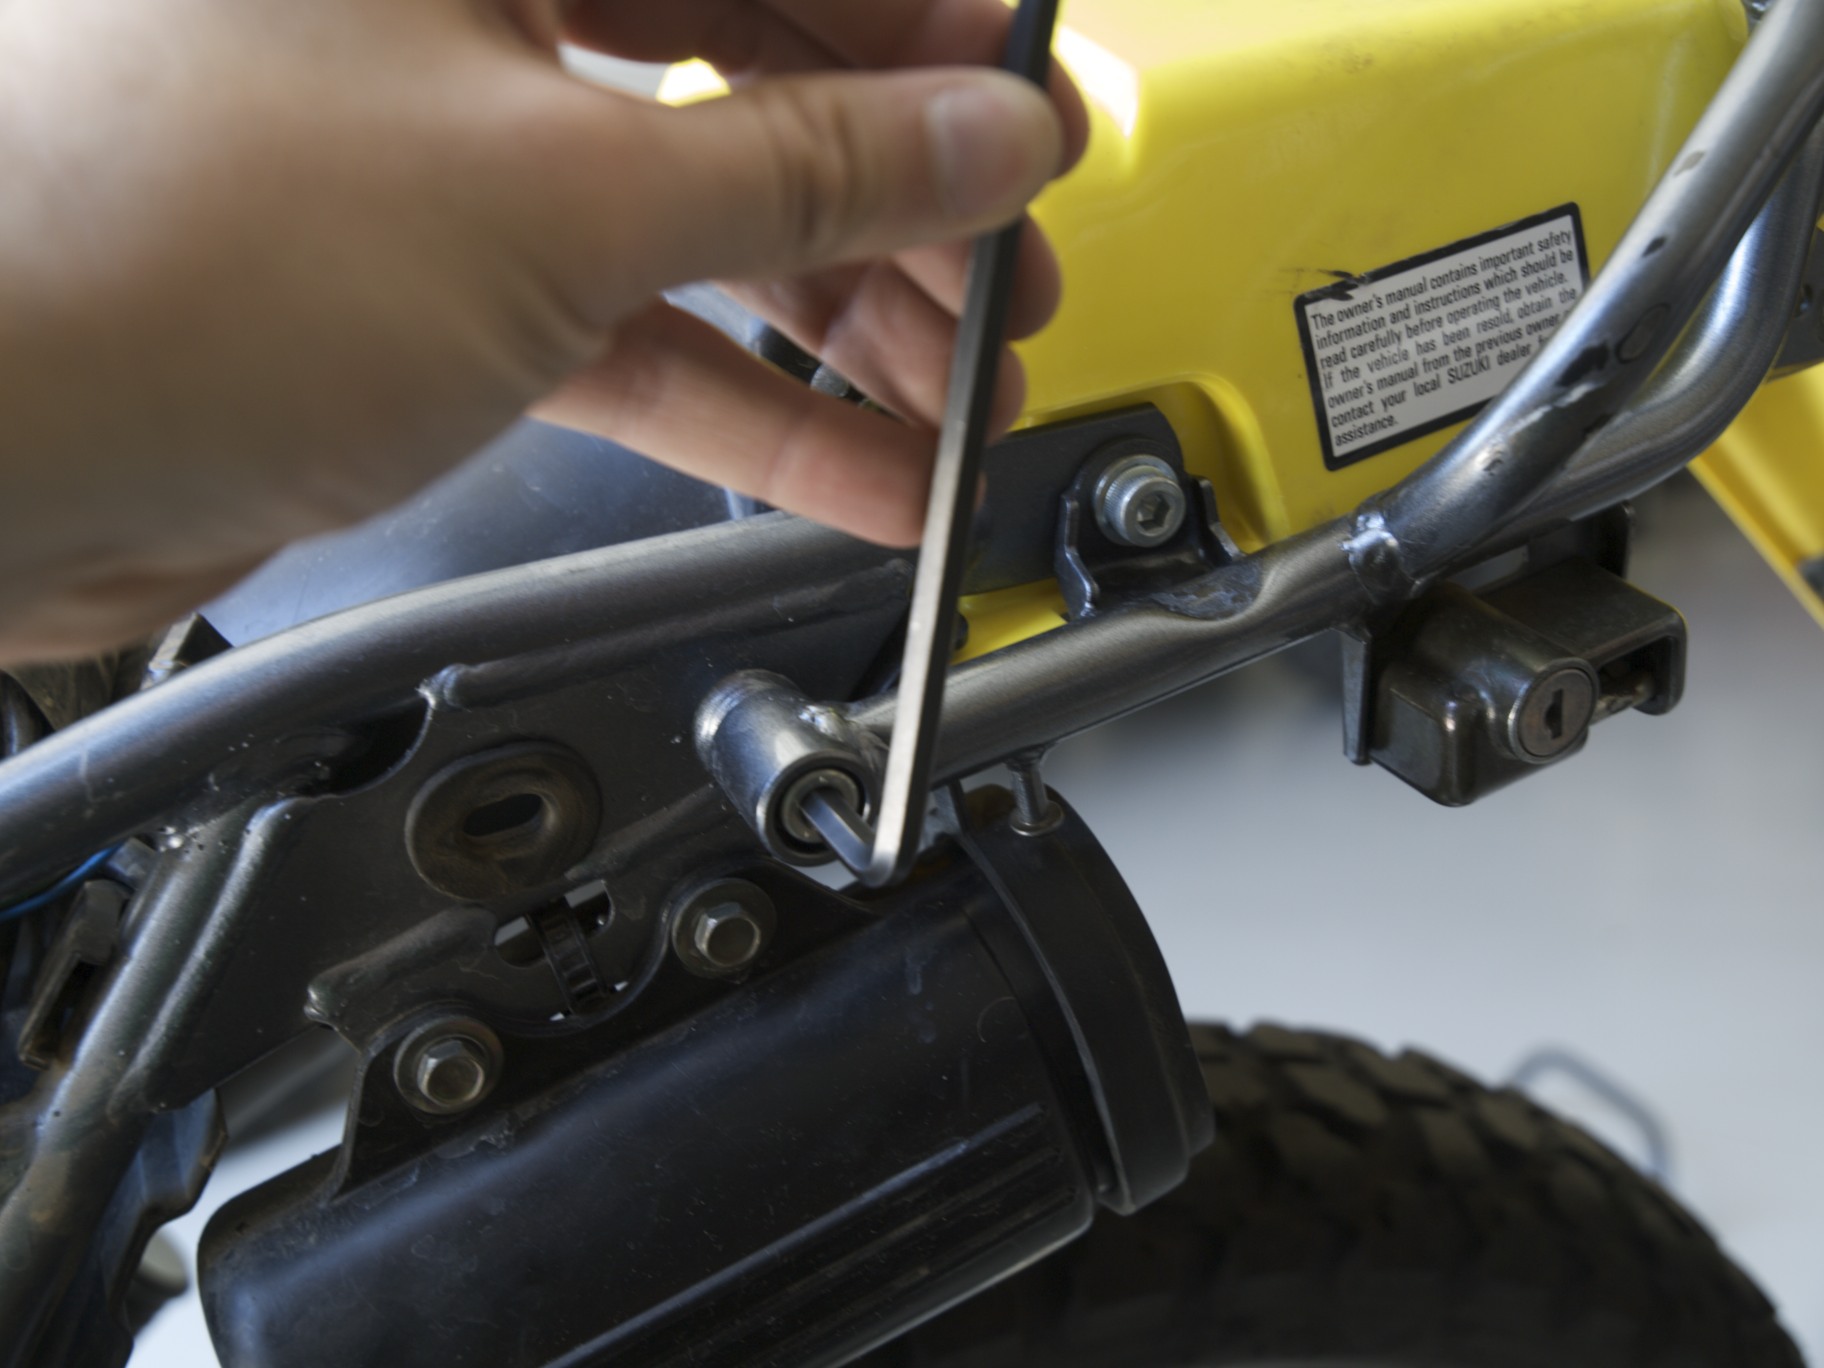
Once these are removed, the fender can be separated from the handles, allowing the Cyclerack to fit in between:

Close-up of the rear section of a yellow Suzuki DR200, showing the taillight, license plate, rear wheel, exhaust pipe, part of the frame, and installation of a Cycleracks Rear Rack.
Close-up view of the rear section of a Suzuki DR200, showcasing a yellow fuel tank, Cycleracks Rear Rack installation, and a red tail light against a gray background.

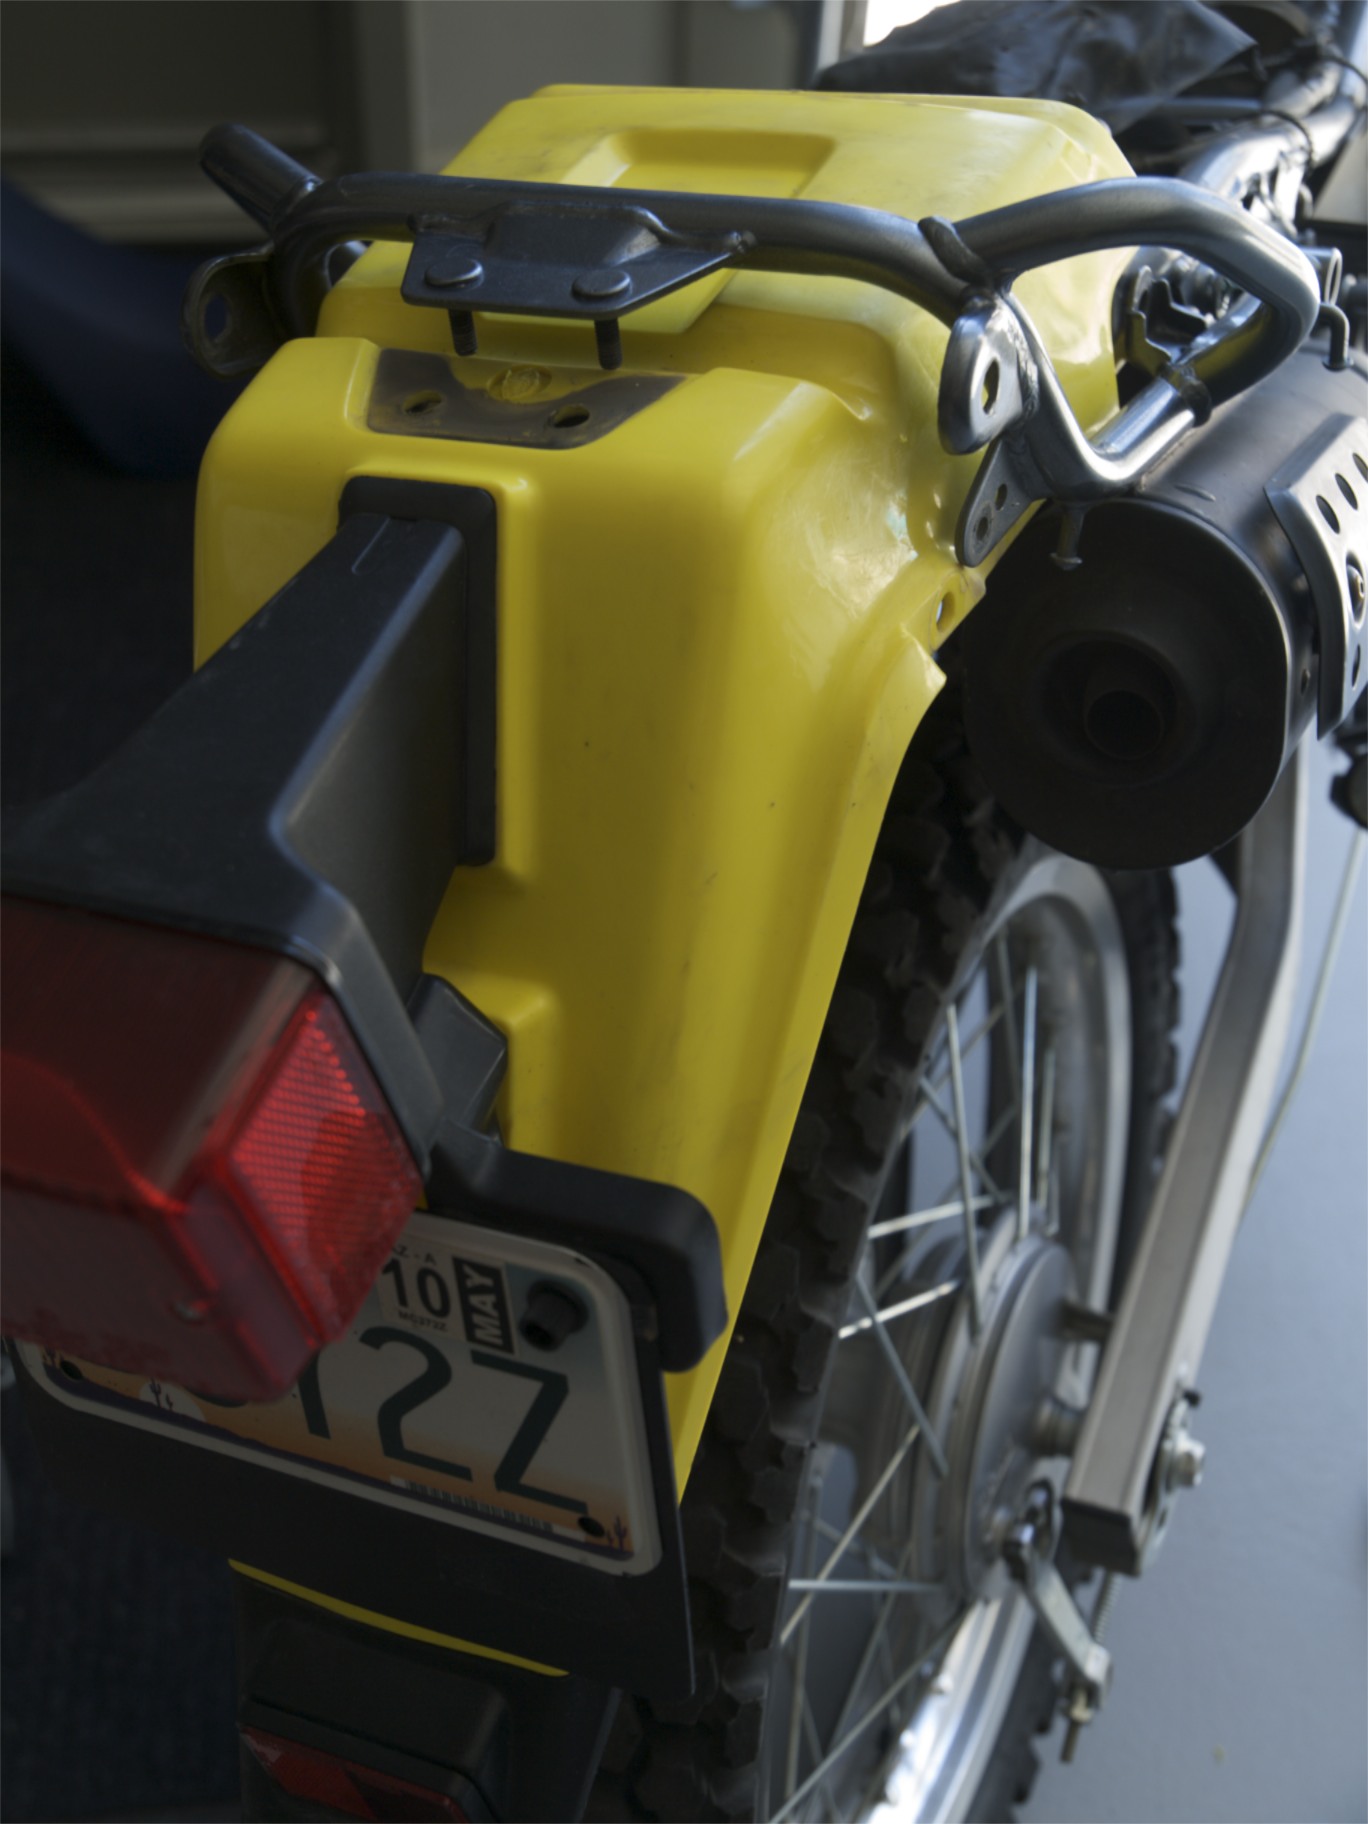
Then the Cyclerack will fit inside the forward-most bolt of the handles:

Close-up of a black metal frame and bolts attached to a yellow vehicle, possibly part of a Suzuki DR200, highlighting the welded joint and surrounding components during the installation of a Cycleracks Rear Rack.

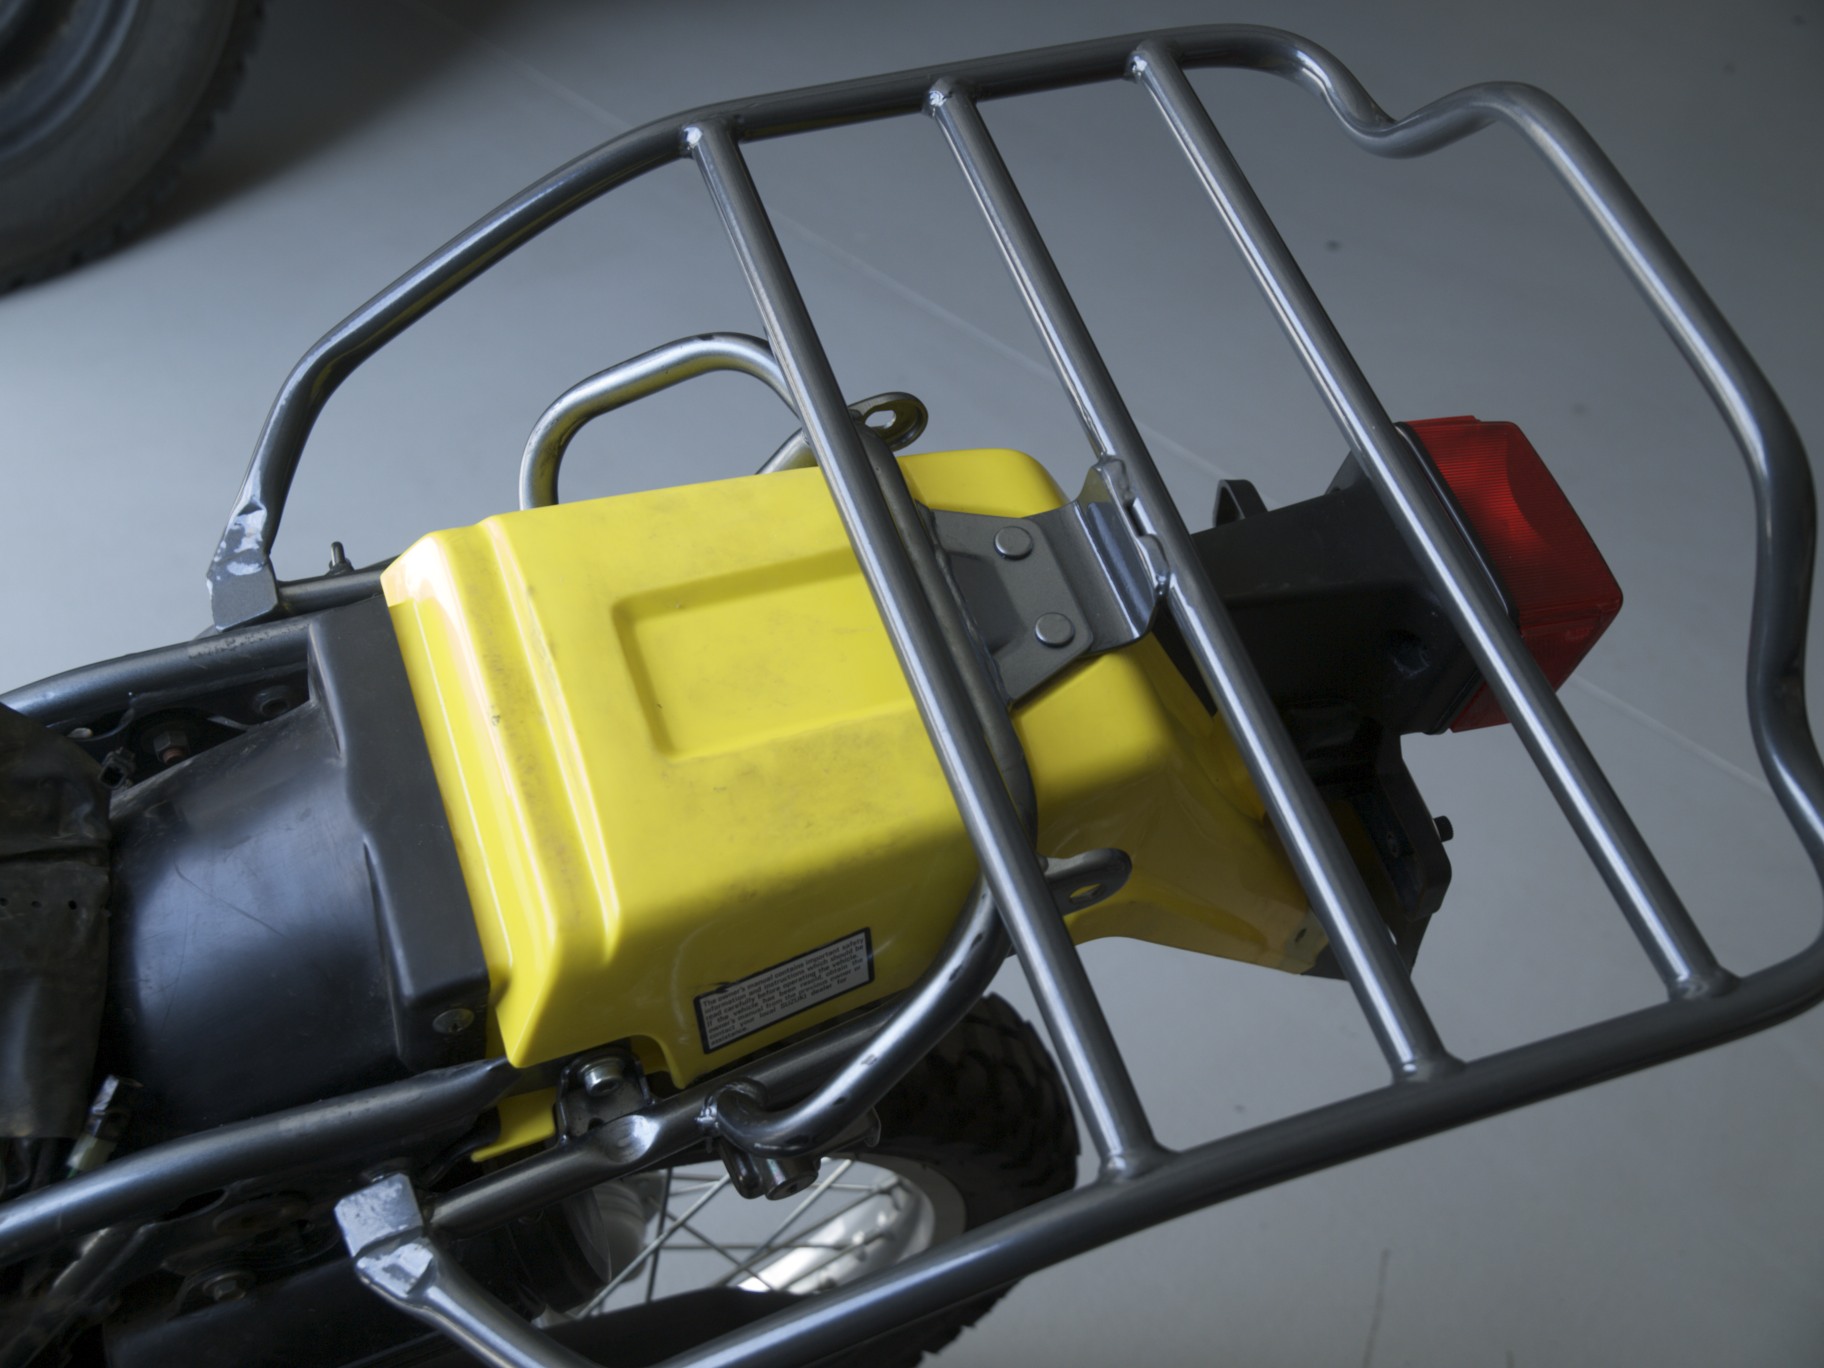
A downward view of the Cyclerack mounted atop the pillion handles:

Close-up of a metal bracket from a Cycleracks Rear Rack attached to a yellow Suzuki DR200, secured with two large bolts. Gray horizontal metal bars are visible in the foreground, highlighting the installation details.


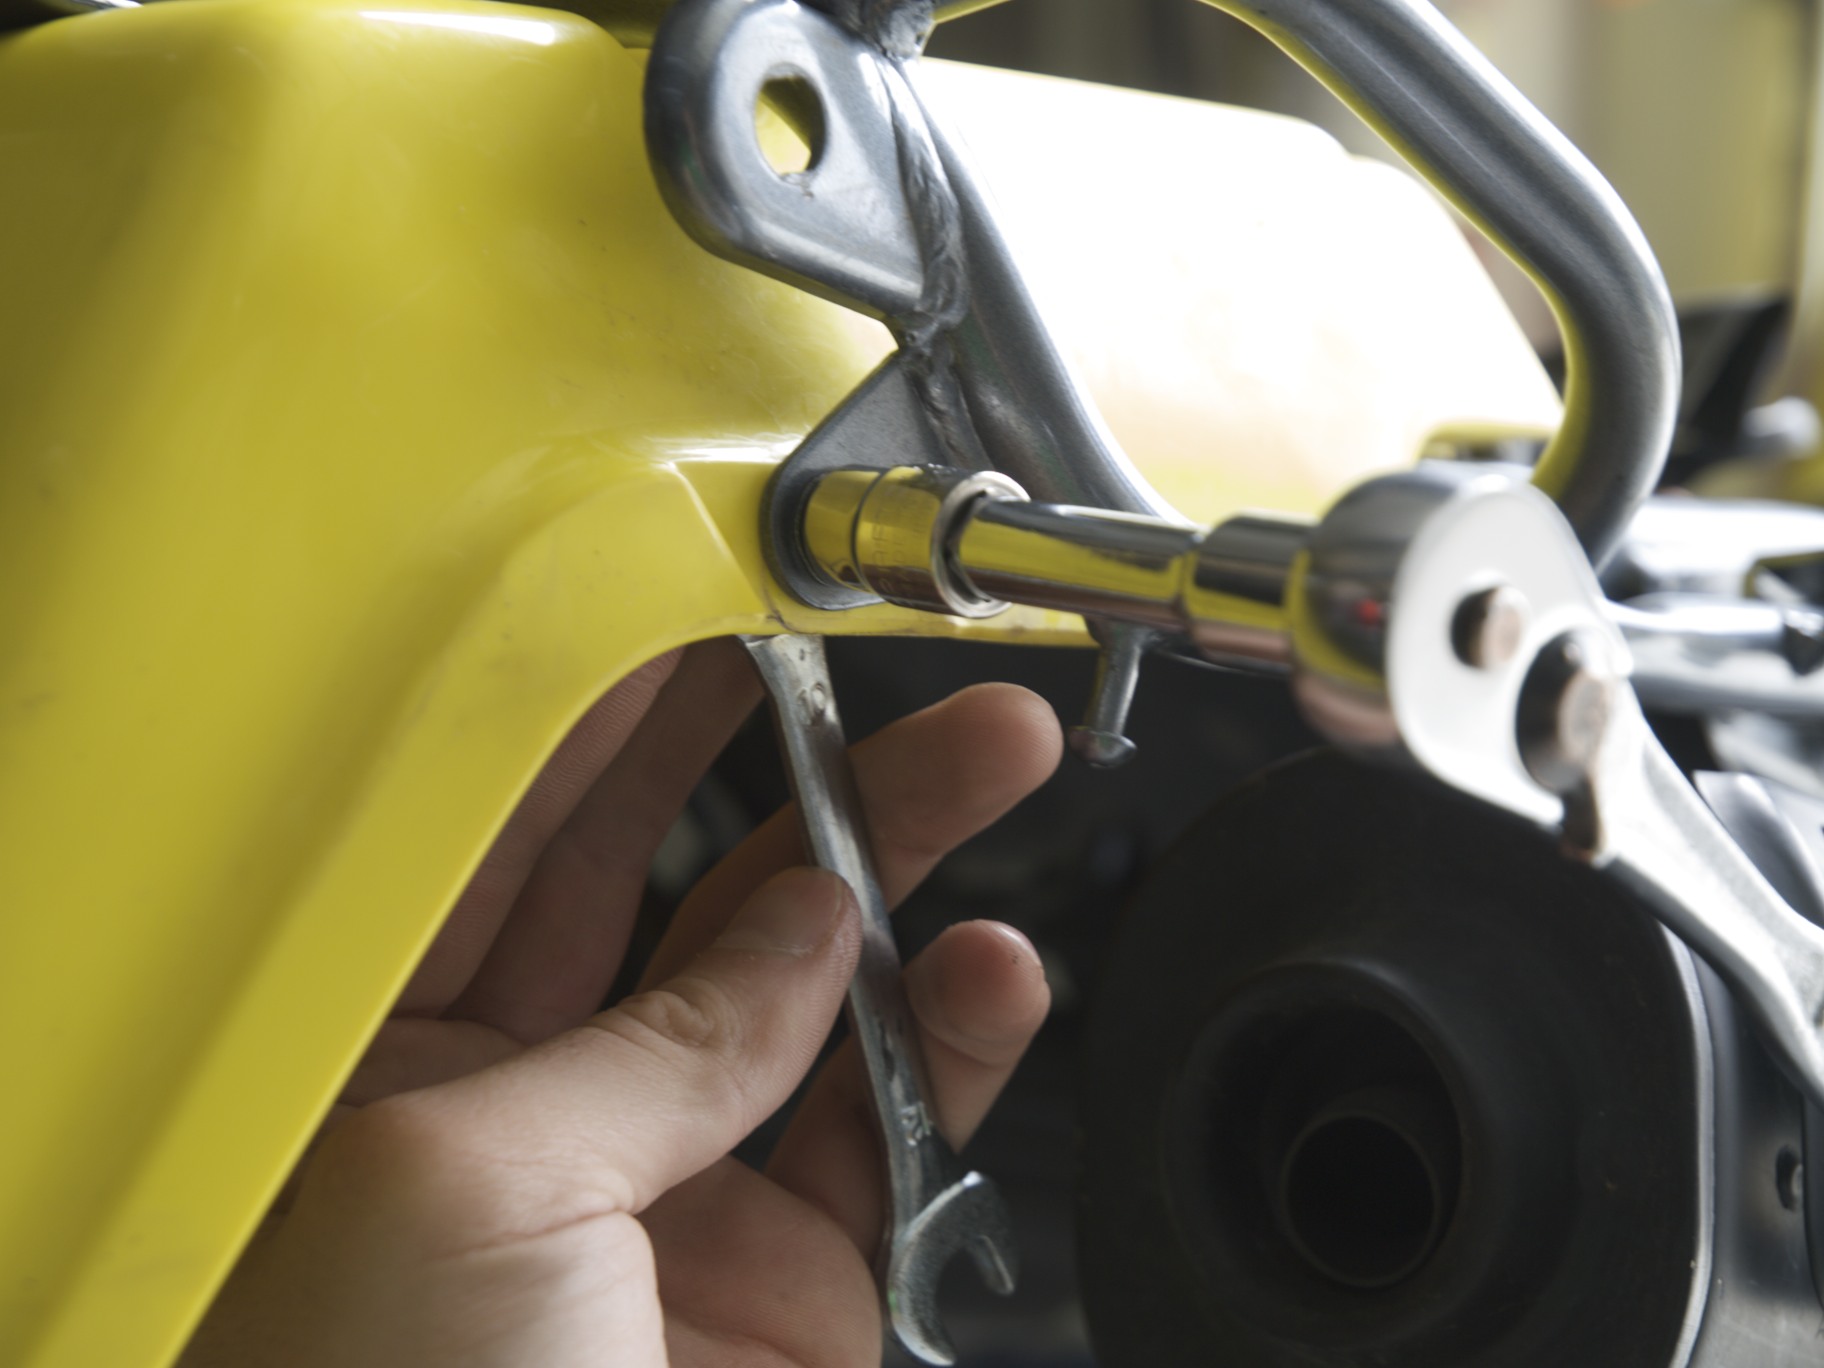
Tightening the final bolts to the fender:

A hand uses a wrench and a socket wrench to tighten or loosen a bolt on a yellow metal surface, possibly during the installation of a Cycleracks Rear Rack on a Suzuki DR200.

The installation took about 30-45 minutes, with no major obstacles. It attached very strongly to the bike, and provides for easier access points to grab & lift in the event of droppage. The next step will be to mount up some panniers and report back on how it performs on the trail!


A yellow and white Suzuki DR200 dirt bike with a blue seat is parked indoors next to other motorcycles and a white SUV. The bike features the installation of a large Cycleracks Rear Rack mounted on the rear.