Words & photos by Lisa Morris
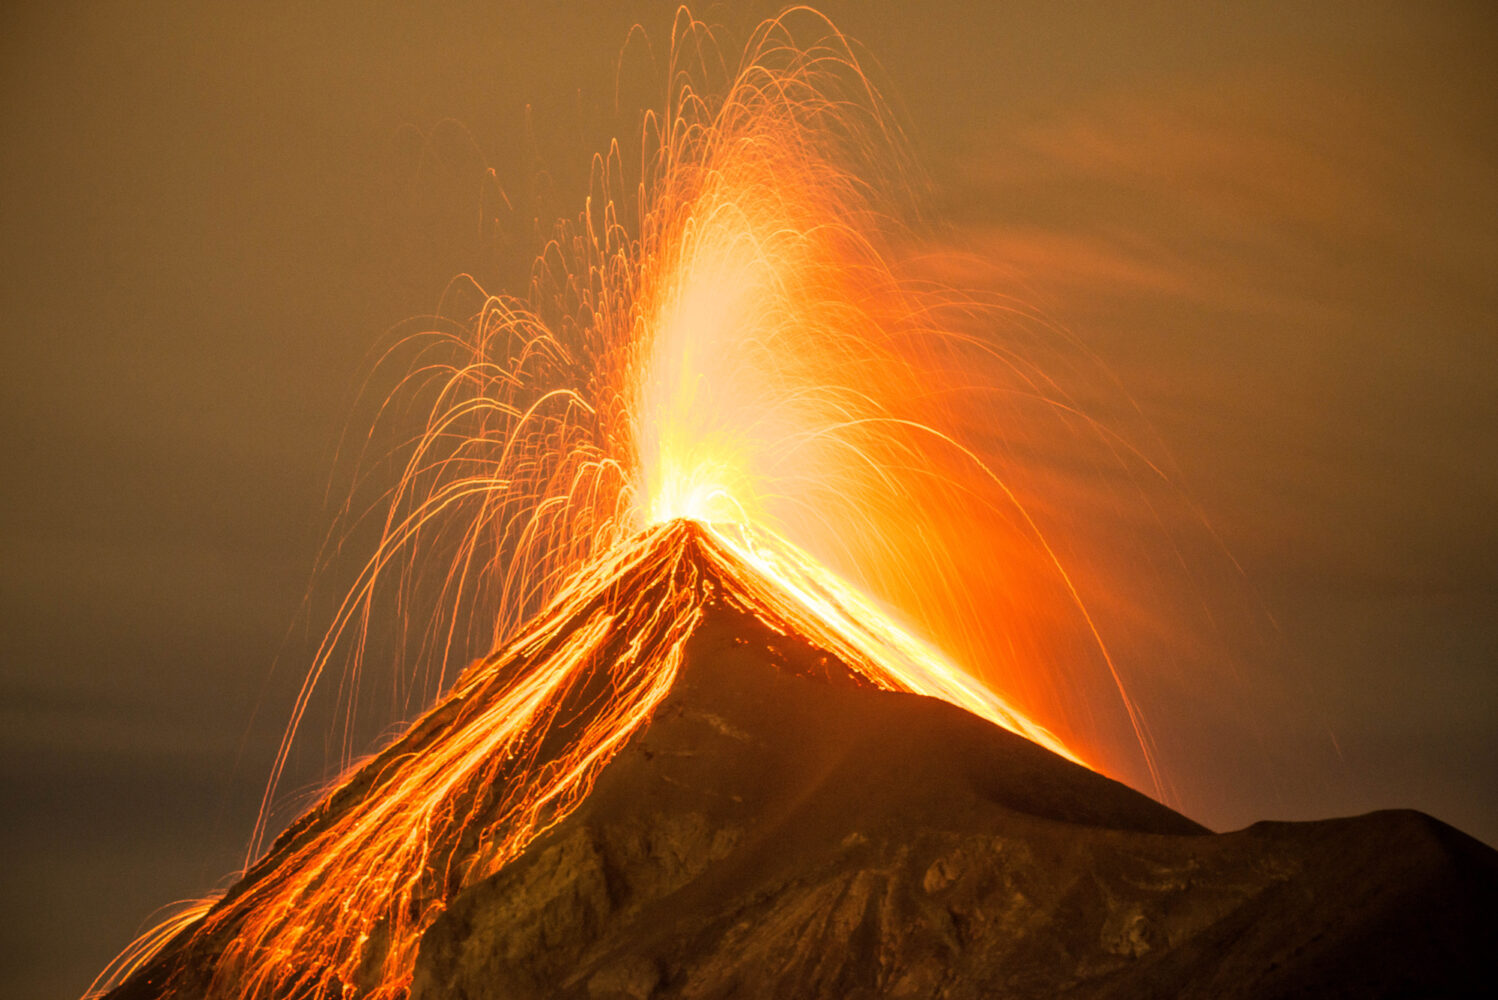
Whether you’re wrapped up in the warmth of a crackling fire indoors, red coals gleaming from the ash below, or sat around a cosy camp as tongues of flame flicker, it’s hard not to be spellbound by the amber light. It’s easy to lose yourself in the snap and pop of burning wood, sparks flying into the blackness. Add undulating embers aglow, swirls of flame leaping up, it’s hypnotic. Fire is ablaze with dynamic hues of colour, intensities and gradients, and endless motion, which entwined with our primordial relationship with it, is why I like shooting fire. Here are a few examples and some know-how guidance about lighting the way to capturing fire.
Pyrometers: Campfire Dos
- Have precautions in place to quickly extinguish the fire – just in case a raging inferno ensues.
- Check the weather forecast and opt for calm, dry conditions.
- Respect any local regulations around campfires.
- Burn fuel from non-toxic, sustainable sources (e.g. wood).
- Control and contain your fire at all times, remove anything encouraging it to spread.
Campfire Don’ts
- Lighting a fire on dry grass, near fencing, low-lying branches, or anything flammable: all a no-no.
- Refrain from squirting accelerants such as petrol on flames – all hell may break loose.
- Keep your equipment’s distance from the fire; heat, smoke and flames can damage any set-up.
- Avoid wearing clothes you’d regret a spark burning. (I’ve popped countless holes in my down jacket £££.)
- At no time leave your fire unsupervised and never depart the site with semi-extinguished flames or glowing embers, your fire may relight.
Practice Makes Pyrofect
Practice with a candle (or sparkler, lantern, fire torch etc.) and tripod to keep shots sharp and engaging. Start with 1/15th second at f/5.6 to aid depth of field in the candle itself. With the wick as the subject, add a light source. Note-take what settings work best to seize the flame and to illume with an impactful light falling on it.
Subject: Flame High!
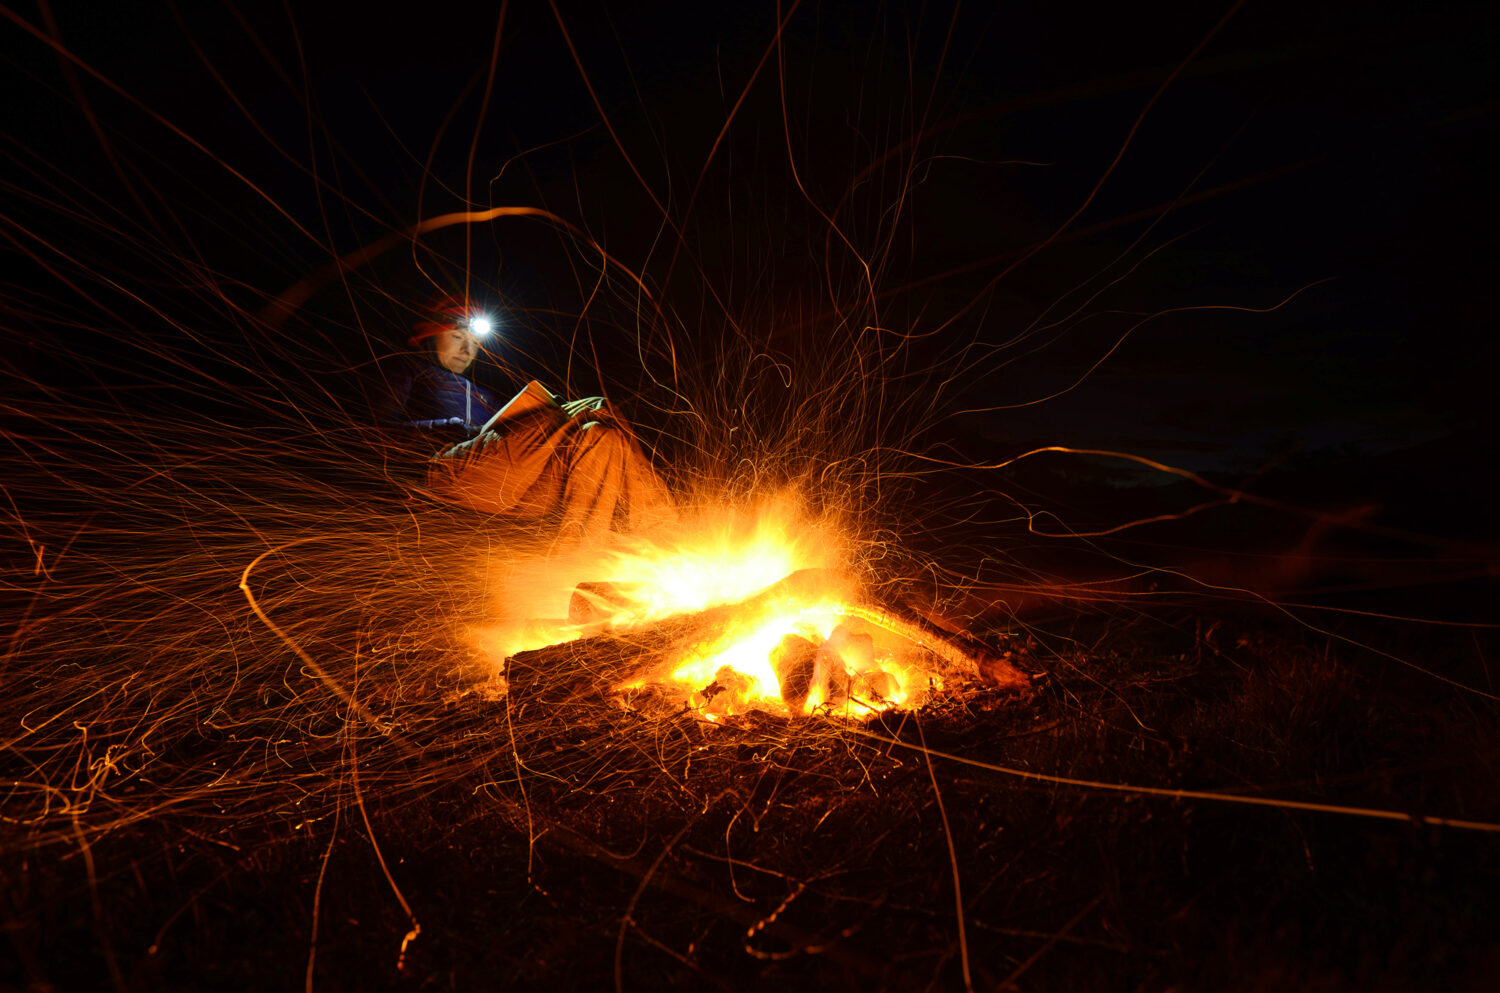
When fire is the subject, the eye should be drawn to the flames, its spectrum of colours from yellowish golds to coppery ambers and movement. Shooting in darkness with a slower shutter speed enables a greater intensity in the flames’ colours and brightness. Keep your flash off and manual focus on. Use a shutter speed to transfix the motion and to illuminate the flame. Begin with something like 1/250, a low ISO (100-200) and a mid-range aperture (f/8-f/11) to start experimenting. The larger your f-stop value, the darker your image. The flame colouration varies on temperature, fuel, oxygen present, to name a few. If you don’t achieve your preferred shade, tint and tone, edit in post-processing (shoot in raw). The interest will often lie in what the fire throws out or the trajectory the fiery sparks take. Slow your shutter speed in freezing the flying sparks: watch the magic happen!
Primary Light Source
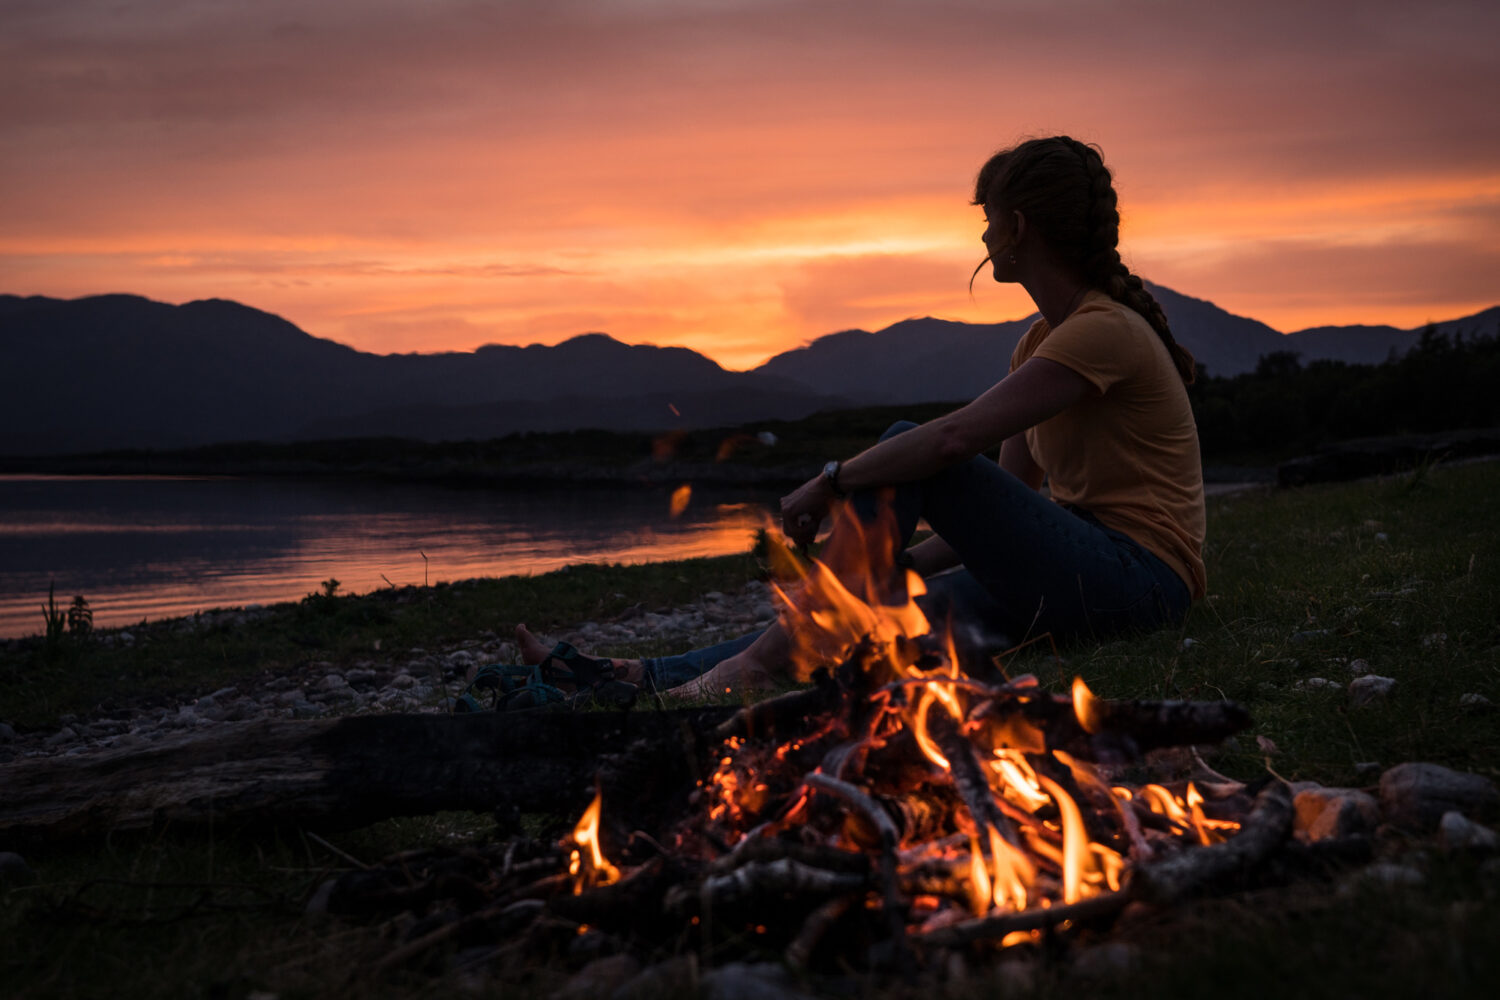
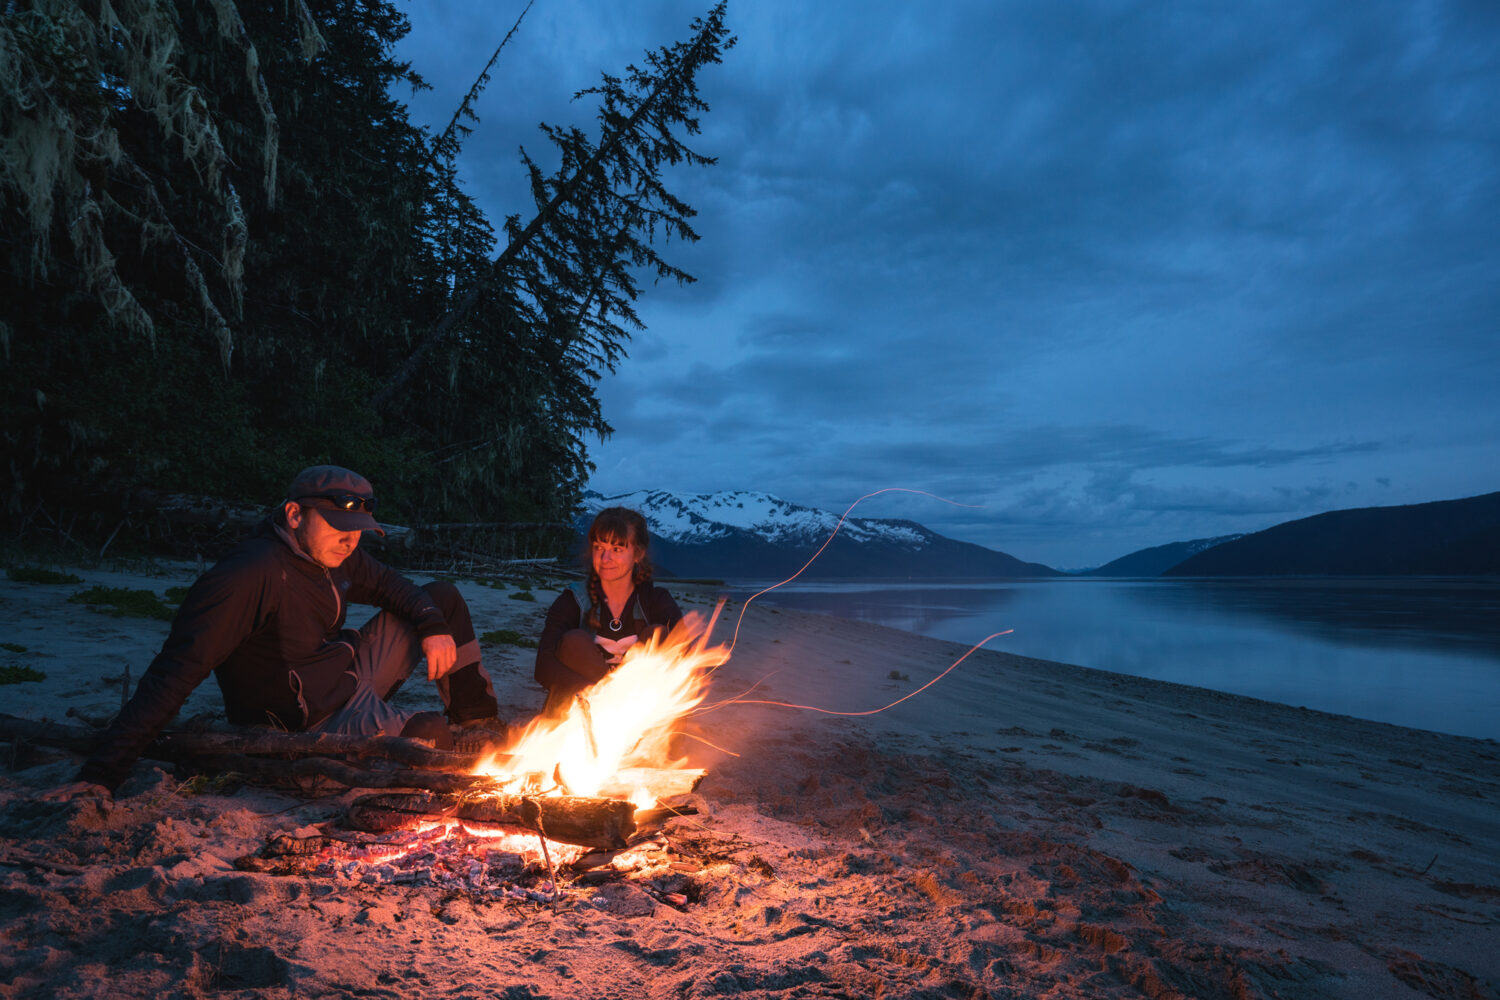
Done well, when fire is used as the light source, it can produce a beautiful atmosphere when you shoot its softer shadows. Longer shutter speeds, wider apertures and higher ISOs will be required for campfire scenarios as light levels diminish. When wanting a narrower depth of field, dictating a wider aperture, put your focus on a subject with hard contrast edges (e.g. a silhouette). This can yield an overall more striking image since the shifting firelight will blur the edges and soften shadows of the subject(s) it illuminates.
Where There’s Smoke
Smoke makes an intriguing component when there’s fire. Steps can be taken to accentuate its visible presence; otherwise, it can vaporise into obscurity. Make the movement of smoke tendrils pop:
Optimise your smoke output. Efficient fuels (gas and alcohols) don’t always give rise to aesthetic clouds and smoke trails as much wood or green leaves/vegetation.
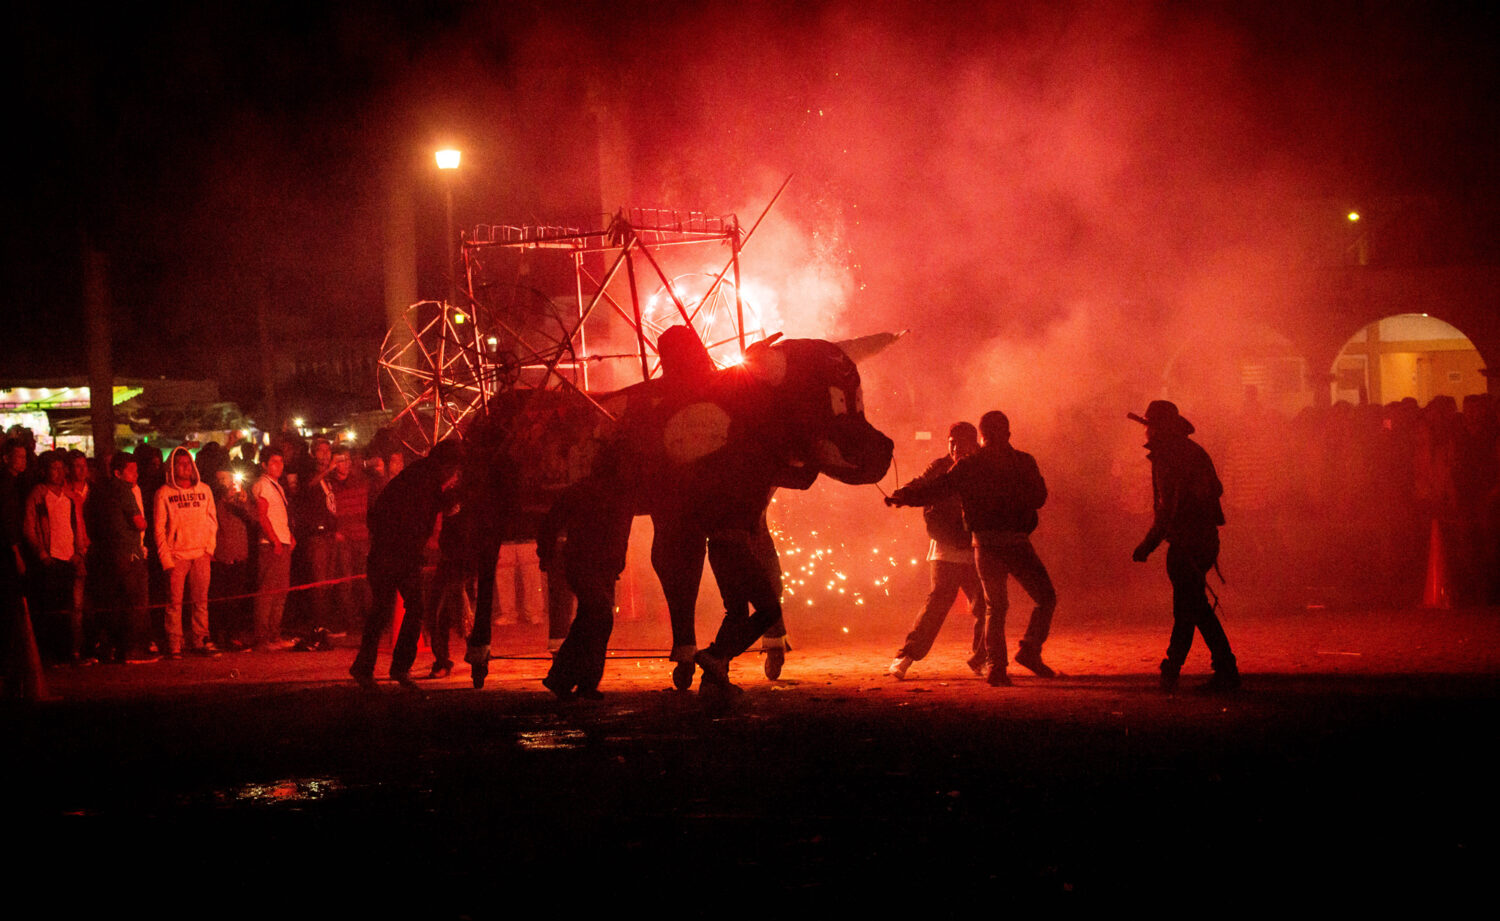
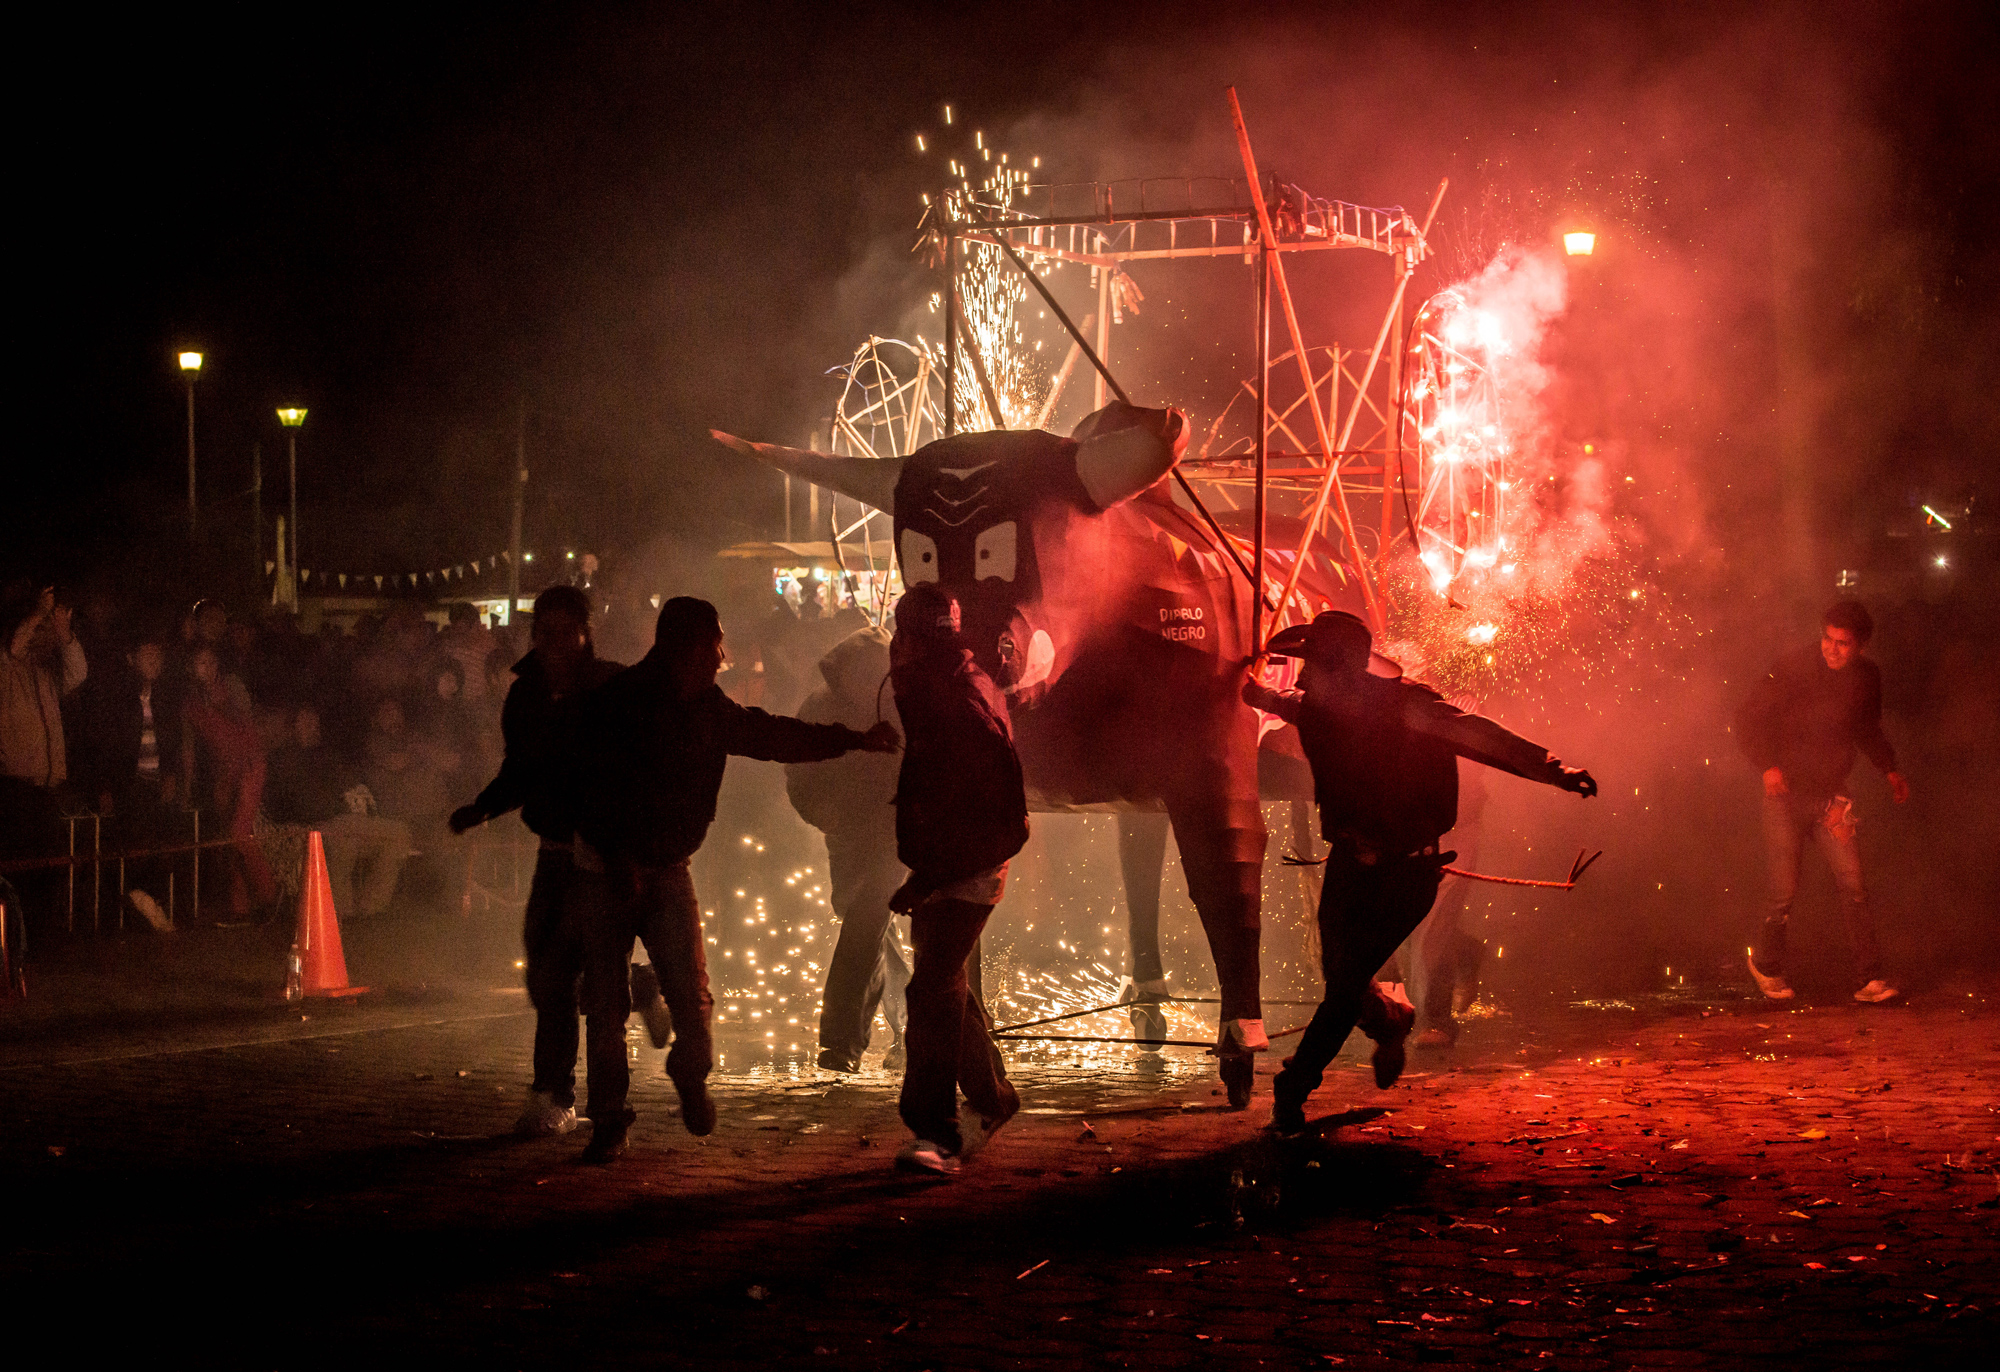
Back-light the smoke. An artificial but bright light source on the smoke will emphasise the plumes.
Opt for a faster shutter speed to give structure to the dancing wisps, unless you want a more hazy result with less clarity from a slower shutter speed.
Giving prominence to the smoke promotes a sense of space and voluminous quality to the fire beyond its fixture to the ground.
Professional Photografire
Trial and improvement is the best method when you’re learning by doing. The key is getting a slower shutter speed that works. Light needs a moment or two to record itself on your sensor – the brighter the light, the less time is required and vice versa. Aperture size matters – small holes (e.g. f/16) let in little light, big holes (e.g. f/2) much more. Among others, two main variables to tweak in the fire genre include brightness of the light source and the distance of the light source from your subject.
Flameous Last Words
Personally, I prefer a slightly longer shutter time, exposing an image for about a second at f/3.5 to blur the flames while giving the sparks time to leave a unique light trail, creating that snug, lose-yourself feeling with fire. Whether it’s a mood of power and an intense heat you wish to dramatically convey or a subtle glow of warmth and protection, I hope there are a few takeaways to start stretching your creative side in developing those bewitching shots. Fire away! @fourwheelednomad
