

Words By Lisa Morris, photography by Jason Spafford.
Common focus issues can be the fun sponge in sucking all the pleasure out of shooting pictures. As one of the more technical arts you can pursue, such difficulties can baffle and confuse us all. Whether you’re new to photography, just keeping it lighthearted, or have been taking images for some time, you may be rankled with the same irksome niggle. Rest assured, you’re not alone. I’ve put together a troubleshooting Q&A to offer up a series of solutions and workarounds to some frequently asked focus-centric questions, so you need not be in doubt again. Go easy on yourself, though—perfecting a technique to yield the results you desire may not always lead to instant gratification. It can involve trial and error, so don’t give up if it doesn’t work the first time out.
First Thing’s First: Raw or JPEG format?
Raw. It’s useful to perceive JPEGs as high-street prints and raw files as negatives. Unlike JPEGs, Raw files capture all the sensor information, so none of it is lost or compressed. Namely, the Raw format facilitates the opportunity to make creative choices and better control the outcome. The dynamic range is far greater in Raw, and you can correct exposure, white balance, colour, saturation, contrast, and sharpness, among other settings. You can enjoy non-destructive, lossless editing, and together with the above, produce quality pin-sharp images even when blown up on a sizeable print.
Downside: Raw files devour memory card space—alas, you’ll have room for fewer pictures. That said, if you wish to take a worthy image straight out of the camera and perhaps don’t have the time or a Raw converter resource to post-process, then JPEG is the way to go.
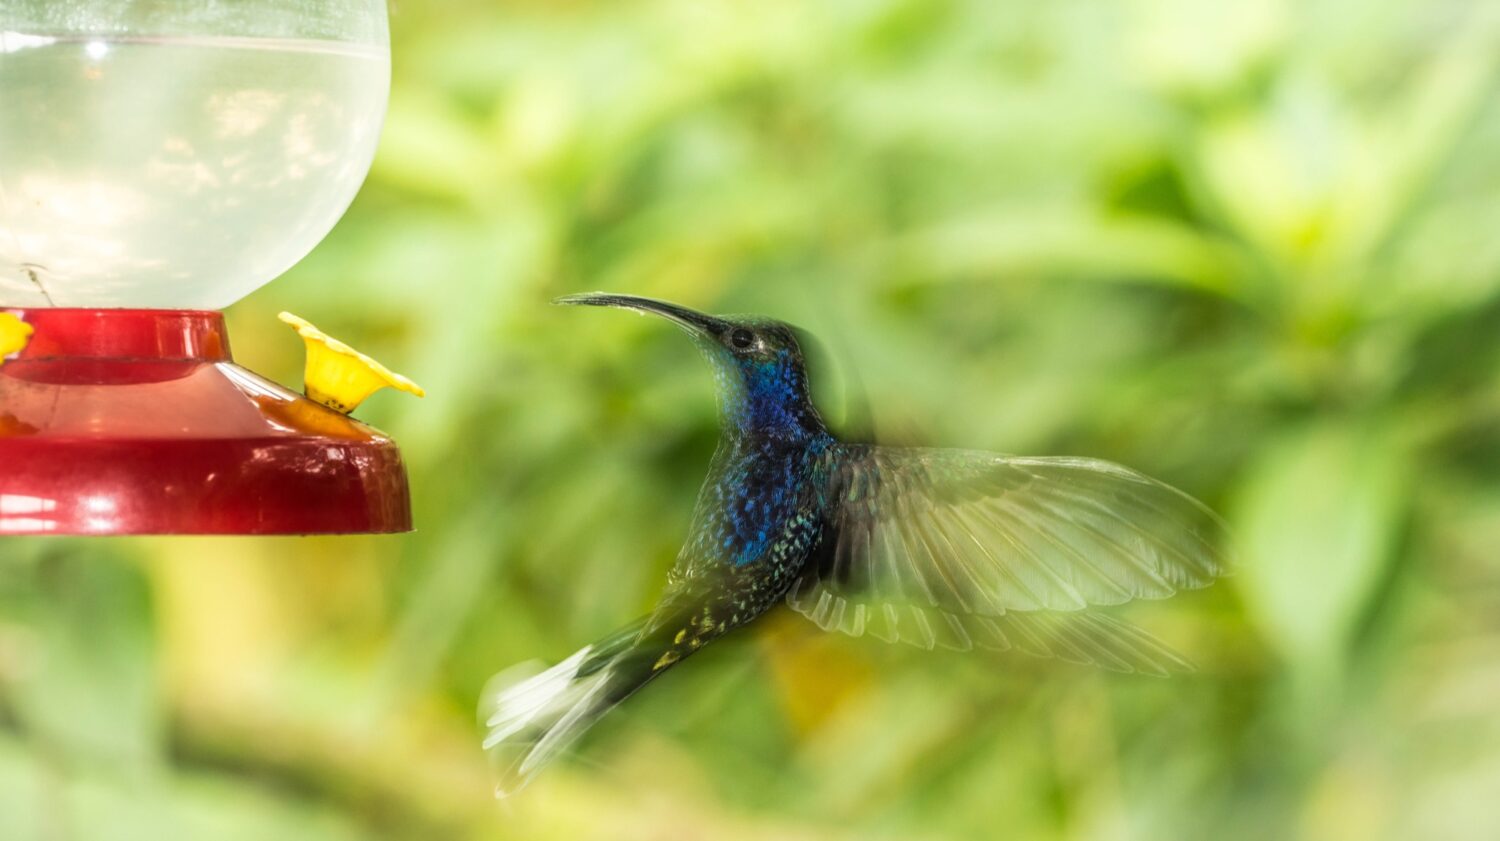
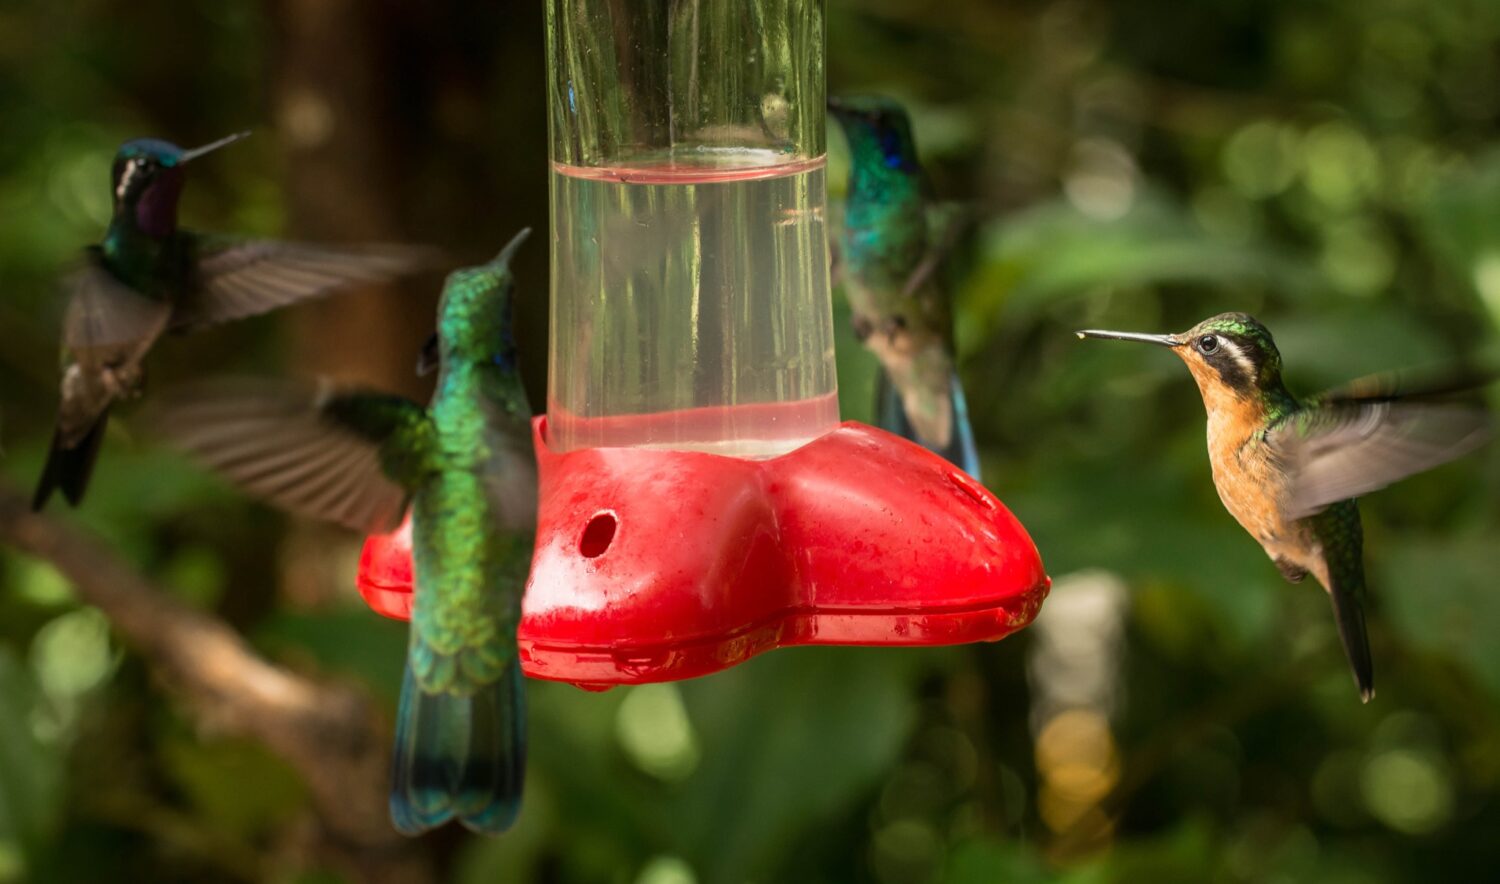
Why Won’t My Camera Focus Where I Want It To?
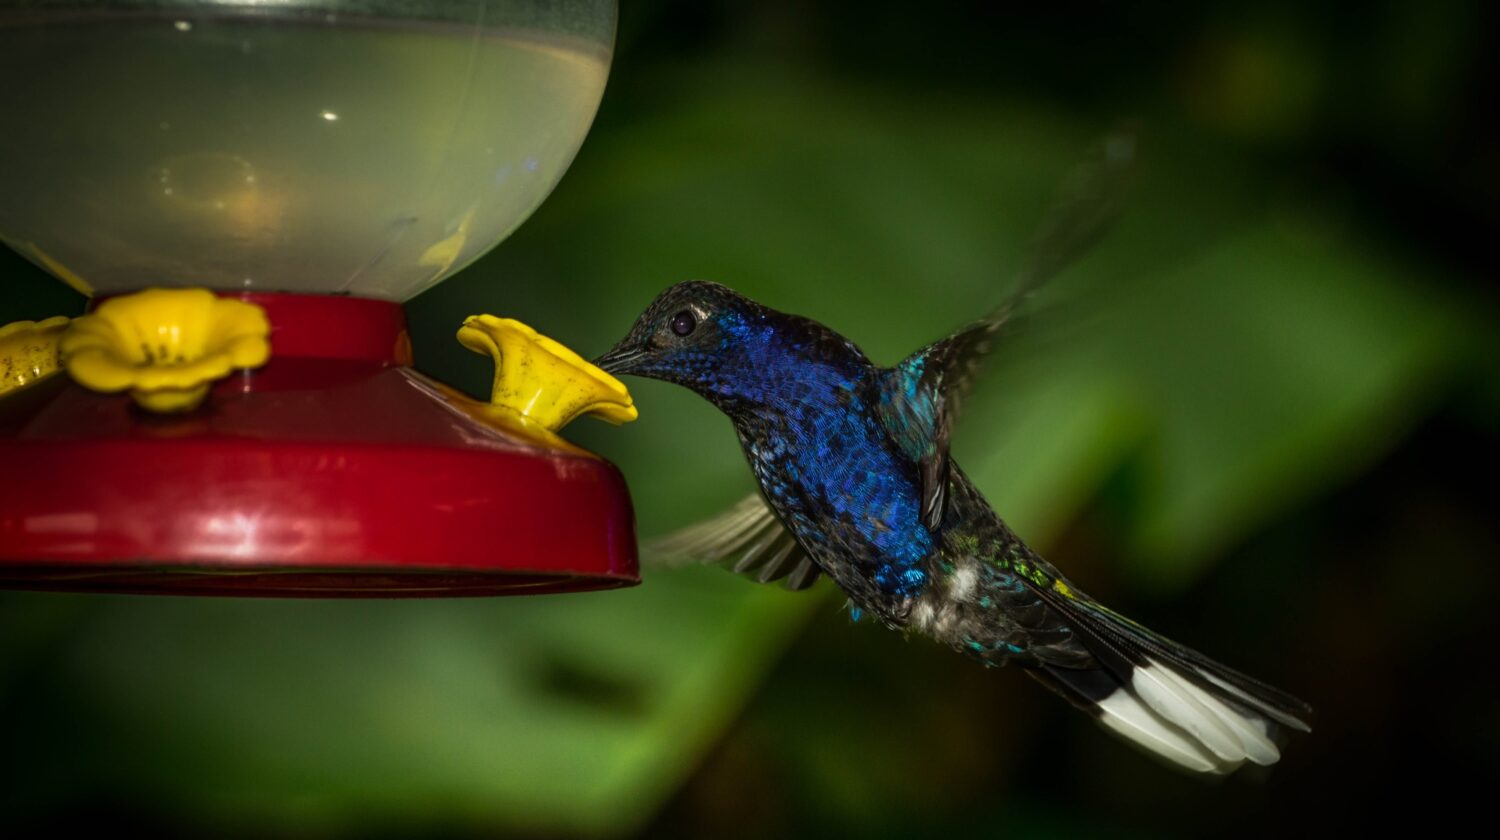
The following situations can confuse your camera’s ability to focus: low contrast/light scenes; glass; wire or other nearby obstructions; macro/close-up shots; and fast, close action. Helpfully, your camera splits the frame into different focusing points. Keep it simple with Single Point and position it in the centre of your frame. Your camera has various Auto Focus modes. Set the focus to track a moving subject (Continuous or Servo), ideal for wildlife photography. Or, try locking the focus when you press the shutter release halfway down (One Shot or Single Shot). This, in combination with Single Point, is a useful default setup. When you don’t want the subject smack dab in your picture, focus on it, and recompose the frame without taking your finger off the button.

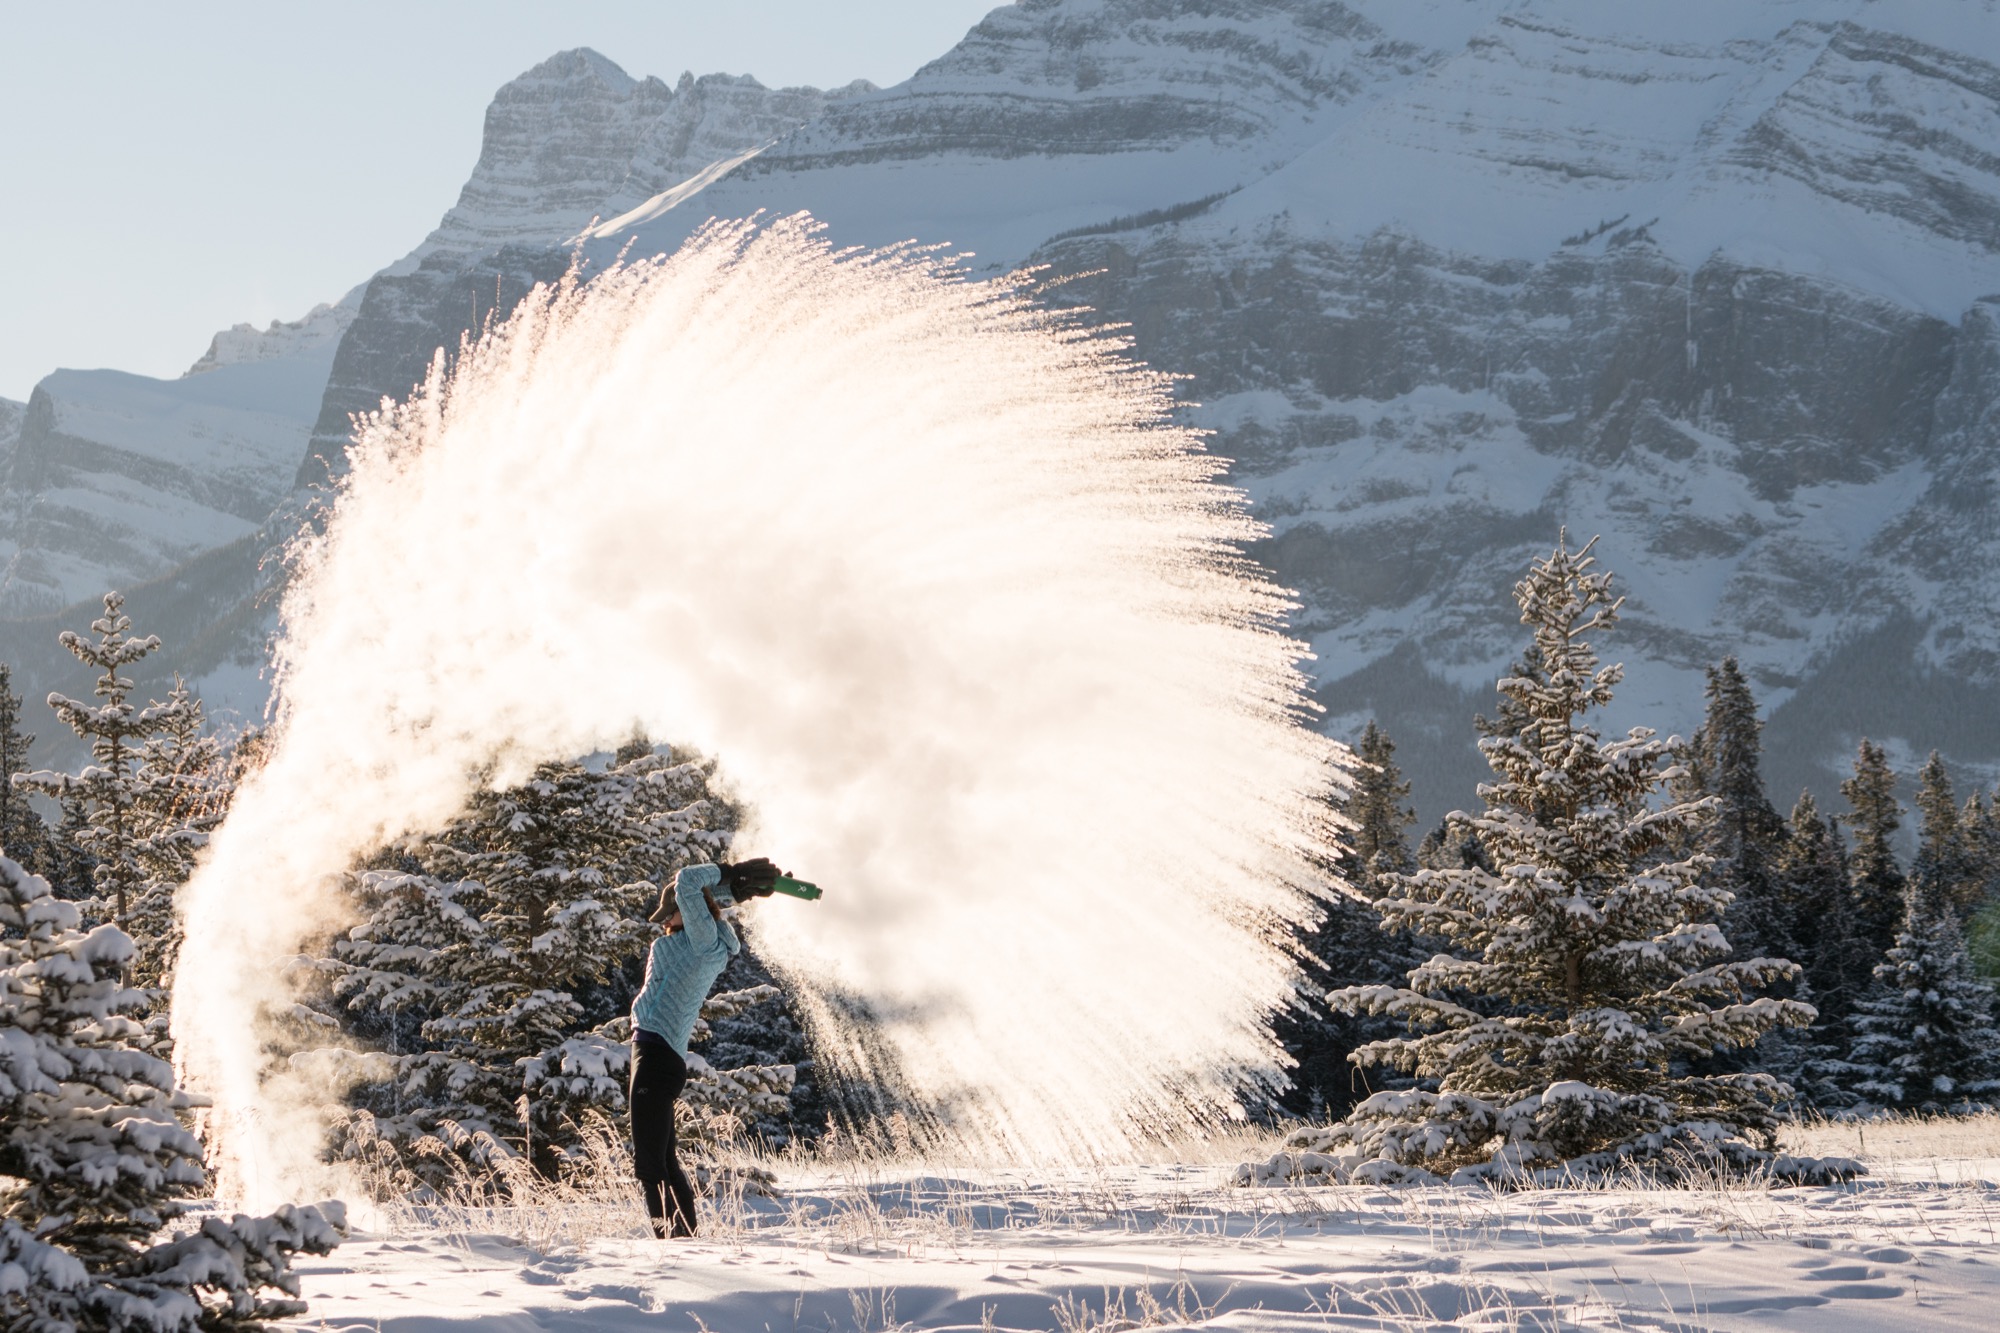
Why Does My Image Look Out of Focus?
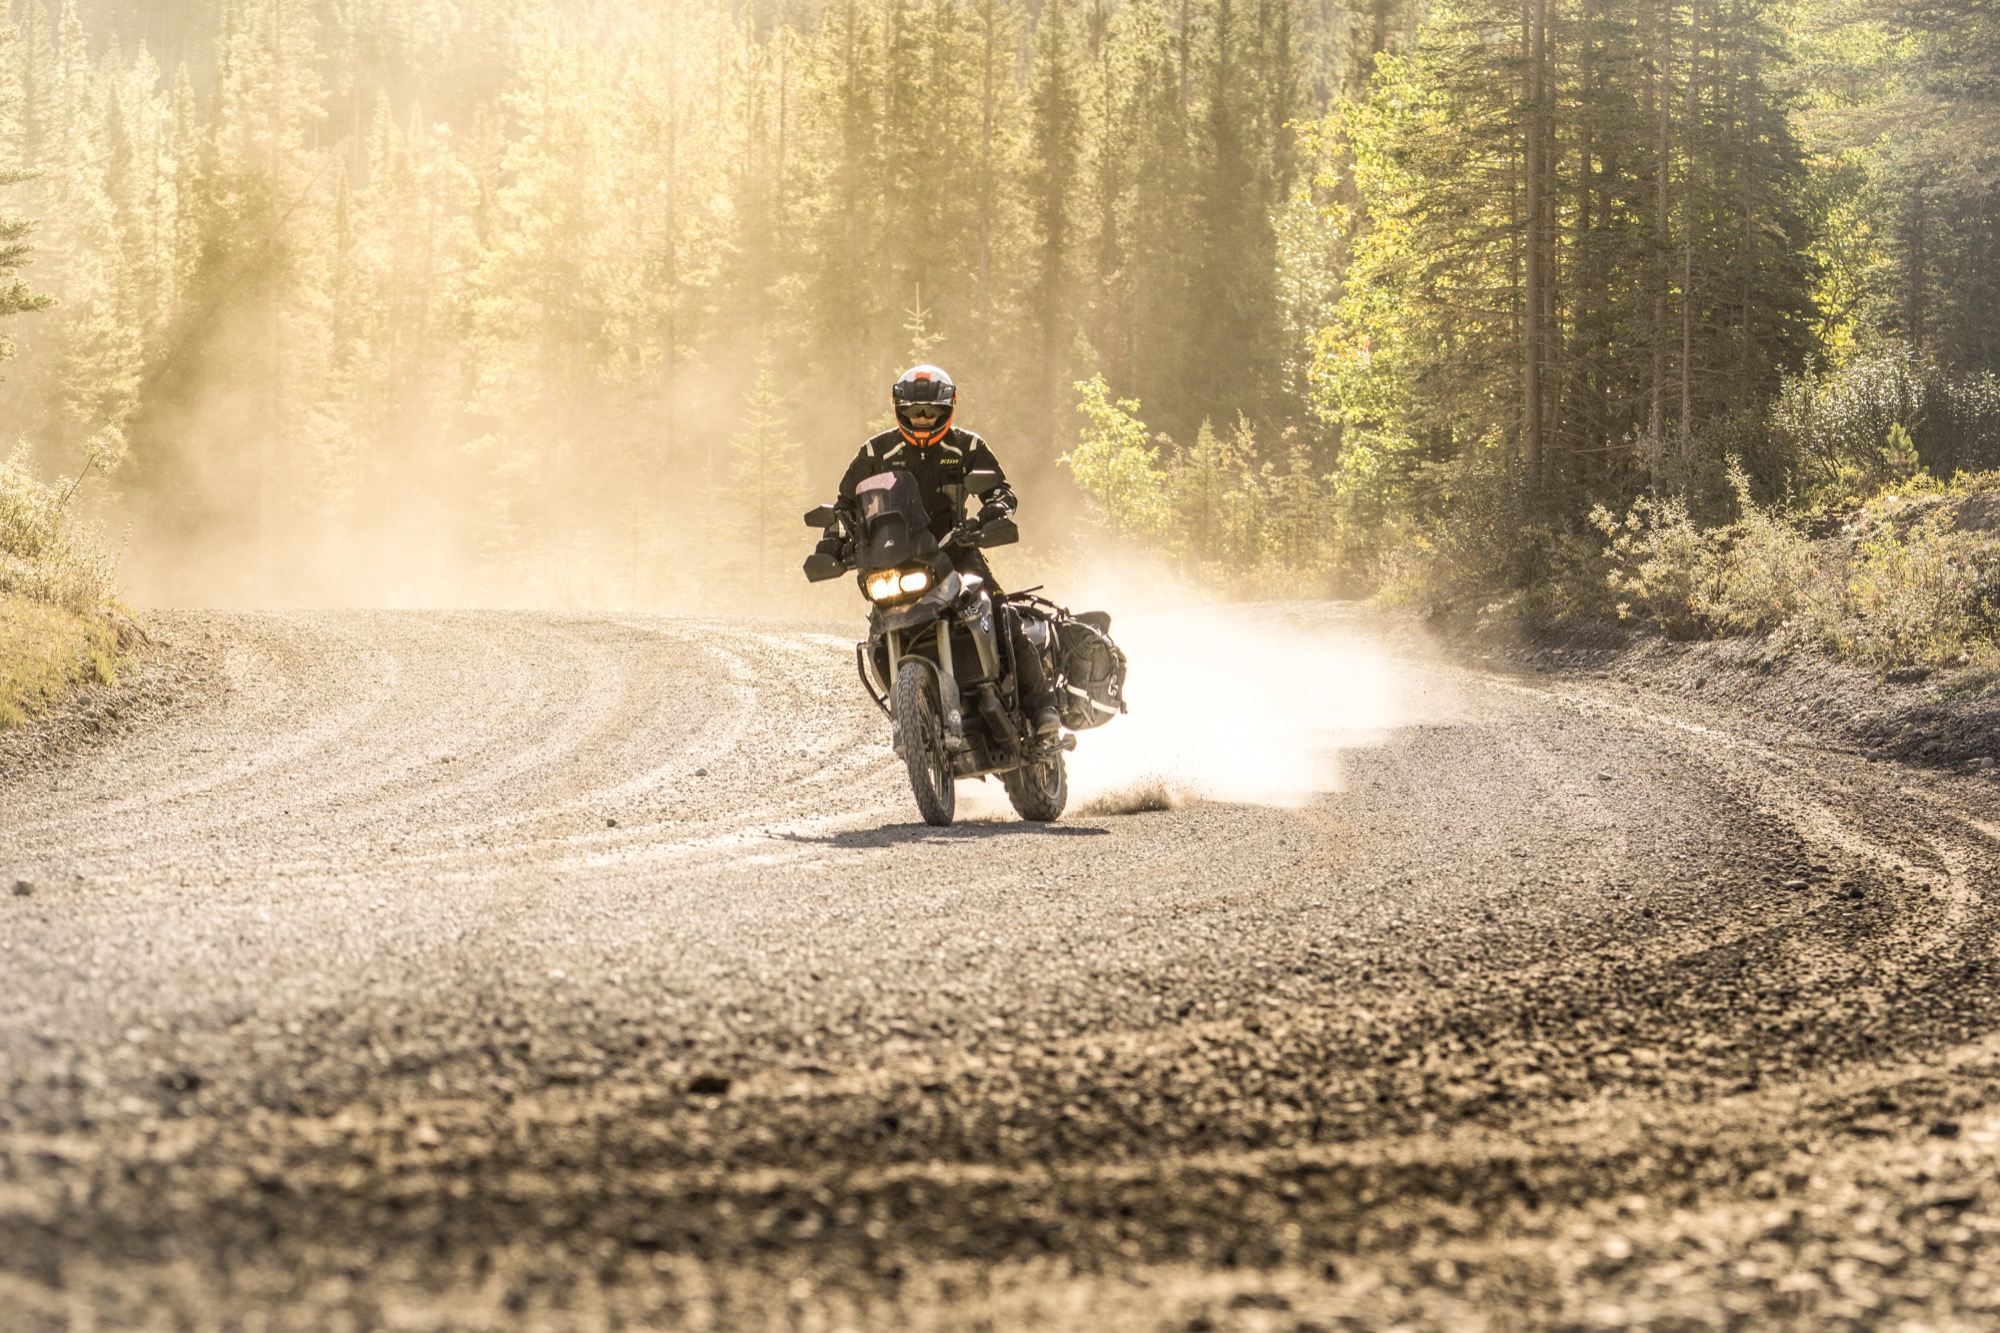
Your camera may not be suffering from improper focus; it could just be camera shake—troublesome with longer focal lengths—when the camera moved while the photo was being taken, resulting in a blurry image. Or it could be motion blur caused by a more-prolonged camera exposure, slow shutter speed, or a rapidly moving object(s) creating a streak-like effect. A good rule of thumb is to ensure the shutter speed is equal to or faster than the focal length you’re shooting at. For instance, with a 200mm lens, shoot at 1/200th second or faster; otherwise, you risk camera shake ruining your shot.
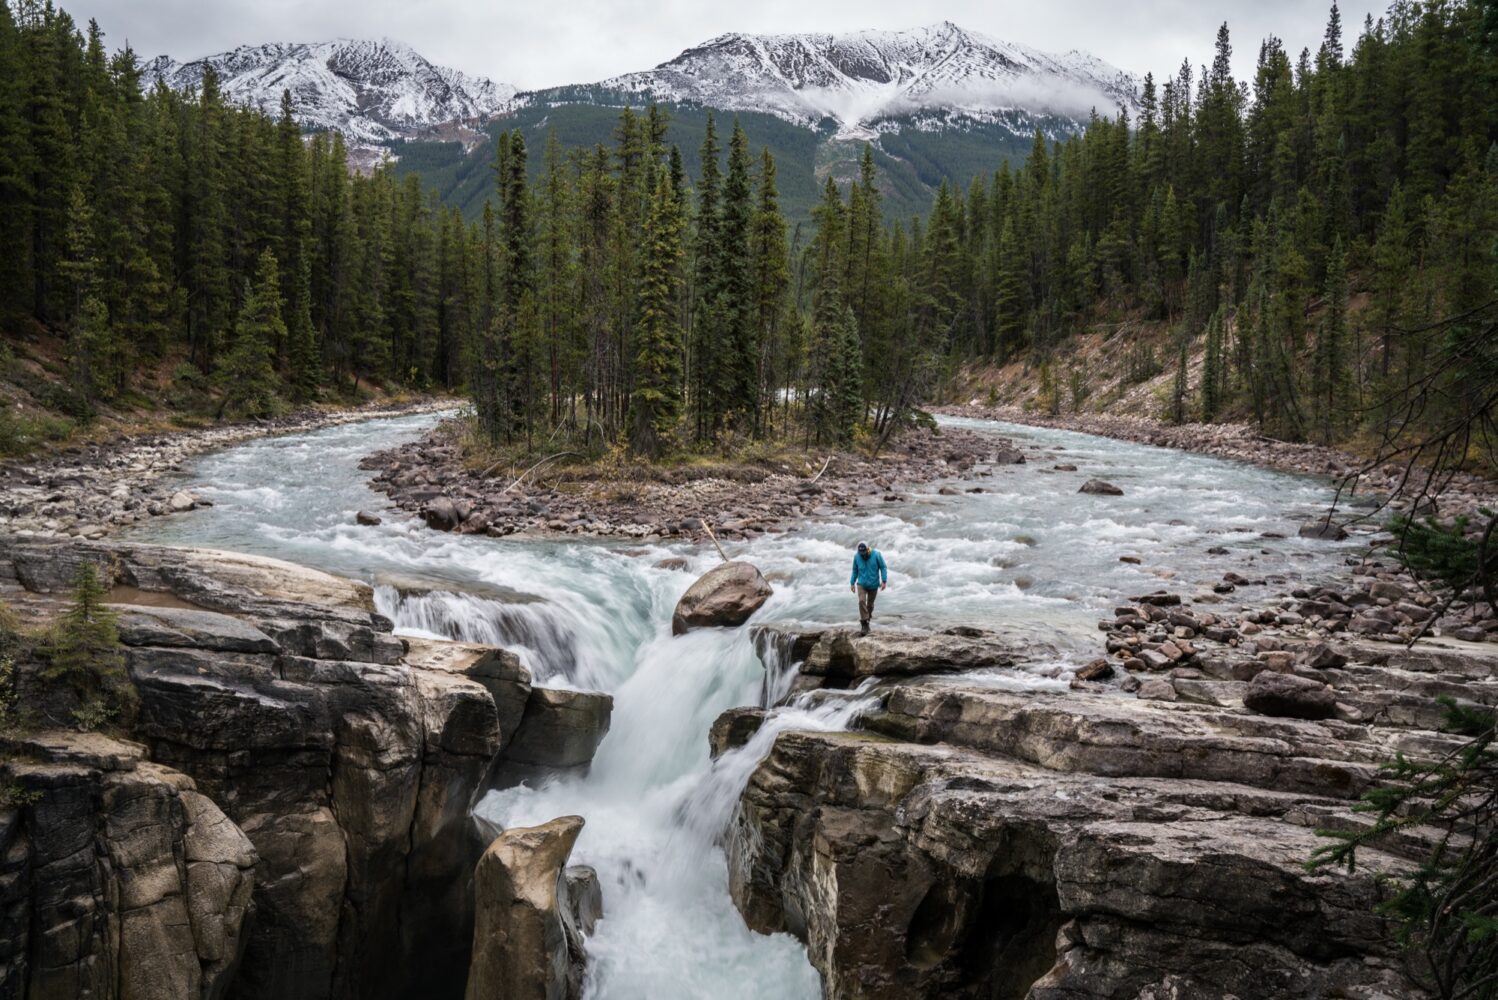
Shallow depth of field can also result in a soft blur, also known as bokeh—the aesthetic aspect of the blur created in the image’s out-of-focus parts. This is a useful technique for isolating your subject from the background. Your lens’ smallest aperture allows a greater depth of field. Conversely, opening up the aperture reduces the depth of field in the in-focus parts of the image.
Otherwise, you may not have adjusted the diopter correctly for your eyes—the tiny wheel adjacent to the viewfinder on most DSLRs that allows the user to tweak the focus of view that the viewfinder shows looking through the lens. You can also increase your camera’s sensitivity setting (ISO), which allows you to increase the shutter speed to correct any camera shake, as can image stabilisation if your camera and/or lens has it. Alternatively, utilise a tripod, eliminating any unwanted shaky handheld results.
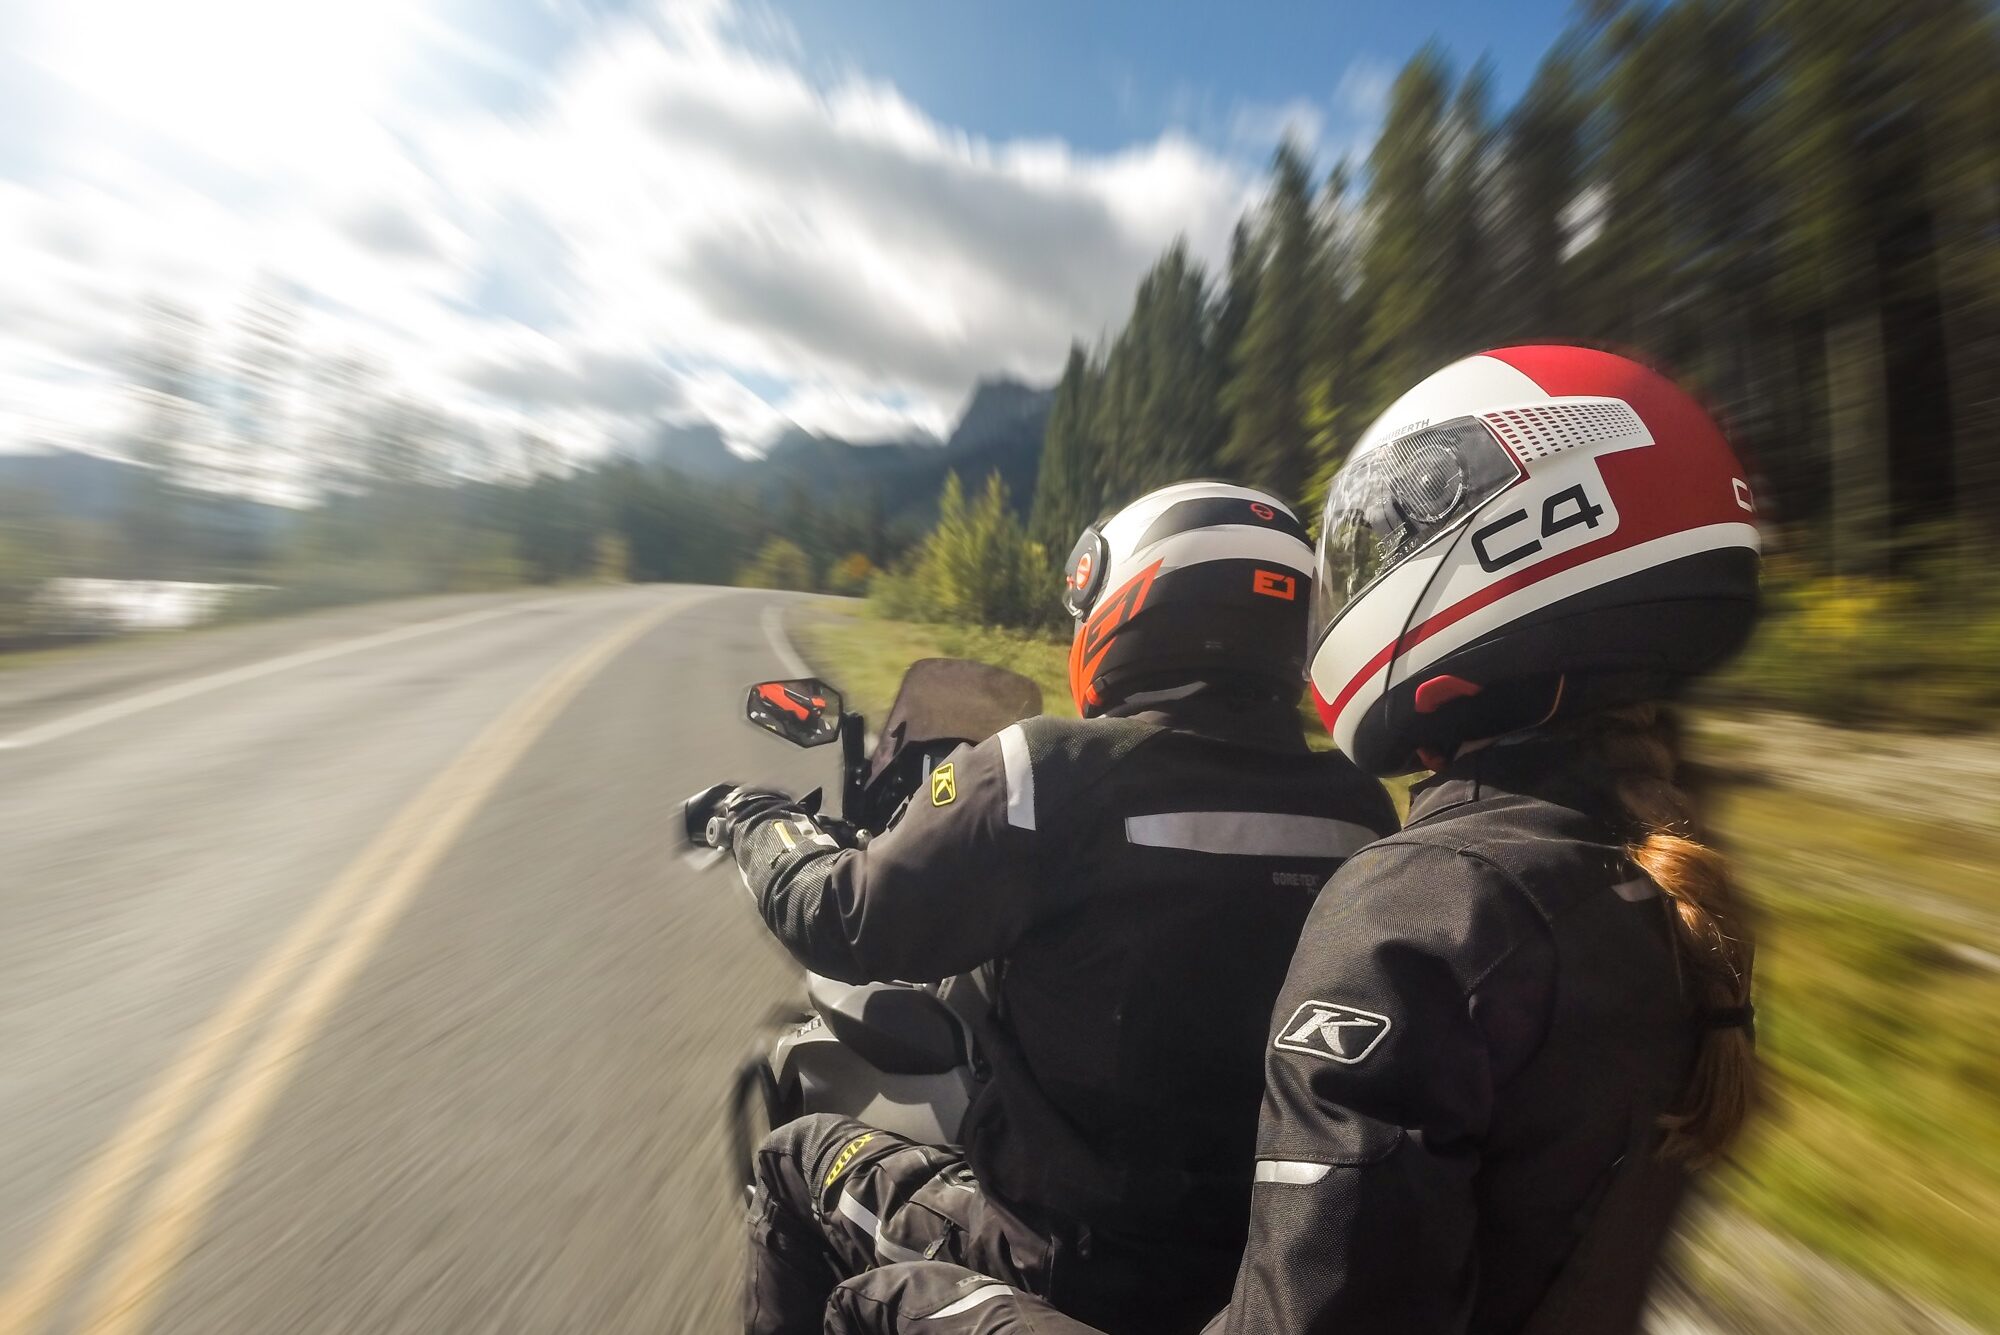
How Do I Create Attractive Motion Blur?
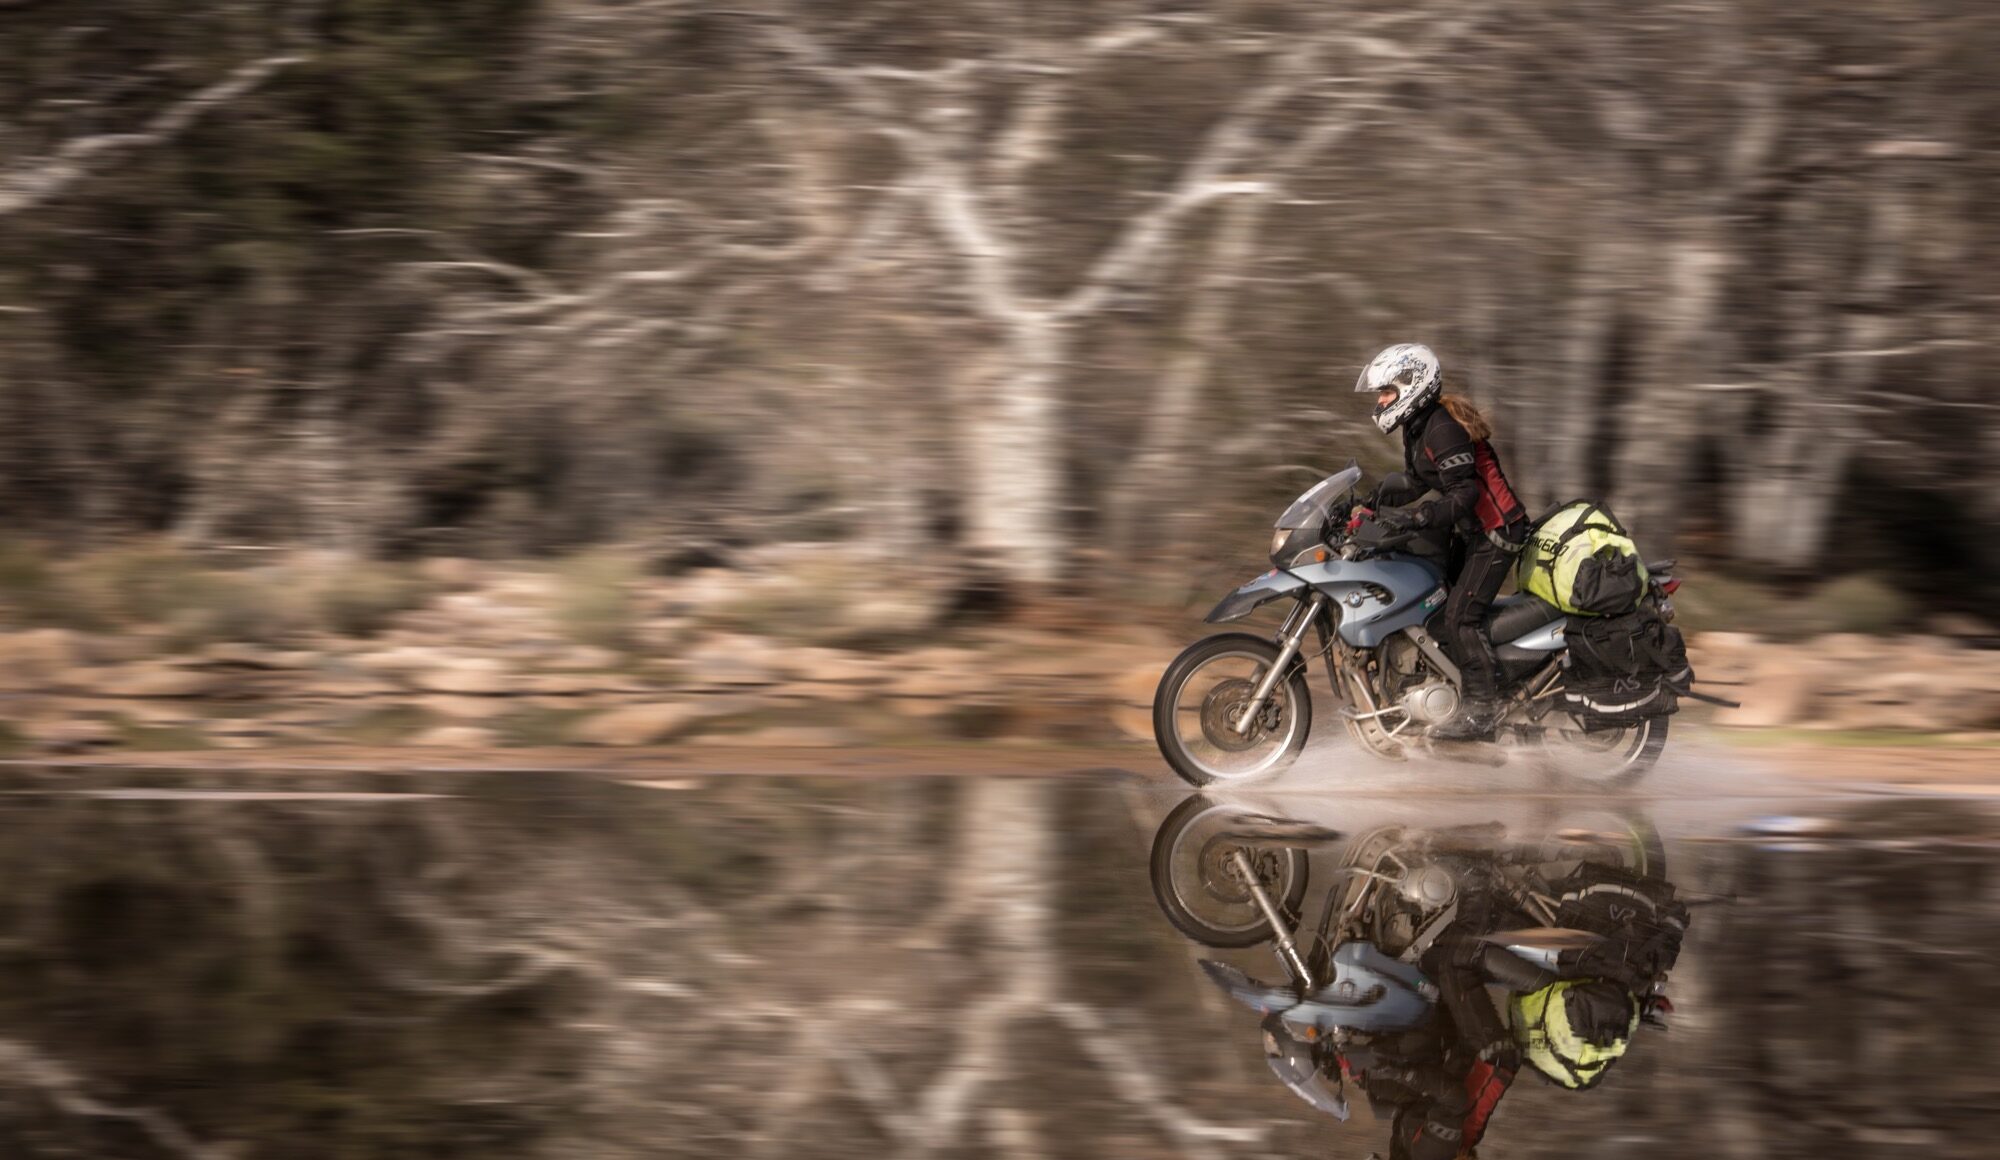
It will take a little practice to find a shutter speed that is slow enough to form motion blur that’s appealing but quick enough to prevent camera shake. To create aesthetically pleasing motion blur around your subject, slow your shutter speed to 1/60th to 1/125th second. Then work on developing your panning technique. To pan effectively, set your feet apart. Start with your hip facing the subject. As the subject moves, twist smoothly from your hips, and lightly squeeze the trigger.
By putting these few tips into practice, you can improve your photography drastically. Above all, stay focused on having fun in honing your images. Experiment with the trial and improvement method. That’s the beauty of digital photography: there’s nothing to lose (bar memory card space) and everything to freeze-frame.
Our No Compromise Clause: We carefully screen all contributors to make sure they are independent and impartial. We never have and never will accept advertorial, and we do not allow advertising to influence our product or destination reviews.