Mr. Isaac Newton tested everything

  Poked and prodded, then said,

“Solid things are as real as they seem”
– Peter Mayer |
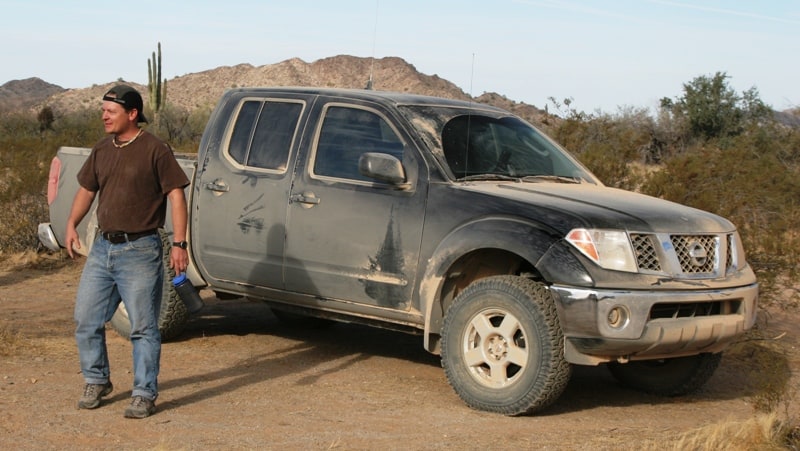
| Mark is not afraid to use it! (Photo: expeditionswest.com) Part 1 – Getting it Trail Ready By Mark Stephens |
| The whole point for us getting this truck was to be comfortable on rough dirt roads, and have space for a sleeping platform and all associated adventure gear; climbing equipment, mountain bikes, camp cookware, etc. Our Frontier is not for creepy-crawly boulder trails, but for remote, backcountry travel. Expedition travel. However, off the dealer lot, this truck isn’t totally prepared for trail driving. So we started here: suspension improvement, all terrain tires, and rock slider protection.
What I thought was going to be a joke turned out to be not-so-funny. I’d purchased mild lift kit for the truck, wrapped it up and placed it under the Christmas tree as a gift to my wife. When she pulled out two aluminum billets and a pair of leaf spring shackles, she asked me what the heck this stuff was. “It’s a joke, really” I began, “but these parts are a little lift for the truck.”
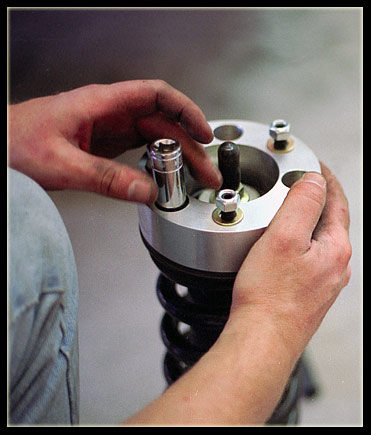
“Really?” She had a funny smile on her face and then made me laugh when she leaped and asked, “Can we go put it on today?” Who knew that a coil spacer lift from PRG and extended shackles from Automotive Customizers would make a happy Christmas gift? The suspension on the 2005 and newer Nissan Frontier incorporates independent coilover shocks in the front, and spring-over-axle leaf spring packs in the rear. This configuration is quite comfortable and easily improved upon. Additionally, the vehicle’s components underneath are well tucked above the frame rails for maximum protection. These mild lift components simply helped us get the frame up a little higher, and also gave a nice opportunity to get underneath the truck and learn more about what we had. |
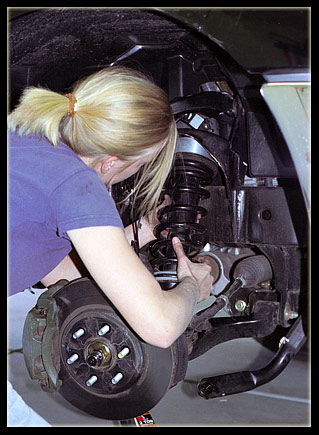
Both the front and rear suspension parts virtually snapped in place. My wife not only helped, but she also did most of the work. To install the front spacer billets we removed the front tires, removed the coilover from the coil bucket, bolted the billet in place, and put it all back together. The additional 2” is not detrimental to the CV joints and allows us to fit a slightly taller tire without cutting the fender sheet metal. The rear shackles merely detached by a little finesse between jacking up the frame and supporting the axle to remove weight from the shackles. One bolt holds a shackle to the frame, the other to the leaf pack. So the process of replacing the shackles was as easy as removing the bolts and swapping the old shackles for the new. These shackles will be a temporary solution until an appropriate spring package becomes available.
At the end of the day on our first off-highway venture and several miles from pavement, the tire pressure monitor system indicated that a tire was losing air. Since the tires were original, this afforded us a good reason to swap them for something better for off-road driving. We upgraded to a load rating D tire: BF Goodrich All Terrain 265/75r 16. It’s a tough tire, and a popular one for its traction in most environments. After consulting some experienced friends, we decided this 32-inch diameter is plenty adequate for an expedition vehicle. Despite the fact that the wheel wells have ample space for slightly larger tires, our purposes don’t necessitate 33-inch or taller tires. The tread pattern provides superior traction, and the tire achieves the load threshold we require. |
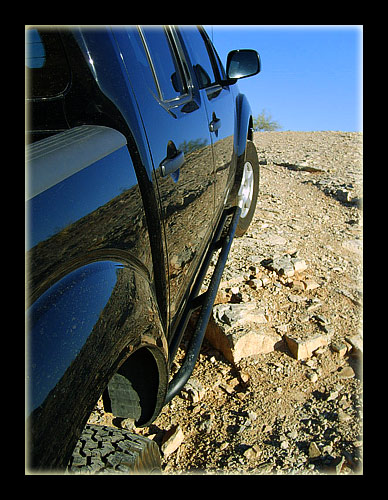
Now that we’ve completed some changes to make the truck ready for the trails, we needed to protect the truck from hazards. I located a pair of trustworthy and stout steel rock sliders made by Shrockworks. Built out of heavy gauge steel, the sliders are designed with a classic 2” square tube and a 2” round step tube; all of it is held together with the mighty grip of three welded cross members, and two arms that bolt to the frame. My hat is off to the crew at Shrockworks for impeccable craftsmanship. In off-highway driving, the general rule of thumb is to place the tires directly on any obstacles that you can’t drive around. So, as the wheel breaks over an obstacle, the vehicle needs a defense from keeping the obstruction from piercing the body panels. Rock sliders grant this protection as well as provide a much-needed place to use a hi-lift jack.
The sliders arrived as unfinished bare steel, so I had my choice of a surface finishing method and I tend to favor powder coating. Some folks prefer simple spray paint and others will use a spray-on truck bed lining. One method is not necessarily better than the others, as each one has benefits and downsides. I don’t find it a problem to touch up any nicks and scratches on the bottom sides with spray paint. After the powder coating went on – which was outsourced – installation took close to an hour and was straightforward. |
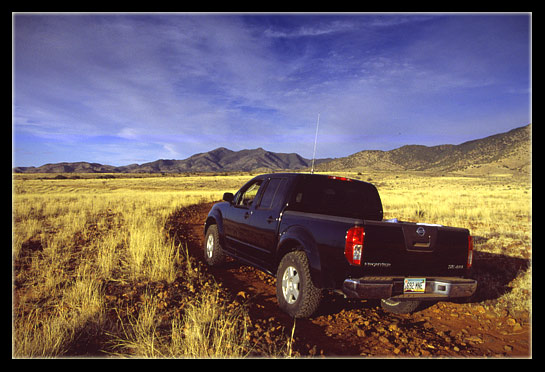
| To this end, we have a truck that is ready for some time on the trail. More importantly, we’ve actually used the truck on a trek along El Camino del Diablo, a weekend exploring Las Cienegas Conservation Area, a climbing adventure down into Devil’s Canyon, a trail test on Broken Arrow (including the famous Devil’s Staircase obstacle), a venture into southern Utah and Monument Valley, and a two week road trip through colonial Mexico. So far, it passes the test. And now we have a solid base for even more improvements and wilderness travel. Sources: PRG Products: www.prgproducts.com Automotive Customizers: www.4x4parts.com Shrockworks: www.shrockworks.com
|
Expedition Portal Build: 2006 Feature Vehicle Nissan Frontier – Part 1