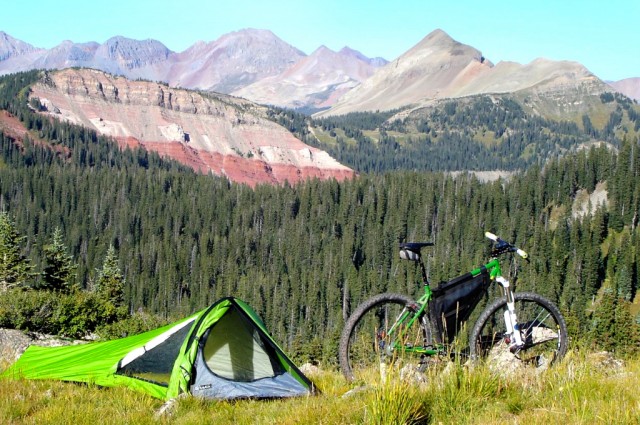
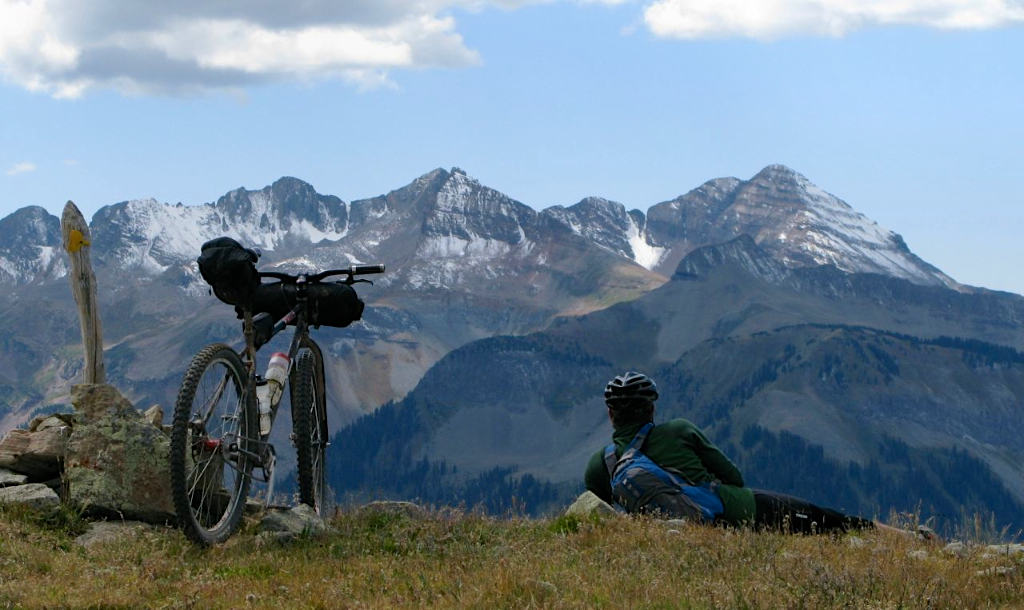
Ride, eat, sleep, repeat. If you love to mountain bike it doesn’t get any better than that, does it? Bikepacking, the fringe pursuit of minimal camping combined with long distance mountain biking is fast becoming very un-fringe. I suspect even more riders would pick up bikepacking if they only knew how to get started. For many would-be bikepackers, the one thing holding them back is the misconception that they’ll need a fancy adventure bike and spend a fortune on high tech camping gear. That’s certainly one way to do it, but it’s not at all necessary.
The Bike
The best bike for bikepacking is the one hanging in your garage. If you enjoy riding it on trails now, you’ll have just as much fun riding it with a full compliment of camping gear affixed to it. You don’t even need to modify it or tweak it. Whether it’s a hardtail, full suspension, or singlespeed, it matters not. Load it up and go.
The Gear
If there’s going to be any outlay of cash, it might be with the acquisition of bikepacking appropriate camping gear. There is a direct correlation between how light you pack and how enjoyable your overall experience will be. A heavily laden bike is no fun at all, so gear selection has to be done with great consideration. The easiest way to do that is simple enough––take less stuff. If you don’t enjoy minimalist camping, bikepacking may not be for you. That also doesn’t mean you have to be uncomfortable.
Naturally, the key pieces of gear you’ll need are a shelter, sleeping pad, and sleeping bag. This could be as simple as a light tarp, inexpensive inflatable pad, and a basic $75 sleeping bag. While it is true most of the uber-compact gear is really expensive, that’s not always the case. Shop carefully and ultra-light equipment can be found on the cheap. It can’t be stressed enough how important size and weight are to bikepacking. If you suspect it’s too big or too heavy, it is.
One thing you can often leave behind is a camp stove. If you’re just getting started, most of your trips will be quick overnighters and hot meals aren’t terribly necessary. It’ll save you a few bucks, and reduce the weight of your load, if just slightly. Speaking of that load, it’s probably wise to keep your entire kit, with water and food, to under 30 pounds. An experienced bikepacker can whittle that load down to 16-18 pounds (or less) with careful planning and a sizable investment.

Bags and Packs
Now that you’ve found your perfect assortment of gear, you have to figure out how to mount it to your bike, and that can be a real head scratcher. There’s no denying, the most convenient way to carry all of your gear is with proper bikepacking bags, but that quickly get’s expensive. A full set of bags including frame, seat, and bar bags can easily tip $400. For the new bikepacker, ingenuity and resourcefulness can work around not having dedicated bikepacking bags. Carefully chosen stuff sacks strapped to your bars and seat can sometimes do the trick. Mounting bags to the seat in such a way they don’t bang into your legs is tricky. In that sense, it’s tough to not greatly benefit from at least a proper seat bag. That might be worth the $125 investment. When you realize how much you love your new bikepacking hobby, your first big purchase will likely be a frame bag, which really is the best way to carry the bulk of your equipment.
For most new bikepackers lacking a full compliment of bike-mounted bags, a backpack will be a critical necessity. Using a pack as your primary hauler is far from ideal, but it is a cheap and easy way to get rolling. When choosing that pack, look for something in the range of 20-25 liters. That pack needs to be able to comfortably carry 10-12 pounds. Anything more than that will be seriously un-fun. The heavier the pack you carry, the more unbalanced your riding will be, and it’s also hell on sit bones. I also prefer to carry my water in a three liter hydration reservoir in my pack. I find I drink more with a hydration system.
The Shakedown Ride
Before you venture into your first overnight ride, it’s wise to load up all of your stuff and go for a short ride on your home trails. These little shakedown rides help you get a sense of how your bike feels with the added weight and gives you an opportunity to make adjustments to gear placement on the bike. Don’t be surprised if that first test ride includes a lot of stops to shuffle your gear around. This ride will also give you feel for how much slower you are with all your camping gear clinging to your bike.

What You Didn’t See Coming
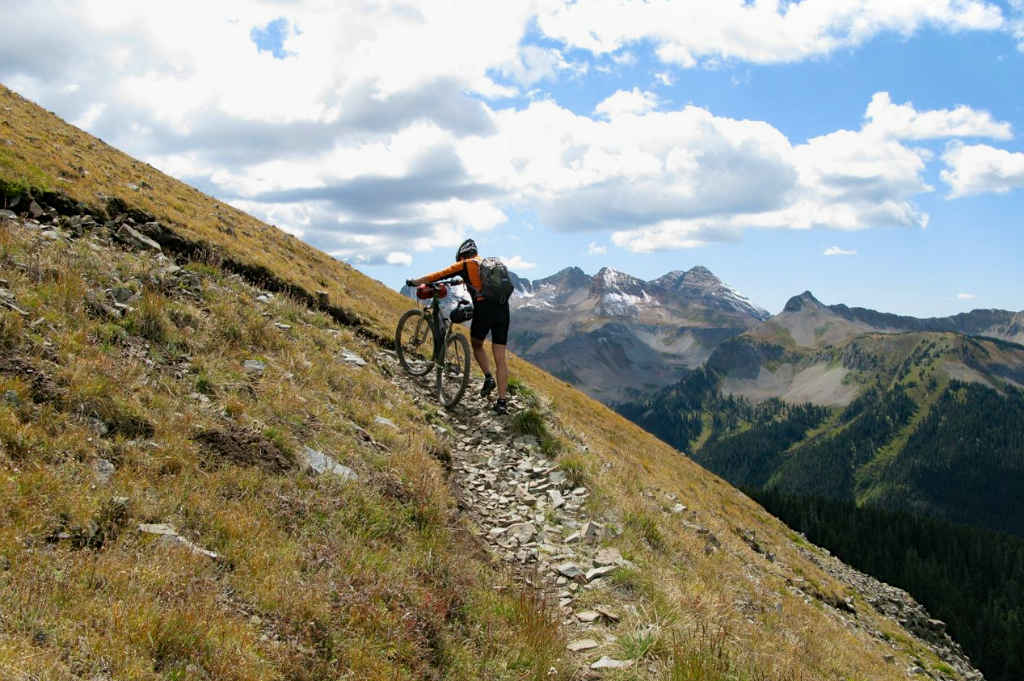
That first bikepacking trip is likely to offer surprises. Unless you regularly do twelve hour rides, and few do, you won’t believe how far you can ride when you have all day to do it. What’s even more amazing is how many miles you can cover at such a slow pace, and it will be a slow pace. The other big surprise with bikepacking is how much hike-a-bike is involved. Again, weight is critical and the more weight you carry, the more hike-a-bike you’ll likely do. I advise you come to terms with pushing your bike as just part of the charm of bikepacking as there’s plenty of it. My personal mantra: “Pushing is progress.”
If you plan accordingly, that first bikepacking trip will light the fire and the only future challenge will be finding the time to get away. Maintain your fitness, choose your gear carefully, and everything else will follow.


