
.jpg)
After a few weeks of driving my Nissan Xterra on the street, I finally got the opportunity I had been waiting for. I was invited by Scott Brady and Brian McVickers to go on a trail run and see what my vehicle could do. Overall, I was impressed with the feel of the vehicle, although I did find I was a little disappointed in the ground clearance; In addition, the suspension travel wasn’t anything to write home about. I was stuck on the first icy incline we encountered thankfully, the other vehicles were equipped with aftermarket suspension systems, and larger tires, so they had no problems. With their added traction, they were able to tug me up the hill without any issues.
The next day, I researched different suspension lifts that could solve this problem. The options weren’t exactly plentiful for my generation Xterra- and Rancho quickly came to the top of my list. Within the week, there was a box of parts waiting to be installed. I enlisted the help of co-workers as I had no knowledge of installing a suspension lift.

We started with the rear suspension which achieves it’s lift by adding a helper spring. We ran into the two things in extracting the springs one we needed to take the spare tire off as it was in the way and also to get on of the bolts we had to slightly unscrew the skid plate over the gas tank. This was only a minor annoyance. Per Matt’s advice we had sprayed all the bolts we would be removing with PB blaster the night before, making it pretty easy to get everything apart quickly and easily. I was surprised at what a difference this made, we had overlooked a few of the bolts and they were much harder to get undone so I would recommend this as a first step.

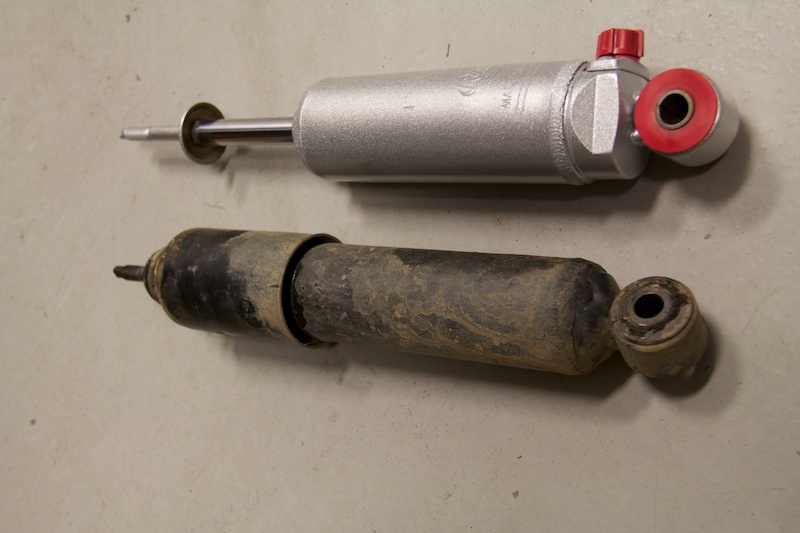
Matt explained the process to me as I watched how he did the right side. And the left side was up to me, a few questions later and we had both sides done. It was pretty straightforward process but I was glad to have someone to guide me as the instructions weren’t the clearest. The most time consuming part was tightening the bolts, all of which seem to be in the worst places so you have to awkwardly contort to get to all of them. Put the shocks on (upside down at first) it does say on the shock which side should go down. I opted to leave off the flashy red shock cover. We popped the rear tires on and lowered the truck to see just how lifted it would be. It was more than I expected but still classy. It took a few hours to complete the rear suspension.

The next day it was on to the front suspension. We used the same approach of Matt showing me how to install everything on the Right side, and then I would move onto the left and with his guidance complete that side. We didn’t realize it until we had taken off the original control arm that included in the box was two right control arms…this was a large problem. I called Rancho the next morning to see if they could overnight a left control arm as my vehicle was out of service until I had it. After being transferred a few times and maybe 15 minutes on the phone. They said they had to check to see if they had that part and would call me back. They did a few hours later letting me know the part should be there the next day. It did arrive and from there everything went smoothly. The front tires went back on and all that was needed to finish the install was a quick adjustment to the torsion bars (Editors Note: Which she’s thankful Chazz helped with) and I was set.
In the process I decided I would remove original Xterra sliders as they didn’t really do anything except make my ground clearance worse.
I like the feeling of being just slightly higher and it’s nice to be able to adjust the rear shocks, and it’s very easy to adjust it. Even though as of yet I haven’t needed to adjust anything. I’m impressed with the performance of the kit on-road, and can’t wait to take it to the trail and see how it does!
Resources:
2000-2004 Nissan Xterra suspension lift kit – Rancho [link]
RS9000 XL Shocks – Rancho [link]
[EDITOR’S NOTE: We’re sorry, this image has been removed.]

[EDITOR’S NOTE: We’re sorry, this image has been removed.]

