A few years ago while teasing photography advise out of friend and photo guru, Bruce Dorn, I asked him about the relevance of the selfie. I posed the question sheepishly because in our modern age just the word itself has become a pejorative, inextricably tied to unabashed self promotion.
I was relieved then when he assured me that there are times when the selfie is a valid image capture. When the story demands the subject be in the frame, but there’s no one around to push the button, the selfie is the only option. Frequently solo when I travel, I set out to master this particular photo-skill.
The most important consideration when photographing yourself is to not outright abandon all other rules of photography, particularly within the realm of telling a narrative through visuals.
What not to do
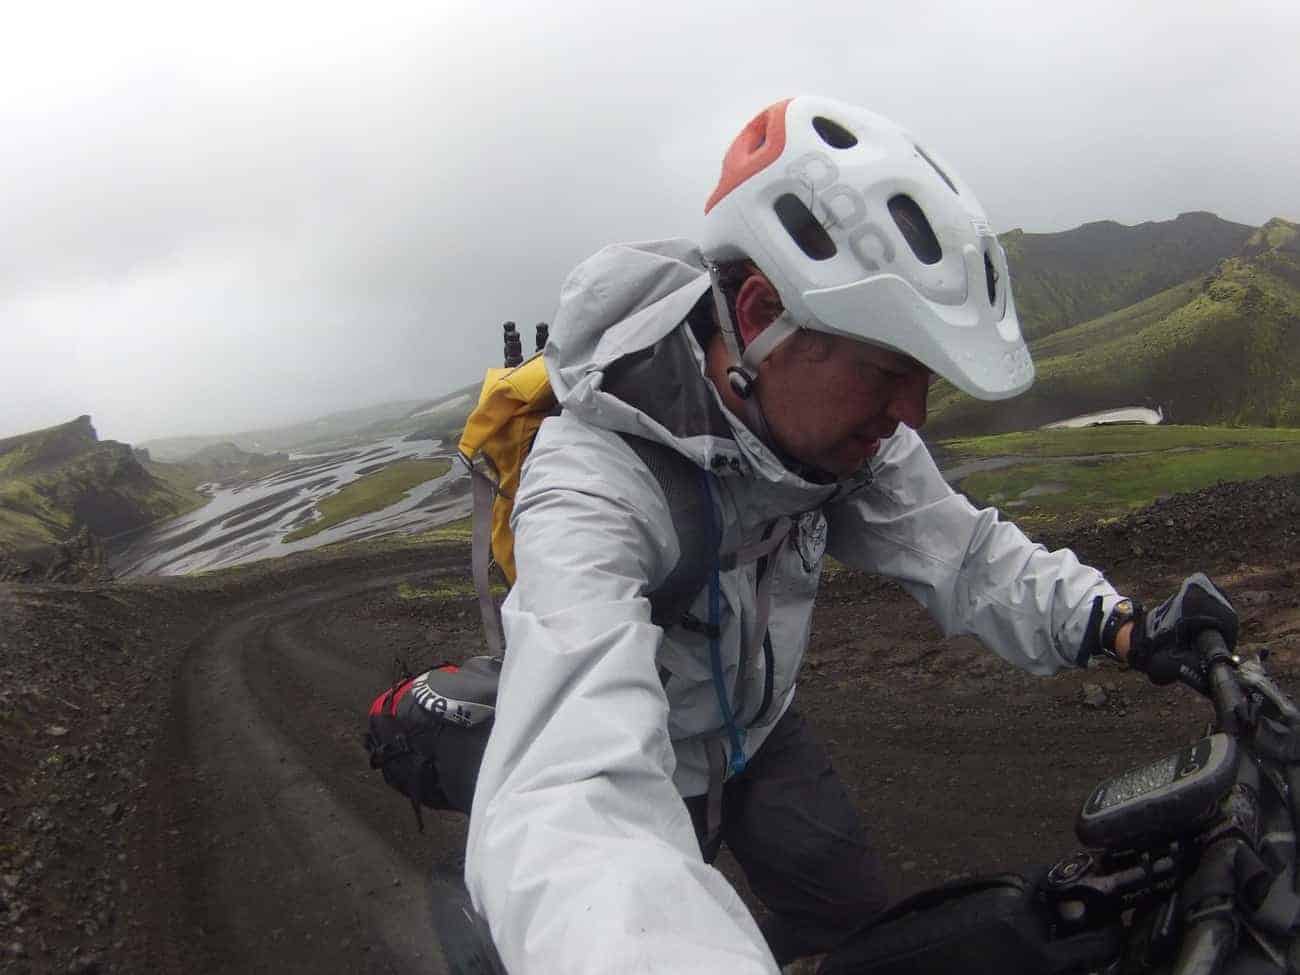
The worst selfies are the most common. Those are the contrived snaps with the camera, usually a phone, held high overhead at arm’s length. The subject’s face is always slightly distorted by the wide angle lens and very frequently wears a ridiculous expression. Women are prone to the overtly cheeky expression, usually with a corny wink involved. Dudes often strike their best super hero mug. Both are just horrible. The reason the typical phone selfie is so awful is the fact it doesn’t have any depth or story telling benefit. It’s just a view of your oversized mellon in the frame.
For those reasons, it’s always a good idea to not look at the camera. This is true of almost any travel image. When you or your subjects lock eyes with the glass, usually the magic of the moment is lost. The best images, selfie or otherwise, make the camera a silent witness.
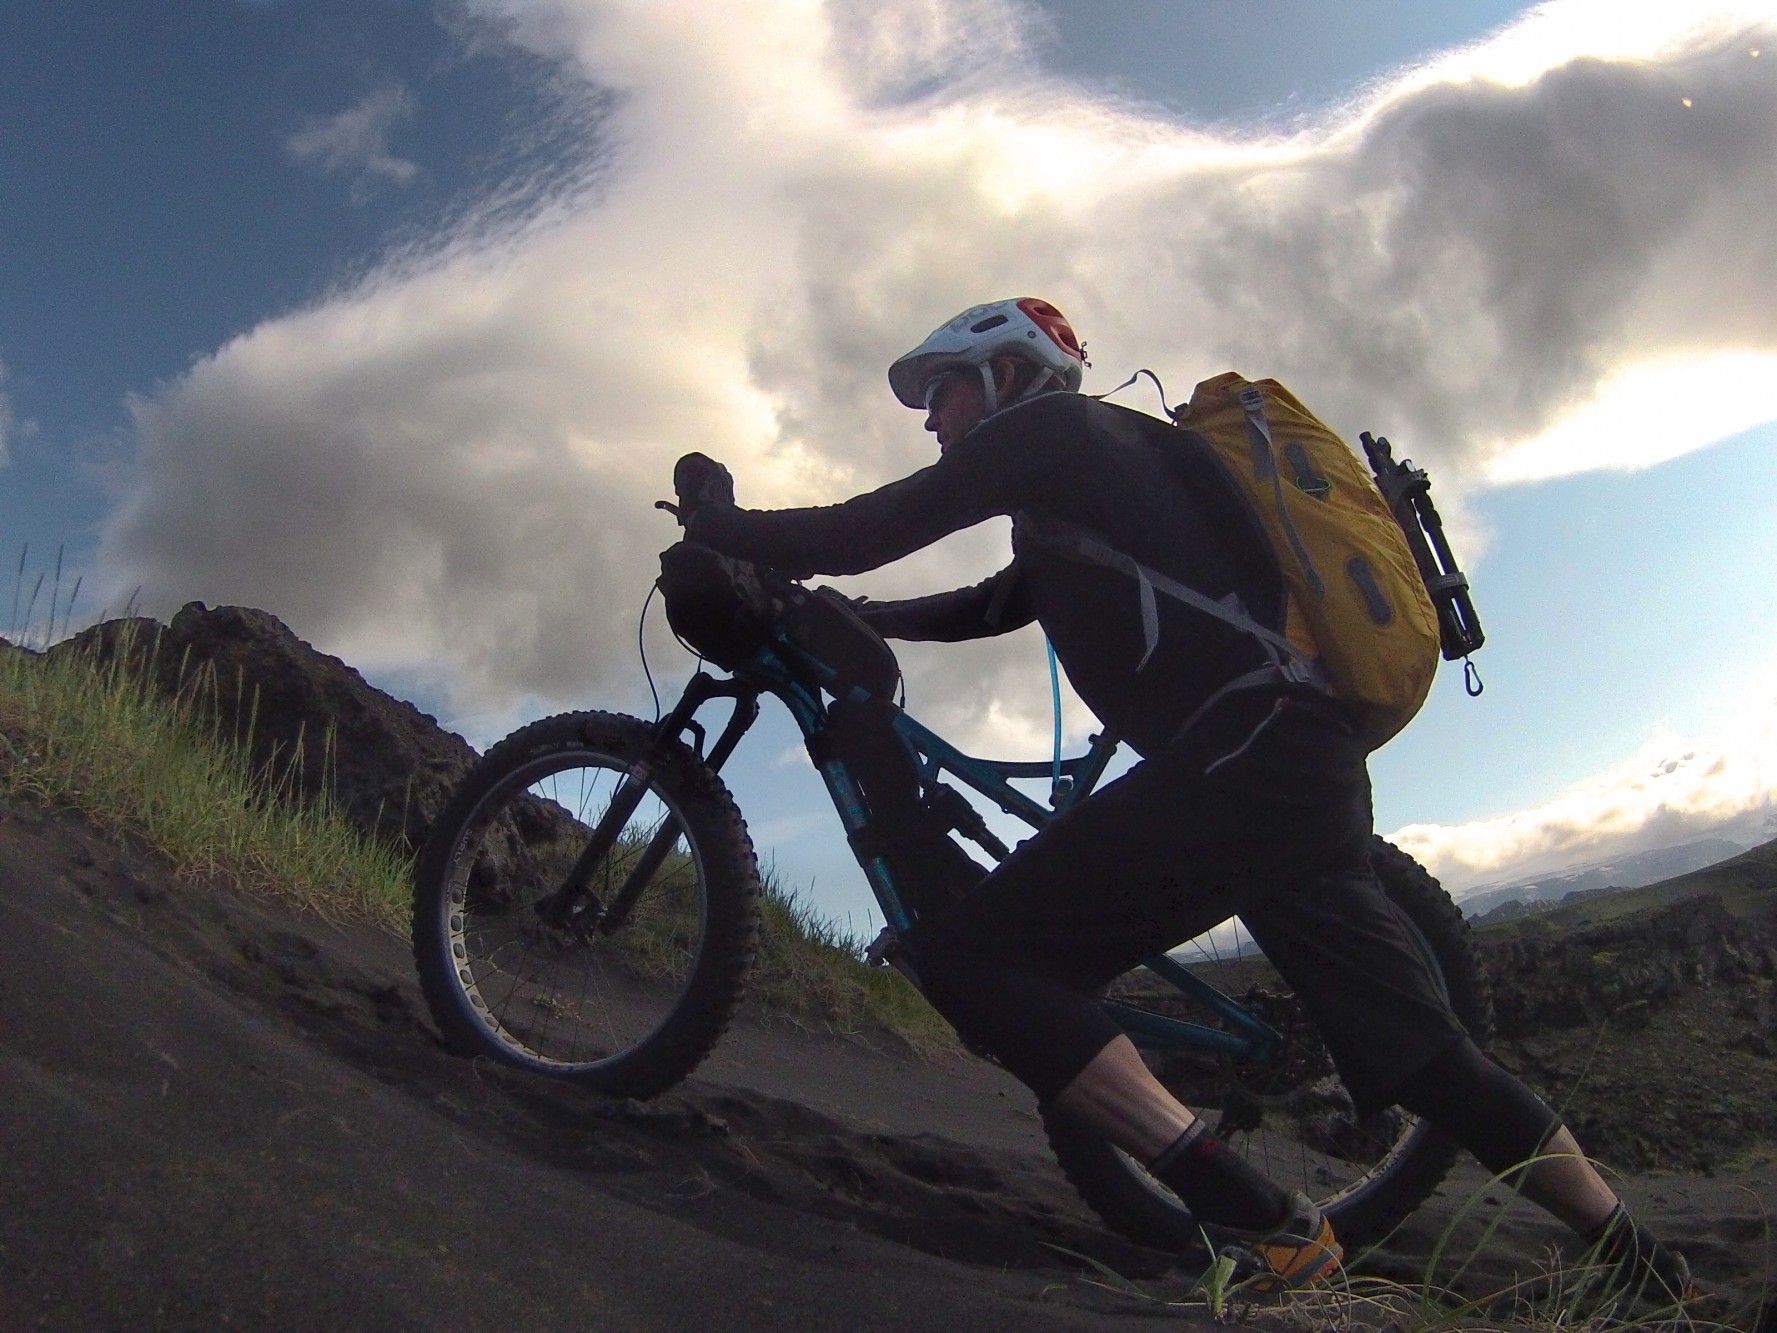
After pushing my bike through deep volcanic sand for hours, it became such a part of my story, I had to include an image of that action.
What to do
Telling a visual story requires a variety of images from tight micro scenes to sweeping landscapes and everything in between. Adding yourself in those frames does several things. It first establishes that––you were there. It can also lend scale and play a central component in the overall narrative.
I tend to think of what I would shoot if there was another person with me and in their absence just insert myself into those shots. The other element to all of this is budgeting for time. Taking super-selfies is a monstrous time suck. Whereas grabbing a quick pic of a buddy takes all of a second or two, setting up a proper selfie requires a ton of time and effort.
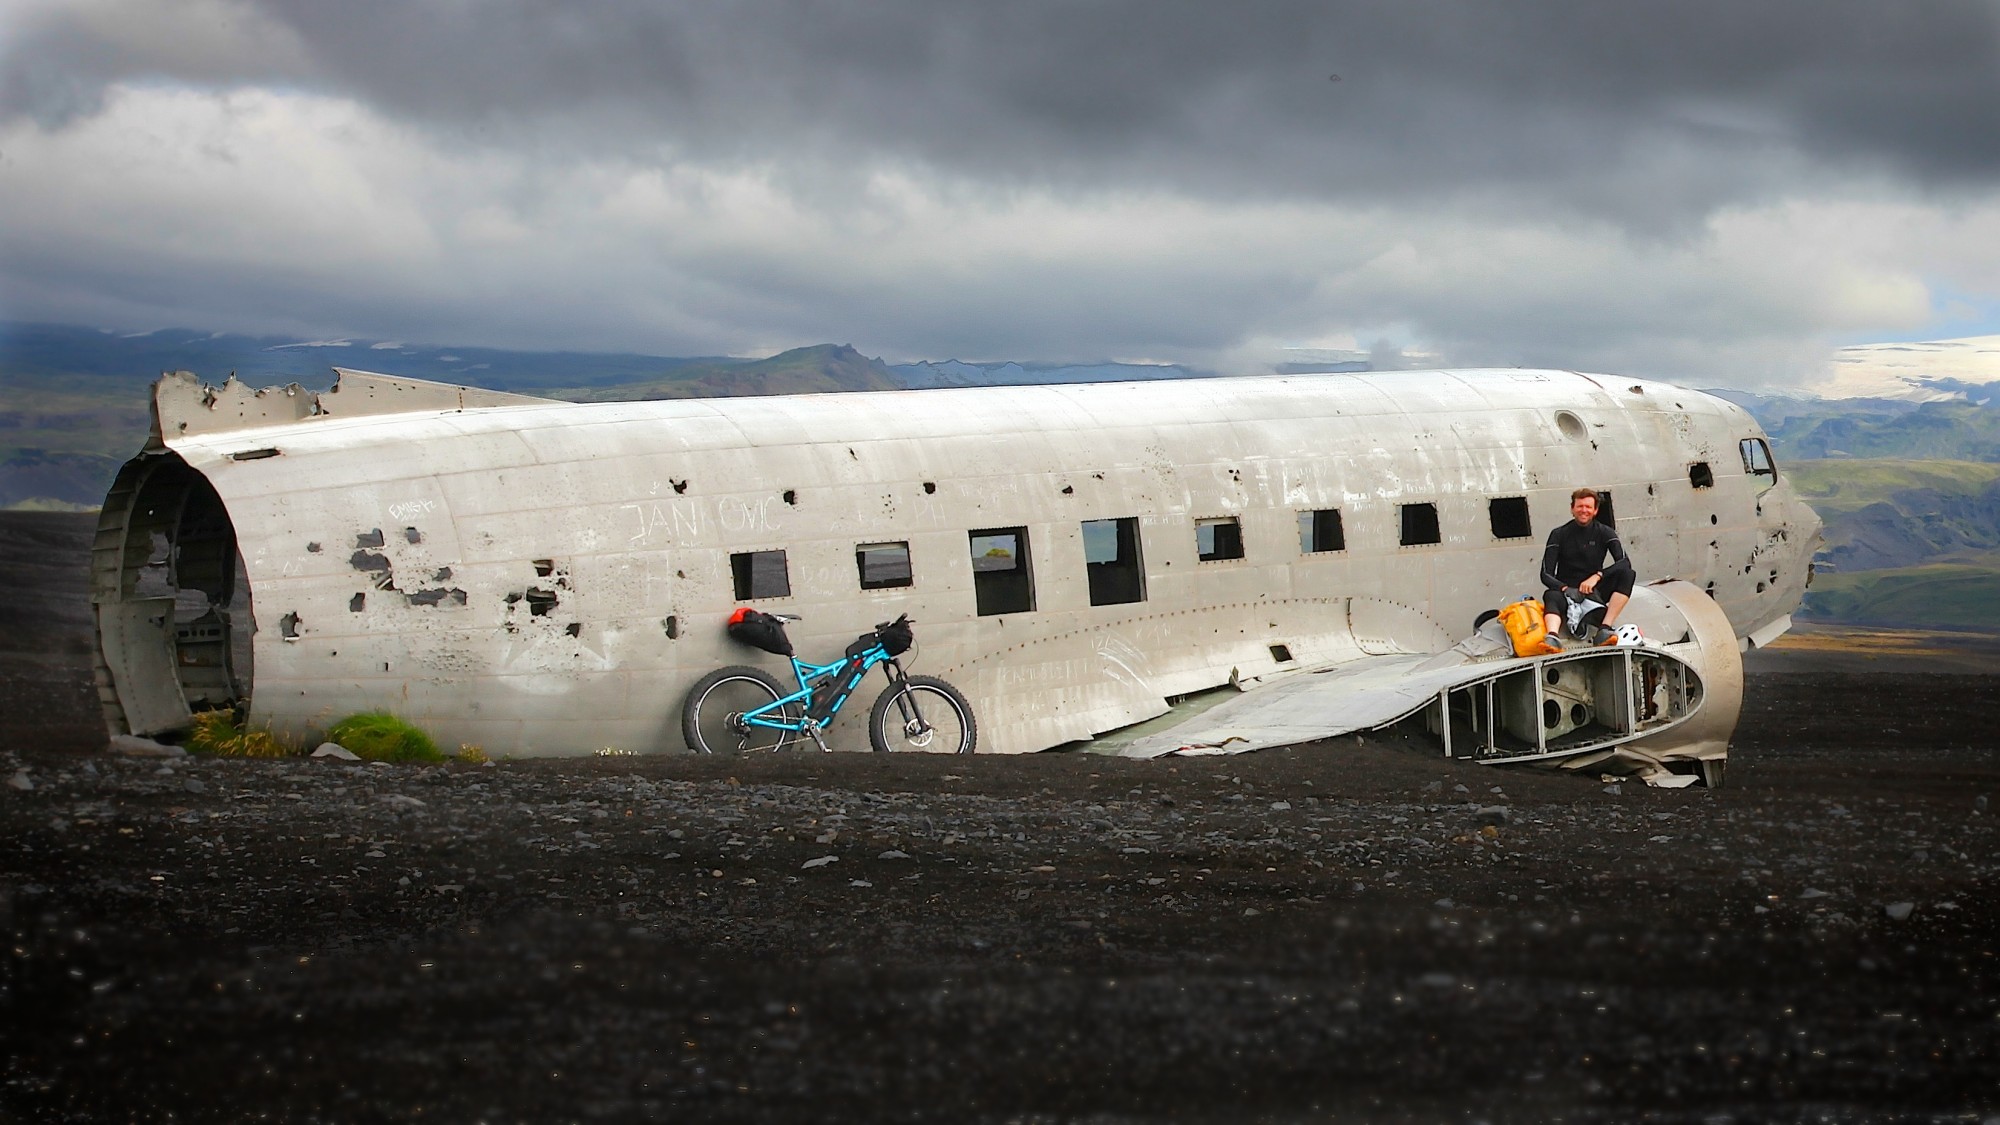
It’s not often I look at the camera, but sometimes it works.
How to do it
Capturing yourself in pixels requires unique tools beyond the self timer. The most important of these tools is a tripod. You can improvise by placing your camera on solid objects, but without someone to hold your camera, a tripod is the only reliable solution. Equally helpful is an external intervelometer, or intervelometer functions built into your camera’s software. An intervelometer allows the shooter to program the camera to take a specific number of images at desired intervals, and after a set amount of time. A typical super-selfie looks like this:
- Arrive at your scene, calculate where the camera needs to be placed relative to where you want to be in the shot.
- Set up the tripod, establish your exposure settings, and focal point (which in itself can be tricky).
- Determine your intervelometer settings. Maybe you want to walk through the scene and by setting the camera to take 10 shots, one every two seconds, that gives you time to move through the frame providing multiple captures to chose from.
- Set the intervelometer timer to allow you enough time to get in the frame. I use a timer on my watch to make sure I’m in sync with the camera timer.
- Review your images and get prepared to do it all over again. It’s hard to nail the first time.
The advantage of the intervelometer is that it allows you to be a natural subject within the scene. You have your hands free and can move naturally to make the image not appear to be self-produced.
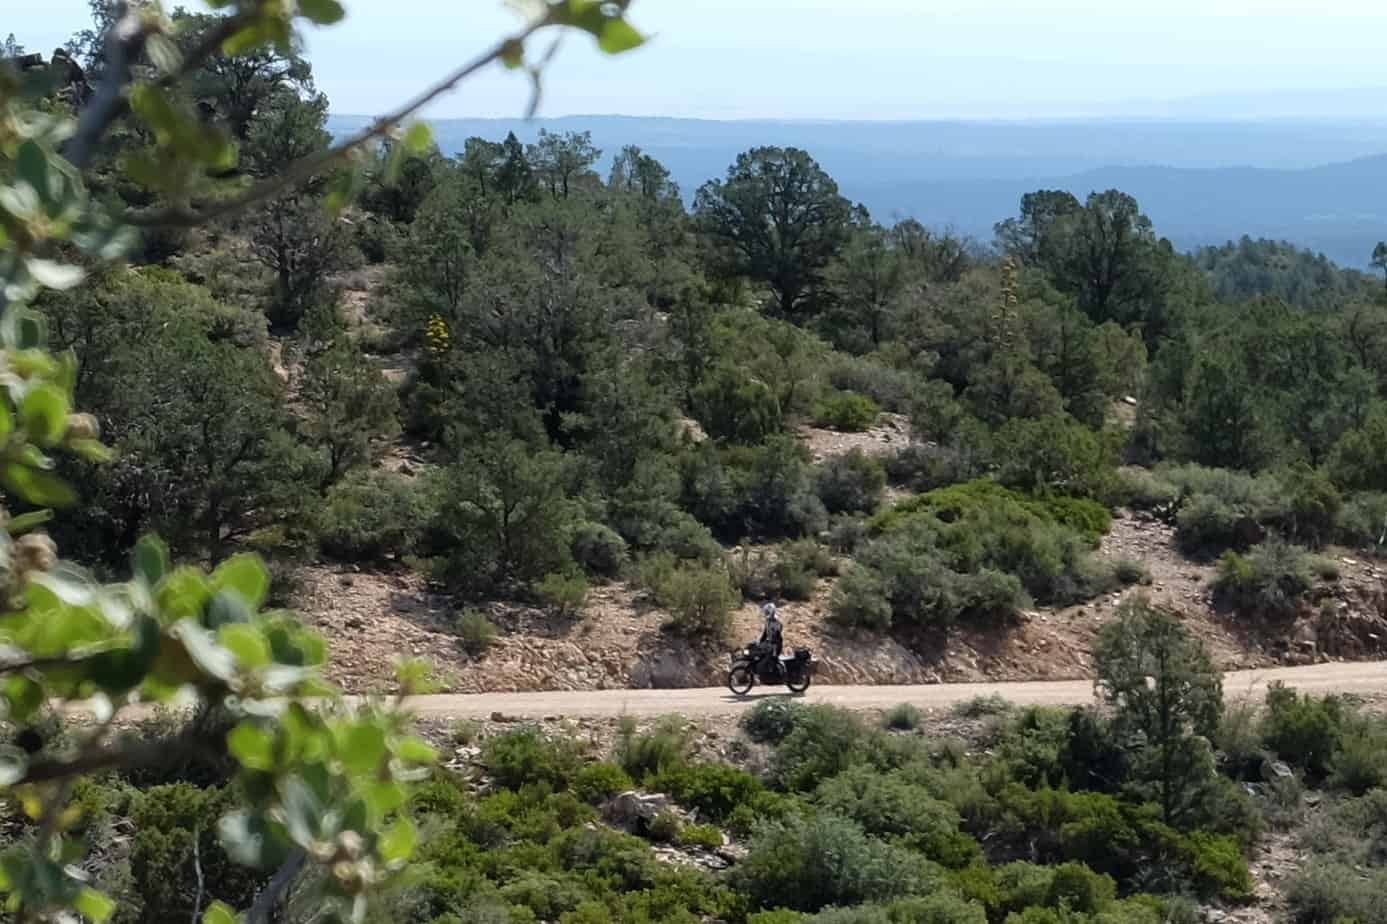
(Above) This was shot with a rather long lens. What would otherwise be a boring landscape was turned into a nice shot that fit the narrative.
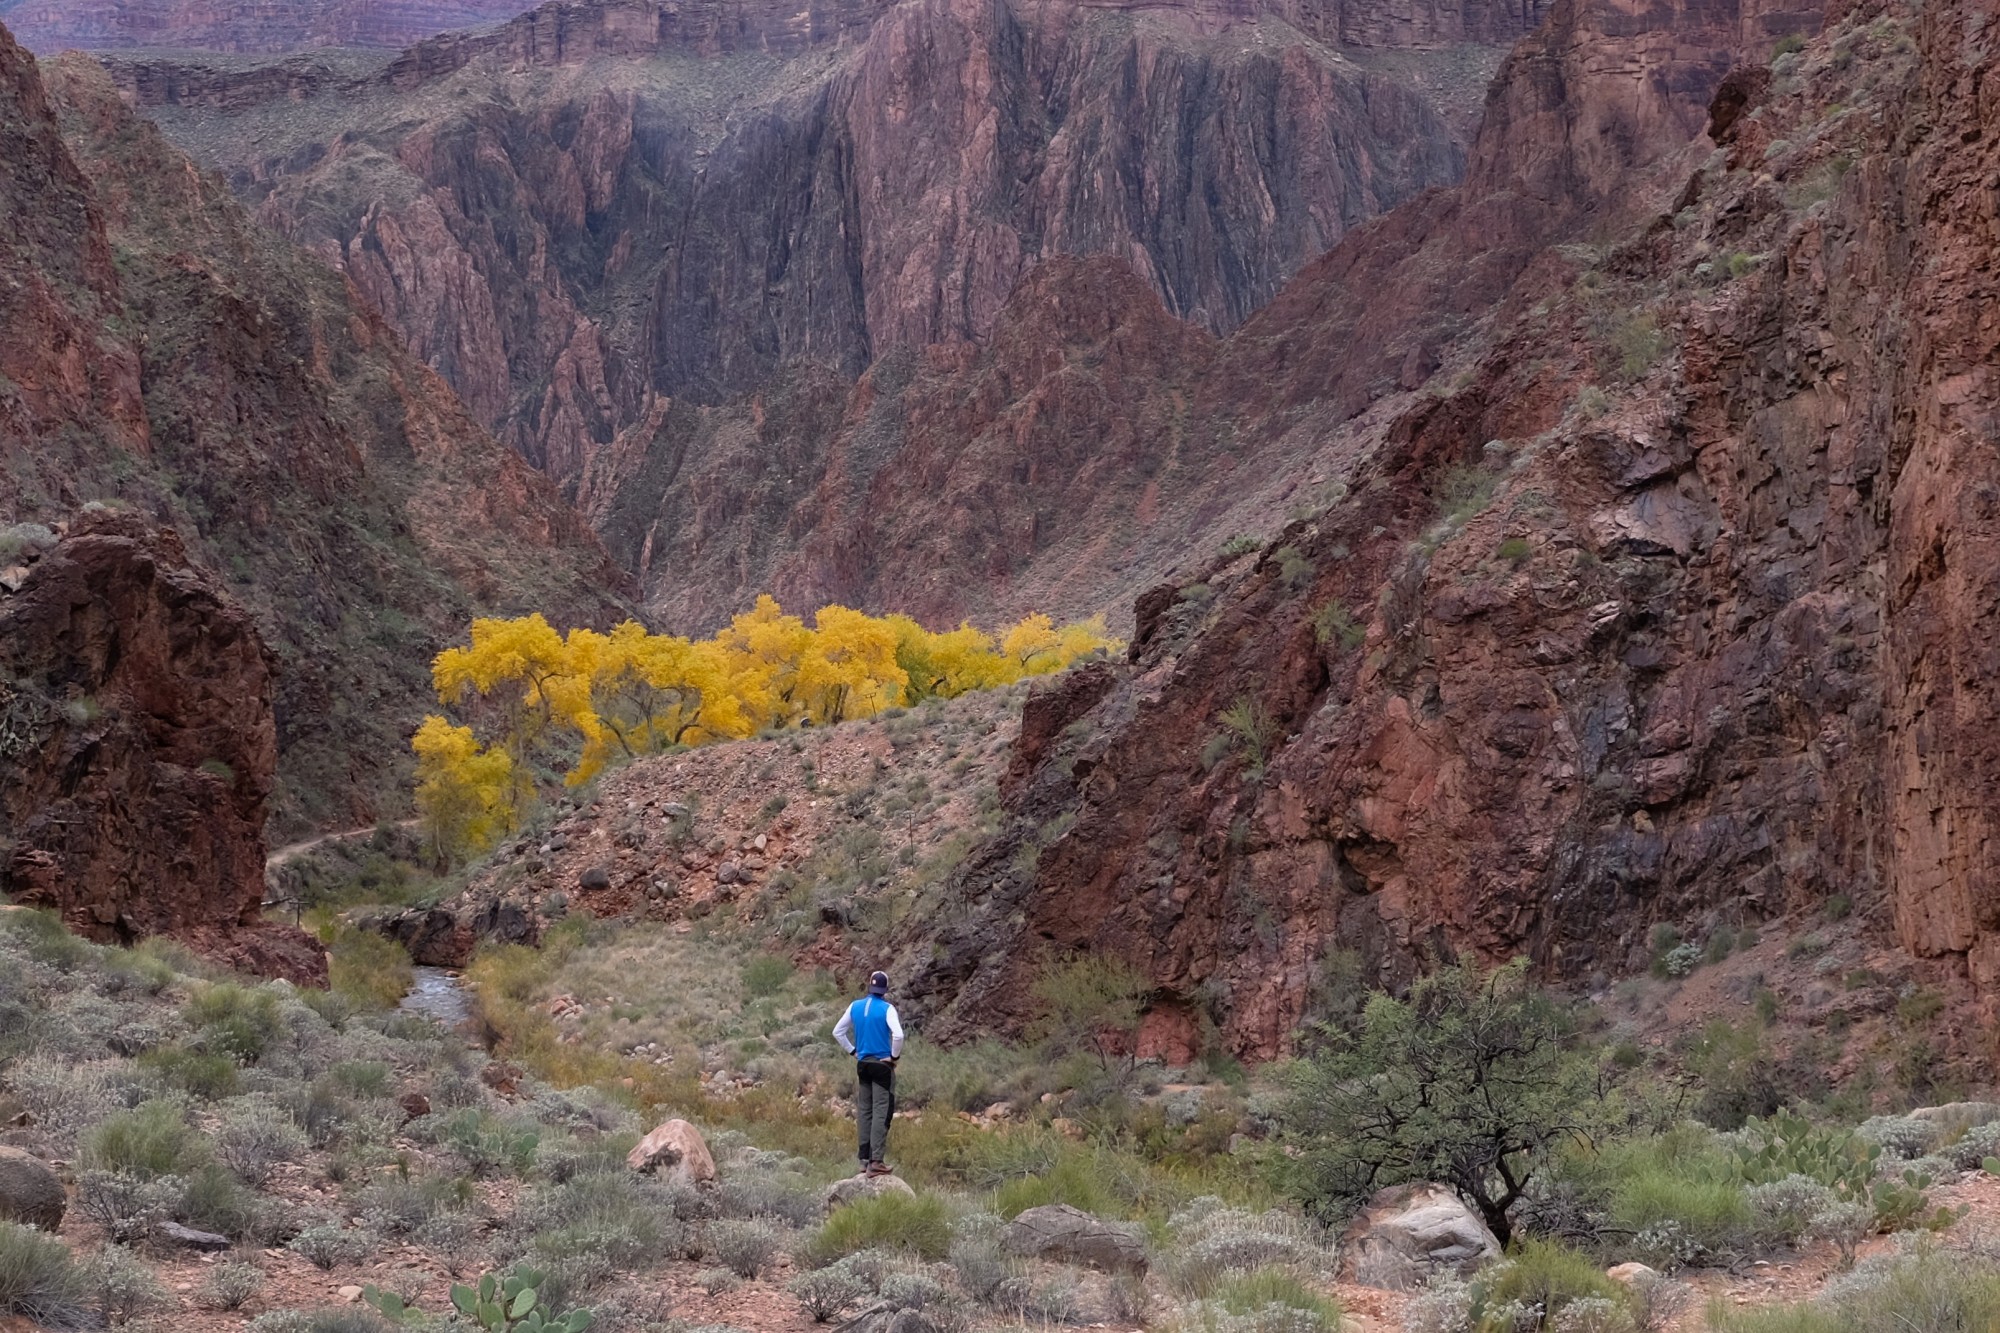
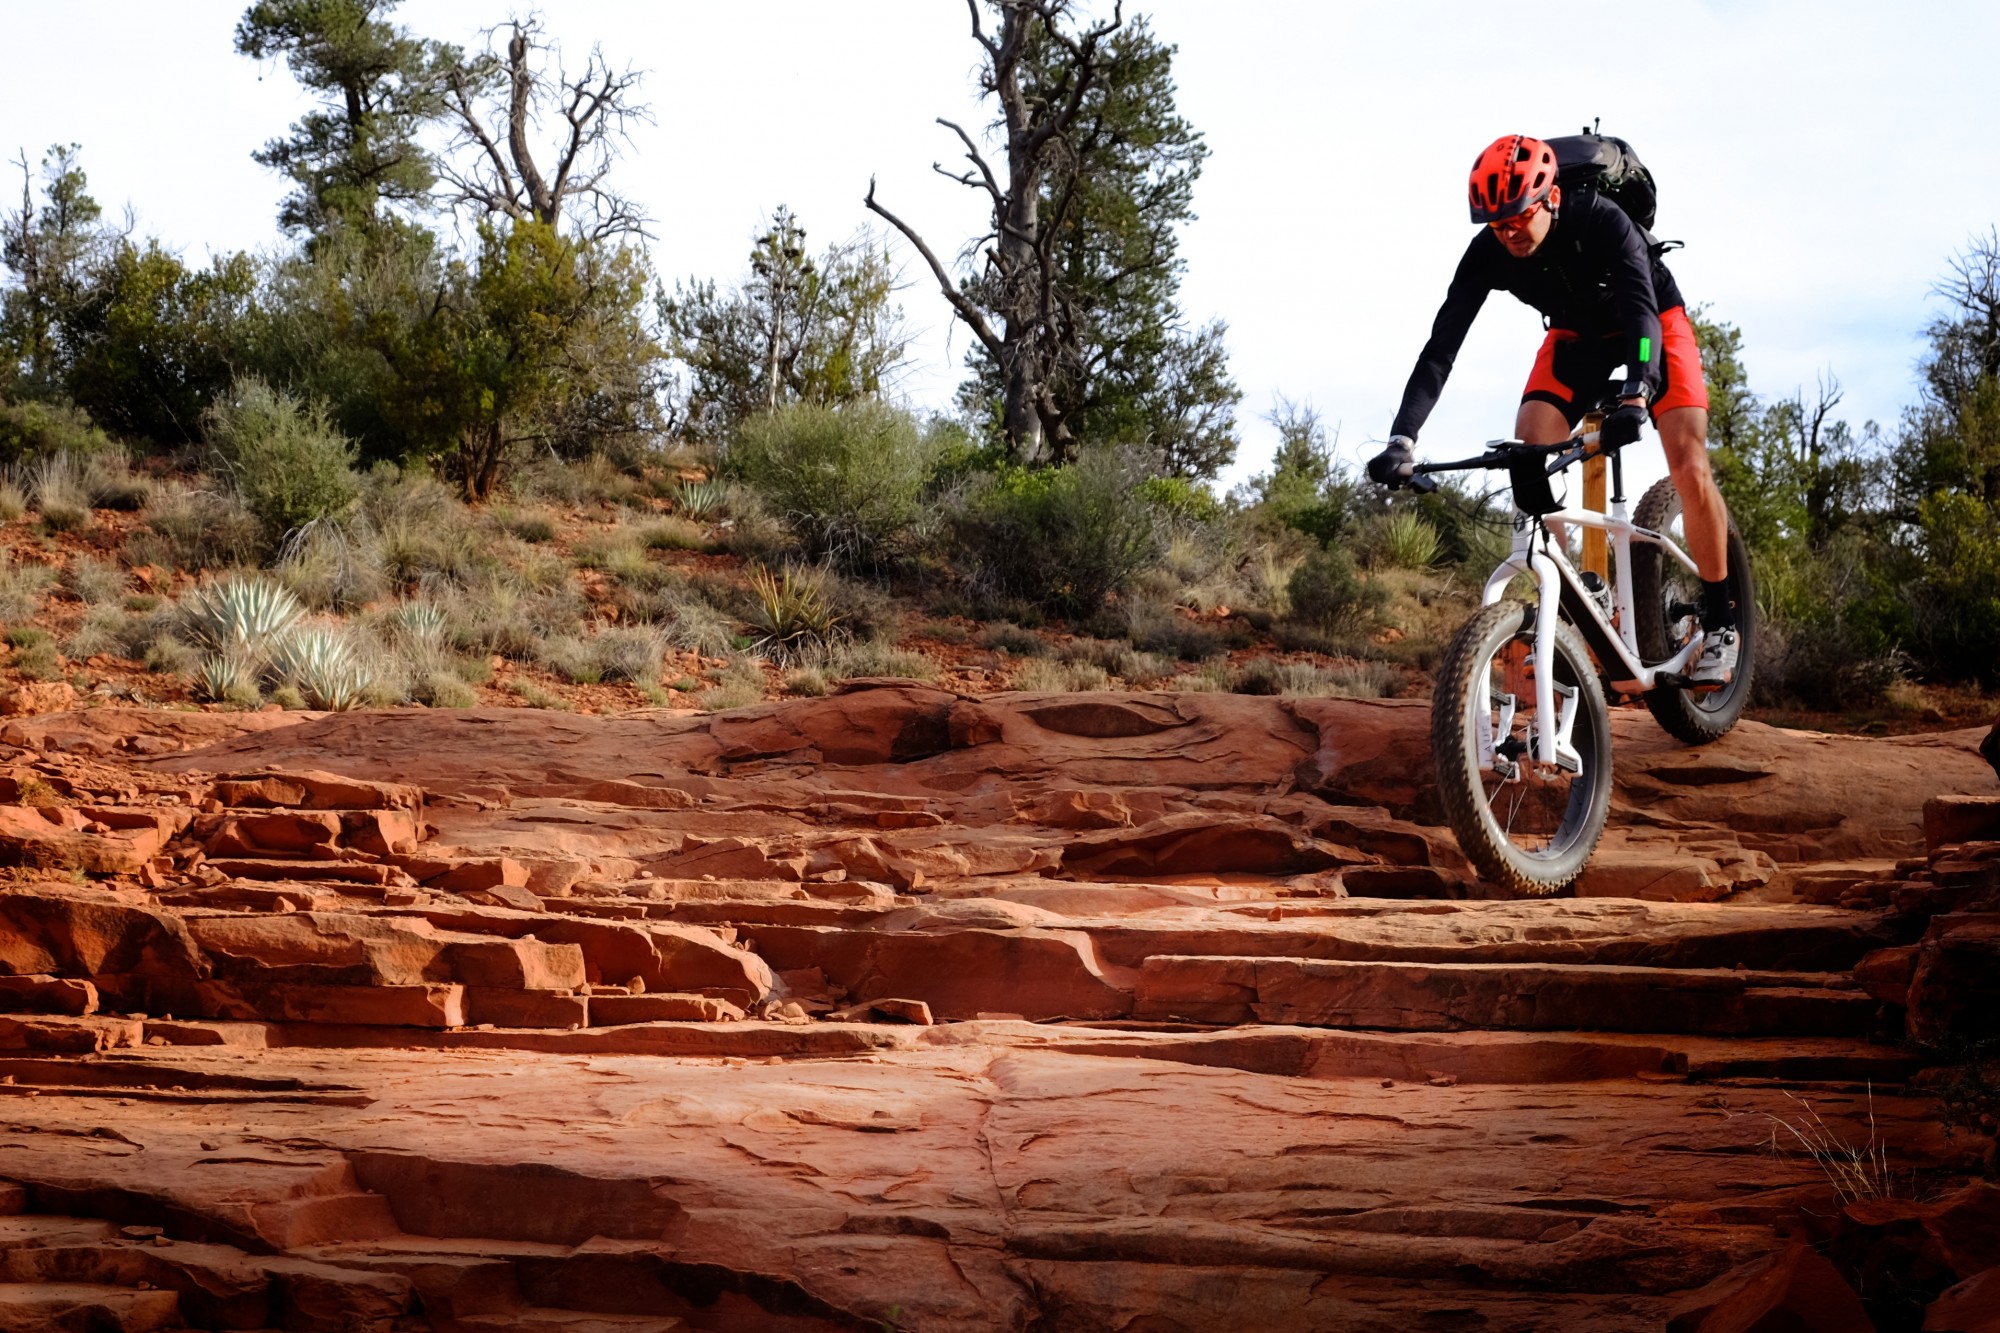
(Above) This image was for a story I’m writing about being solo in the Grand Canyon. Kind of says it all, doesn’t it? Tripod and intervelometer set to take 6 images at 2 second intervals after a 60 second delay to allow me time to walk into the frame. (Below) With nobody around to nab my action shots, I often have to do it myself. I used an intervelometer and set the camera on a rock.
The wireless remote makes for a convenient alternative to the intervelometer, but it’s difficult to conceal the remote and the action of using it. Many new cameras have WiFi connectivity allowing users to pair a smartphone as their remote. A remote, combined with self-timer functions makes for a good stand-in for an intervelometer.
Video stills
Another very useful technique is to shoot video then in post production extract still images from that footage. This is especially useful when you want to capture a fleeting moment otherwise impossible to grab with stills shot at specific intervals. The downside to snatching video stills is that not all camera systems do it well, or at all.
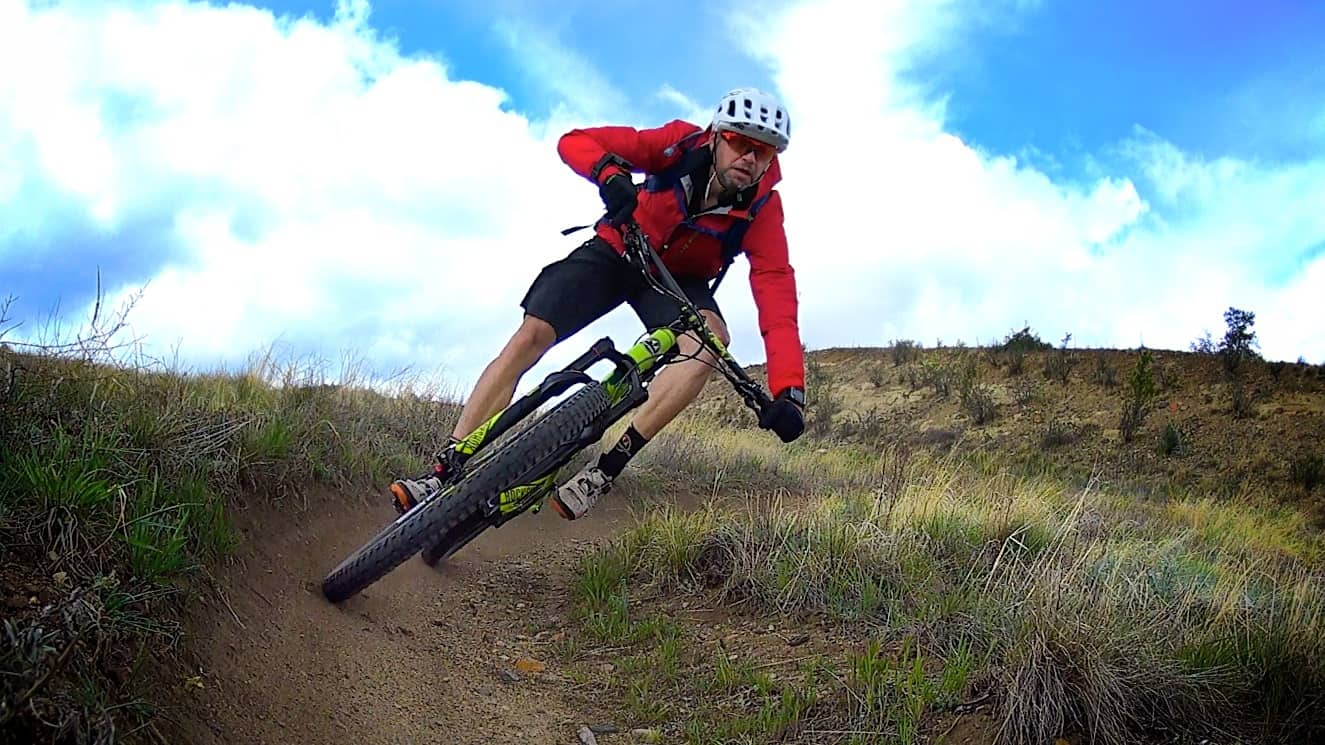
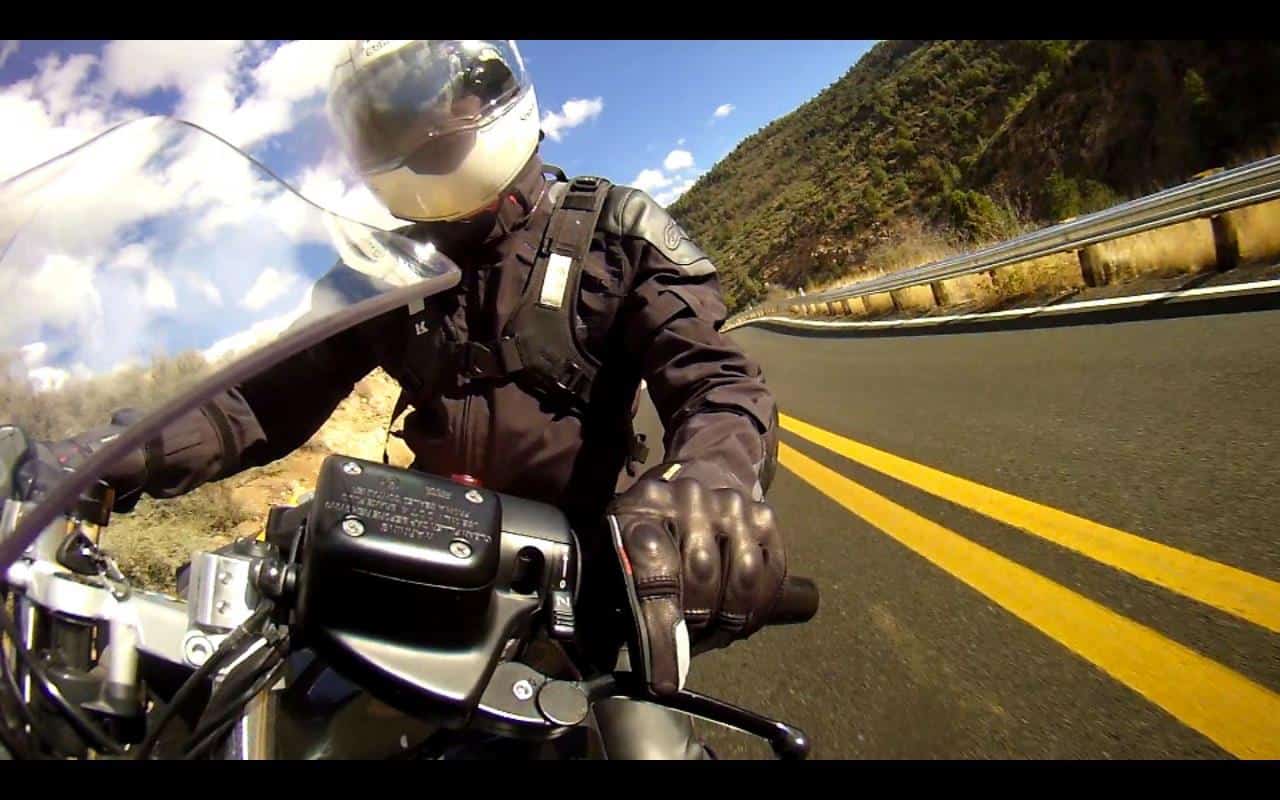
These two images required split second captures that would be impossible to grab with a timer mechanism. Using still images plucked from video footage made them possible, but depending on the equipment used, may not produce the most hi-res results.
Other tips and tricks
The more creative you are with camera placement, the more interesting your selfies will be. Put the camera high overhead, on the ground, in a bush, or even under water. Images with unique perspectives always seem more interesting. Keep in mind, some shots like the one below, can only be grabbed via a selfie.
One of the toughest challenges with any selfie is establishing the focal point, which is usually you. But, since you’re not in the frame to set that focal point you have to improvise. Manual focus set to a particular distance can help. Sometimes I will drop a pack or bicycle in the spot where I plan to be in the frame and use that target to establish my focal range. Another option is to use the more sophisticated auto-focus features which can track movements within the frame and maintain continual focus. That’s an easy one for me to mess up. Another solution is to simply be far enough away from the camera that everything is in focus equally.
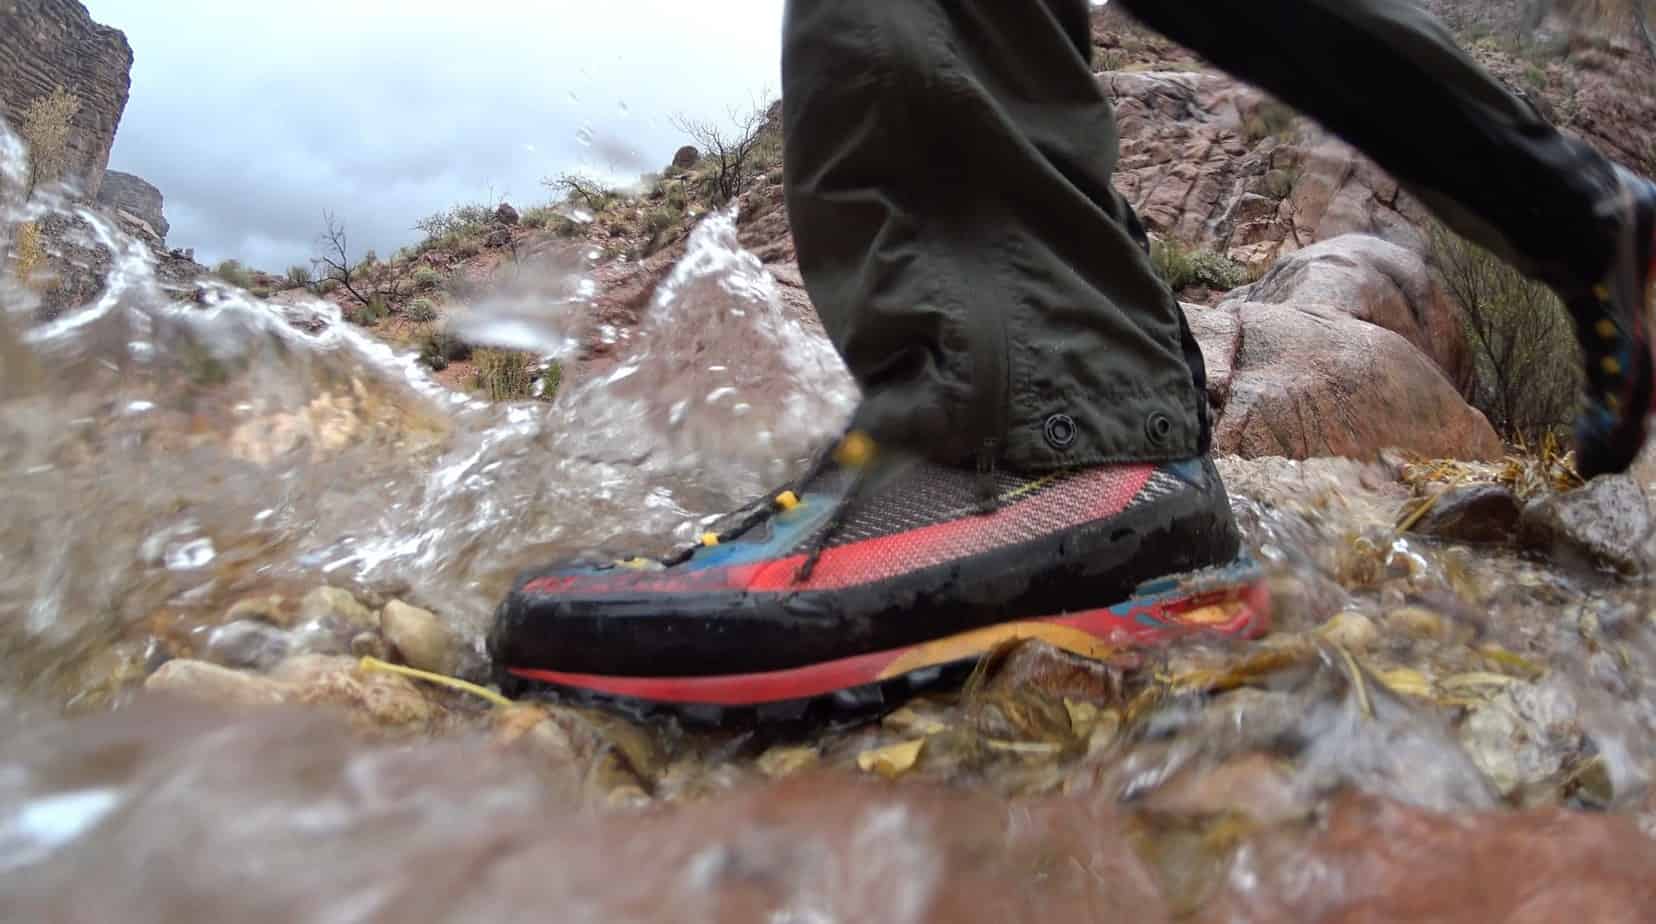
To get a shot of my own foot splashing in a creek, I used a waterproof video camera then grabbed a still from the 4K video.
Taking a photo of yourself, by yourself, will always feel silly as you’re doing it. It seems like an ego-centric enterprise at the time, but the results don’t always have to make it appear as such. If you have done it well, people who view your shots will ask who took the picture. When you say, “I did,” they’ll be blown away.


