Willman
Active member
Swing-out tire carrier buildup!!!
I have been working on this project for a while! For me it is hard when i work full-time and go to school full-time as well. It makes for a long day!! I have alway been wanting a rear bumper w/ a tire carrier. I got sick of my spare tire taking up the space in my bed! I shopped around and could not find anything that i liked or didn't wanted to break the bank on. A lot of fab shops want $1000 plus...and you cann't forget about the shipping cost as well...Sooo one day i got a used welder from the father-in-law and just about all a guy needs for working up a piece of art!!!!
(note disclaimer: Willman has 4 years of welding fab training. When working with metal you should have some training etc. because you could harm yourself!!!)
used Esab Migmaster welder - $200 (father-in-law deal..later found $$$ under drivers seat!!!...Free!!! I love that guy!!!!!)
Oxy/Ace torch setup - $300
Metal shop saw - Free
All the steel i needed for fab- $40
HD Hinge - $50
Toggle clamp - $80
I already had alot of stuff before - peanut grinder, misc tools etc...
So far i have spend about $500 i would say...also a few runs to the local welding shop for misc parts etc... The great thing is that i now have just about everything i need or connections to get it for future projects and mods (skid plates, roof rack w/ tent, etc..)
Here is my fab buildup:
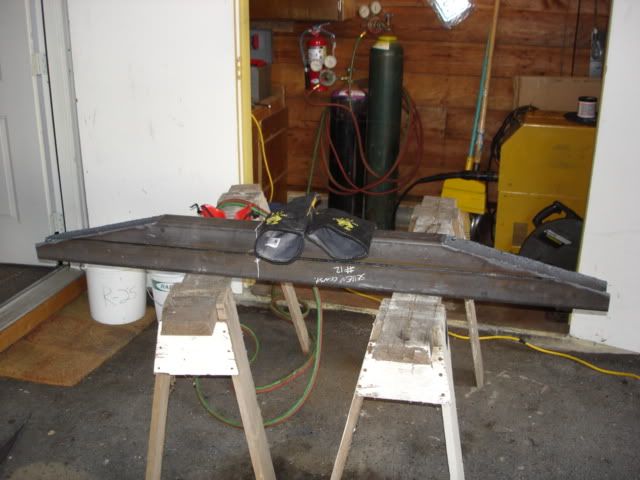
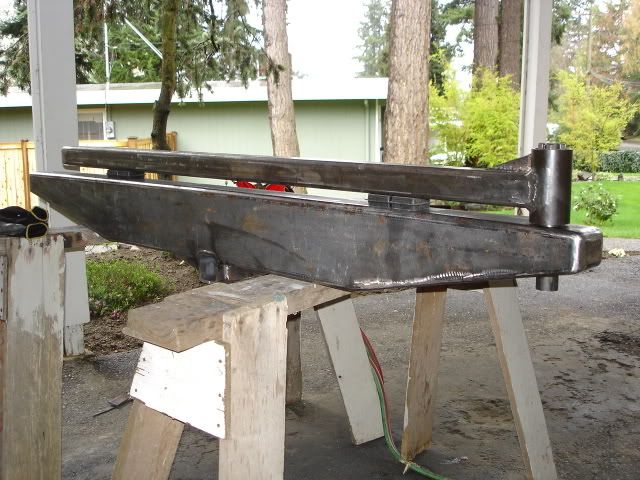
I used a 6x3 with a wall of 3/16 for my main piece
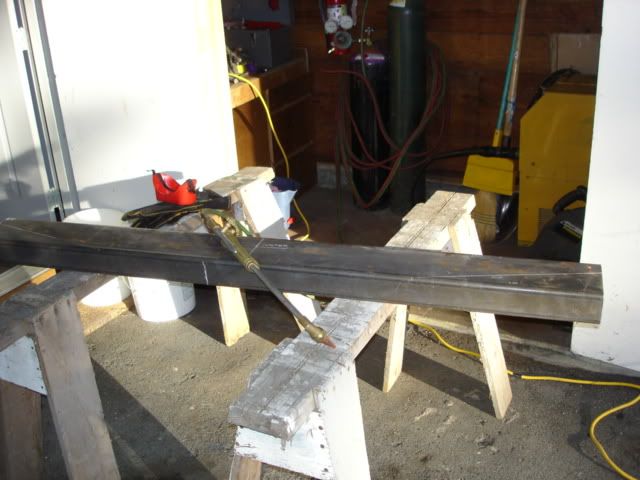
A nice torch can be a great tool for any metal project
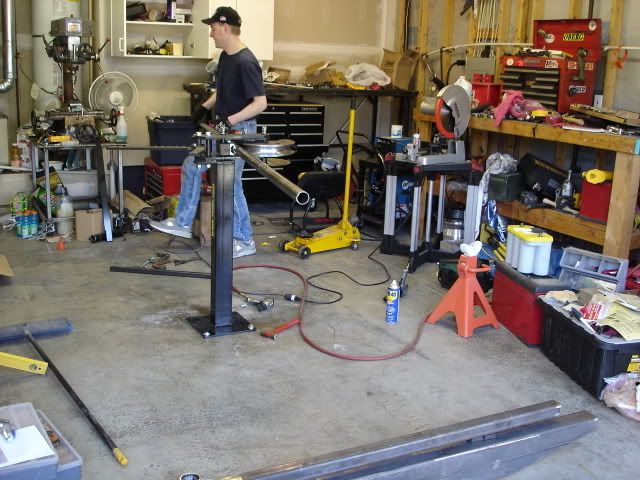
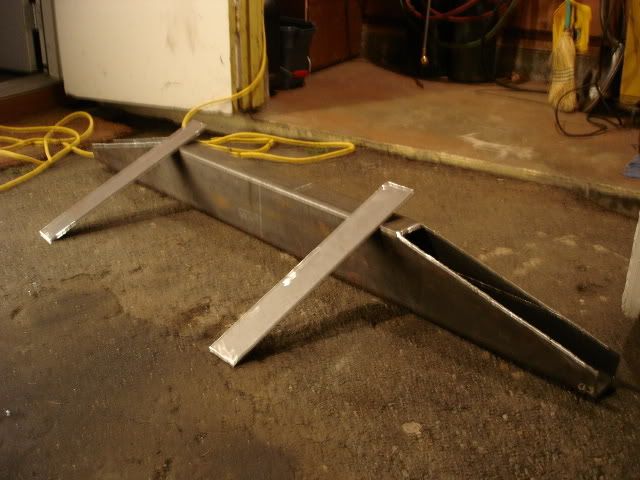
Now time to cap it off. This will be my air tank in the future!
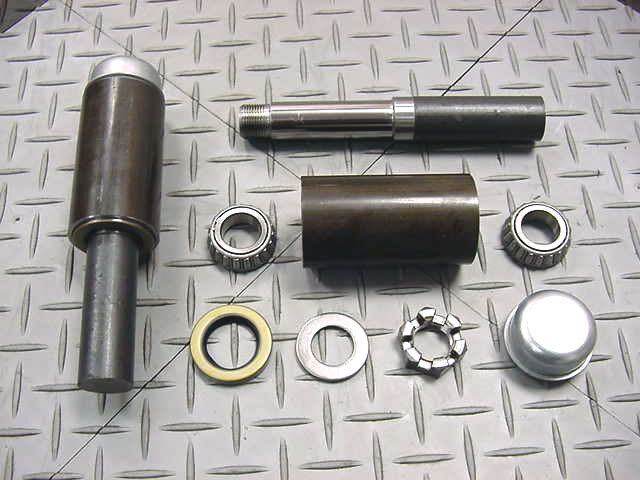
Rocklogic makes a great hinge setup, http://www.rocklogic4x4.com/store/index.php?action=item&id=111
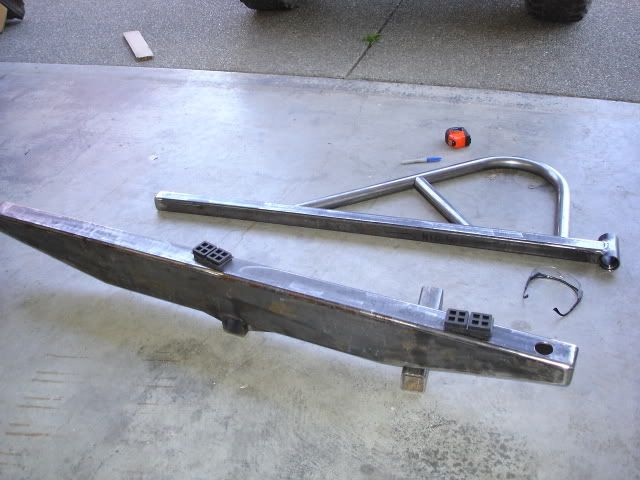
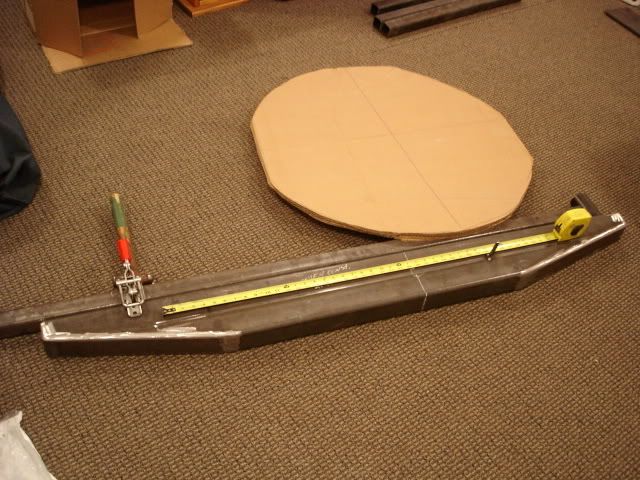
I got everything all grinded and ready to start planning my swing out arm. I cut out a piece of card board for my spare tire, thats alot lighter than the real thing!!!! I mapped out my hinge placement as well as my toggle clamp. I got the stainless steel toggle clamp from McMaster online.
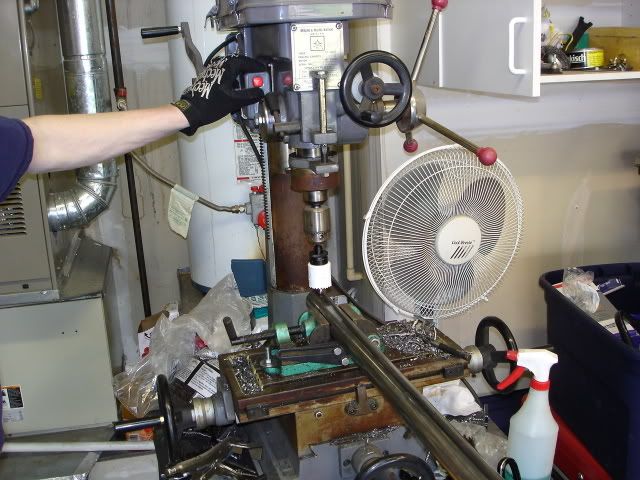
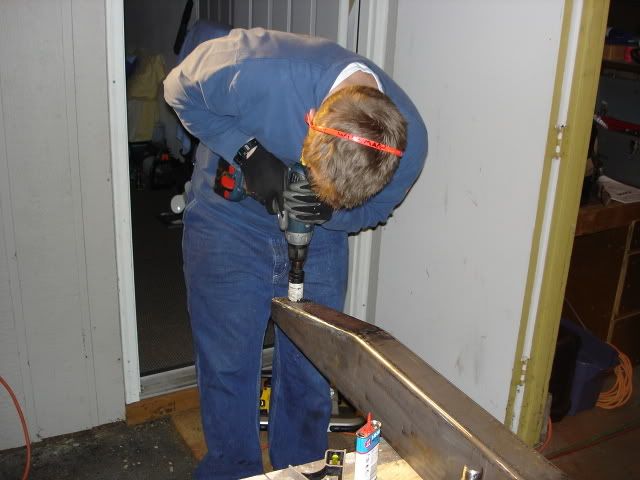
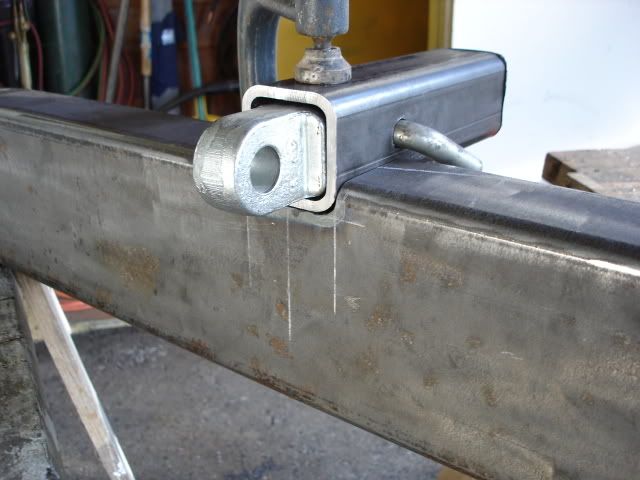
I then layed out my hole for my pin for the hinge and used a 1-3/8" holesaw to make the hole
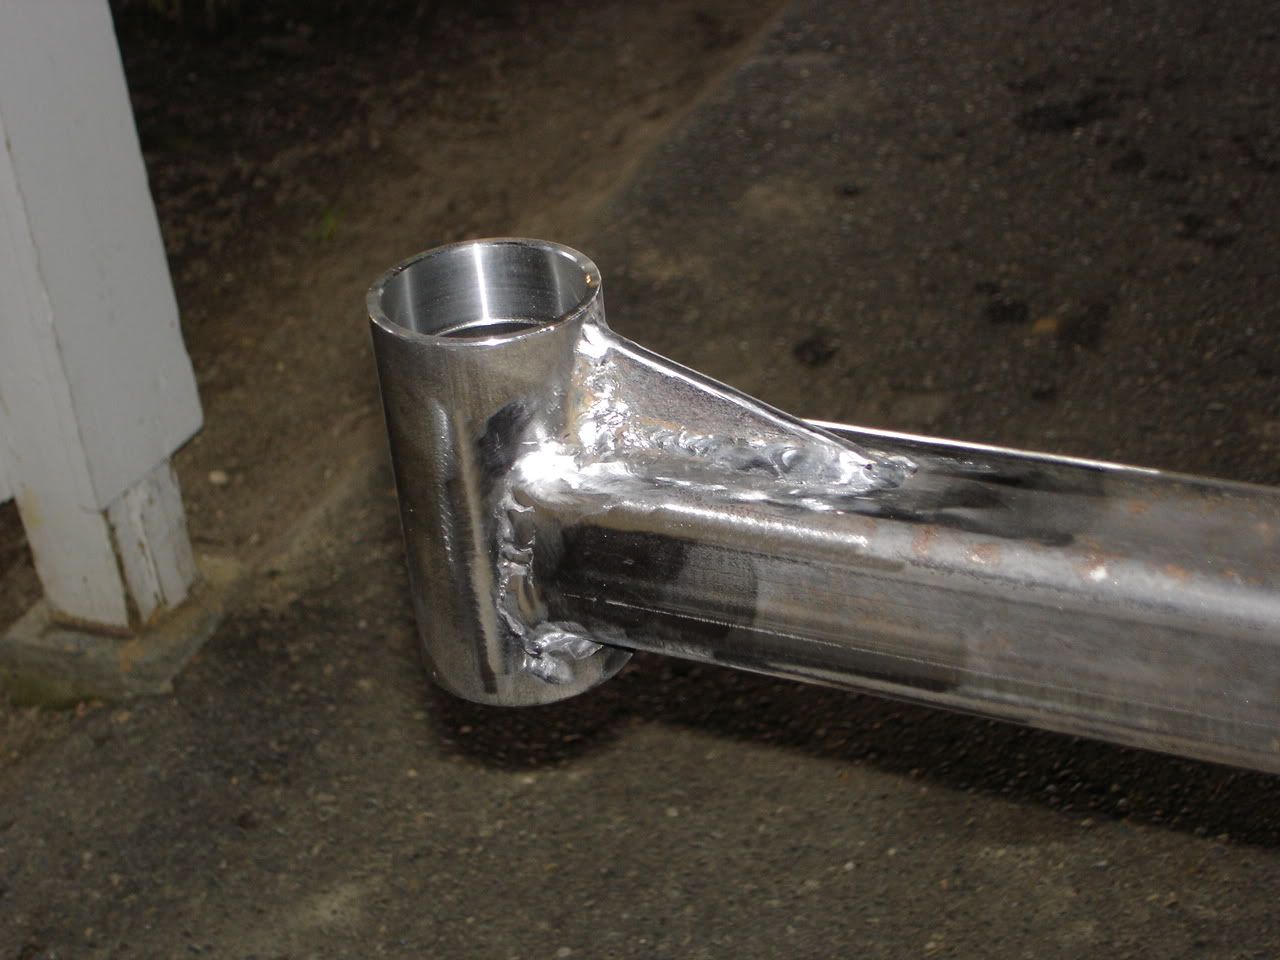
I used 2x2 w/ a wall of 3/16 as well. When i welded the hinge tube piece and with the help of OldSven we pressed in the bearing races for the hinge.(my welds sicked that day!!!!..some days your on some days your not!!..lol)
On top of the arm i am going to bend up a piece of 1-7/8" tube to hold the tire,hi-lift etc..That is coming soon! The next step was to put my reciever hitch in. I have a Warn multi-mount winch which is a great tool that is very handy!!! With the hitch, i wanted to flush mount it with the bottem of the bumper but i run into a problem with the pin placement and had to this instead..which is great too!!
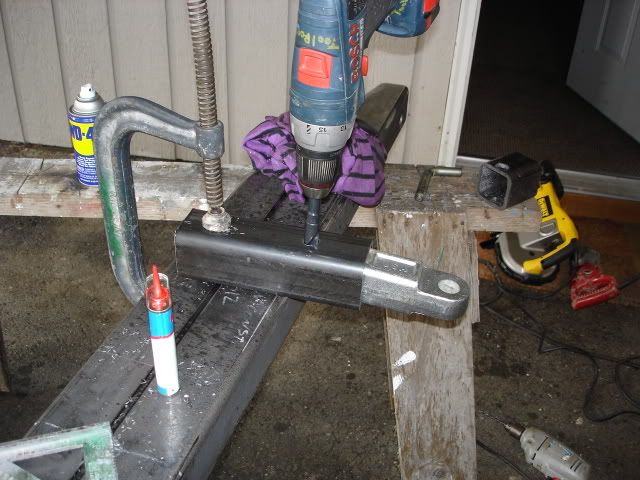
Drilling hole for pin
Now to weld it up!!!
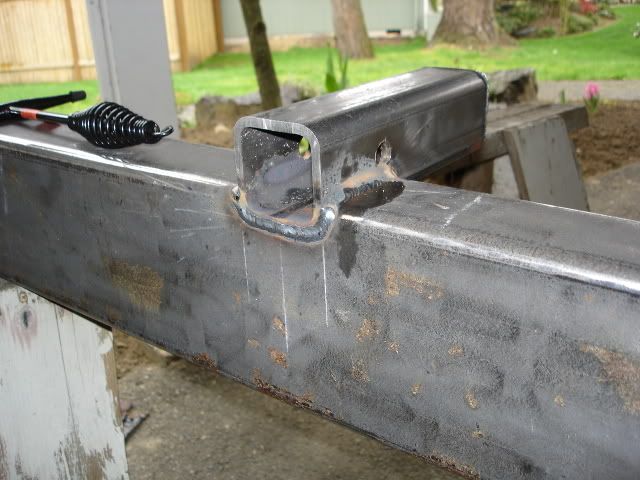
I wanted to make this hitch very strong...i put gussets round the hitch to beef it up!!!

There is alot to come!!! I will keep everyone posted as project goes on. Let me know if U have any Q's or suggestions.
-Willman-
I have been working on this project for a while! For me it is hard when i work full-time and go to school full-time as well. It makes for a long day!! I have alway been wanting a rear bumper w/ a tire carrier. I got sick of my spare tire taking up the space in my bed! I shopped around and could not find anything that i liked or didn't wanted to break the bank on. A lot of fab shops want $1000 plus...and you cann't forget about the shipping cost as well...Sooo one day i got a used welder from the father-in-law and just about all a guy needs for working up a piece of art!!!!
(note disclaimer: Willman has 4 years of welding fab training. When working with metal you should have some training etc. because you could harm yourself!!!)
used Esab Migmaster welder - $200 (father-in-law deal..later found $$$ under drivers seat!!!...Free!!! I love that guy!!!!!)
Oxy/Ace torch setup - $300
Metal shop saw - Free
All the steel i needed for fab- $40
HD Hinge - $50
Toggle clamp - $80
I already had alot of stuff before - peanut grinder, misc tools etc...
So far i have spend about $500 i would say...also a few runs to the local welding shop for misc parts etc... The great thing is that i now have just about everything i need or connections to get it for future projects and mods (skid plates, roof rack w/ tent, etc..)
Here is my fab buildup:
I used a 6x3 with a wall of 3/16 for my main piece
A nice torch can be a great tool for any metal project
Now time to cap it off. This will be my air tank in the future!
Rocklogic makes a great hinge setup, http://www.rocklogic4x4.com/store/index.php?action=item&id=111
I got everything all grinded and ready to start planning my swing out arm. I cut out a piece of card board for my spare tire, thats alot lighter than the real thing!!!! I mapped out my hinge placement as well as my toggle clamp. I got the stainless steel toggle clamp from McMaster online.
I then layed out my hole for my pin for the hinge and used a 1-3/8" holesaw to make the hole
I used 2x2 w/ a wall of 3/16 as well. When i welded the hinge tube piece and with the help of OldSven we pressed in the bearing races for the hinge.(my welds sicked that day!!!!..some days your on some days your not!!..lol)
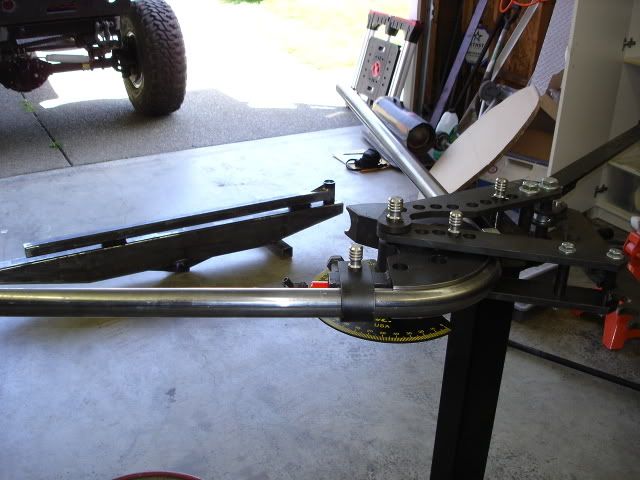
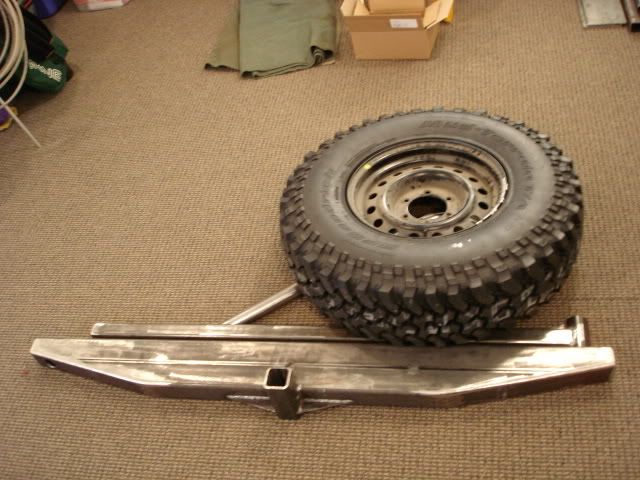
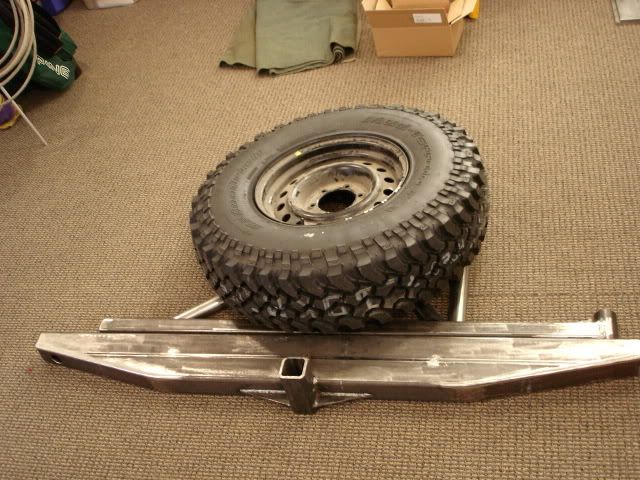
On top of the arm i am going to bend up a piece of 1-7/8" tube to hold the tire,hi-lift etc..That is coming soon! The next step was to put my reciever hitch in. I have a Warn multi-mount winch which is a great tool that is very handy!!! With the hitch, i wanted to flush mount it with the bottem of the bumper but i run into a problem with the pin placement and had to this instead..which is great too!!
Drilling hole for pin
Now to weld it up!!!
I wanted to make this hitch very strong...i put gussets round the hitch to beef it up!!!
There is alot to come!!! I will keep everyone posted as project goes on. Let me know if U have any Q's or suggestions.
-Willman-
Last edited:
")