"TrailTop" modular trailer topper building components

jscherb

Expedition Leader
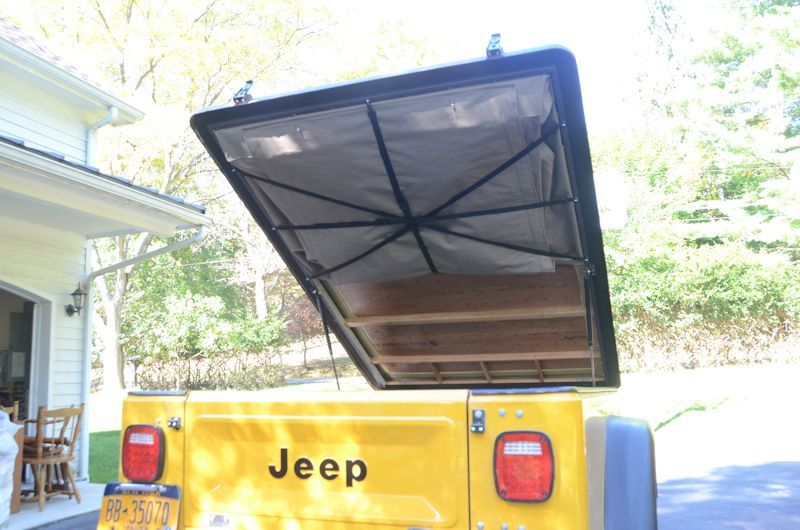
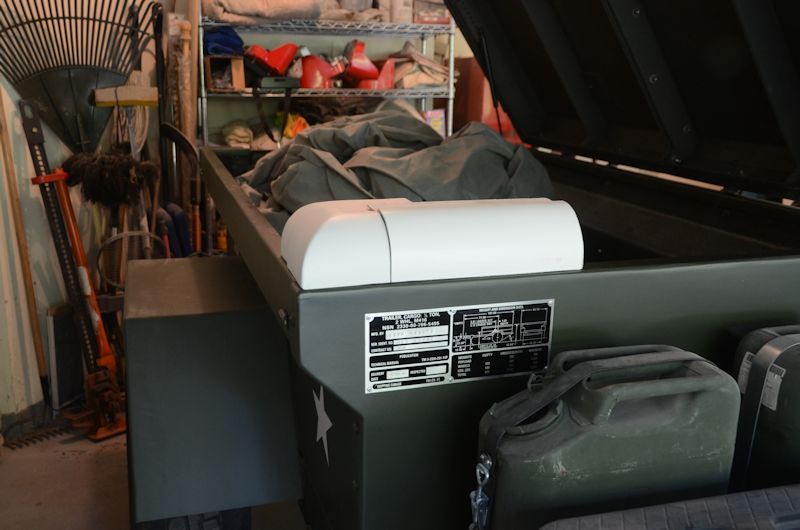
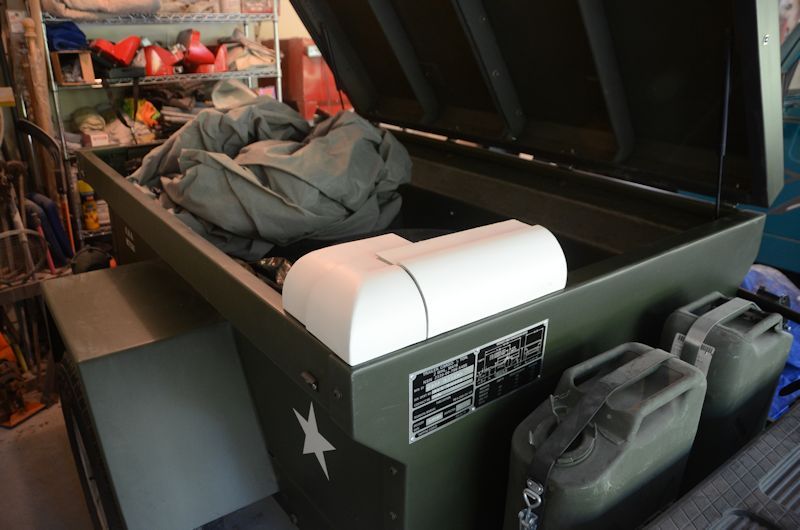
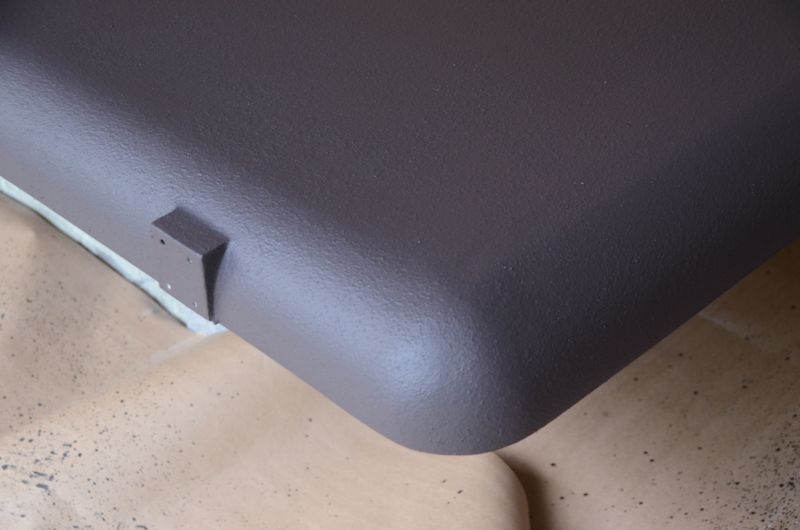
A couple of weeks ago I posted an idea for a new TrailTop corner piece to make it easy to build covers and toppers for trailers with square corners, such as military trailers. I showed this pair of photos when I first wrote about the square corner, it shows the current round corner and a drawing of what the square corner would look like:

Square90Corner_zps0e238d09.jpg


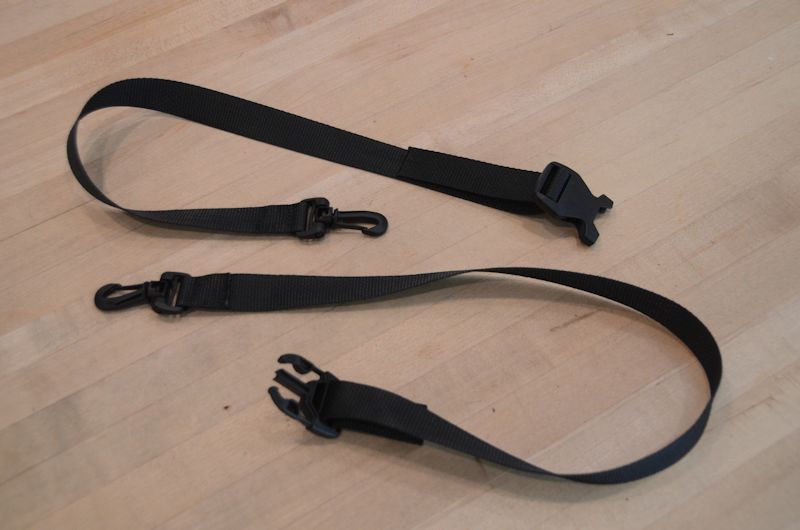
Yesterday I made up a prototype of the square corner piece.

Square90Corner3_zpsb964b5d2.jpg


This corner piece would use the same straight edge pieces as the other TrailTop parts, with those it would go together like this to make a cover for a square-cornered trailer:

Square90Corner5_zps30a57a42.jpg


Square90Corner4_zpsd28a681a.jpg


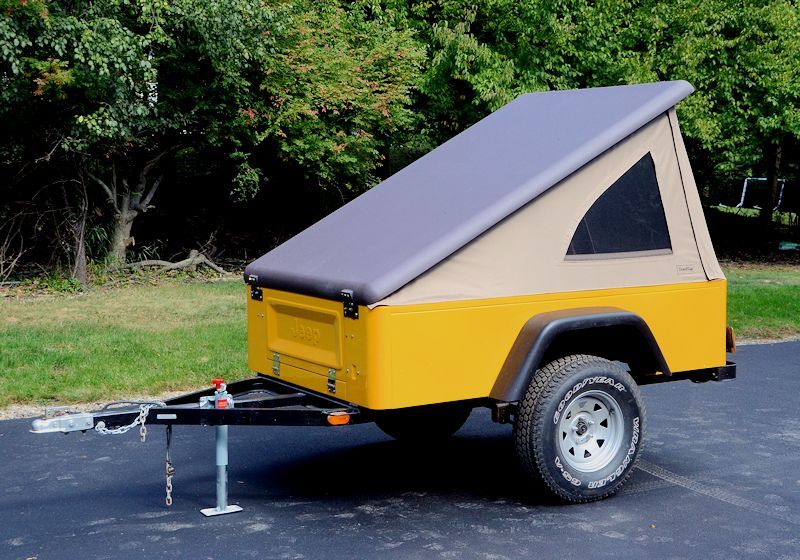
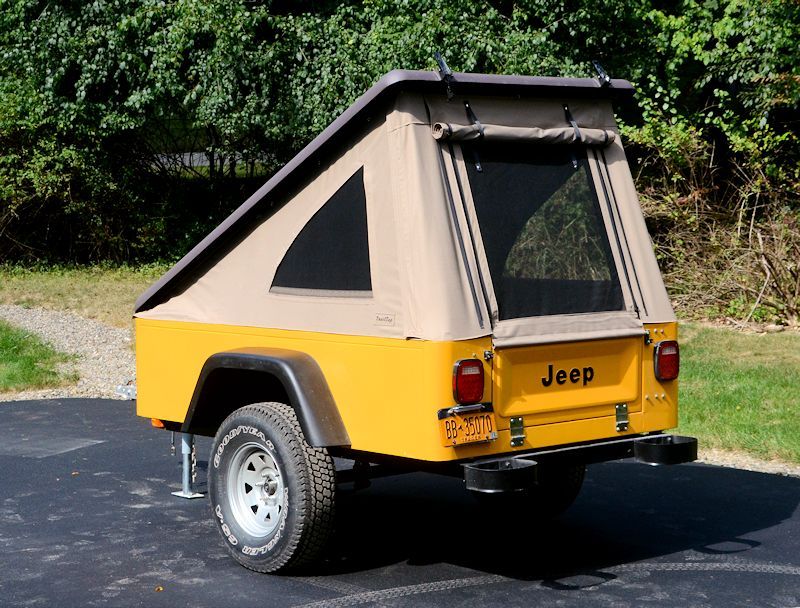
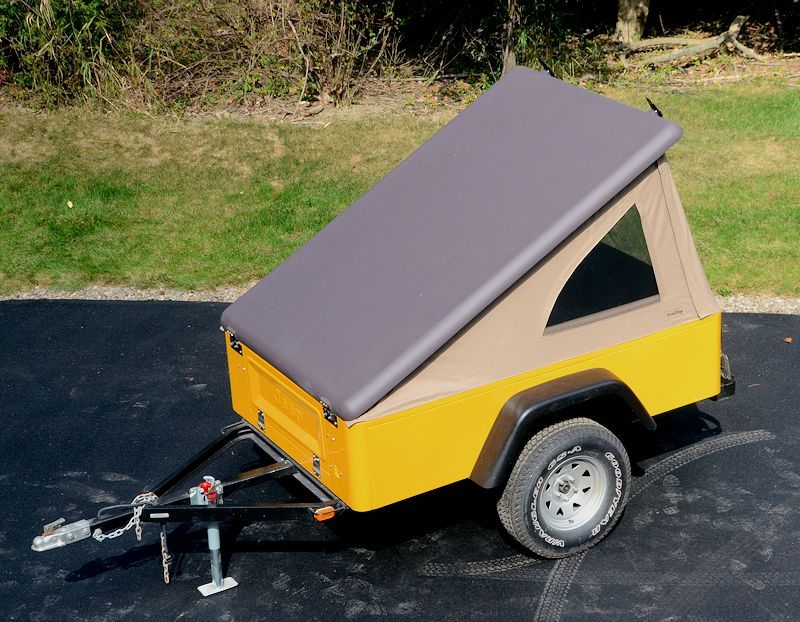
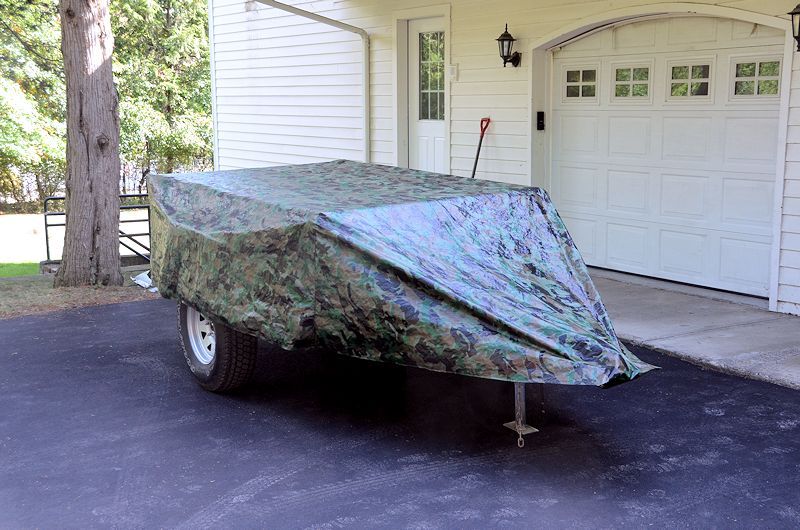
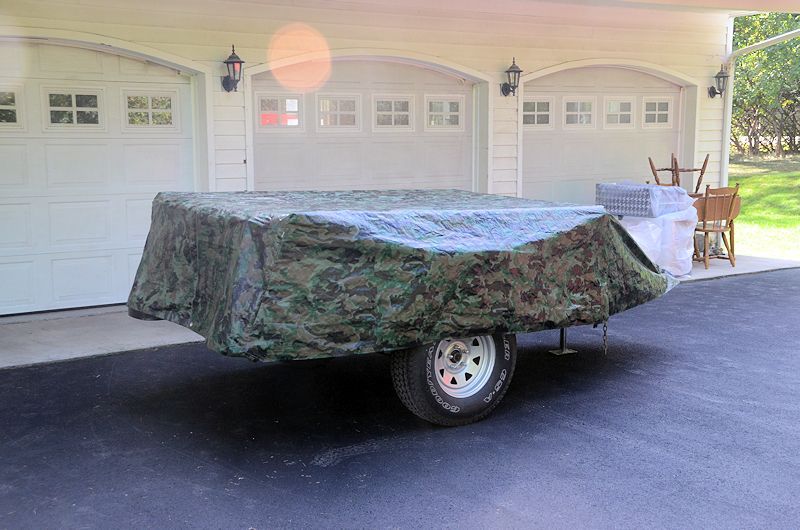
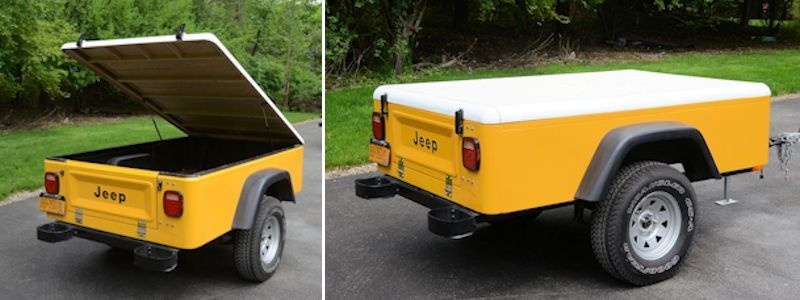
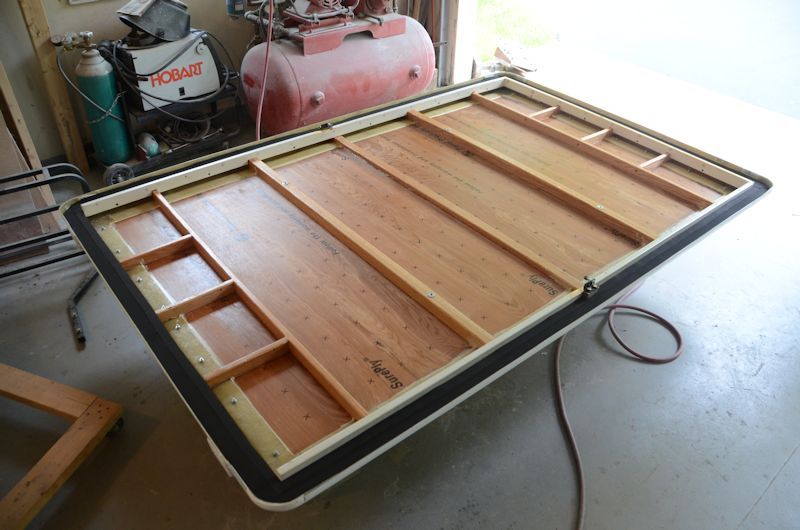
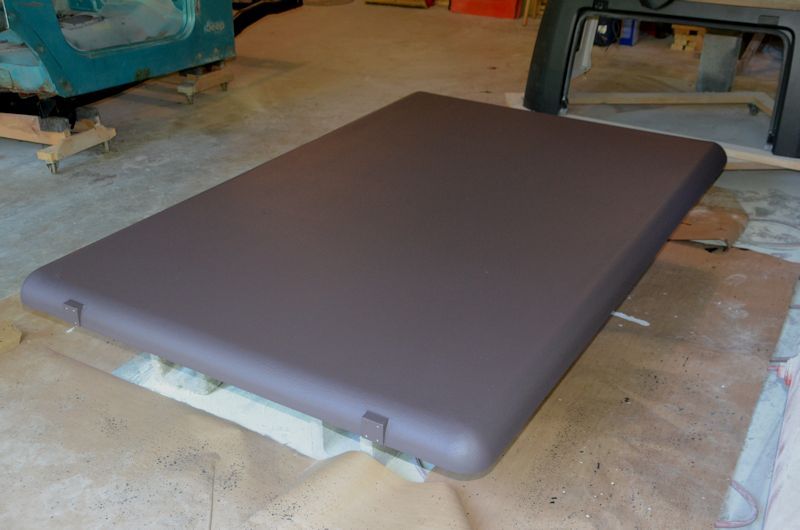
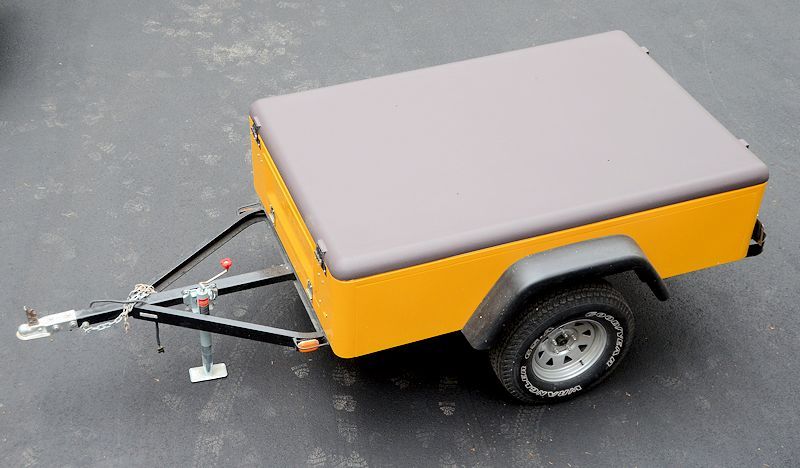
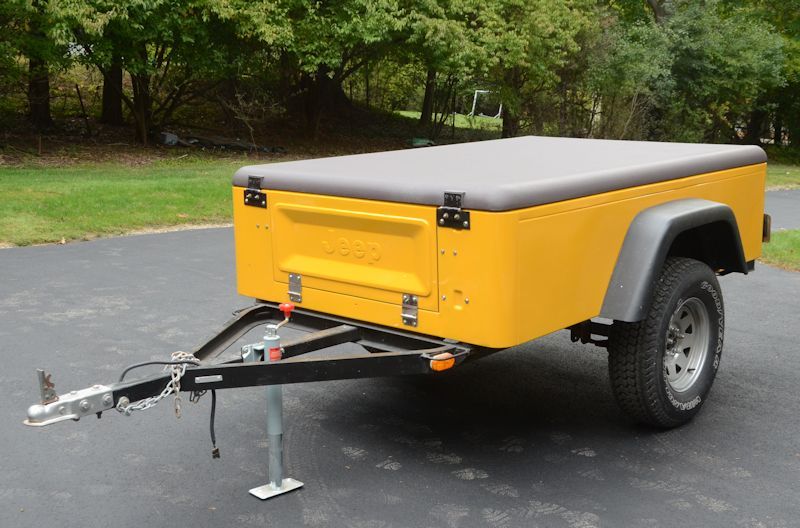
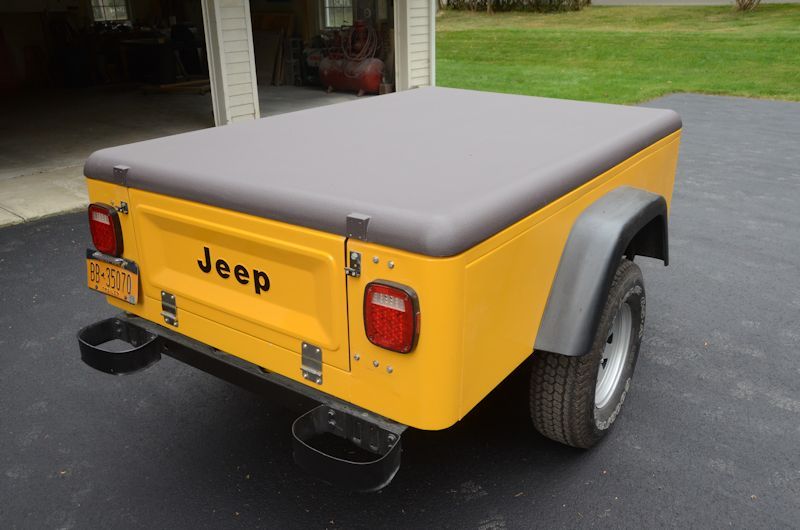
So a cover for a military trailer could be built just like this one, except for the corners:

CoveryAssyDone5_zps6287fa30.jpg


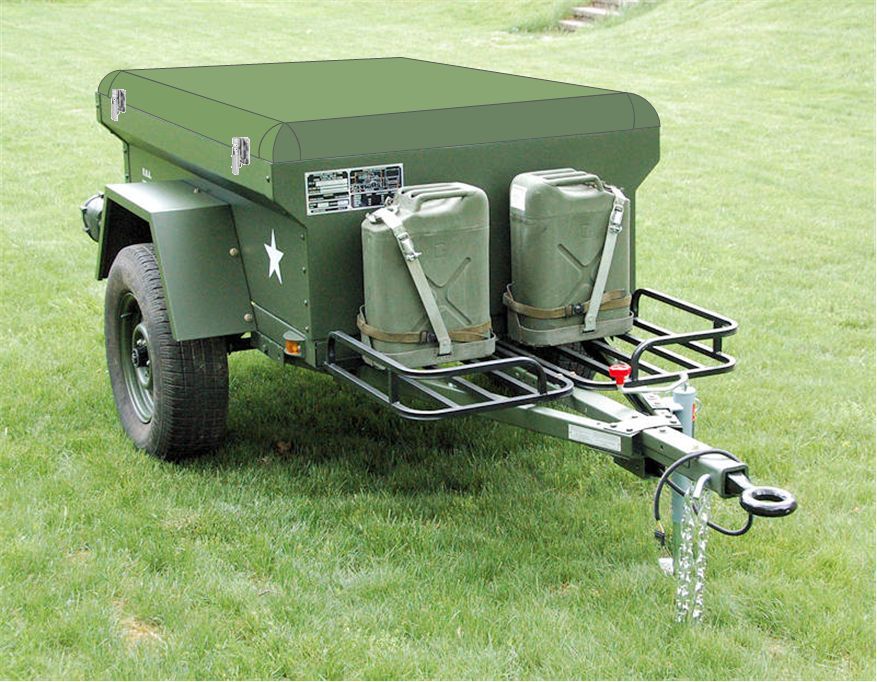
Here's a few concept drawings of a cover made using this part...

Unpainted:

Square90Corner1_zps4d9ad9e9.jpg


Painted:

Square90Corner2_zpsebe64836.jpg
 

jscherb

Expedition Leader
A few weeks ago I tested Olympic Rescue IT! acrylic deck resurfacer as a possible coating for TrailTop trailer covers and trailer floors. I was impressed enough with it to decide to finish my trailer cover in it, and I began the work the other day. When I first assembled the cover, I attached the plywood to the frame with screws, so the first thing I needed to do was to remove the plywood and bond it to the frame - I used epoxy for the wood-fiberglass bonds, and Titebond wood glue for the wood-wood bonds (epoxy would have worked fine for all the bonds but it's way more expensive than Titebond, and Titebond does a great job bonding wood to wood). I reinstalled all the screws as well.

Then I sealed all of the wood on the underside with two coats of polyurethane, and once that dried, I installed the weatherseal. Here's the finished underside with the weatherseal in place:

ClamshellBottomSealed_zps5c1efc24.jpg


Next I'll can flip it over and do a little sanding and filler work on the joints and countersunk screw heads. Then I'll prime it (Rescue It! doesn't stick to bare fiberglass), and when that's dry I'll roll on the Rescue It! I'll post more photos as I make progress, probably will be a few days until I get back to it.
 

jscherb

Expedition Leader
I filled the countersunk screw holes and any panel gaps and sanded everything, then applied a coat of black automotive epoxy primer with a roller. Epoxy primer sticks to pretty much everything, and provides a great base for subsequent layers of finish to adhere to. Since the Rescue IT! doesn't stick to bare fiberglass, this step is necessary; it also serves to seal the top side of the plywood. Then I applied two coats of Rescue IT!. This photo was taken after the second coat of Rescue IT! It goes on very heavy and with a nice texture; it dries to a matte finish.

ClamshellRescueIT1_zpsbf7a53de.jpg
 

jscherb

Expedition Leader
What the Rescue IT! coating looks like this morning when dry. The instructions say to wait 48 hours before walking on it/72 before putting furniture on it; I don't plan to do either but I'll wait until tomorrow to reinstall it on the trailer.

ClamshellRescueIT2_zps1132593a.jpg


ClamshellRescueIT3_zpsf6def60e.jpg
 

jscherb

Expedition Leader
I set the cover back on the trailer this morning. I'll probably wait one more day before I bolt up the hinges and other hardware.

ClamshellRescueIT7_zps1045551f.jpg


ClamshellRescueIT8_zps91295f37.jpg


ClamshellRescueIT9_zps5902b8c0.jpg
 

jscherb

Expedition Leader
Wow, very nice, very clean, and it looks very solid

Wow that turned out nice.

Great looking system, excellent color choice and texture

Thank you very much.

The color is a happy accident - I had been thinking for some time that I wanted to test these deck resurfacer products, and one day I was in Lowes and found a gallon in this color on the mistint table, it was half price. Seemed like a color that would go well with the trailer and the canvas tilt-up sides, so I grabbed it :).
 

jscherb

Expedition Leader
A small sewing project and improvement to the tilt-up camper - I've posted this photo before showing how the panels fold under the cover when not in use:

CanvasStowed1_zpsafd62bea.jpg


Bungee cords were used to hold the folded panels in place. Since they're stretchy, when driving around with the panels stowed like that, the canvas can move around a bit because of the stretchiness of the bungee cords, so today I made up some webbing straps with snap catches:

PanelStraps2_zpse0bd0d64.jpg


There's no stretch at all so the panels stay perfectly stowed.

PanelStraps1_zpsf303faed.jpg


BTW I priced the snaps, hooks and webbing at Joann Fabrics and they were 5-10x the price that Sailrite (www.sailrite.com) charges for them. The center clips, for example, were 45 cents each at Sailrite and $3.49 at Joann. Even with shipping (only about $6.50), the materials were cheaper from Sailrite, and it arrived in two days.
 

jscherb

Expedition Leader
The other sewing project I worked on today isn't really a TrailTop-specific project, but I'll post it here anyway...

My trailers usually live in the garage, but sometimes I need the garage space for a large project, so then a trailer or two will have to go outside for a while. That's fine, they're weatherproof, but still I'd like to protect them from the elements a bit. I could get a large tarp and try to secure it so it stays on, but tying a tarp down is a hassle, and finding a tarp that's a good size to fit nicely without too much extra or leaving parts uncovered can be difficult.

So today I modified a Harbor Freight tarp to be form-fitting on the trailer. It's got a reinforced pocket up front that slides over the coupler, and the back end is fitted over the back of the trailer. I've got a few more details to finish up, I want to add a few reinforcements in the corners, and I'll add some straps at the rear bottom to secure the back down, but it's mostly finished.

HFTarp1_zps01241e2b.jpg


HFTarp2_zps7dd653cc.jpg


It's much faster to put on than a generic tarp. The coupler pocket secures the front and once I get the snap straps sewn on to the rear hem tomorrow the back will be really quick to secure. And it cost less than $20.

I plan to make one to fit my military trailer too.
 

Mashurst

Adventurer
Bummer about that cover. I would like to see how that deck stuff holds up to a year our two outside. Cool idea though.
 

Forum statistics

Threads
185,528
Messages
2,875,550
Members
224,922
Latest member
Randy Towles
Top