Last Saturday, we made the trip out to a rural area south of Ft. Smith, AR and I bought a full float rear axle that supposedly had 180k miles on it out of a '95 Cruiser. It was a little crusty but not bad. $500 done deal.

I then started cleaning it up with a wire wheel in order to install the 9.5" Diff Armor pieces from Moto Farkles.
Turns out the pieces are designed for FJ40 axles despite the ad saying it was for "older land cruisers". Oh well, it took a little more time to modify it, trim it down, and play around with the angles

Anyways, I ended up spending more time than I should have and smoothed it out completely so it didn't look added on. Doing this required being up a piece of rebar, cutting it in half to end up with a long hemispherical cross section, and welding it into place between the bottom and top pieces of armor. Then I ground it all smooth and carried the top pieces lines down.

Spent a day sand blasting 90% of the axle.

Then tore into disassembly. Axle shafts look OK. Besides the e brake pads, which look new, the axle shafts are the only things not being replaced.
Hot as crap outside

Once the shafts were out, I started pulling the third member. At this point it was probably 7pm, and I had a 9am appointment the next day to have the gears/locker installed.
Great...


So I tore the diff apart, scrubbed it as best as I could, powerwashed it thoroughly, wirewheeled it, and then treated it with Ospho. Repeated this process for the housing minus the pressure washing.
This picture is just after pressure washing.

The following day I made the trip up to the shop in Tulsa had the diff all set up. By 1:30 and $200 later I was on my way home. The only thing they told me that they wouldn't do was drill the hole for the e locker. I'm not sure why, but it might have been because I just brought them a third member and they weren't able to fully see how it needed to be done. I wasn't sure if this was something that could have done after the fact due to not being able to reach the wires to push them through, but after a short post on mud, I was told it didn't really matter as long as I keep shavings out of the pinion bearings durrr.
Late last night, I pressed in new races and new lug studs. Didn't want to take any chances with those so figured I'd go new.

I should have the axle finished up today and ready for paint. Then I need to start routing my new e brake cable, sandblast and wire wheel the second slider, and prep the flares for bed liner.
Edit: Axle is ready to be prepped and painted as of last night. I also cleaned off the FZJ80 rear swaybar and prepped it for paint along with the mounts. I figured while I'm spraying black paint that I would redo my hi lift jack. I've stripped the handle, base plate, top plate, and notched bar down to metal.
Currently on my way to Arkansas, but hopefully be back tomorrow and get this stuff sprayed.

And in case anyone who is reading who has swapped a SF for a FF, or someone knows why the ebrake cables and handles need to be swapped I am very curious. I haven't found a reason why, and from looking at it all, it looks the same and attaches in the same way. I have an ebrake cable/handle set up from the LX, but it's rather nasty and I would rather not have to drop my fuel tank and spend time installing one.
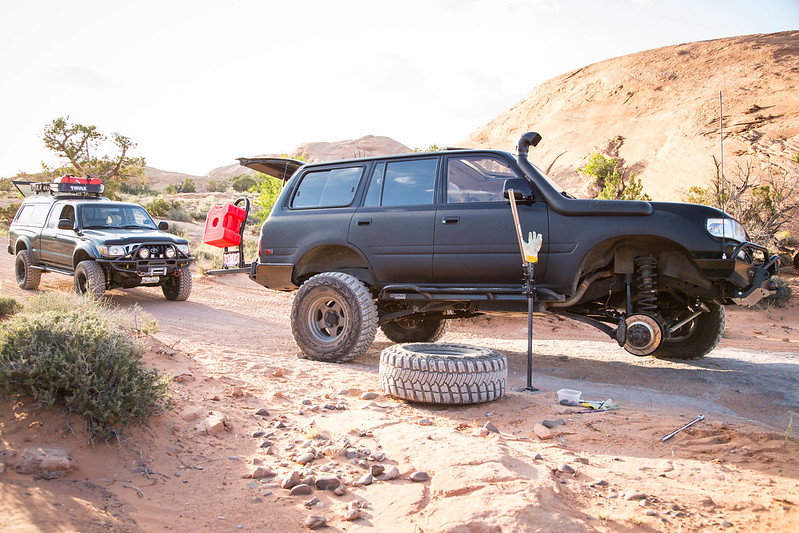 20130507-IMG_2442.jpg by Addison Rickaby, on Flickr


