So… I swapped out the shock absorbers on my Dweller.
Buckle up. This is a lengthy post.
The Executive Summary is this: Changing the shock absorbers is by and far the best change/upgrade I have done to my Dweller so far.
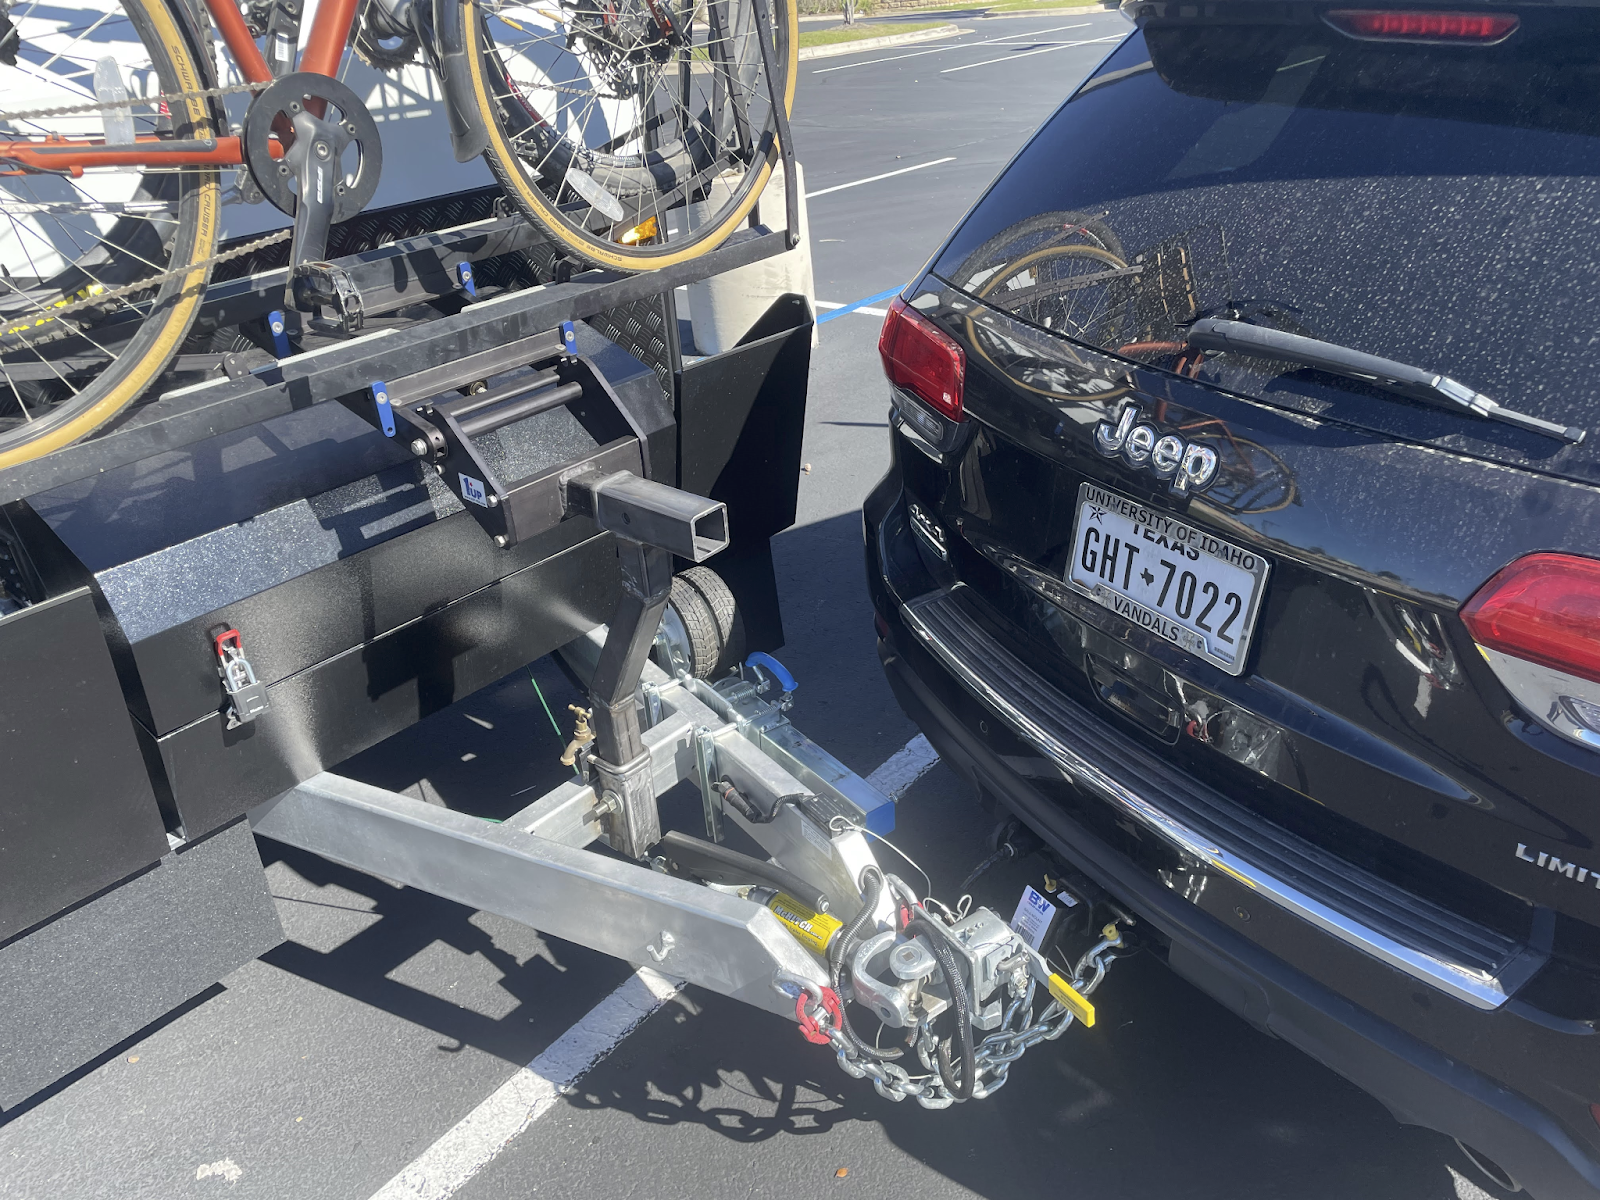
I purchased my Dweller last fall in Idaho. In October I pulled it to Central Texas. The trip was an 1850 mile “white knuckle” experience. My tow rig is an EcoDiesel Grand Cherokee rated to tow 7200 lbs with up to 720 lb tongue weight. A WDH is recommended for trailer weights in excess of 5000 lbs. I was lightly loaded with just myself in the Jeep and no water in the tanks. I do not have a lot of margin on the weights, but the trailer is certainly within the specifications of the tow vehicle. For the record, I have towed a lot of trailers over the years for a lot of miles.
Traditional trailer sway was not an issue for me pulling the Dweller. The issue I experienced on the highway towing the Dweller was a side-to-side rocking of the trailer. It would get in a harmonic motion and not want to stop. There were several things that would set off the rocking at any speed over 60 mph - potholes, cross winds, large trucks (either passing me or coming the other direction). Sometimes it would start to rock back and forth just while navigating a turn on the highway. The only way to stop the motion was to gently slow down.
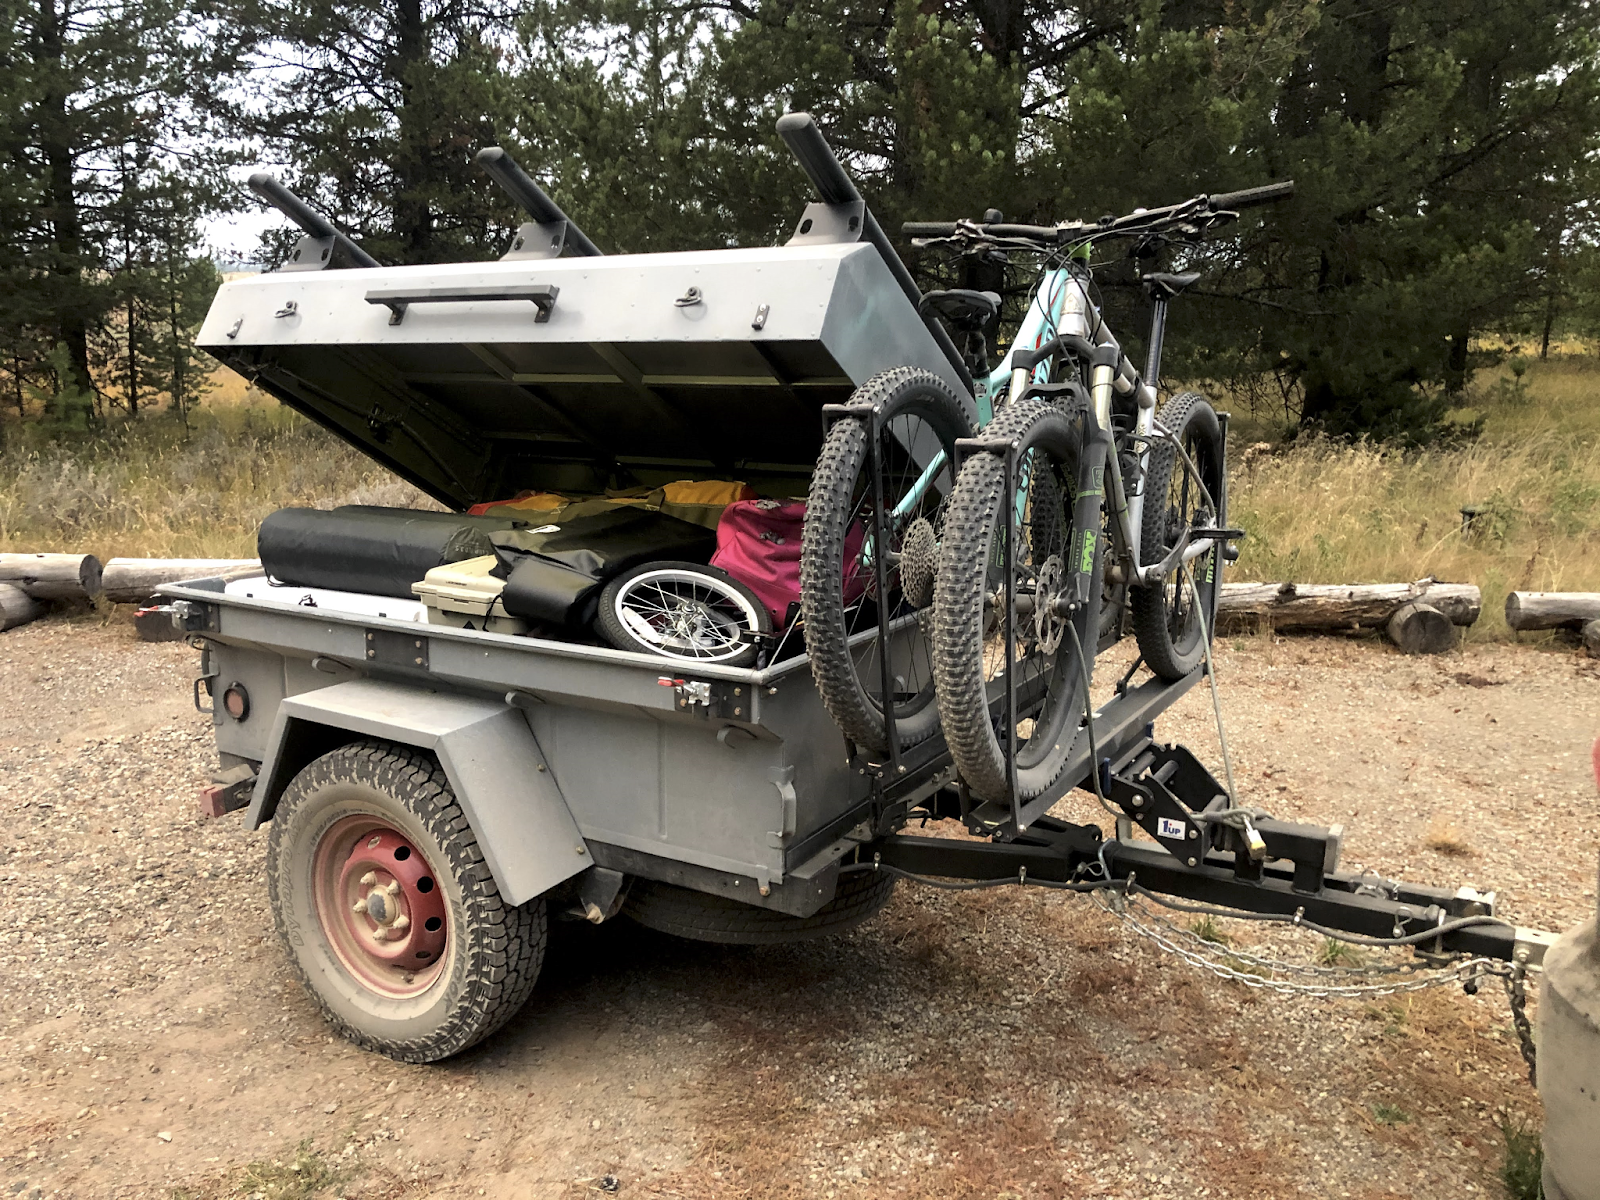
Once I was in Texas, I took a number of camping trips. I tried a number of different ballast configurations with the front and rear fresh water tanks. None of them made any significant difference to the towing behavior. The Dweller continued to rock and roll down the highway.
I did a cursory investigation of shock absorbers over the winter. My initial conclusion was that I would need to get a custom-built, custom-valved set of shocks from Fox or a similar source. I explored adding a sway control system and/or WDH. All of the people I spoke with, whom I trust, indicated that they did not think a sway controller or a WDH would change the road manners of this trailer. I was dreading the trip back to Idaho.
I would like to give a special mention to John Roemer at Caravan Specialties. John is the U.S. distributor for McHitch. About a month ago, I left John a message which he quickly returned and we had a lengthy conversation. John is very familiar with OBI and is very complimentary of their overall build quality. Anyway, John also discouraged a WDH and strongly suggested I explore shock absorber options. From our conversation, it sounds like John has extensive experience with Black Series. His comment was something to the effect that the Black Series trailers are commonly supplied with poor performing shocks and that they respond well to shock upgrades. He suggested I look at Rancho 9000s or something similar.
I began my shock absorber exploration journey in earnest. I first established my wish list for replacement shock absorbers:
- No un-doable change to the upper or lower mounts. I wanted to be able to go back to the stock shock absorbers if things didn't work out. I wanted the replacement shock to bolt up to the existing shock mounts
- As close to the same compressed and extended lengths as possible.
- Readily available. I did not want to wait weeks or months for shocks and I want to be able to readily find replacements when needed.
- Reasonable cost. I would be willing to spend “considerable” money if I knew the solution worked, but I wanted to stay at a reasonable price point during the R&D phase.
- Appropriate construction and valving. I wanted to find a heavy duty shock that is designed for a heavy duty application would seem to cross over to the Dweller application
- High quality. I have a strong preference to buy from an established shock manufacturer and not purchase an re-labeled shock from an unknown manufacturer.
Here are my measurements of the stock shock absorbers on the Dweller:
- Compressed Length = ~12.25 inches
- Extended Length = ~19.625 inches
- Upper Mounting =
- Loop Bushing & Sleeve Mount
- 5/8" (16mm) Sleeve ID X 1-1/2" Sleeve OAL
- Lower Mounting =
- Loop Bushing & Sleeve Mount
- 5/8" (16mm) Sleeve ID X 1-1/2" Sleeve OAL
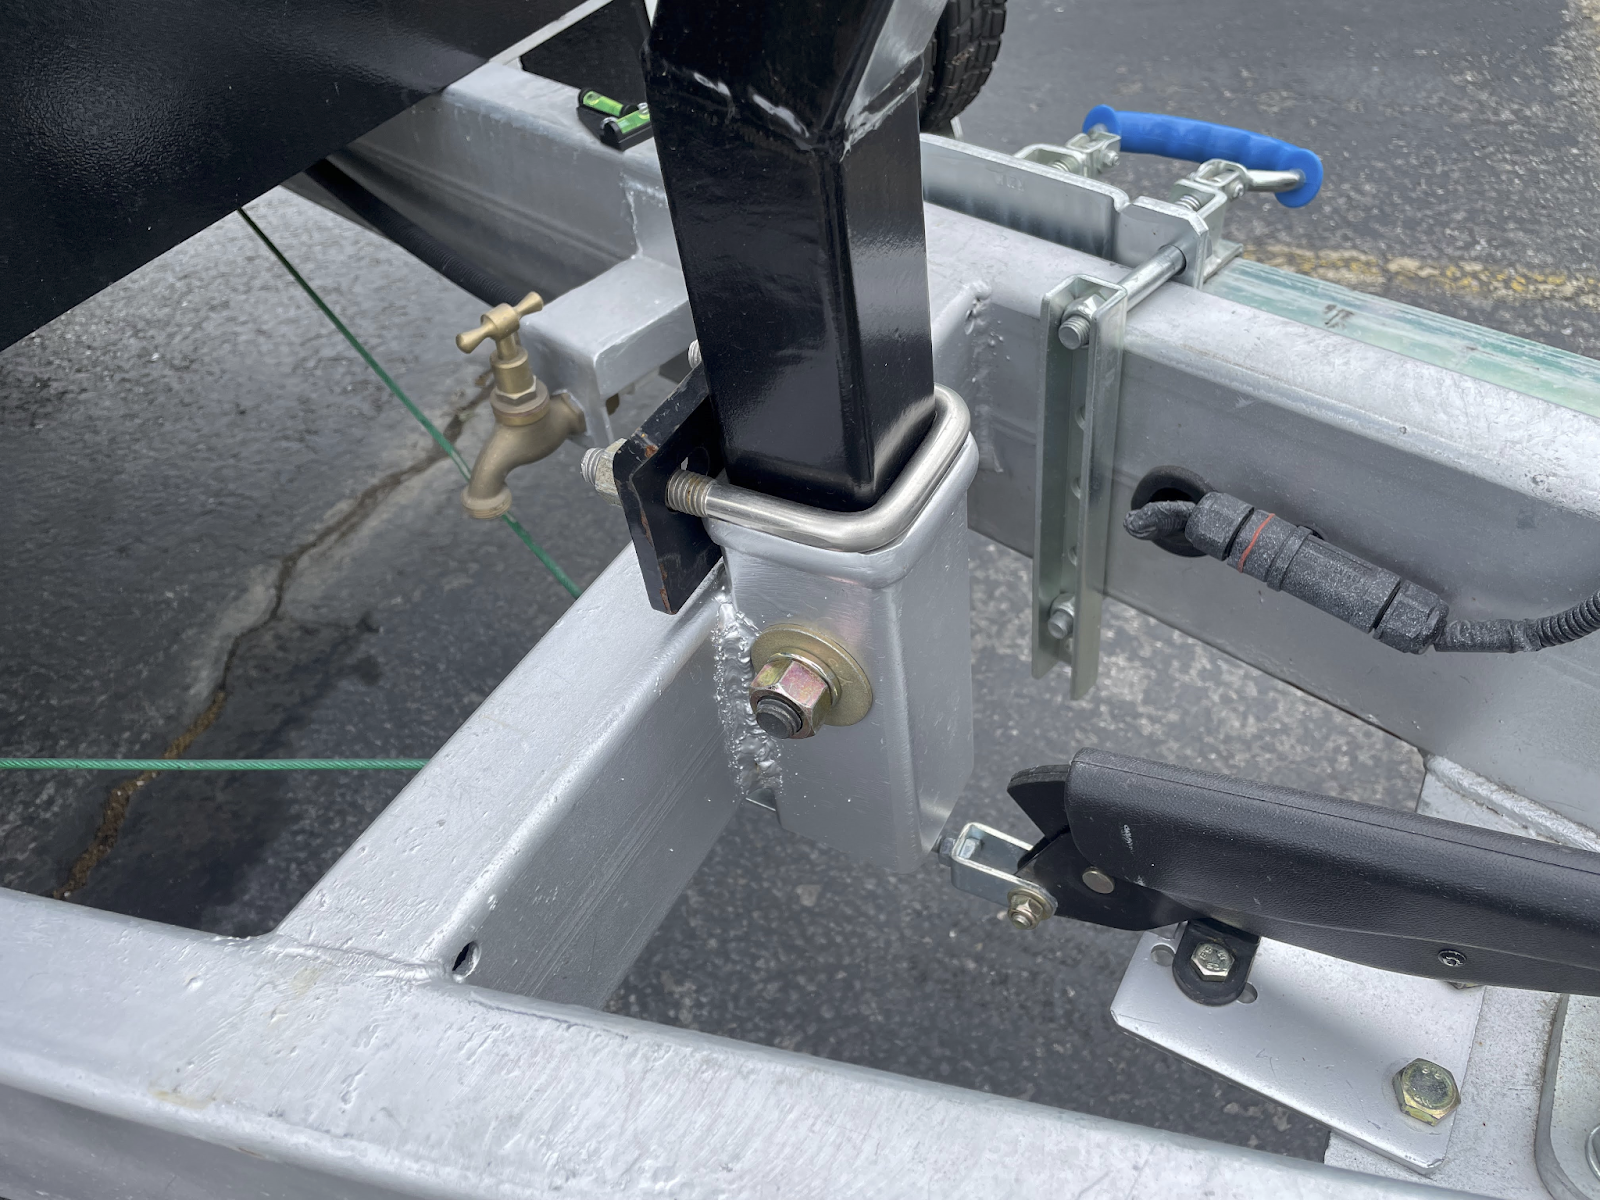
I jacked up the Dweller and looked at the suspension travel. Hanging from the limit strap, the shock is extended a bit over 18 inches. The shock requires virtually all of the compression available meaning that the replacement shock should ideally have the same or a shorter compressed length (I will discuss this more on another day).
I started to research available options. The pickings are slim. I explored Rancho. I explored Eibach. I explored Bilstein. I explored Koni. No luck. Everything I looked at either would require I change and/or relocate the shock mounts or they were sized for an application I did not think was appropriate. Shocks for a CJ Jeep could be made to fit, but even an adjustable Rancho 9000 designed for a CJ did seem like the path I wanted to take.
Almost ready to give up, I was perusing the shockwarehouse.com site and decided to explore commercial vehicle shocks. I noticed that Monroe Magnum 60 series shocks were available for everything from delivery vans to class 8 trucks and trailers
“Gas-charged for medium and heavy trucks and tractors, Monroe Magnum 60 Series Heavy Truck Shocks replace worn-out units to reduce excessive vibration for longer tire life, less downtime and a lower cost per mile. There is a Gas-Magnum shock absorber specifically designed for every hard working truck from class 3 to class 8; check against your original OE part number to choose the right shock.”
I started exploring the Monroe Heavy Duty shock catalog and found two Monroe Magnum 60 shock options which looked like they would meet my requirements list - part number 66440 and part number 66449 :
Monroe 66440 and 66449 Specifications
- Compressed Length = 12.38 inches
- Extended Length = 19.73 inches
- Upper Mounting =
- Loop Bushing & Sleeve Mount
- 5/8" (16mm) Sleeve ID X 1-9/16" Sleeve OAL
- Lower Mounting =
- Loop Bushing & Sleeve Mount
- 5/8" (16mm) Sleeve ID X 1-9/16" Sleeve OAL
- Applications for the Monroe 66440 =
- Rear shock for 2014-2022 Ram Promaster 2500 and 3500 vans.
- Applications for the Monroe 66449 =
- Rear shock for 2014-2022 Ram Promaster 1500.
Compared to the stock Dweller shock, these Monroe shocks are less than 0.2 inches longer on the compressed length. The width of the sleeve is 0.0625” wider. I knew I could make these work.
I chose the shock p/n 66440 for the Promaster 2500/3500. They happened to be in stock at the local NAPA store for $65. The price at Rock Auto seems to vary by day. I have since seen them at Rock Auto recently for under $40.
Here are the 66440 next to the stock Dweller shocks. The body and reservoir are much larger as are the bushing and sleeve. I believe I read in the literature that the 66440 has a 35mm piston bore.
View attachment 726340 View attachment 726342
I do not have a means of quantifying the difference in performance of the shocks. I can say that the 66440 is “noticeably stiffer” when compressing by hand. I would estimate that they are on the order of 40% stiffer. I also notice that when doing multiple compressions by hand, I can feel the multistage valving and the subsequent compressions seem to be much stiffer than the first compression. I have no good way of even estimating the difference when extending.
Installation is basically plug-and-play and takes about 20-30 minutes a side. It may require that the mounting ears be spread a bit since the sleeve on the 66440 shock is 0.0625” wider than the stock shock (1.5625” vs. 1.50”). I did not need to do anything. I was able to mount them into place with a few gentle taps with a rubber mallet. Here they are installed.
View attachment 726341
Impressions. The difference in towing the Dweller on paved surfaces with the new shocks is basically the same as the difference between night and day. The difference is immediately different in a very good way. The Dweller behaves as if it is glued to the road.
Since installing these shocks, I have driven back to Idaho. We traveled from Austin to Boise via Ruidoso, Pie Town, Flagstaff, Fredonia, Duck Valley, Cedar City, Ely, and Twin Falls. My point is that we covered every type of paved surface from Interstate freeways to winding secondary roads with very large pot holes and frost heaves. We had severe crosswinds much of the trip. We did three days of 650-ish miles/day with no issues at all. I hate driving interstate, but I had no issues and was not uncomfortable at 70-72 mph for miles on end.
The caveat of this post is that I have not put any substantial miles on unpaved roads. I was planning to wait until I had that experience under my belt before making this post. However, I don’t anticipate any issues and I think the benefits I’ve experienced with this shock absorber upgrade make it worth sharing with others before I complete that part of the investigation.
There it is. This is a relatively low cost change which I consider a major upgrade in performance that can be easily reversed if desired. Prior to this upgrade, I was dreading the cross country trip. I was considering trading in the Jeep GC for a beefier tow rig. Right now, I am now ready to try going almost anywhere with the current set up.
 Thanks for taking the time and leap to getting this done. If anyone else makes this upgrade, post if you have similar results. This would be a game-changer. I'll give it a go when I have a couple down weekends.
  Thanks for taking the time and leap to getting this done. If anyone else makes this upgrade, post if you have similar results. This would be a game-changer. I'll give it a go when I have a couple down weekends.
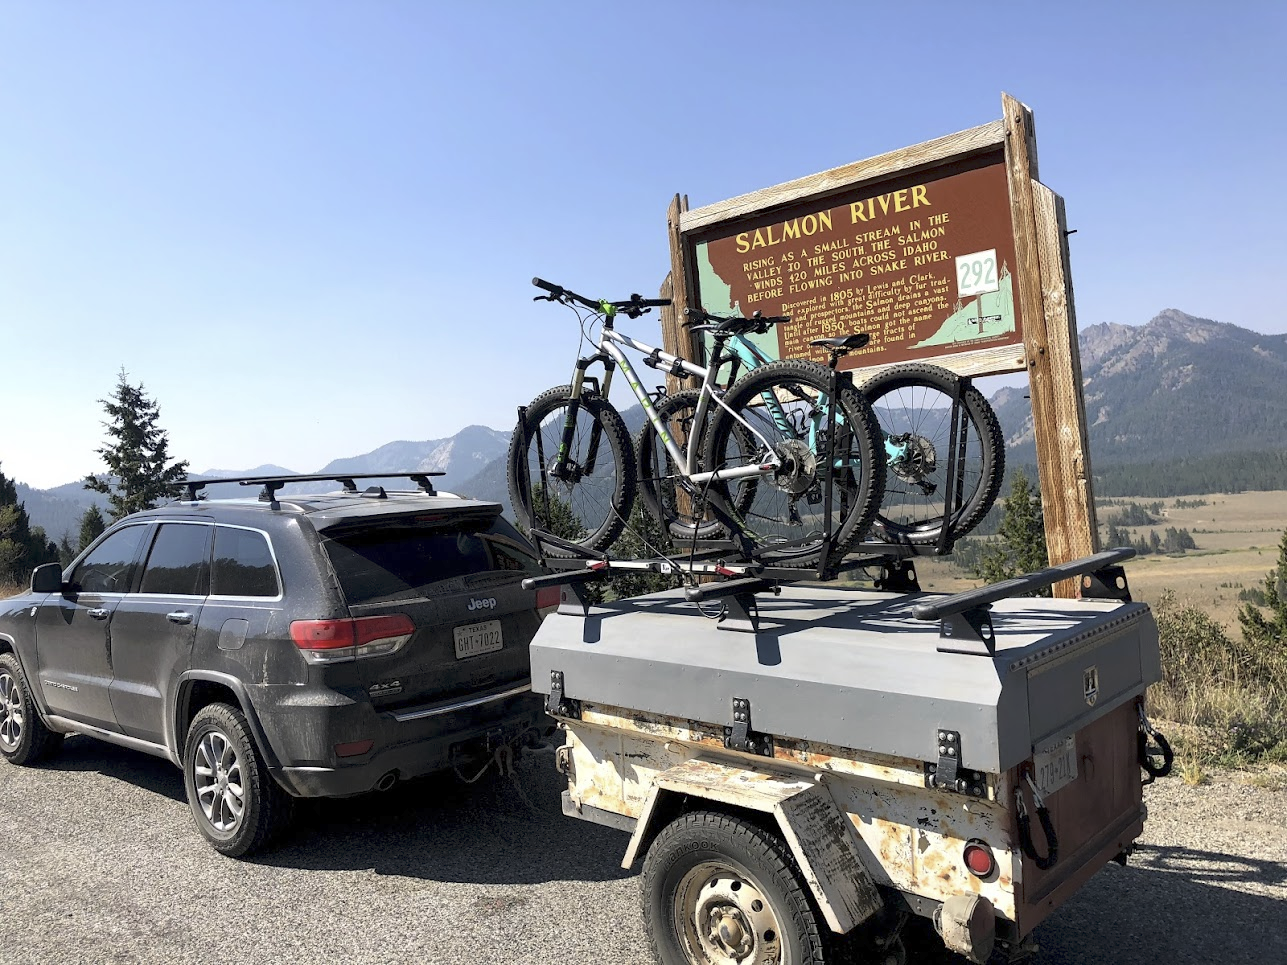


.jpg")
.jpg")
")