M116A3 Trailer Build Takeover

1Louder

Explorer
It's looking real good. Try a panel adhesive rather than the VHB. I tried that on my original builds and it presents problems. The screws will create leaks and stress issues with time. Just a thought. Glad you went with the axle from Spectrac, it works very well.

Thanks Dave, this is a fun project. I really appreciate the compliment! Of course all the welding is by PMA4X4 and he has given plenty of design input. I owned a M416 and wanted something bigger. Your trailers are a big inspiration. I just need a more simple design and really wanted to go through the process of designing a building a trailer with some help. Is there a particular adhesive you use? I have seen some 3M kits on Amazon for $99 that include the gun. For budget reasons my trailer will start with no electrical or water tank (Most likely) It does have the electric brakes on the hubs that need to be wired up. I also may run wiring prior to putting the skin on to save time down the road.
 

dzrtdave

Supporting Sponsor: Turtleback Trailers
Yes build the insides out before you skin it. It's just easier later. I use the 3M 560 It comes in 3 colors and is very easy to work with. I'll be skinning a 5 units in 3 weeks if you want to see the process. Any questions please ask.

I understand the desire to build your own unit, heck that's how I started. It can be very rewarding if you have the time, tools and know how. (and a couple buddies to help along the way) Anywhere you need some input please ask.
 

1Louder

Explorer
More work done on the trailer this weekend. I had the opportunity to weld for the first time. Some were ok and most were not all that pretty. All have been ground down to look pretty. A friend of mine help teach me the basics.

15809811293_65a89d7cdd_b.jpg

Interior framing nearly done. This shows the center storage area for spare parts and the outer utility boxes. The are 9" deep by 12" and 38" wide. I still need to put the rails in the the H2O tank but that should be pretty easy.

15809808643_ea5a38ba7b_b.jpg

Friends lending a hand

16429854495_1b1781d519_b.jpg

Being 6' 5" isn't a real advantage when attempting to weld at weird angles. I had fun though. I just need to practice more on scrap pieces. 1 day experience vs 10 years of experience.

Hopefully this weekend we can finish the utility box door frames and roof rack. After that we will be working on finishing the doors. I also ordered Monstaliner roll-on bed liner and will be putting this on all of the green areas of the original trailer platform. I will be a busy next couple of weeks.
 

1Louder

Explorer
Roof Rack

The roof rack is nearly completed. We just have to weld some attachment brackets for the RTT and put some gussets in the corners of the rails to add lateral strength.

16291403557_6d297b606e_b.jpg


I have prepped the framing for painting and that will take place tomorrow. Just simple primer and flat black paint. All of the areas where sheeting will be attached will remain paint free. I also ordered Monstaliner, per Dave at Turtleback Trailers suggestion. I'm looking forward to adding this to all the green areas of the trailer soon. All of my Phase 1 wiring, lights, brakes etc parts will be here by Wednesday and that may be this upcoming weekends big project. I have to convert my FJ to a 7 pin connector and rewire the trailer for lights, breakaway box, and who knows what else.. Once the wiring has been run the next project is the doors. After that we are in the home stretch and can focus on figuring out the exterior sheeting and paint!

This has been an awesome project with lots of help from friends.
 

1Louder

Explorer
Inching towards the finish line

Still lots to do but getting closer. I would really like Phase I to be complete by the end of April. Was hoping for the end of March...

Here are some updates. The cabinetry is nearly complete. I need to install the drawer slides into the trailer frame and then can begin putting on the exterior sheet. Most of the painting work is complete as well as the bed liner application. I used Monstaliner. It seems like a great product although I should have bought a full gallon vs 2 quarts. It would have allowed me to do more sections of the trailer. I had to do a 7 pin conversion on my FJ Cruiser and add a brake controller. All of that is complete along with the wiring on the trailer. At times it feels like I am not making much progress. However, when I review the build photos I realize a ton of work has taken place over a few months. All of this could not be possible with a lot of help from friends.

Major To-Do Items:
Prime and paint 3/5 doors
Install the aluminum sheet and doors
Install door handles
Install the h2o tank - My use a hand pump for starters or no tank for now.
Install basic Phase I electric system (Just LED lights for inside of the trailer)
Seal all of the wood


16338163054_6091d0bef8_b.jpg


16340435263_d57f0371cd_b.jpg


16959196982_22a2be7aa9_b.jpg


17057414565_ec7f28689d_b.jpg

Cabinet Construction

17055955972_ffb70cd3fe_b.jpg


16869617898_f002a7269d_b.jpg

Idea gathering

16541405561_154e95e07b_b.jpg

Bed liner application
 

1Louder

Explorer
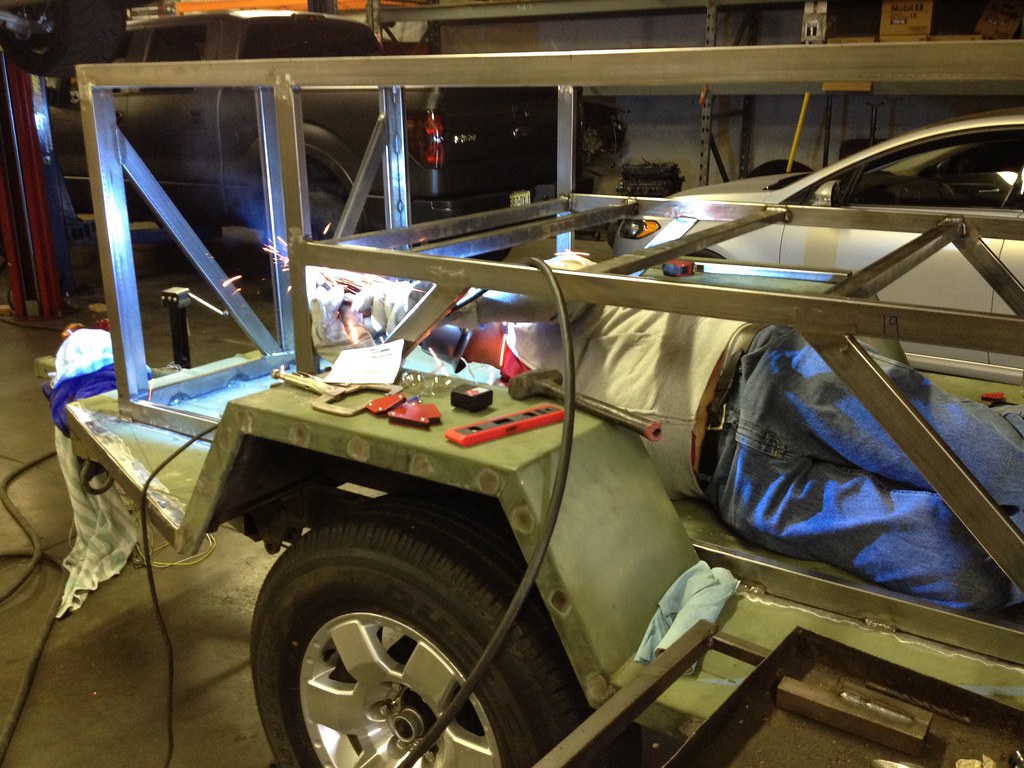
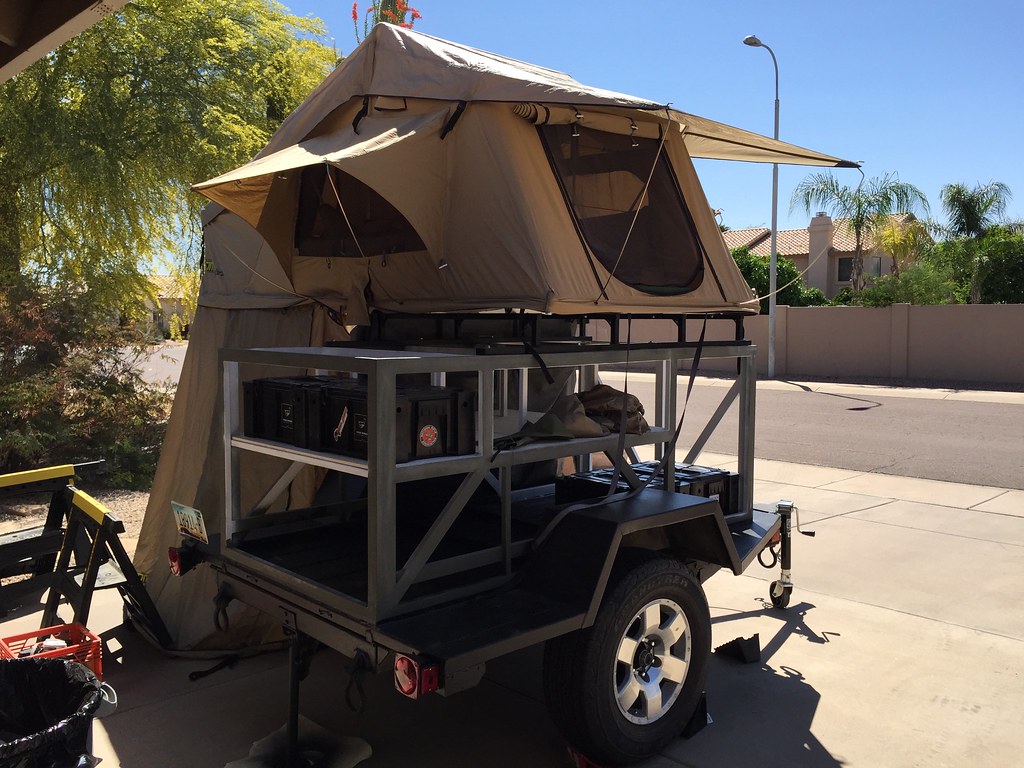
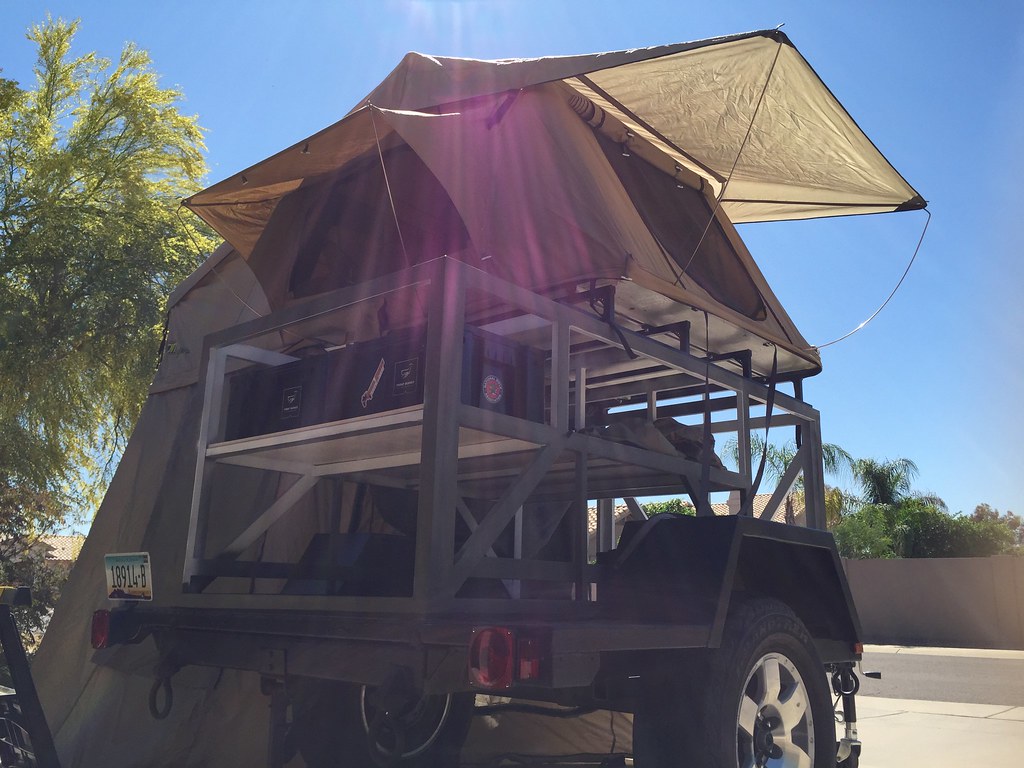
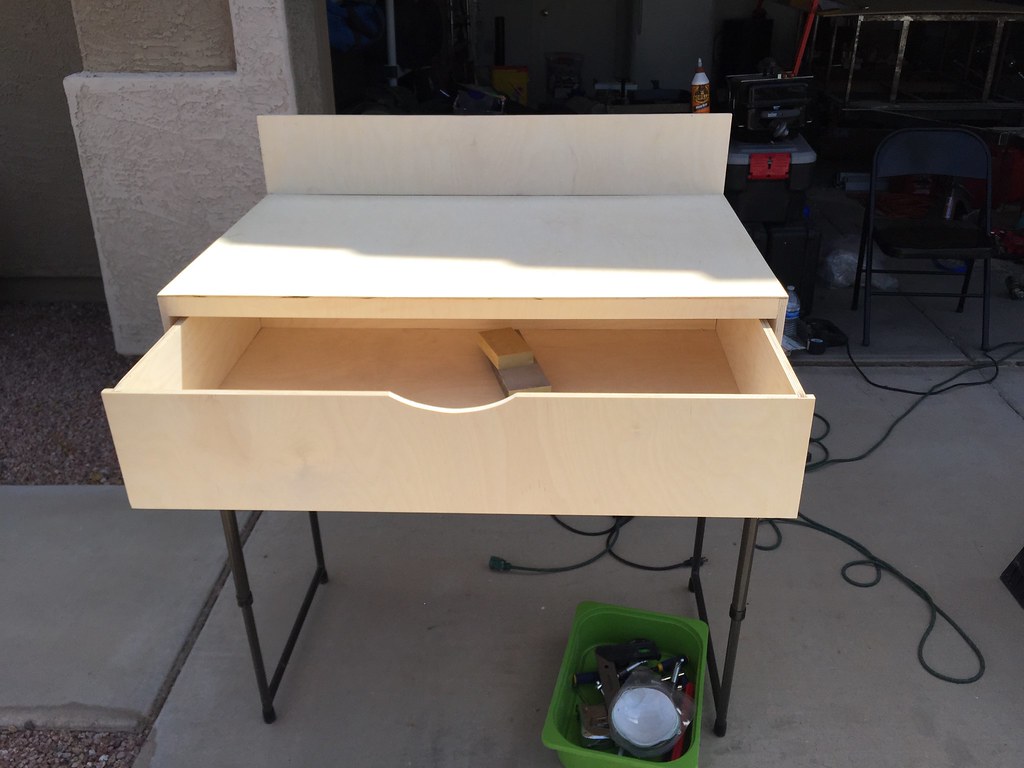
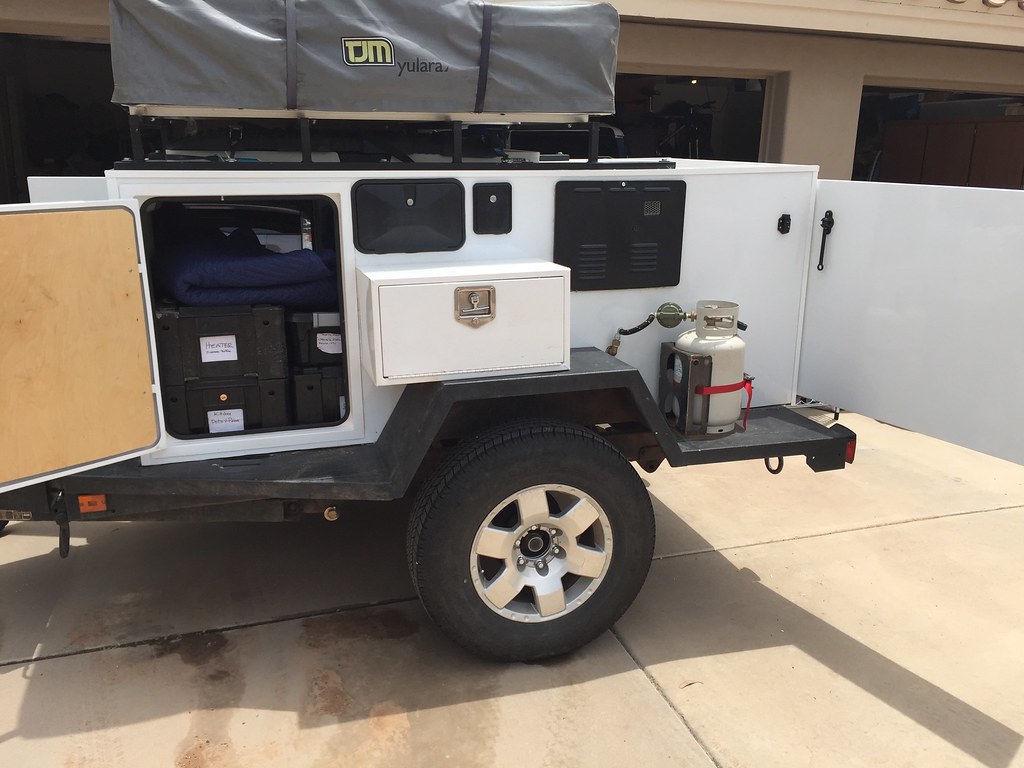
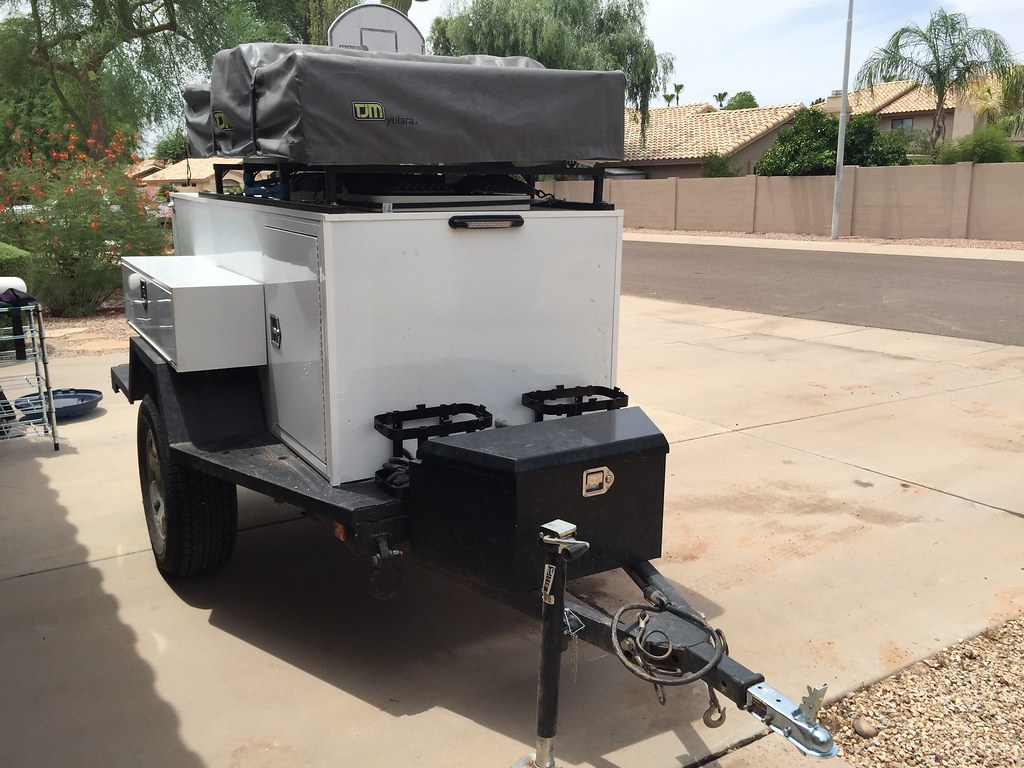
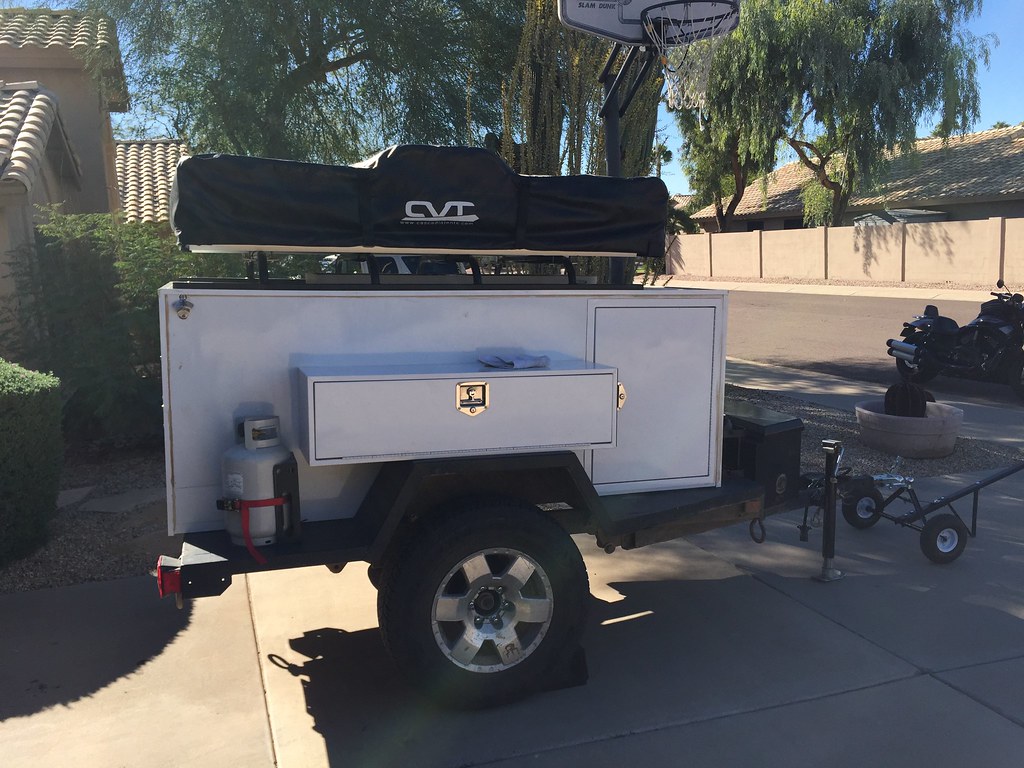
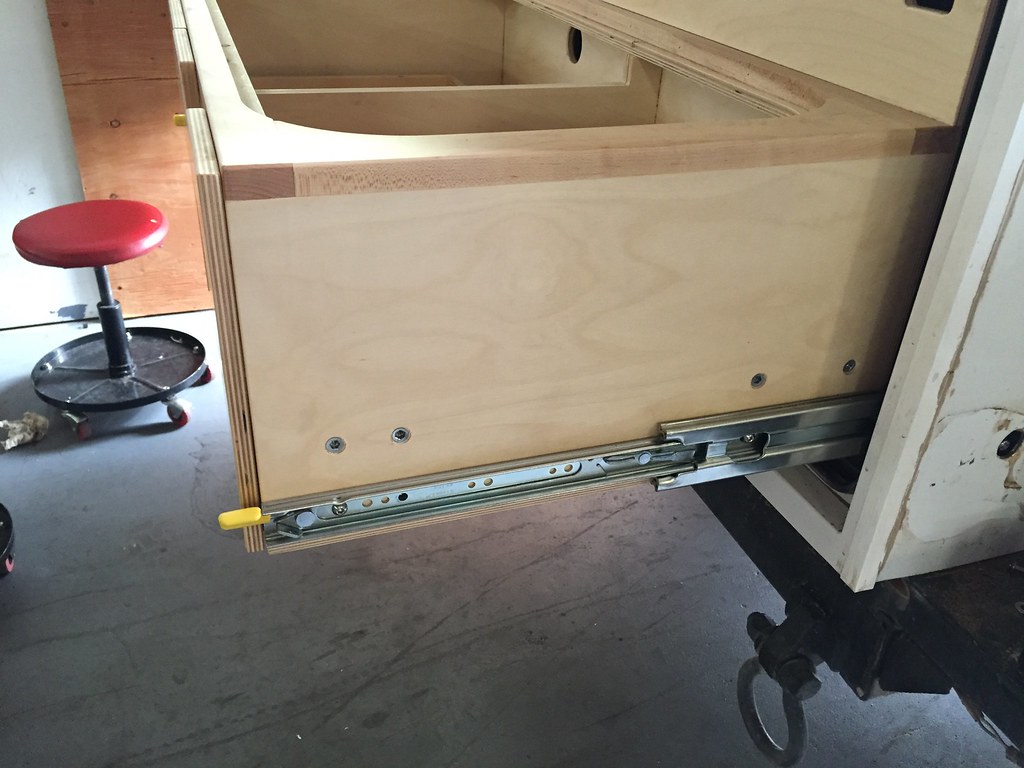
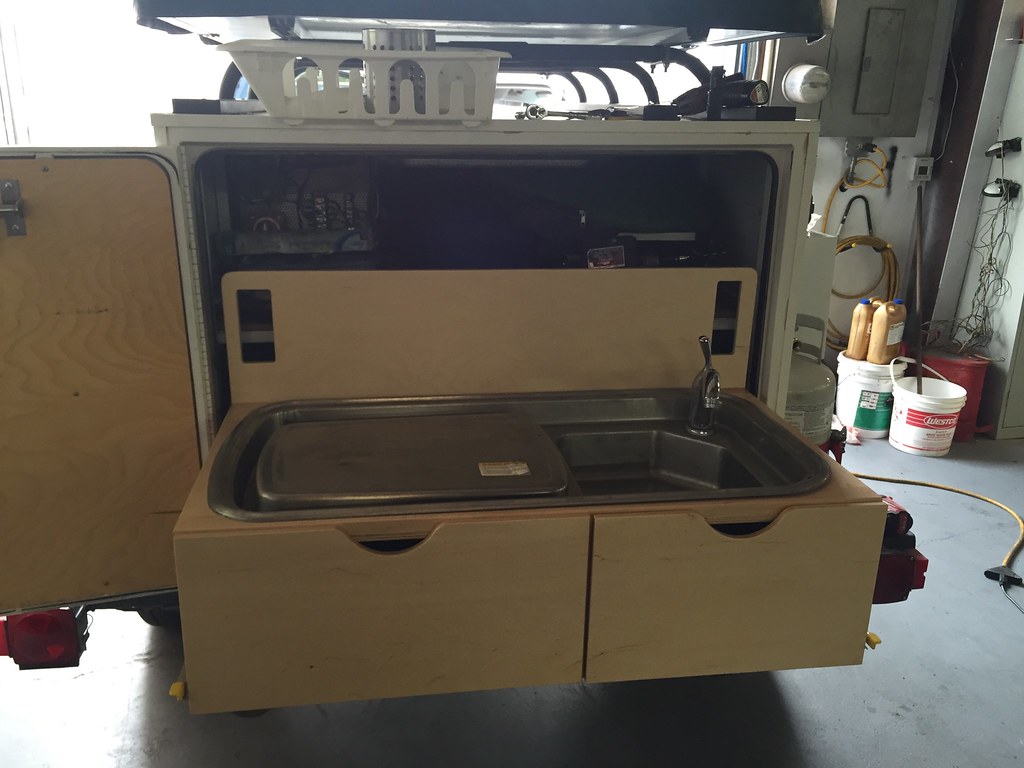
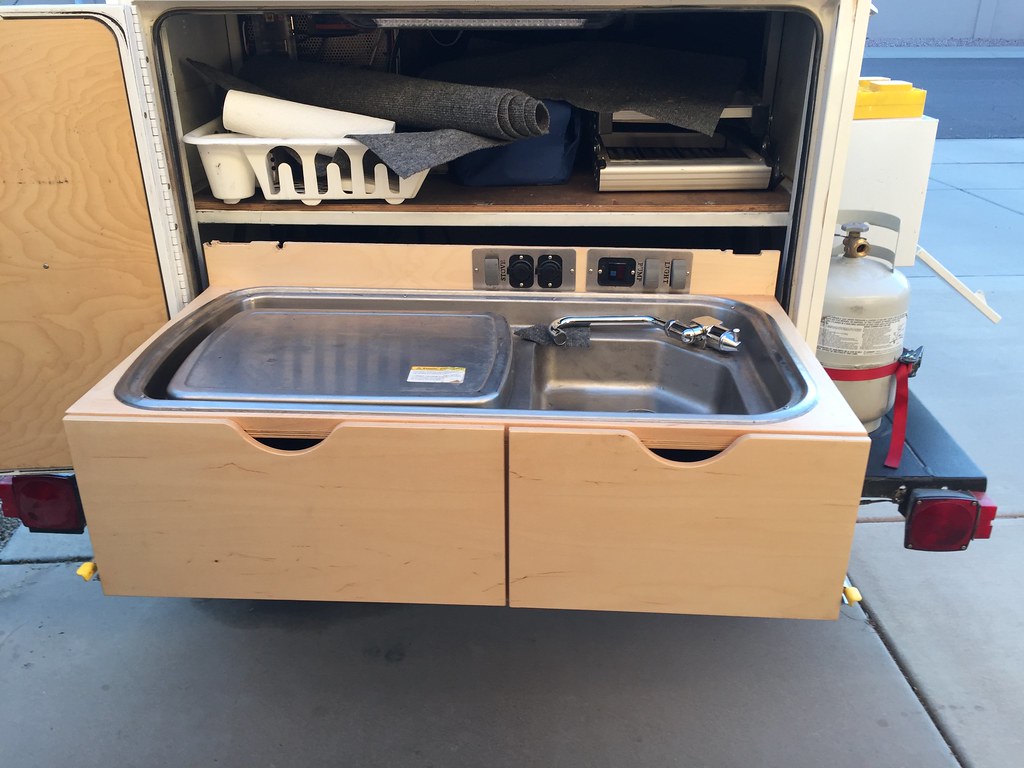
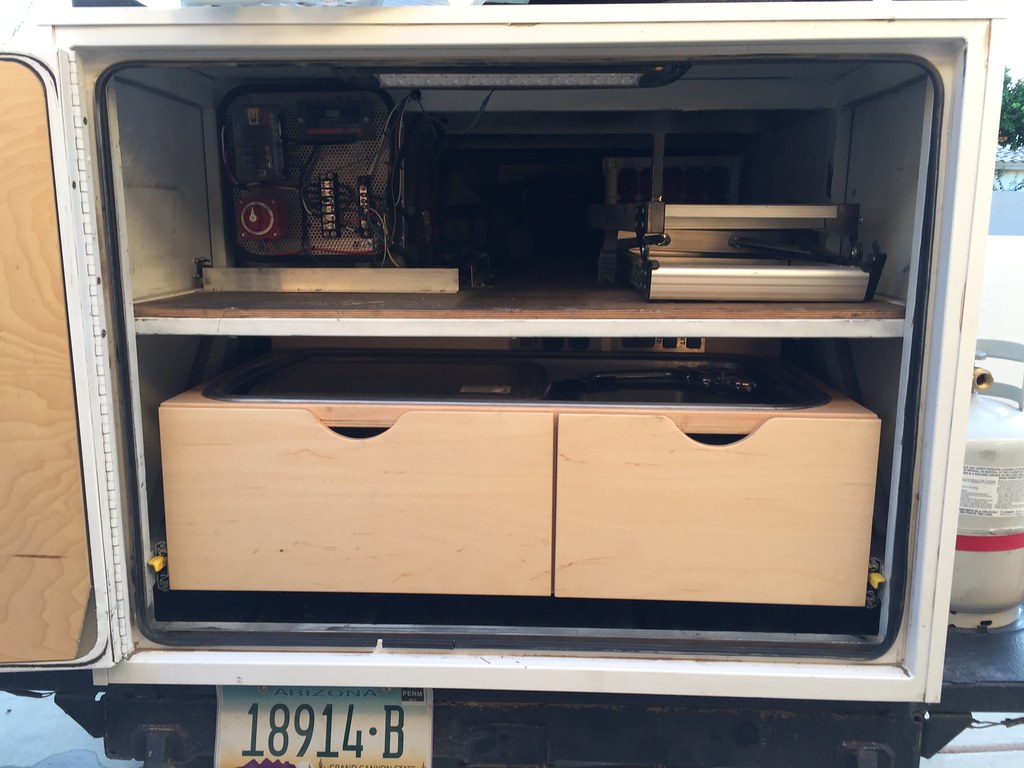
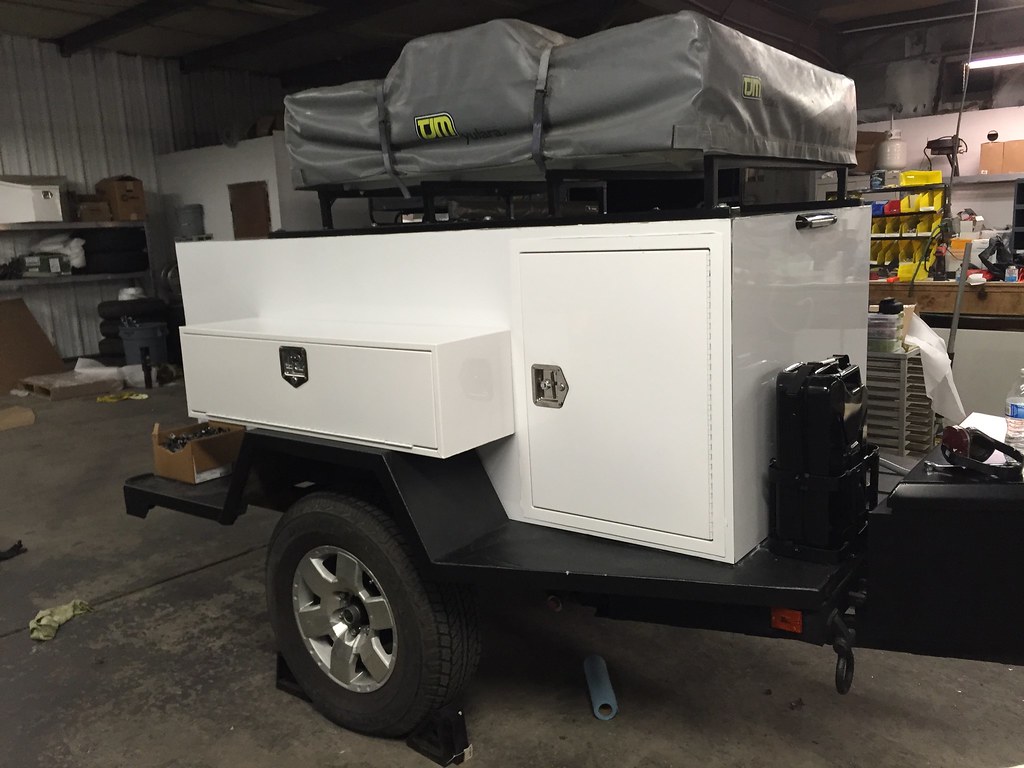
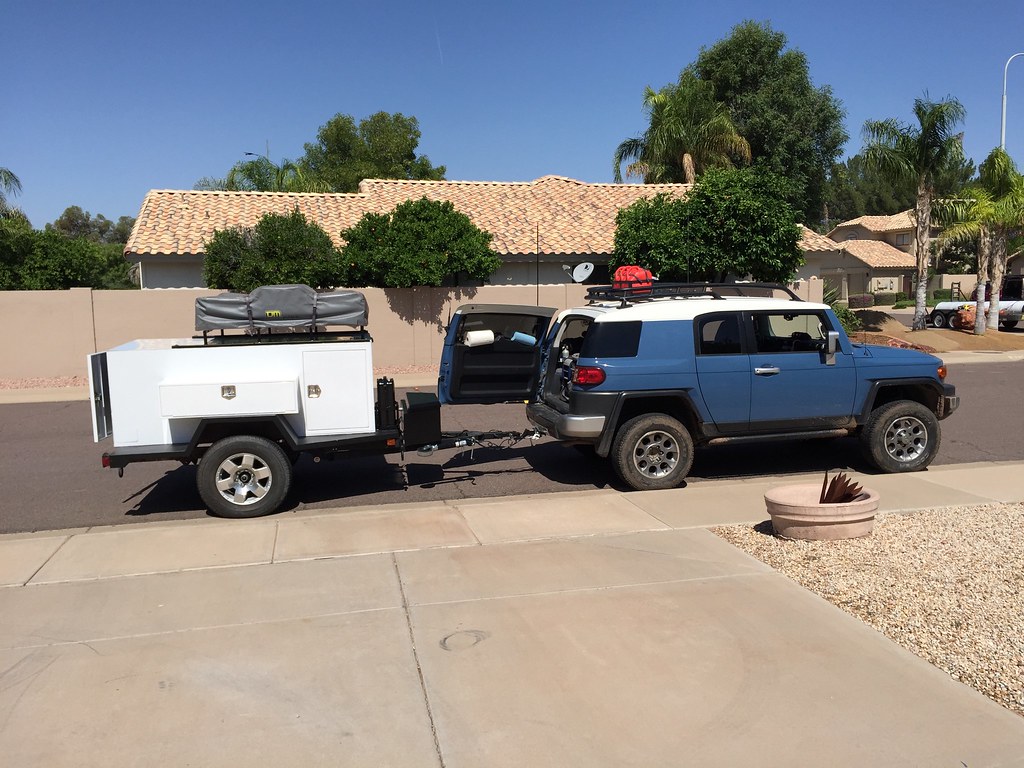
I was way too busy trying to finish the trailer and get ready for Utah to post any pics but here are a few of the trailer "finished". I have some clean up work to do. We just did Utah Border to Border and the trailer was great. I look forward to making a few tweaks in the coming weeks and then off to Oregon I go for Oregon Border to Border. The FJ is racking up some serious miles this summer. I eventually want to add a swing-out with a spare tire carrier and a Foxwing awning. The kitchen cabinet is going to get rebuilt as well.


18268838011_5ddcd934a2_b.jpg


18241051666_130106705b_b.jpg


17646906693_2703669472_b.jpg


18241075756_118d2b64dd_b.jpg


18304938556_b67570d482_b.jpg

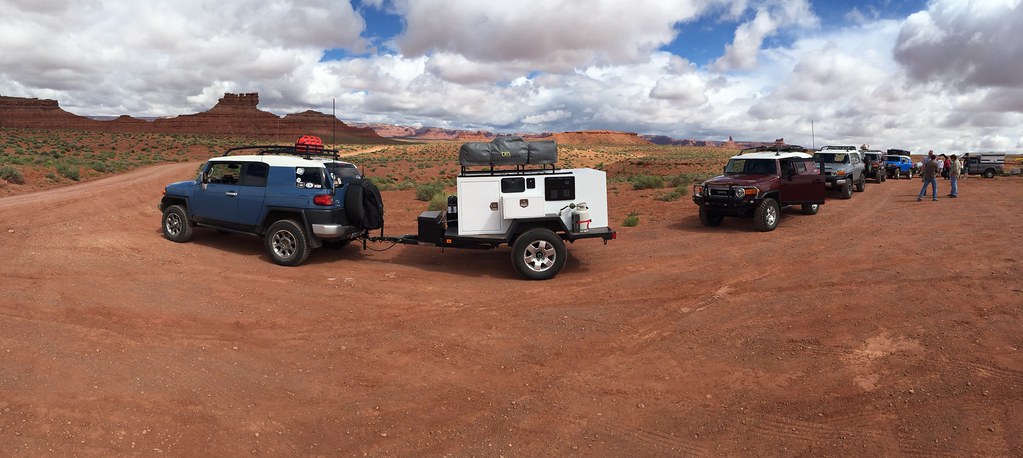
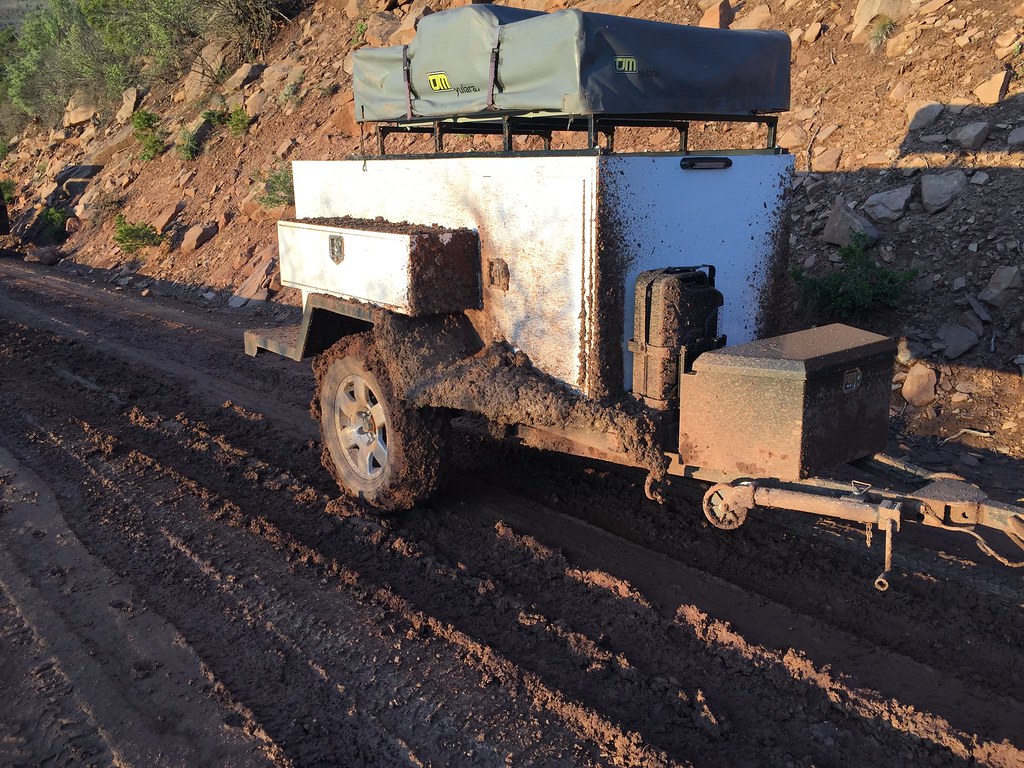
Can you say mud! Day 1 of Utah Border to Border ended up a muddy mess. We couldn't make it to our planned camp site. The good news was after we got off of this mountain there was another great campground available. The next day we tried to continue on the planned route. We had to clear 3 trees from the road in different sections and then ended up running into deep snow above 10,000ft. Oh well, we turned around and headed for pavement. The trailer did just fine in the mud.

18143657360_bcef243b5e_b.jpg


17708762544_13c6f56781_b.jpg


18263644162_ef2118c679_b.jpg

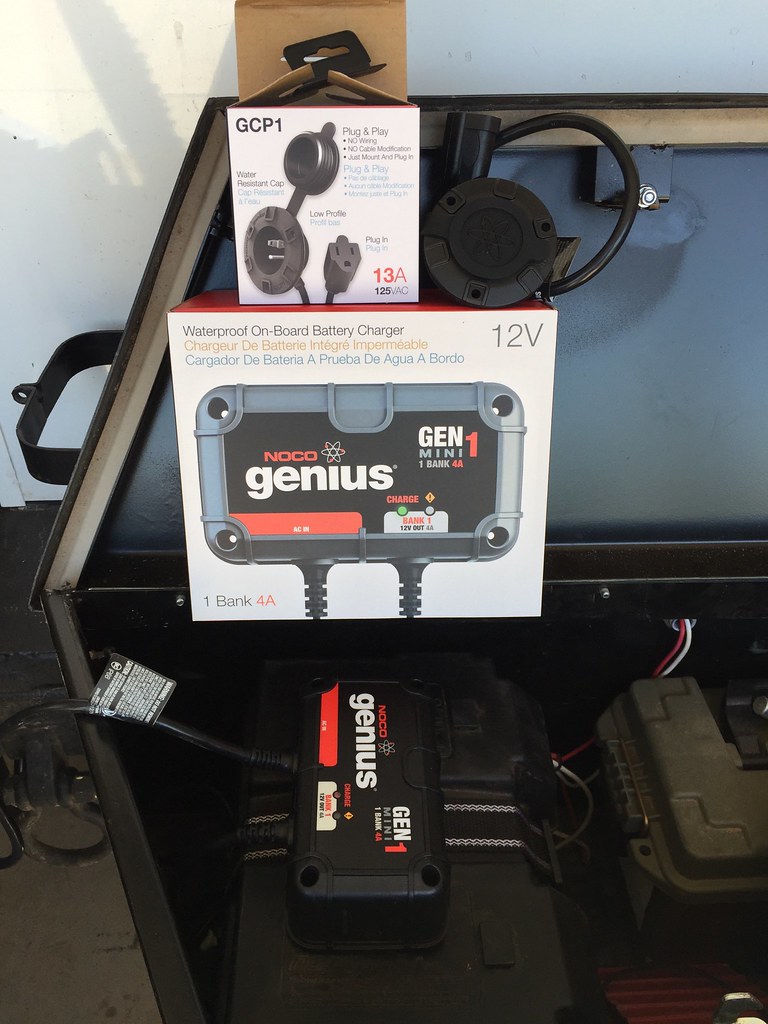
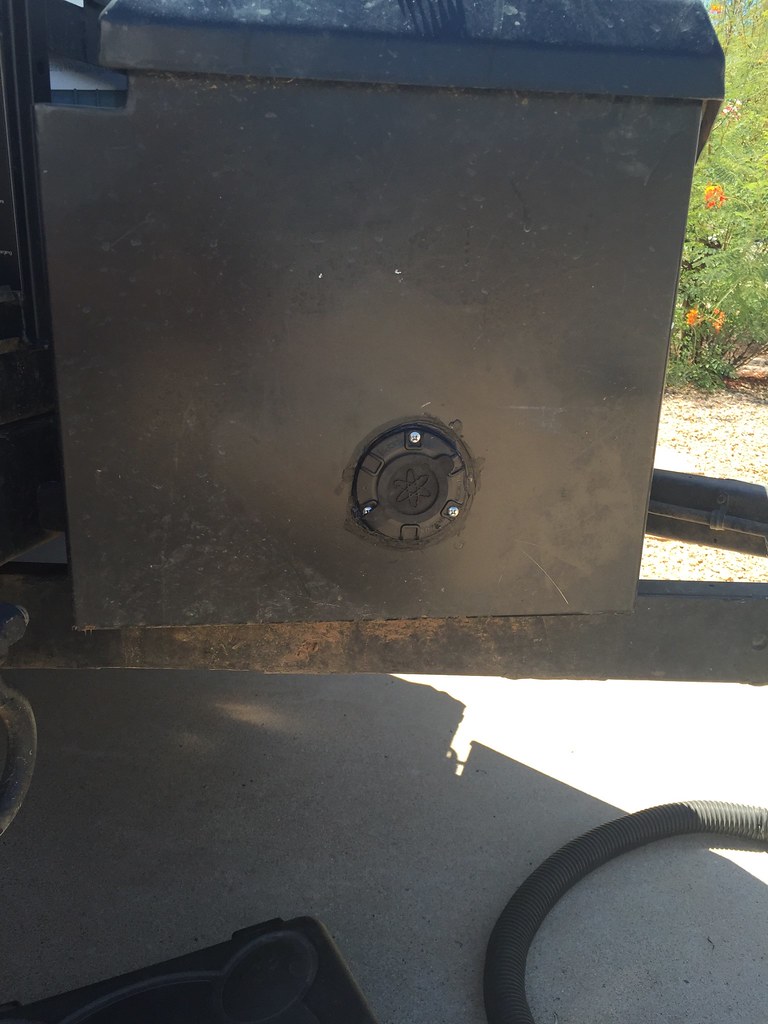
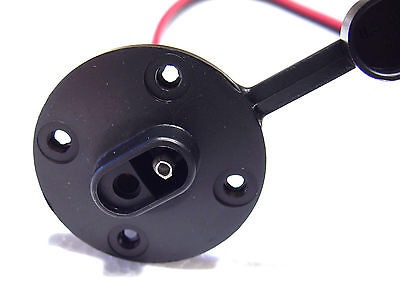
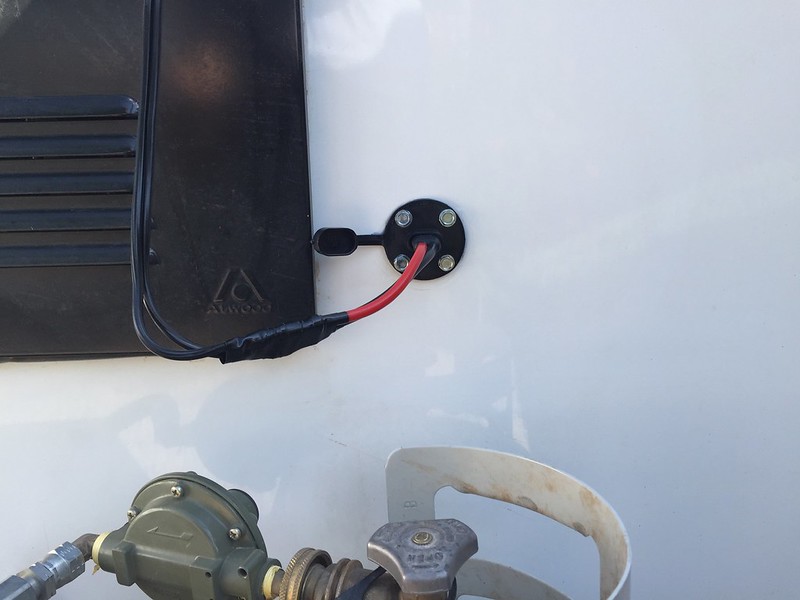
Electrical system panel

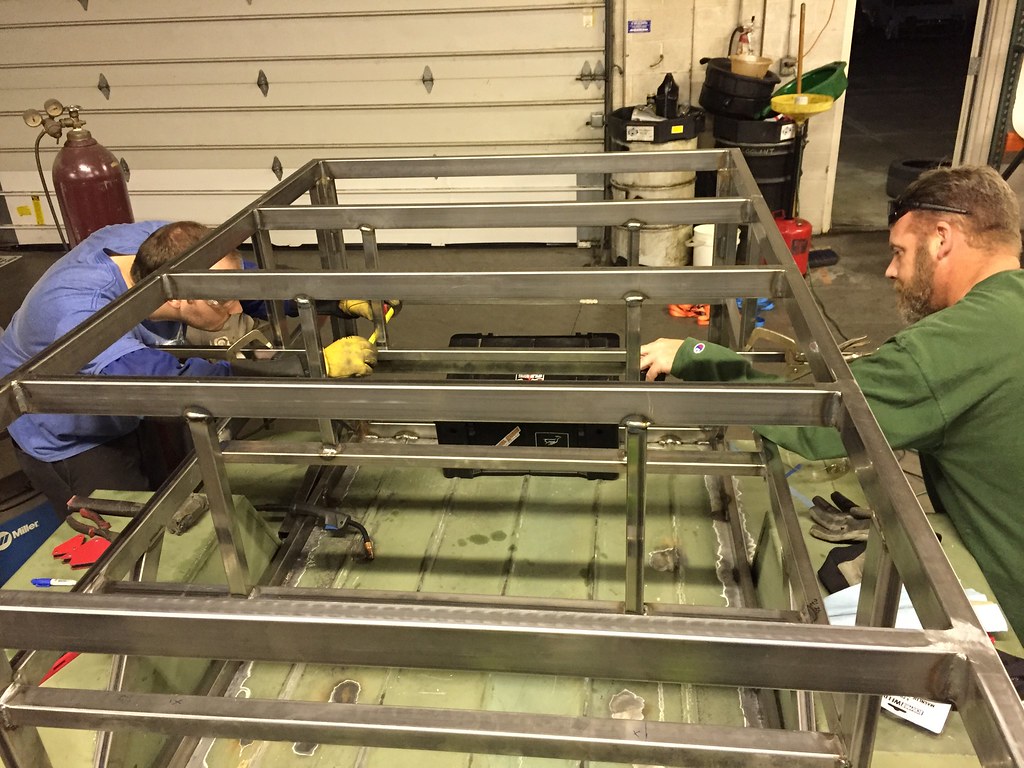
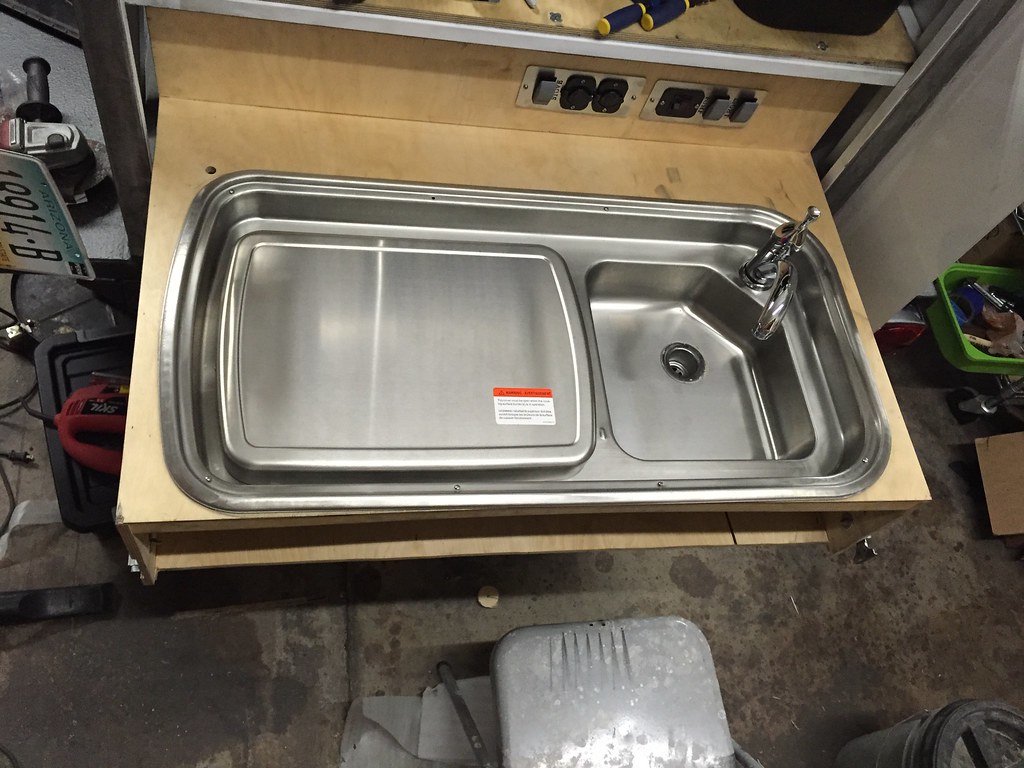
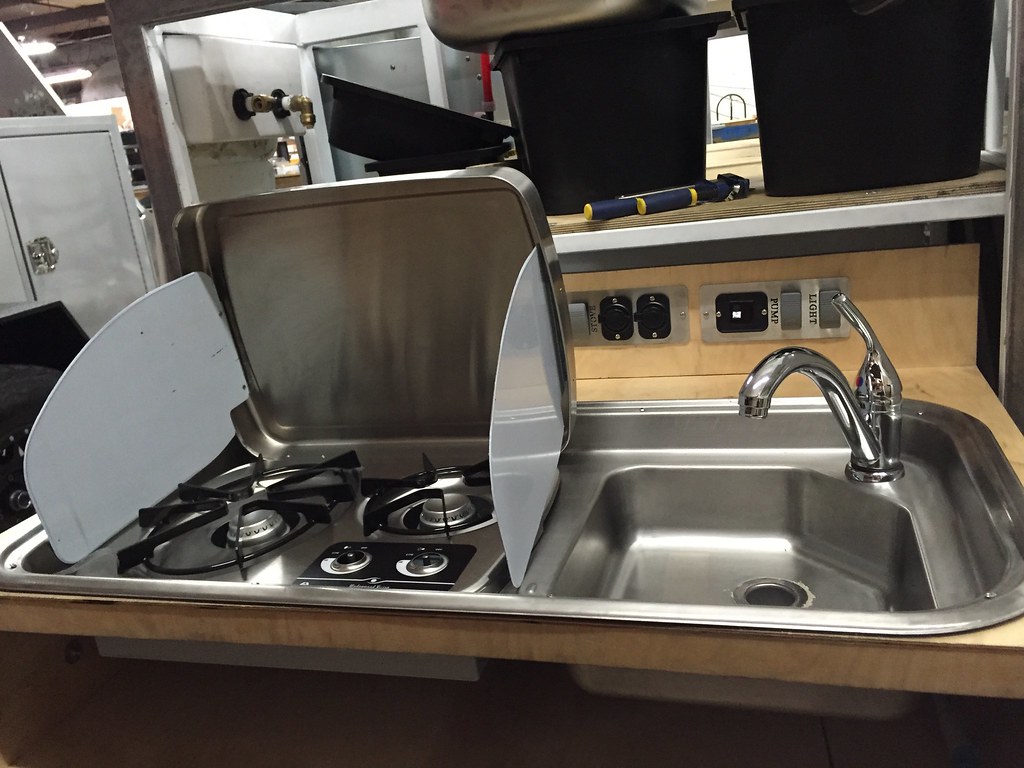
There are too many people to thank for helping with this project. Without all of them it would not have been possible. A lot of what you see on the trailer is from Turtleback Trailers. Dave is working on a store for DIY folks to help enhance their builds. I purchased my doors, utility boxes, stove/sink, electrical, plumbing, shower, tank fill and water heater from Dave. He pushed this trailer to the next level. In the end it was a scramble to "finish". We worked on the trailer for nearly 24 hours to get it done prior to the trip.

The one MAJOR recommendation out of this is for your doors see if you can make aluminum frames. Then hang the doors in the frames and then insert the frame into the trailer you are building. My DIY 1" square tube steel frames were just not going to work. They were going to be too heavy and not seal well. Also, I way underestimated the man hours required to do a project like this. When you look at trailers for sale and think "Hey I can do it cheaper" that is only true if you have the time and skills available to build it. Many do and many don't. I was lucky and have many skilled friends who were willing to help. I am guessing there are at least 300 man hours into this build. It's probably more. I gave up tracking it.

I am going to work on a bigger lessons learned document but I am still unpacking from 7 days on the trail.

I hope this build thread gives folks some ideas. I have learned a lot from others. The trailer is amazing. Thankfully Dave from TB pushed me into completing the electrical and plumbing in phase 1. He also convinced me to get better doors built from the folks that build his. That was a smart move. Yes it cost me more money but was a smart long term investment. I look forward to keeping this trailer and using it for a long time. Only reason to sell would be to buy a Turtleback trailer down the road. You cannot compare the finish quality between my DIY and the TB's even though this is an amazing trailer.
 

1Louder

Explorer
I finally got around to installing the trim pieces. They give the trailer much cleaner lines. Wheel spacers were also added and allowed me to put the proper flat lug nuts on. I added an additional Jerry can holder for longer trips. I am getting a used roll out solar panel which will be a nice addition as well.

19457074400_8ee7a926df_b.jpg


19457055198_0088f650da_b.jpg


I am adding a 2nd propane tank so I have something for my grill or heater. Same size as the one for the trailer. 11lb from Home Depot for $54 which is a good deal. The mounts are from PMA 4X4. I have also added "shore power" to the utility box. I opted to include the side port for easy charging.

20314198122_20b5bb9f63_b.jpg


20134600718_0bac94104b_b.jpg


This trailer has over 3000 miles on it already. Everything has been great. I still need to get it weighed. Future mods will come in 6-9 months when I have funds. I am looking forward to additional trips...

Future Changes:
- Build a new rack and move the tent more aft over the wheels. New rack will accommodate a larger tent when I can afford one.
- Create a solution to carry a spare tire - Still debating on a swing out.
- Rebuild the kitchen cabinet and possibly install better drawer rails. Mine are very good but there are better ones out there.
- Replace the box style tail lights with flat LED lights
 
Last edited:

1Louder

Explorer
Just an FYI. Turtleback just opened up an online store. A lot of the parts I used on my trailer are now available through this site, www.expeditioninspired.com.

I also finished up my solar setup on the trailer. A controller was already a part of my basic electrical system but now I have a quick connect on the side of the trailer to use my new to be PowerFilm rollable solar panel. I'm really looking forward to testing this soon!..

20530318421_b998eb5ddc_o.jpg


20525302048_4f7a7acc7b_c.jpg

Here's the SAE RV Roof Connector. I did swap out the temporary screws with black bolts for a better look.

I also added a 2nd propane tank holder from PMA 4x4 for my grill/heater tank.
 

1Louder

Explorer
It's been almost a year with this trailer and I am still loving it. A few changes have taken place:

  • I put a larger CVT Mt Rainer tent on along with a modified used rack from Turtleback Trailers.
  • I added some protection to the front to of the side boxes, purchased from Turtleback Trailers, they are aluminum sheet with bedliner on them.
  • Added LED lights to the tent and a motion sensing LED light bar near the ladder so I don't have to fumble with a flash light getting up and down
  • I also added the XO Jack to make life easier.
  • I replaced my cheap 7 pin pigtail with one with better connections.

There will always be constant tweaks after each trip. I try to learn to pack less, pack differently, and always review what I have brought.

I'm looking forward to this summers treks which include Overland Expo West (My backyard), the NWOR (hopefully make it by Friday), going all through Idaho on sections of the ID BDR and who knows what else.

23190732476_5f6ff8768d_b.jpg


26177338101_3eda69a211_b.jpg


25970739250_24b08cf8f4_b.jpg


Things I still want to do:
  • Rebuild the kitchen cabinet (the original one was not meant to have the built in sink) or at least install the laminate sheet I have to make it look better
  • Change the rims to match my 2011 FJ style
  • Add a solar panel on a slide out tray
  • Build a rear bumper with a swing out for a table
  • Replace the basic tail lights with flat LED style
  • Add a red led light to the kitchen area to reduce the amount of bugs flying around while cooking
  • Possibly add a Foxwing awning. I go back and forth about adding this or a simple ARB with room to my FJ. Then I can reposition the truck with awning over the back of the trailer for coverage over the kitchen.

Lastly, I still enjoy reading about everyone else's builds. So much to learn and share.
 
Last edited:

1Louder

Explorer
Another minor/major modification

As stated in previous posts the original kitchen design was meant to have a built in stove setup. Time pressures didn't allow me to finish it as I would have liked to. Well lucky me, Turtleback trailers is changing their kitchen design and has some of the old style cabinets for sale. Hopefully, the modification will be completed tomorrow. I have to cut down the height of the back panel since my trailer has a shelf above it vs the Turtleback design. In the end I will now have top grade cabinetry in the back and a cleaner look.

28216196813_1e96784f01_b.jpg

New improved kitchen rails. The old style only had a push/pull release on the right. Now there is a tab on each rail which are much easier to use.

28216198413_e356db7cd1_b.jpg

Here you can clearly see the back piece is too high for my design. I also have to switch to a fold down faucet from the traditional Delta faucet.

28216195413_05b6e5a99c_b.jpg

A quick inspection of the inside has showed everything has held up great and no issues!

Having the two drawers in the cabinet will help with additional organization and gives the kitchen a much cleaner look.

I look forward to posting a "finished" picture tomorrow.

Bonus Glamour Shot from Cascades National Park. The trailer now has matching rims to my 2011 FJ Cruiser.

28149722071_aa0297612f_b.jpg
 

1Louder

Explorer
28786914951_f25f58e61b_b.jpg

Top of cabinet needs a bit of cleanup and I am going to add a storage basket.

28786915841_d438a737b6_b.jpg


We also installed a new drain system that is vented. An optional hose can be hooked up to it to drain away from the trailer or use a 5 gallon bucket underneath.
 

Forum statistics

Threads
185,527
Messages
2,875,534
Members
224,922
Latest member
Randy Towles
Top