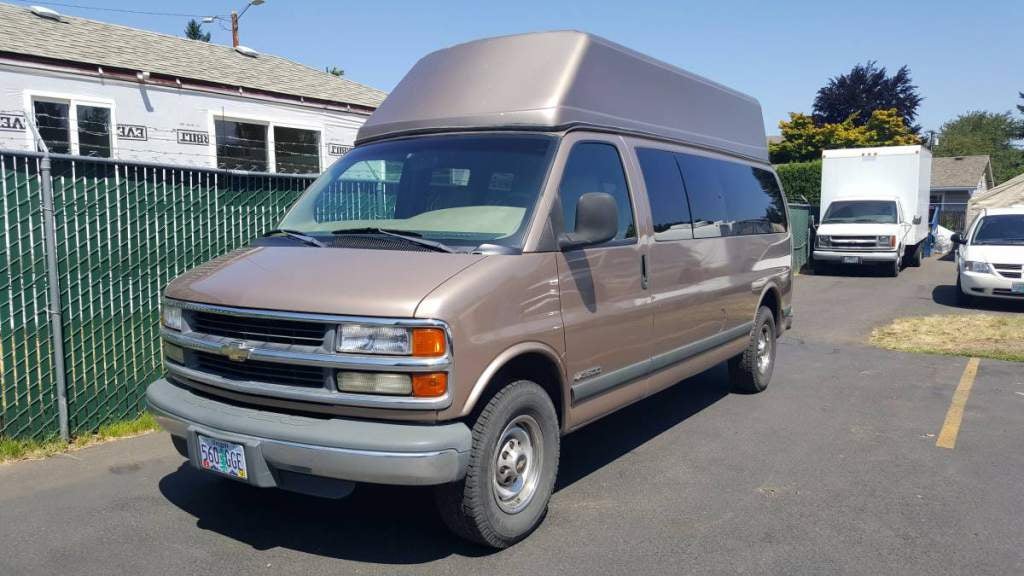
Johny5's stealth camper van
- Thread starter Johny5
- Start date
I did this swap in the fall... and have put about 35k on it so far. I think I have finally dialed the front in, and am going to share the details on this thread to keep the info in the same spot as opposed to making a new one.
For reference, I have an 04 3500 with the 6.0 that had 260k on it when I did the swap.
Springs and lift:
I bought new OEM top side spring/shock buckets as well as new springs from my local Ford dealer but I have connections there... oemfordpart.com is probably cheaper than walking into most dealers, about half what retail would have been at my Dealer. That site also allows you to see the different spring rate options for the super duty.
I used coil spring Part # 5c3z-5310-ga which is the lightest spring rating available. Compared to the springs from my diesel donor truck they are about half the coils and a lot thinner. I can't imagine using those... it would surely ride crazy rough. I feel like if I were to do it again I would use the same springs, I don't feel they are too soft by any means. If there was a softer one I might consider that even... but I am overall very happy with these springs. Rides like a truck but not abusively so.
I mounted the spring buckets flush to the bottom of the frame rail, which I think Johny did too, but I have seen others lower them so that is why I mention it. With this spring and that mount height I think I gained about 8.5" lift up front, after adding a winch behind the bumper and plenty of settling out those new springs. That seems like a lot but I think that is about perfect for this swap, and keep in mind I had 260k on it so I was probably sagging a bit, and my 8.5 might be different than a lower mile van. It is about 28.5" from center of hub to bottom of fender, and was about 20" to start.
I mounted the factory ford sway bar to the chevy frame and it works fine, however I have had one link removed almost the entire time. I just don't feel like it needs it honestly, which I was very surprised to have be the case. It really just doesn't body roll or sway much at all even without it.
Last edited:
Steering and bump steer:
I used a frame side bracket from WFO concepts for the track bar, which they use for silverados. It needed to be modified a little for this application but saved a lot of time making one from scratch. The 3" one is the one you want, as you want it as close to the frame as possible.
(PART: WFO TBB-F-DMAX-3)
I initially used a flat pitman arm from WFO for their 3" swap. (Part: PM536FPA-BU-6.25)
I had pretty crazy bump steer at first. I eventually got around to adding the steering stabilizers a while after getting the thing on the road and that helped a bit, but the problem was definitely underlying and I knew that wasn't my solution.
My track bar and tie rod were relatively close in angle, but not the same.
I swapped for the drop pitman that WFO sells for their 6" swap and that got them in line pretty perfect. (Part: 52088242-DT-BU-F)
My bump steer is now pretty much gone.
One other thing to note is I think the easiest/best way to put a steering stabilizer on without going completely from scratch is to use one of the dual setups that are sold for the fords. They are purely axle mounted so they require no modification for use in this swap, but make sure you get one with the steel bracket and not the stamped bracket as they don't hold up well. Only thing that is worth noting here is that if you stretch your axle too far forward you may have clearance issue between the stabilizers and mount, and the front crossmember on the frame. Mine just rubs now but I think I pushed my front axle forward at least a couple inches.
This van now rides and drives as good as I ever could have hoped.
Last edited:
Len.Barron
Observer
8.5" is about what anyone doing this should plan for if they want any kind of good compression travel. I used a swaybar from my donor 3500 box van (14900gvwr) it is stiffer by a long shot than it needs to be, even at 10ft tall I get zero body roll.With this spring and that mount height I think I gained about 8.5" lift up front, after adding a winch behind the bumper and plenty of settling out those new springs.
I mounted the factory ford sway bar to the chevy frame and it works fine, however I have had one link removed almost the entire time. I just don't feel like it needs it honestly, which I was very surprised to have be the case. It really just doesn't body roll or sway much at all even without it.
I moved my steering box forward to relieve some of those clearance issues you mentioned, and I agree on getting a high quality stablilizer to keep it smooth.
Len.Barron
Observer
yep, modified the stock one, I had to put a slight bend in it to improve clearance around the front of the crank pulley at full compression and I had to use a different pitman arm(longer and more drop) but that was about it..
I reread my own post and I did have to shorten it some too. Here's a link to that post, you may have to register to see the pics though..
 www.dieselplace.com
I reread my own post and I did have to shorten it some too. Here's a link to that post, you may have to register to see the pics though..
LBZ: - 2000 Express 3500 Hightop LBZ/Allison/SAS
Last edited:
Van_Diesel
New member
Modified the stock one. shorten it 1.5 inches and re-thread. That is the only modified part on my conversion everything else is off the shelf Ford or GM part. I have a build on diesel place.
Mike
Mike
I picked one up from napa (or possibly carquest) as I didn't want to use the used joints on my donor truck. I do remember it was a little different than the (stock?) one that was on my donor truck in the area next to the threads, and maybe even the length of the threads so it is going to depend somewhat on where you source your drag link, as to how you need to or even how you can modify it.
My only issue was the drag link being too long. No problems with shape/interference on my swap.
All I did was cut some threads off both the drag link and the tie rod end, and it allowed for enough adjustment in the adjustment sleeve to work. No additional threading on the drag link was added, nor could I have threaded it any further the way it was designed, as it doesn't have the metal thickness immediately after the threads to cut more threads into.
As it sits right now the sleeve threads just a little past the end of the threads on the drag link so if I were to need it any shorter I would not modify the drag link, but I would modify or replace (maybe a tapped section of tube) the adjustment sleeve so it didn't have the wide raised section in the center, which would allow me to engage the couple inches of waisted threads in the center of that sleeve.
The way the adjustment sleeve (also from napa) is designed it is about 5-6 inches long with 1/3 of it threads for the tie rod end, 1/3 of it threads for the drag link, and the center third is raised and not in contact with either even if they are threaded in that far like mine are as I only shortened them to the point that they barely aren't touching in the center of the sleeve when I am aligned properly. So of the 5-6 inch sleeve, one and a half or two inches is unused, so I could shorten that sleeve by well over an inch and not lose any effective thread contact, or even redesign it shorter and engage more threads than stock. That would allow me to shorten the drag link another 1-2" if I really needed to.
I don't know if that makes sense but I tried to explain it the best I could.
Last edited:
macktruck505
New member
Where did you get the Heim joints for t case linkage?
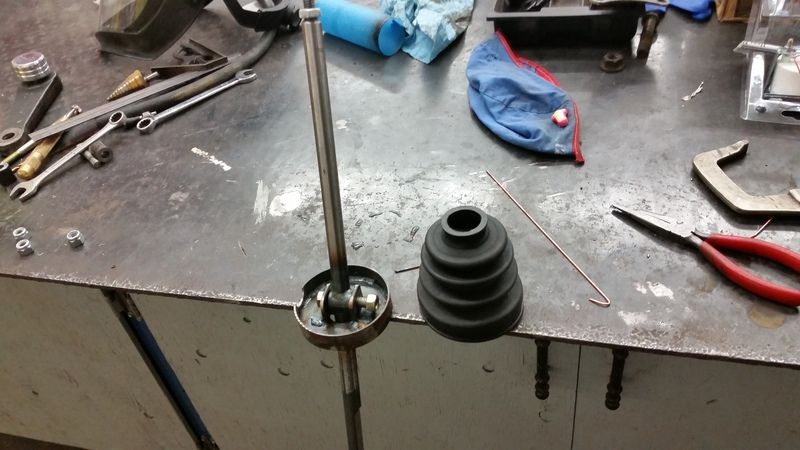
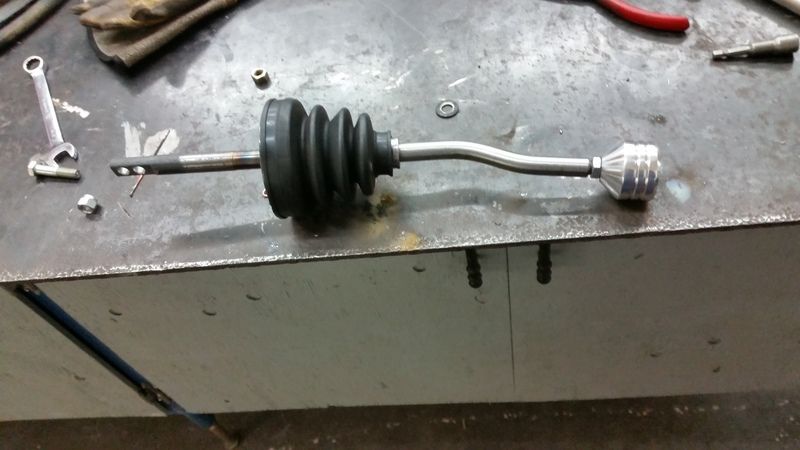
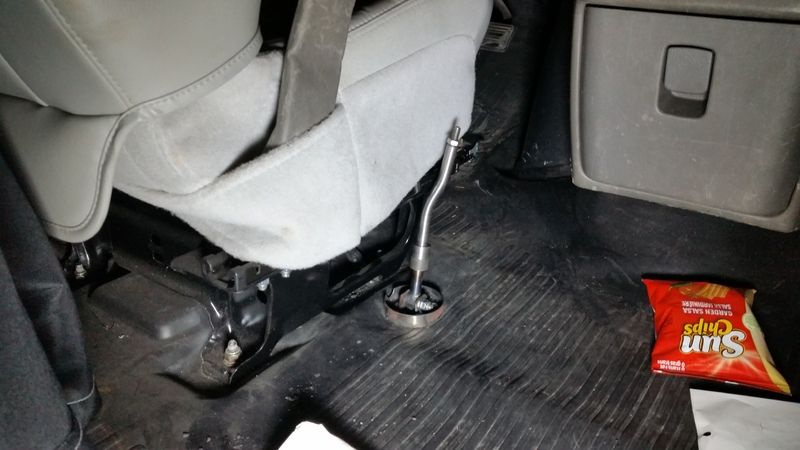
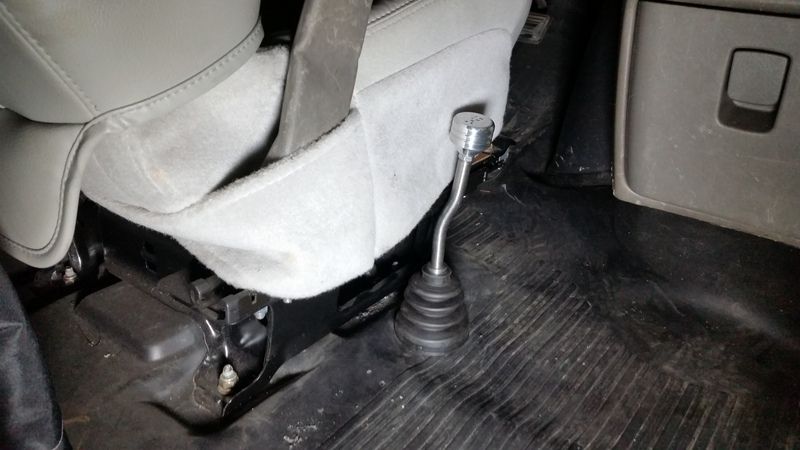
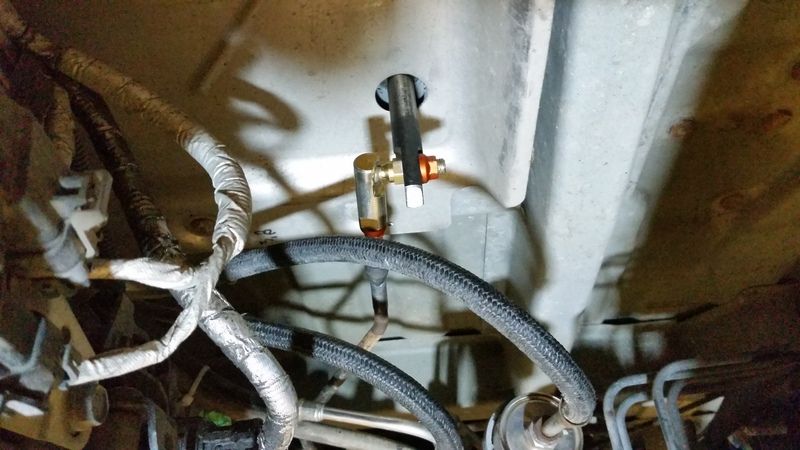
The pitman arm will come off right now till I tighten it up and need to get a puller in there . It's 3 easy to get to bolts to loosen the box if I need to get a puller in there. Re vamped the shifter to get a boot onto it . I had an old honda CV shaft with good boots I cleaned up for a nice sealed shifter . I should of just bought a new one for the time it took to clean ,there cheap enough


macktruck505
New member
Not finding that part number for the WFO arm?