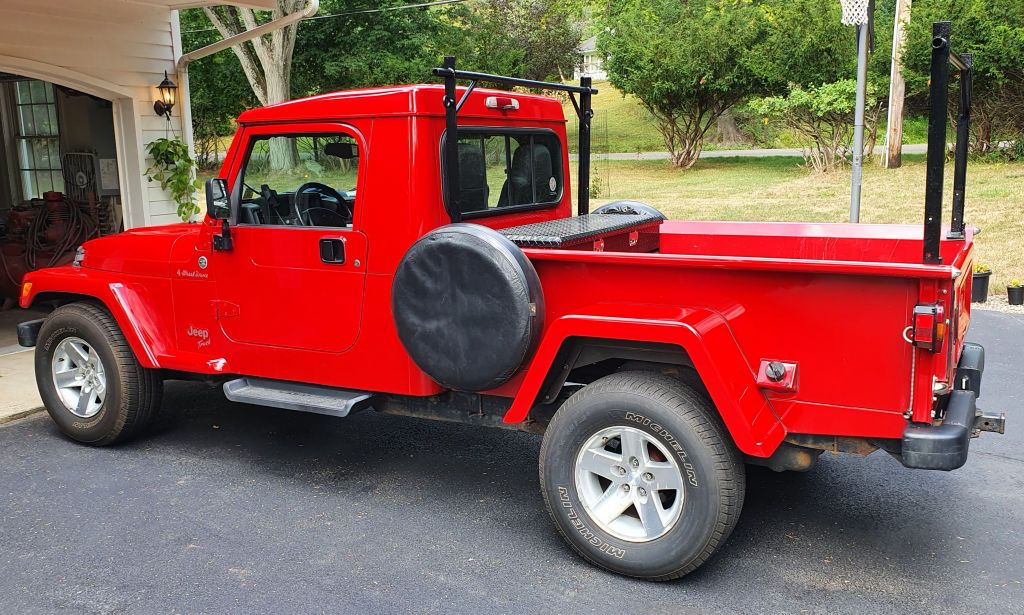
A few weeks ago LED company Auxbeam asked me if I would write two articles for their web site. They wanted one to be a Christmas gift article and the other to be about winter driving. Each article would feature several of their products. I agreed and they sent me the necessary products to write about. I finished the articles and sent them to Auxbeam the other day. I'll post a few excerpts here about some of the products they asked me to include in the articles. I'm posting here because I did all the testing and photography on my '06 Wrangler pickup.
Multifunction Pod Lights
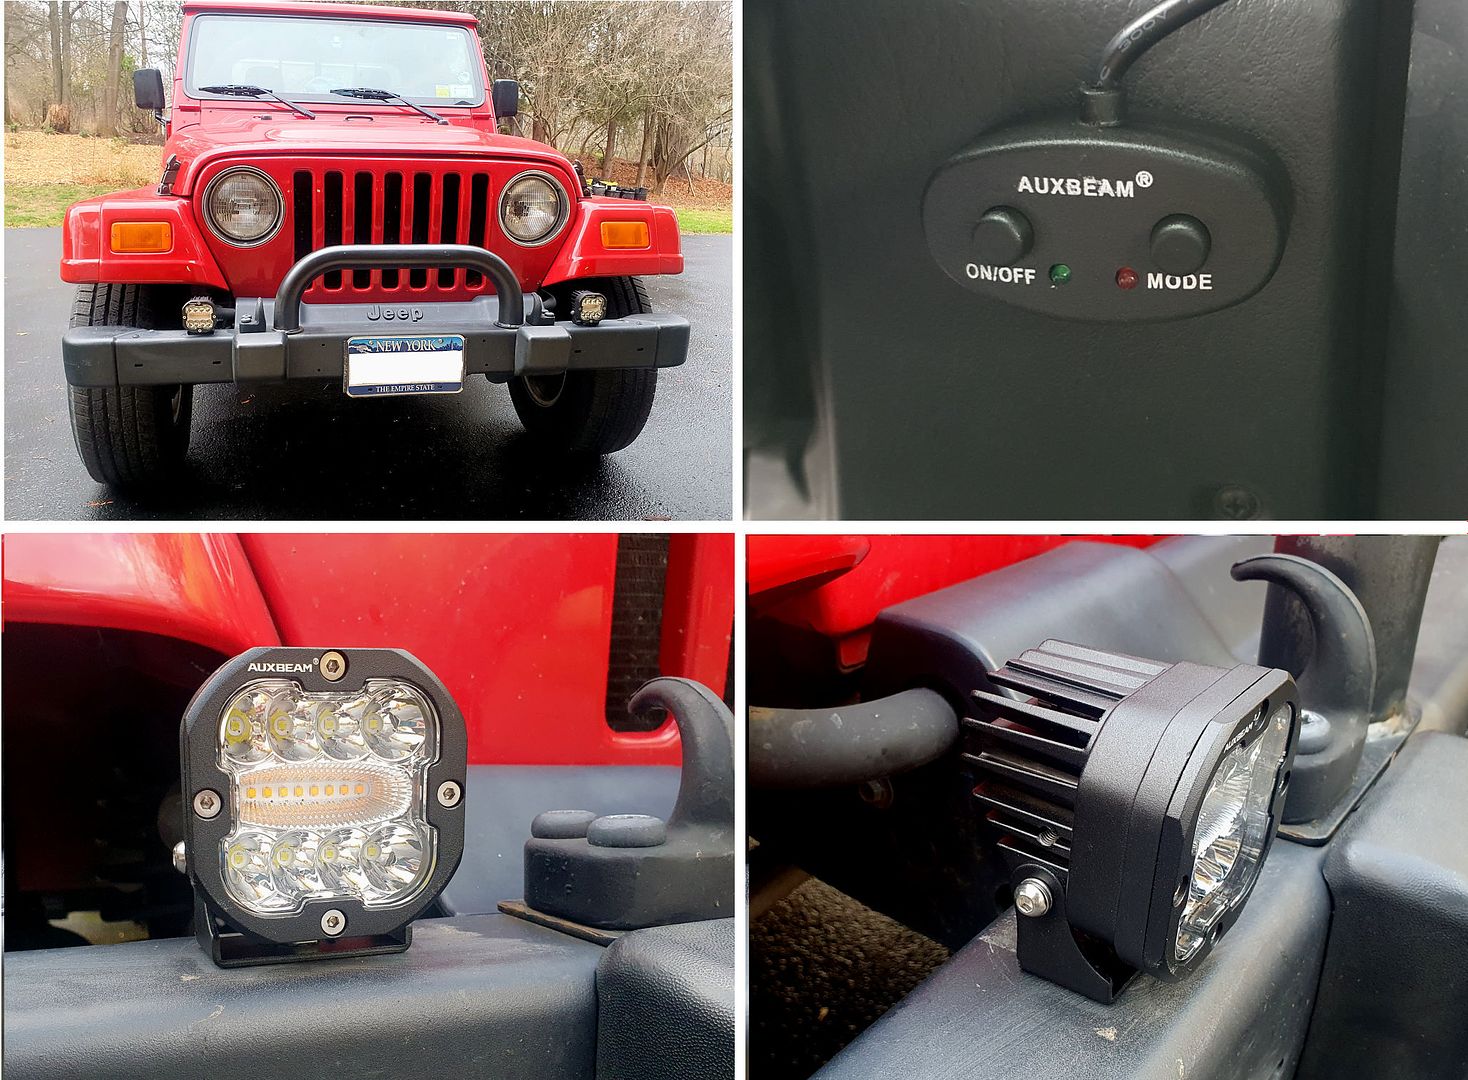
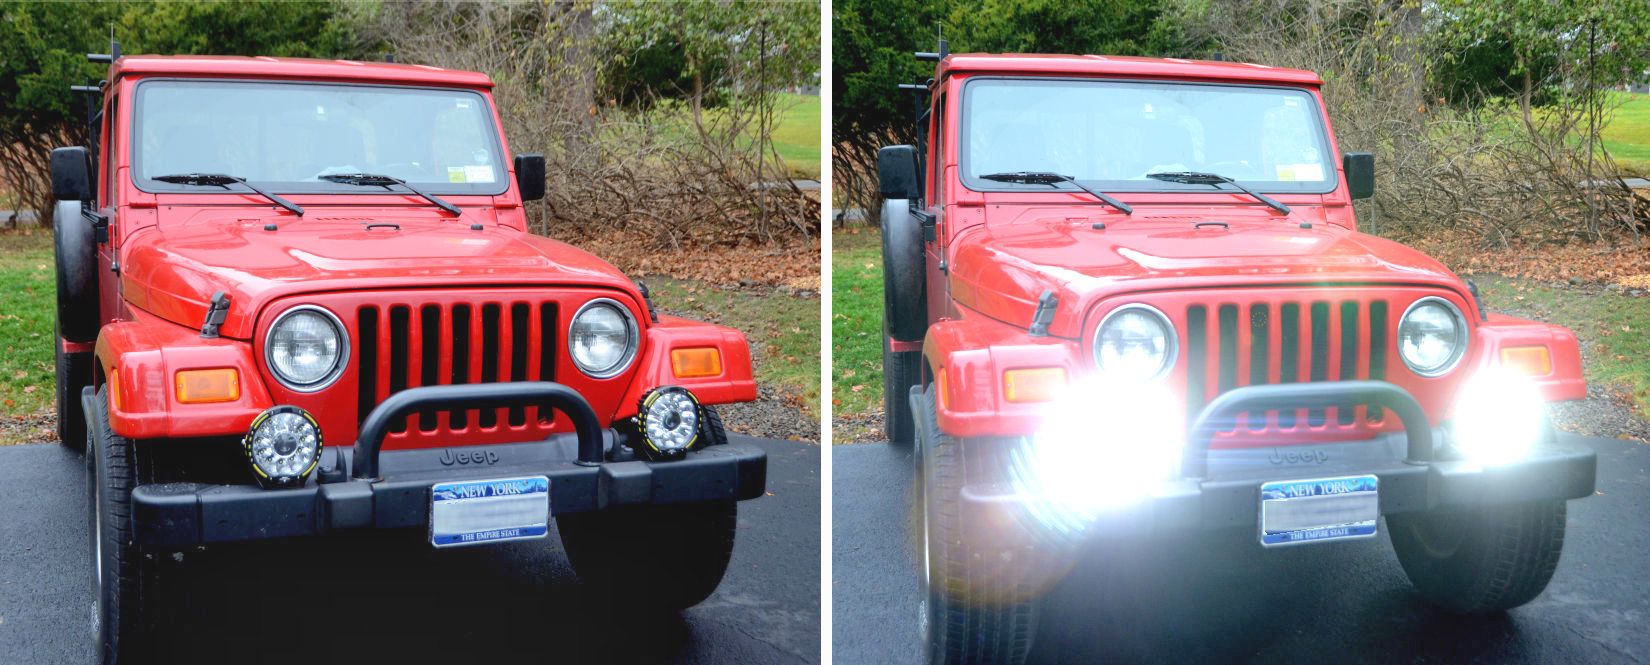
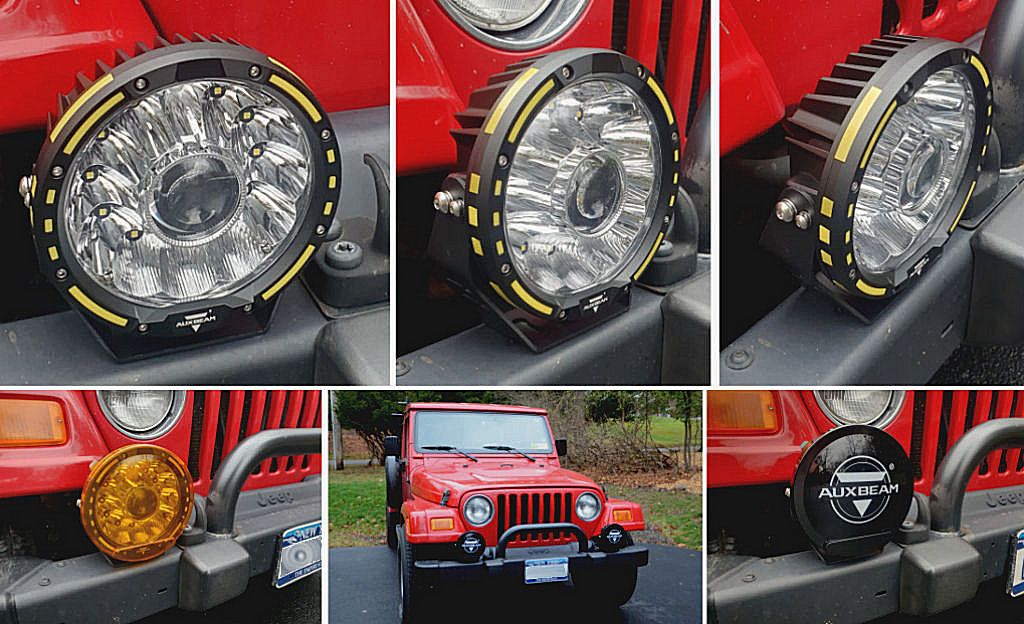
For both the winter driving and the Christmas gift articles, they asked me to write about their latest pod lights ((
https://auxbeam.com/products/zd000713). Rated at 9600 lumens, these small lights are much more powerful than typical factory headlights, which are rated at about 1000 lumens in low beam, 1200 in high beam. These are multifunction lights - they're selectable between white output, amber/yellow output, or both as well as flashing.
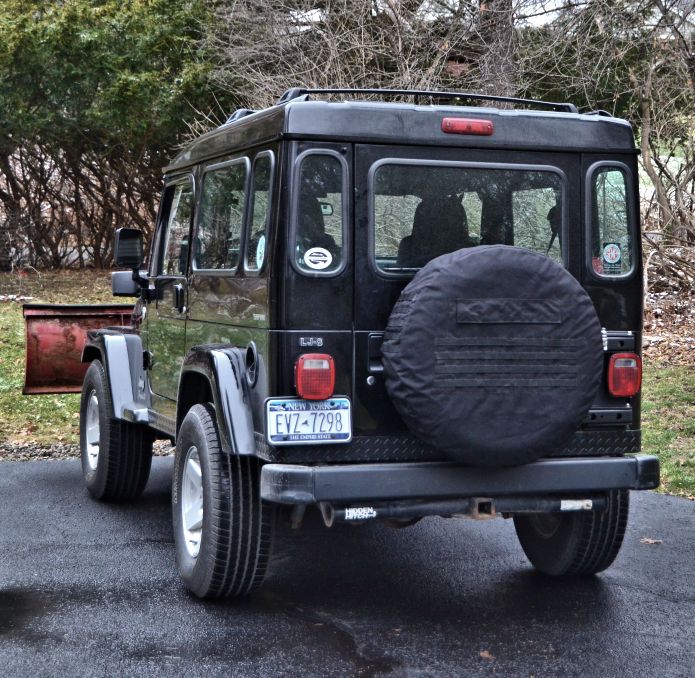
I tested all of the lights in the articles on my '06 Wrangler pickup. The pod lights installed easily in the factory fog light holes in the bumper. For all of the lights I wrote about, Auxbeam also supplies a very complete wiring harness. All that's needed is to connect the harness to the battery, route the wires from the battery to the lights and from the battery to the cabin. Secure the wires along the way with some zip ties (not supplied), mount the switch in the cabin and the wiring is done.
The pods on the Wrangler:
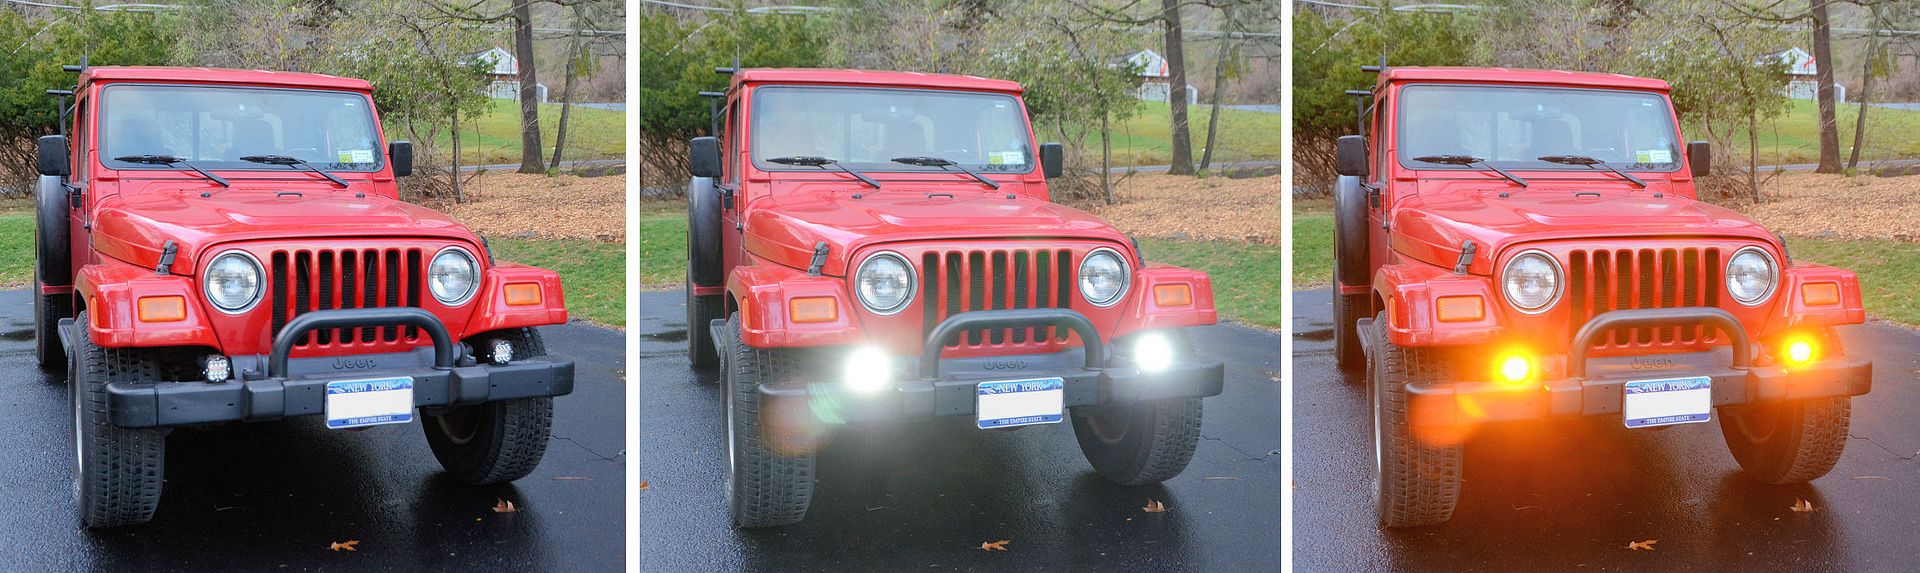
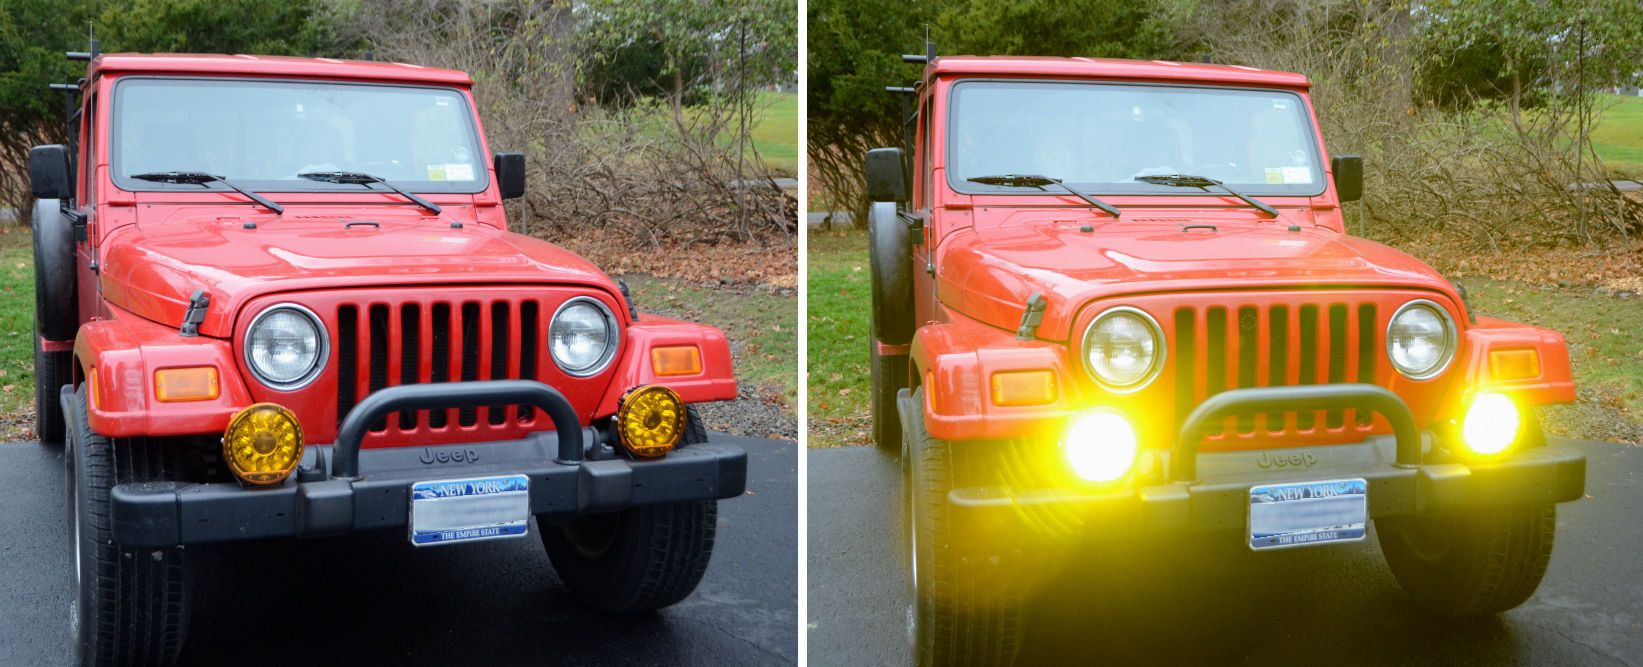
In addition to the high-power white light, these are multifunction lights and are selectable between white output, amber/yellow output or both. The lights have six modes:
1. White
2. Amber
3. White + Amber Together
4. Flashing White
5. Flashing Amber
6. Alternately Flashing White and Amber
Modes 4, 5 and 6 seem like they might be useful in an emergency situation. This video demonstrates the six modes:
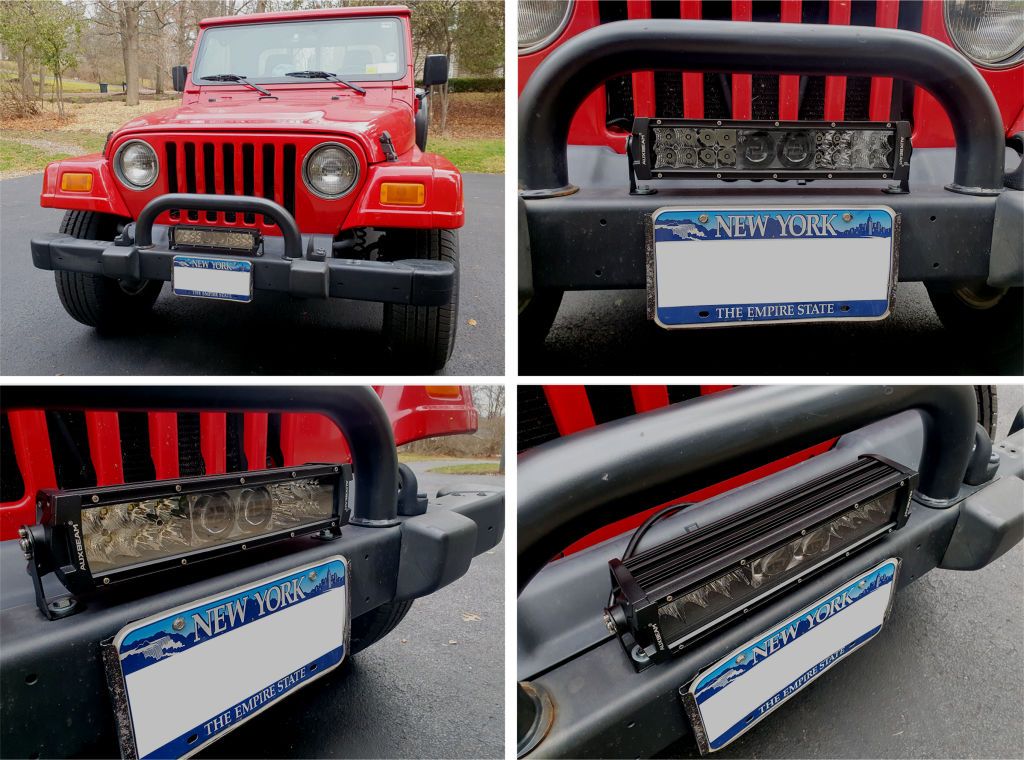
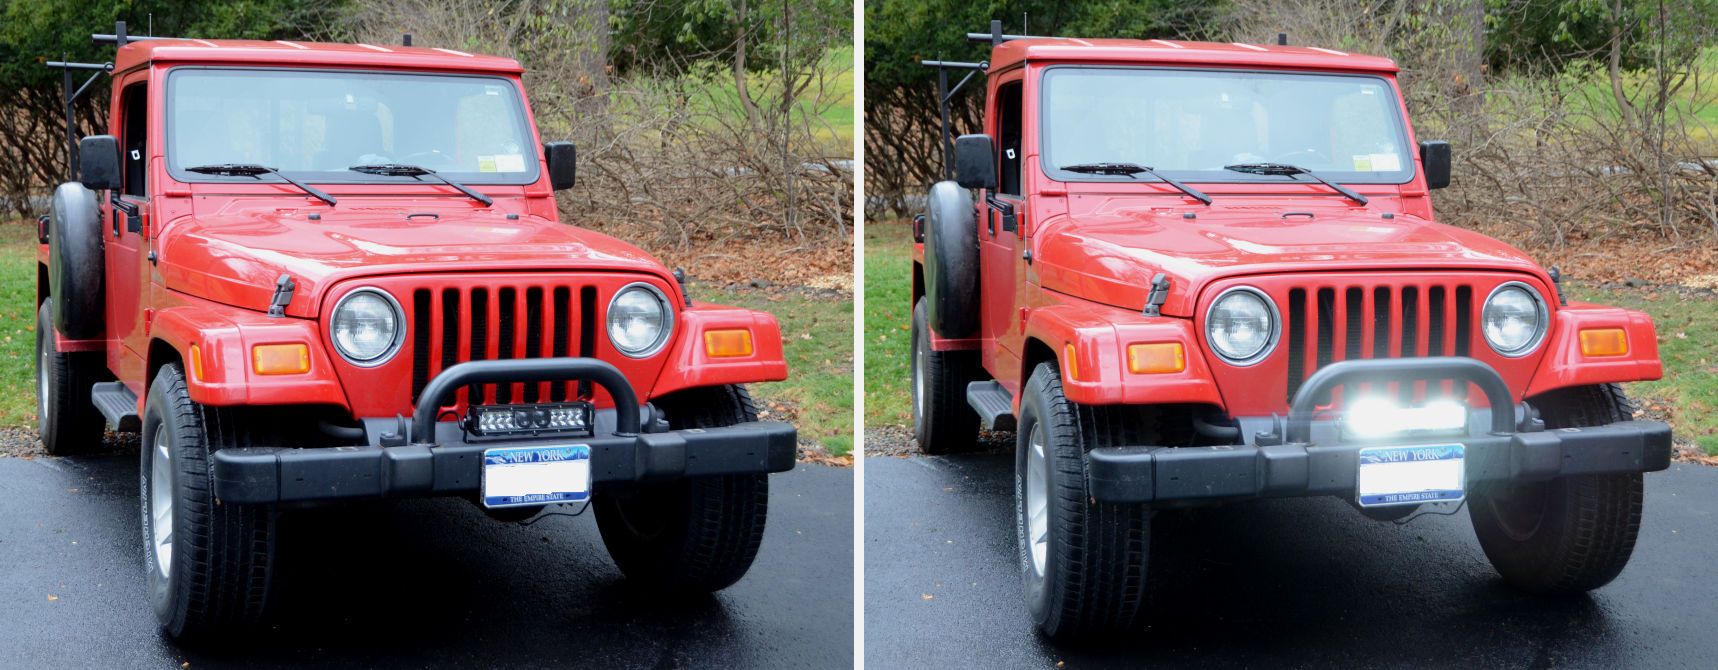
5D PRO LED Light Bar
Auxbeam's 5d PRO light bar is available from 12” wide up to 52” wide so they can suit a wide range of lighting needs and mounting locations and they range from 12,000 lumens for the 12” light bar all the way up to 55,000 lumens for the 52” bar. They sent me a 12" version (
https://auxbeam.com/collections/led-light-bars-by-series-5d-pro-series).
It comes with mounting brackets that can be used for any flat surface and they also sell brackets for other locations, for example mounting to the hood hinges or above the windshield (
https://auxbeam.com/search?type=product&q=light+bar+mounting+brackets). I tried it in two places - on the Wrangler's factory grille bar and on the bumper. I had mounting brackets on hand for the grille bar; mounting it in the bumper would require two holes to be drilled in the bumper, which I didn't do - I just posed it on the bumper for these photos.
bb
Like the other lights, the light bar comes with a complete mounting harness.
360 Pro 7” Driving Lights
The 360 PRO driving lights (
https://auxbeam.com/products/360-pro-series-custom-lens-offroad-led-driving-lights) are a modern high-tech version of the classic driving light. These are LED and output 33,332 lumens per pair so they can really will light up the way.
Also available are optional amber lenses, these snap in place over the lights. The amber beams can provide better visibility in fog or snow situations.
A few more views of the driving lights. The bottom center and right photos show the optional protective black covers, these can protect the lenses from damage from stones or other debris on the road or trail when the lights aren’t being used.
GX-Series Bulbs
The new Auxbeam GX LED bulbs (
https://auxbeam.com/collections/gx-series-led-headlight-bulbs) are available to replace most popular Halogen bulb sizes. Auxbeam says these are 650% brighter than factory Halogen bulbs.
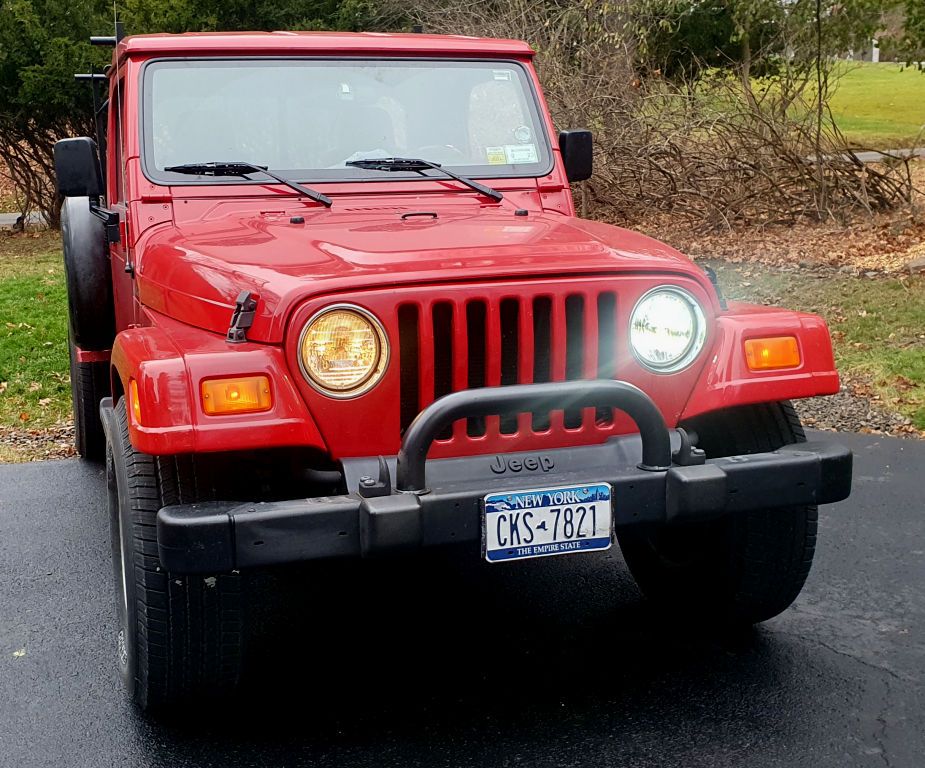
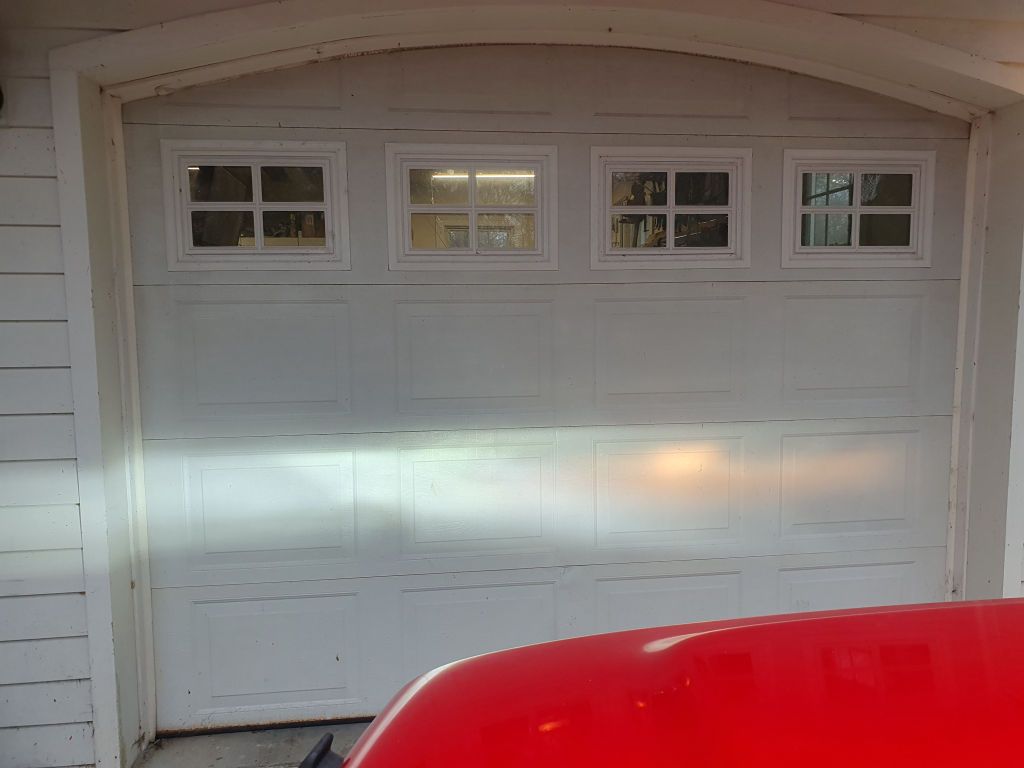
Back to the Wrangler… this is a 2006 and up through that year Wrangler’s came from the factory with sealed beams, not replaceable separate bulbs. In 2007, Wranglers came from the factory with 7” round headlight housings with replaceable bulbs, and these are compatible with earlier Wranglers so to swap GX LEDs into a 2006 or earlier Wrangler (or almost any other vehicle with 7” sealed beams), 2007-2018 Wrangler light housings are installed and then the GX LEDs can be used.
In this photo a GX LED has been installed in the driver’s side and the original sealed beam is in the passenger side, you can see how much brighter the LED is.
In this next “garage door test” photo, the driver’s side halogen bulb has been replaced with a GX Series LED and the passenger side still has the factory halogen bulb. The factory bulb looks weak by comparison.
I've been running these LEDs in the JKU for several months and provide much better visibility the factory halogens. A very worthwhile upgrade.
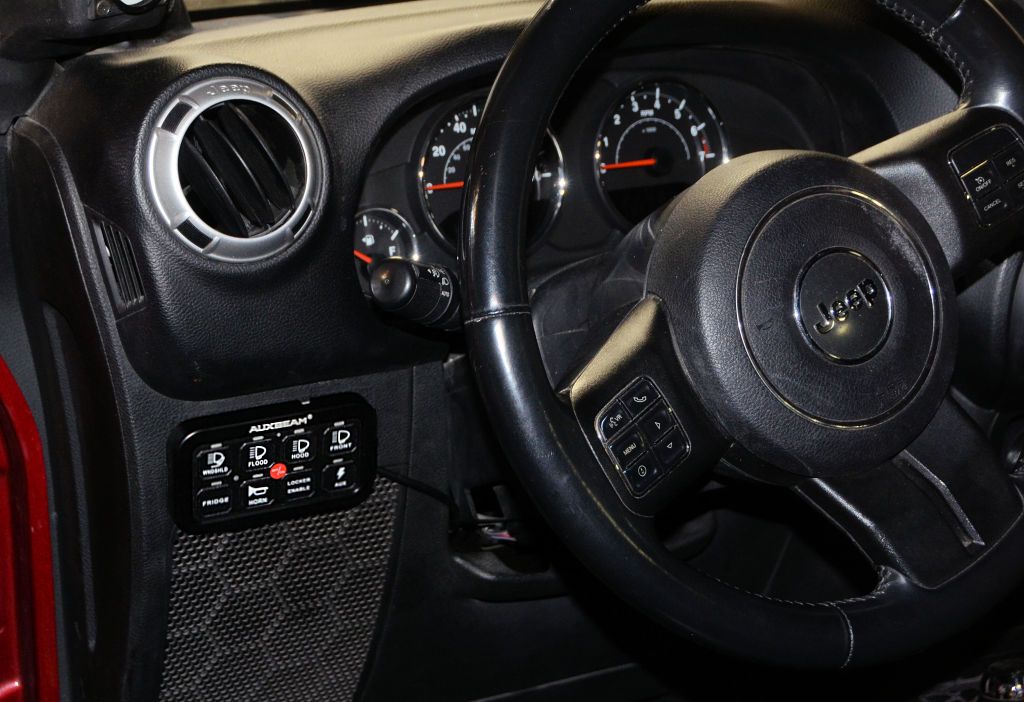
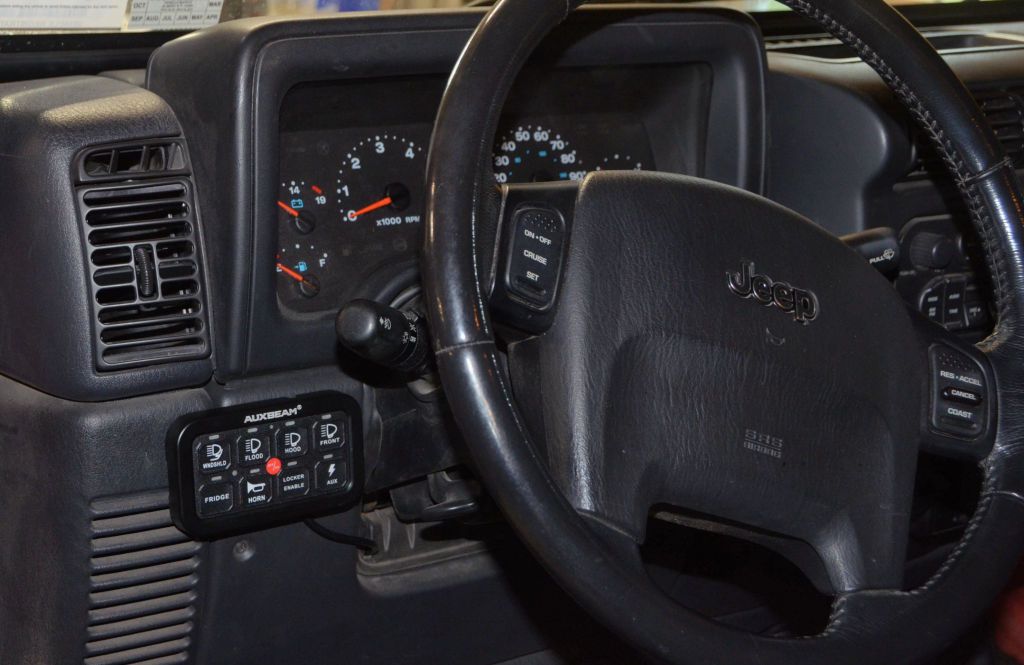
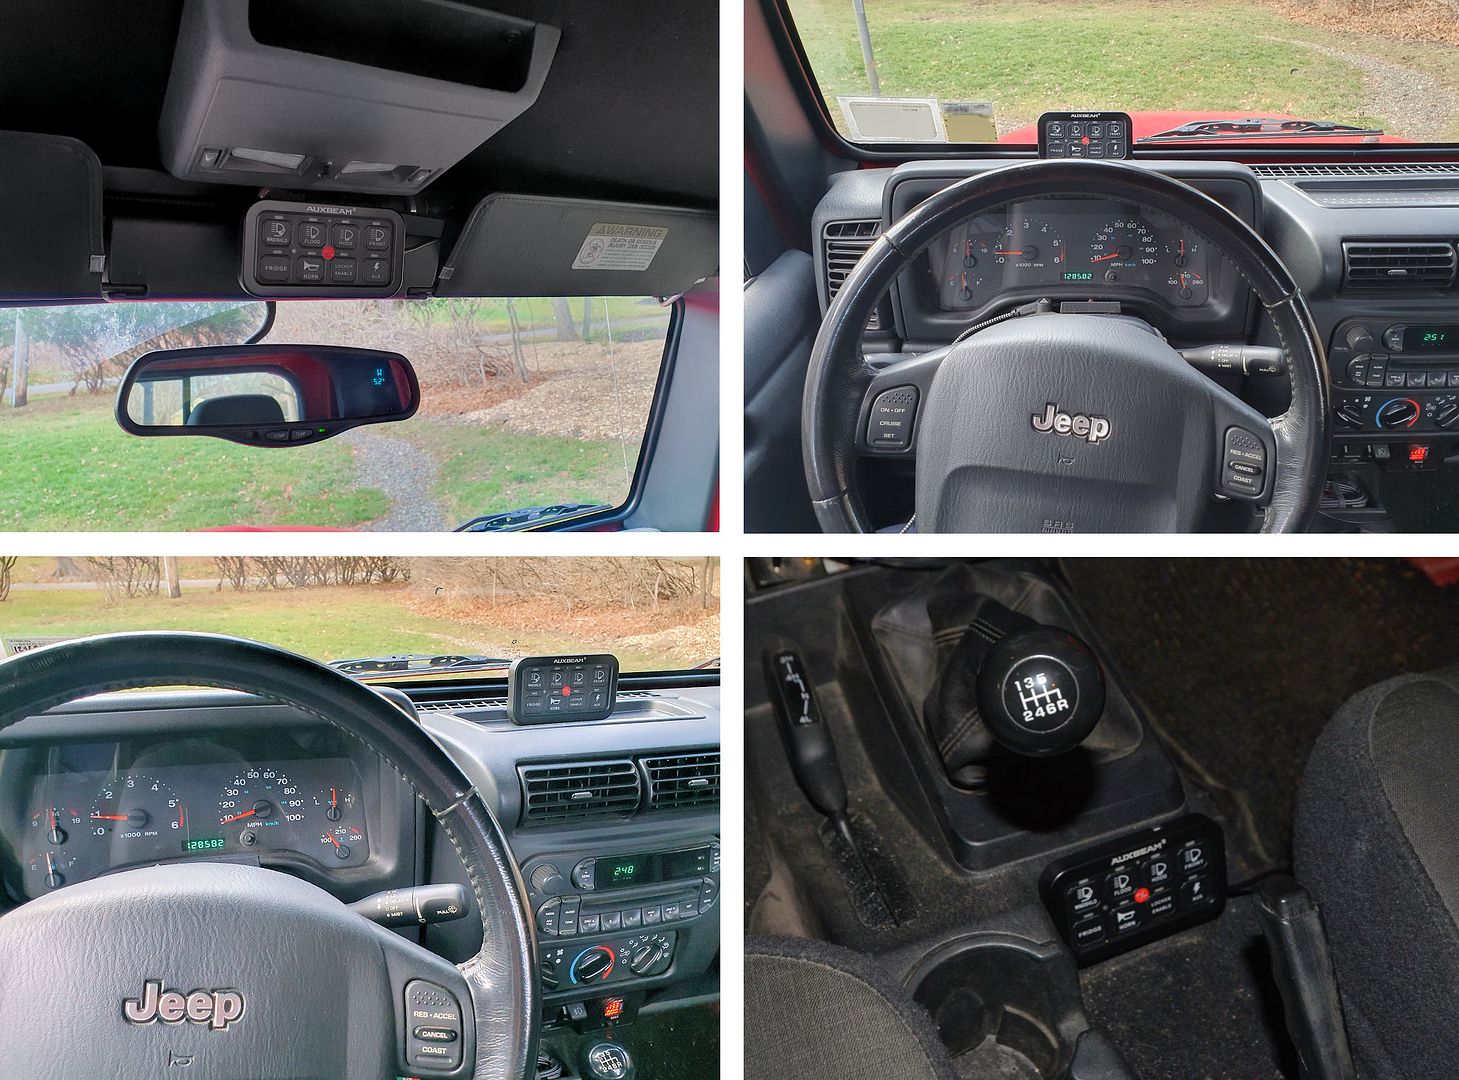
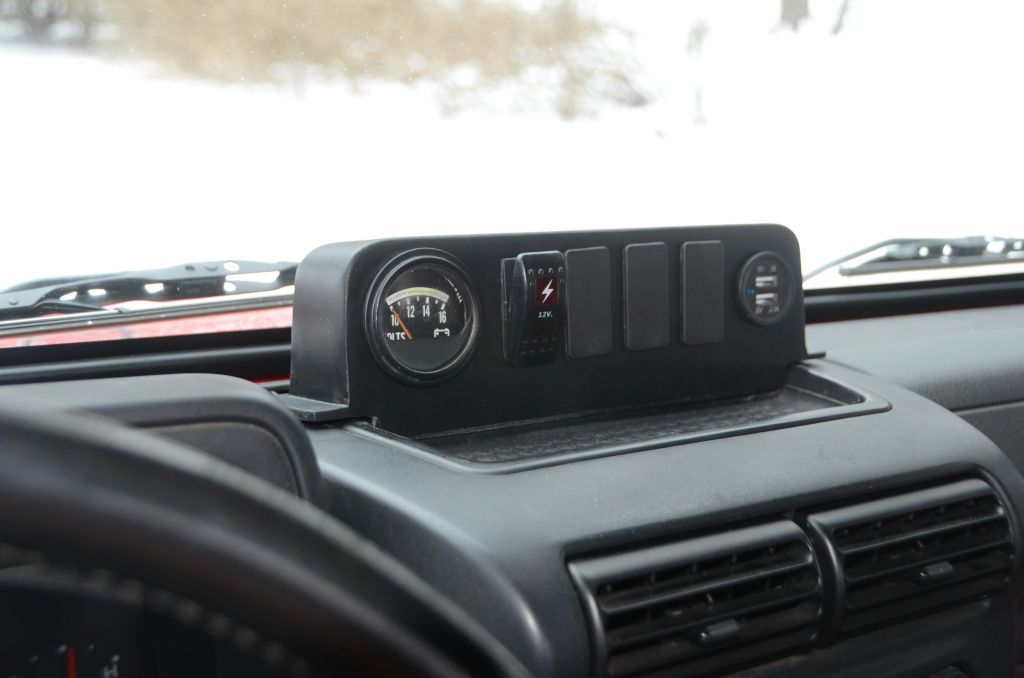
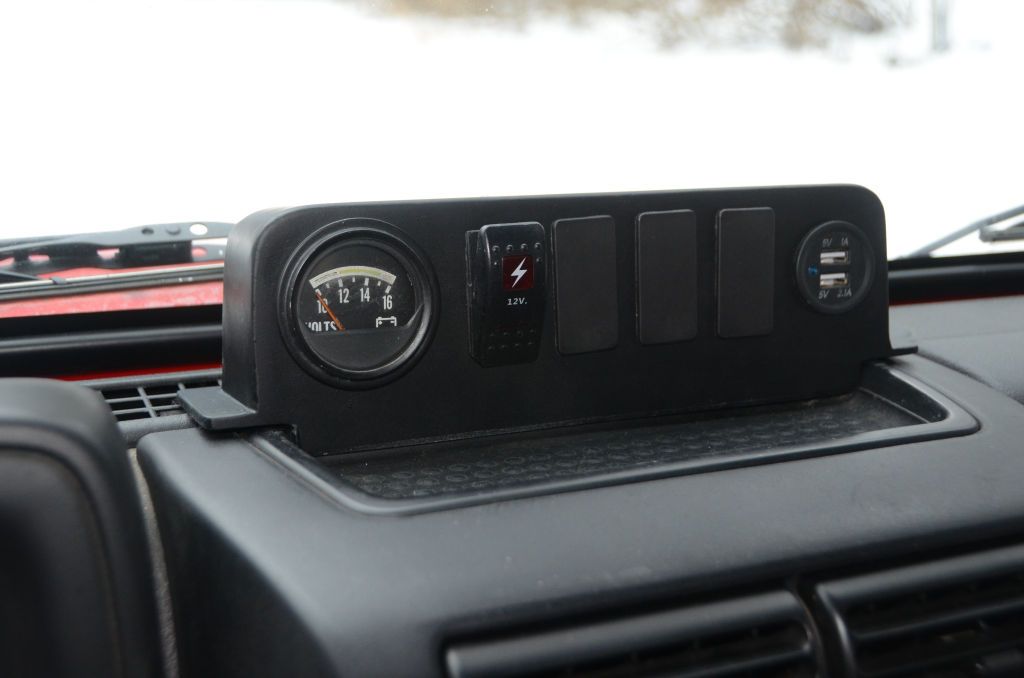
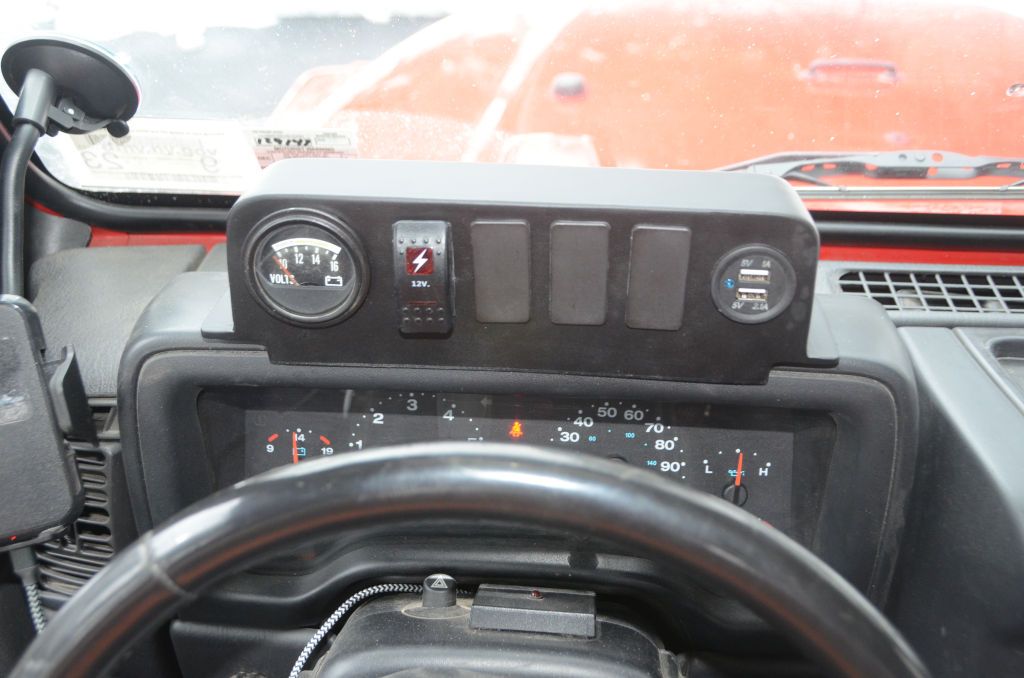
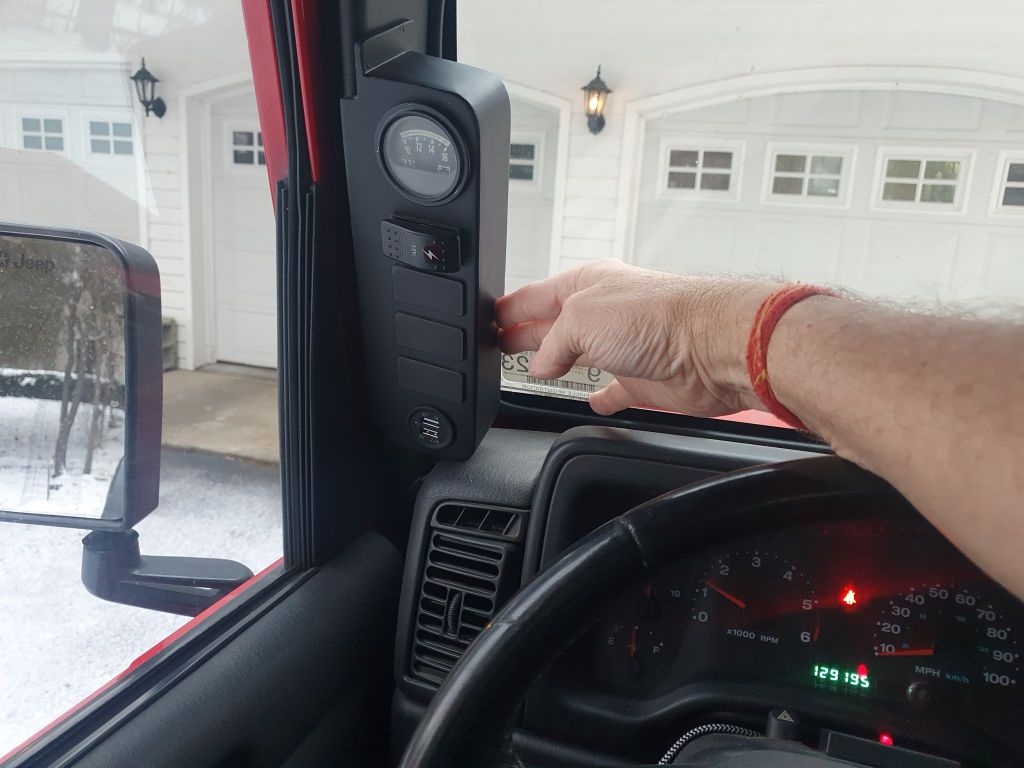
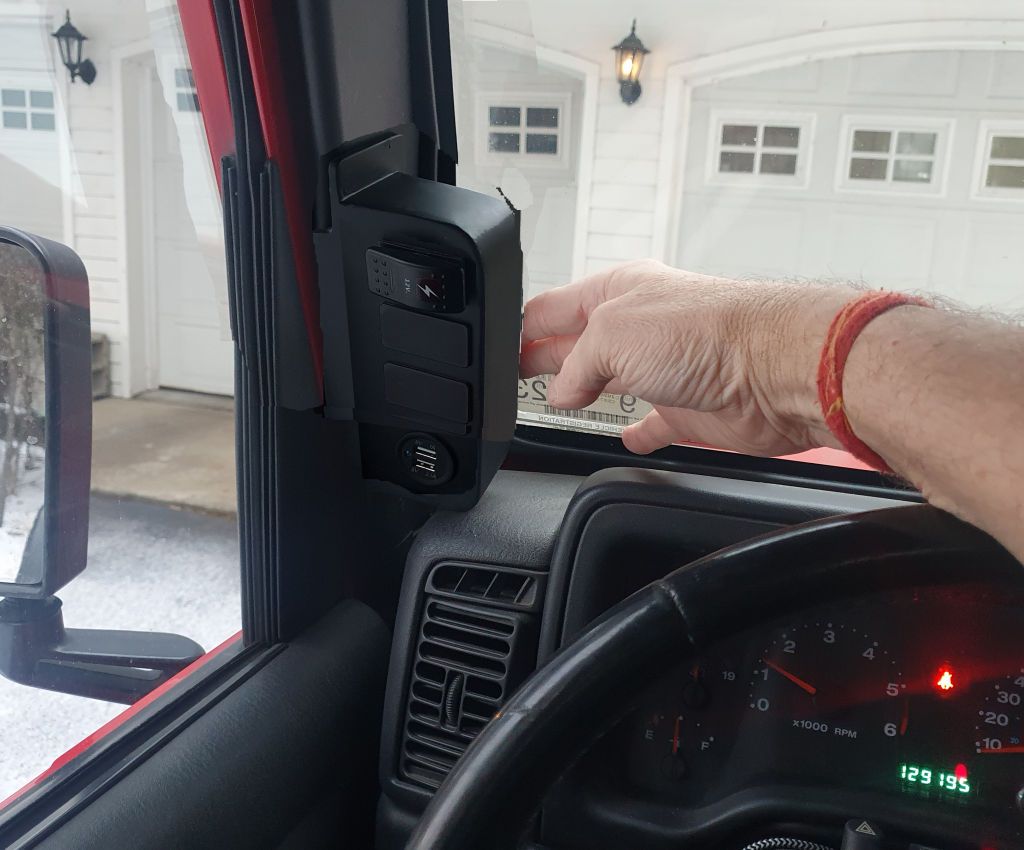
Auxbeam AR-800 Switch Panel
The Auxbeam AR-800 Switch Panel (
https://auxbeam.com/products/ar-800-multifunction-rgb-switch-panel-system-qp008526-1) is a great way to control everything with one simple switch panel and a great way to simplify wiring – the switch panel connects by one wire to a control unit that gets installed in the engine compartment, and all of the electrical accessories get wired to that control unit.
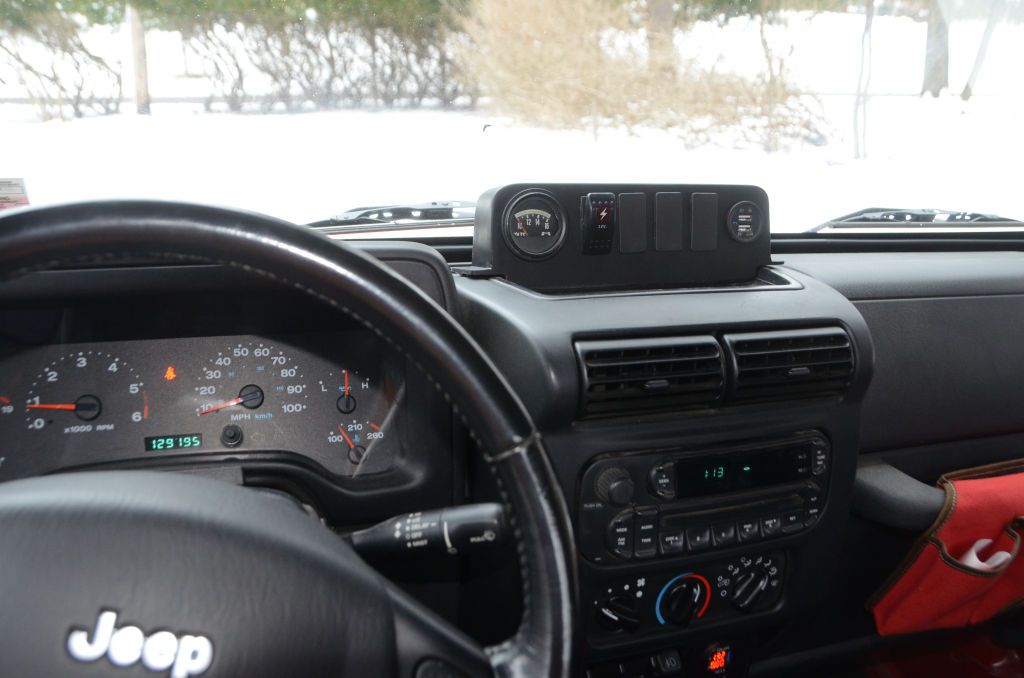
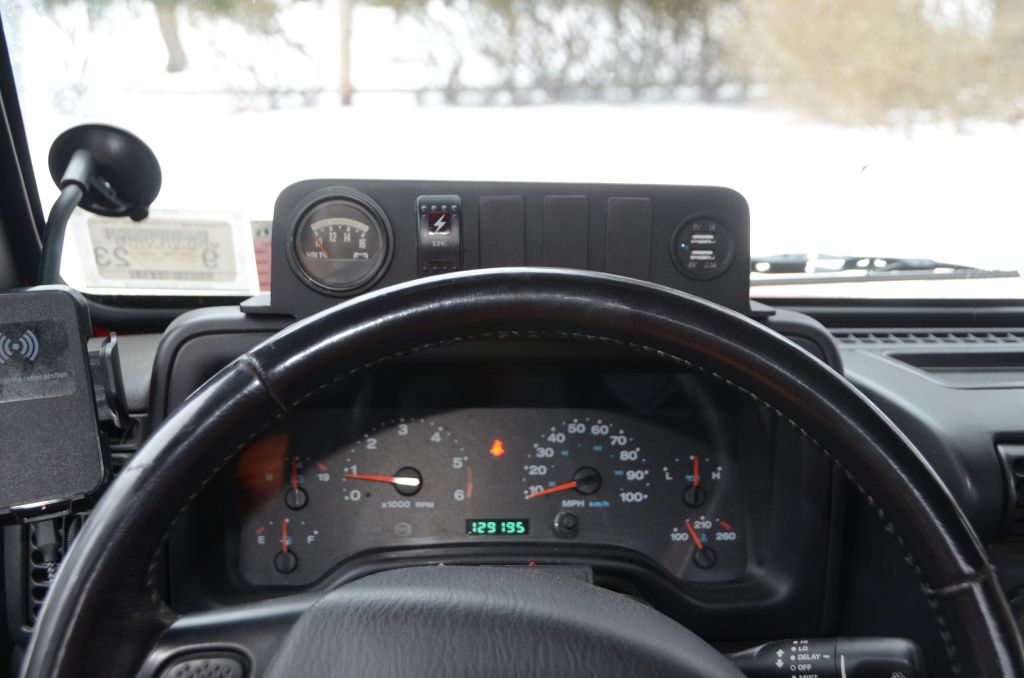
The switch panel is fairly small and there are several places that it could be mounted. In the JK:
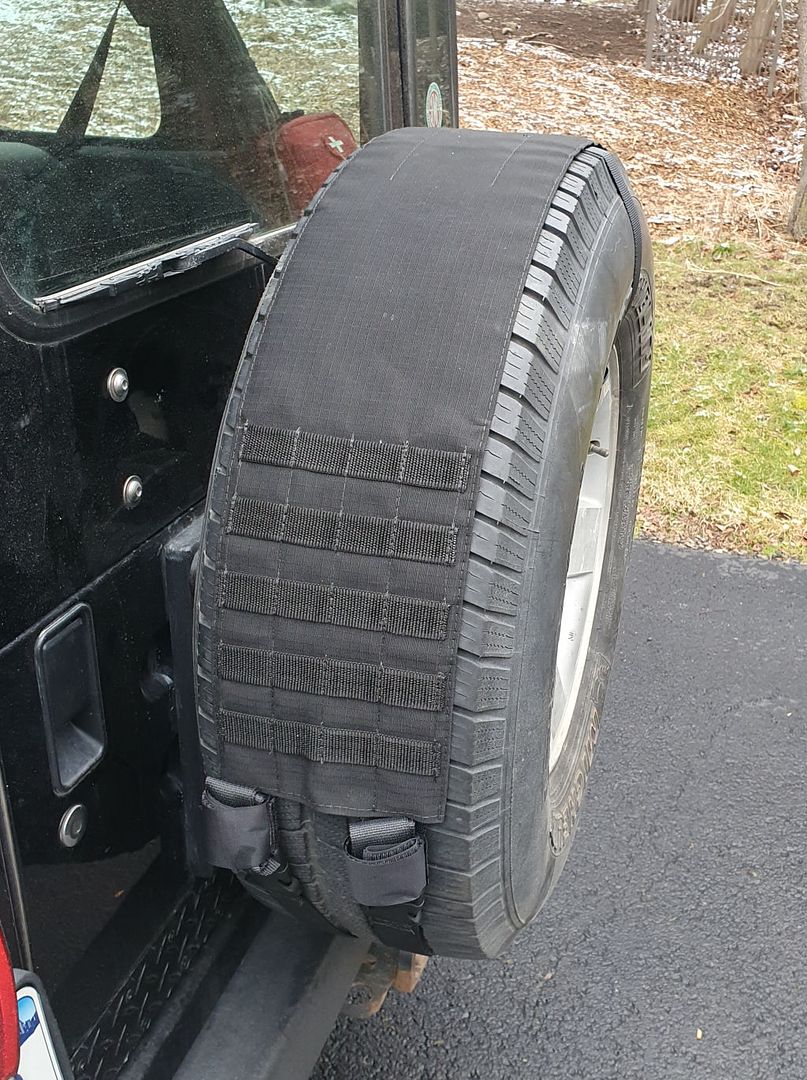
A few TJ options:
The operation of each connected light or device can be controlled from a smartphone via Bluetooth and the functions of each switch can be configured through the Bluetooth interface.to one of three modes of operation – simple On/off, Momentary (useful perhaps for something like a horn) and Pulsed (can turn a light into a flasher, perhaps for first responder use). This video shows the operation of the switch panel and the different modes each switch can be set to:
Also using the Bluetooth interface, the backlight color of the switch panel can be set; you can choose any color you like, and many people set the color to match the illumination of their dash lights.
I included a few other photos in the articles I sent to Auxbeam, and some additional description, but I've kept it brief for posting here.

") .
.