Homemade Roofracks.
- Thread starter Box Rocket
- Start date
Is anyone here a paint expert that can give me recommendations on how to paint my rack? It is 1"x1" square tubing with an expanded metal floor. Part of me is thinking of buying a gallon of Rustoleum Hammered finish and brush/roll it on, and half of me is thinking I should get an etching primer and a 2 part final paint. I would rather do this less expensively, but I also want it to last and, aside from my welding, looking good would be a benefit also. I don't really want to spray since I don't have a good place to spray, and I would waste most of the paint spraying the expanded metal. I want it flat black ideally also, but not textured to the point that straps won't slide across it easily.
Any recommendations?
Any recommendations?
KryptoRoxx
New member
I really recommend the hammered stuff. I am biased though

That's hammered black
Sent from my SAMSUNG-SM-G870A using Tapatalk

That's hammered black
Sent from my SAMSUNG-SM-G870A using Tapatalk
Plastidip. Super easy. Very little prep. Easy to touch up.
Of course, it does depend what you're putting up there. If you're constantly loading and unloading firewood, plastidip will get destroyed. If you're mounting a RTT, it is perfect. Mine looks great after almost 3 years.
Of course, it does depend what you're putting up there. If you're constantly loading and unloading firewood, plastidip will get destroyed. If you're mounting a RTT, it is perfect. Mine looks great after almost 3 years.
I completed my rack a few weeks ago, so I guess I should add some pictures just in case it can help someone in the same way that all the other pictures on this thread helped me.
I had never welded before, so I decided to TIG the thing together because I like making life difficult on myself. In all reality, I found using a TIG machine to be close enough to soldering that I took it up fairly easily with my electrical background. I wanted to make something close to a Gobi rack without paying way more than I wanted to pay, so I designed it to be easier to build, but still with a similar look and function.
I chose 1" square bar with 0.065" walls, expanded metal floor, and some inexpensive bar stock (that turned out being way overkill) for the mounting brackets, and finished dimensions of around 4'x6'.
Bottom welded together, mocked up on the (too crowded) garage floor:
 P1000541 by Shaun Rasmussen, on Flickr
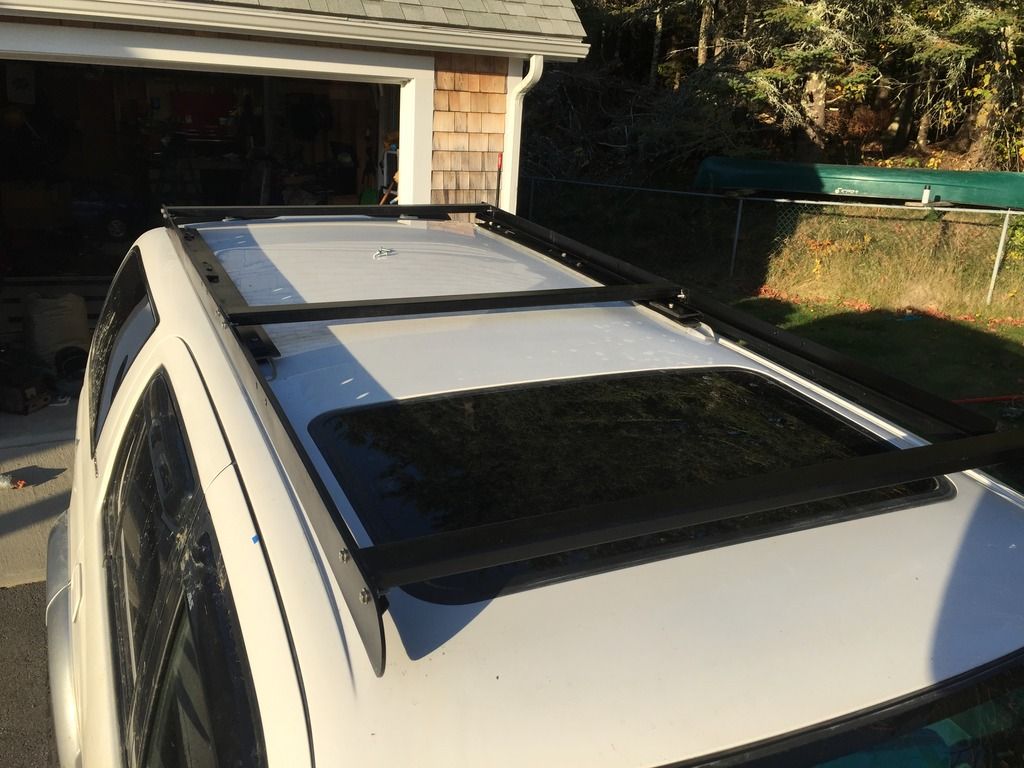
Up on the roof to tack on the mounting brackets. I did this before I got the top welded on so that I could minimize the weight I had to wrestle around.
 P1000545 by Shaun Rasmussen, on Flickr
I used the stock rack's mounting points, and tried to copy the mounting methods of a Gobi mounting tutorial that I found. I decided that it seems to work for them, so why try to reinvent the wheel?
 P1000547 by Shaun Rasmussen, on Flickr
Mounting brackets tacked into place:
 P1000549 by Shaun Rasmussen, on Flickr
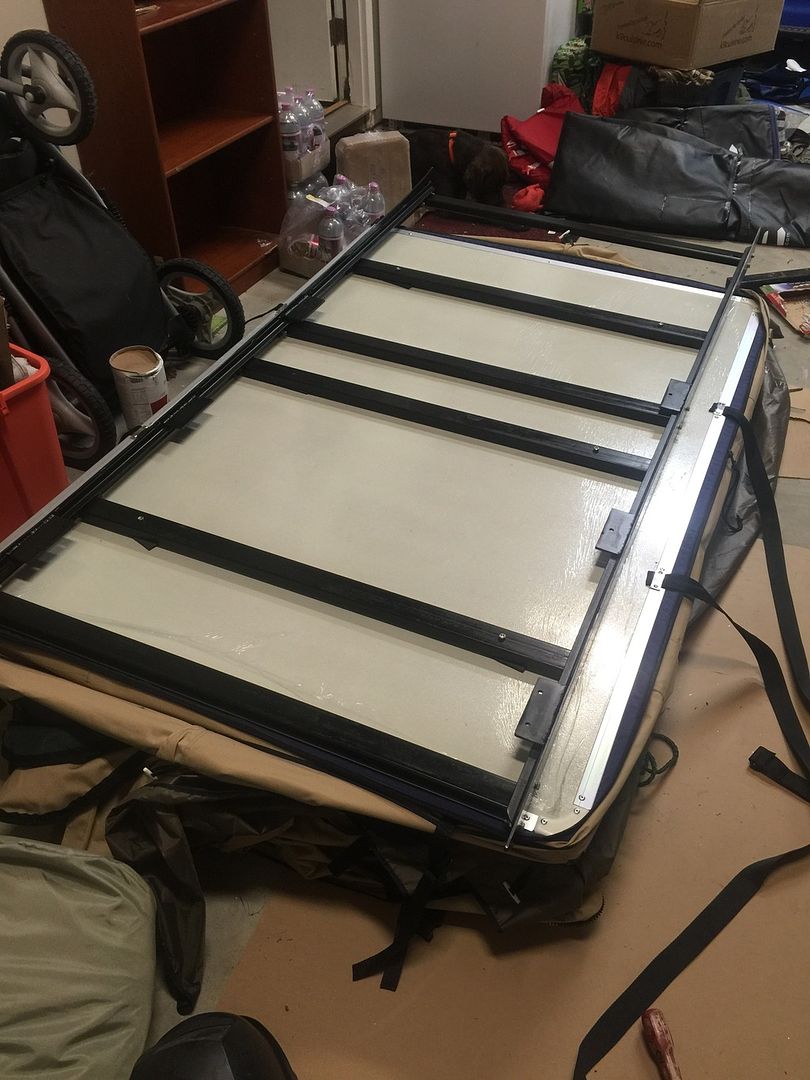
Completed on the floor after painting it. I used Rustoleum professional paint and primer (I think that's what it was called). I used a roller to avoid the waste that spraying the expanded metal would cause.
 P1000554 by Shaun Rasmussen, on Flickr
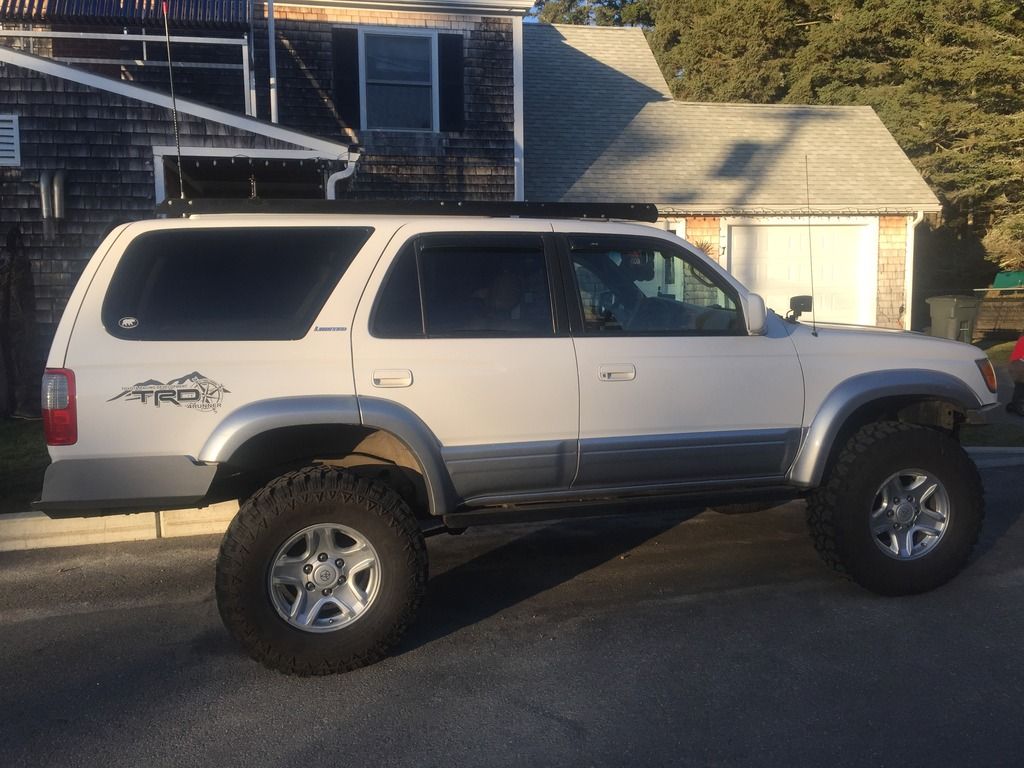
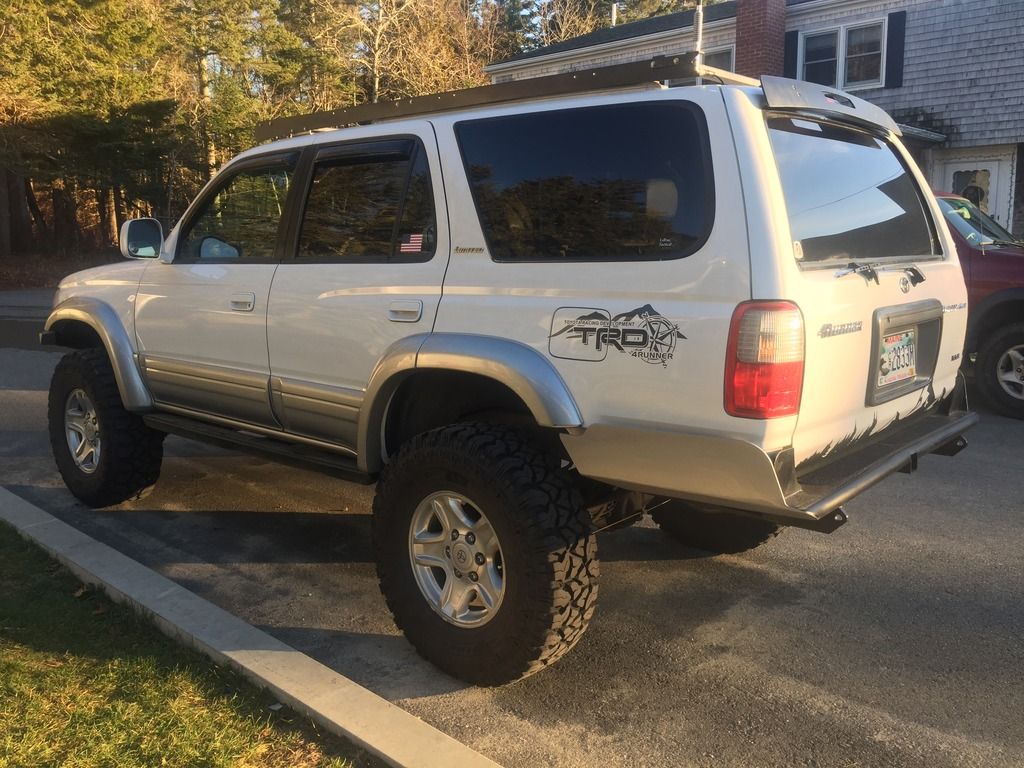
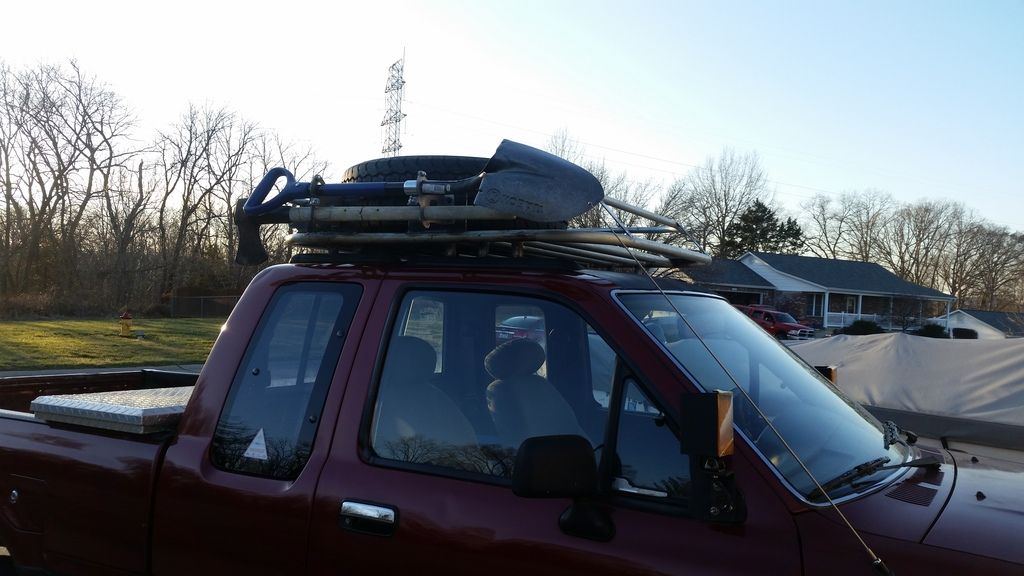
Completed rack up and mounted:
 P1000571 by Shaun Rasmussen, on Flickr
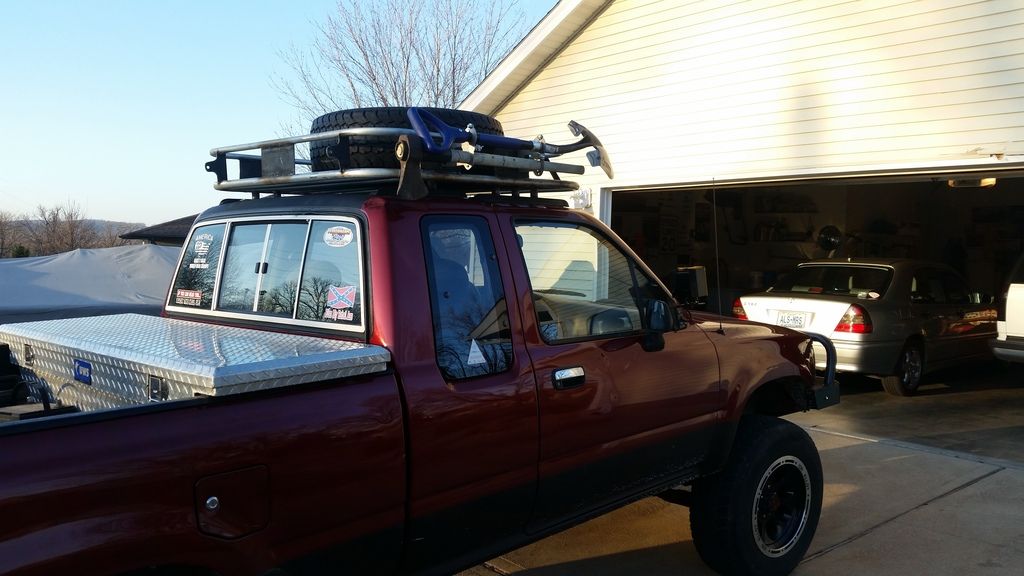
Side view:
 P1000563 by Shaun Rasmussen, on Flickr
Overall, I'm happy with the result. With anything that I build, I would have done a few things better/differently if I were to do it over again, but not bad enough to think about starting over again. I think I have a little over $300 into it, and it weighs in at a hefty 75-ish lbs. It is loud on the freeway, so I'm currently working on trying to figure out a wind deflector for it. I have a carbon deflector in planning stages (since I have some carbon laying around). Thanks everyone on here who has posted their racks, it is a great place to get ideas and motivation to build one for myself.
I had never welded before, so I decided to TIG the thing together because I like making life difficult on myself. In all reality, I found using a TIG machine to be close enough to soldering that I took it up fairly easily with my electrical background. I wanted to make something close to a Gobi rack without paying way more than I wanted to pay, so I designed it to be easier to build, but still with a similar look and function.
I chose 1" square bar with 0.065" walls, expanded metal floor, and some inexpensive bar stock (that turned out being way overkill) for the mounting brackets, and finished dimensions of around 4'x6'.
Bottom welded together, mocked up on the (too crowded) garage floor:
P1000541 by Shaun Rasmussen, on FlickrUp on the roof to tack on the mounting brackets. I did this before I got the top welded on so that I could minimize the weight I had to wrestle around.
P1000545 by Shaun Rasmussen, on FlickrI used the stock rack's mounting points, and tried to copy the mounting methods of a Gobi mounting tutorial that I found. I decided that it seems to work for them, so why try to reinvent the wheel?
P1000547 by Shaun Rasmussen, on FlickrMounting brackets tacked into place:
P1000549 by Shaun Rasmussen, on FlickrCompleted on the floor after painting it. I used Rustoleum professional paint and primer (I think that's what it was called). I used a roller to avoid the waste that spraying the expanded metal would cause.
P1000554 by Shaun Rasmussen, on FlickrCompleted rack up and mounted:
P1000571 by Shaun Rasmussen, on FlickrSide view:
P1000563 by Shaun Rasmussen, on FlickrOverall, I'm happy with the result. With anything that I build, I would have done a few things better/differently if I were to do it over again, but not bad enough to think about starting over again. I think I have a little over $300 into it, and it weighs in at a hefty 75-ish lbs. It is loud on the freeway, so I'm currently working on trying to figure out a wind deflector for it. I have a carbon deflector in planning stages (since I have some carbon laying around). Thanks everyone on here who has posted their racks, it is a great place to get ideas and motivation to build one for myself.
StreetsofCompton
Adventurer
I don't know **** about welding, but just wanted to say that I think your right looks awesome. Nice work!
Every Miles A Memory
Expedition Leader
WhiteH20, that's a really nice set-up!! Kudo's


Zachcrosby4
New member
How are y'all mounting the racks to trucks that don't have stock cross bars or gutters? For instance I have an 01 Tacoma double cab
Sent from my iPhone using Tapatalk
Sent from my iPhone using Tapatalk
toyotech
Expedition Leader
Built this one for my 4Runner that I just sold. It's bolt together modular design.
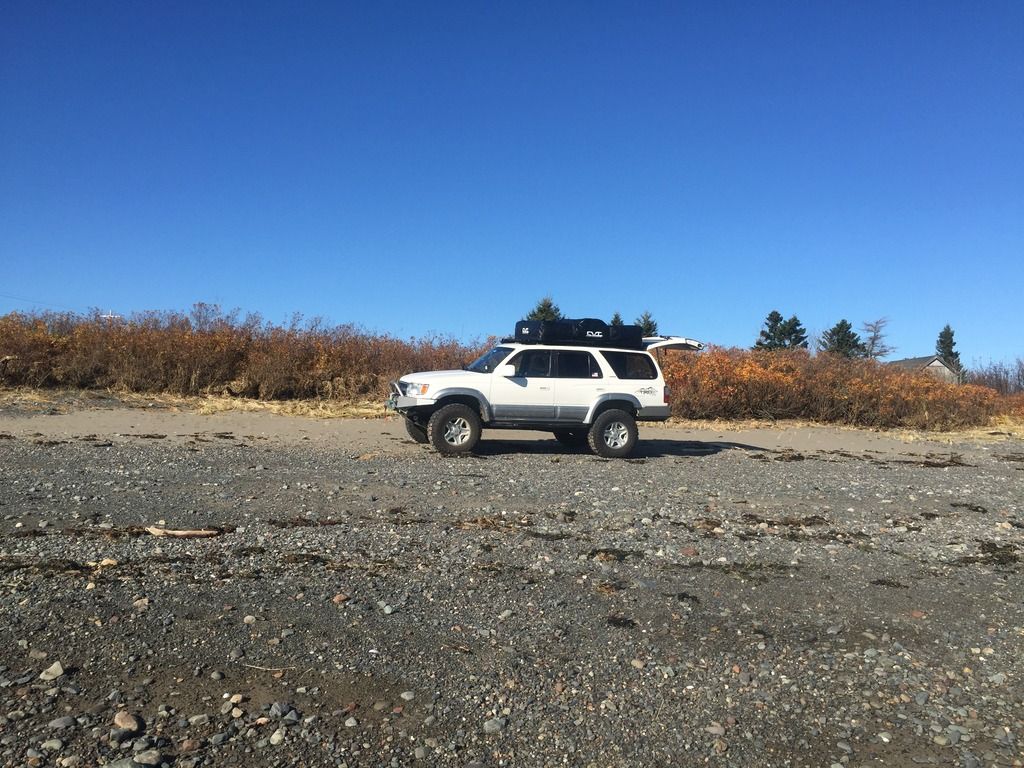
I plan on building something similar for the tundra.
What you use and how much it cost ?
Sent from my iPhone using Tapatalk
toyotech
Expedition Leader
Use 1/8 plate 3/4 angle and 1x2" 1/8 stock. Cost 150
I like it
Sent from my iPhone using Tapatalk
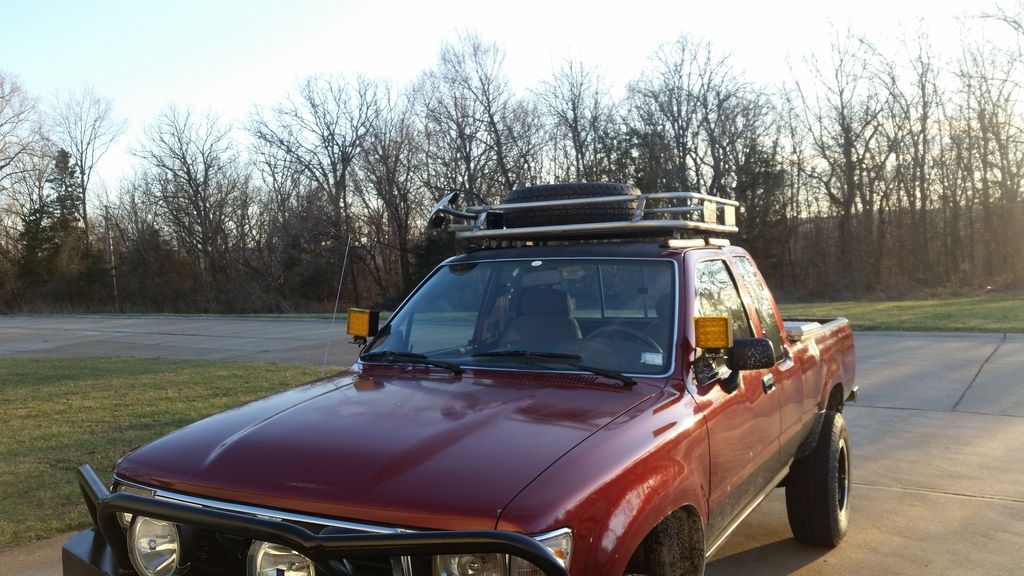
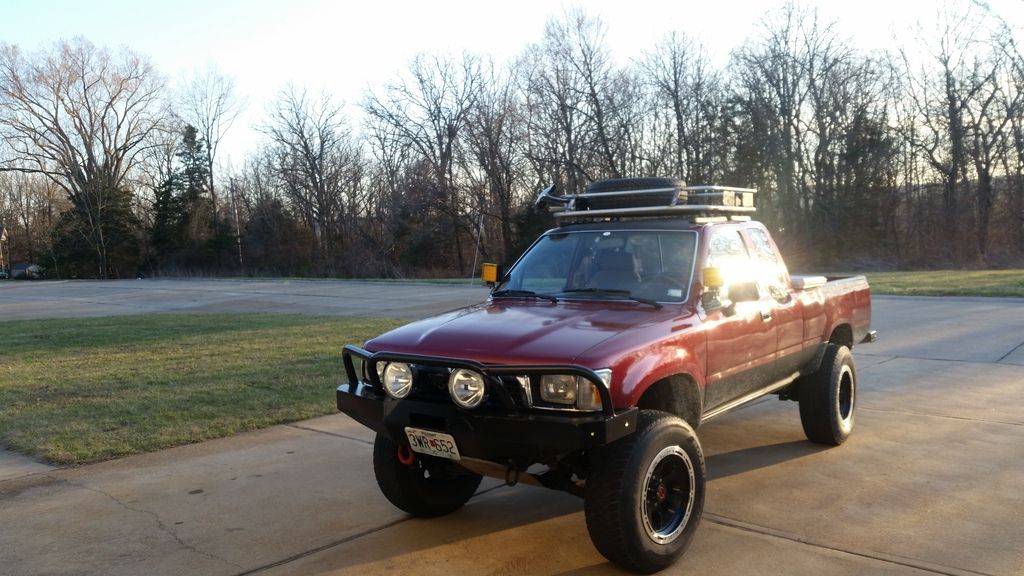
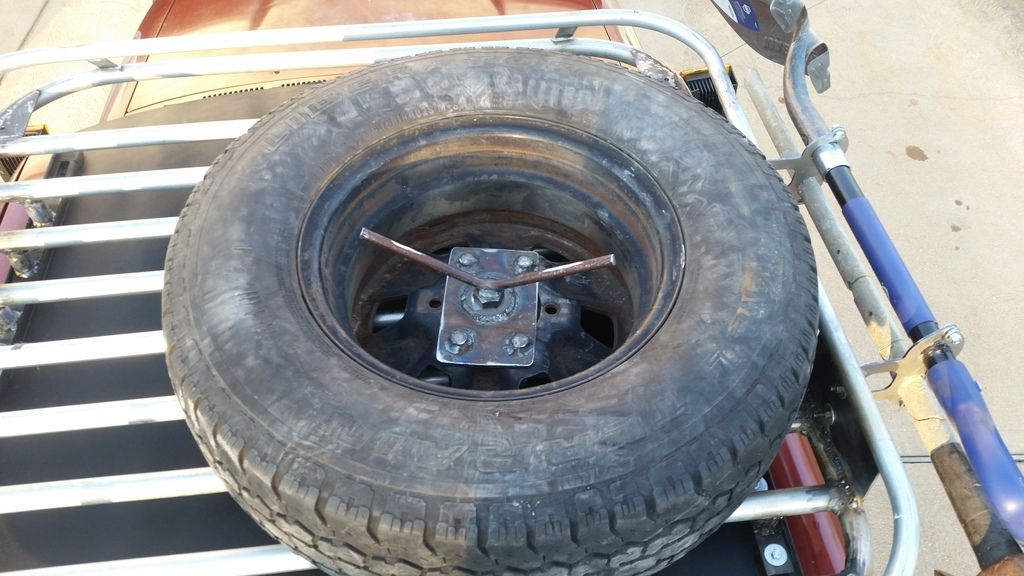
I just finished building this one for my truck. It's actually the second one I've built for it, this one is just bigger and much nicer than the first as I could take my time, integrate features I wanted and not be in a hurry to use it. Plus I had better tools, which always helps. I added 3rd Gen 4runner tracks to the roof, sectioned as the roof of my truck raises up in the back due to the extended cab part. The lower hoop and cross bars are made from 1" EMT Conduit, and the upper hoop is 3/4" EMT conduit. The plates that support the upper hoop and separate it are 1/8th thick. Integrated in some lockable shovel and axe mounts on the passenger side, and making a simple bolt through style mount for a high lift on the drivers side, although it usually rides in the bed of the truck. Also made a moveable tire mount that clamps to the crossbars using stainless 5/16 thread u bolts from McMaster. The top plate centers thru 4 of the lug holes of the wheel, and the bolt is 7/8" diameter grade 8 bolt and nut. It shouldn't move or break. The hoops were bent with conduit benders so there are only 2 weld seems per hoop, which are sleeved for strength. Also made mounts for a 42" Led light bar up front and twin rear facing 27w LED lights that I had on my old rack. The goal for this rack was to be big enough to carry a full size 35" spare (eventually, some day) or my current size spare (32") and a cooler. Mounts are 1.25" flat bar that run the length of the track, with 4 bolts on each front pad and 3 on each rear pad. Will be getting powdercoated to match the bumpers.


There are so many cool projects in this thread!
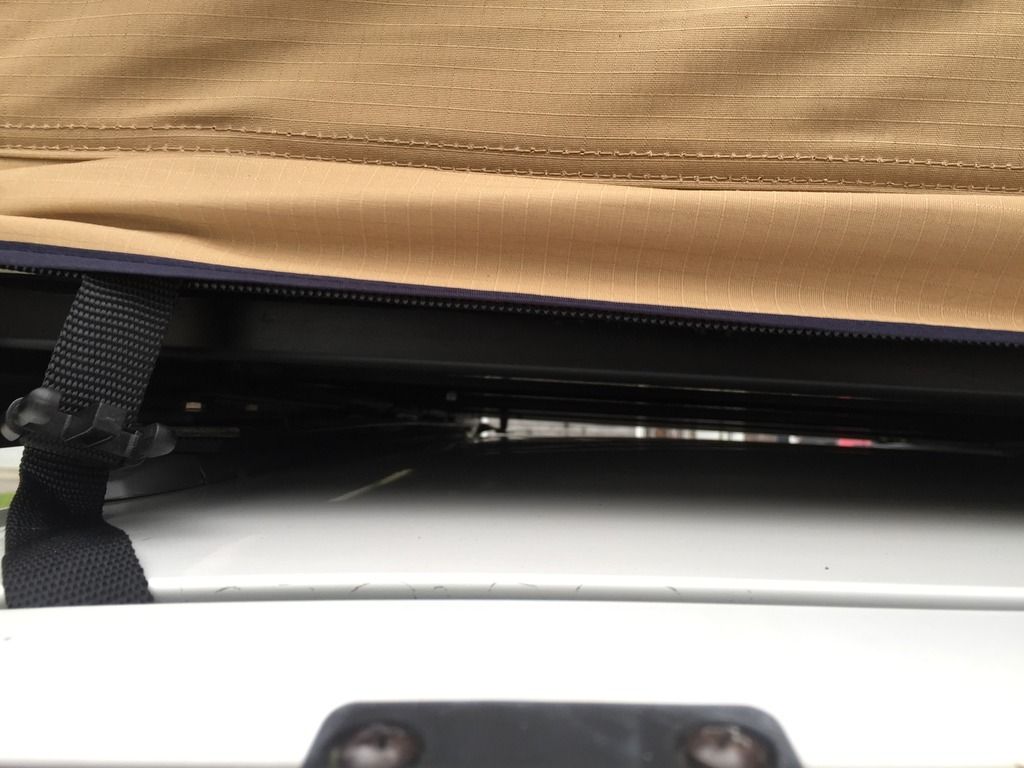
Mine is very simple, not really a roof rack, just some crossbars.

It's strut channel bolted to some vibration damping ubolts. You can attach just about anything to it and it's low profile, hardly visible at all.

I have since added a third crossbar for longer items.
Mine is very simple, not really a roof rack, just some crossbars.

It's strut channel bolted to some vibration damping ubolts. You can attach just about anything to it and it's low profile, hardly visible at all.

I have since added a third crossbar for longer items.