Looking good guys, those wee diesel heaters are really good one of my mates has one that he uses for heating his tent. He just sits it outside and pokes the warm air duct hose into the tent with power leads to his truck works great. He has it in a frame with the diesel tank all in one and it can be easily carried to where ever you want it. keep up the good work. Cheers Leon NZ
Build - Fiberglass & Foam Truck Camper
- Thread starter underkill
- Start date
Manutara
New member
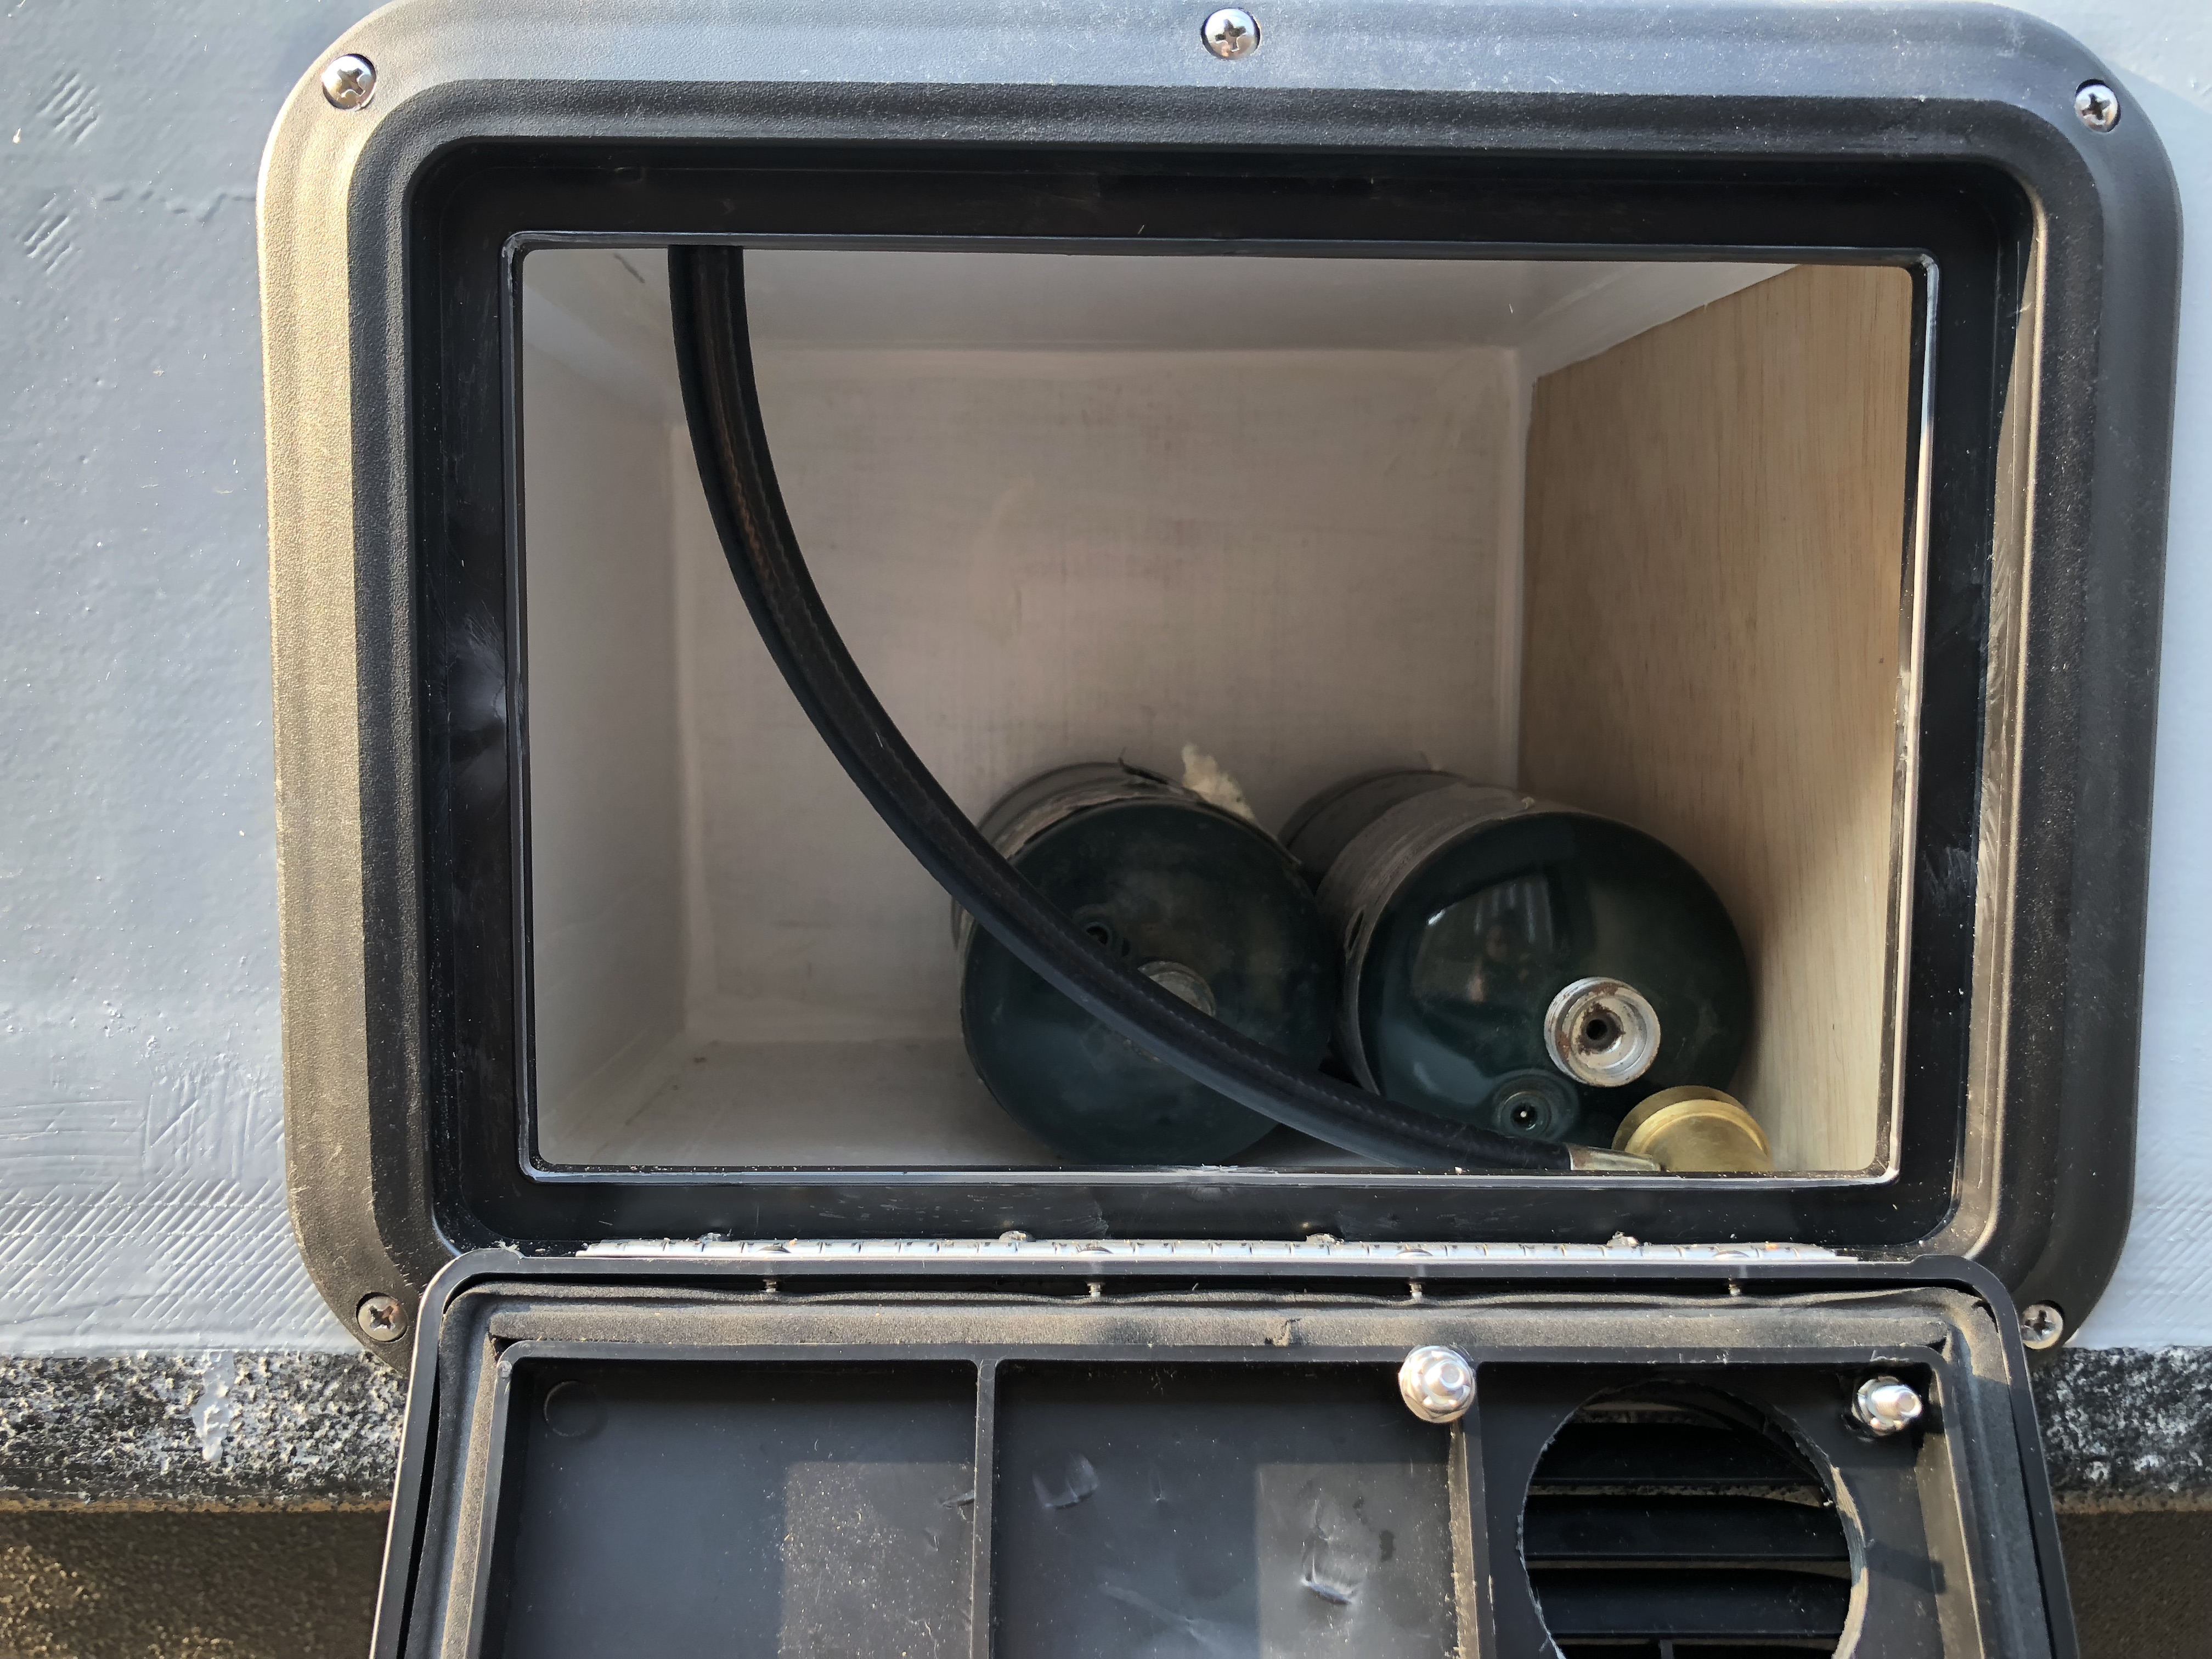
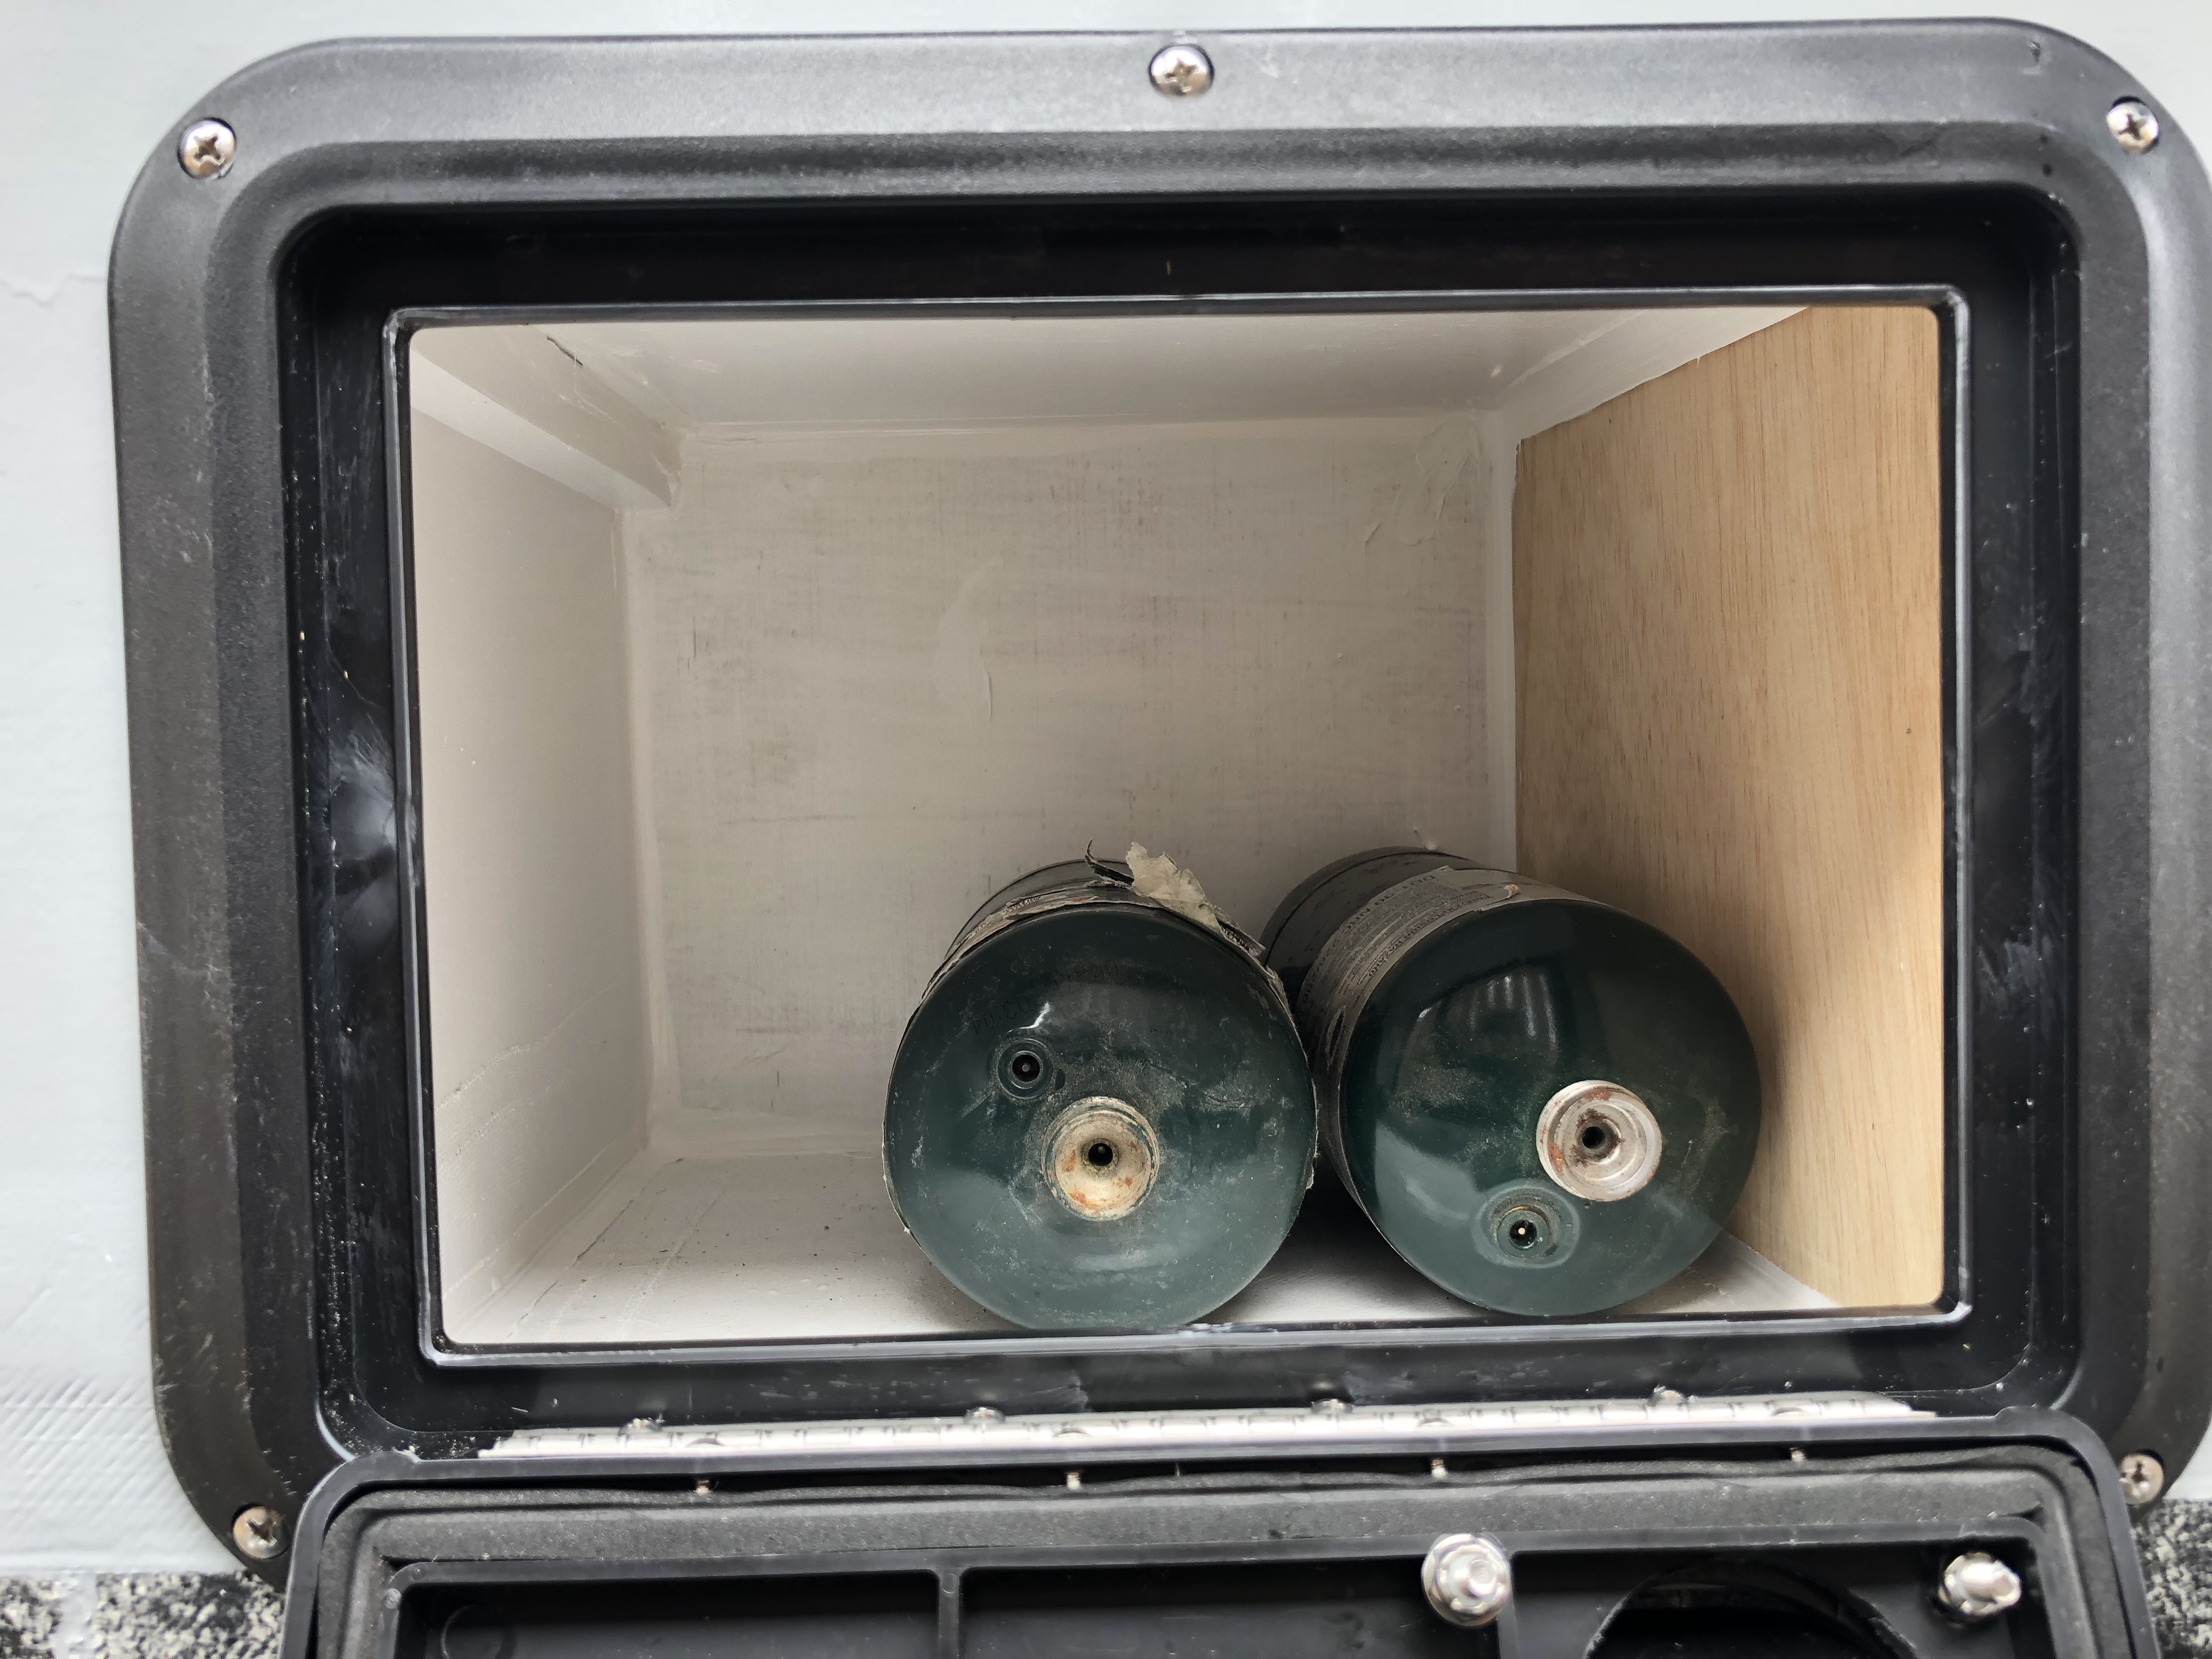
More than enough room with the hose to connect to the bottles!
I really love how this build went, you've managed to take advantage of every small spot and optimize all the space.
Your propane bottles setup worries me, I guess you have been using it this way for a while, however I would strongly suggest to make sure the bottle in use is standing up, not on it's side or upside down... last week I made the mistake to put it upside down when cooking, the seal froze and propane started leaking through the cap, in no time I had a big flame around the bottle, fortunately I always cook on the outside of our camper and was there when it happened, I trew everything far away in order to have enough time to reach the fire extinguisher.
Tumbleweed
Adventurer
May I suggest swapping that glass fuse holder for a standard auto type blade fuse holder. More vibration proof, easier to find fuses, truck fuses may interchange, some have dust/water proof covers,and you won't lose the spring when you have to open it. You can also test those fuses with a multi meter or test light without opening the holder.We finished sealing up the propane locker. It will actually hold quite a few of the little propane canisters! It'll be nice to have spares, but not have to keep them inside the camper. It's also a good spot for towels and buckets and wet things.
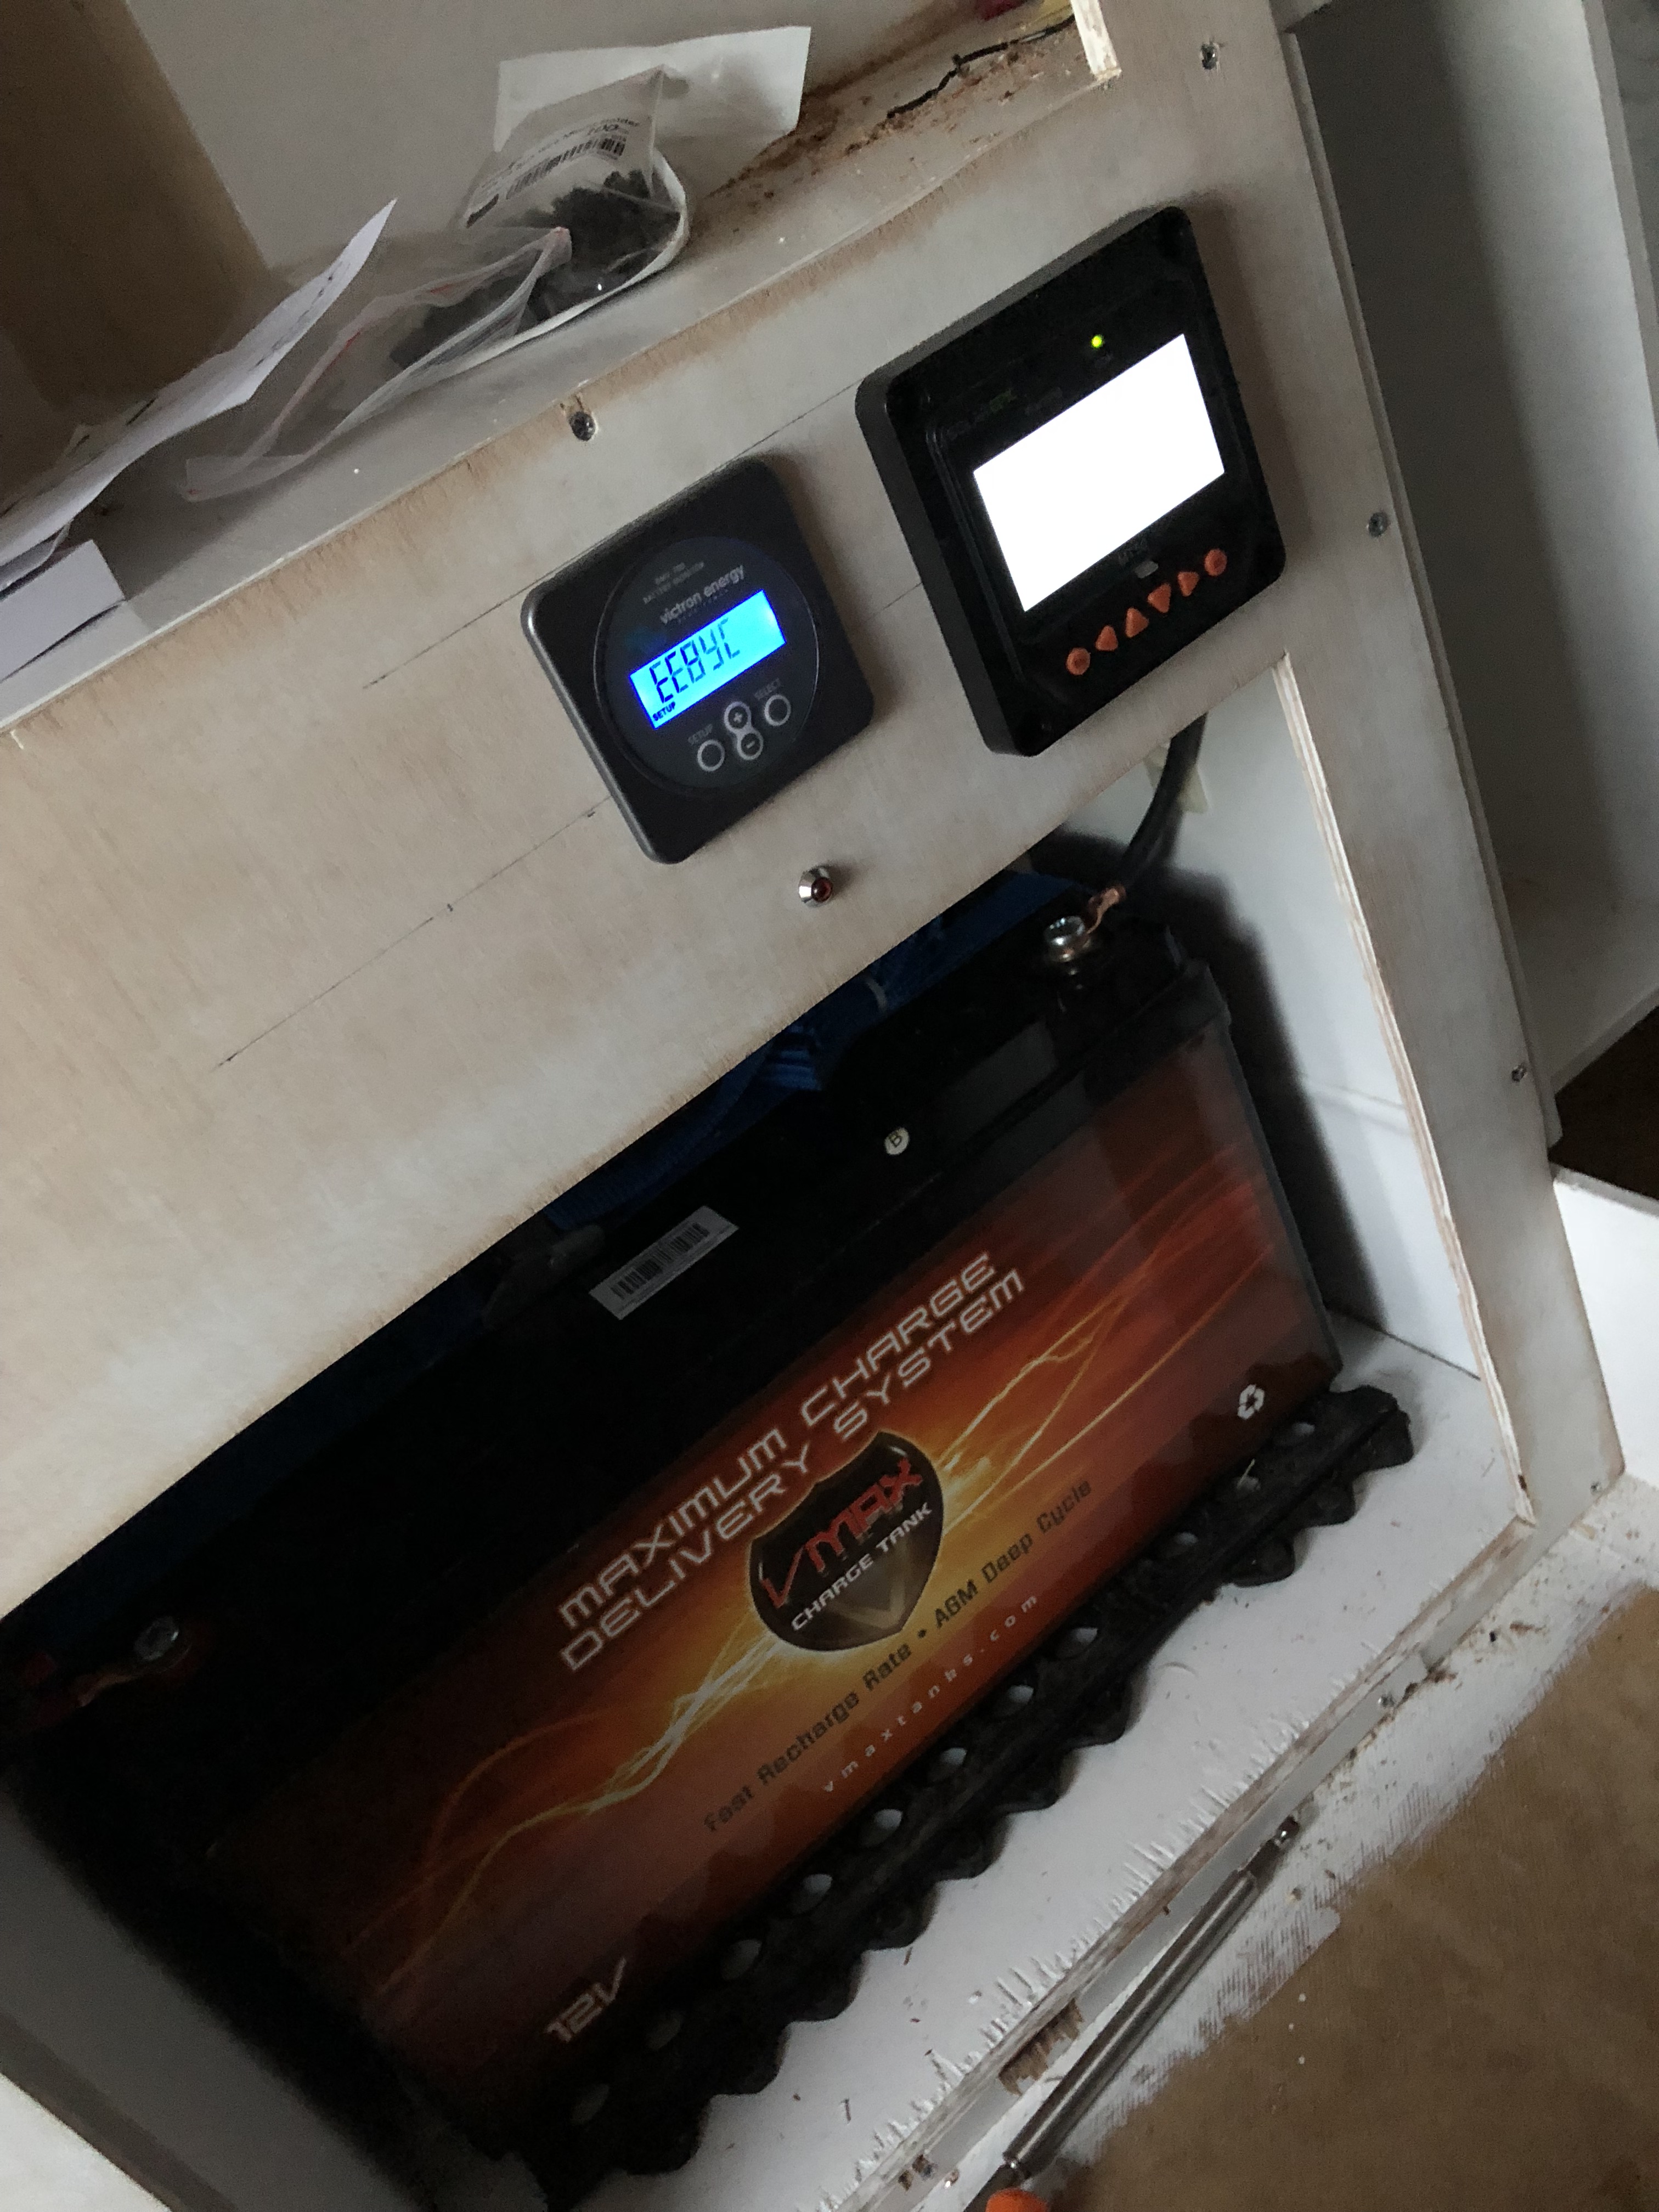
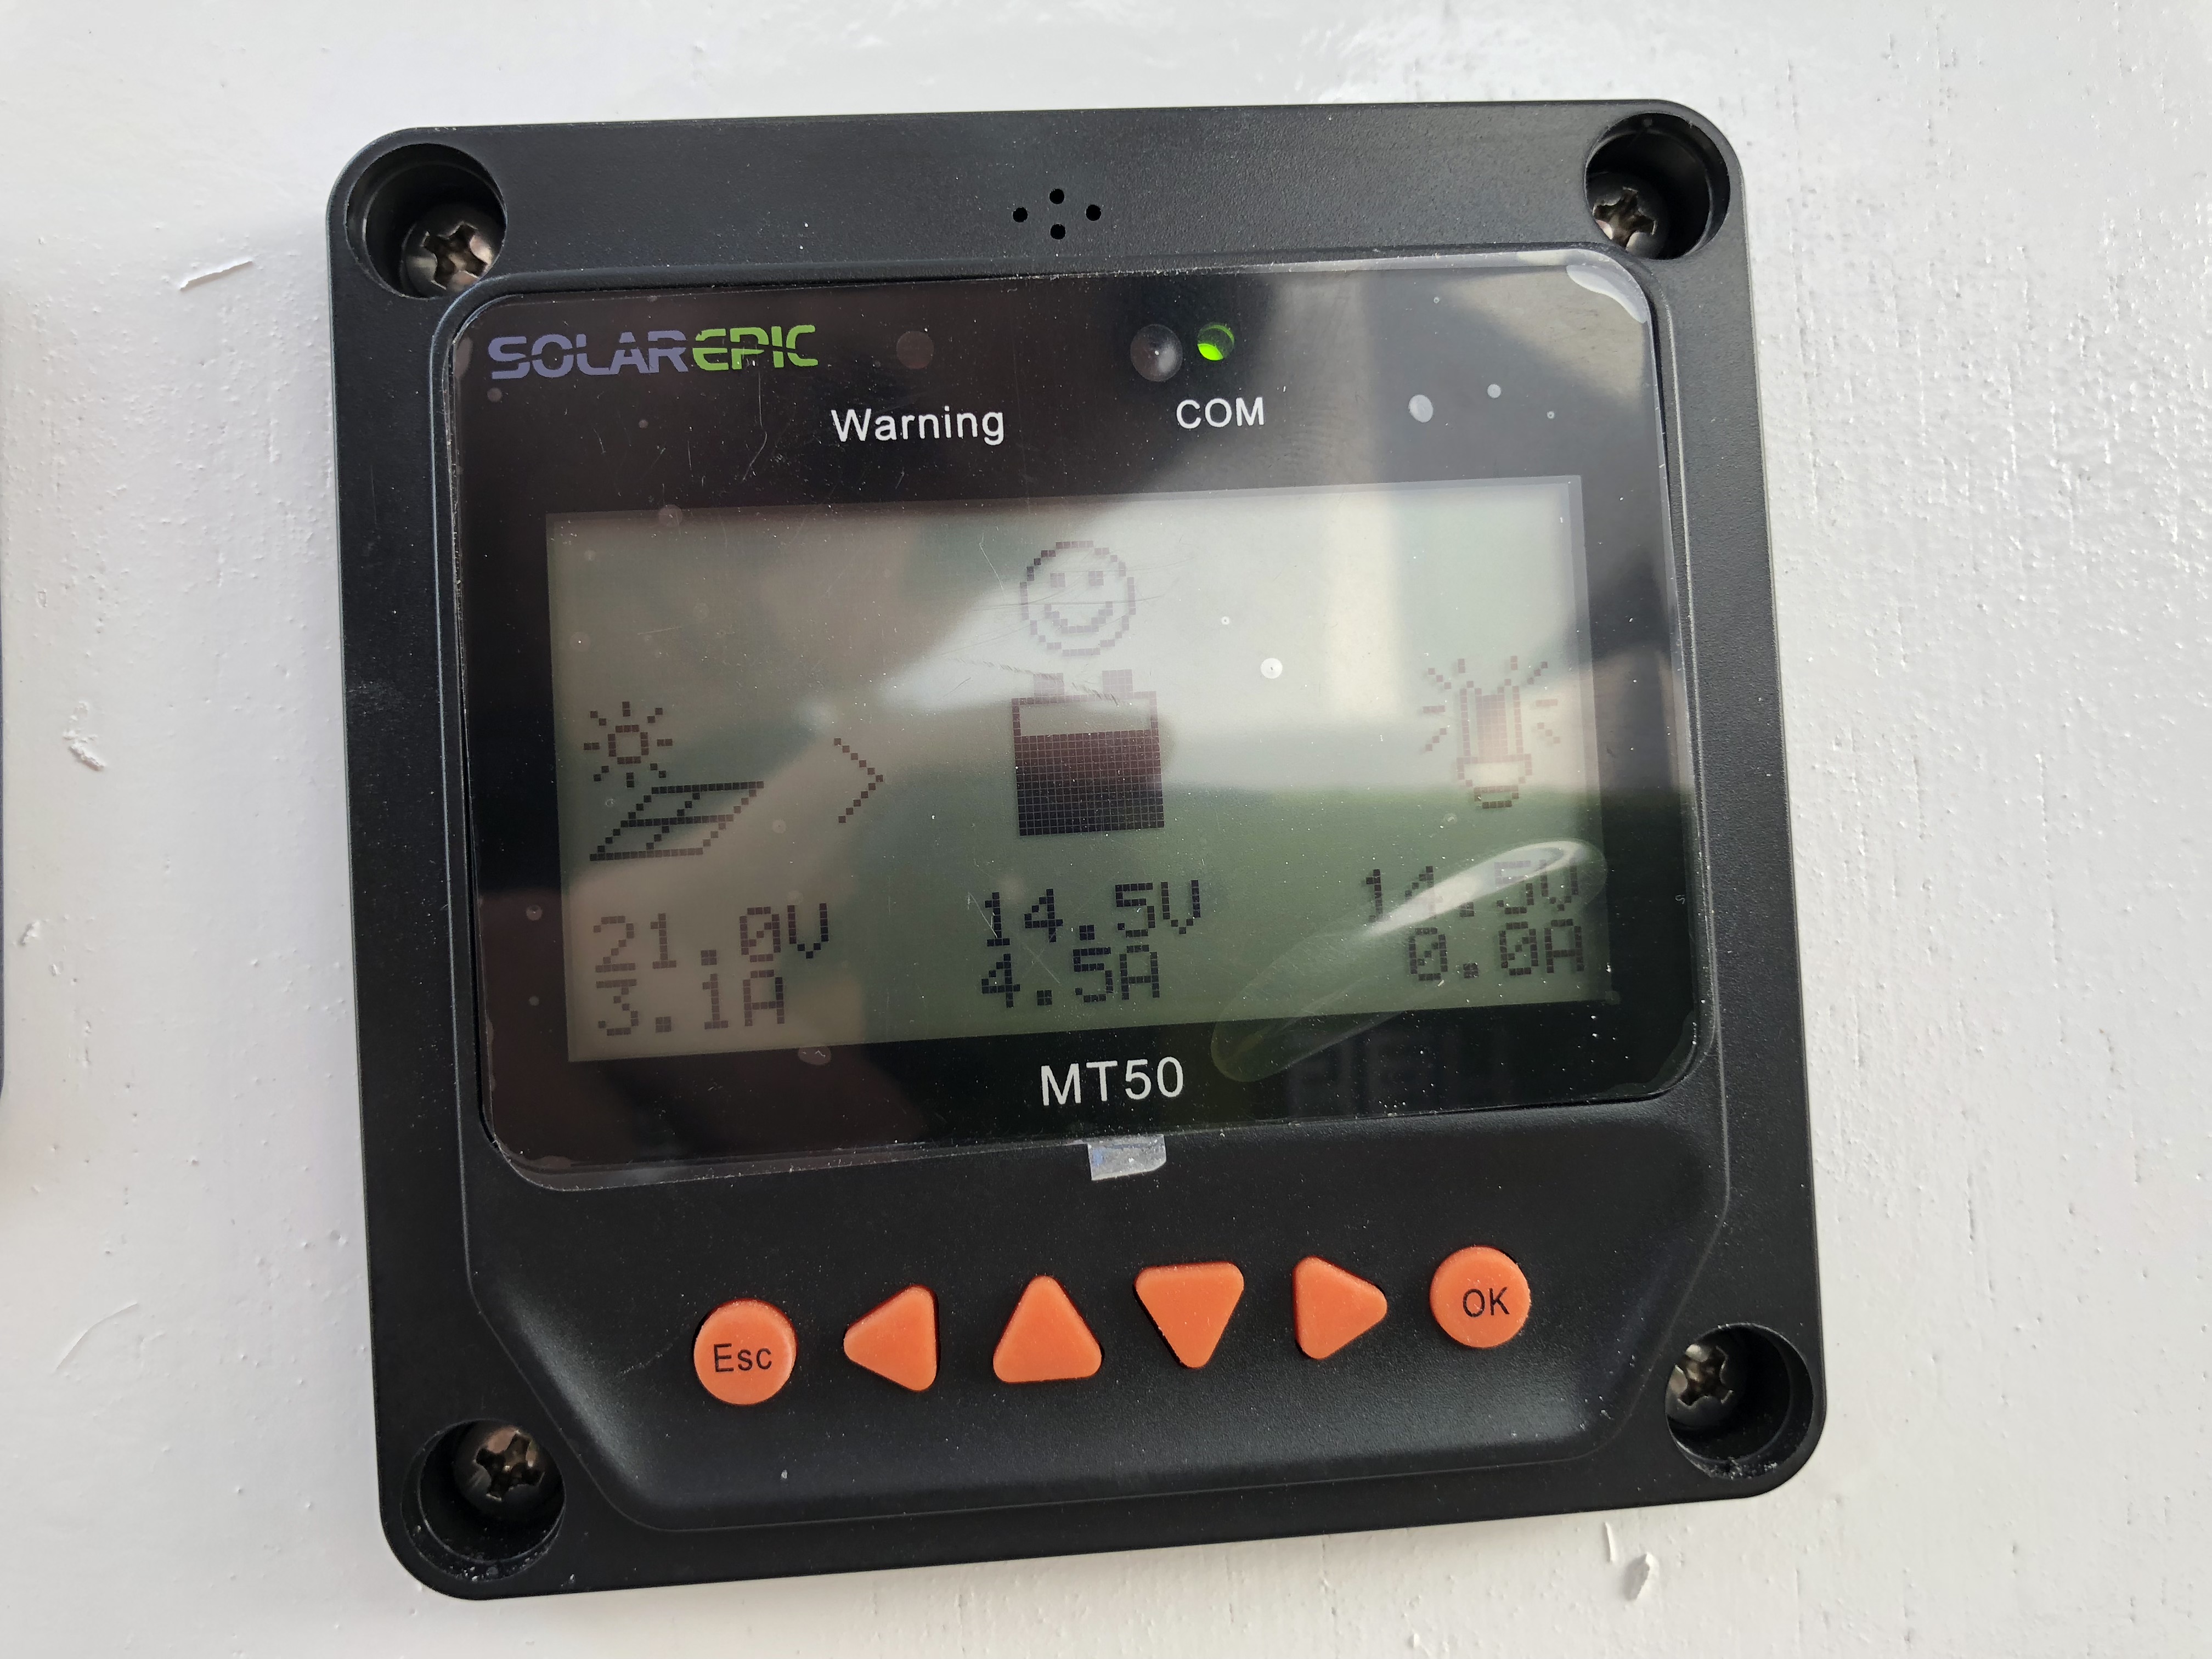
Jason got the solar charge monitor and battery monitor installed in the faceplate of the galley. The LED light is to let us know if our ACR relay has tripped.
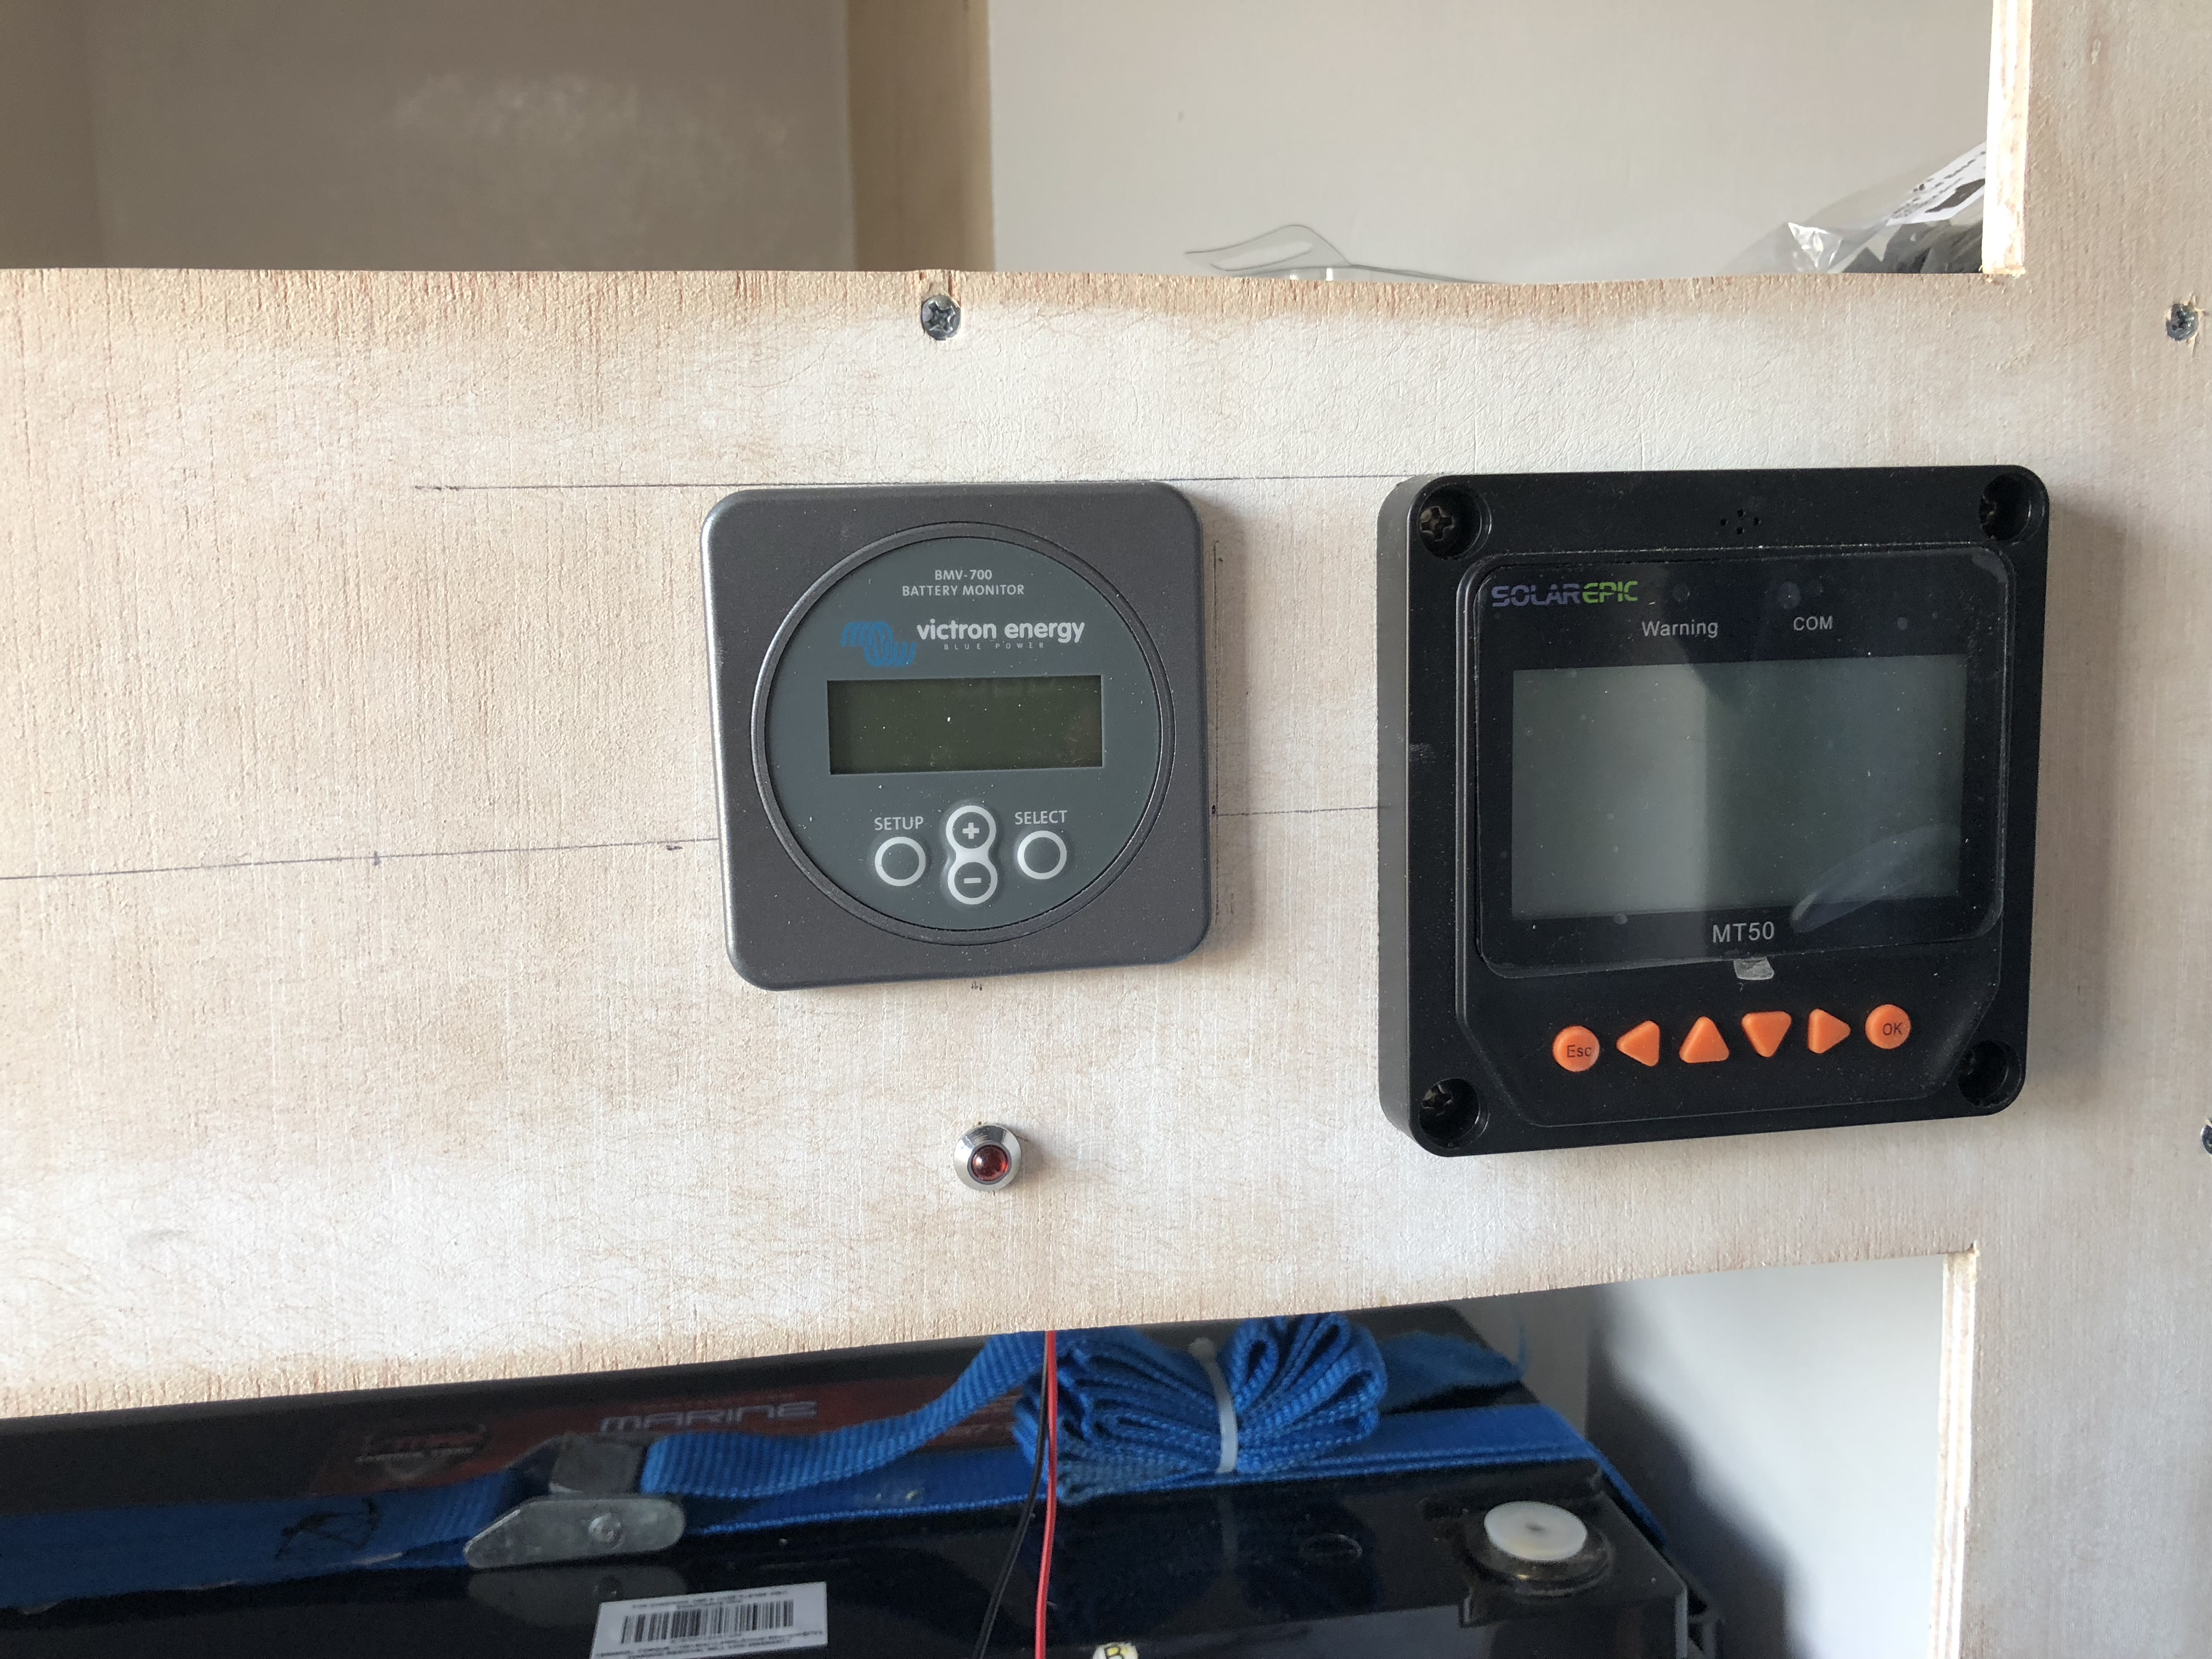
The battery accounts for most of the weight of the finished camper but we won't have to worry about our fridge losing charge and food getting warm!
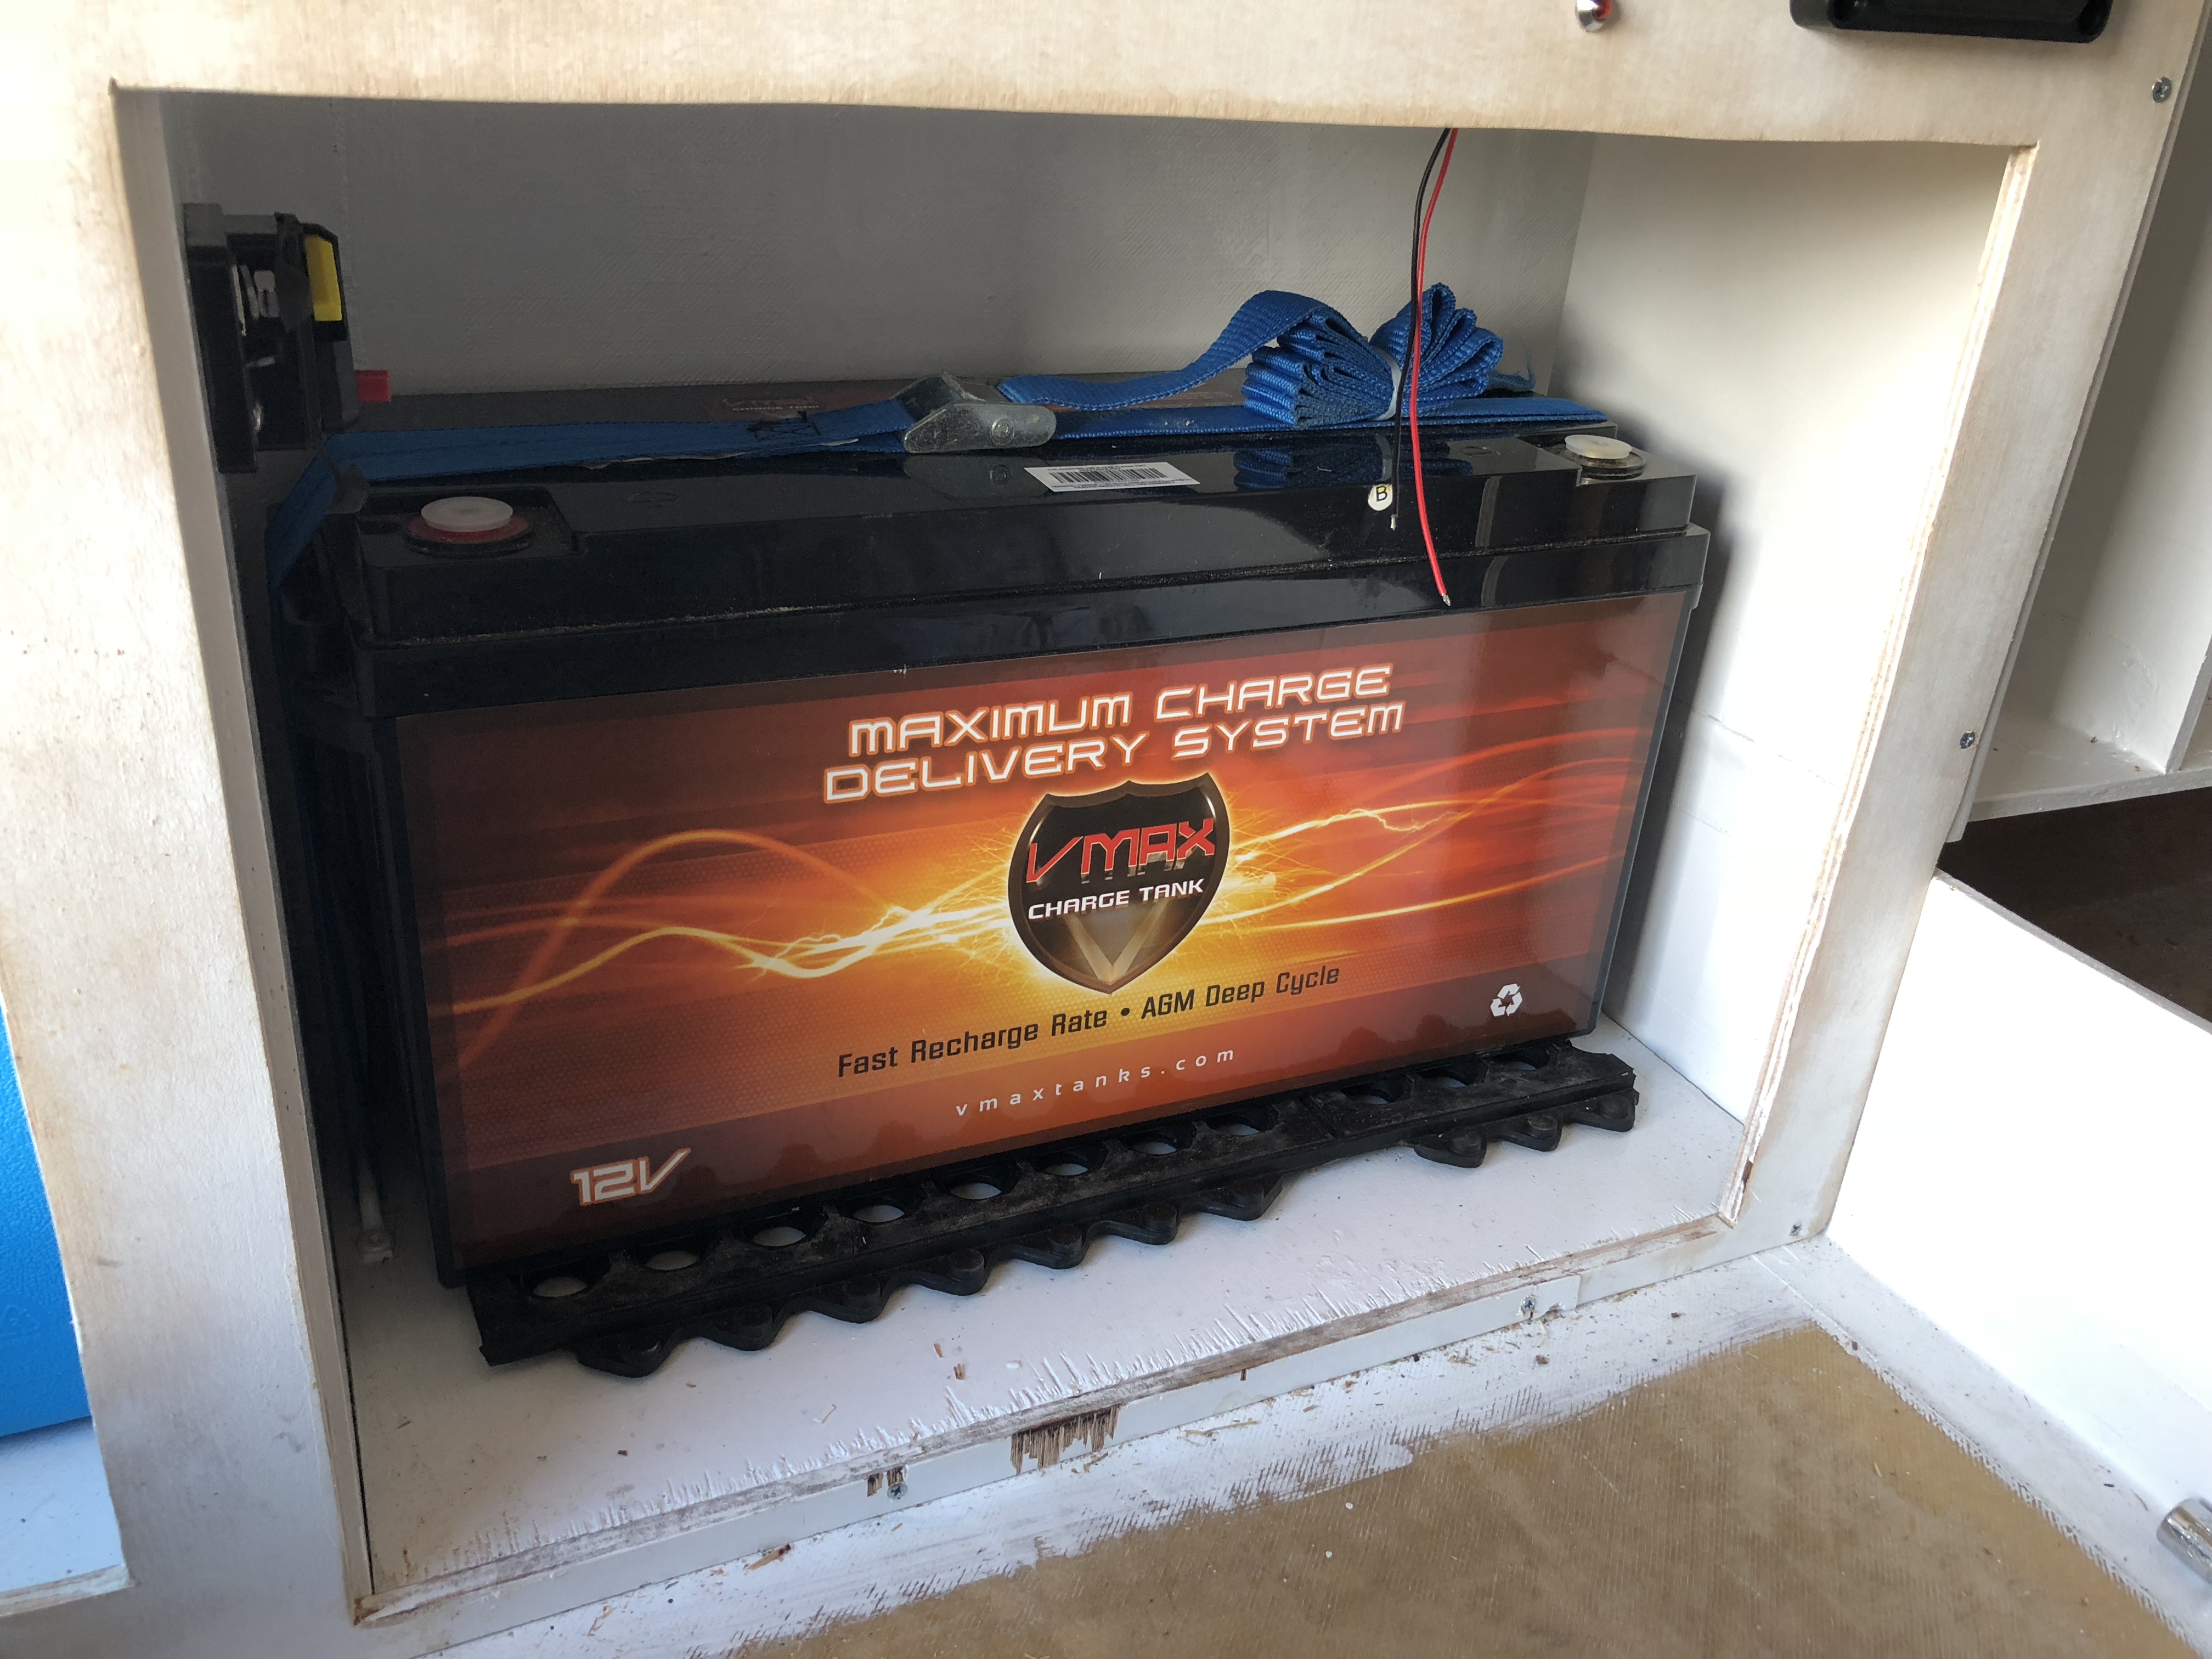
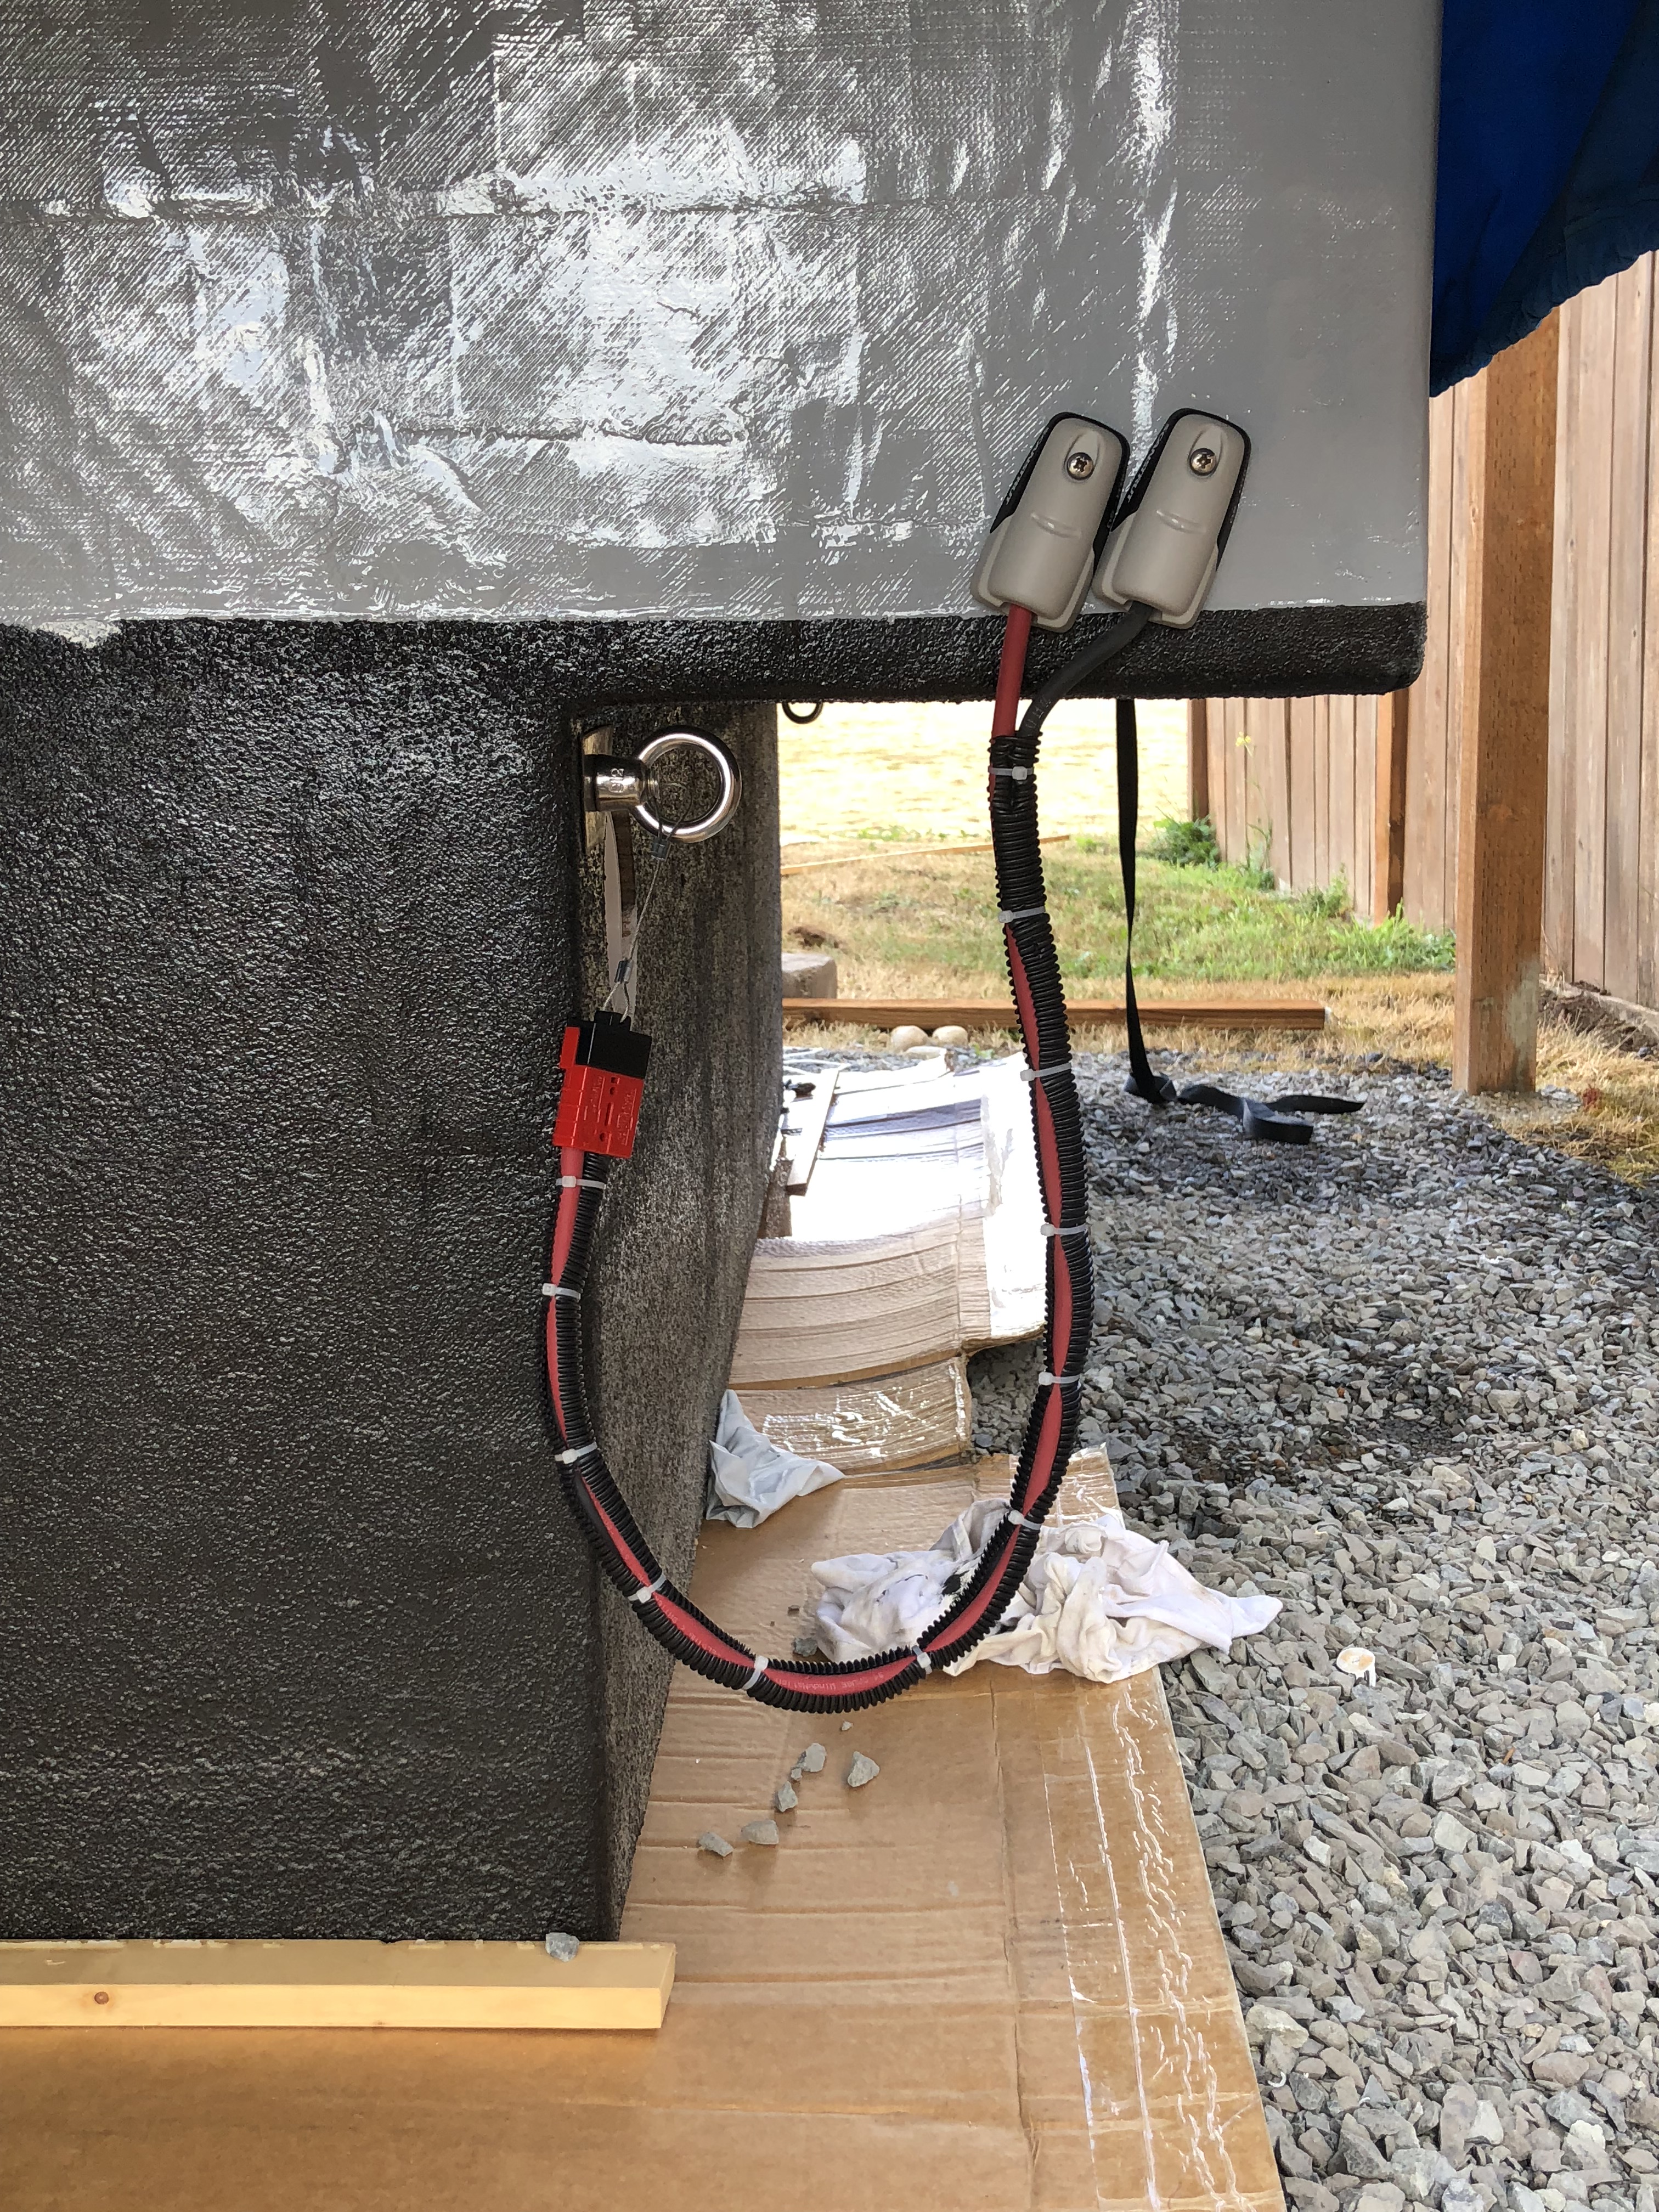
Jason rigged up a "shore power" connection to the truck to be able to charge the battery and keep systems running while we're driving. Everything is fully waterproof and pretty darn slick. The plug on the camper goes between the cab and the truck bed and connects to a plug routed from the engine compartment.
There's some black magic going on inside this cabinet...
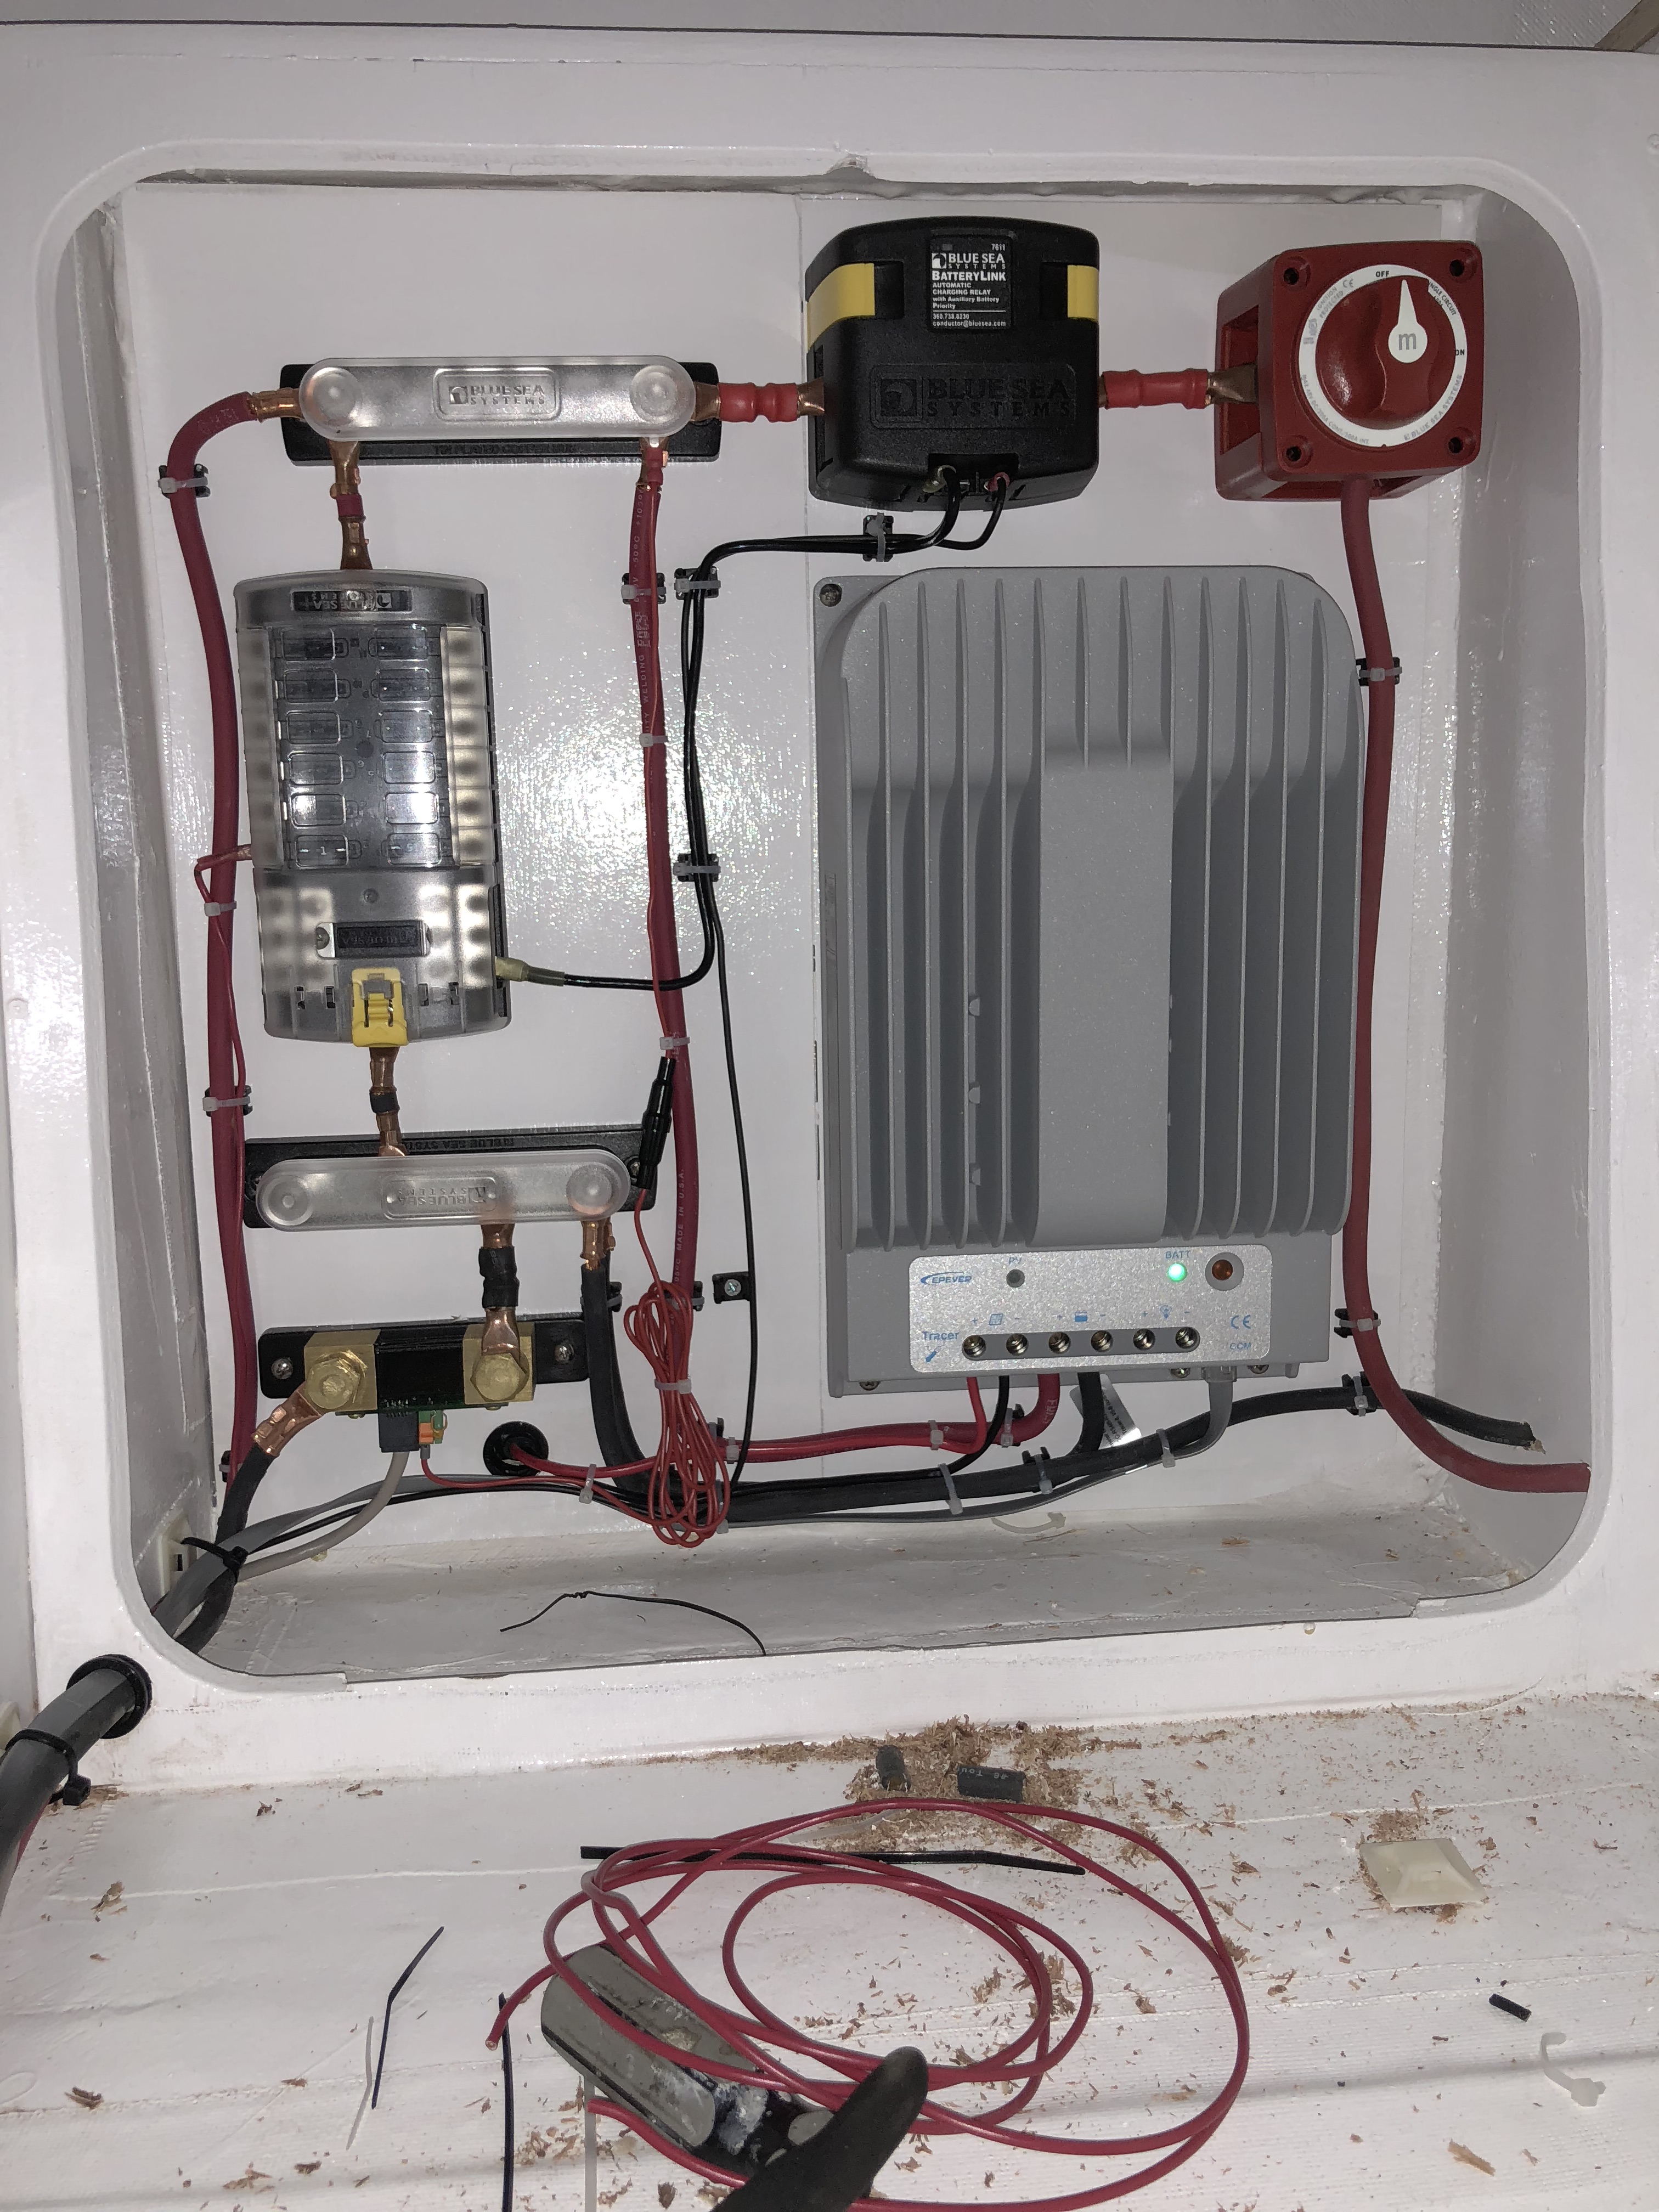
I was out in the garage doing something else when I get a text from Jason to come to the camper and bring a fire extinguisher...but it's fine because nothing is on fire. Um, what? I hurried over there with it just in case. It was actually time to turn on the camper electrical system for the first time!Better safe than sorry! IT WORKS!!!! (and nothing caught fire...)
TantoTrailers
Well-known member
I believe that is a standard blade fuse holder there in the wiring cabinet pic. That is the same type I used on my trailer.
coastalcop
Active member
Can you replace your tiny window with a non opening unit ? Failing that , flipping it over so the knobs are in a relatively higher position may give you the clearance you need. Just thoughts
underkill
Active member
It works so well we almost bought another one to install in a tool box or something! Still might...Looking good guys, those wee diesel heaters are really good one of my mates has one that he uses for heating his tent. He just sits it outside and pokes the warm air duct hose into the tent with power leads to his truck works great. He has it in a frame with the diesel tank all in one and it can be easily carried to where ever you want it. keep up the good work. Cheers Leon NZ
underkill
Active member
Will definitely look into that! Honestly Jason is the one who cooks most of the time, so it's not something I ever look at. We actually just had our regulator on the hose bust and dump all of the gas out of the can. It all leaked out the vent like it was supposed to, so it did its job in that regard.I really love how this build went, you've managed to take advantage of every small spot and optimize all the space.
Your propane bottles setup worries me, I guess you have been using it this way for a while, however I would strongly suggest to make sure the bottle in use is standing up, not on it's side or upside down... last week I made the mistake to put it upside down when cooking, the seal froze and propane started leaking through the cap, in no time I had a big flame around the bottle, fortunately I always cook on the outside of our camper and was there when it happened, I trew everything far away in order to have enough time to reach the fire extinguisher.
underkill
Active member
Exactly that. It's a standard fuse.I believe that is a standard blade fuse holder there in the wiring cabinet pic. That is the same type I used on my trailer.
underkill
Active member
Might end up flipping it upside down or something eventually like you suggested. I also might just remove the knobs and make it non opening. It was just one of those final install "oops" finds that was way more irritating than it had any right to be, yaknow?Can you replace your tiny window with a non opening unit ? Failing that , flipping it over so the knobs are in a relatively higher position may give you the clearance you need. Just thoughts
underkill
Active member
Side note on the camper at this point. It's painted and pretty well assembled. The foam does a fan-freaking-tastic job of insulating the inside of the camper from the heat outside. With the roof baking in the hot sun, the top will be hot to the touch, but the underside is cool as a cucumber! Score another point for the foam...
Today I put the finishing touches on a lot of my half finished projects. I ran the water supply line from the tank, through the false floor, around the battery, and up into the heater/sink compartment.
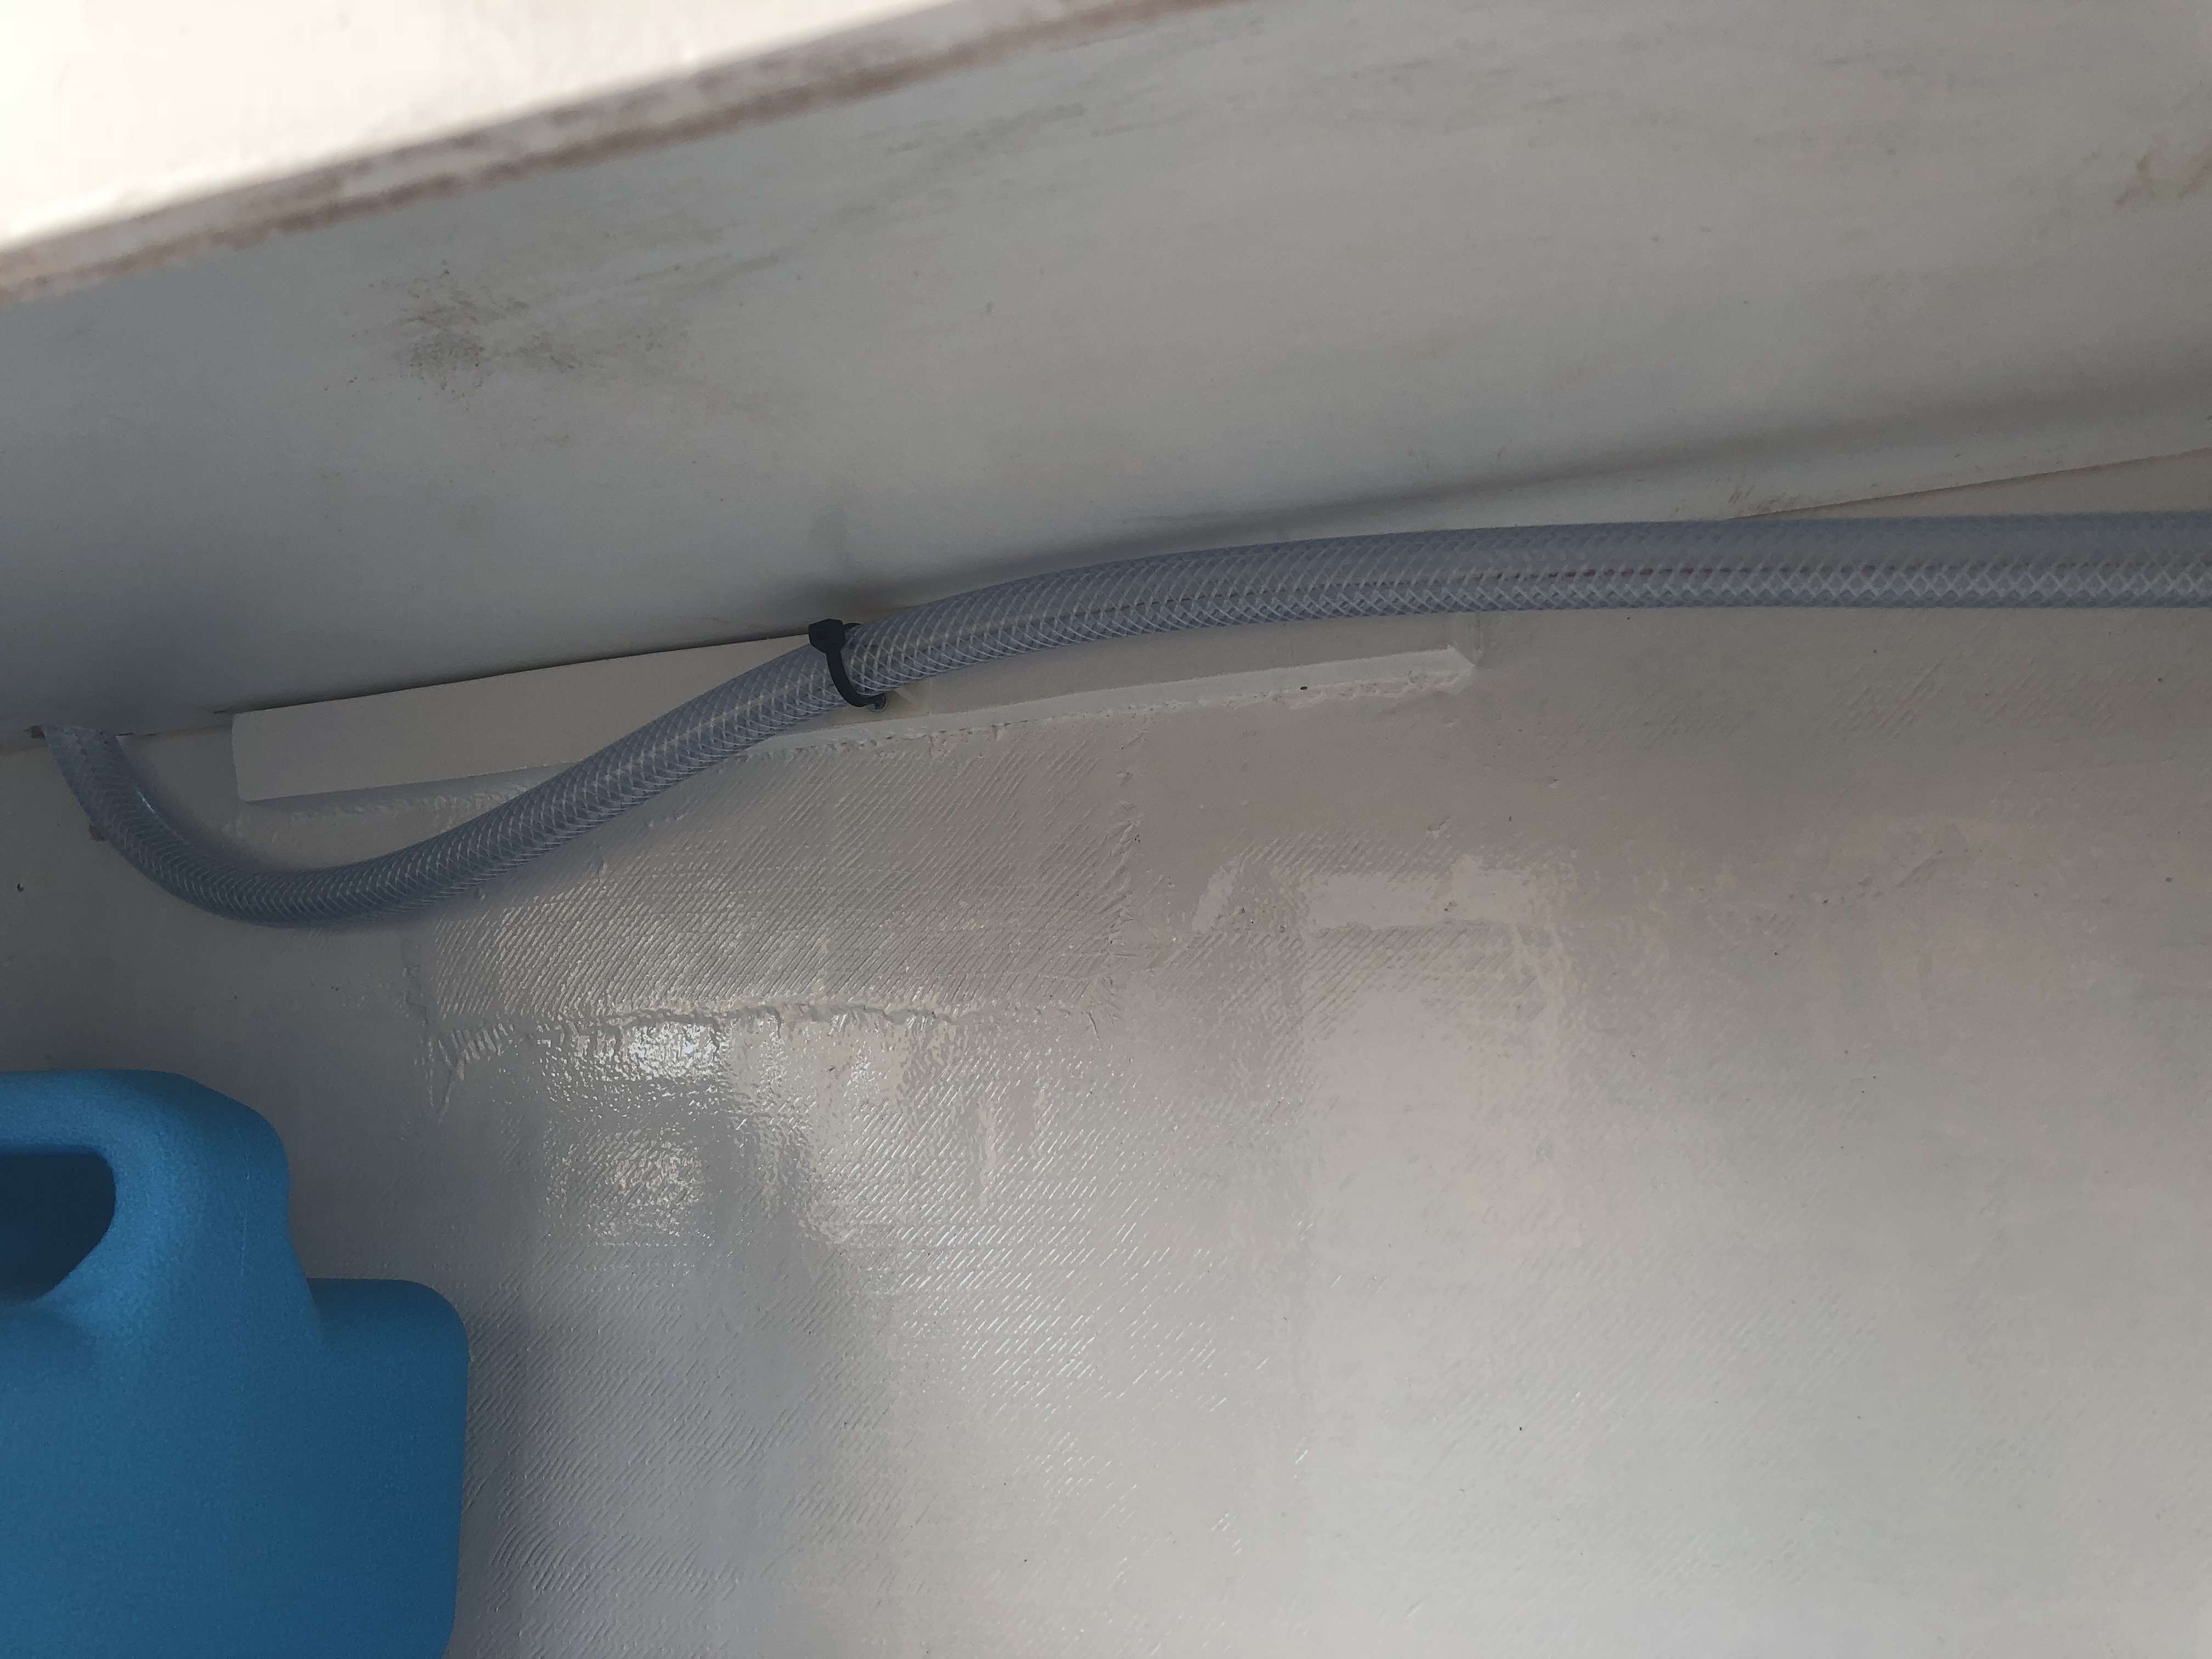
Since the countertop isn't done, the faucet gets to just sit there and wait. While I was doing that, Jason finished the wiring on the solar panels and tested it! We were making 21 volts!
We chose to not mount our panels on the roof for a few reasons... mostly they're large and heavy. But also when we find our epic little spot in the shade, our panels will also be in the shade... this way we can park where we like and put the panels out where they'll do the most good!
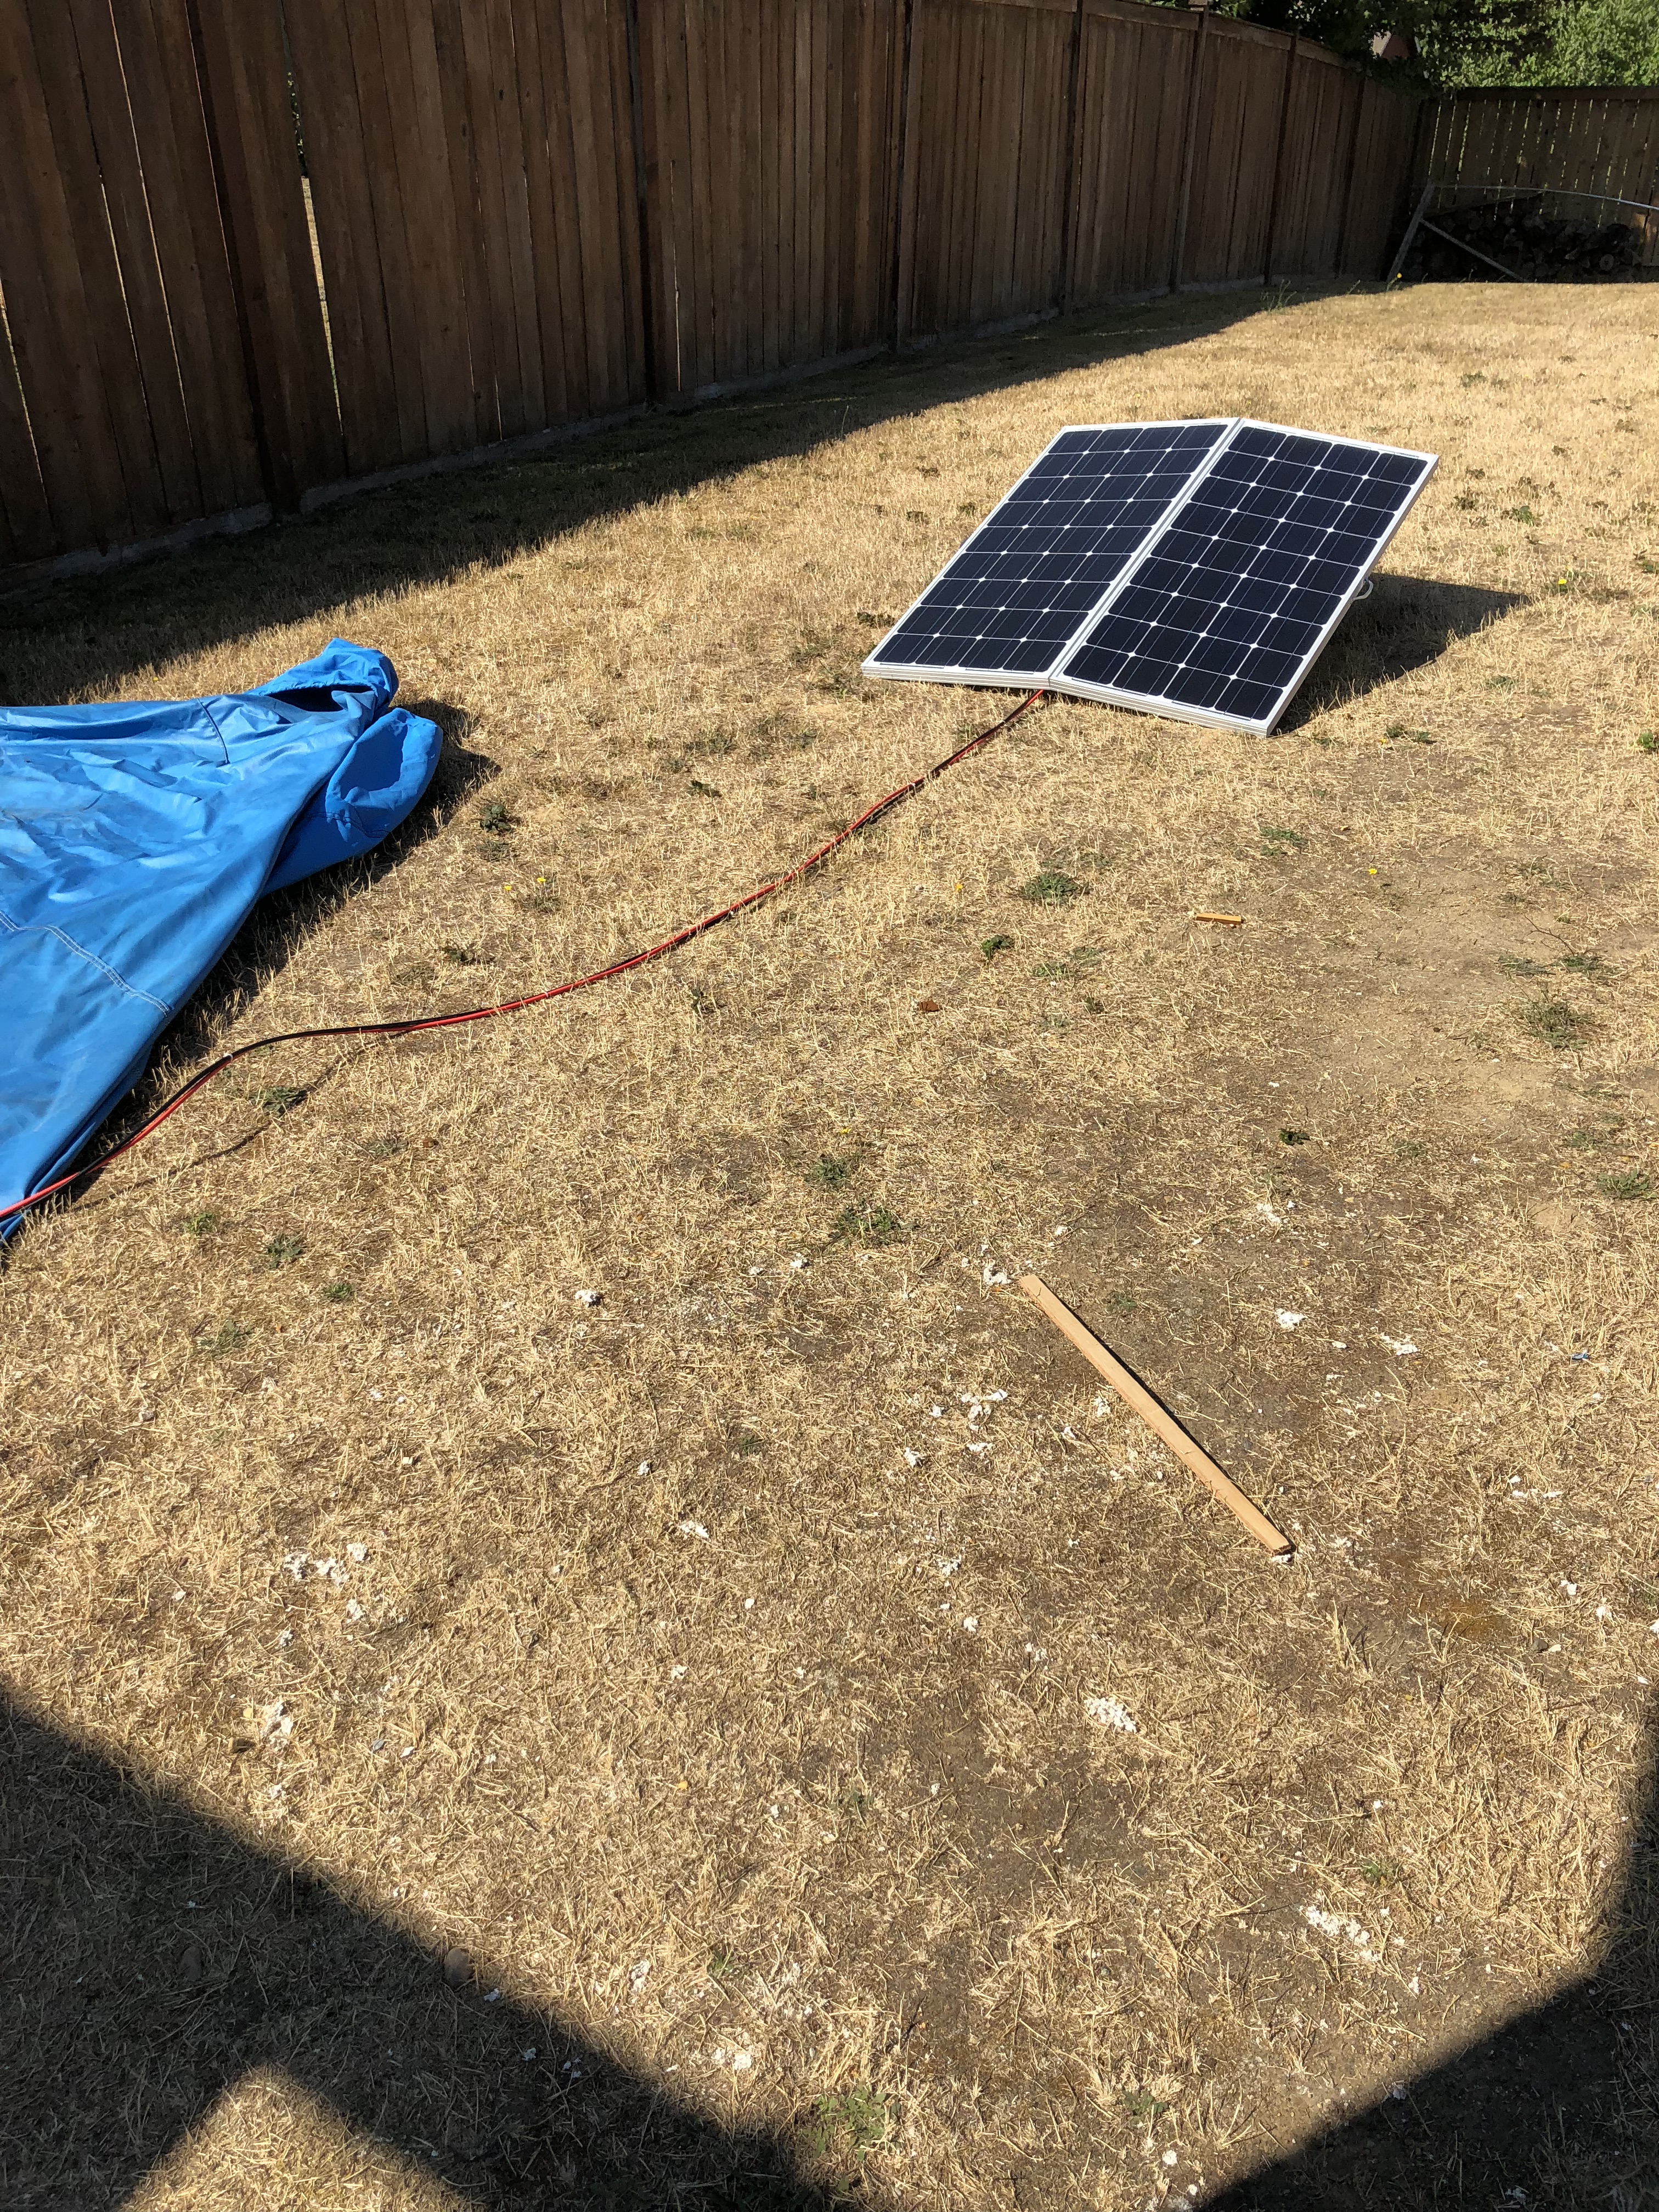
I do have some feedback on this setup. I still like NOT having these monstrosities on the roof, however they're also so big and awkward that we rarely bring them with us camping. Our style of camping is to move around and not stay in the same place very long, which means that the truck usually has no trouble topping up the battery. If I were to do it again, I'm not sure I'd bother with the solar setup, but it is pretty cool to have just in case. We used it when the power to our house went out in a storm last year and we had the panels to keep our 12v cooler of food cold... so they might have paid for themselves.
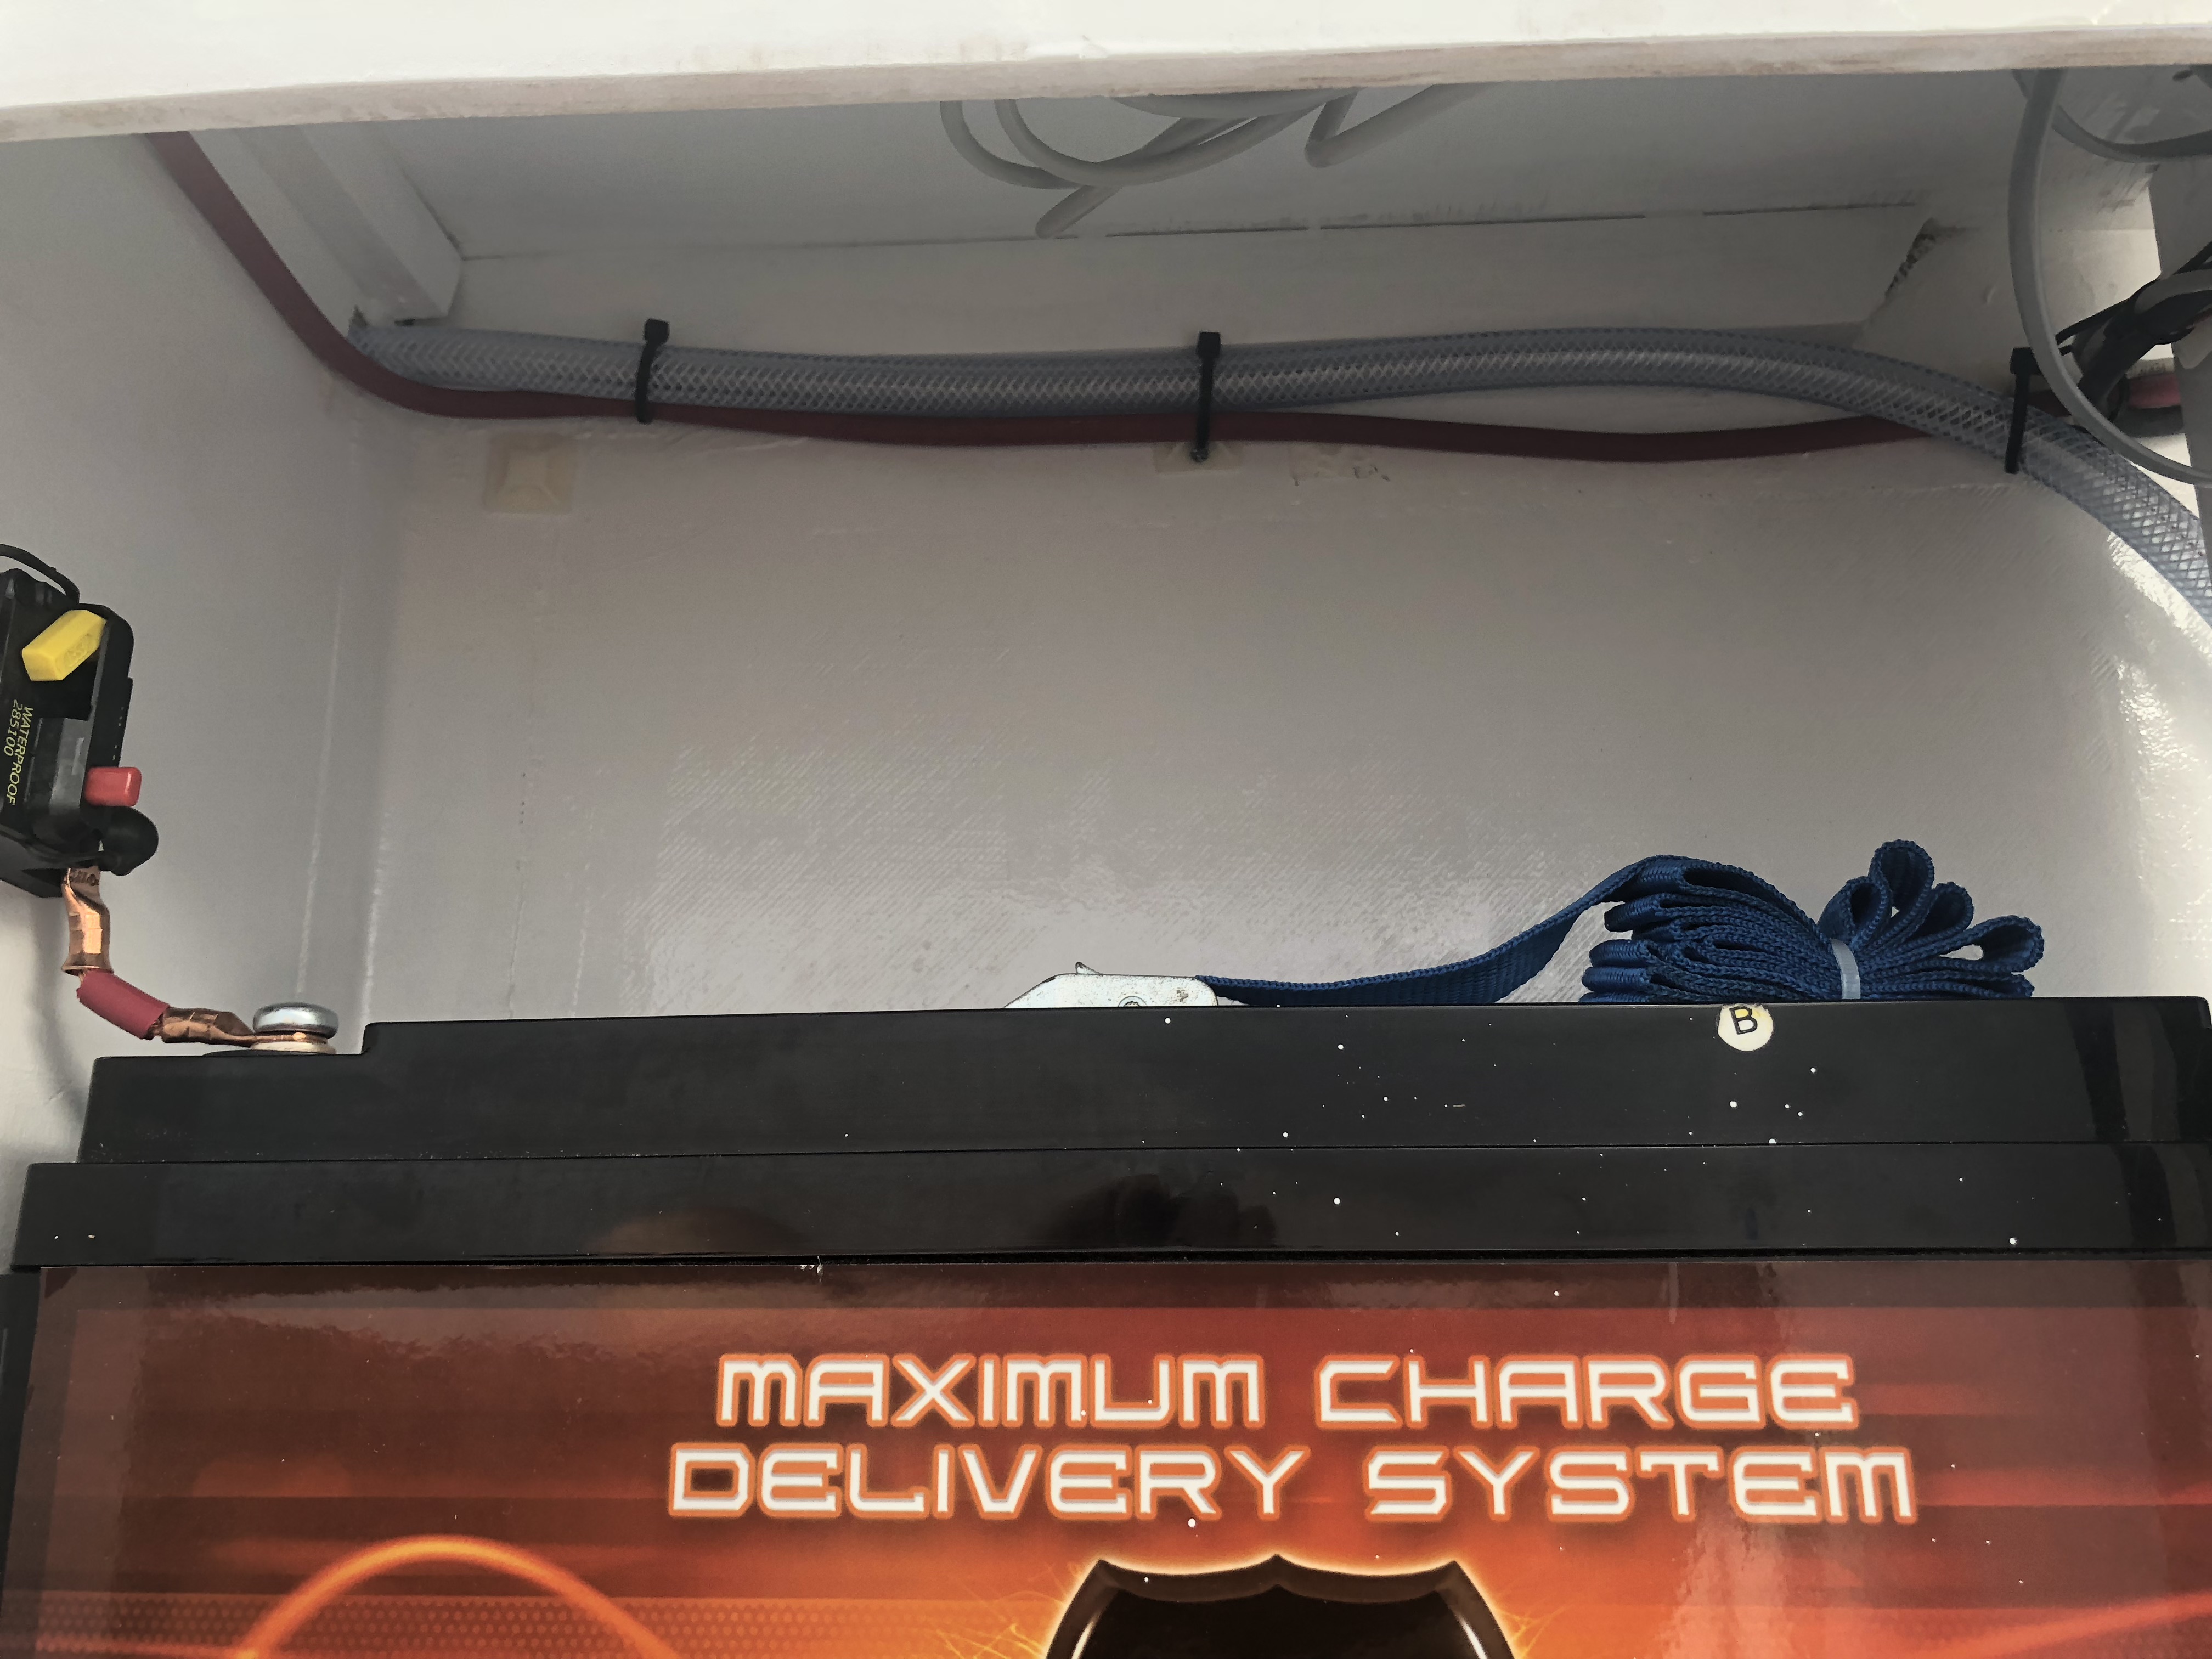
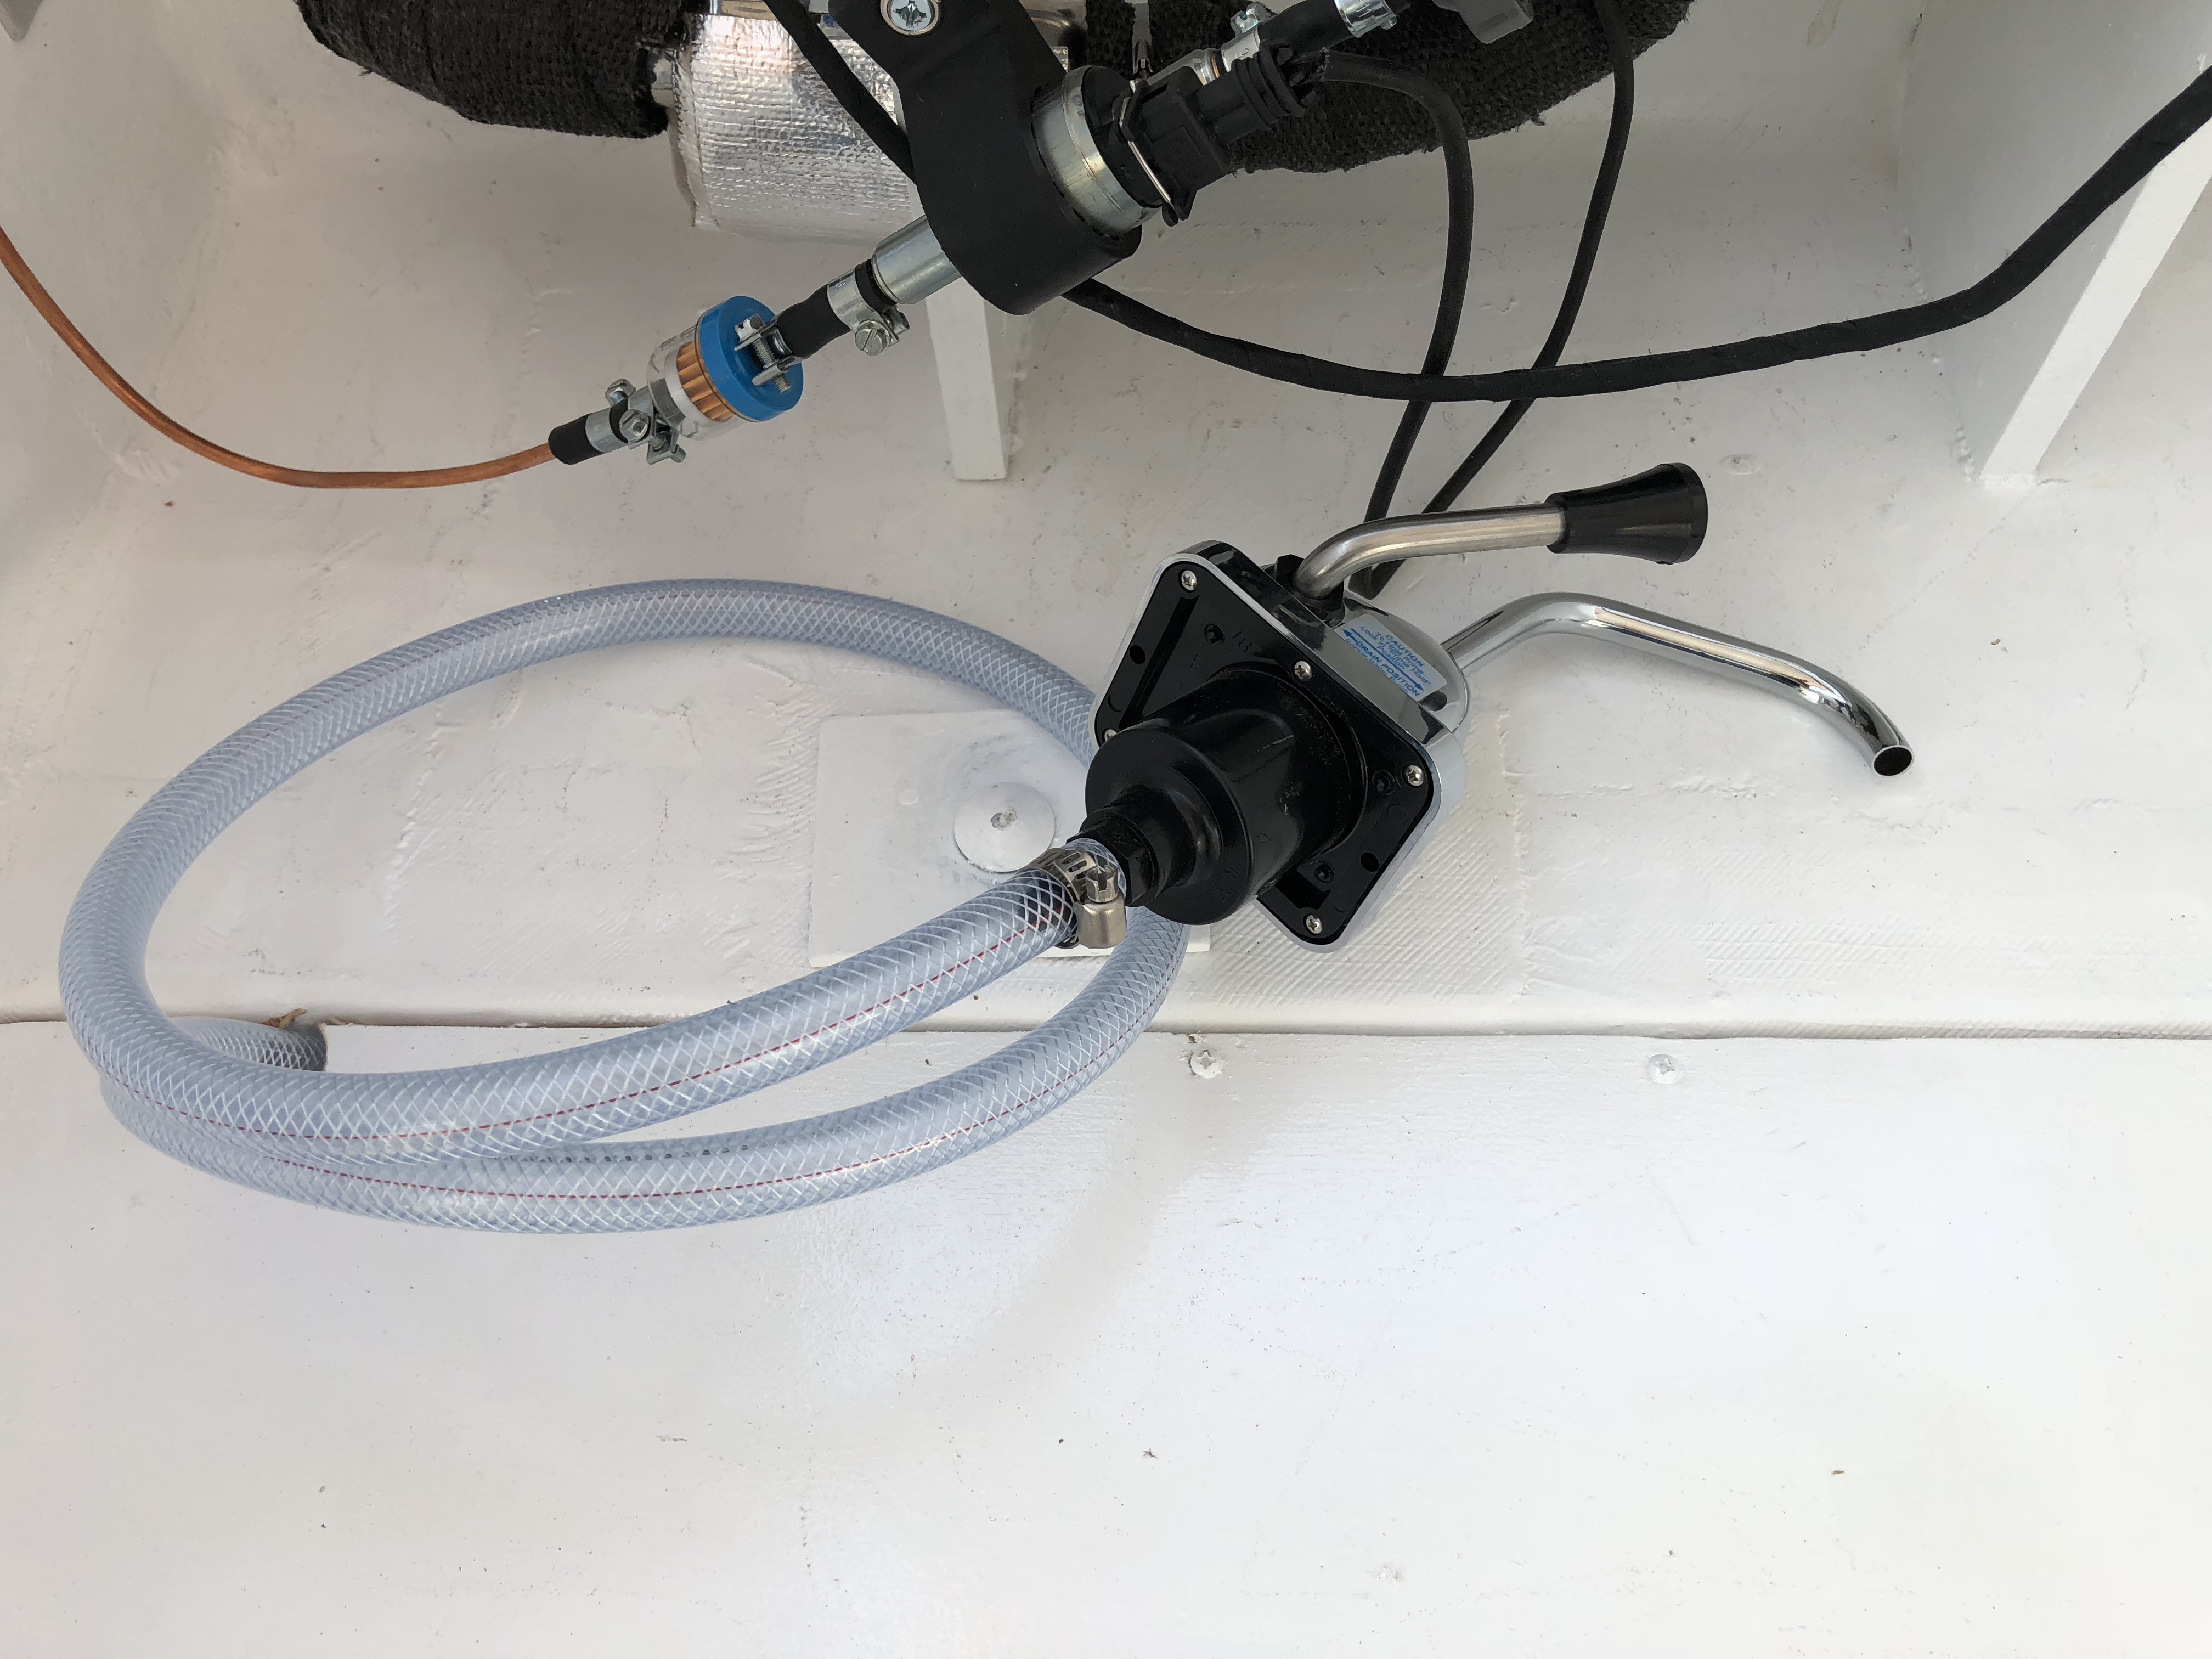
I needed a way to keep the drain tank from flying around in the cabinet while we drive. (Jason doesn't slow down for anything... all cargo must be strapped down tight!) I had some leftover nylon webbing and clips from an old boat cover that I could use!
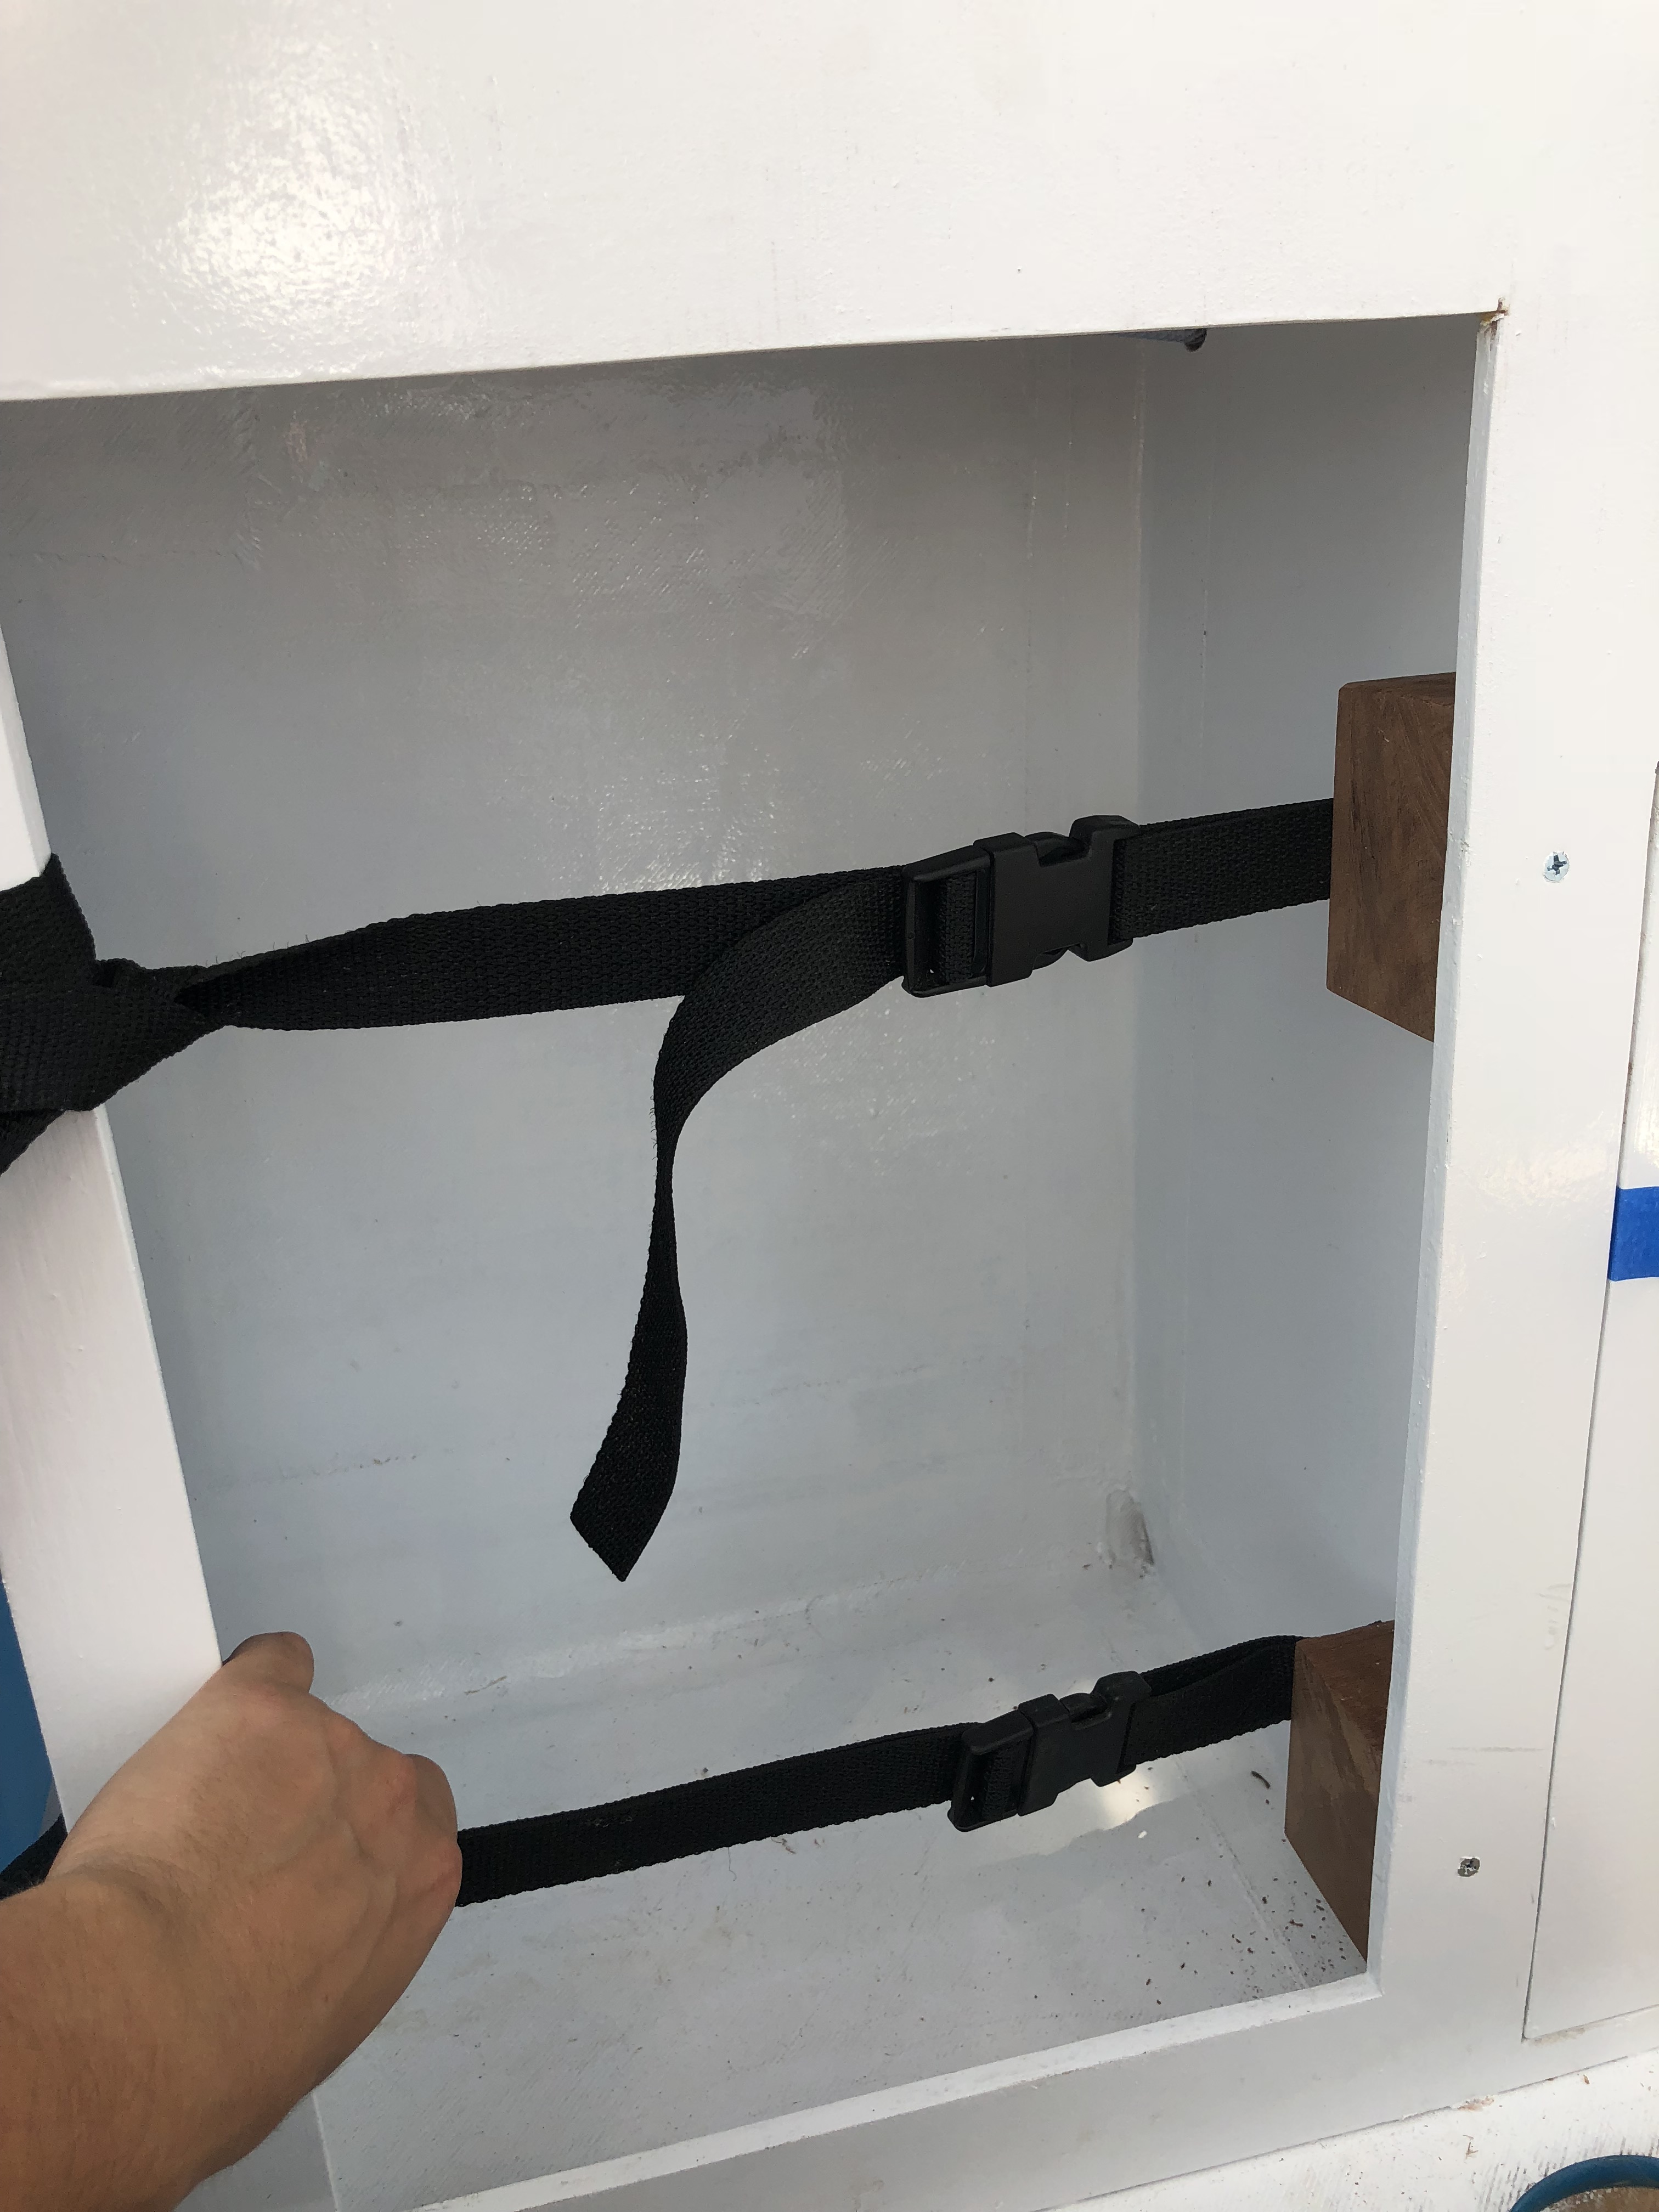
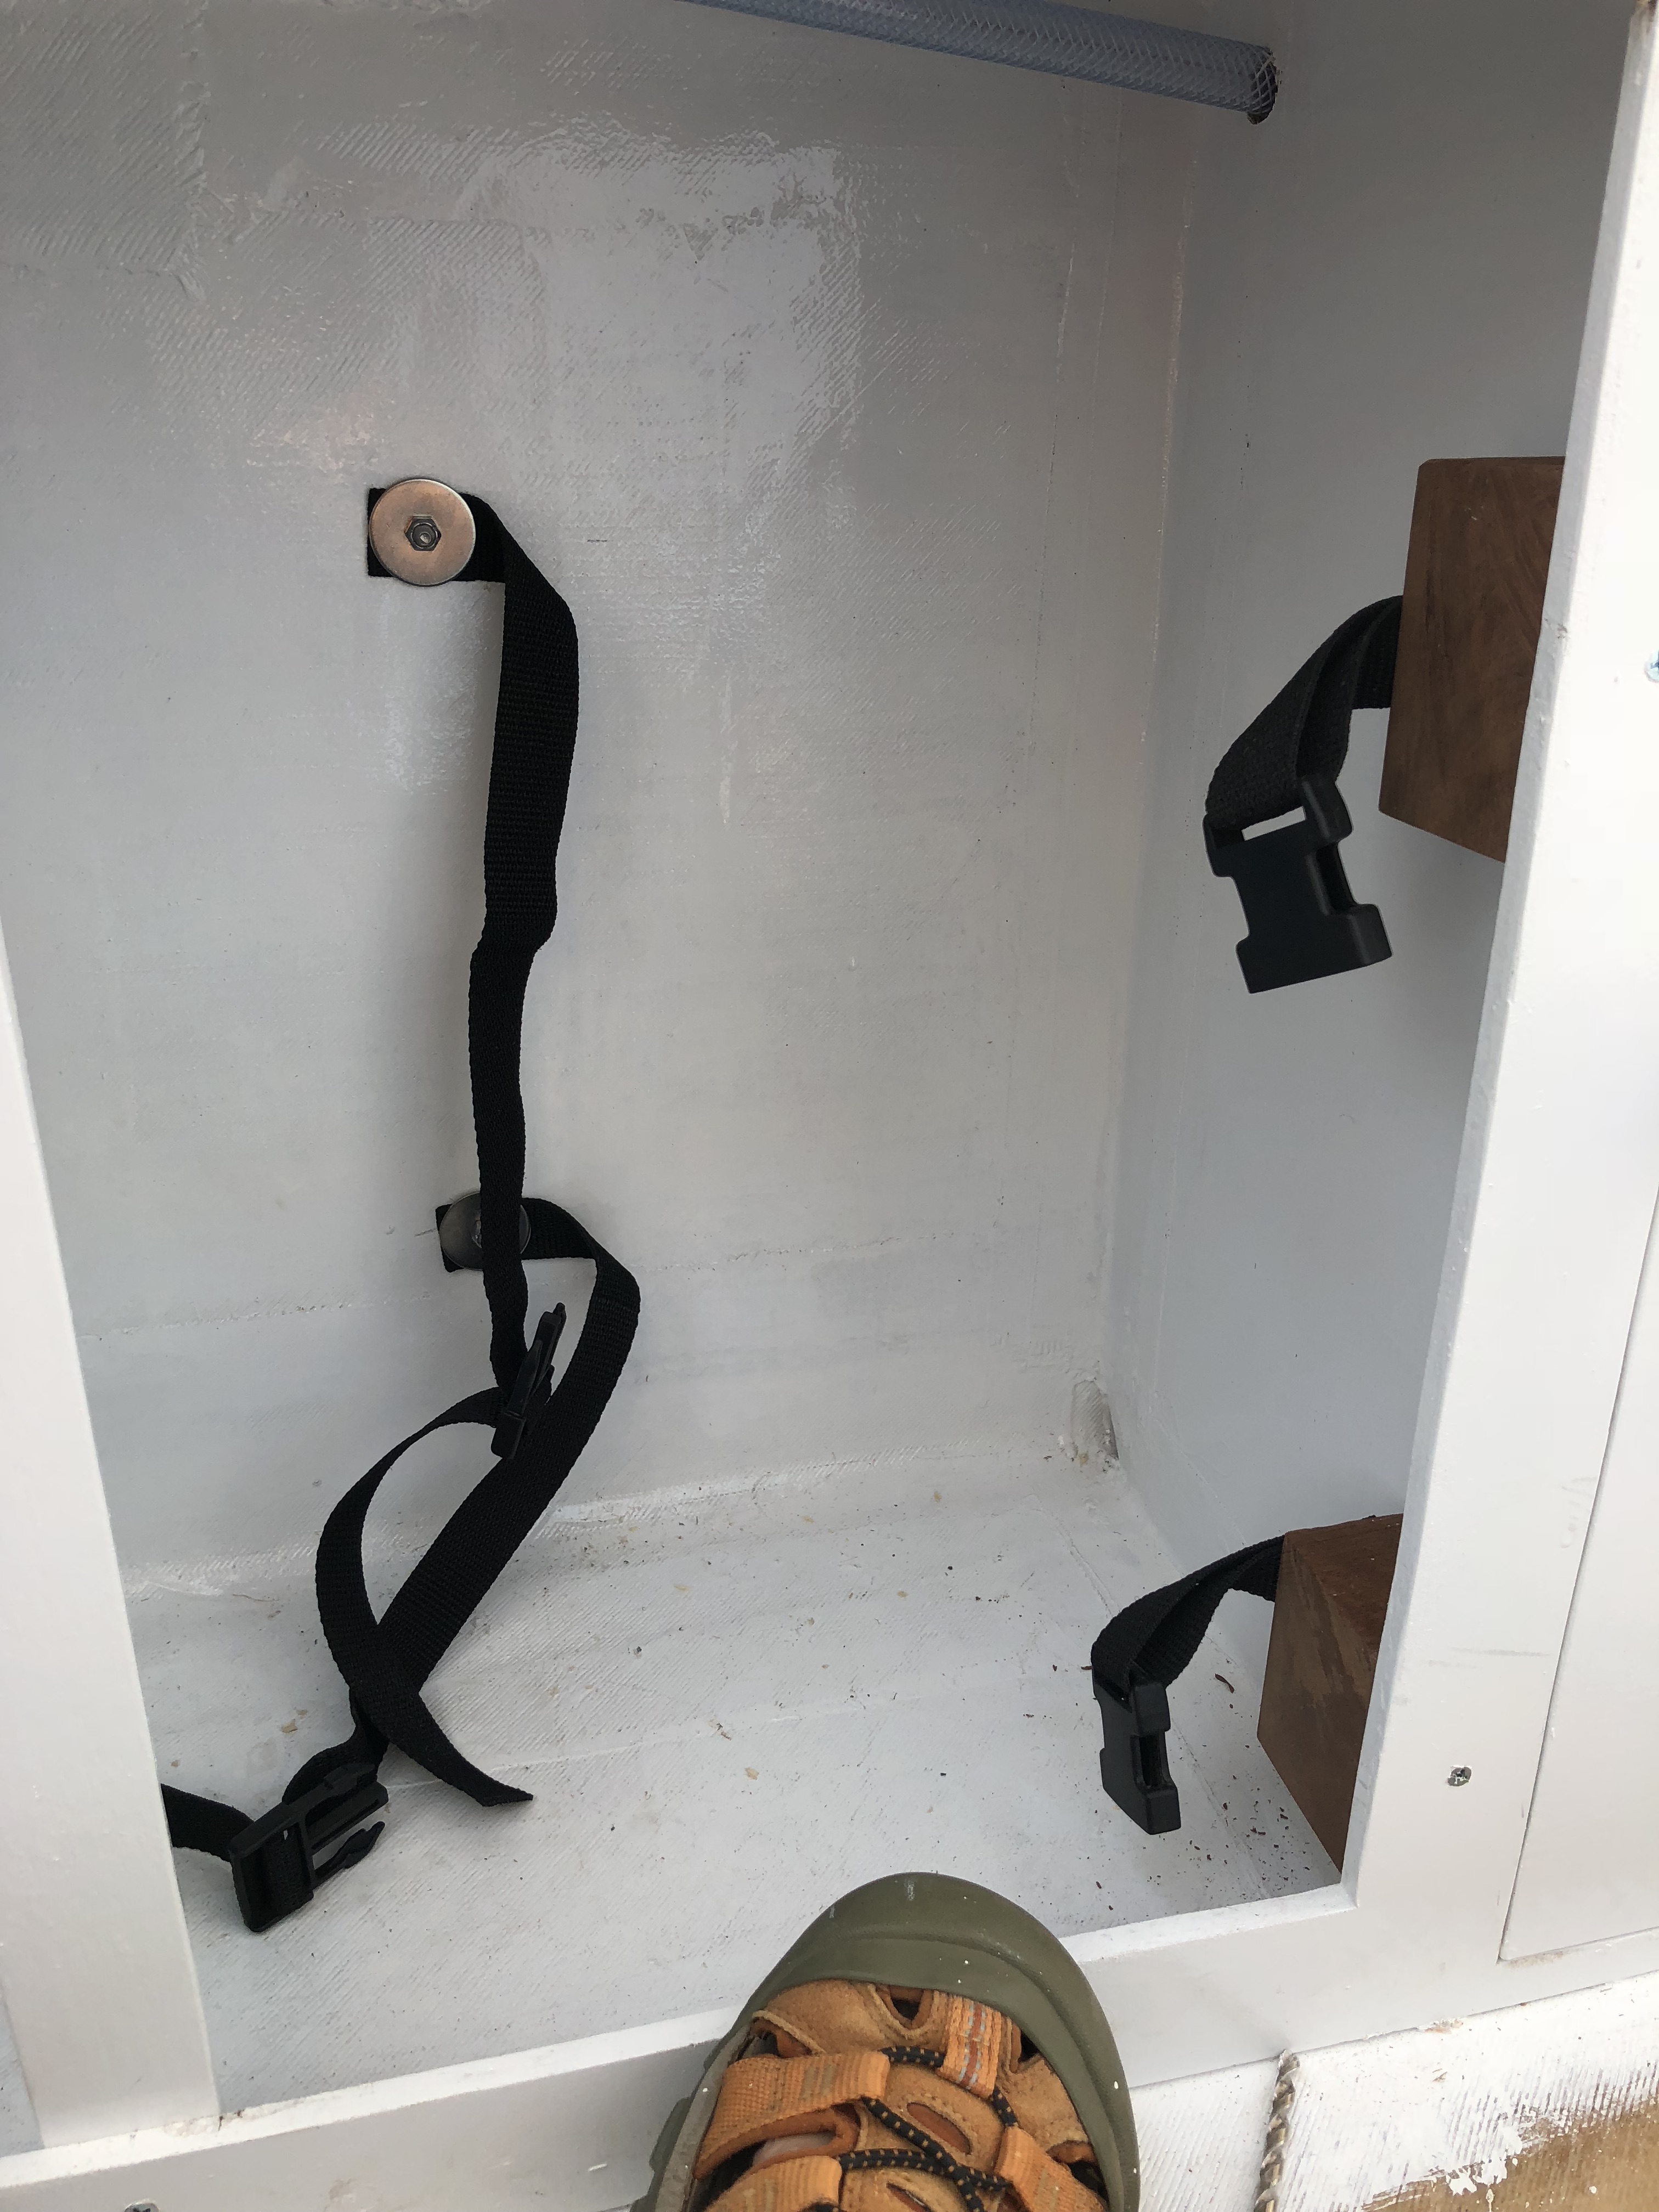
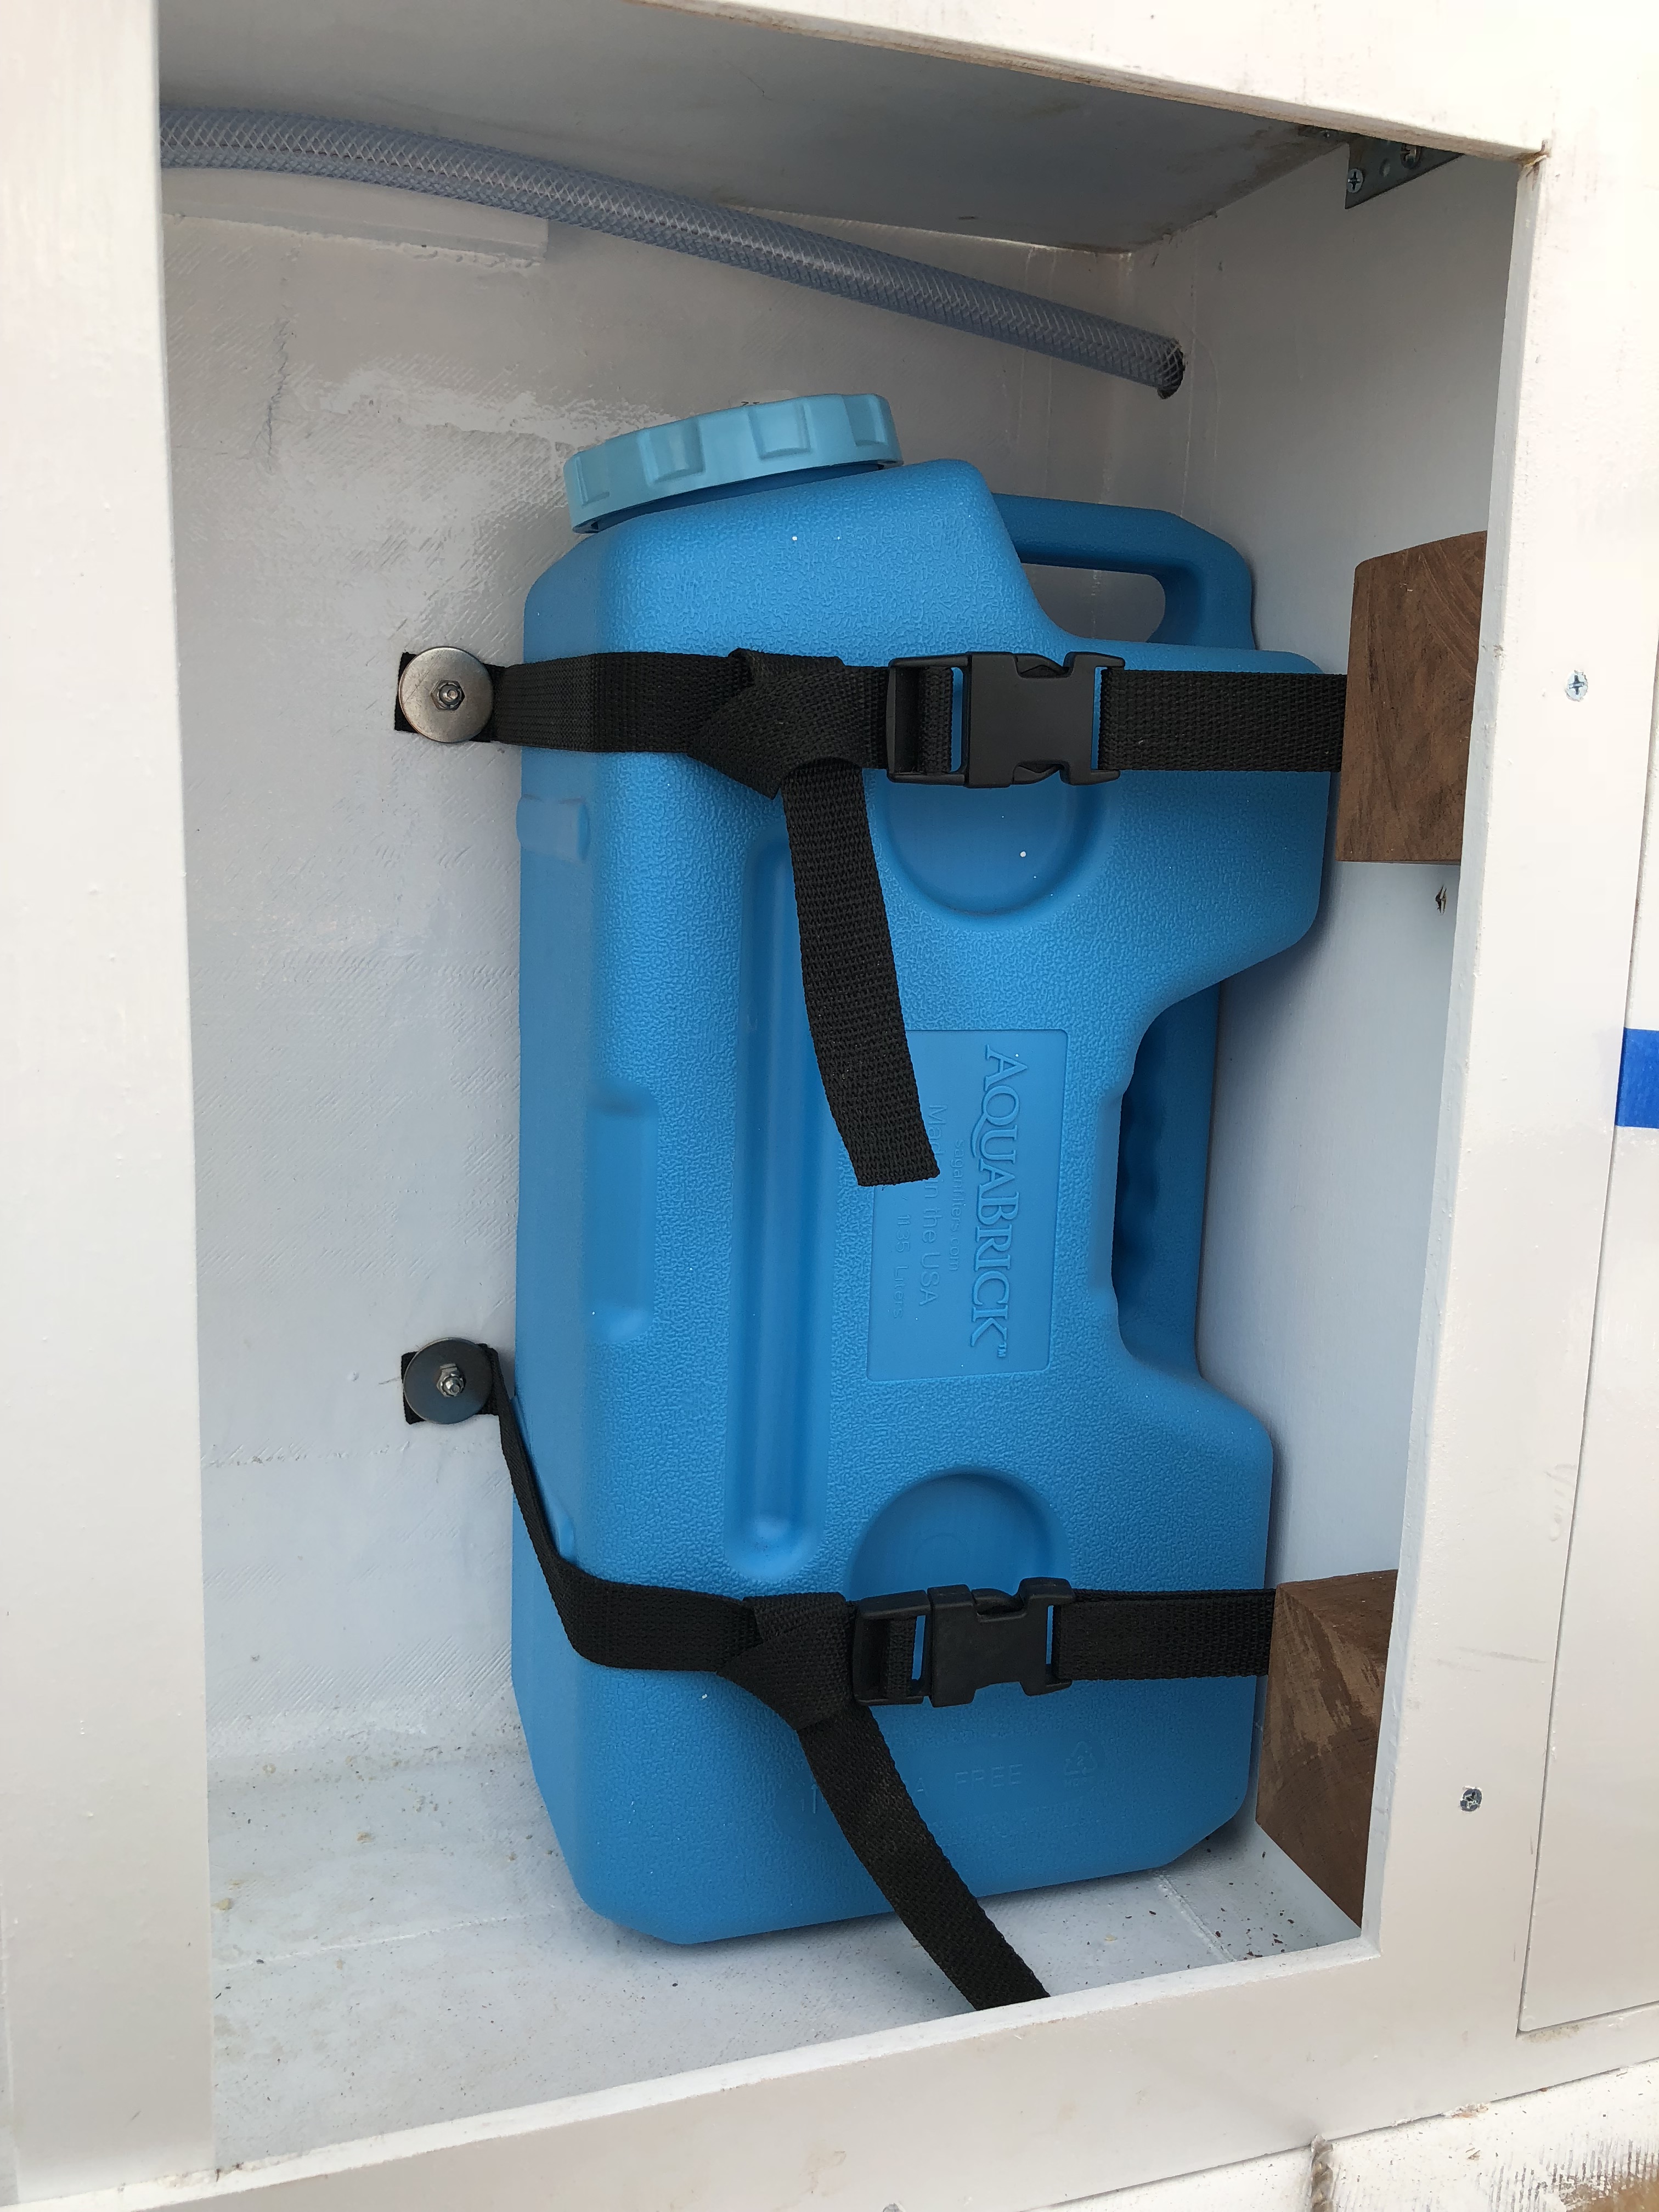
Even if we fill the drain tank with the full 3 gallons of water, it's not going to budge!
Today I put the finishing touches on a lot of my half finished projects. I ran the water supply line from the tank, through the false floor, around the battery, and up into the heater/sink compartment.
Since the countertop isn't done, the faucet gets to just sit there and wait. While I was doing that, Jason finished the wiring on the solar panels and tested it! We were making 21 volts!
We chose to not mount our panels on the roof for a few reasons... mostly they're large and heavy. But also when we find our epic little spot in the shade, our panels will also be in the shade... this way we can park where we like and put the panels out where they'll do the most good!
I do have some feedback on this setup. I still like NOT having these monstrosities on the roof, however they're also so big and awkward that we rarely bring them with us camping. Our style of camping is to move around and not stay in the same place very long, which means that the truck usually has no trouble topping up the battery. If I were to do it again, I'm not sure I'd bother with the solar setup, but it is pretty cool to have just in case. We used it when the power to our house went out in a storm last year and we had the panels to keep our 12v cooler of food cold... so they might have paid for themselves.
I needed a way to keep the drain tank from flying around in the cabinet while we drive. (Jason doesn't slow down for anything... all cargo must be strapped down tight!) I had some leftover nylon webbing and clips from an old boat cover that I could use!
Even if we fill the drain tank with the full 3 gallons of water, it's not going to budge!
TantoTrailers
Well-known member
Mobile solar is the way to go I think! How many watts is that panel?
underkill
Active member
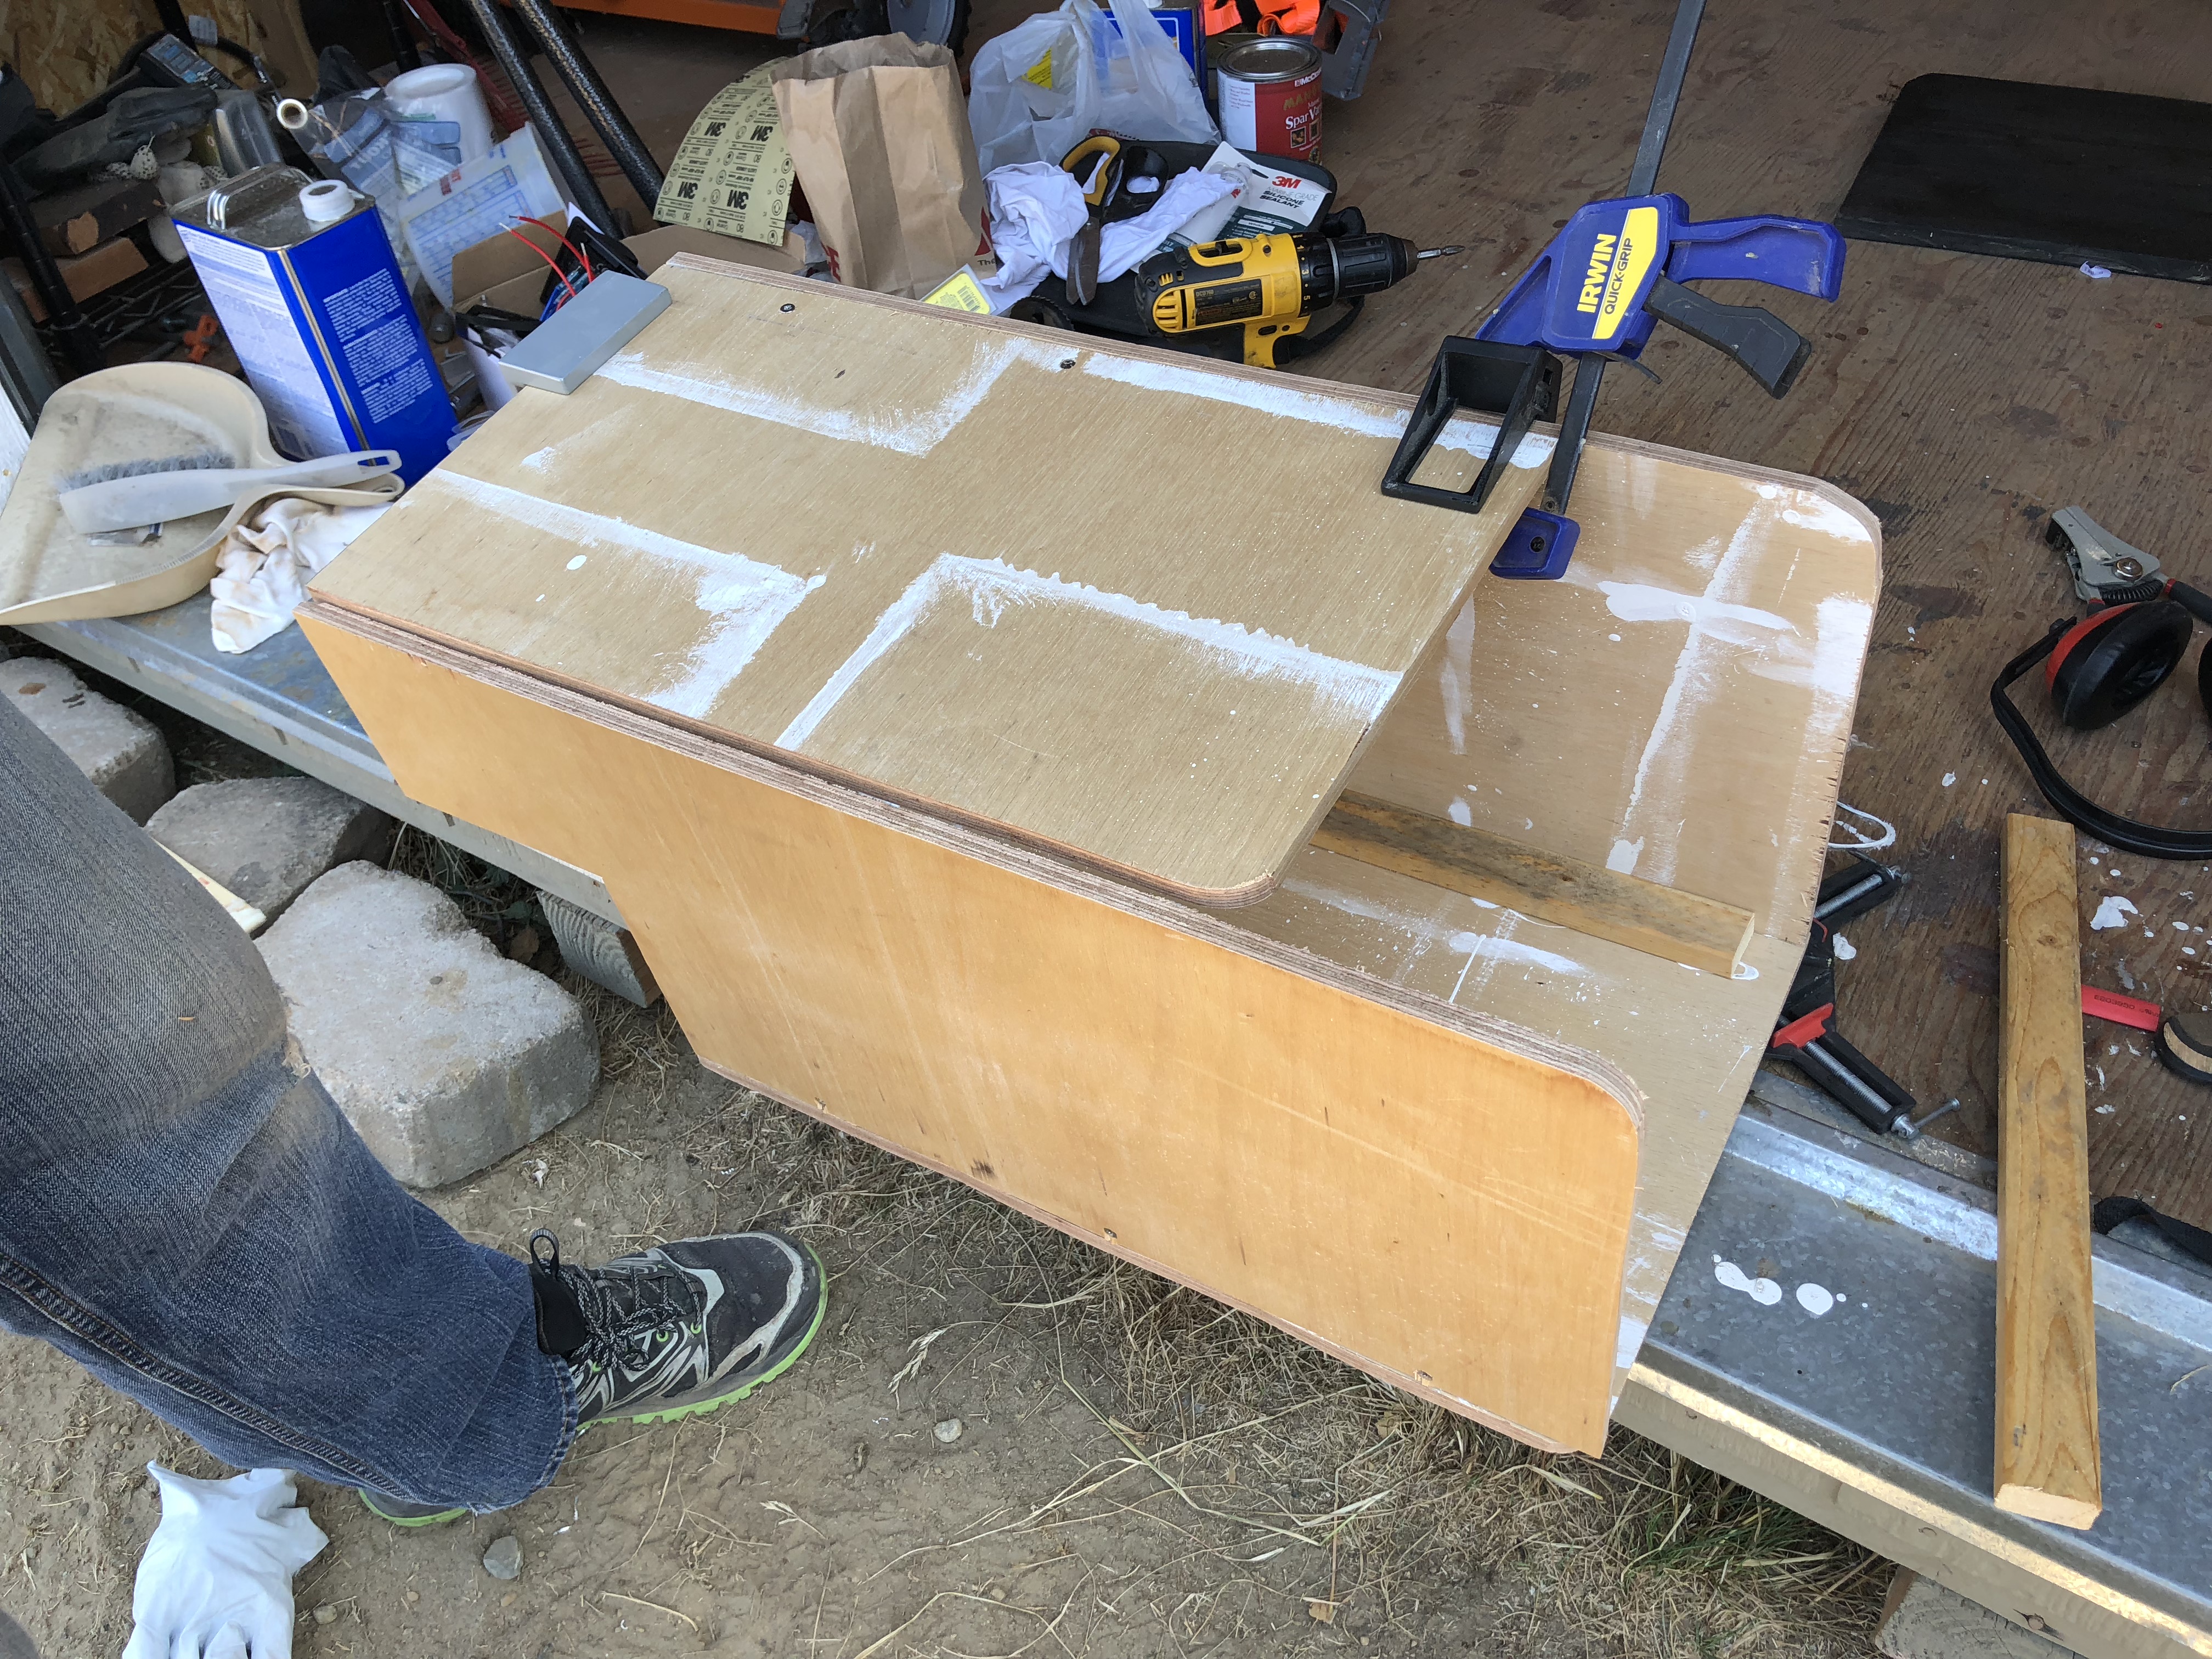
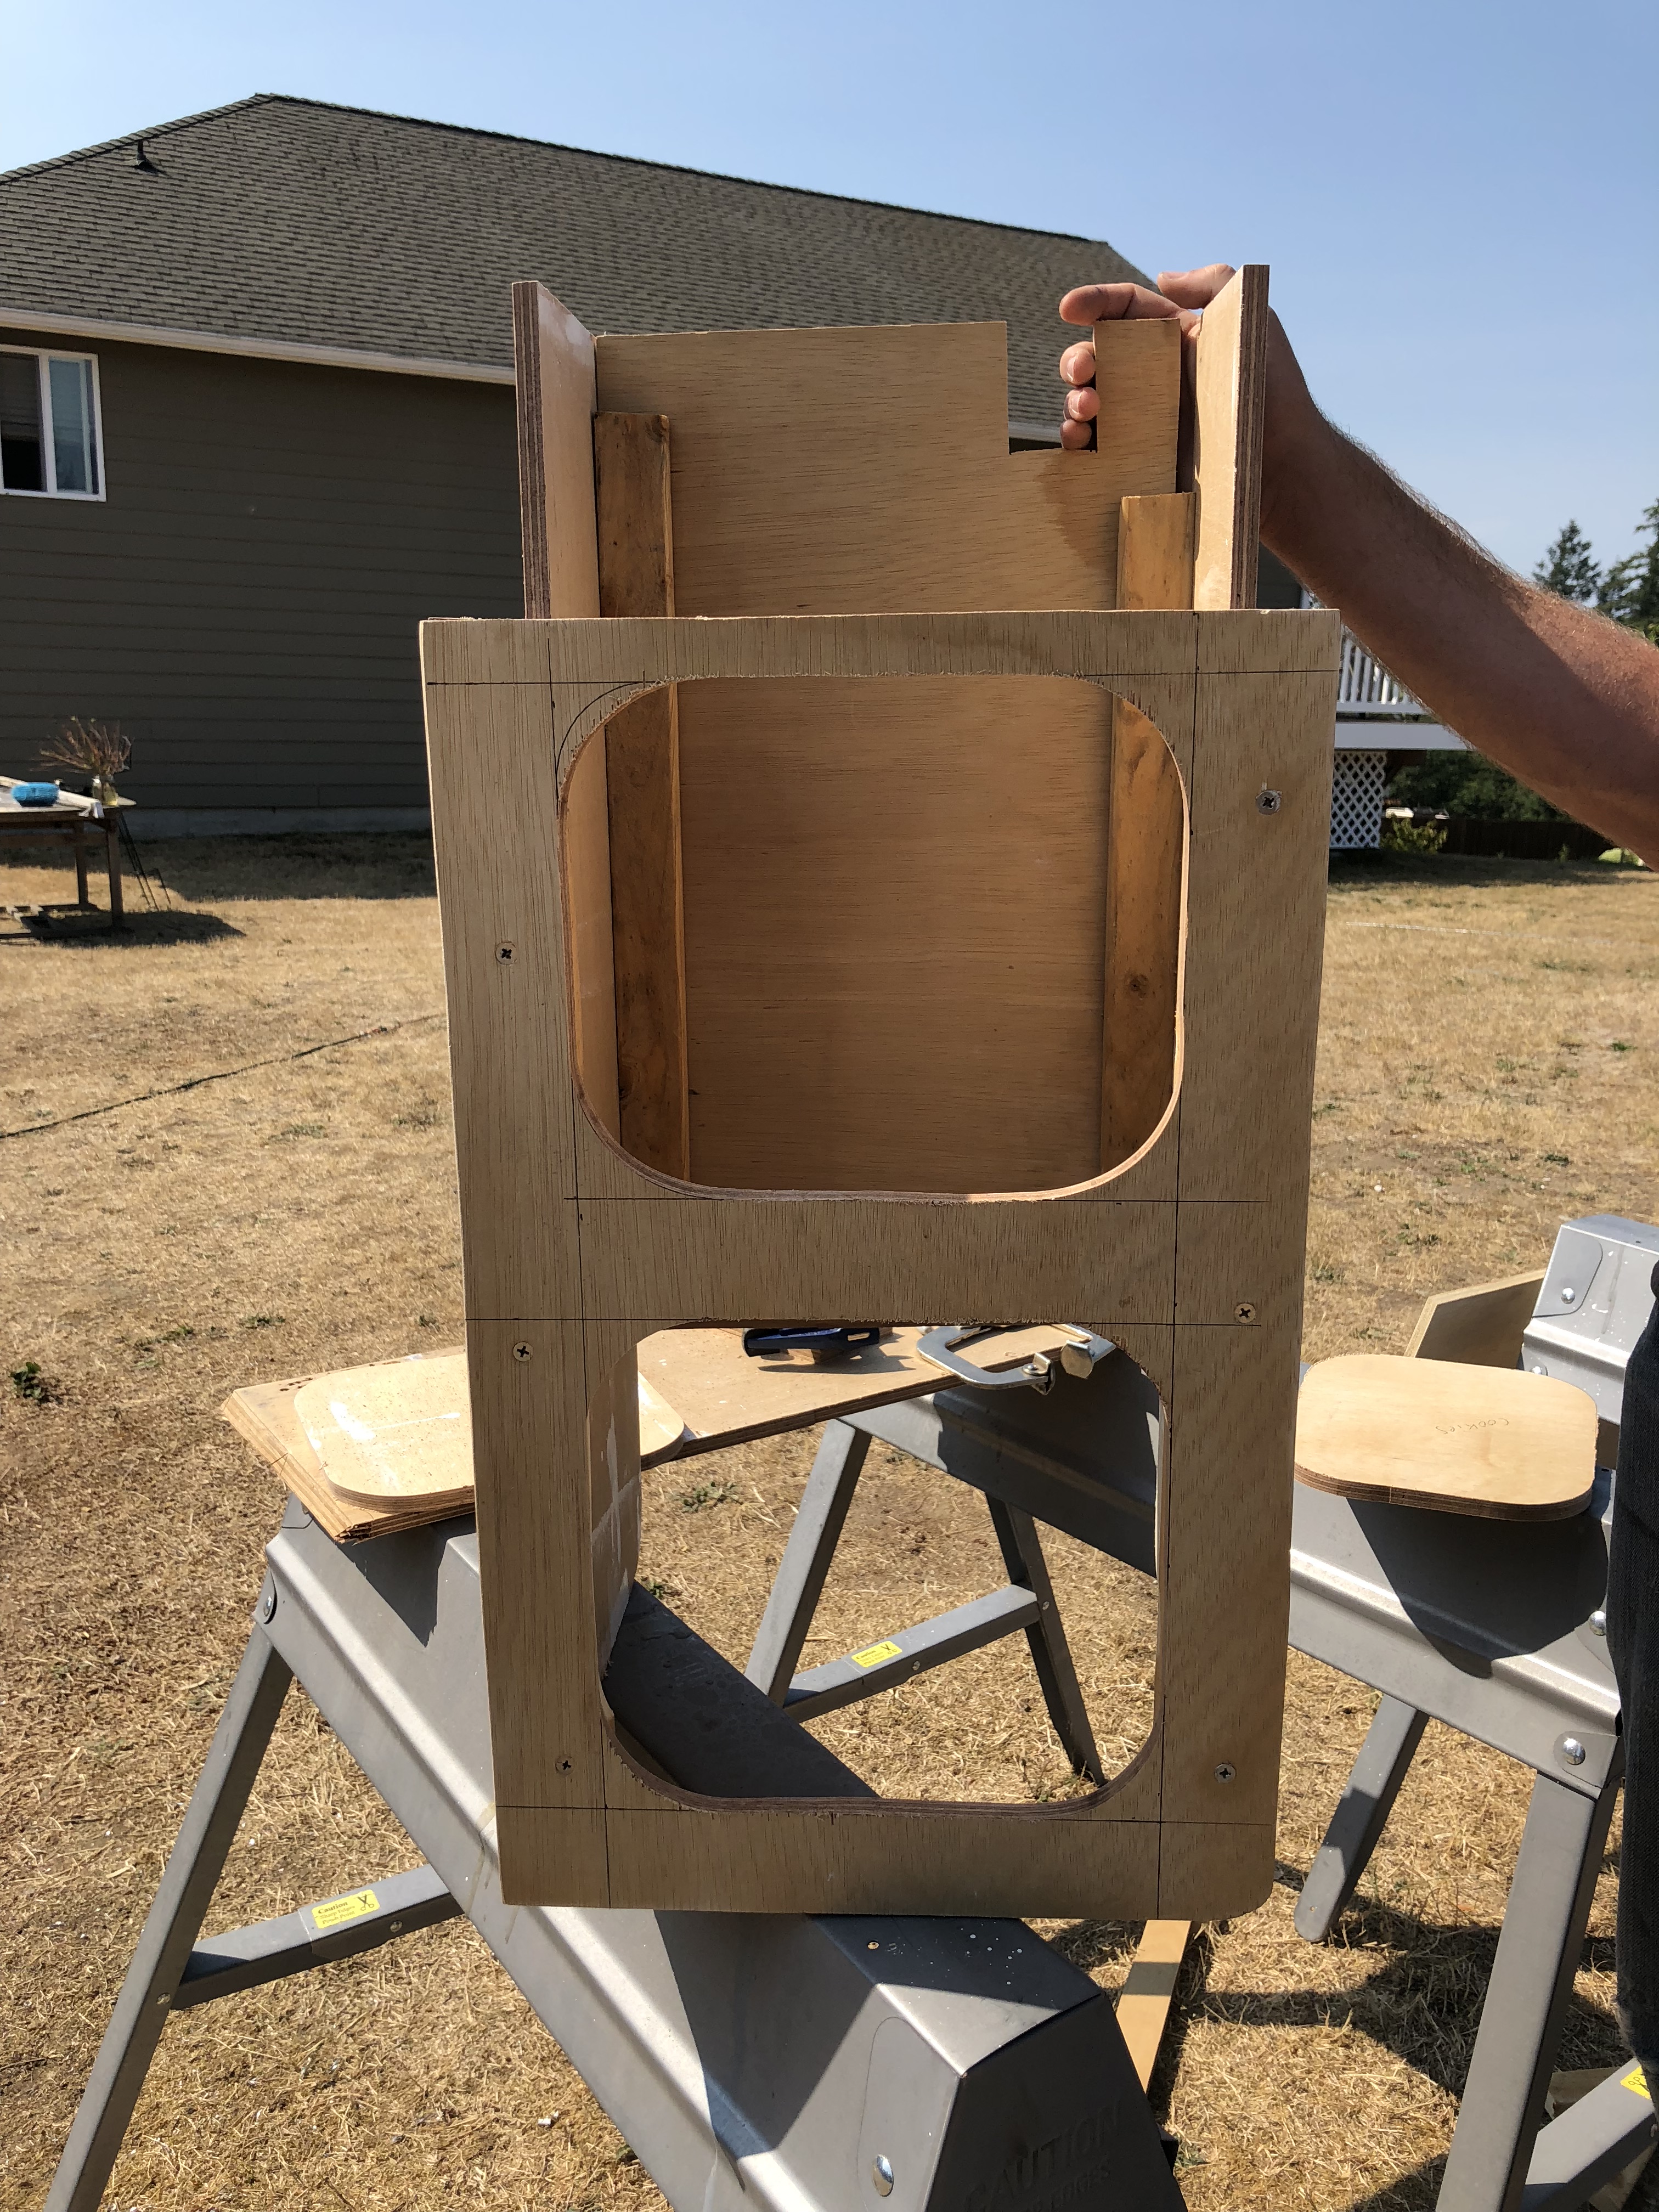
While I was finishing up plumbing projects, Jason was cutting more plywood to make the cabinet for the back corner. (it's sole purpose is so chips don't get crushed. We have our priorities in order!)
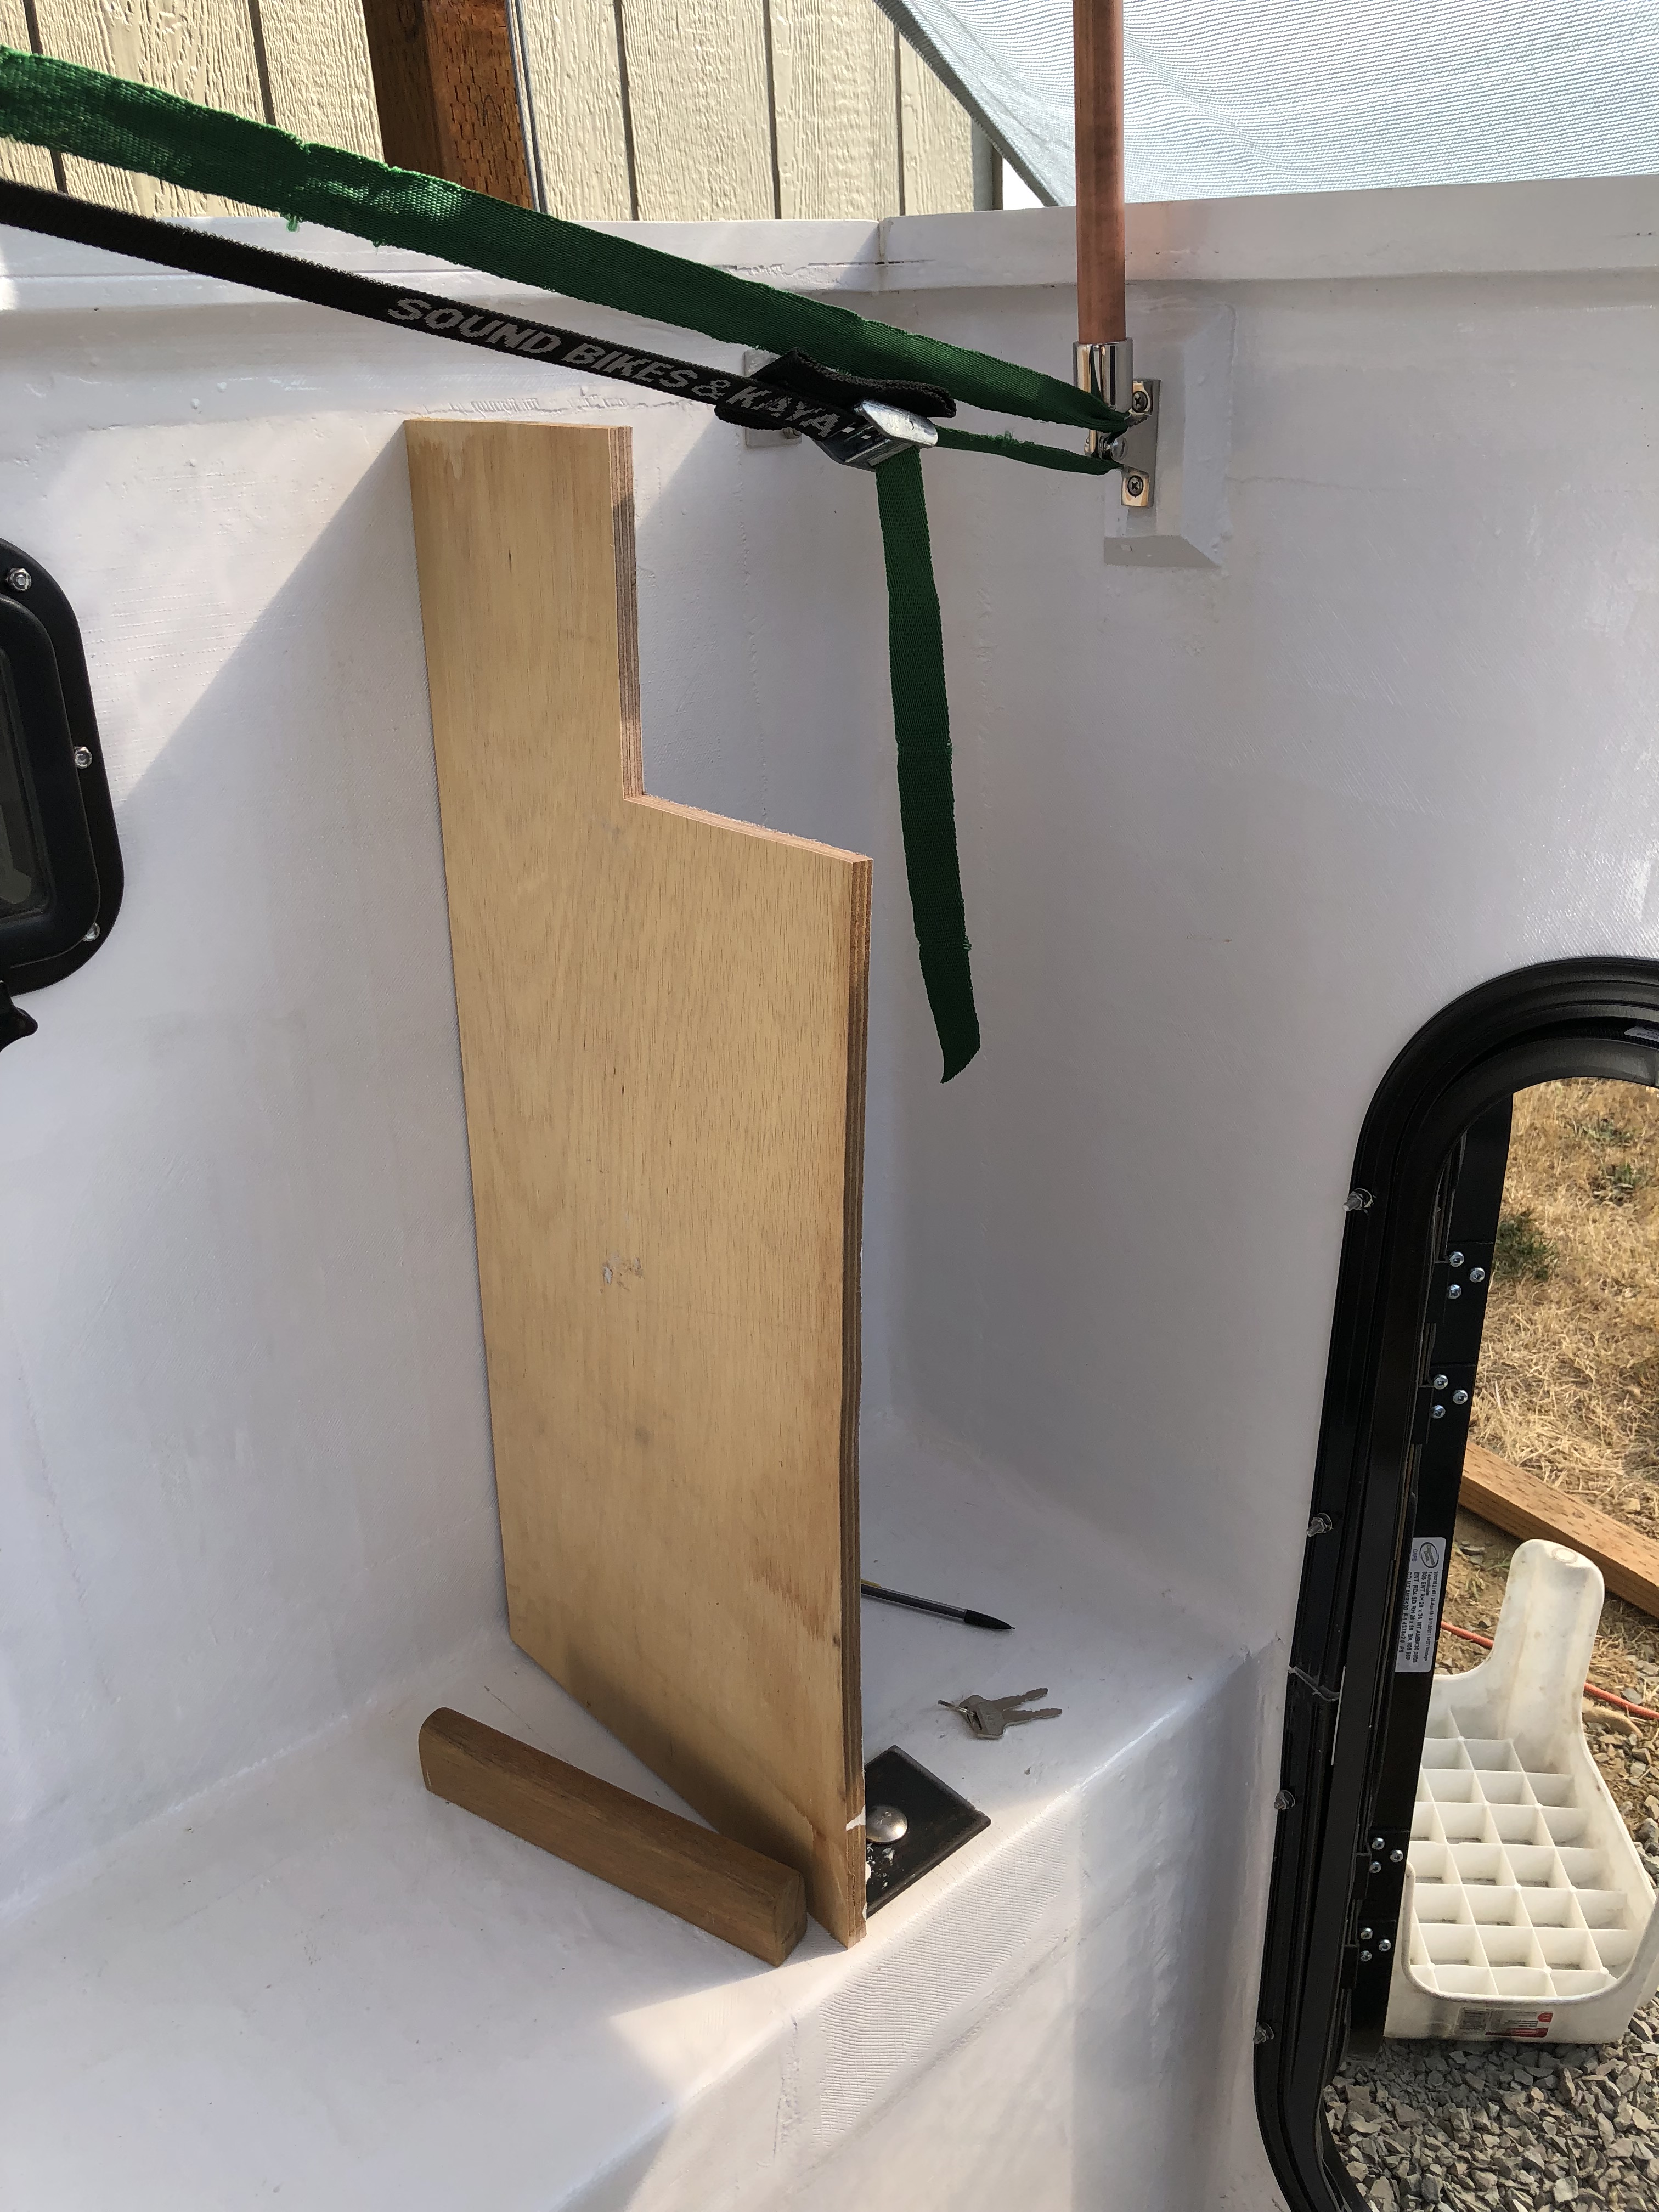
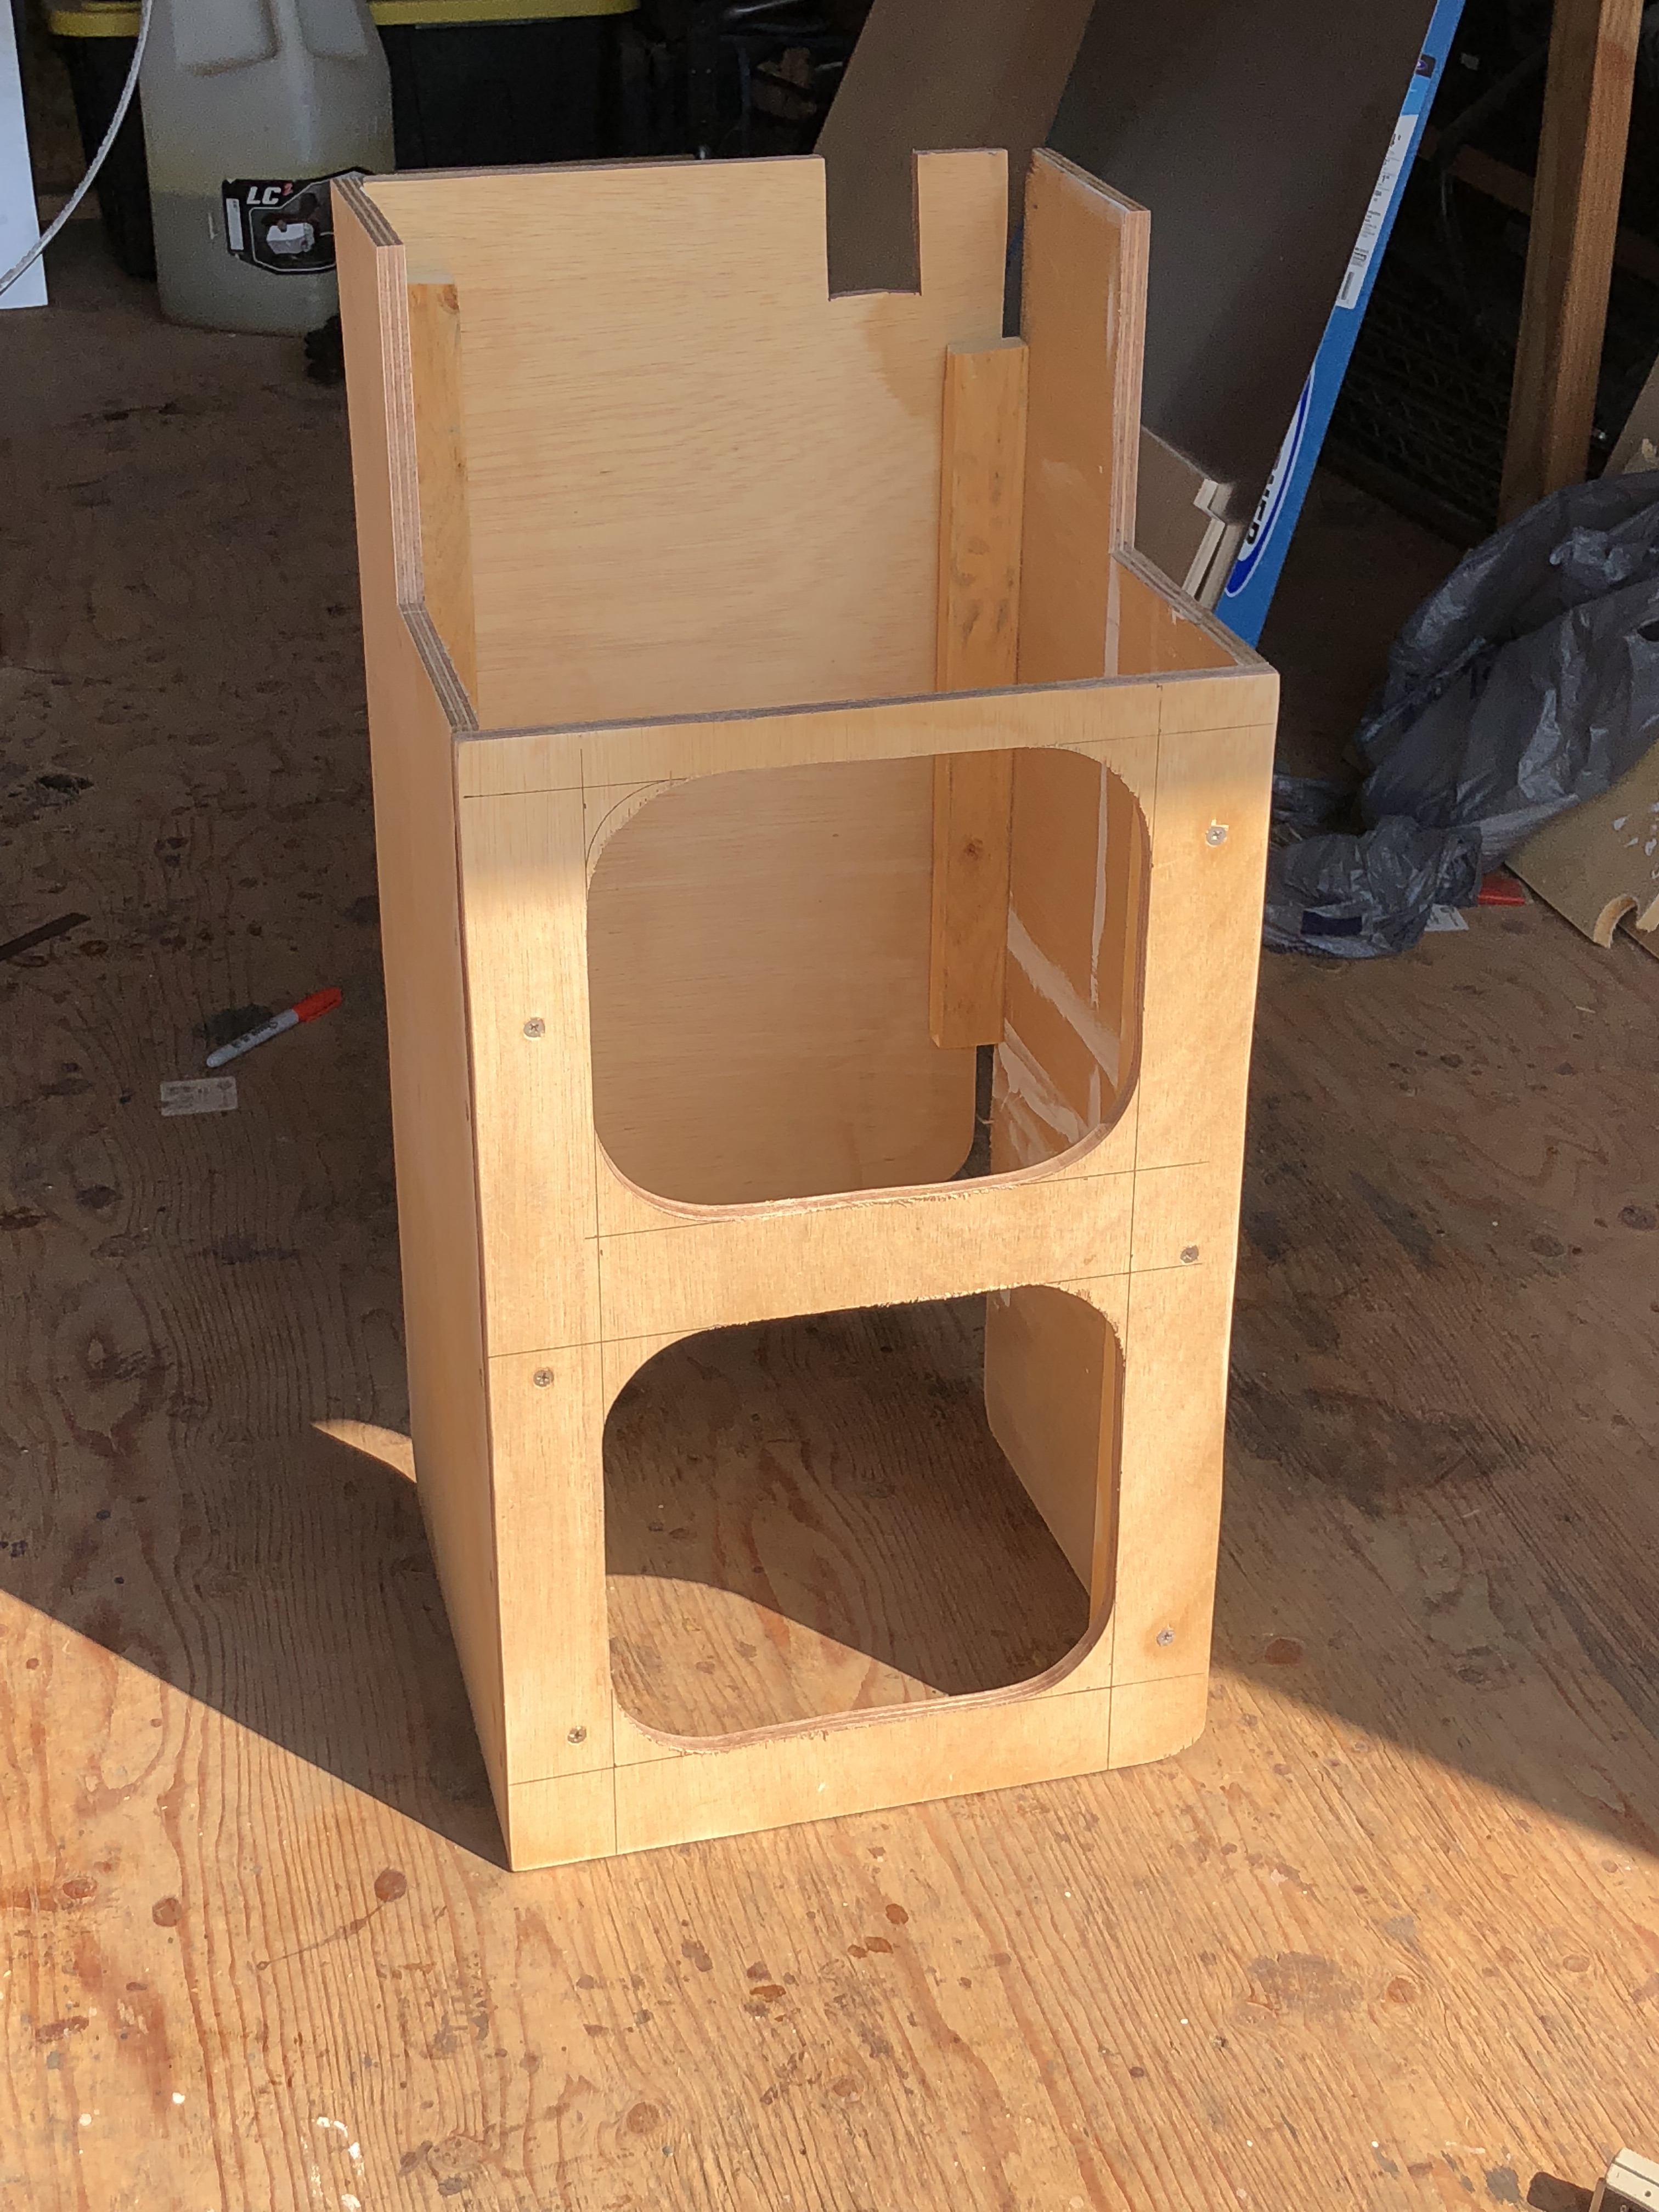
Didn't get pictures of the entire assembly because I was busy doing other things, but here it is almost all done and drying with the edges all chamfered to fit the angles of the fiberglass.
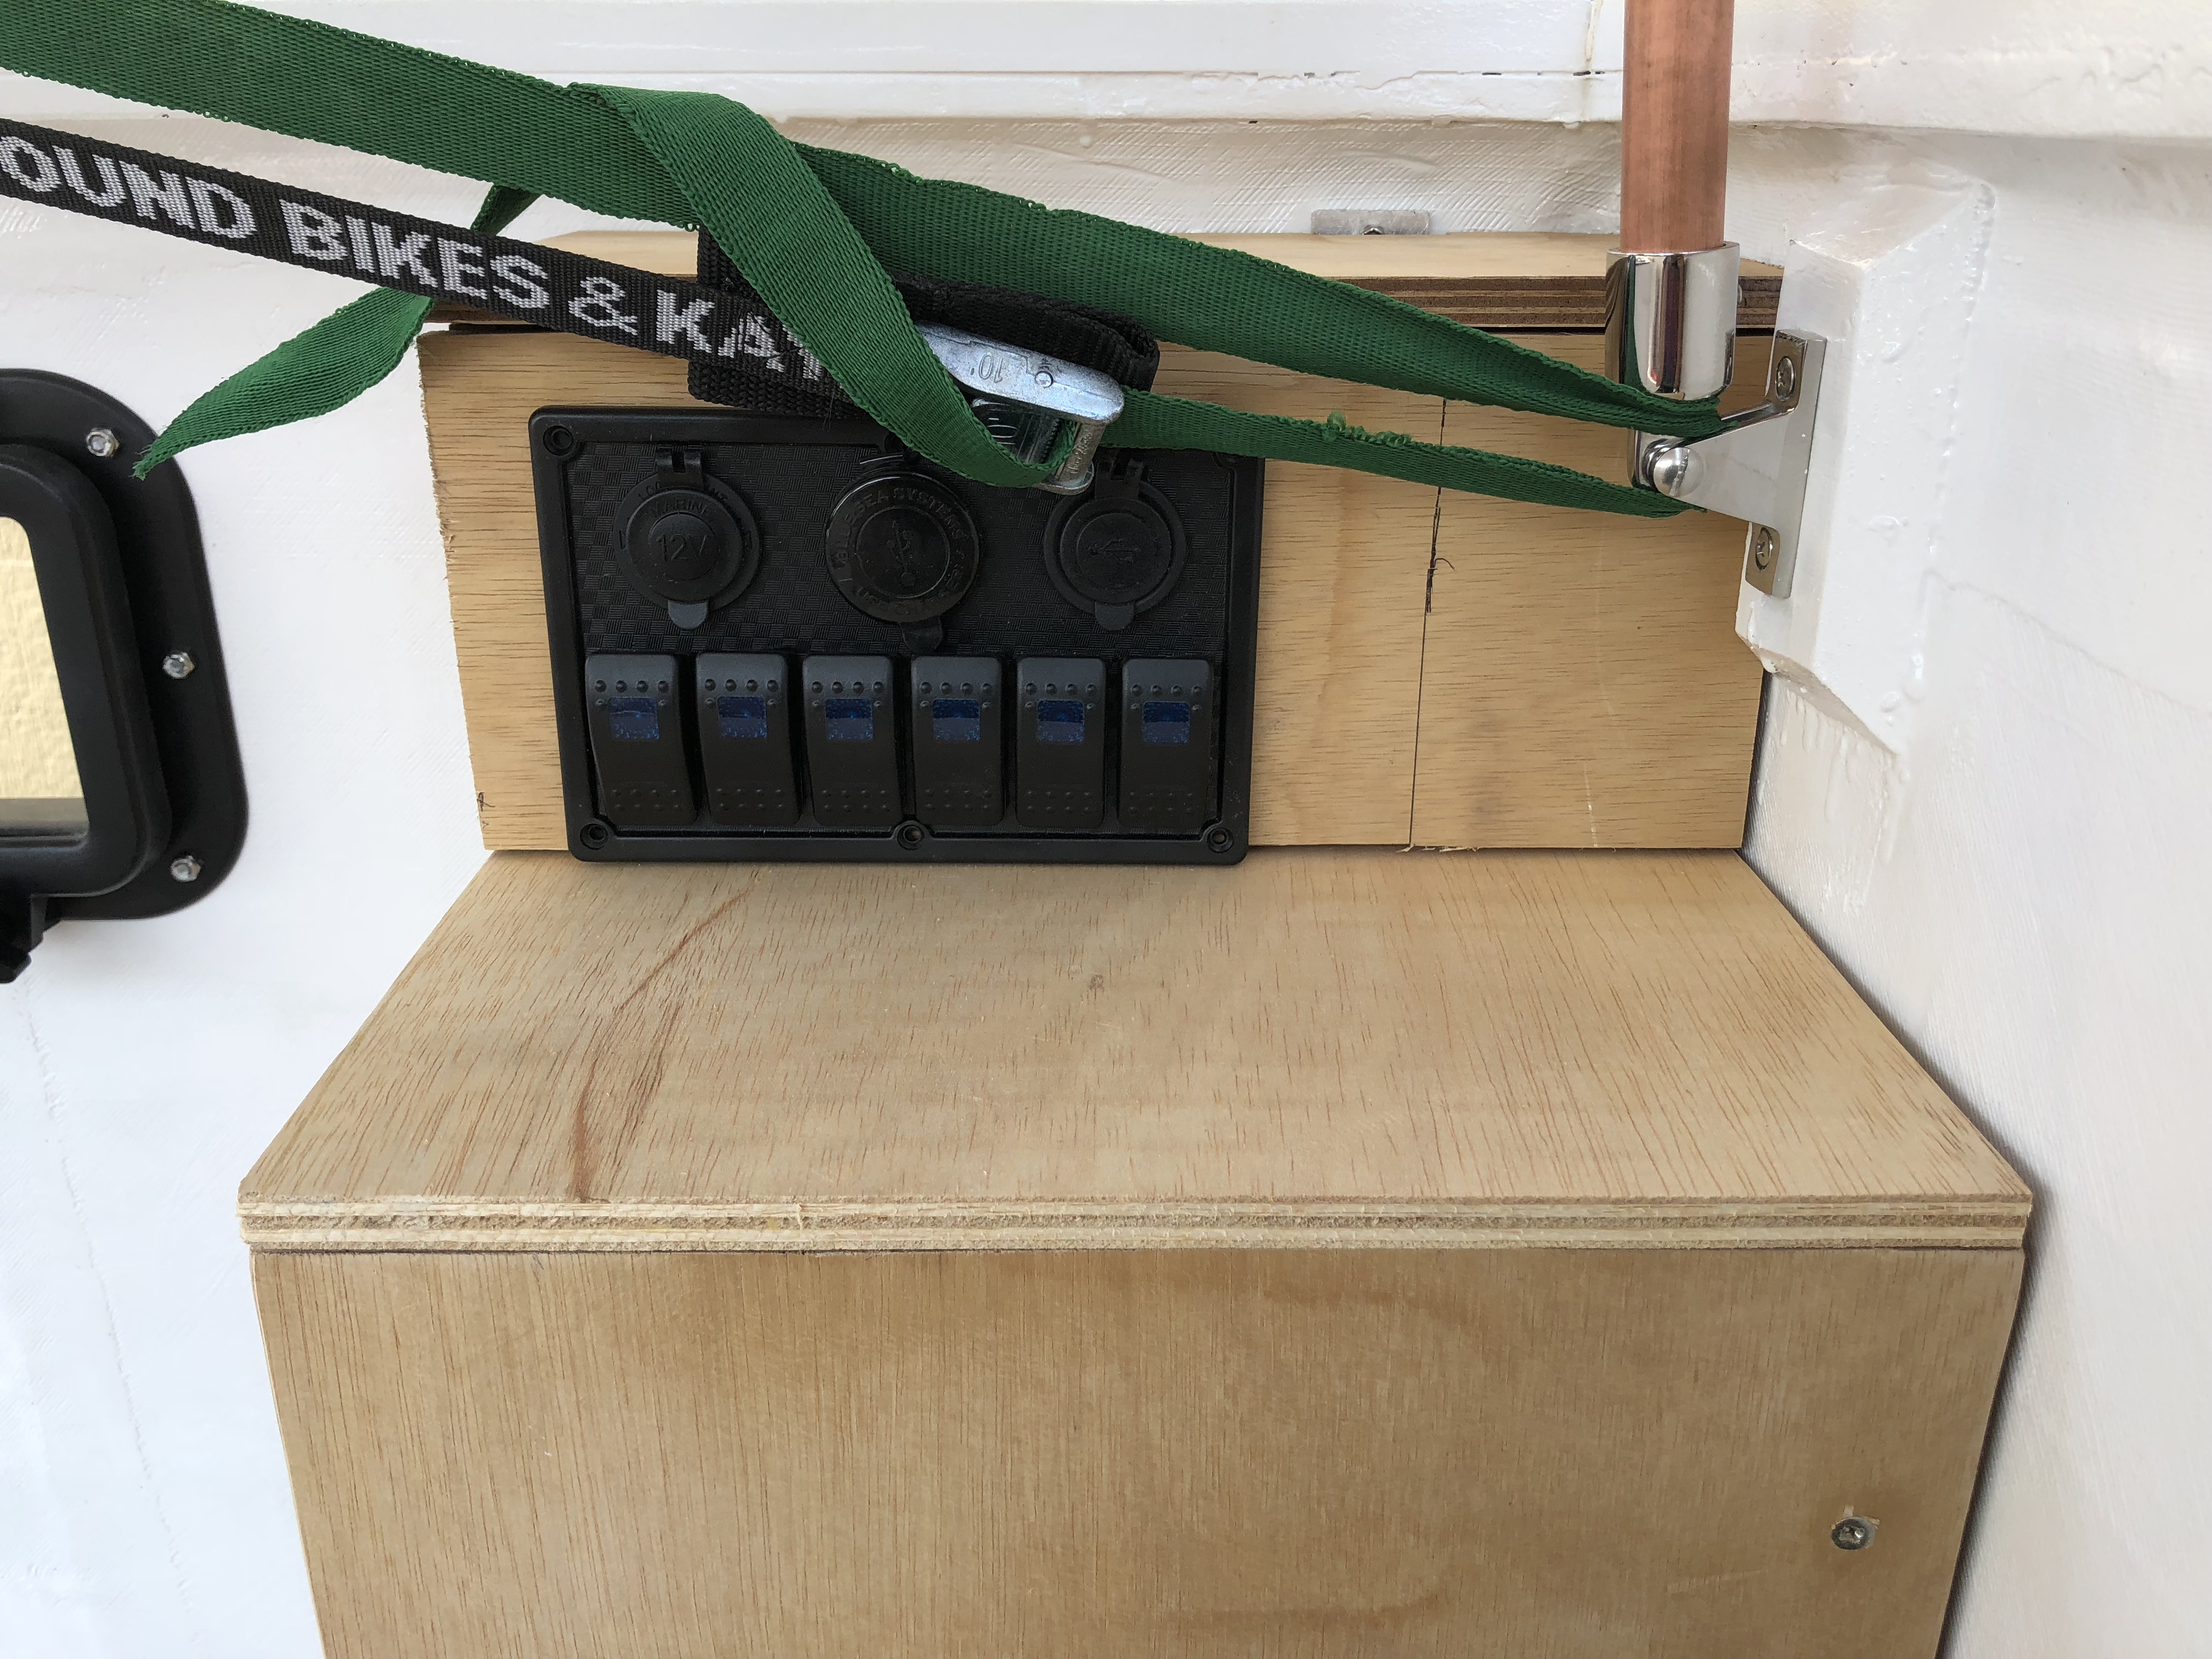
Here it is mocked up. The lift bar doesn't hit the switches luckily!
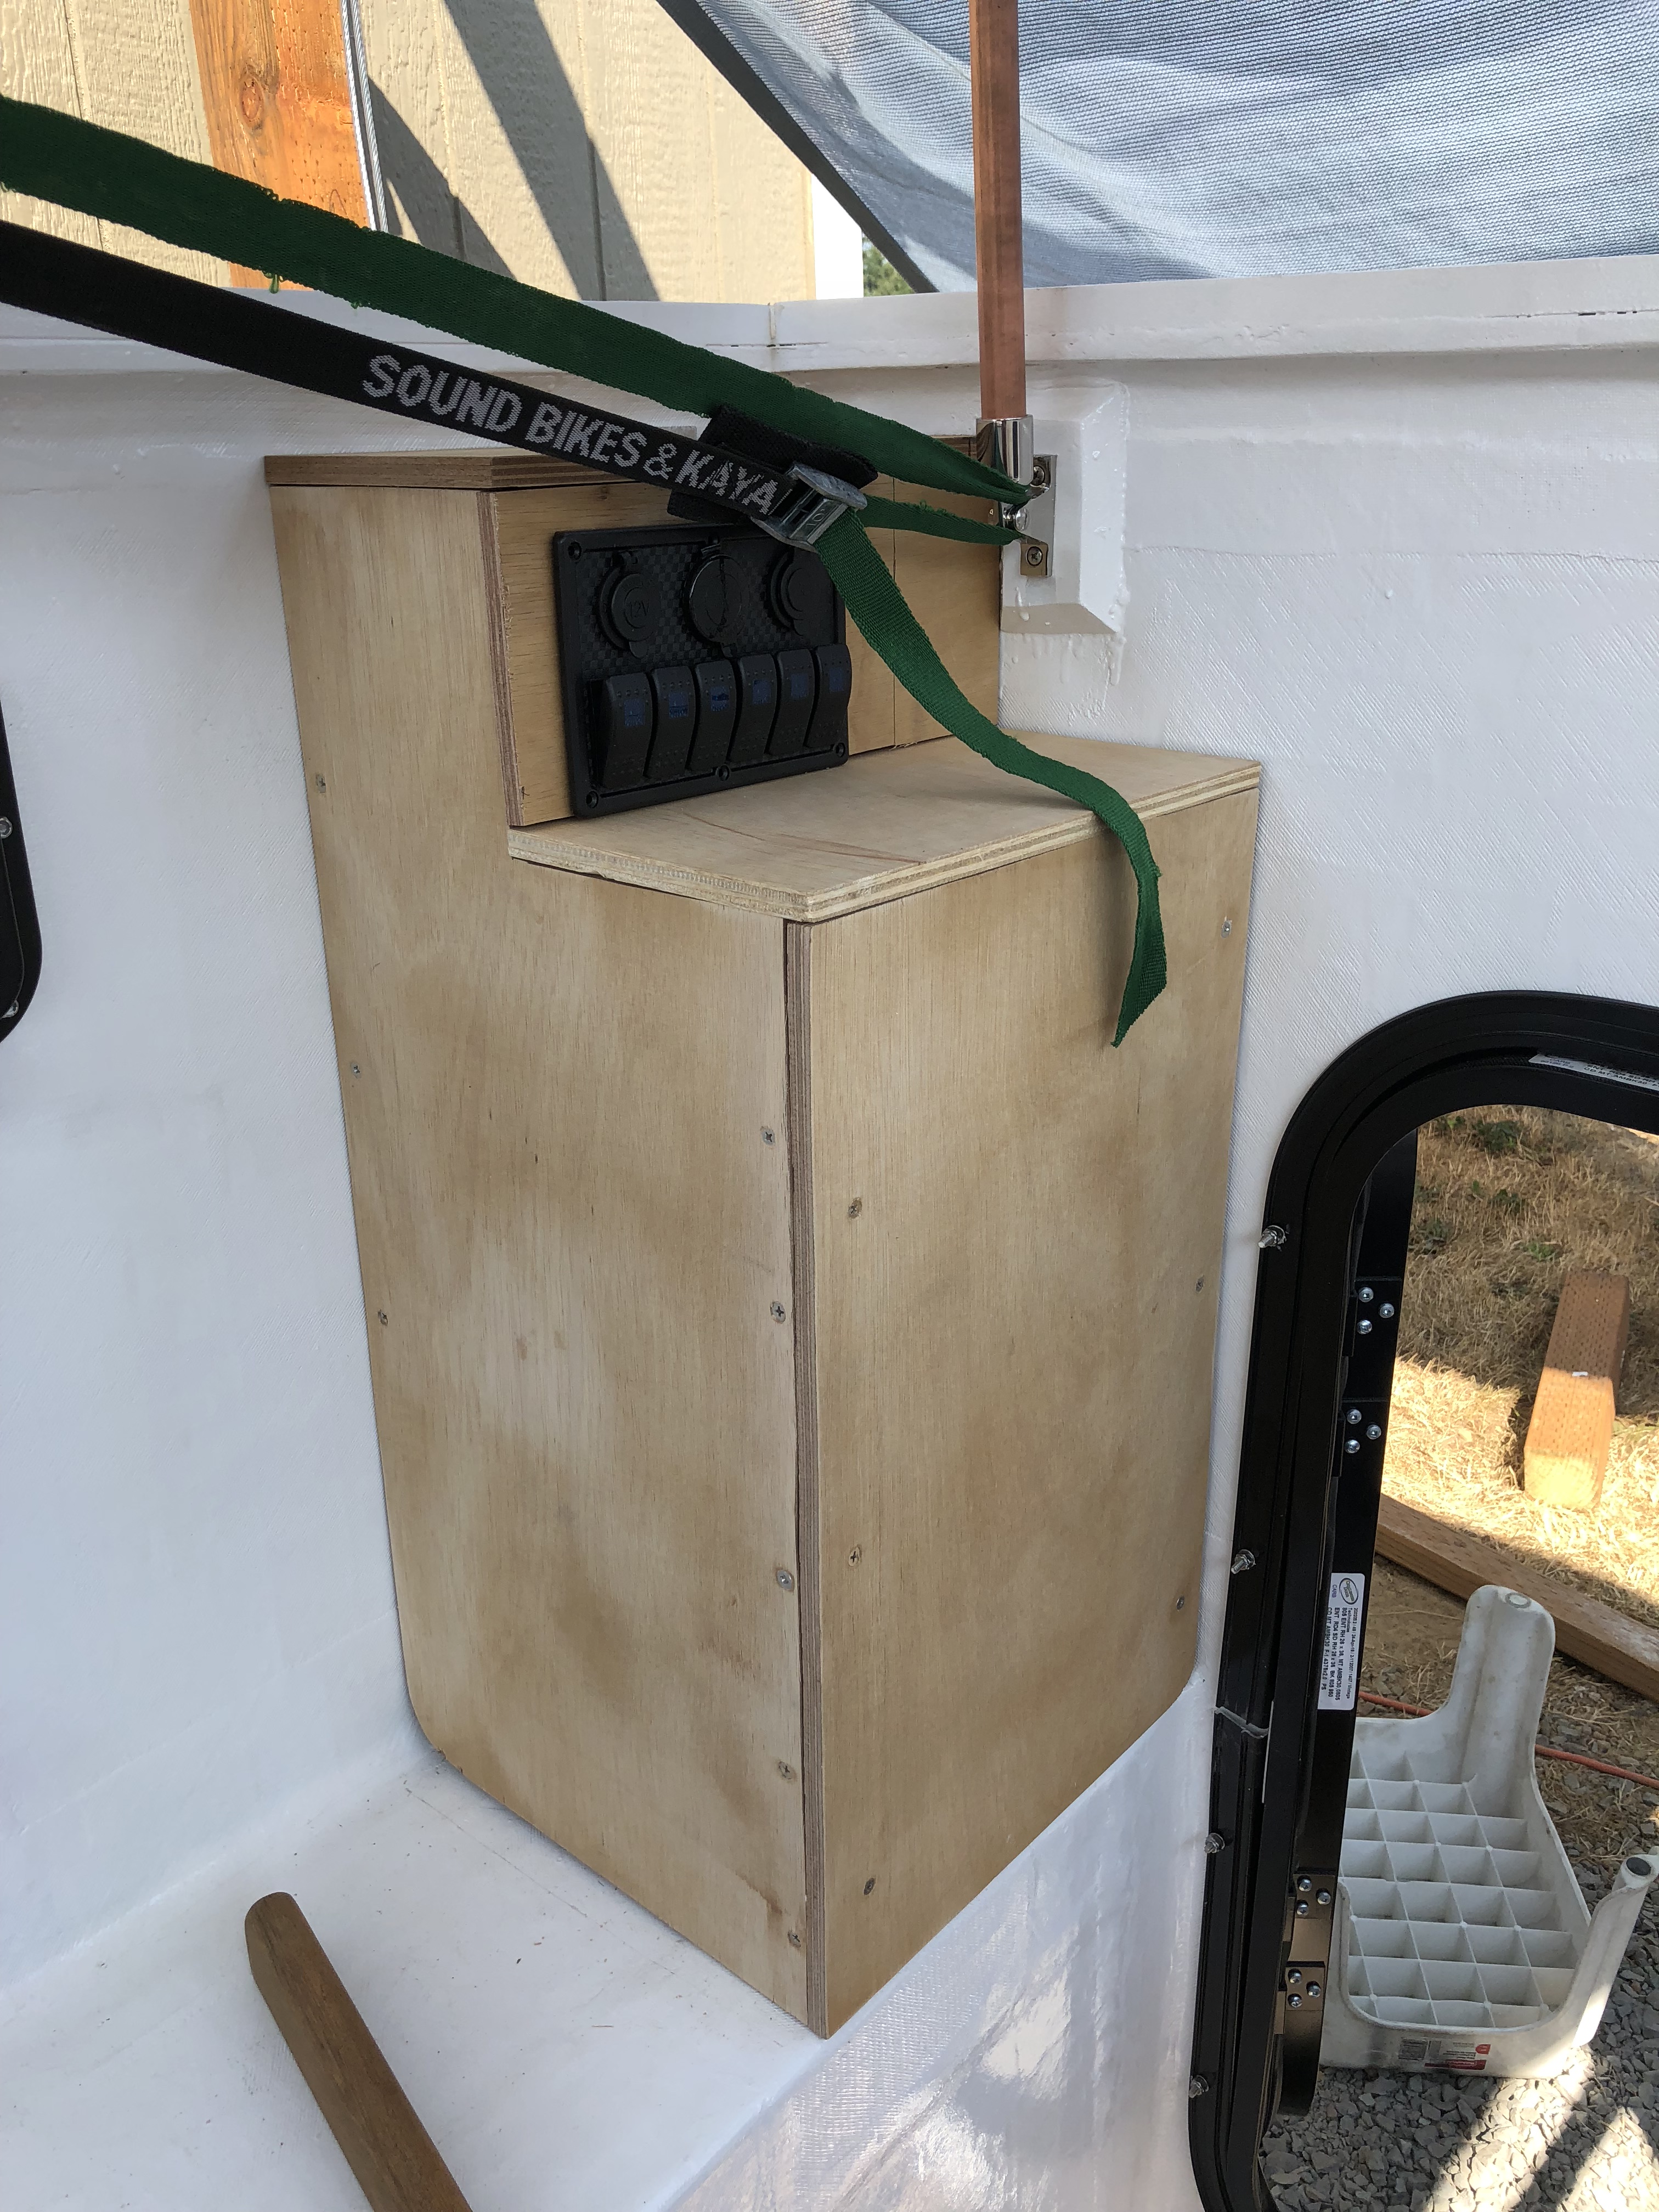
Here's another shot of our switch panel. We mounted it on the cabinet so it would be accessible close to the door so we can hit the lights when we go in and out.
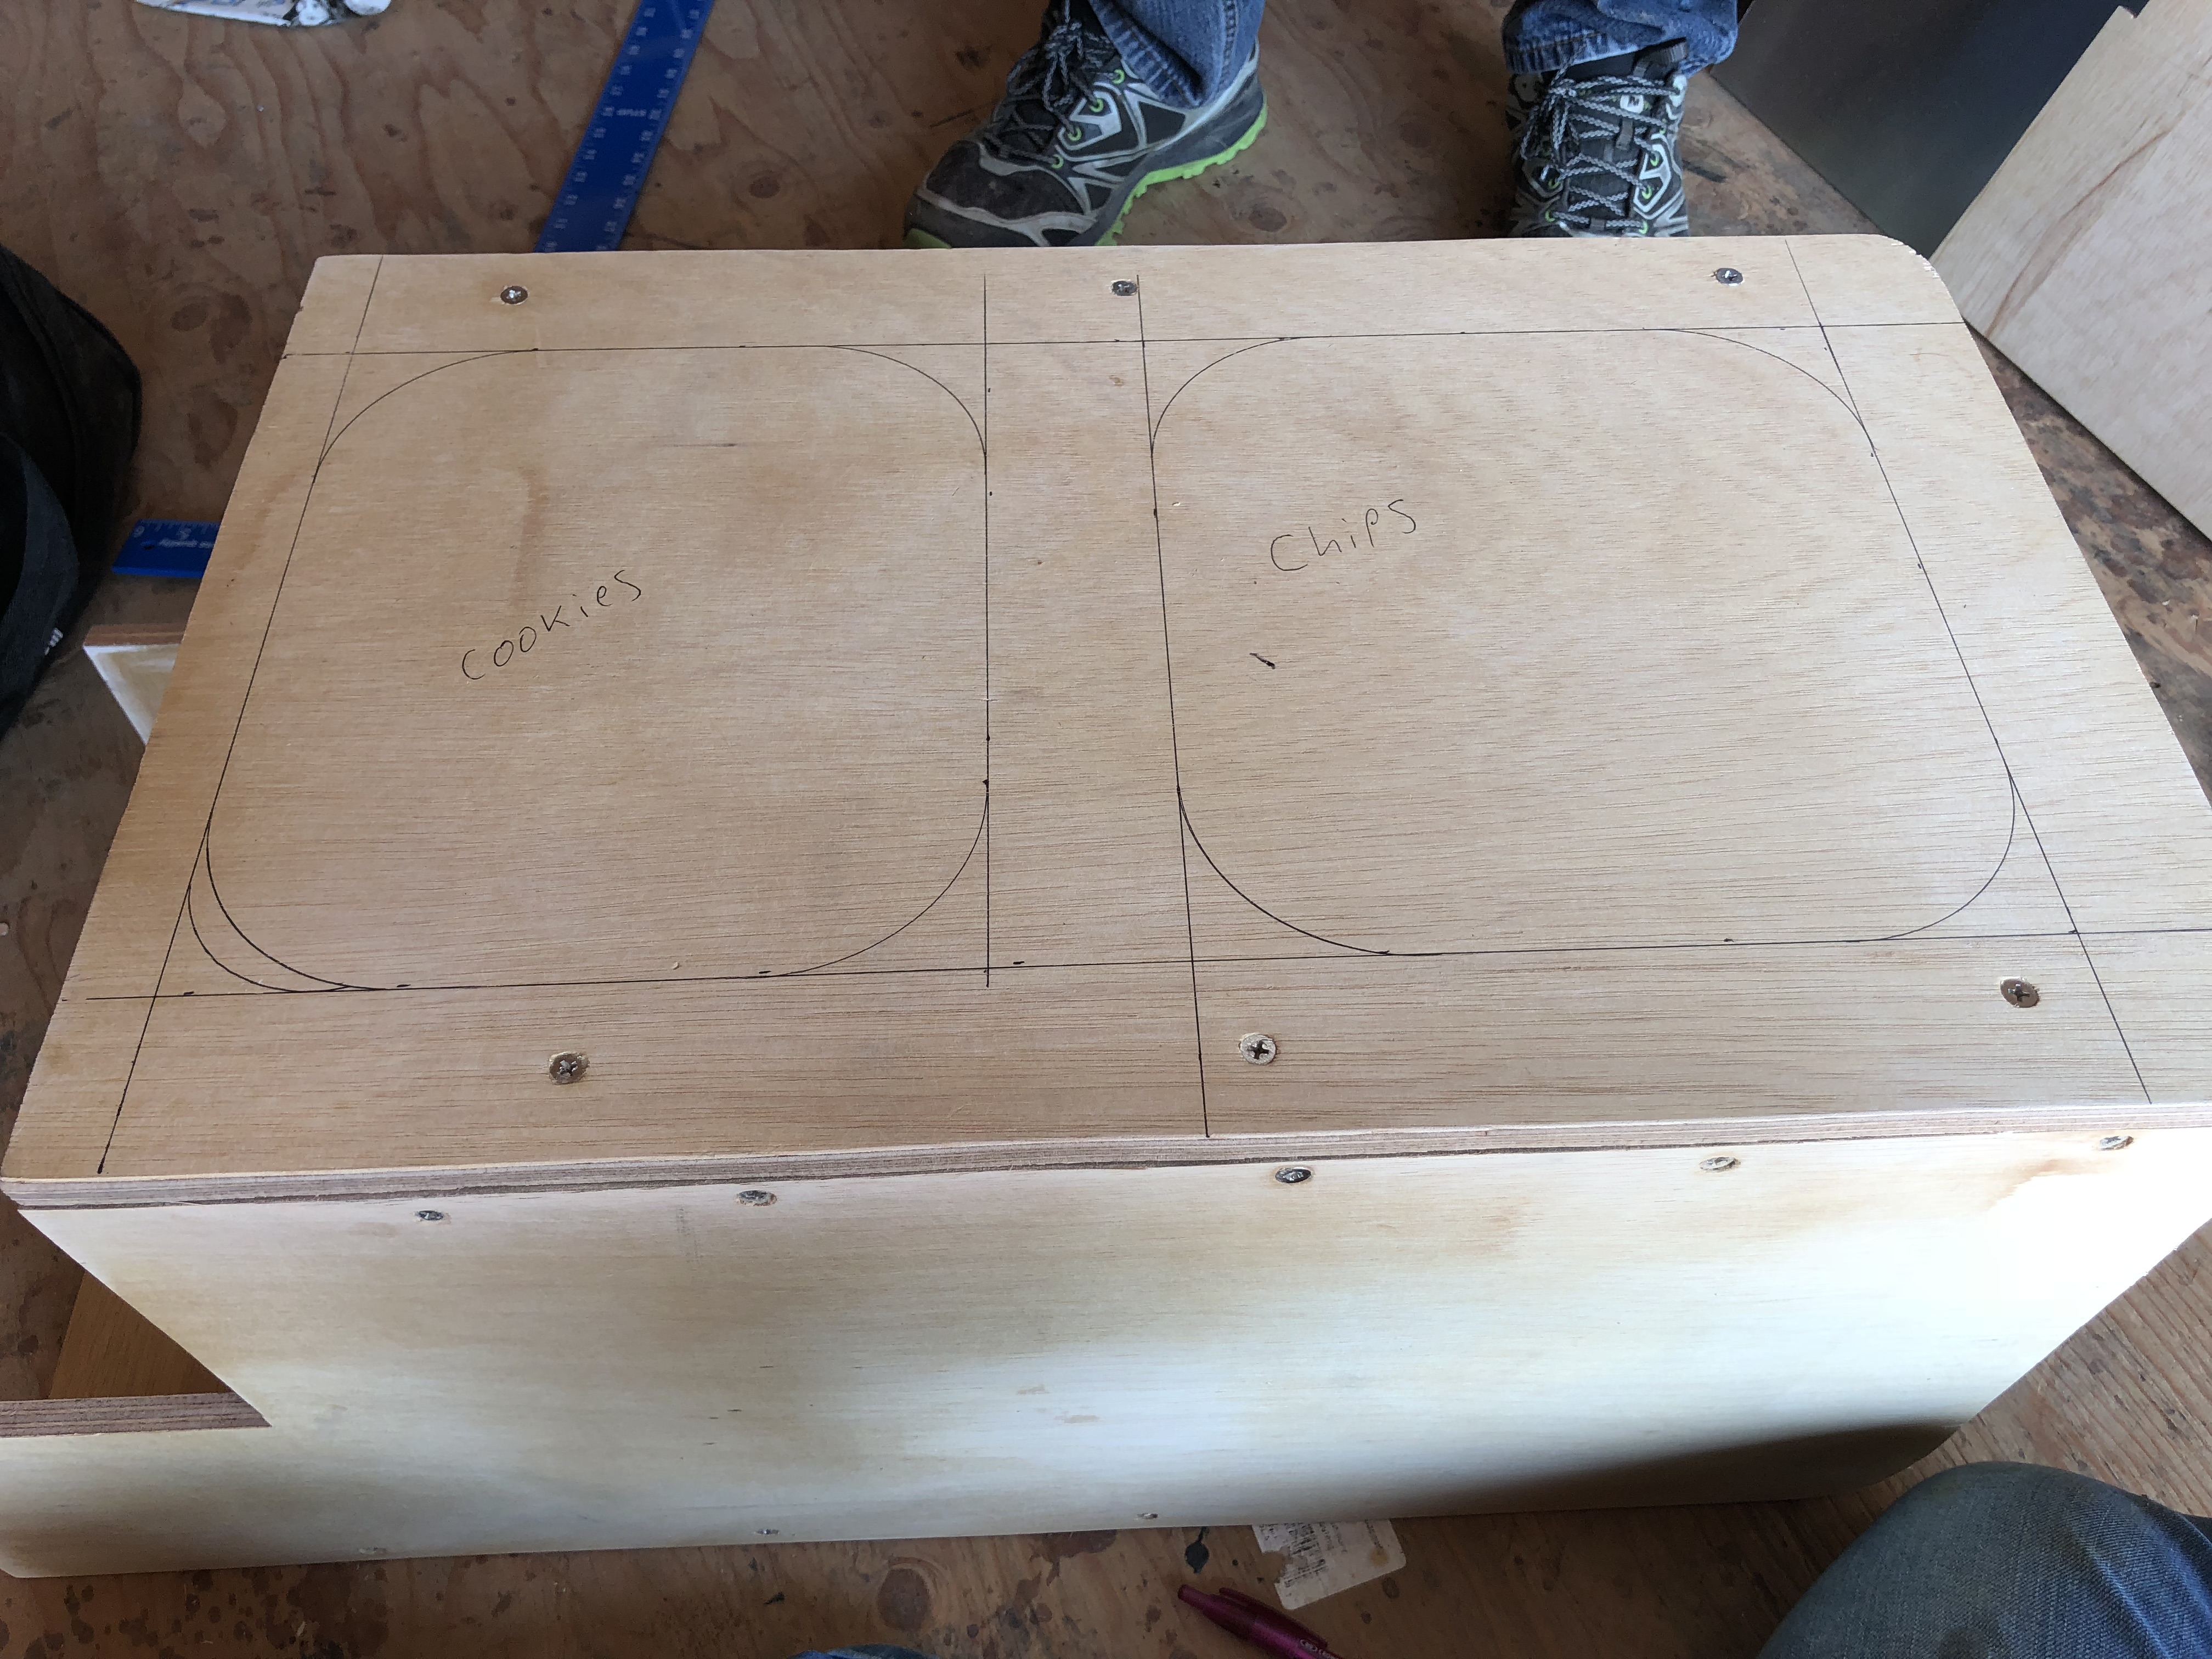
We didn't want to mess around with more cabinet doors, so we're just going to cut big access holes. Here they are marked appropriately for chips and cookies because we make good life choices...
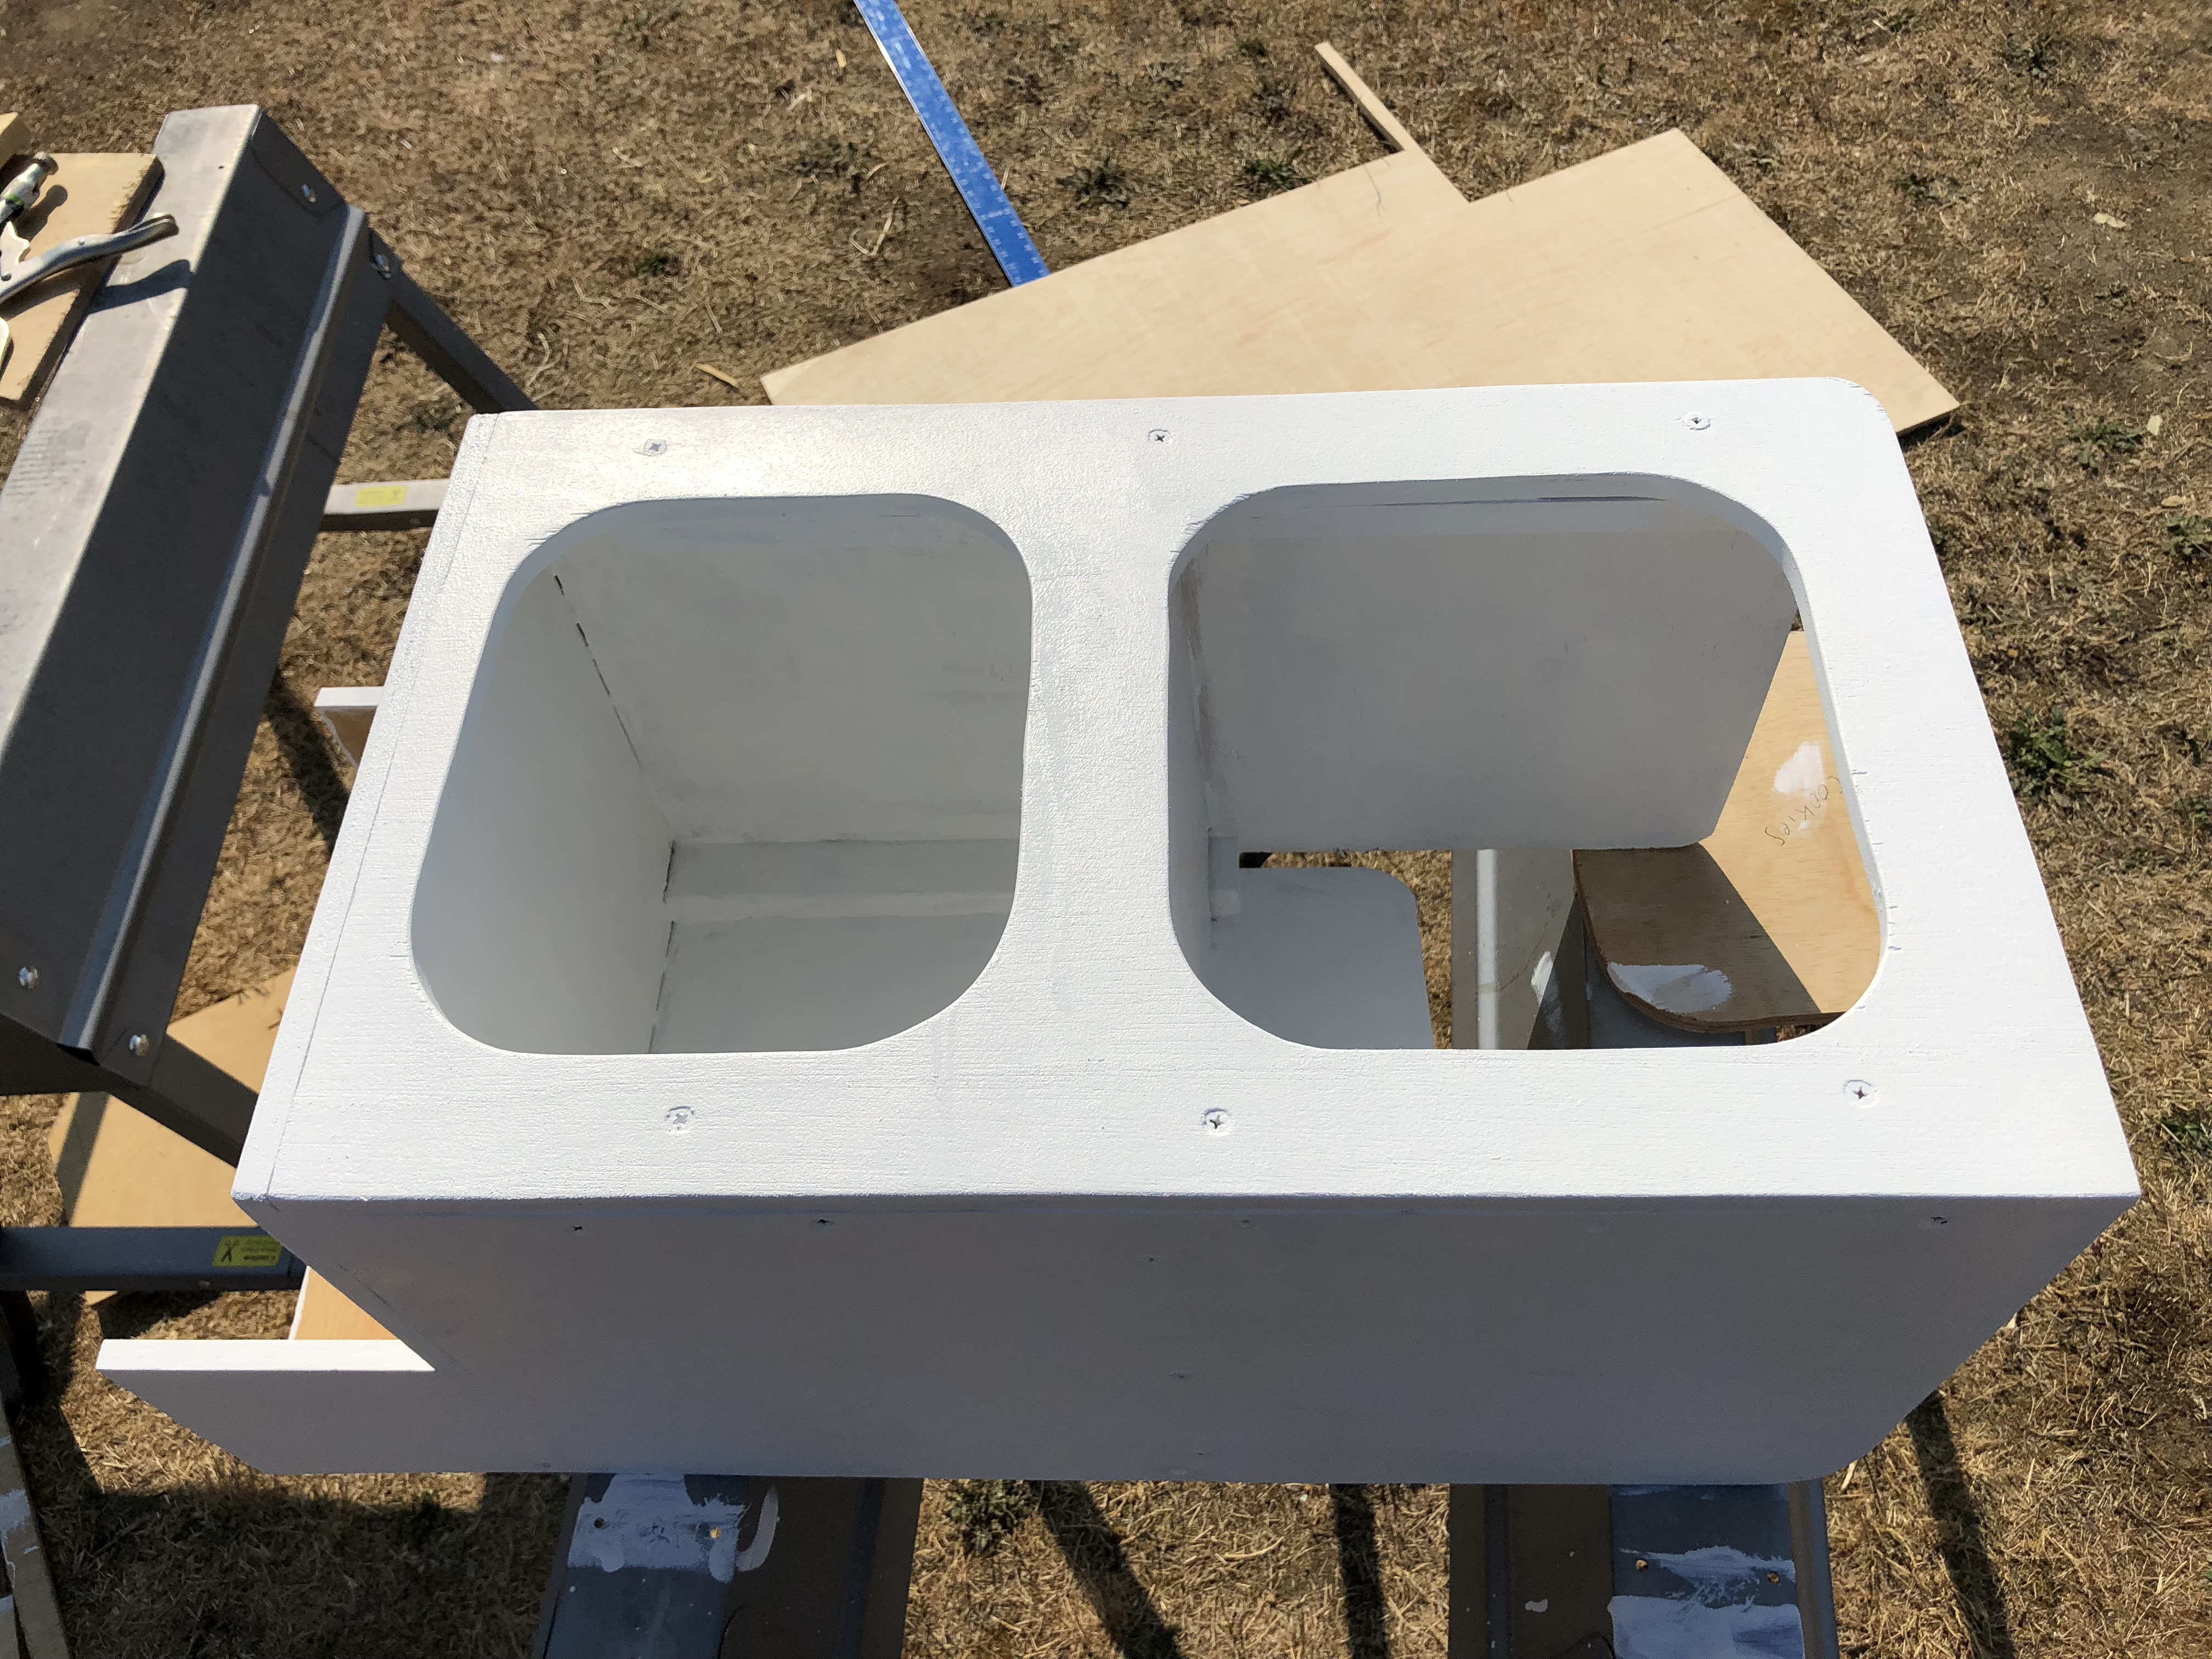
It turned out really nice!
First coat of paint!
Didn't get pictures of the entire assembly because I was busy doing other things, but here it is almost all done and drying with the edges all chamfered to fit the angles of the fiberglass.
Here it is mocked up. The lift bar doesn't hit the switches luckily!
Here's another shot of our switch panel. We mounted it on the cabinet so it would be accessible close to the door so we can hit the lights when we go in and out.
We didn't want to mess around with more cabinet doors, so we're just going to cut big access holes. Here they are marked appropriately for chips and cookies because we make good life choices...
It turned out really nice!
First coat of paint!
underkill
Active member
It's a pair of Renogy 100 watt panels. They were on sale on Amazon Prime day and I couldn't help myself.Mobile solar is the way to go I think! How many watts is that panel?
Jason added some hinges and made a little briefcase out of them!underkill
Active member
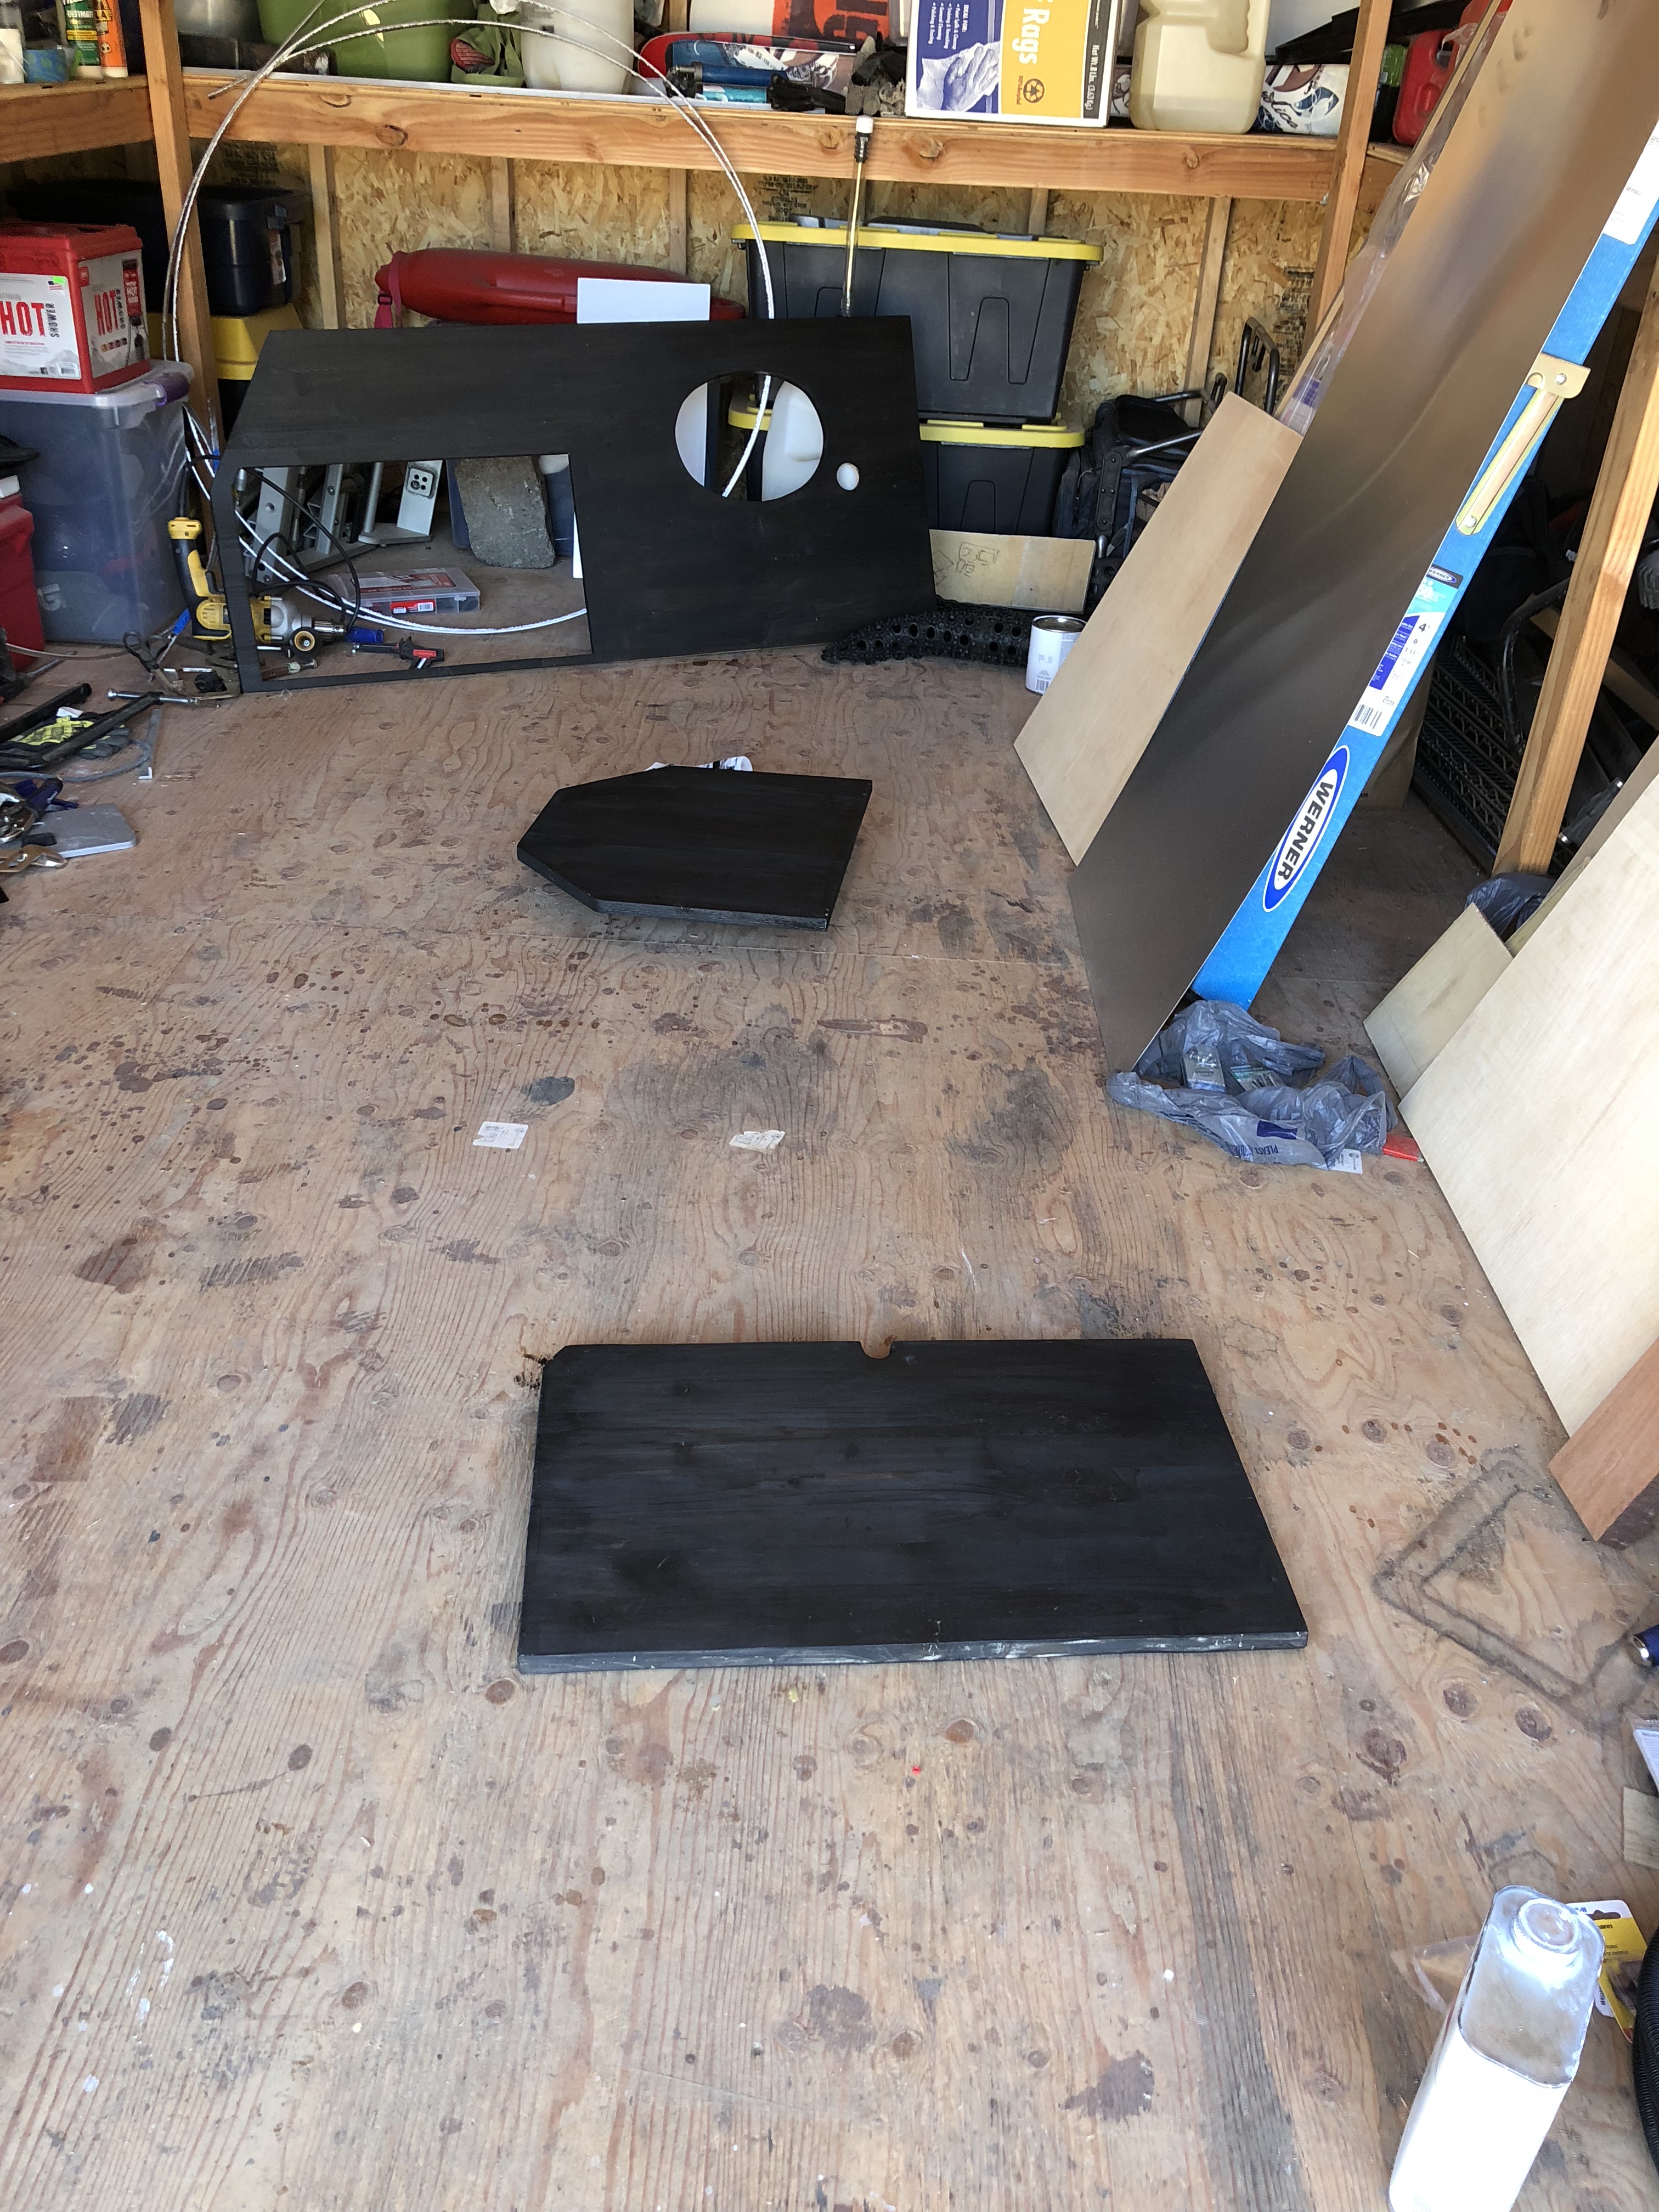
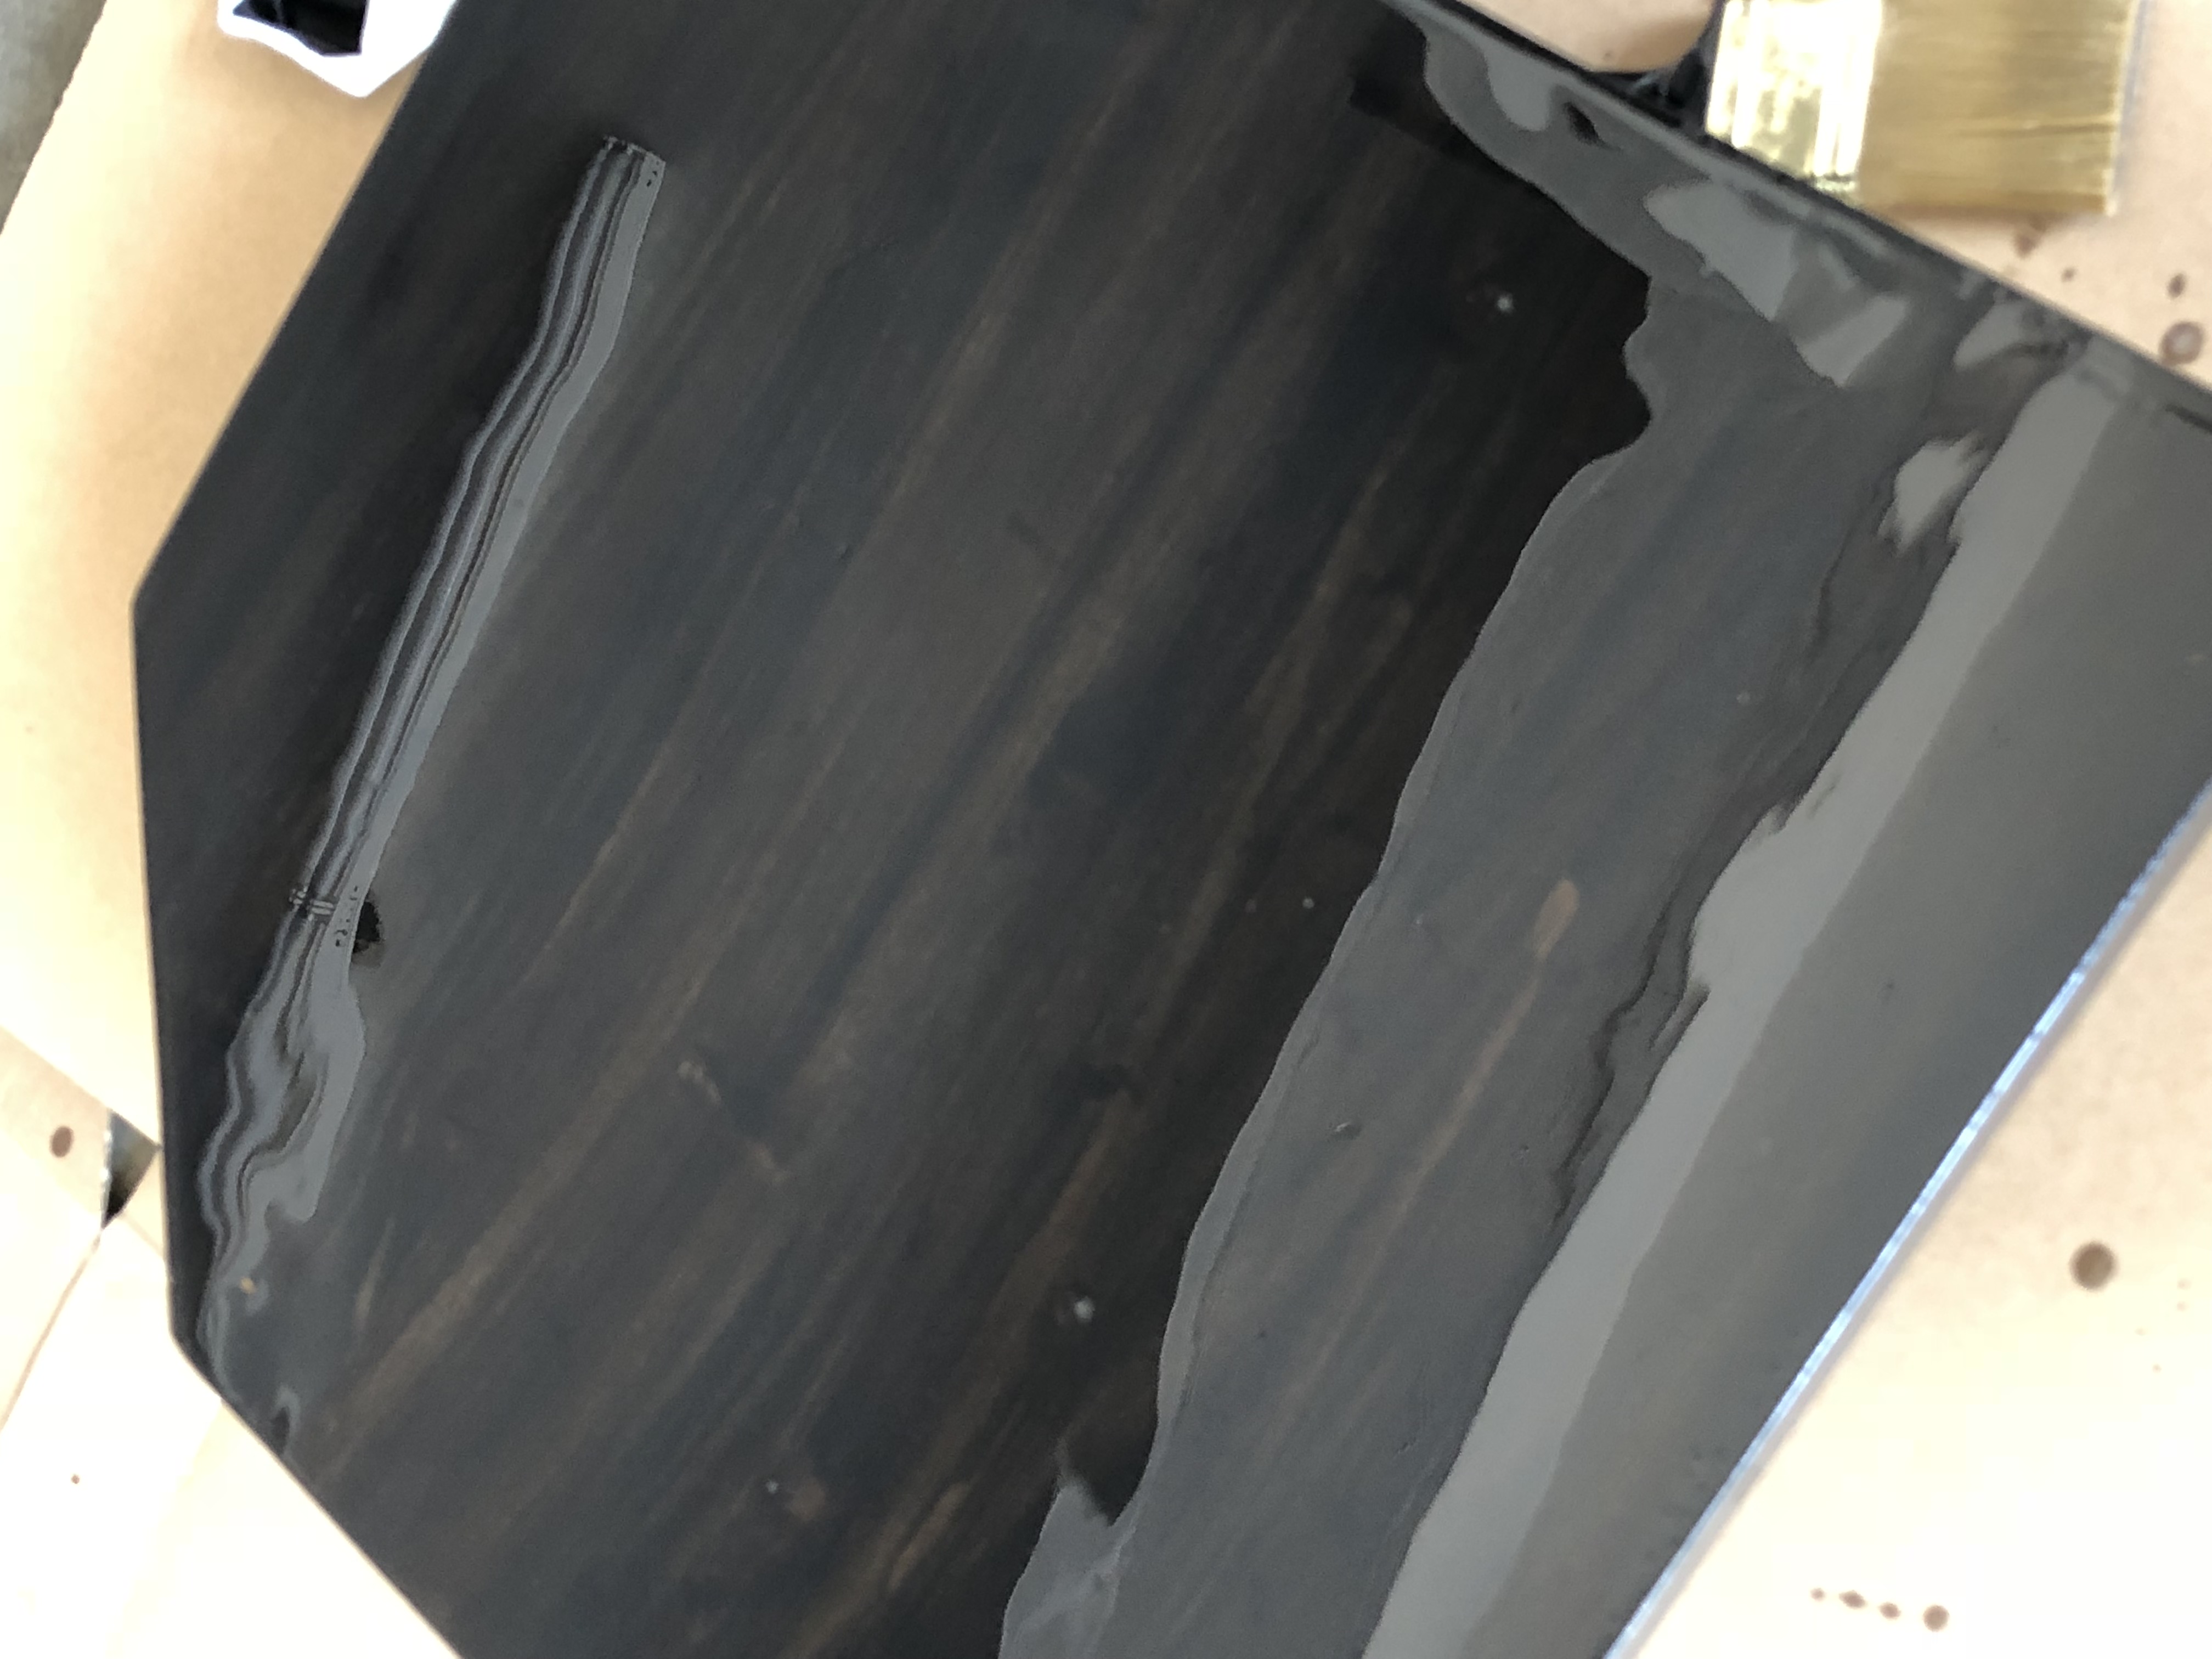
One thing I've been procrastinating on for a while was the countertop and table... I finally found the finish I want to use so I can actually get this part done! I sniped the corners of the folding table so I can actually slide out of my seat if I need to.
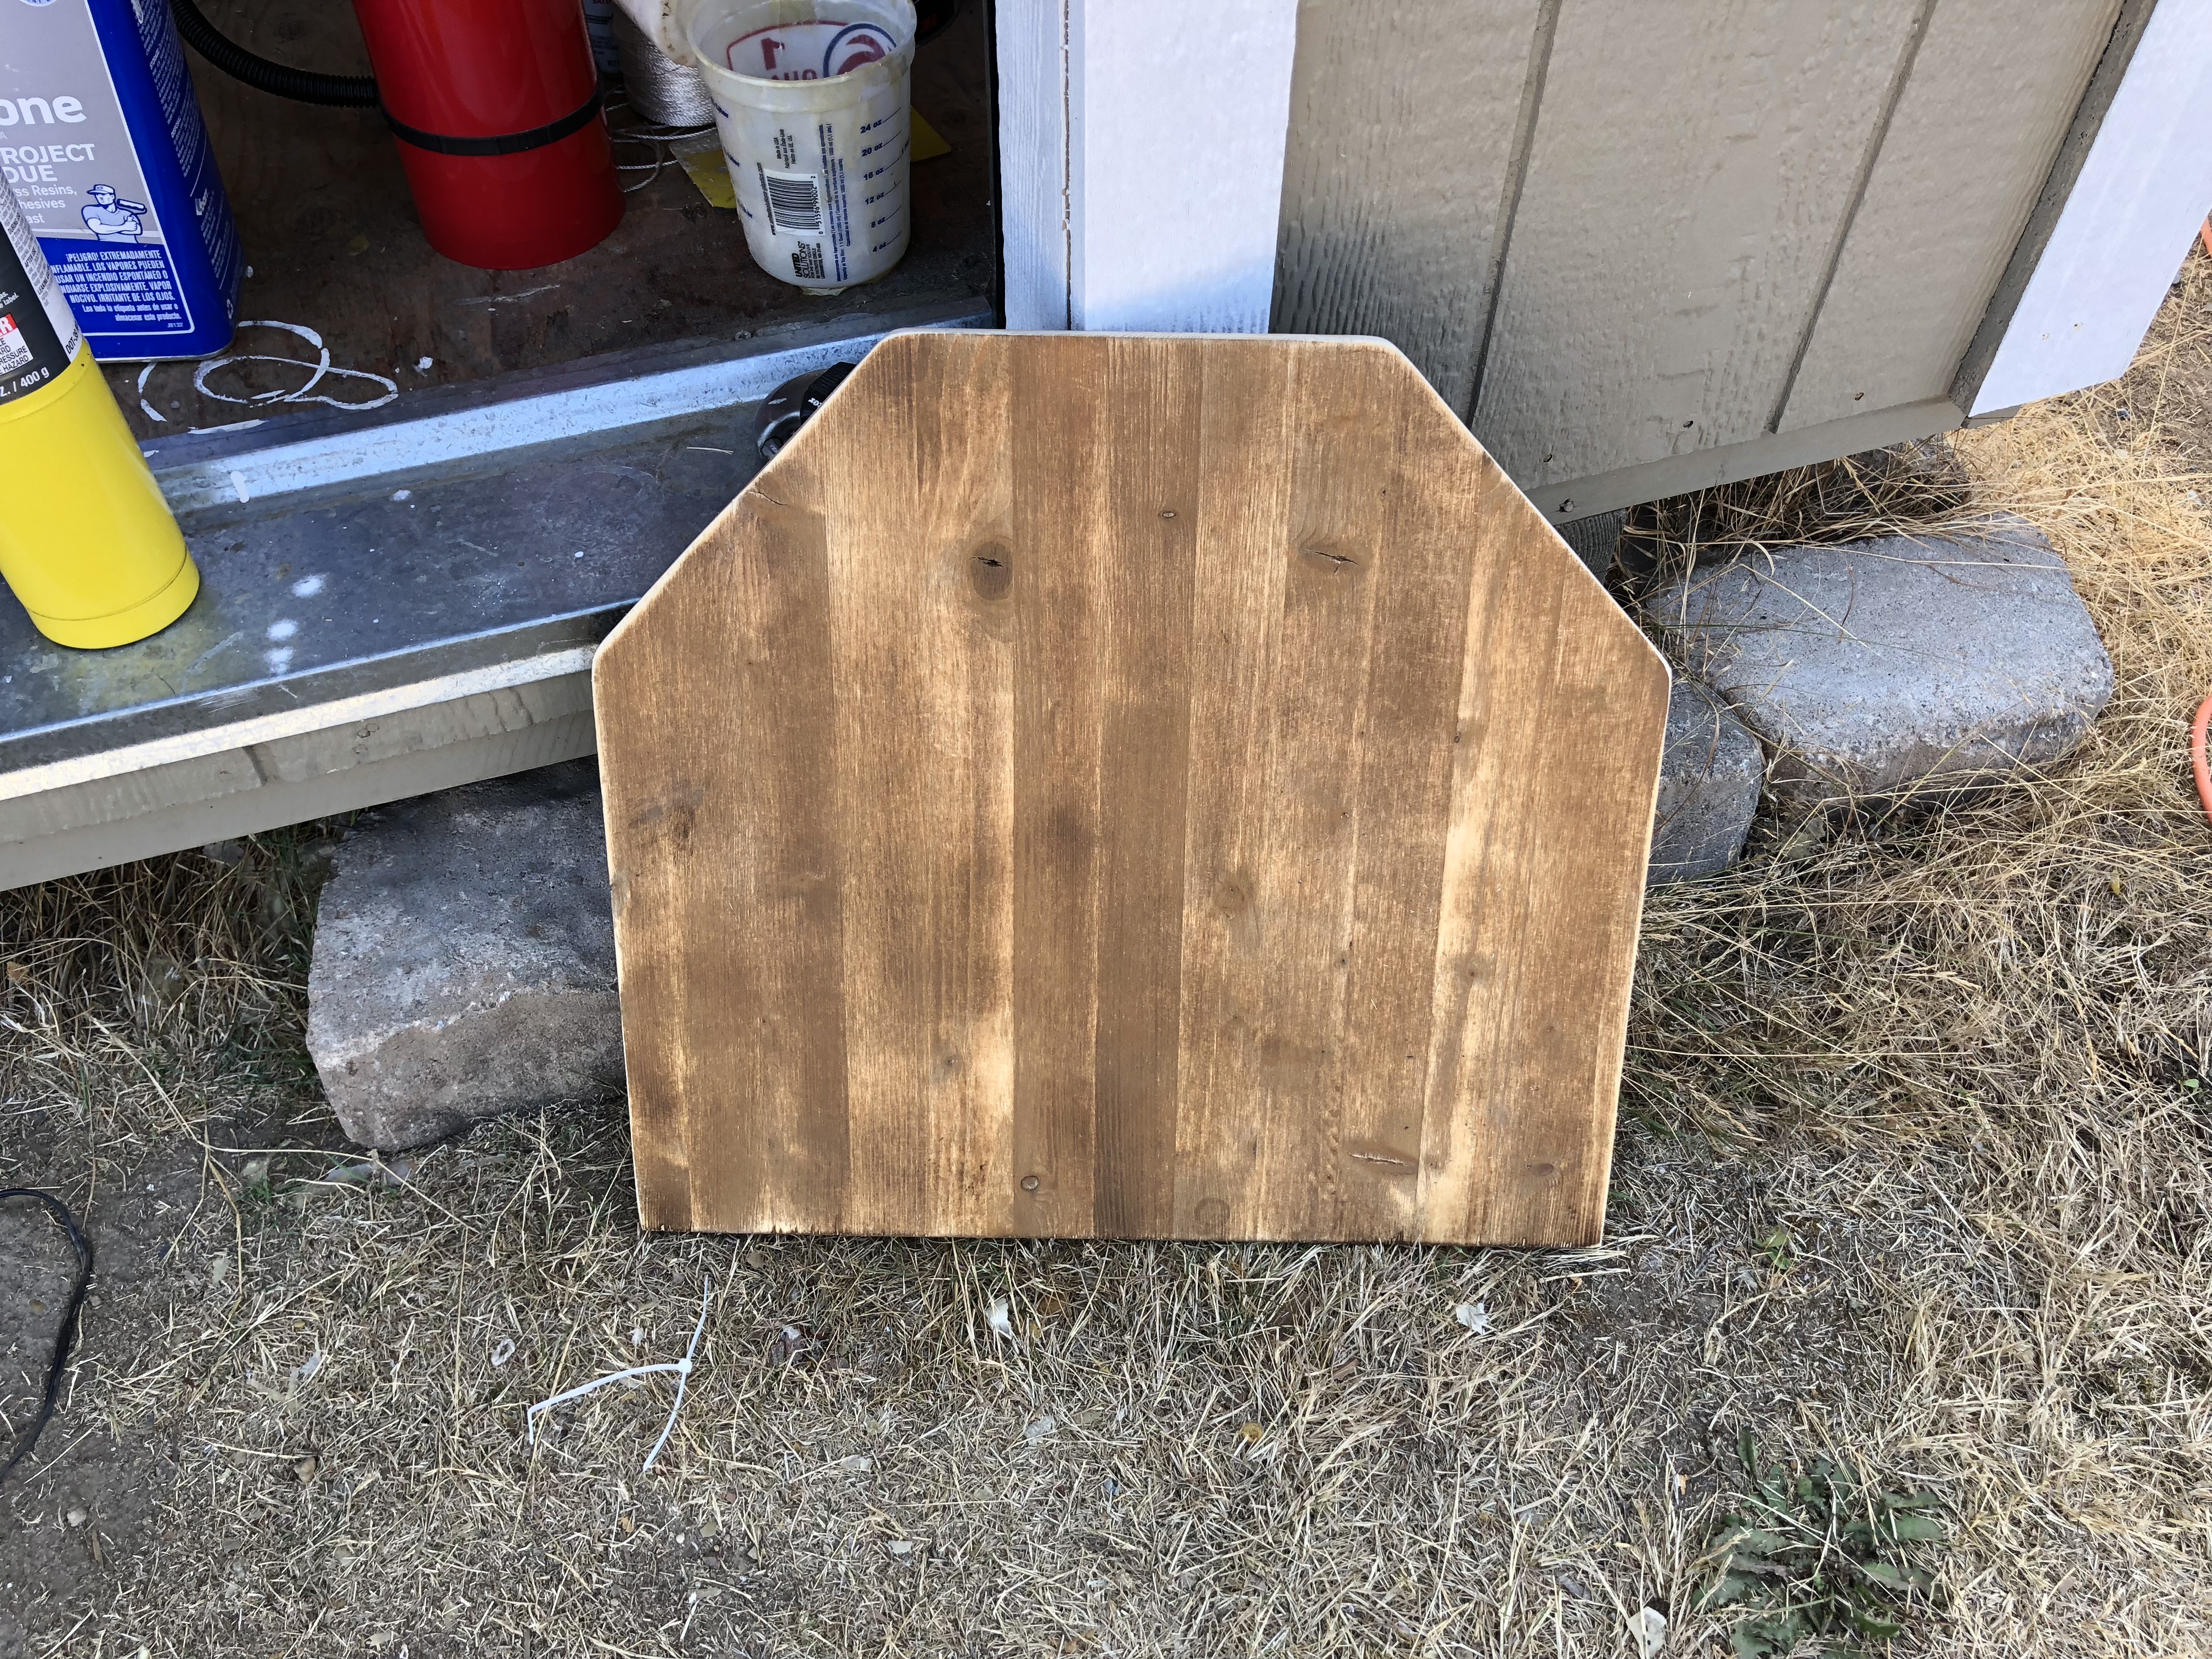
Here are all the pieces sanded, prepped, and stained black, but not so black that you can't see the woodgrain underneath!
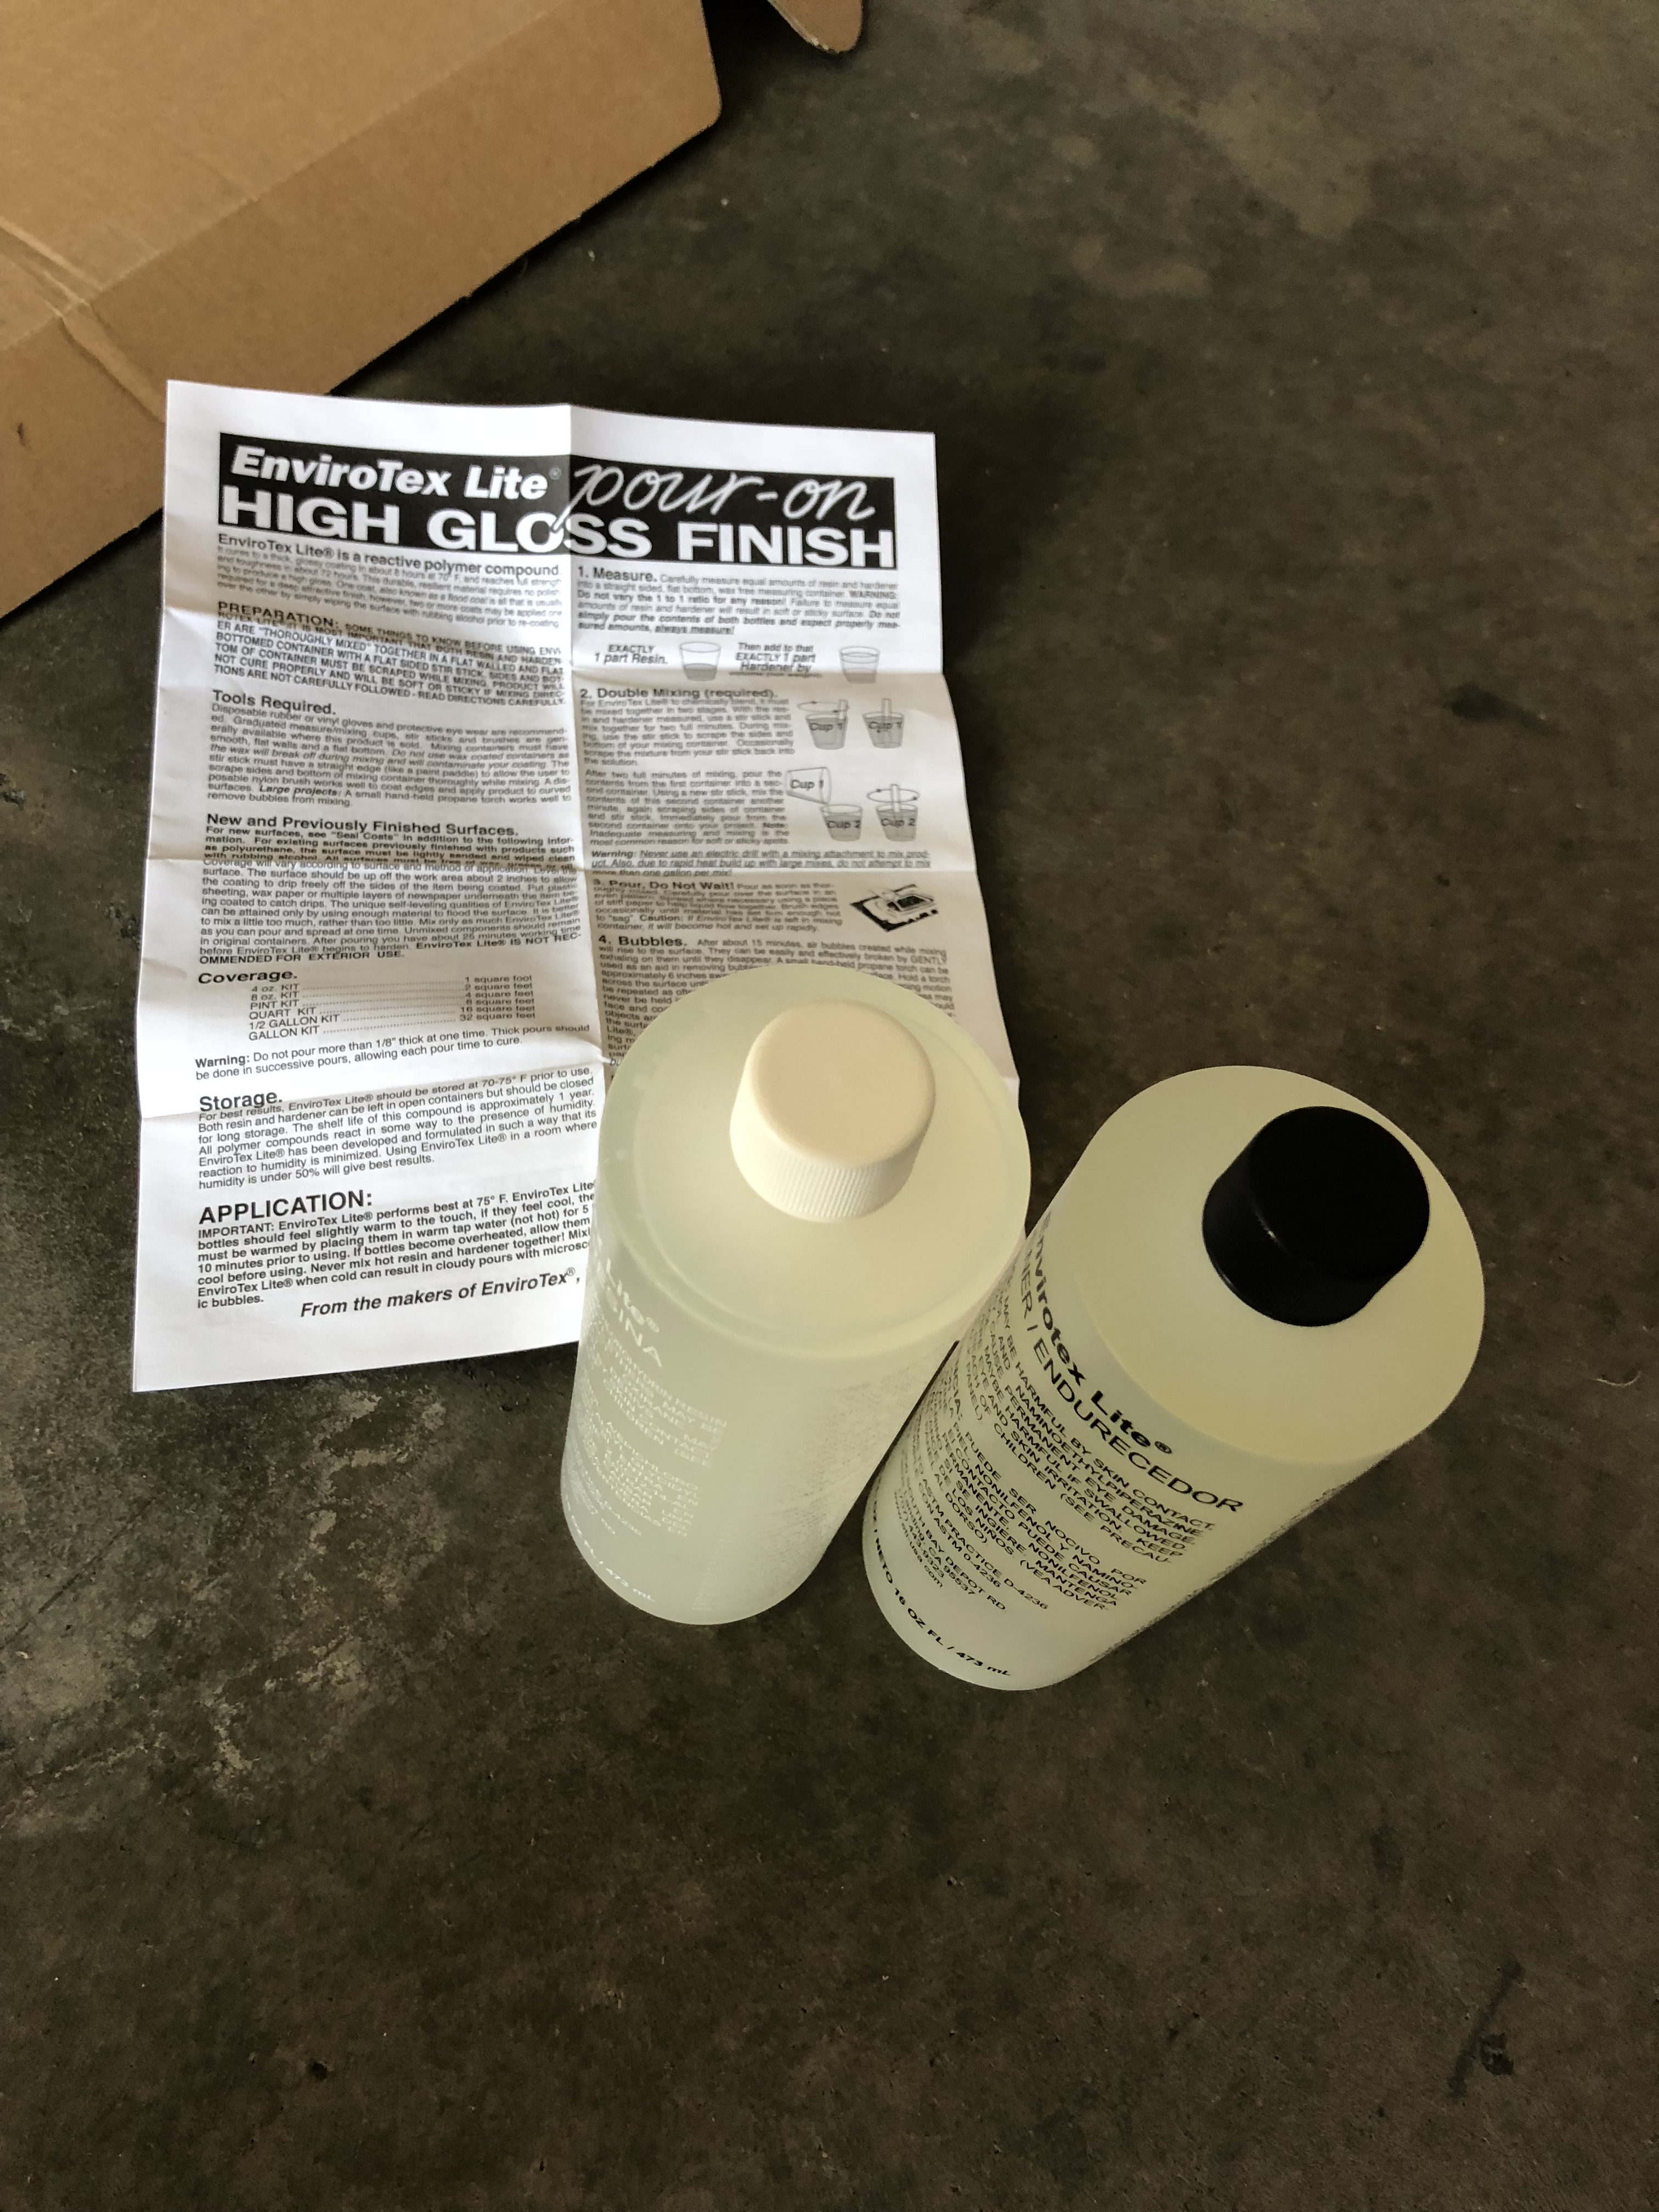
I found some pour on epoxy like they use on bar tables because it was touted as being food safe where a lot of the other materials aren't.
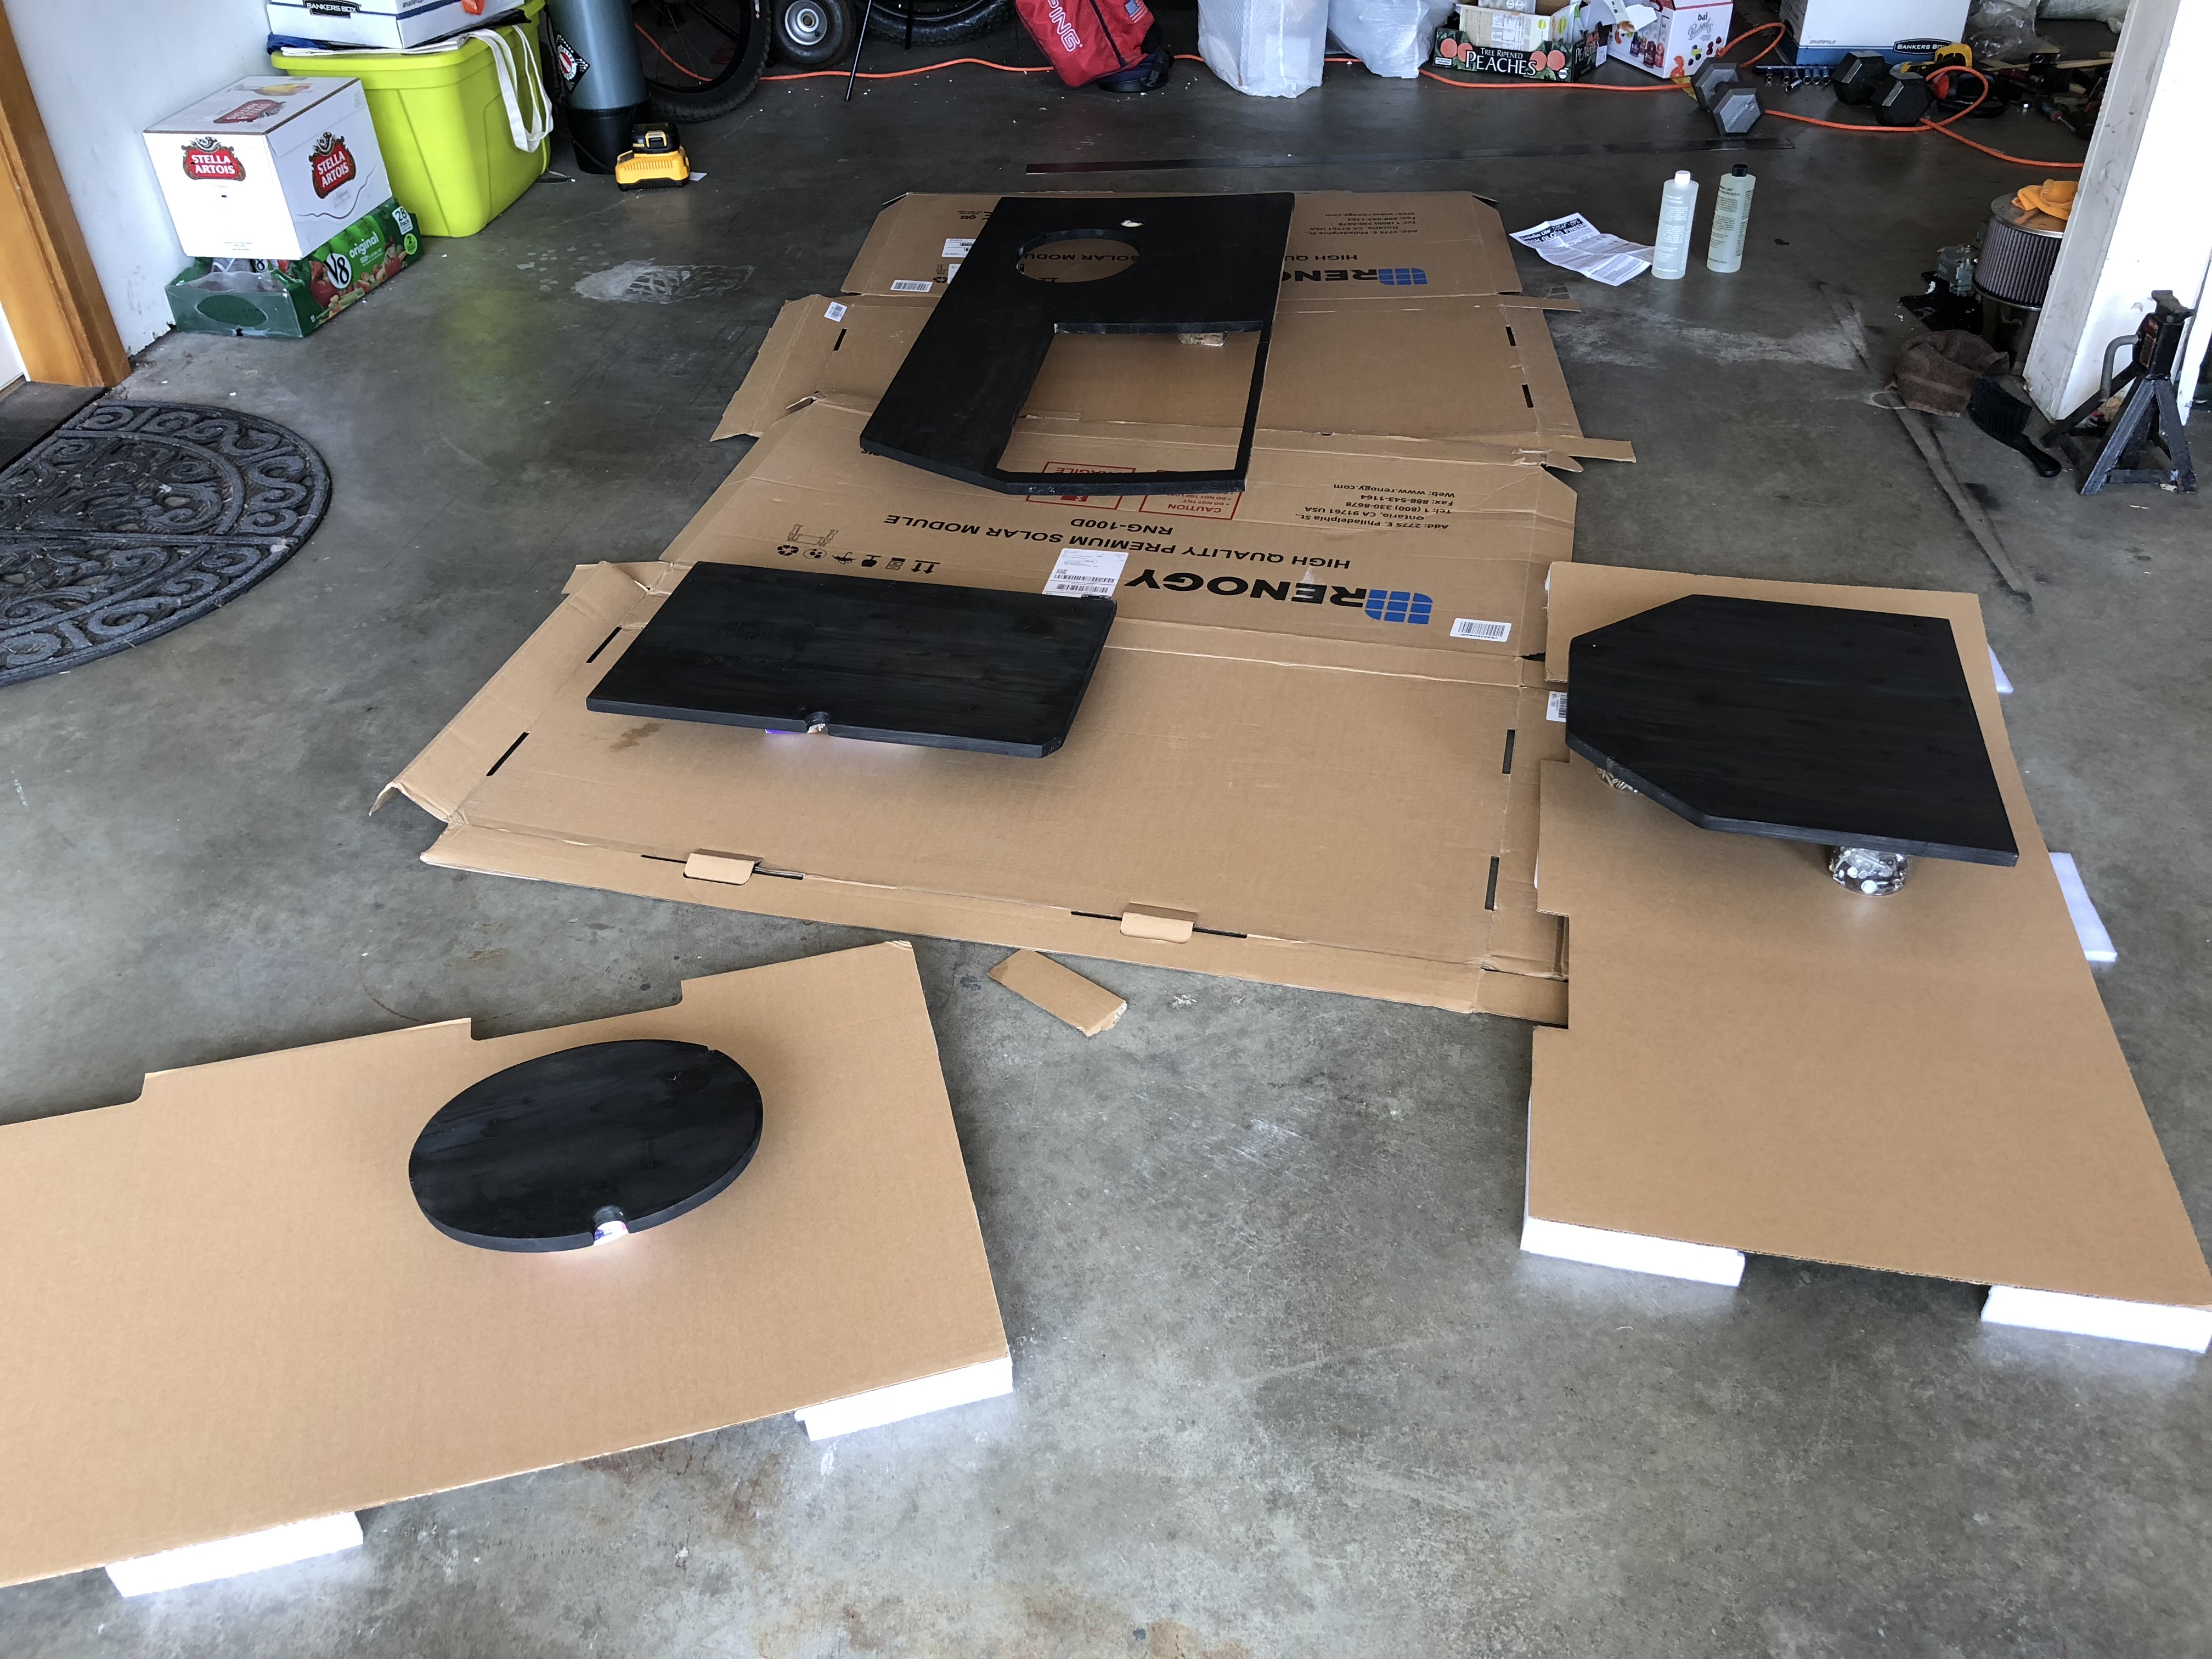
Cardboard boxes are the gift that keeps on giving... everything is all laid out and ready for gloss!
that's shiny!
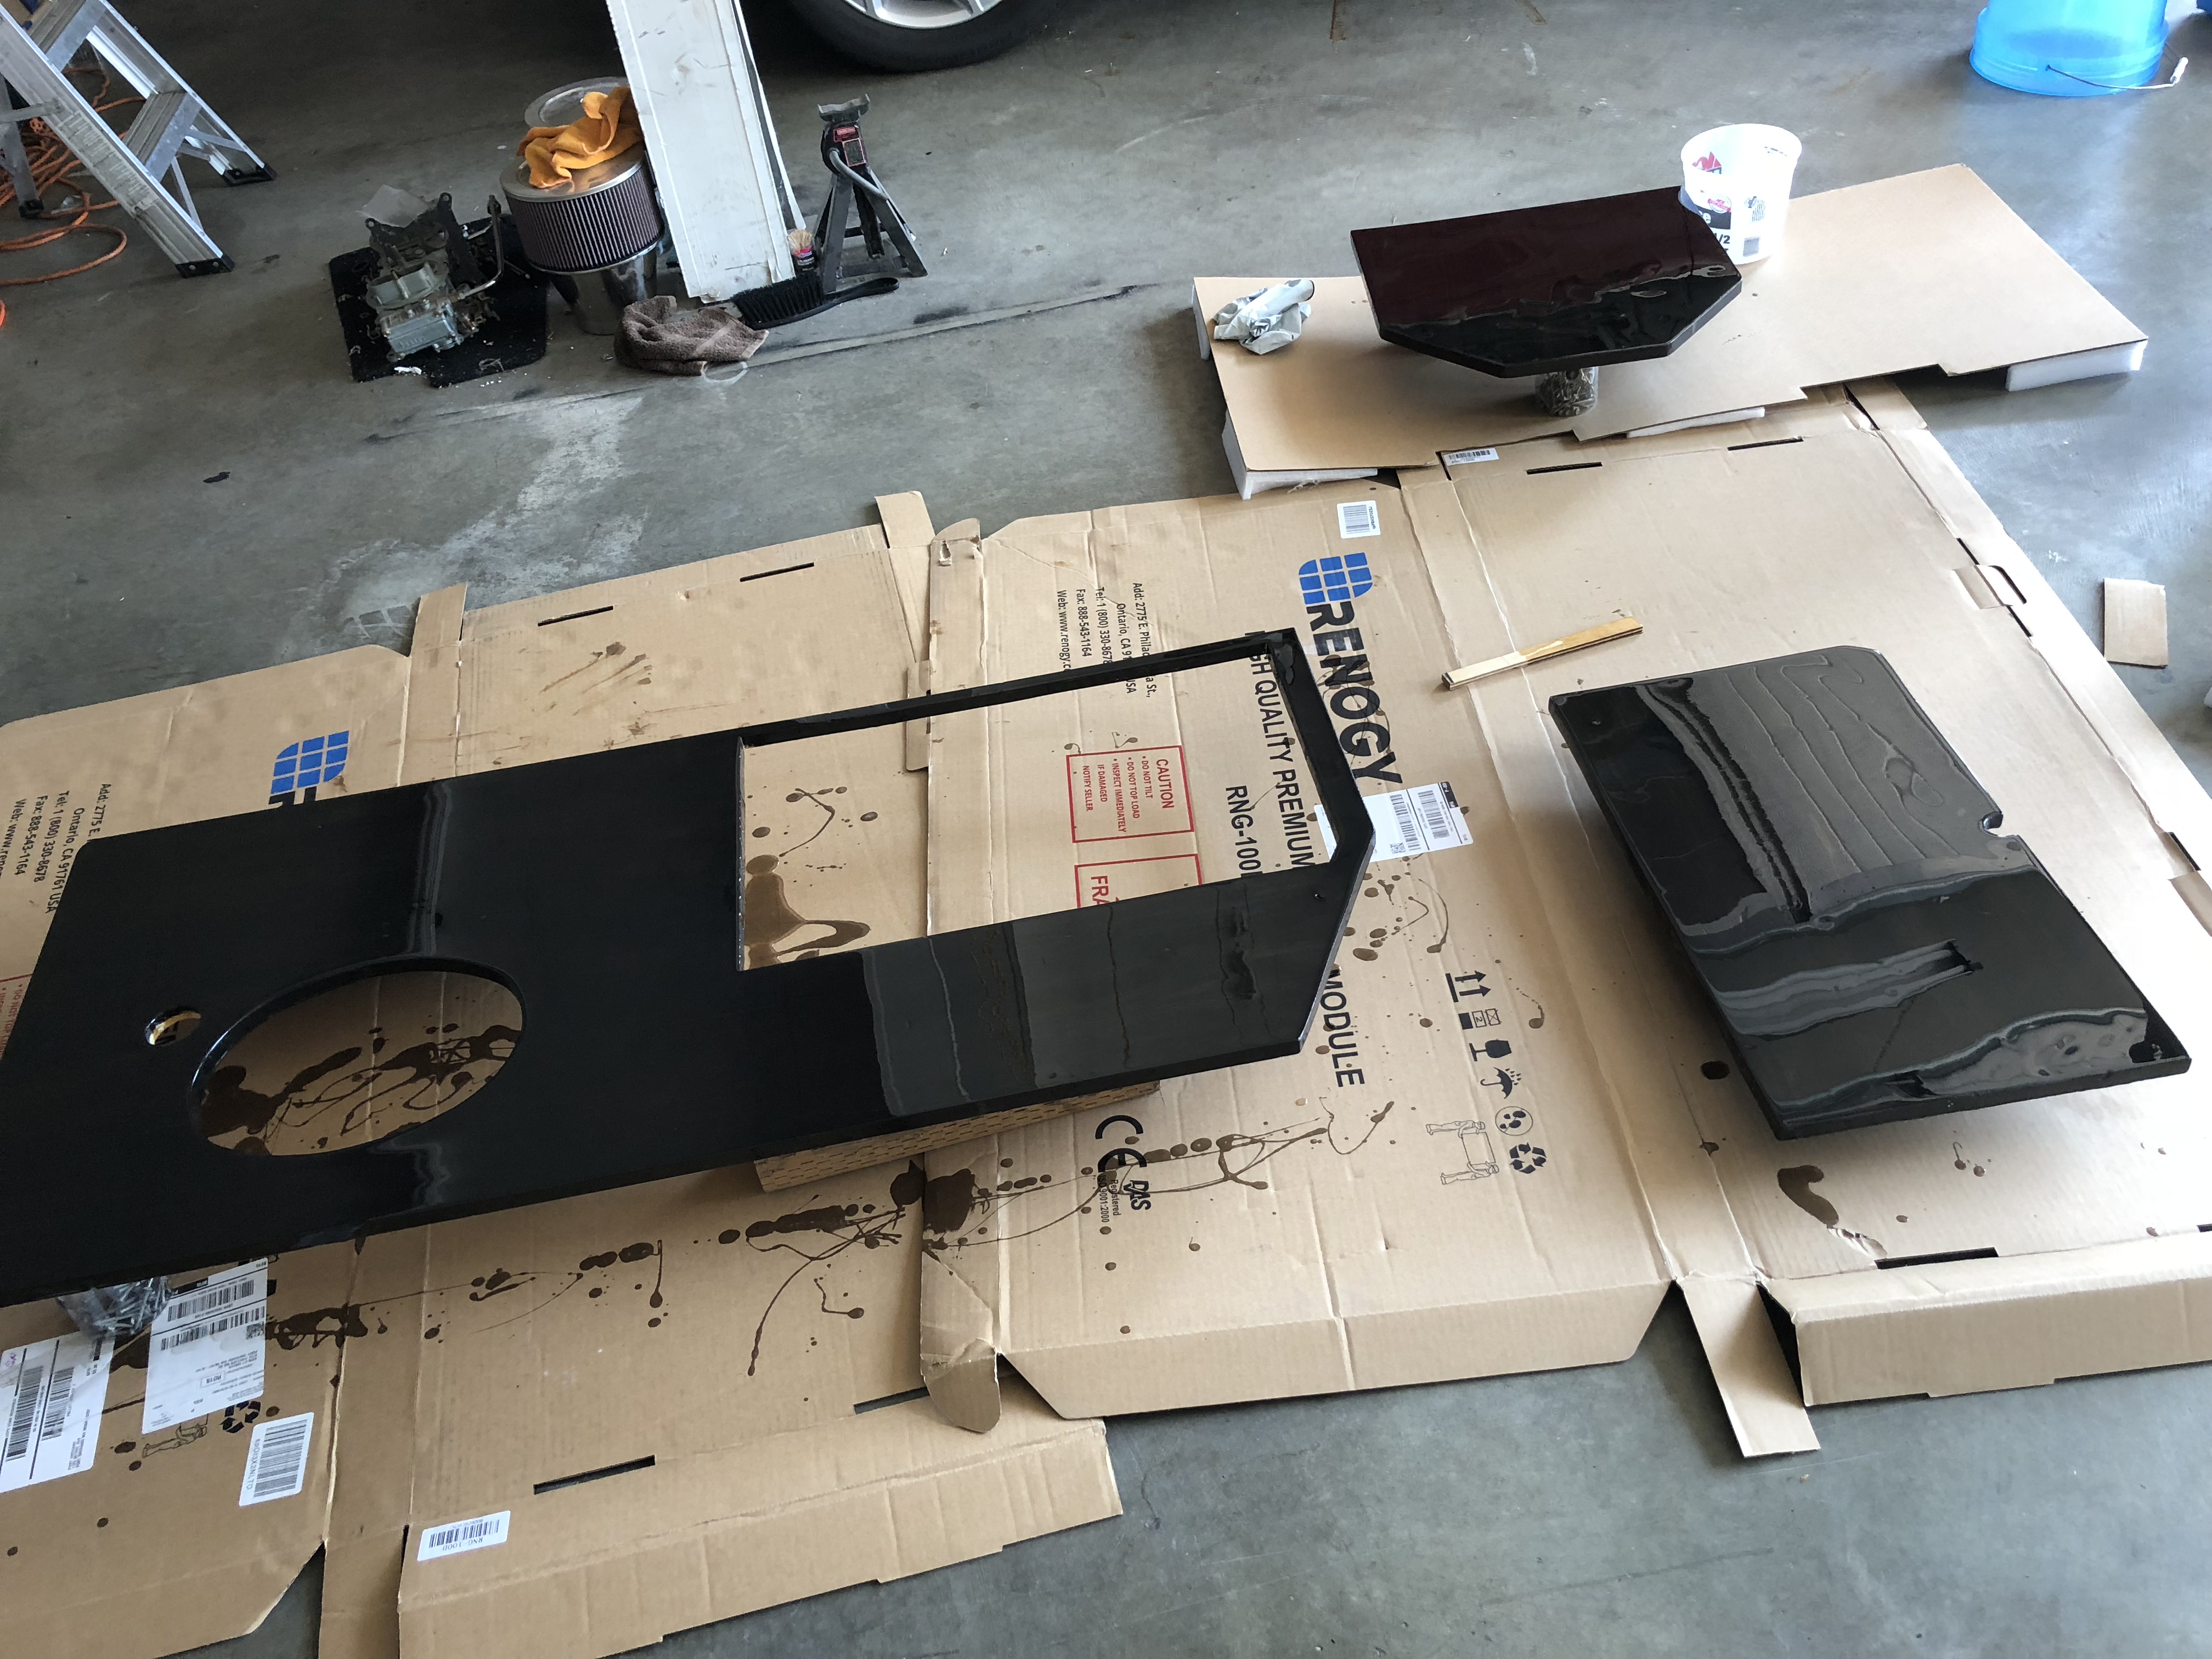
Well you can see every cobweb on the roof of our garage...
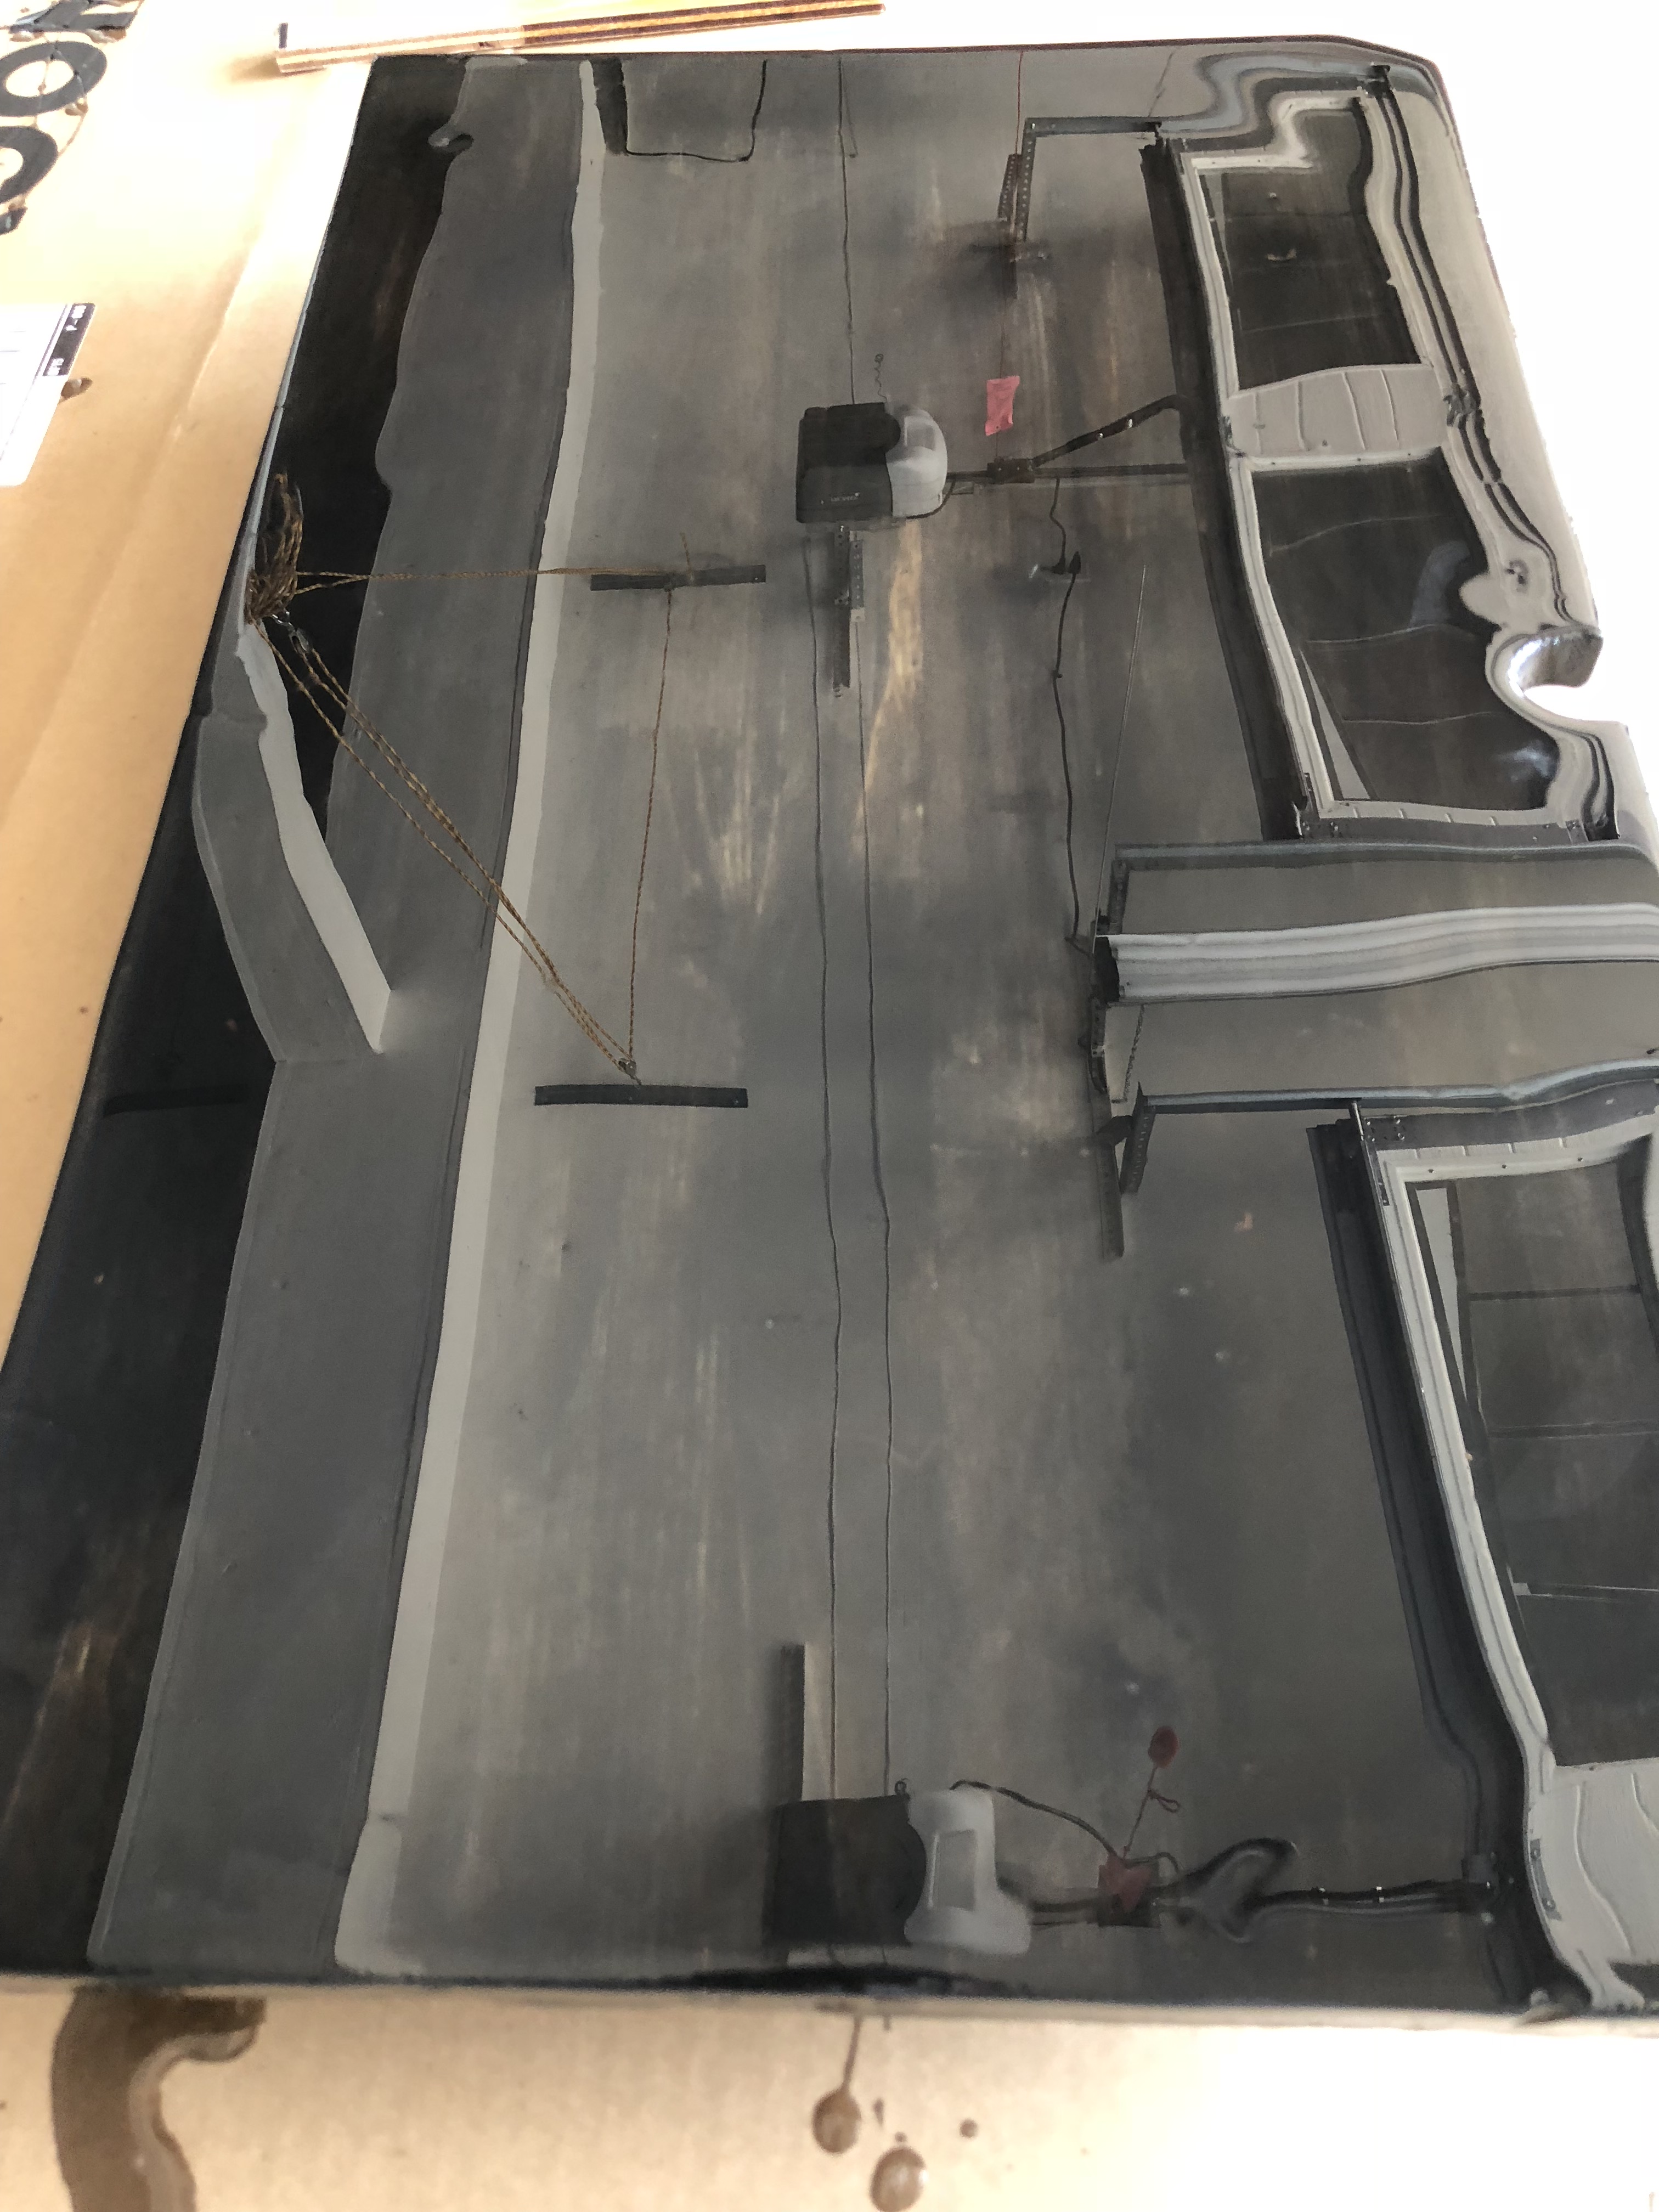
The color turned out EXACTLY like what I wanted!
Here are all the pieces sanded, prepped, and stained black, but not so black that you can't see the woodgrain underneath!
I found some pour on epoxy like they use on bar tables because it was touted as being food safe where a lot of the other materials aren't.
Cardboard boxes are the gift that keeps on giving... everything is all laid out and ready for gloss!
that's shiny!
Well you can see every cobweb on the roof of our garage...
The color turned out EXACTLY like what I wanted!
underkill
Active member
All that we needed to finish up the heater installation was about 6" of fuel line. Jason made quick work of that and now we can fire up the heater for the first time! I'm a little concerned because it was direct from China through Amazon... the quality seems acceptable, but who knows, right?
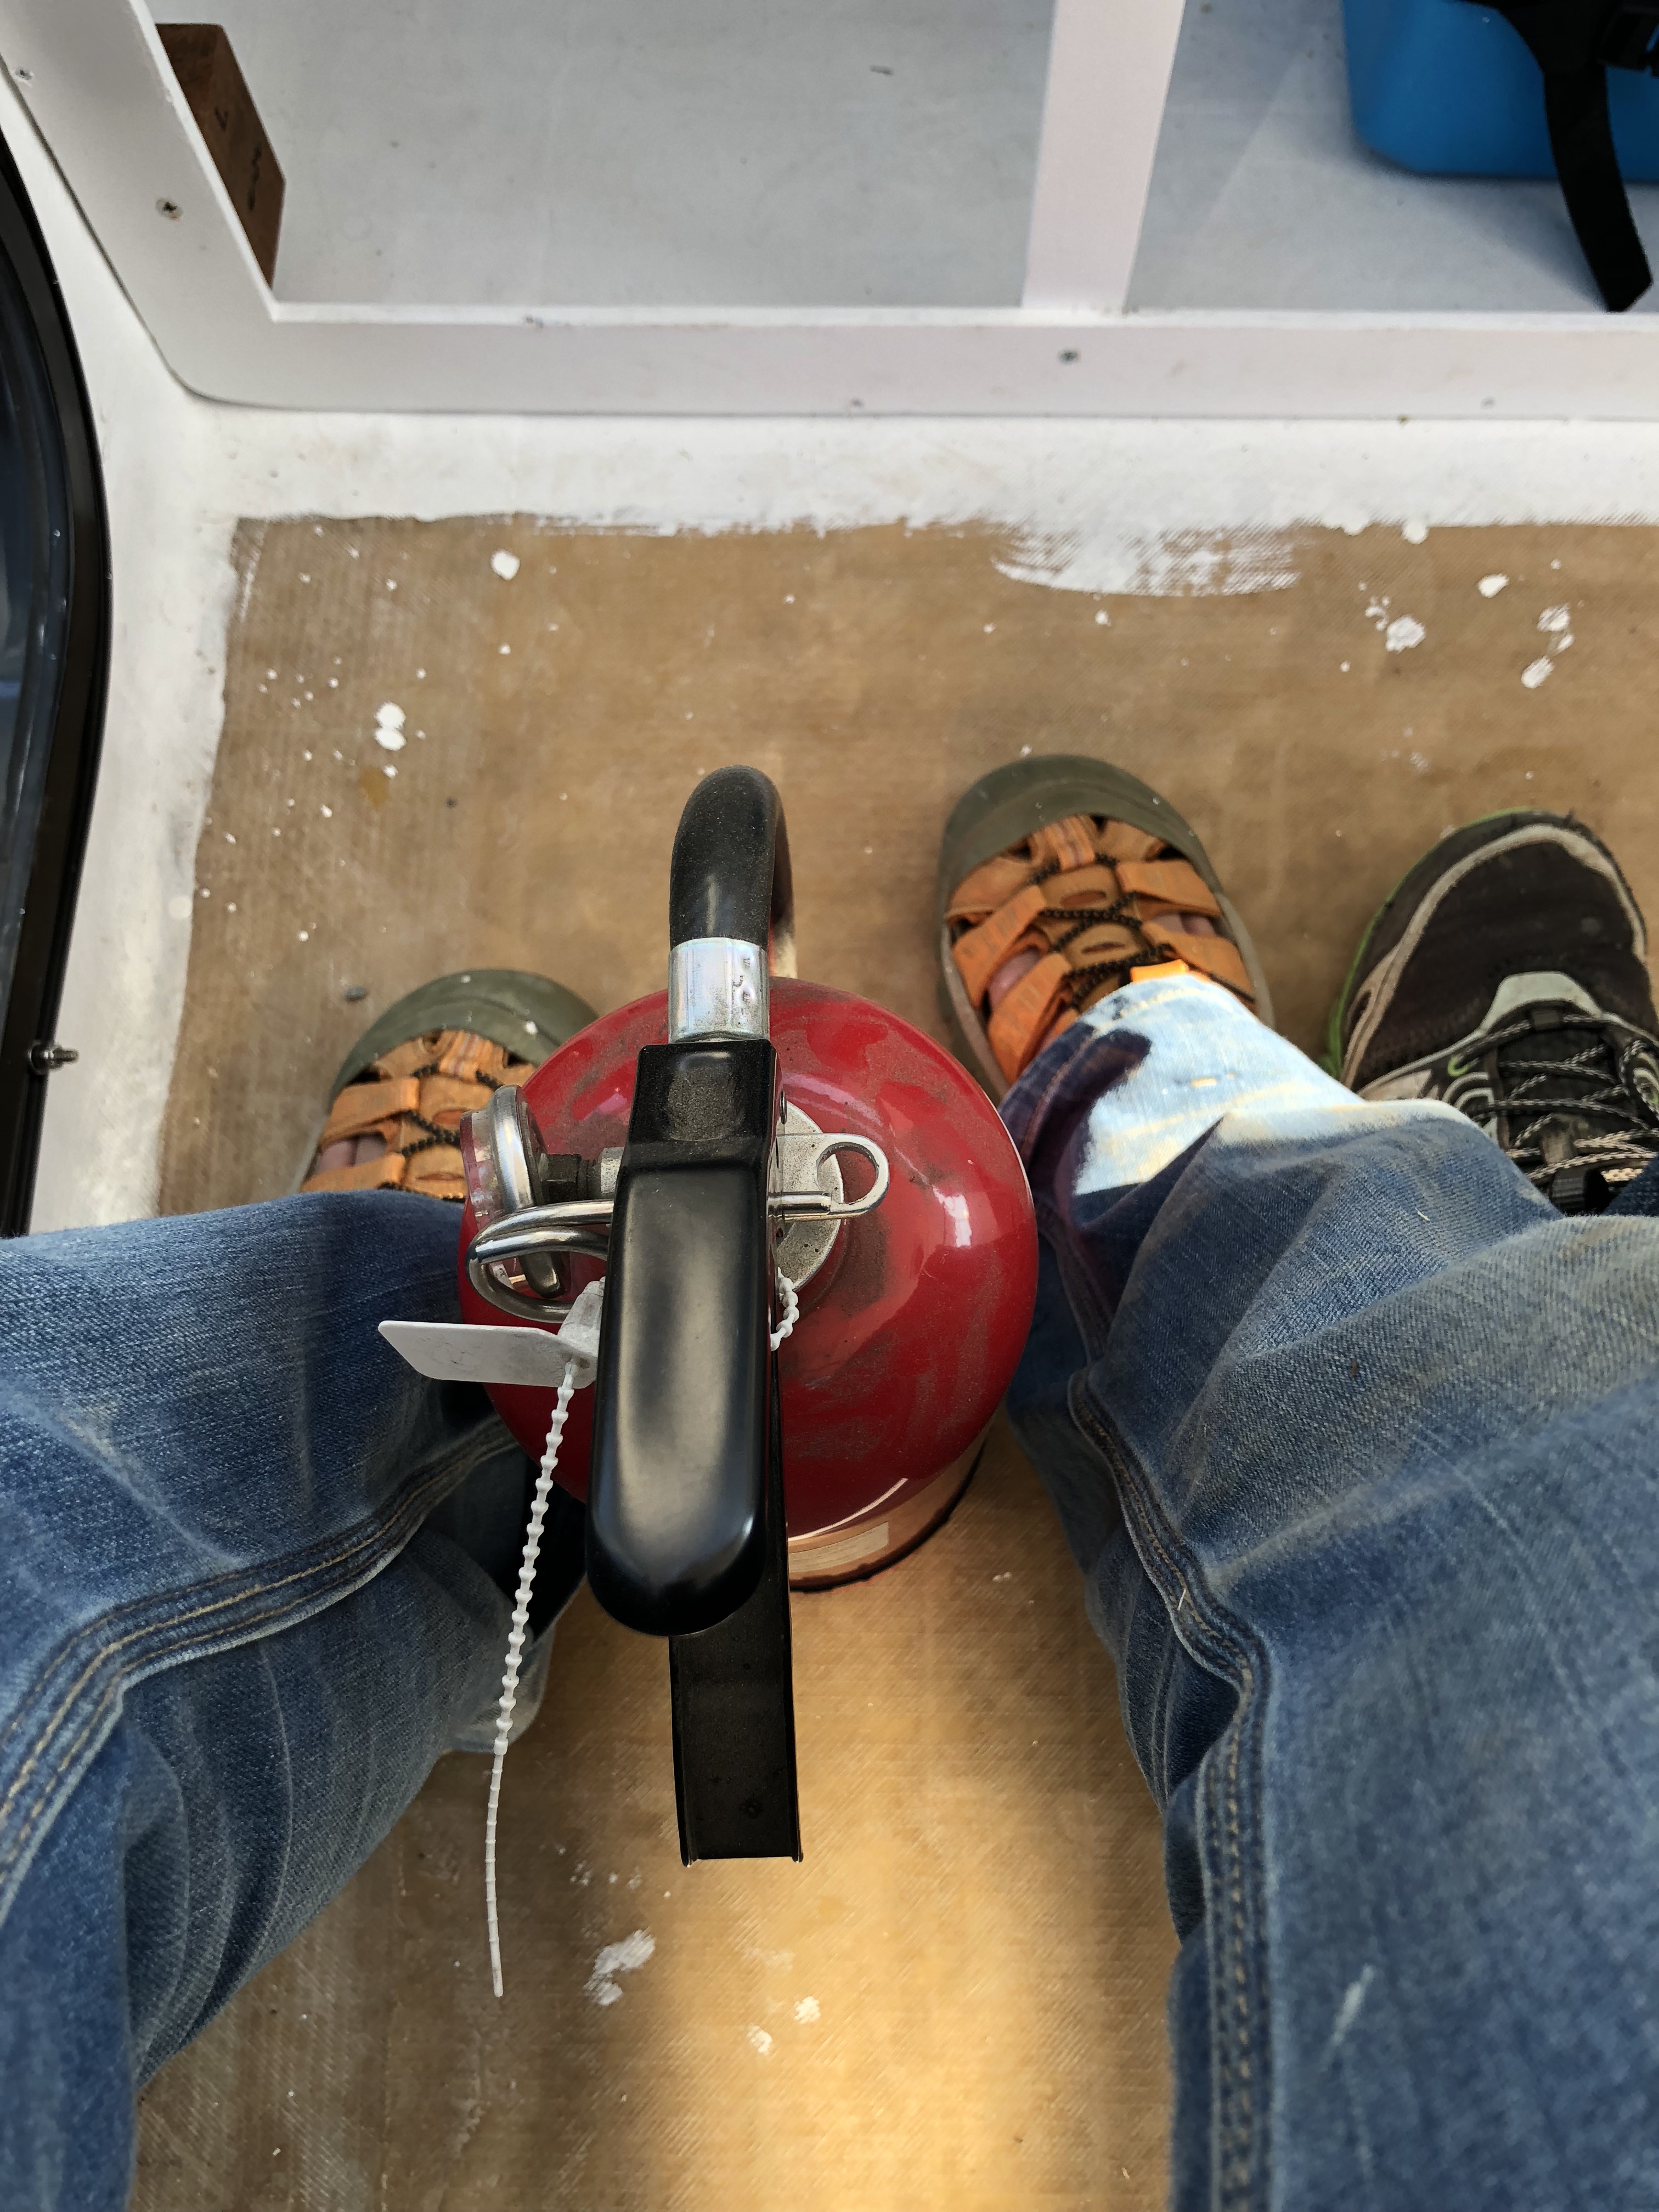
Fire extinguisher just in case! We have some duct temporarily installed and we're ready to rock!
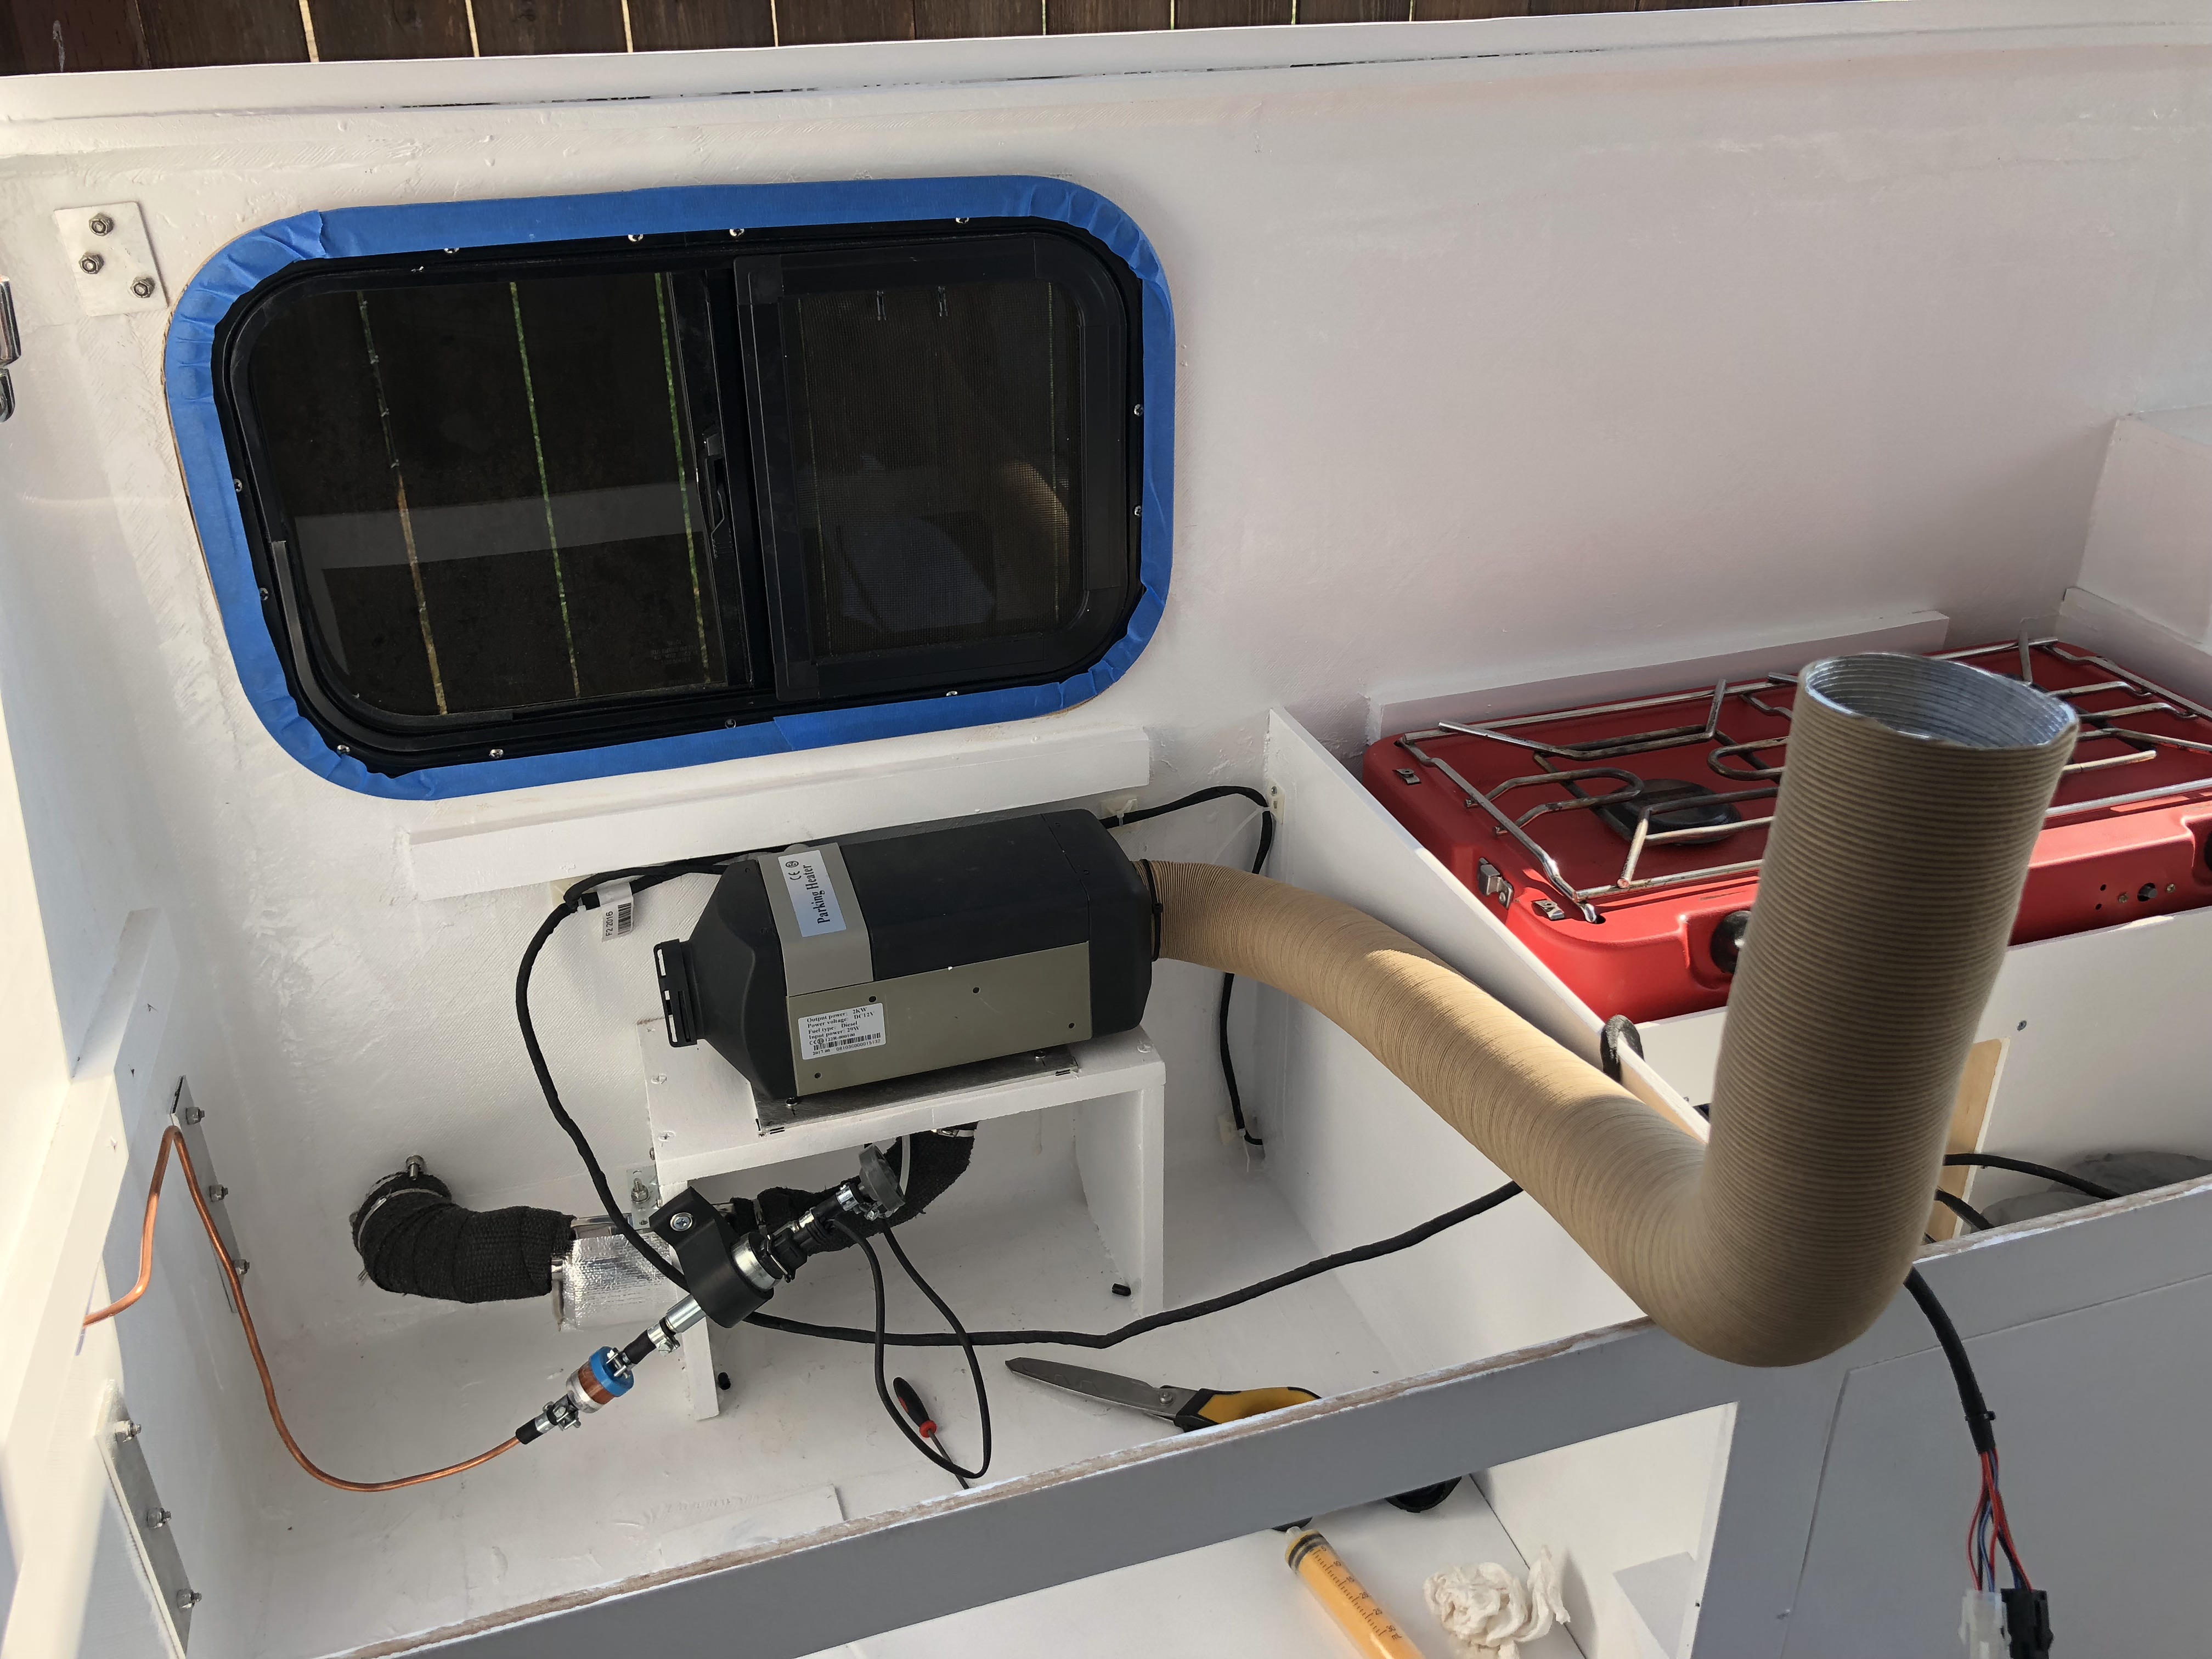
It actually started up without a hitch! It works very similar to our old Webasto diesel heater in the sailboat. It went through a little warmup sequence and then the fuel pump started clicking and working the bubbles out of the lines. Eventually the engine fired up and started coming up to temp! We let it run for a while even though it was in the 80’s outside.
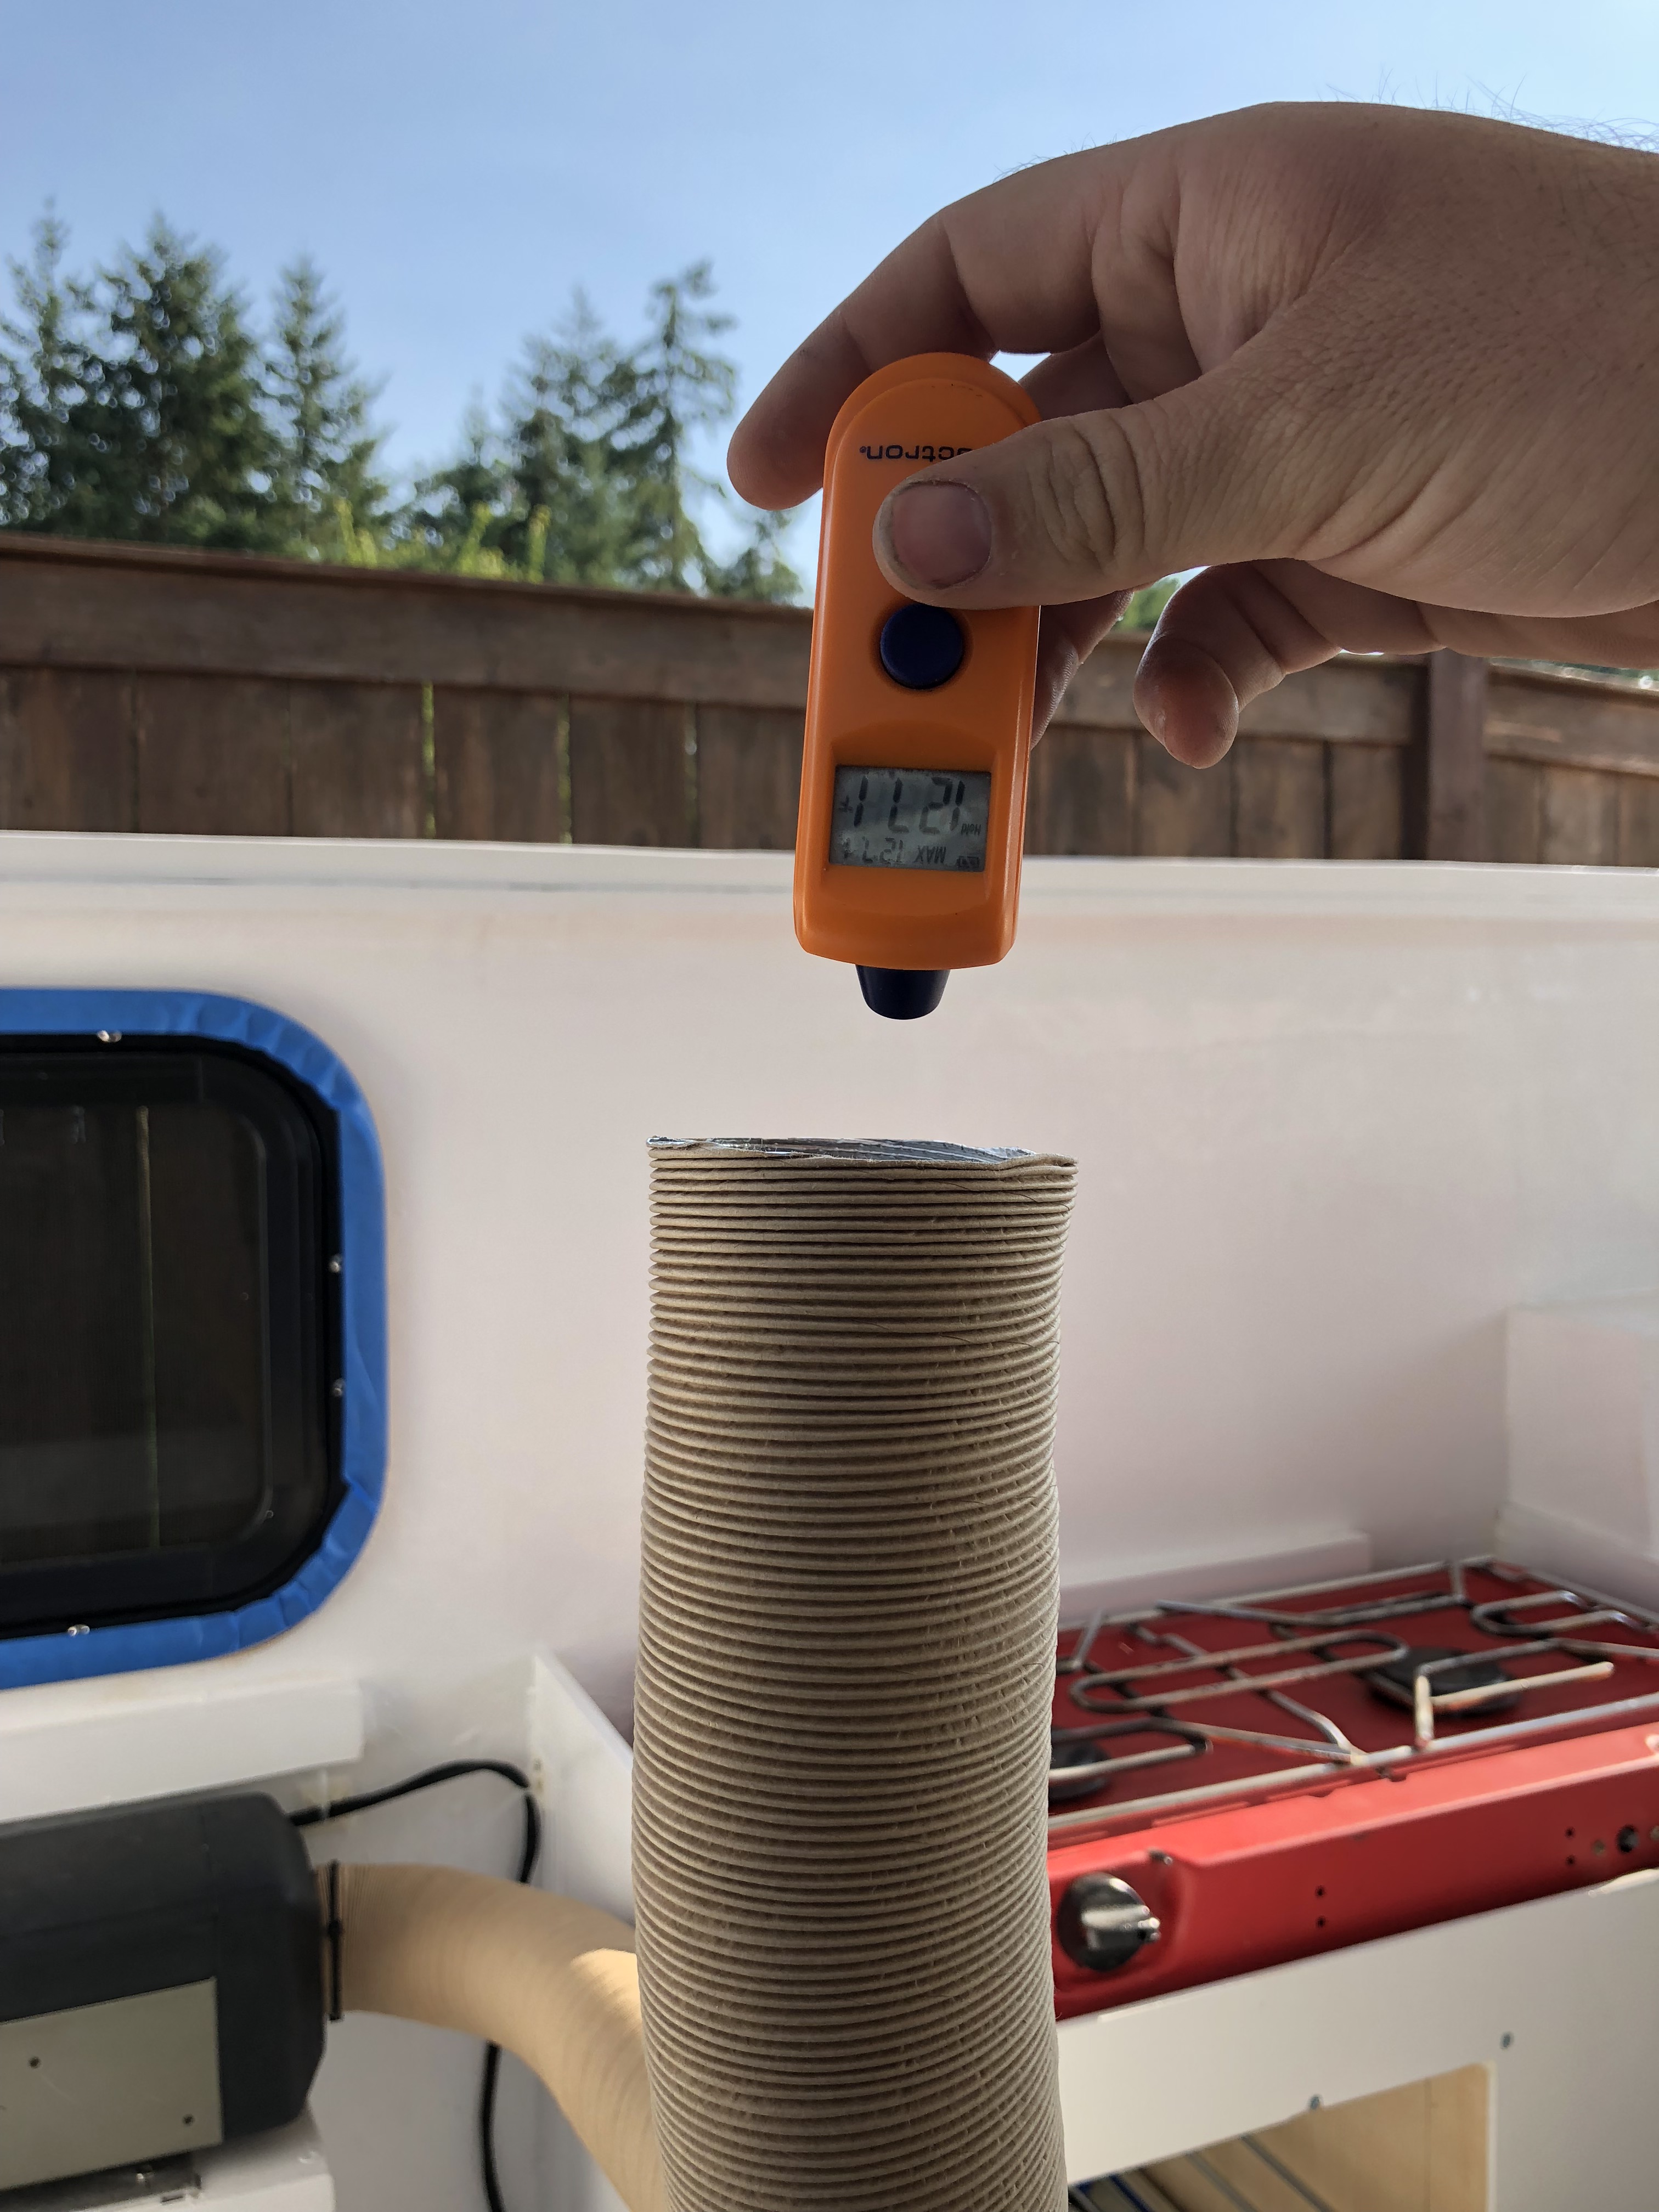
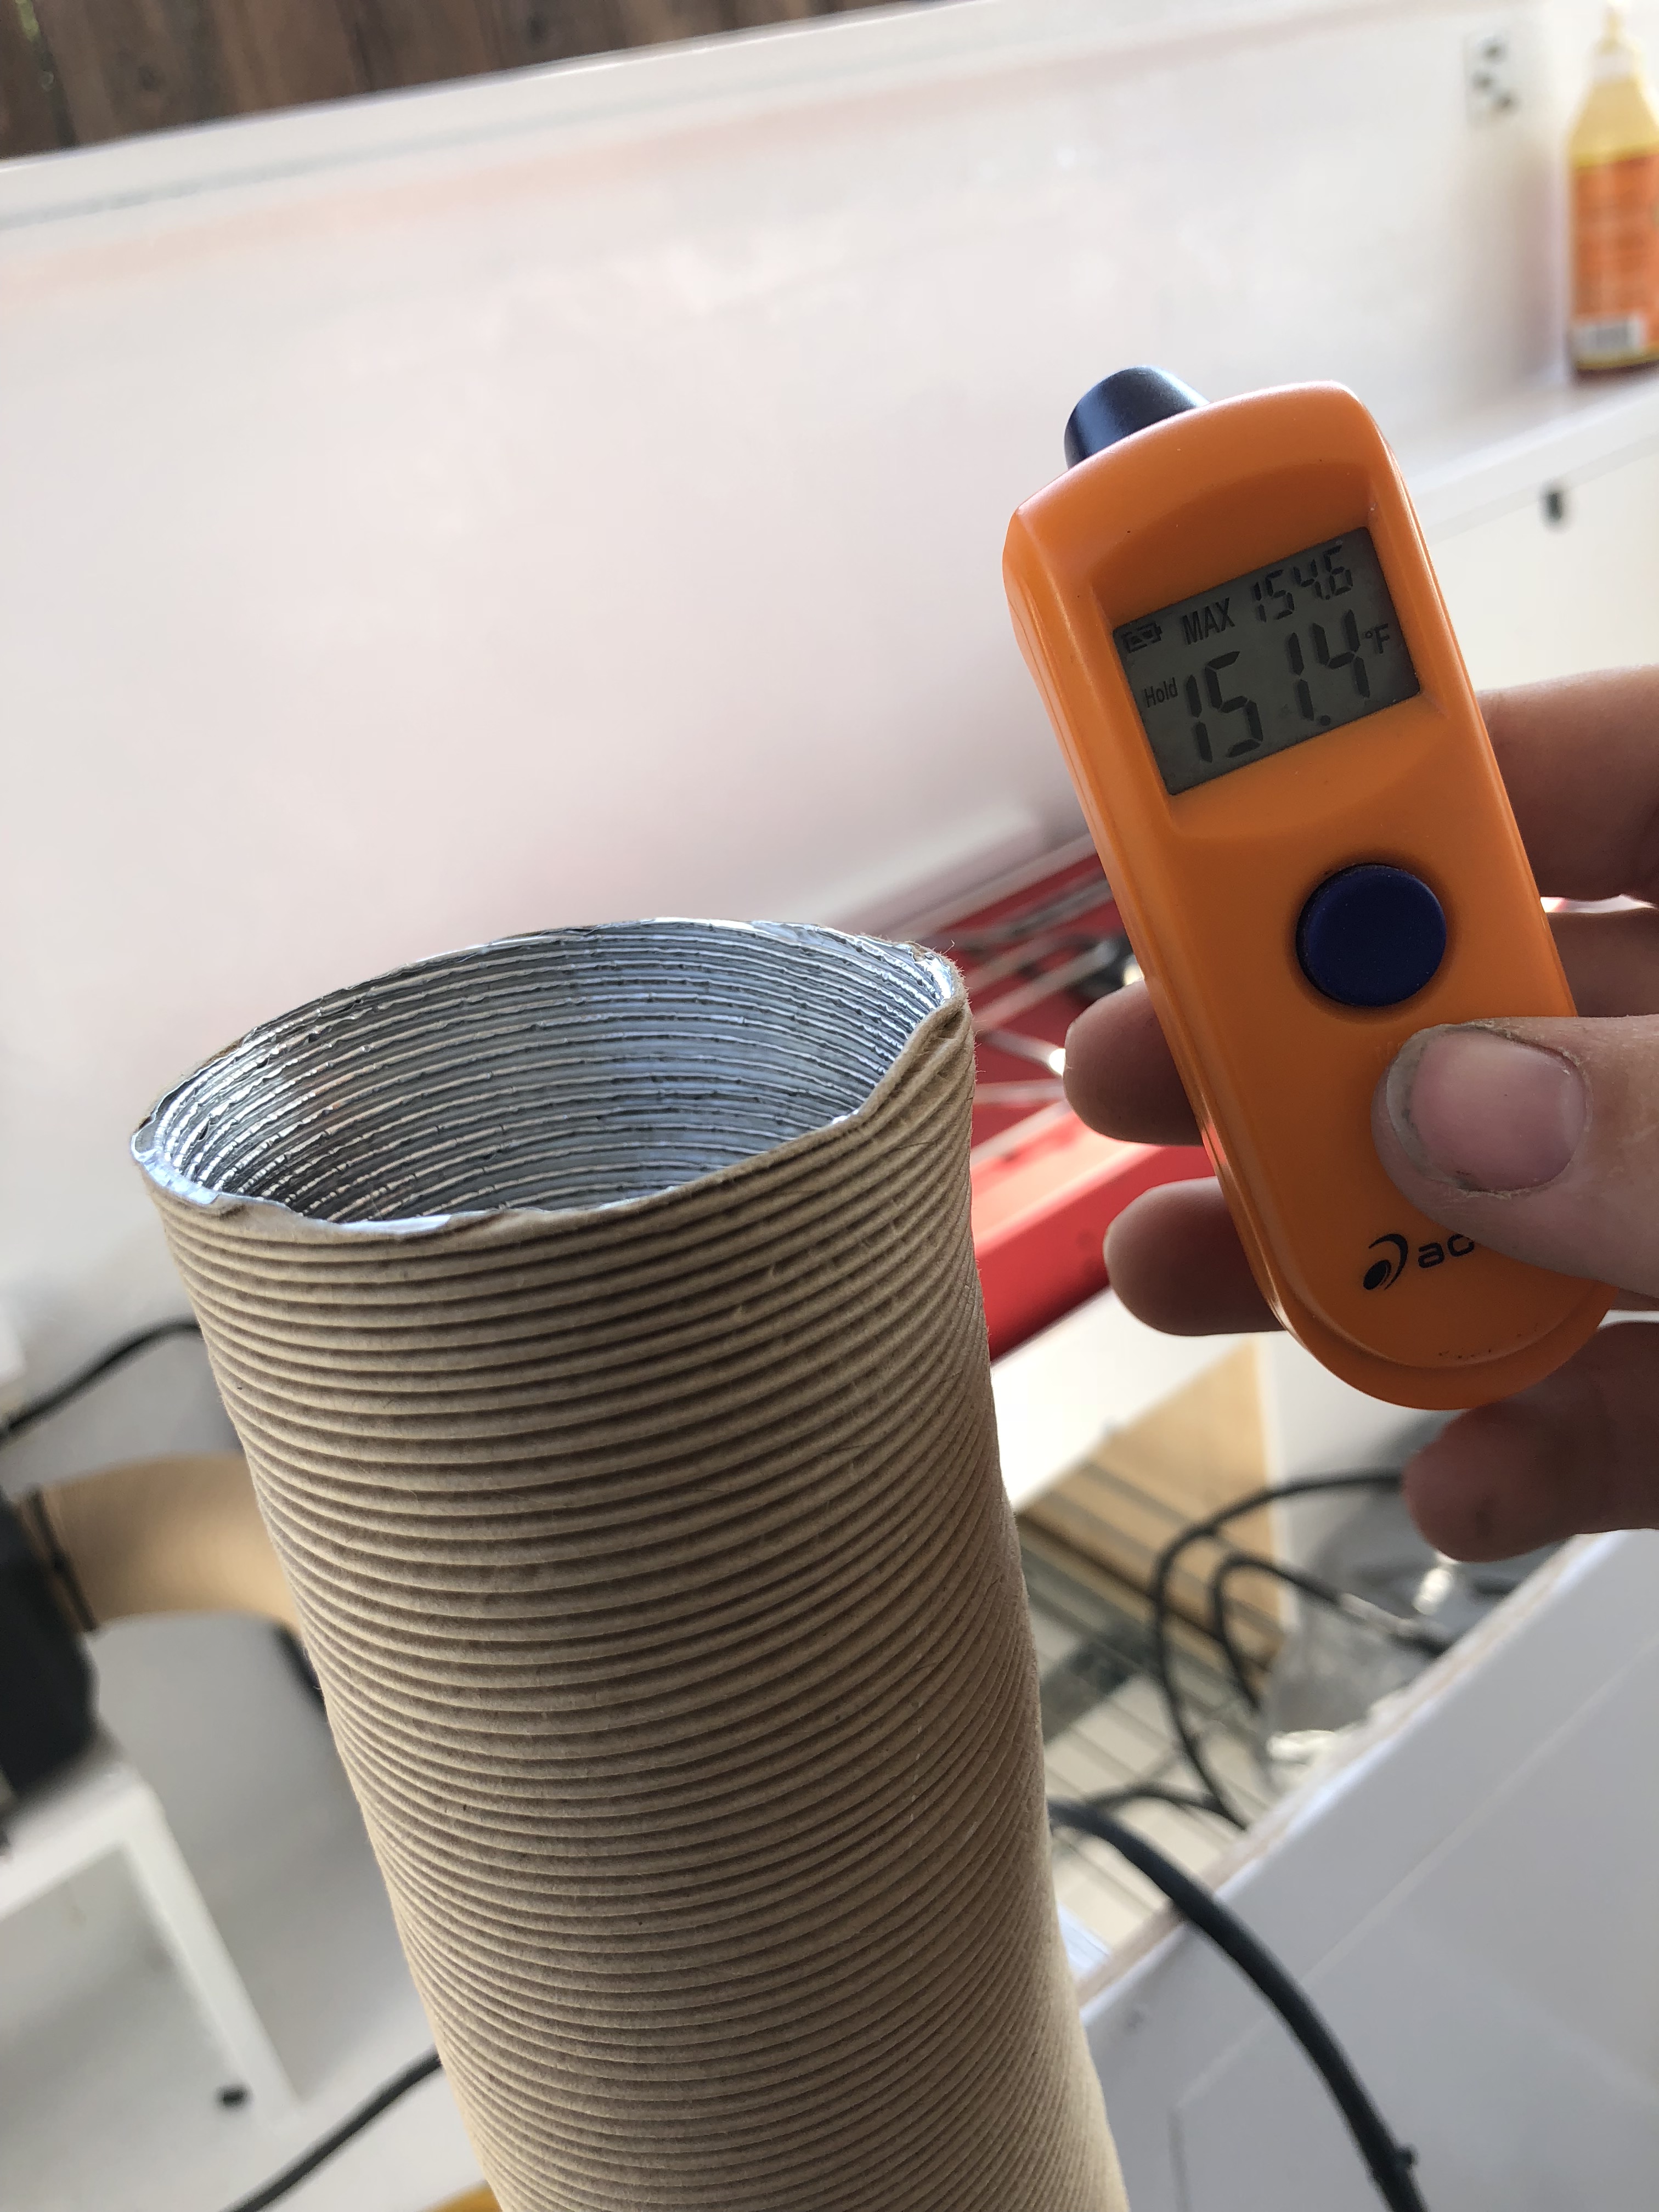
It pulls 7 amps on startup, 2 amps on high, and less than 1 amp on low. So not only is it fuel efficient (better than propane!) it also won’t draw our battery down overnight! The air coming out of the ducting got up to 155*! We should be able to camp in any weather we want to now!
Fire extinguisher just in case!
We have some duct temporarily installed and we're ready to rock!
It actually started up without a hitch! It works very similar to our old Webasto diesel heater in the sailboat. It went through a little warmup sequence and then the fuel pump started clicking and working the bubbles out of the lines. Eventually the engine fired up and started coming up to temp! We let it run for a while even though it was in the 80’s outside.
It pulls 7 amps on startup, 2 amps on high, and less than 1 amp on low. So not only is it fuel efficient (better than propane!) it also won’t draw our battery down overnight! The air coming out of the ducting got up to 155*! We should be able to camp in any weather we want to now!
Forum statistics
Members online
- Rebuilder
- elmo_4_vt
- vargas35
- bashinate
- YukonMontanaTannerTrapper
- pinevalley
- Shawn686
- kins18q
- Fadeagray
- rsmccull
- TRAVR
- Elliotjames13
- Camper123
- Imgoingonanadvencha
- emreozukan
- Skinhyfish
- Larry B
- Jonnyblu3
- Photomike
- ExpoMike
- trasko
- sancap
- Cayenne-958-TDI
- Littlehouse
- Jimmy's
- NOPEC
- WU7X
- Willsfree
- mark5280
- ErWinB
- stoneglasshaus
- deeppurpleman
- MR. ED
Total: 778 (members: 35, guests: 743)