Build - Fiberglass & Foam Truck Camper

underkill

Active member
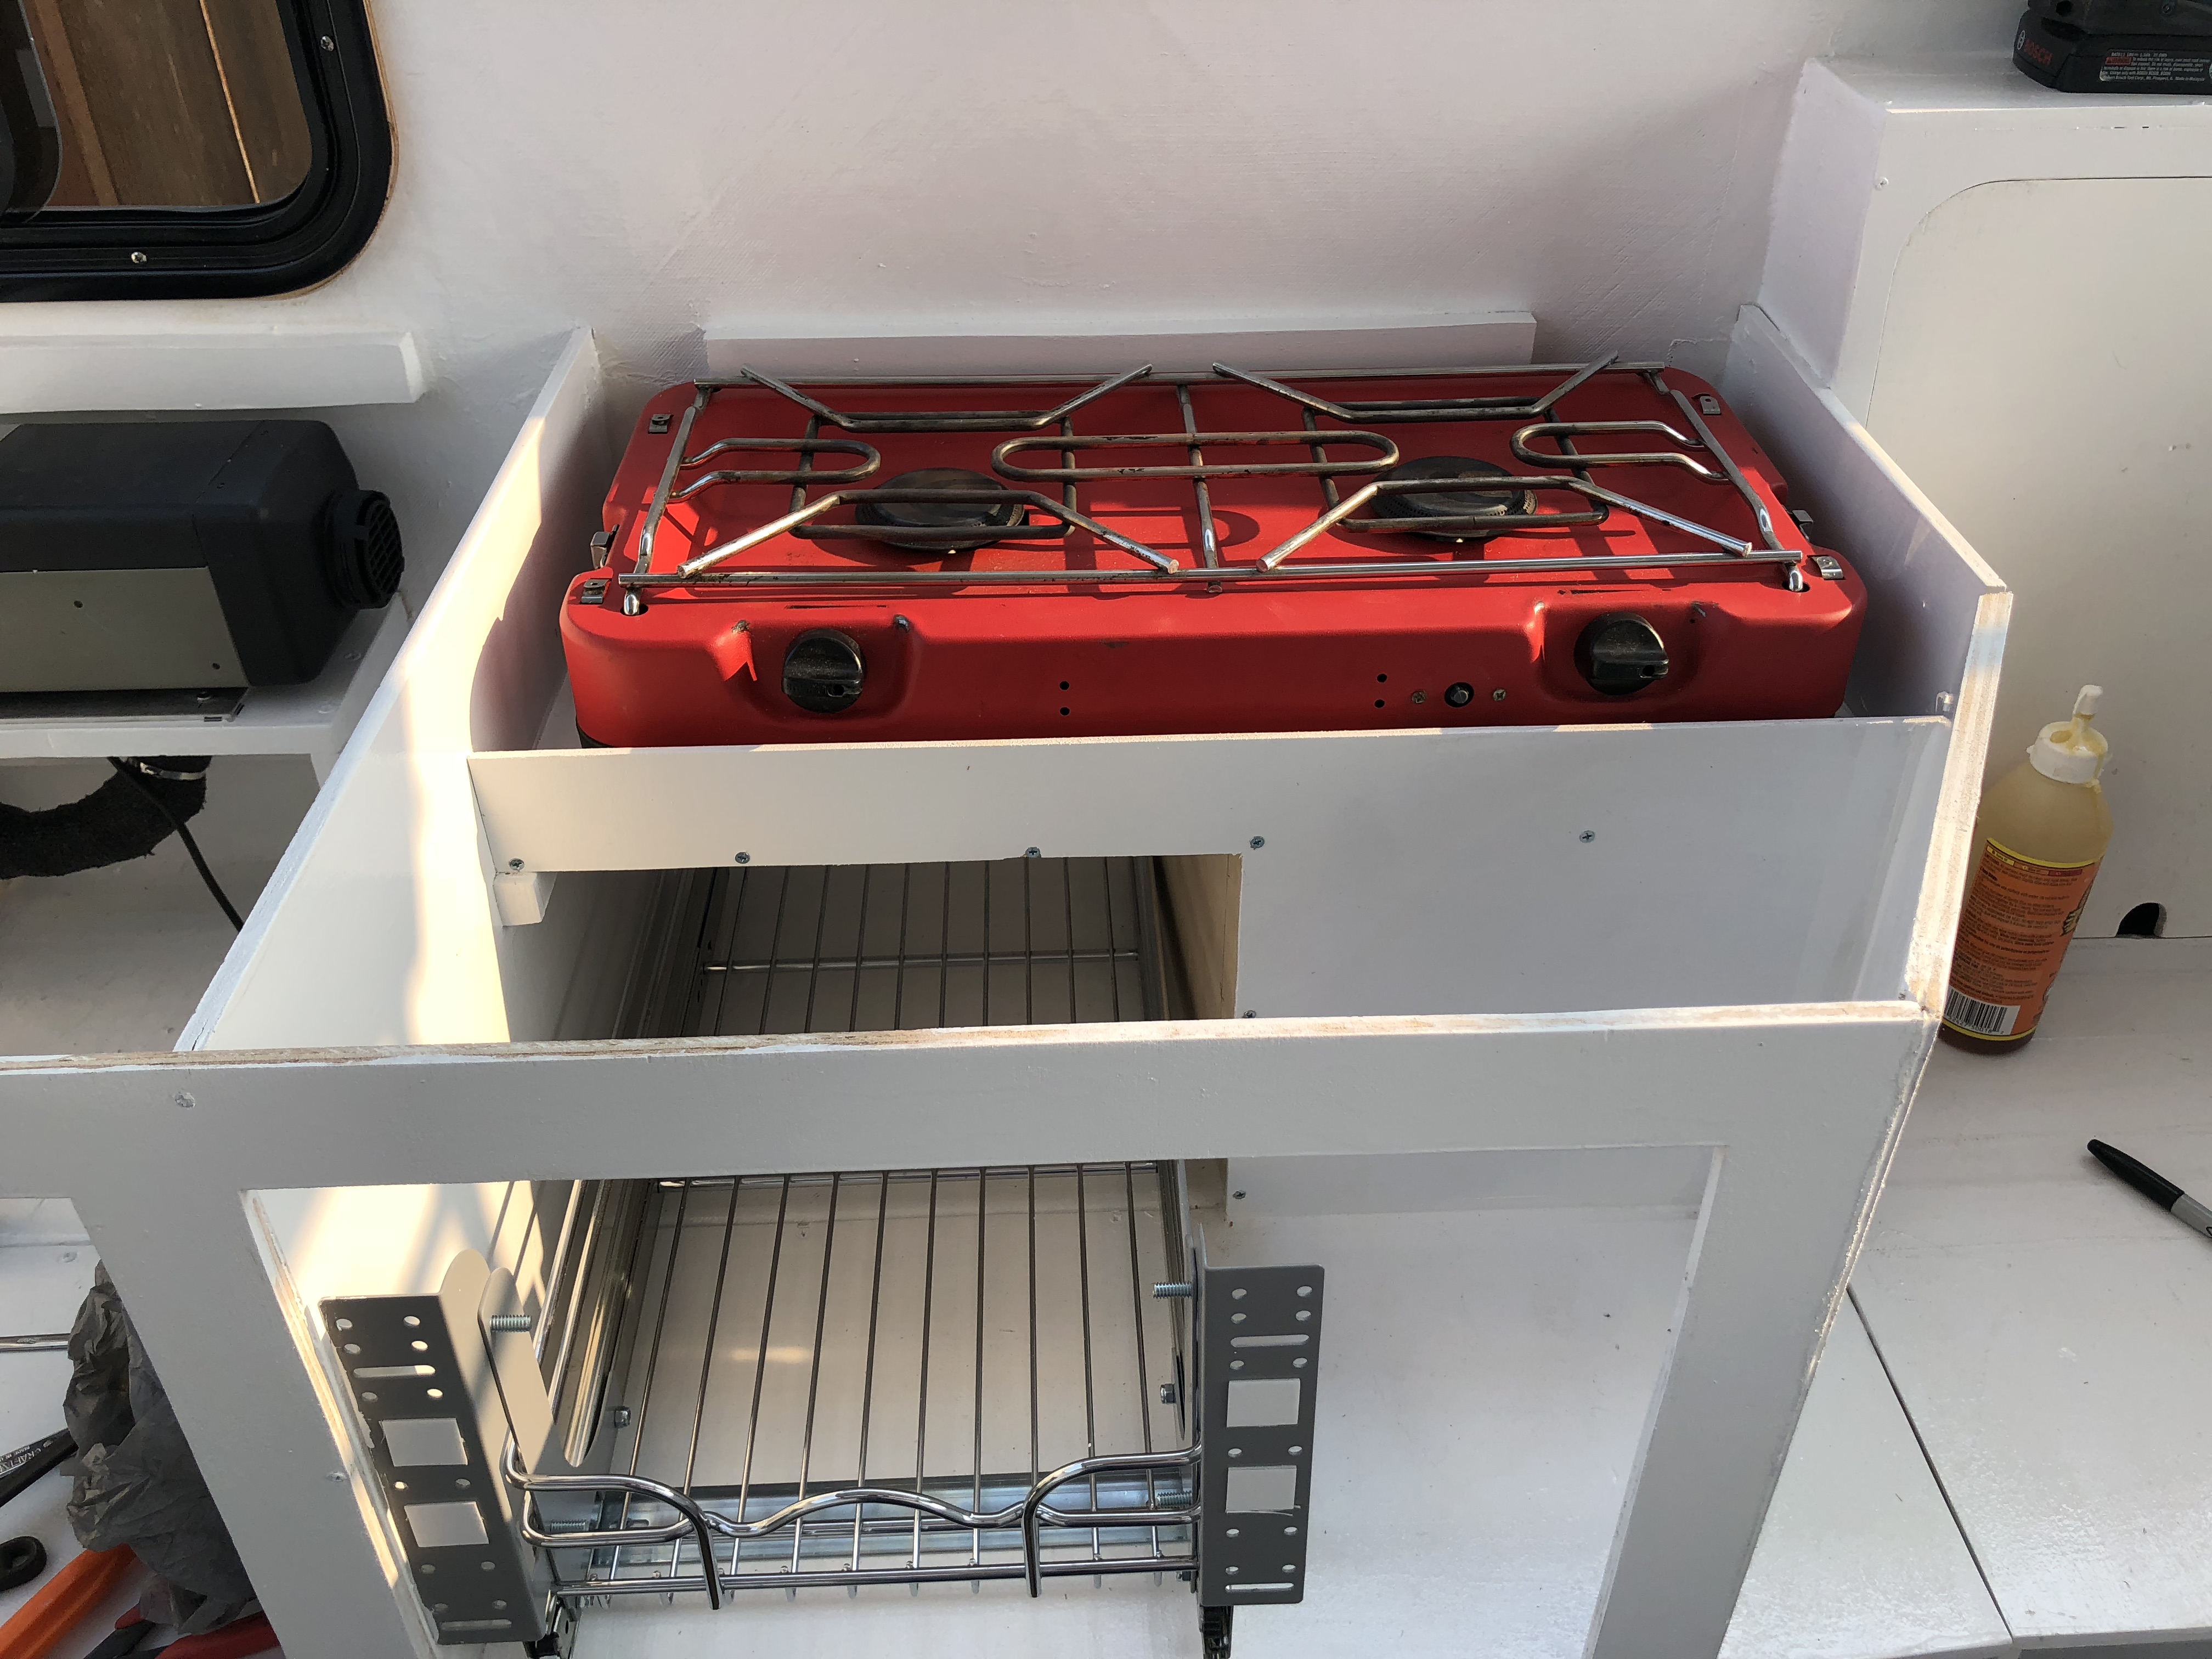
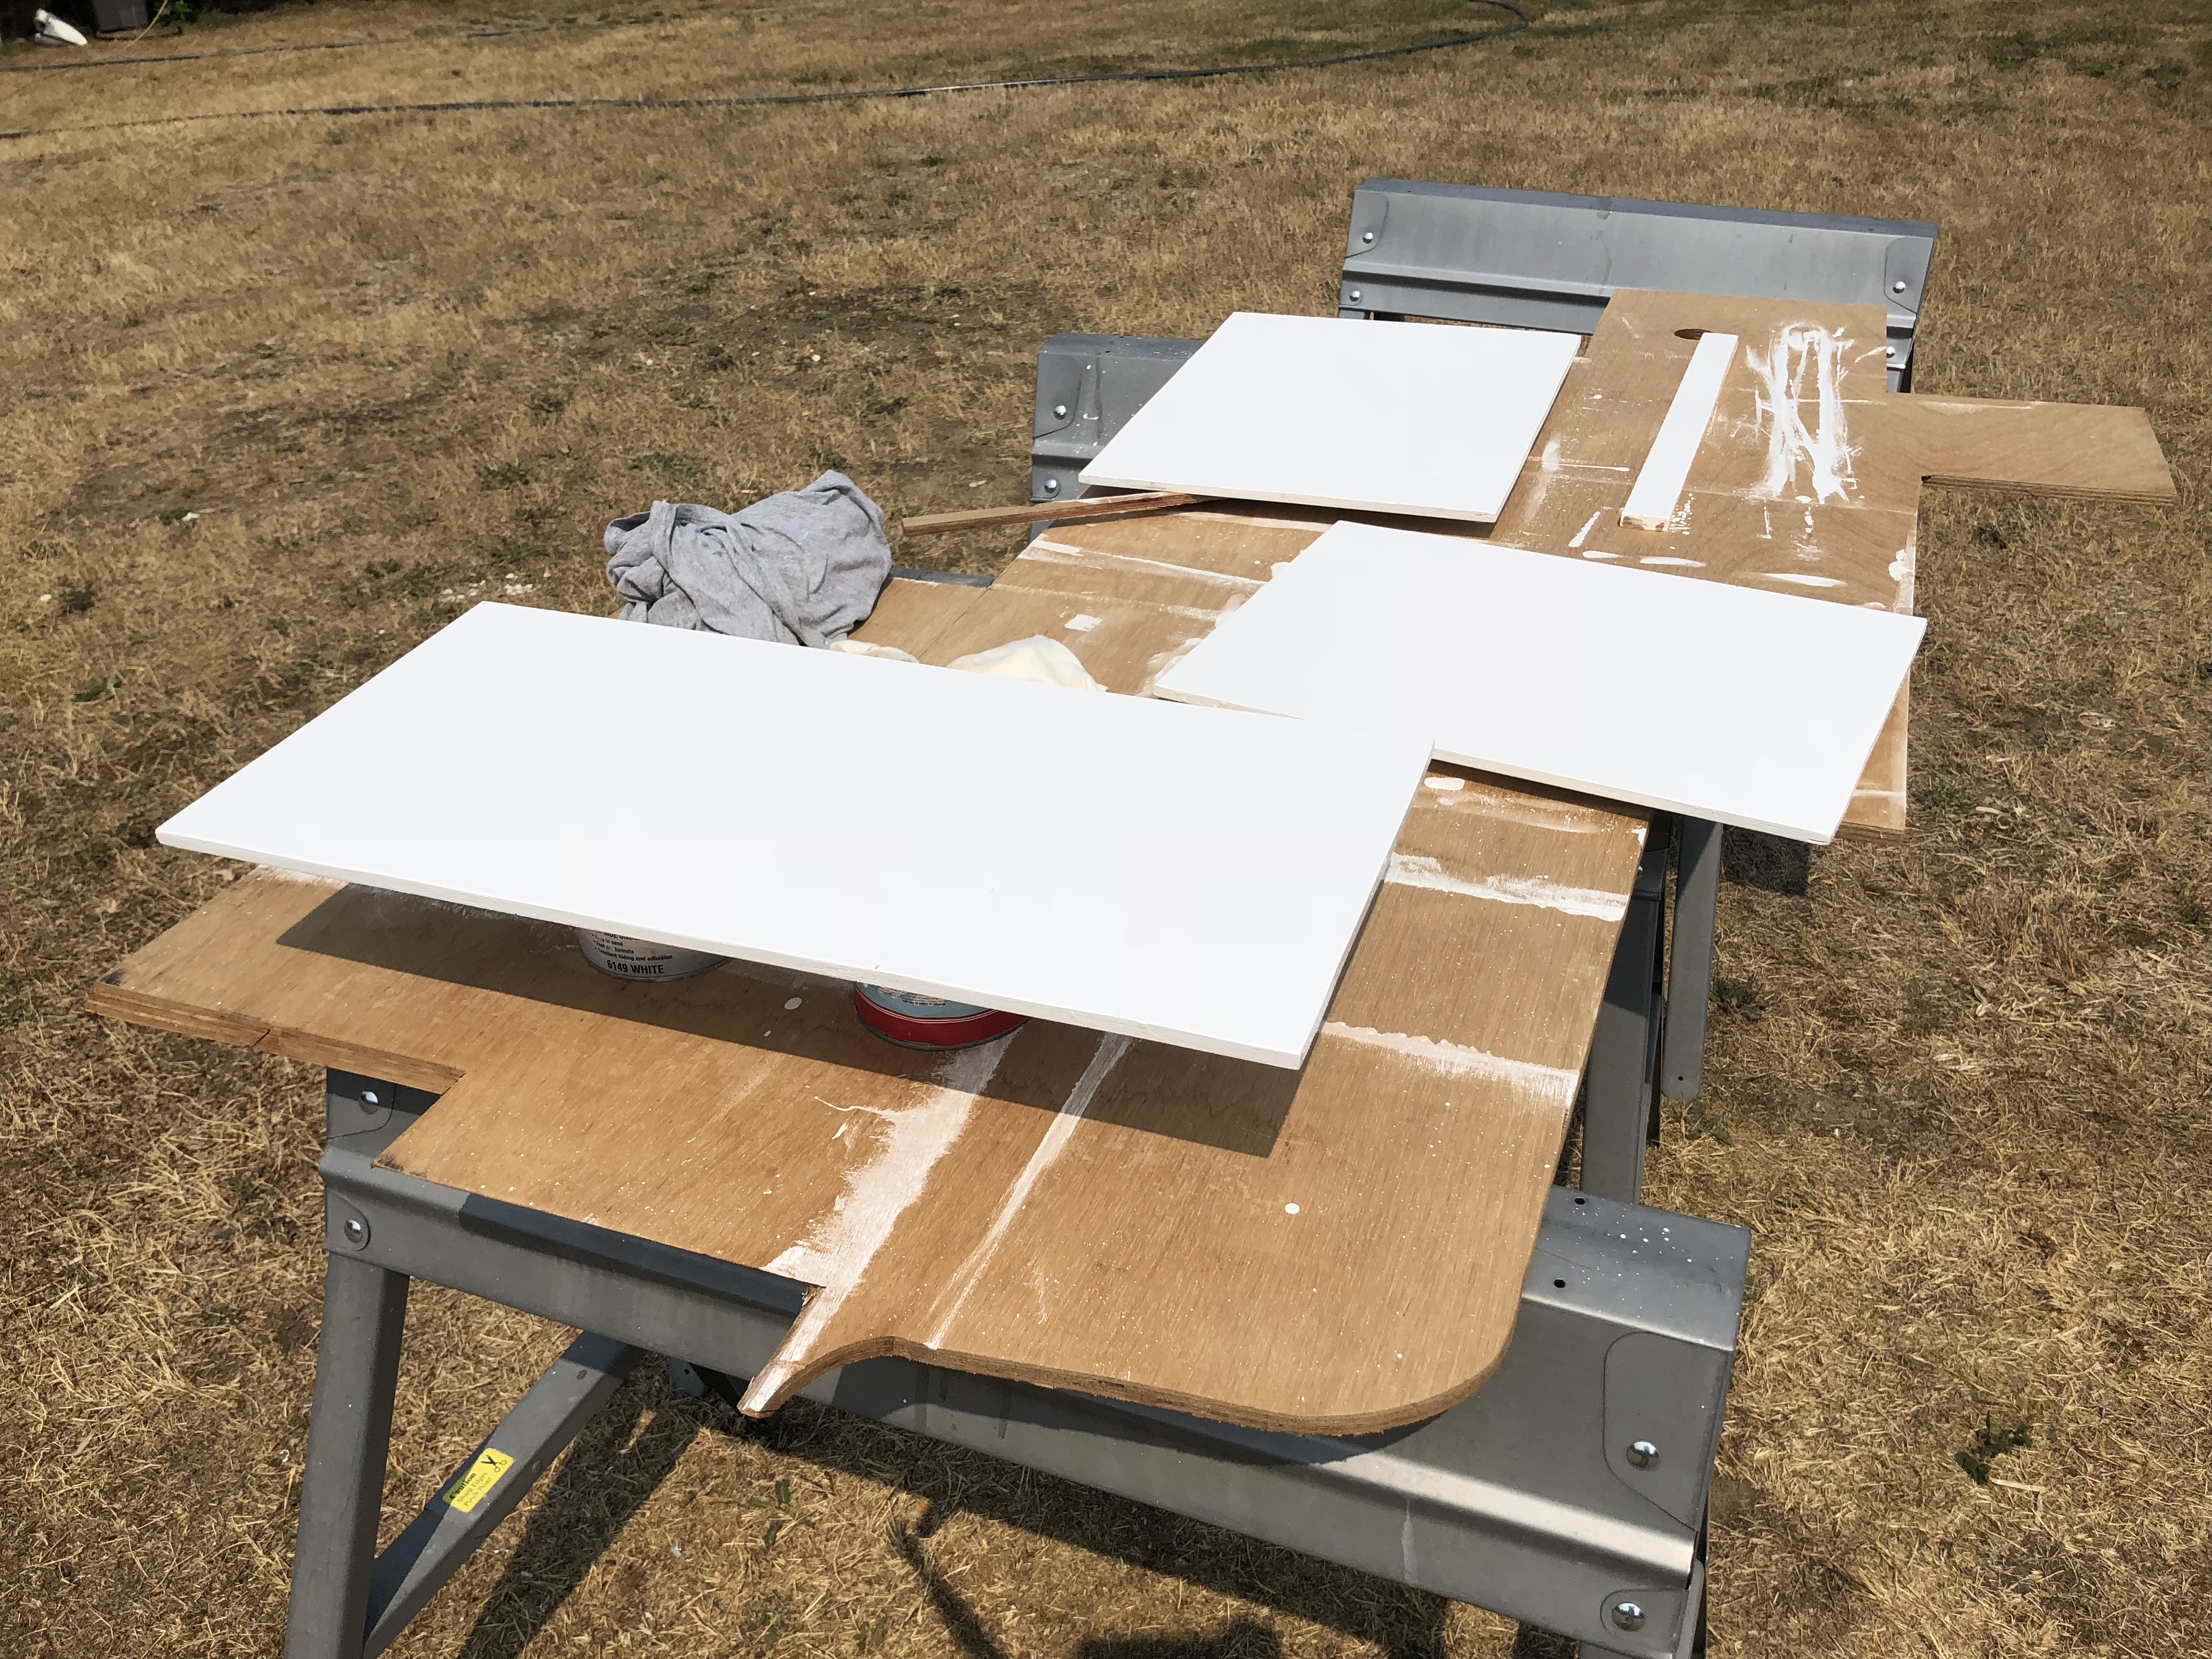
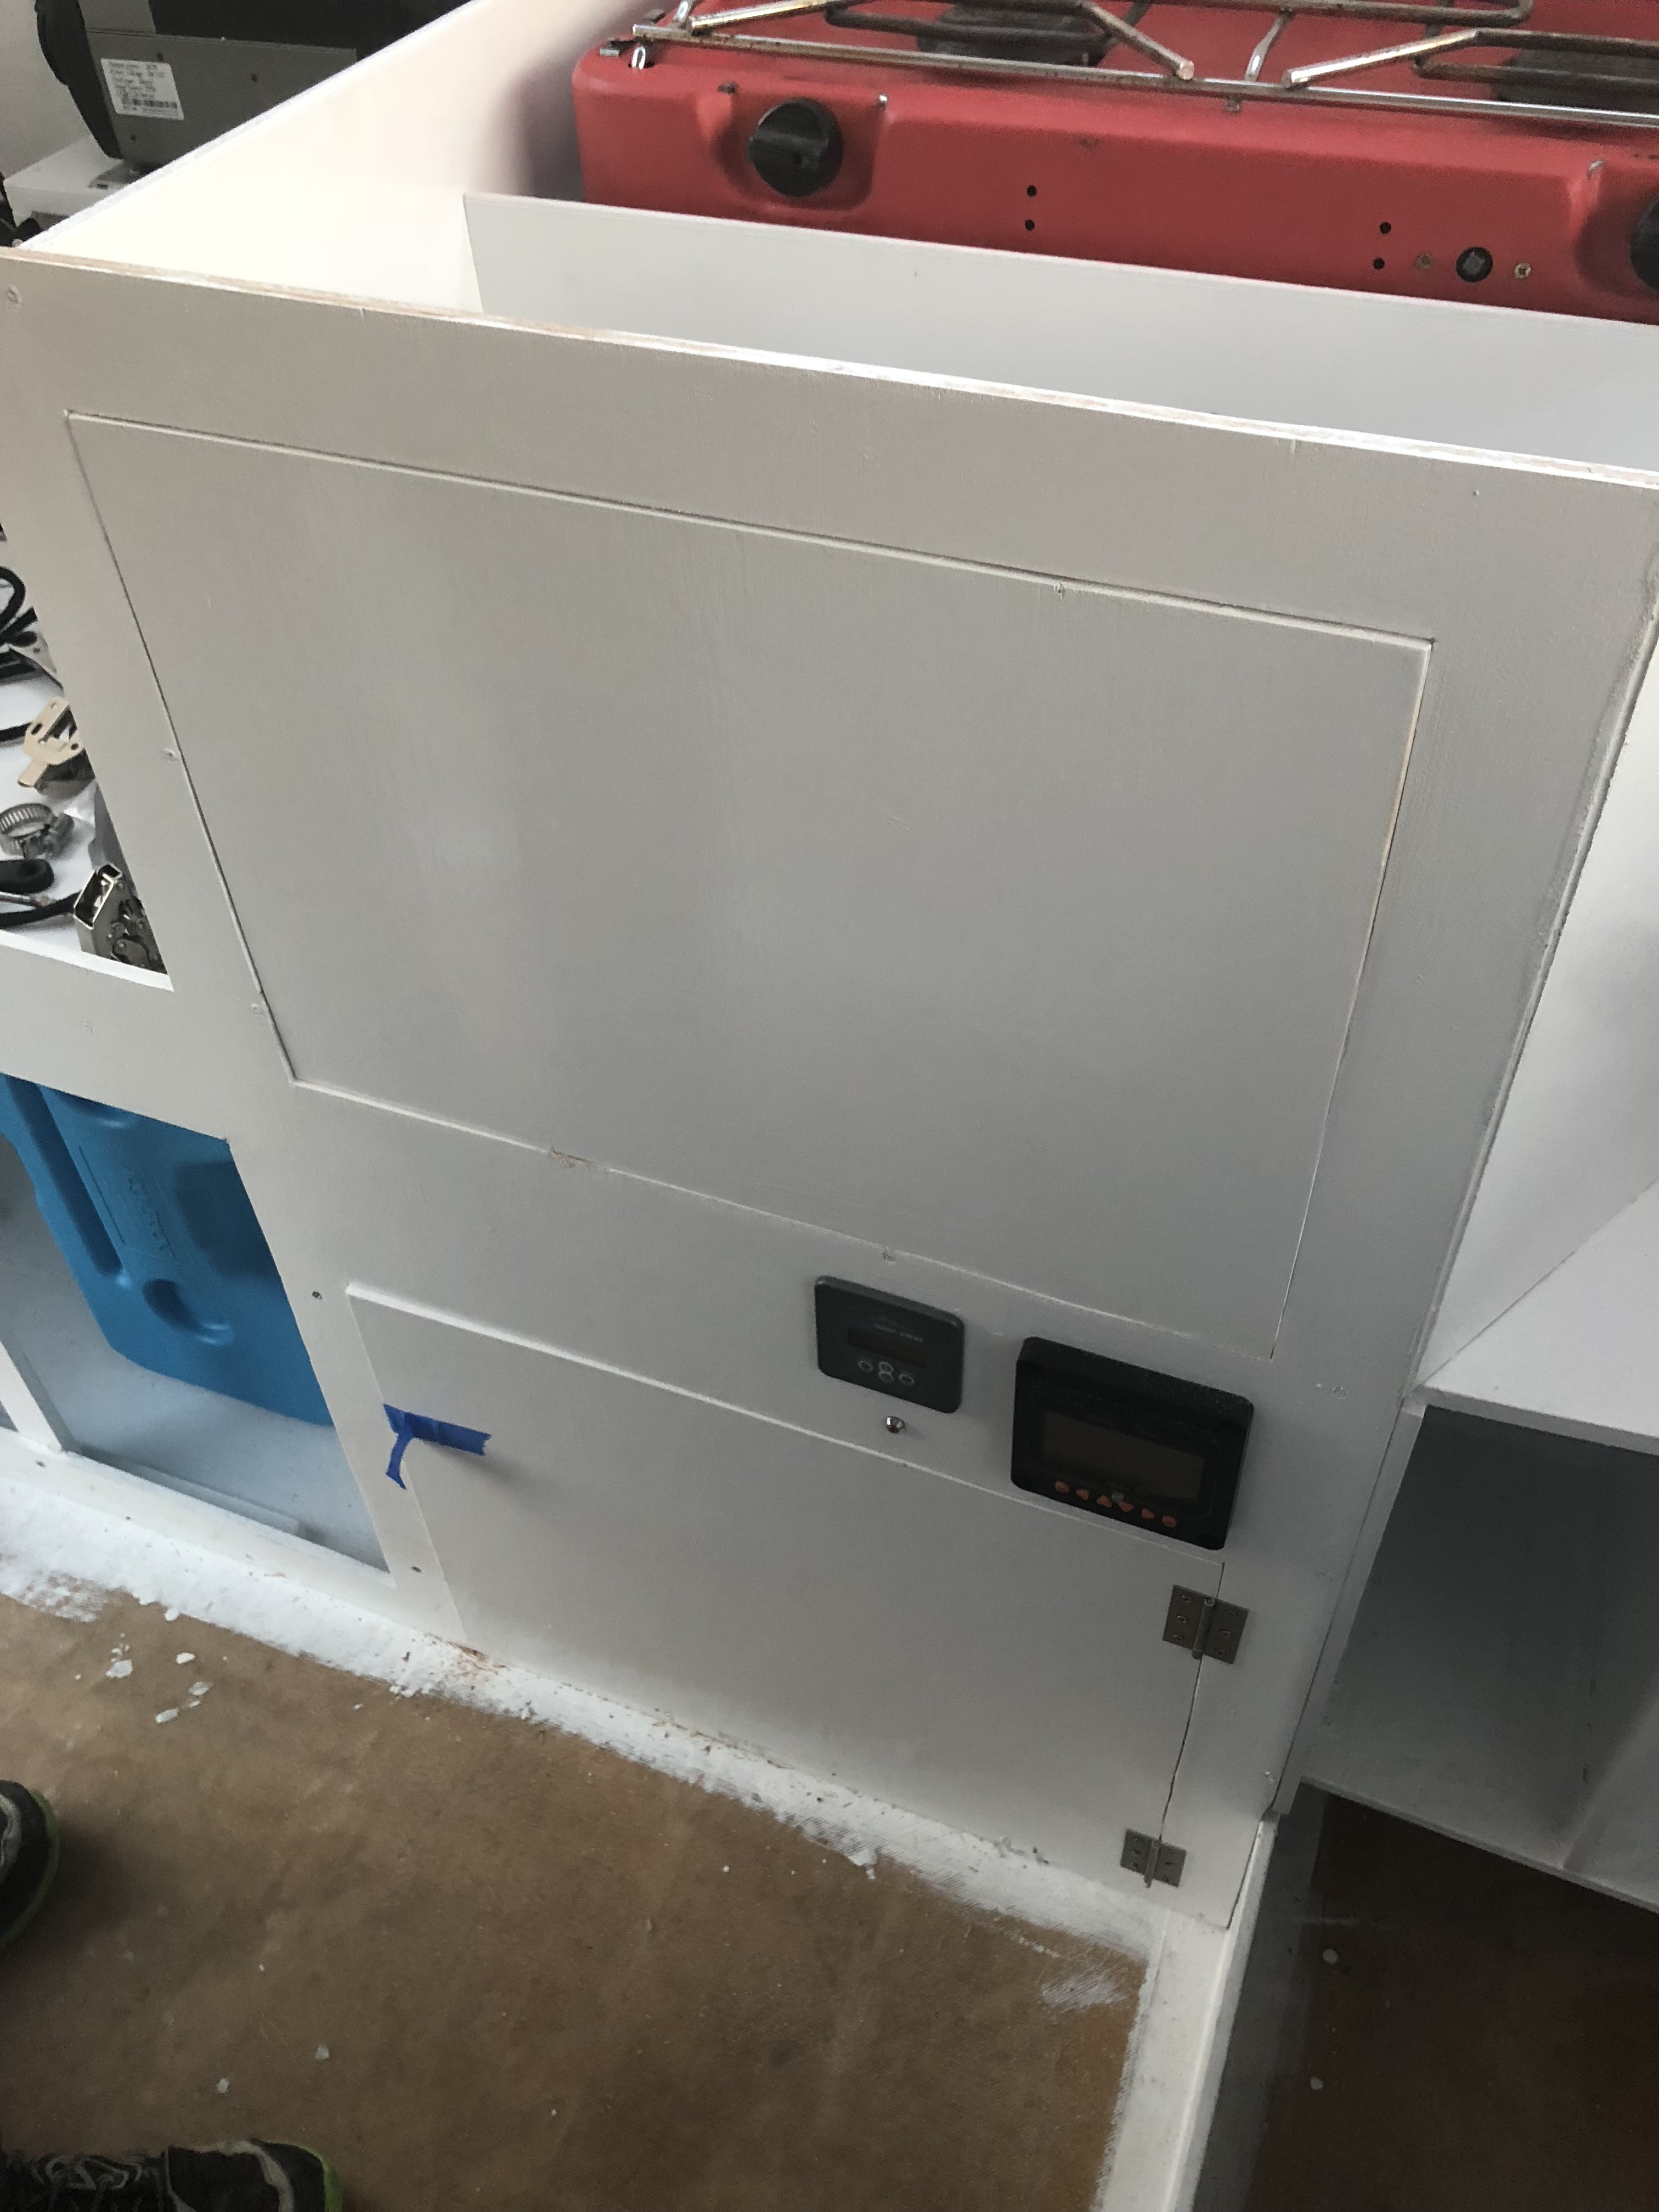
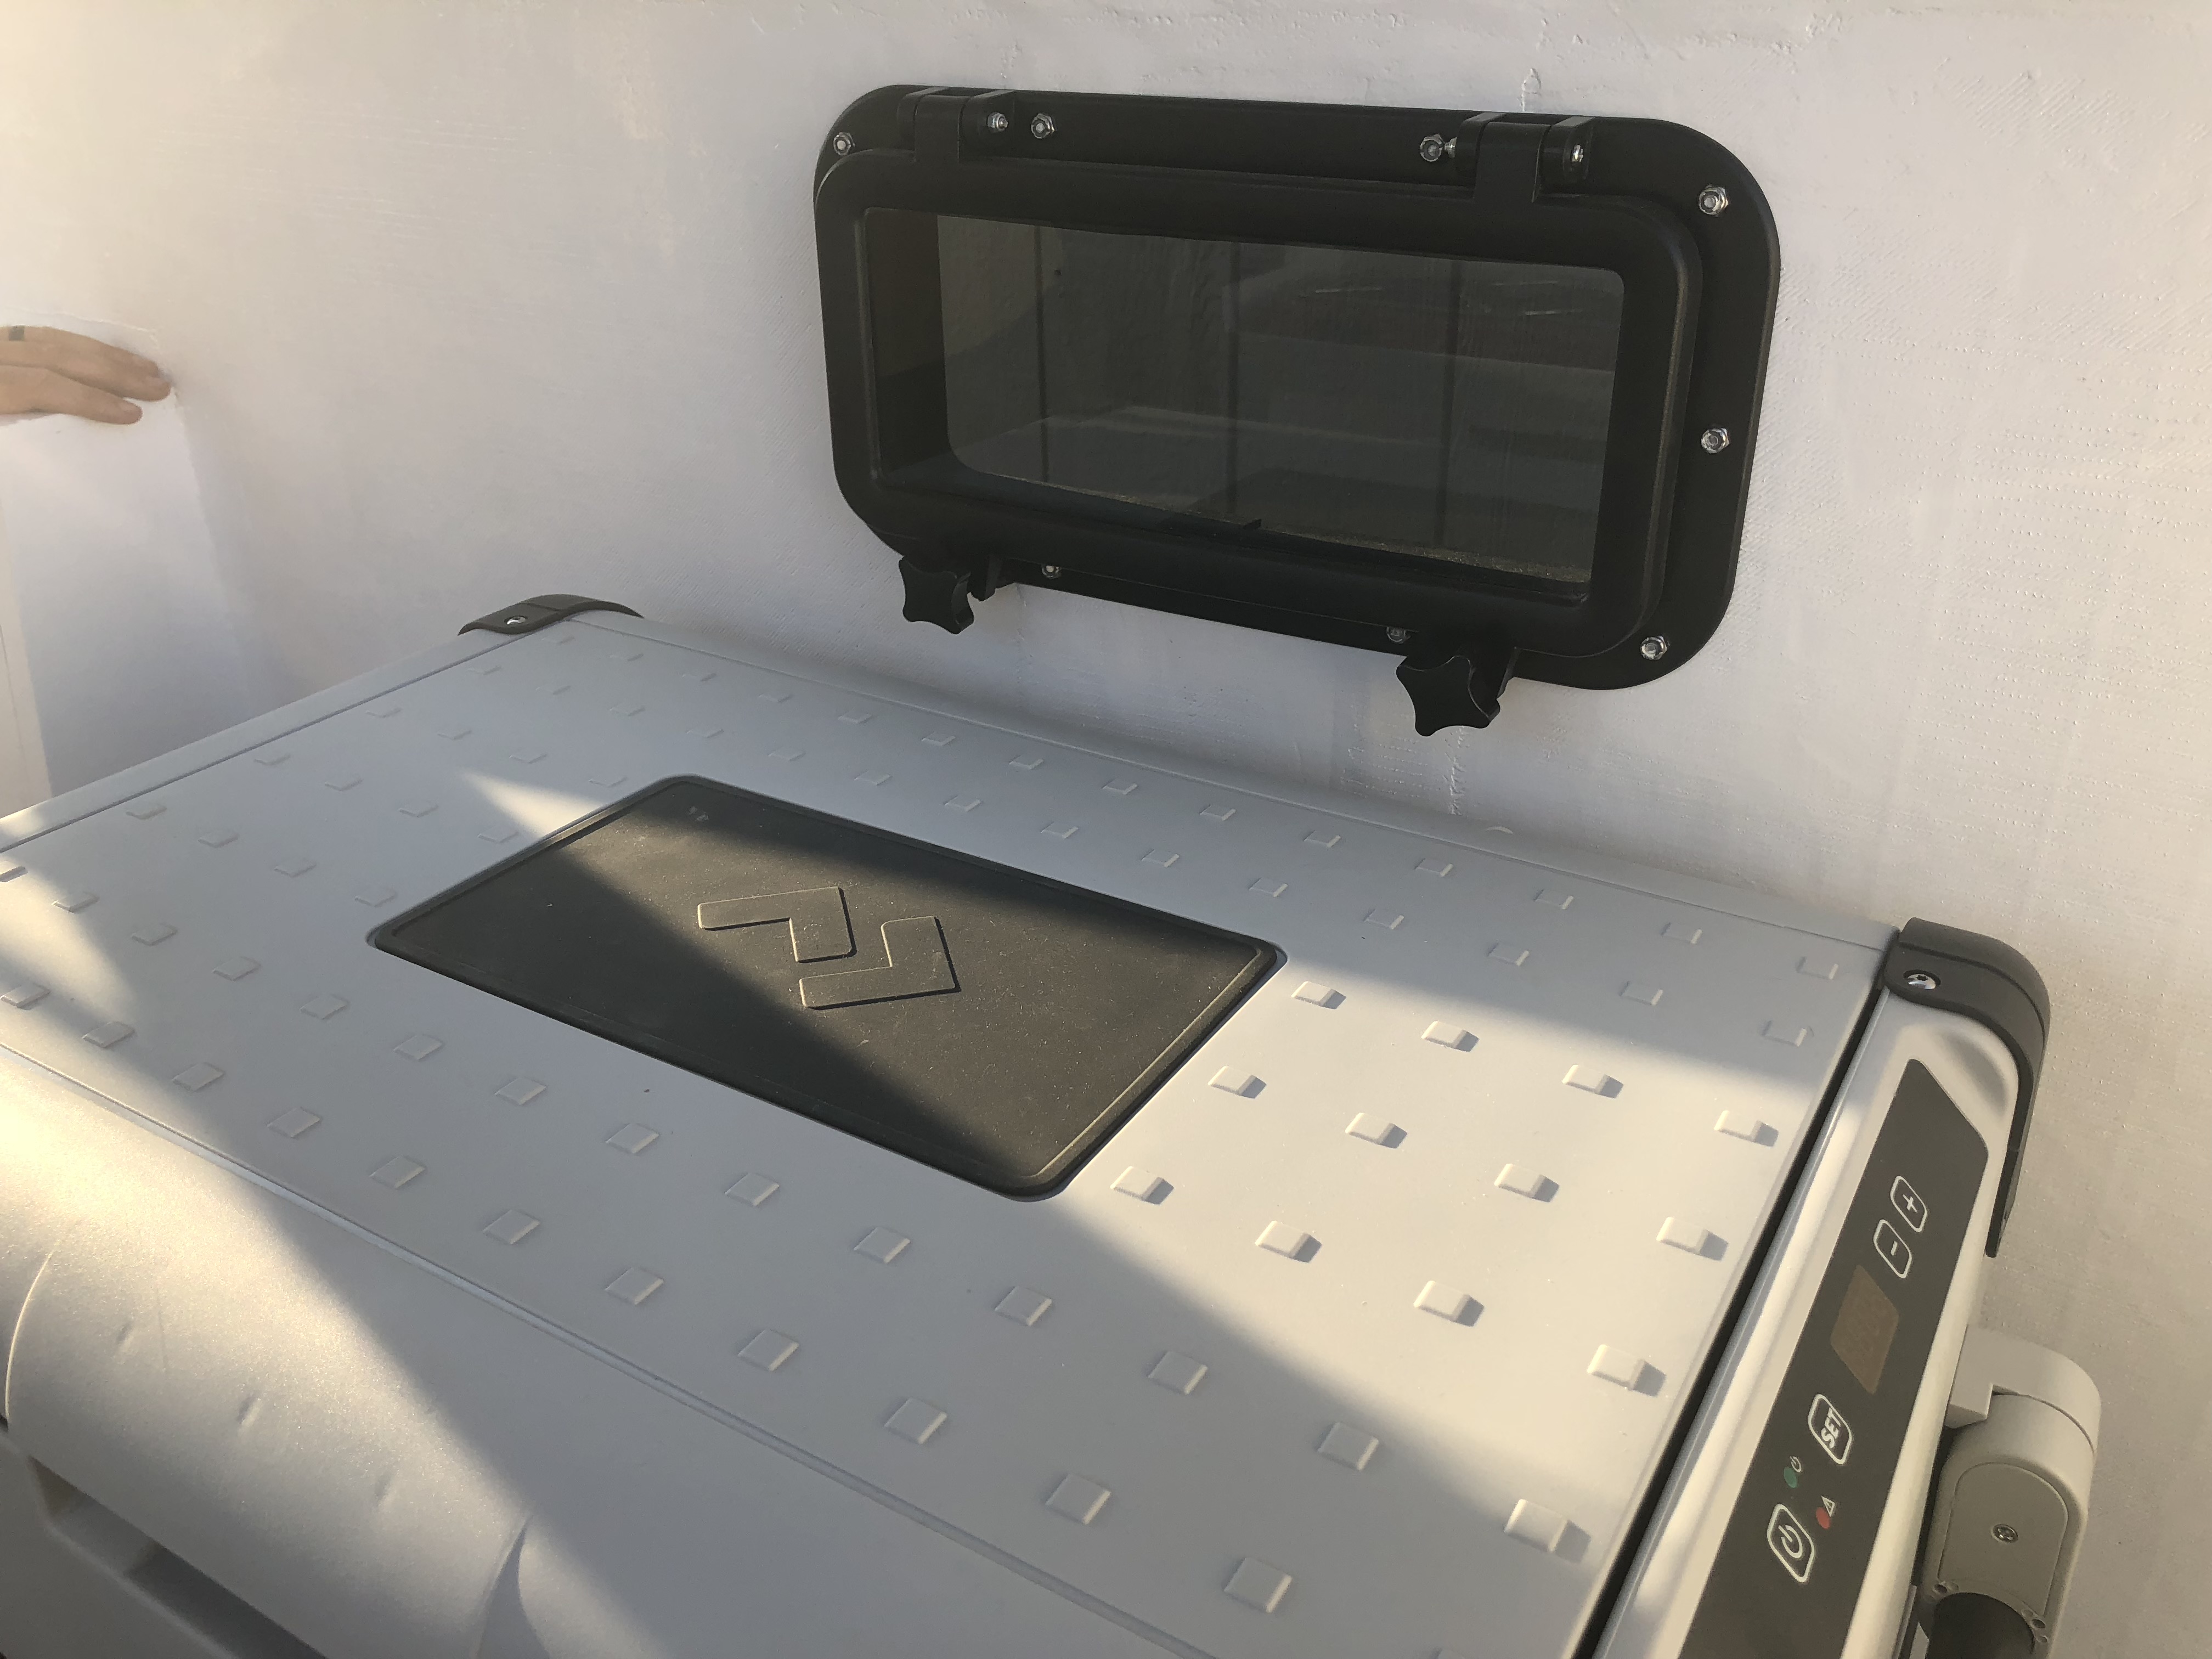
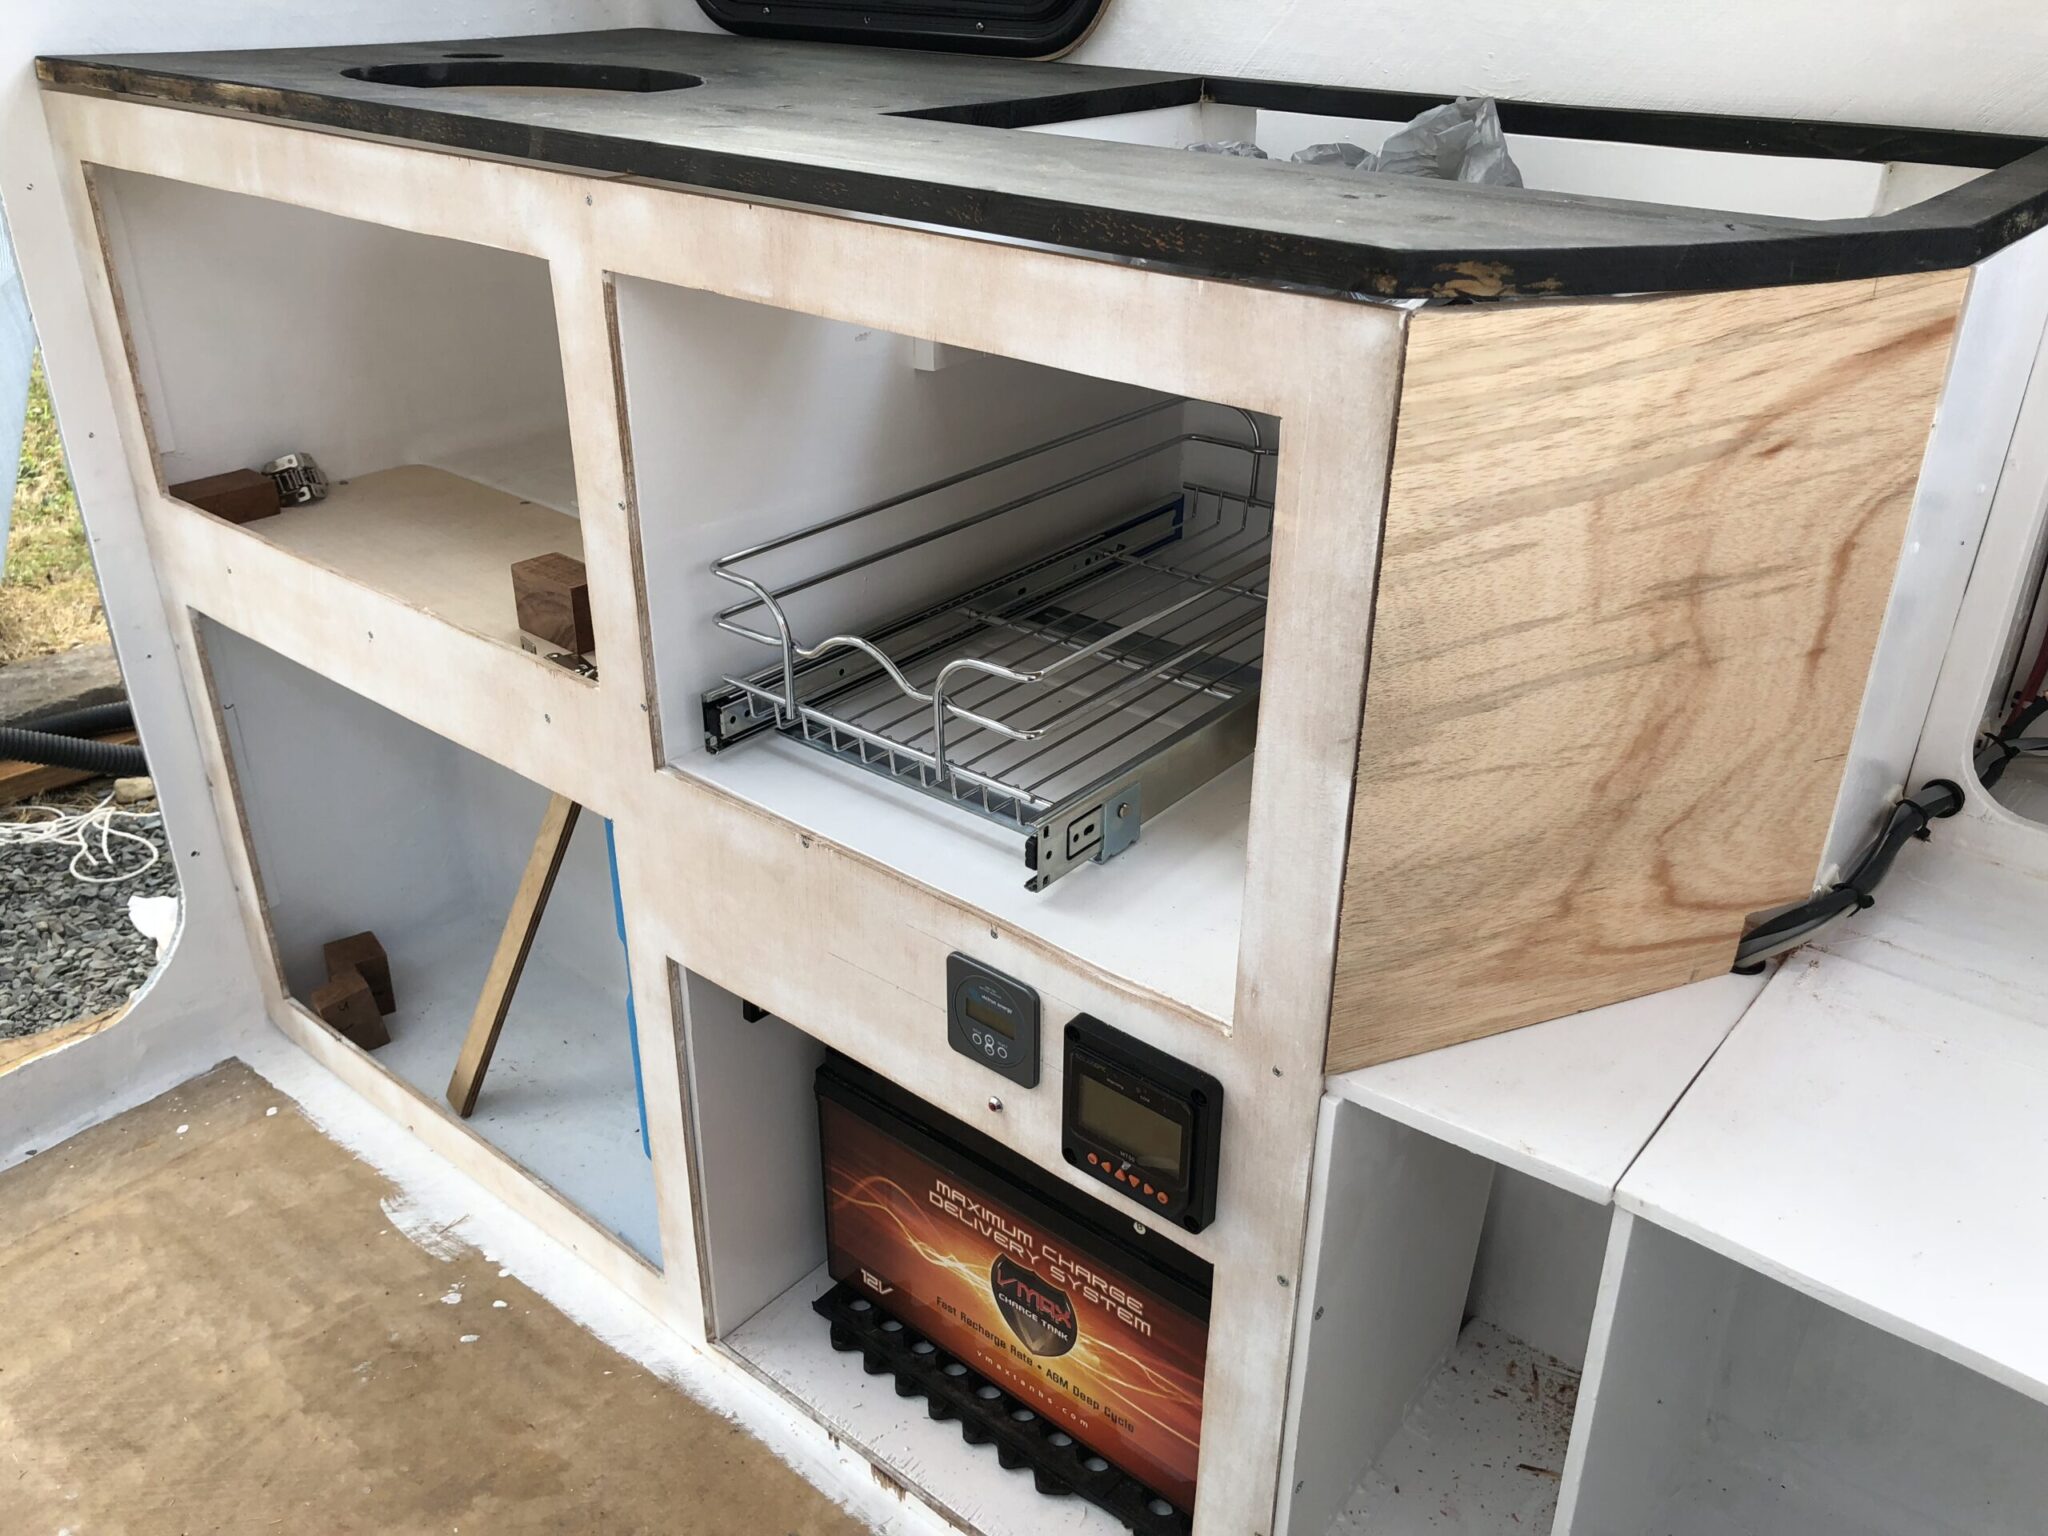
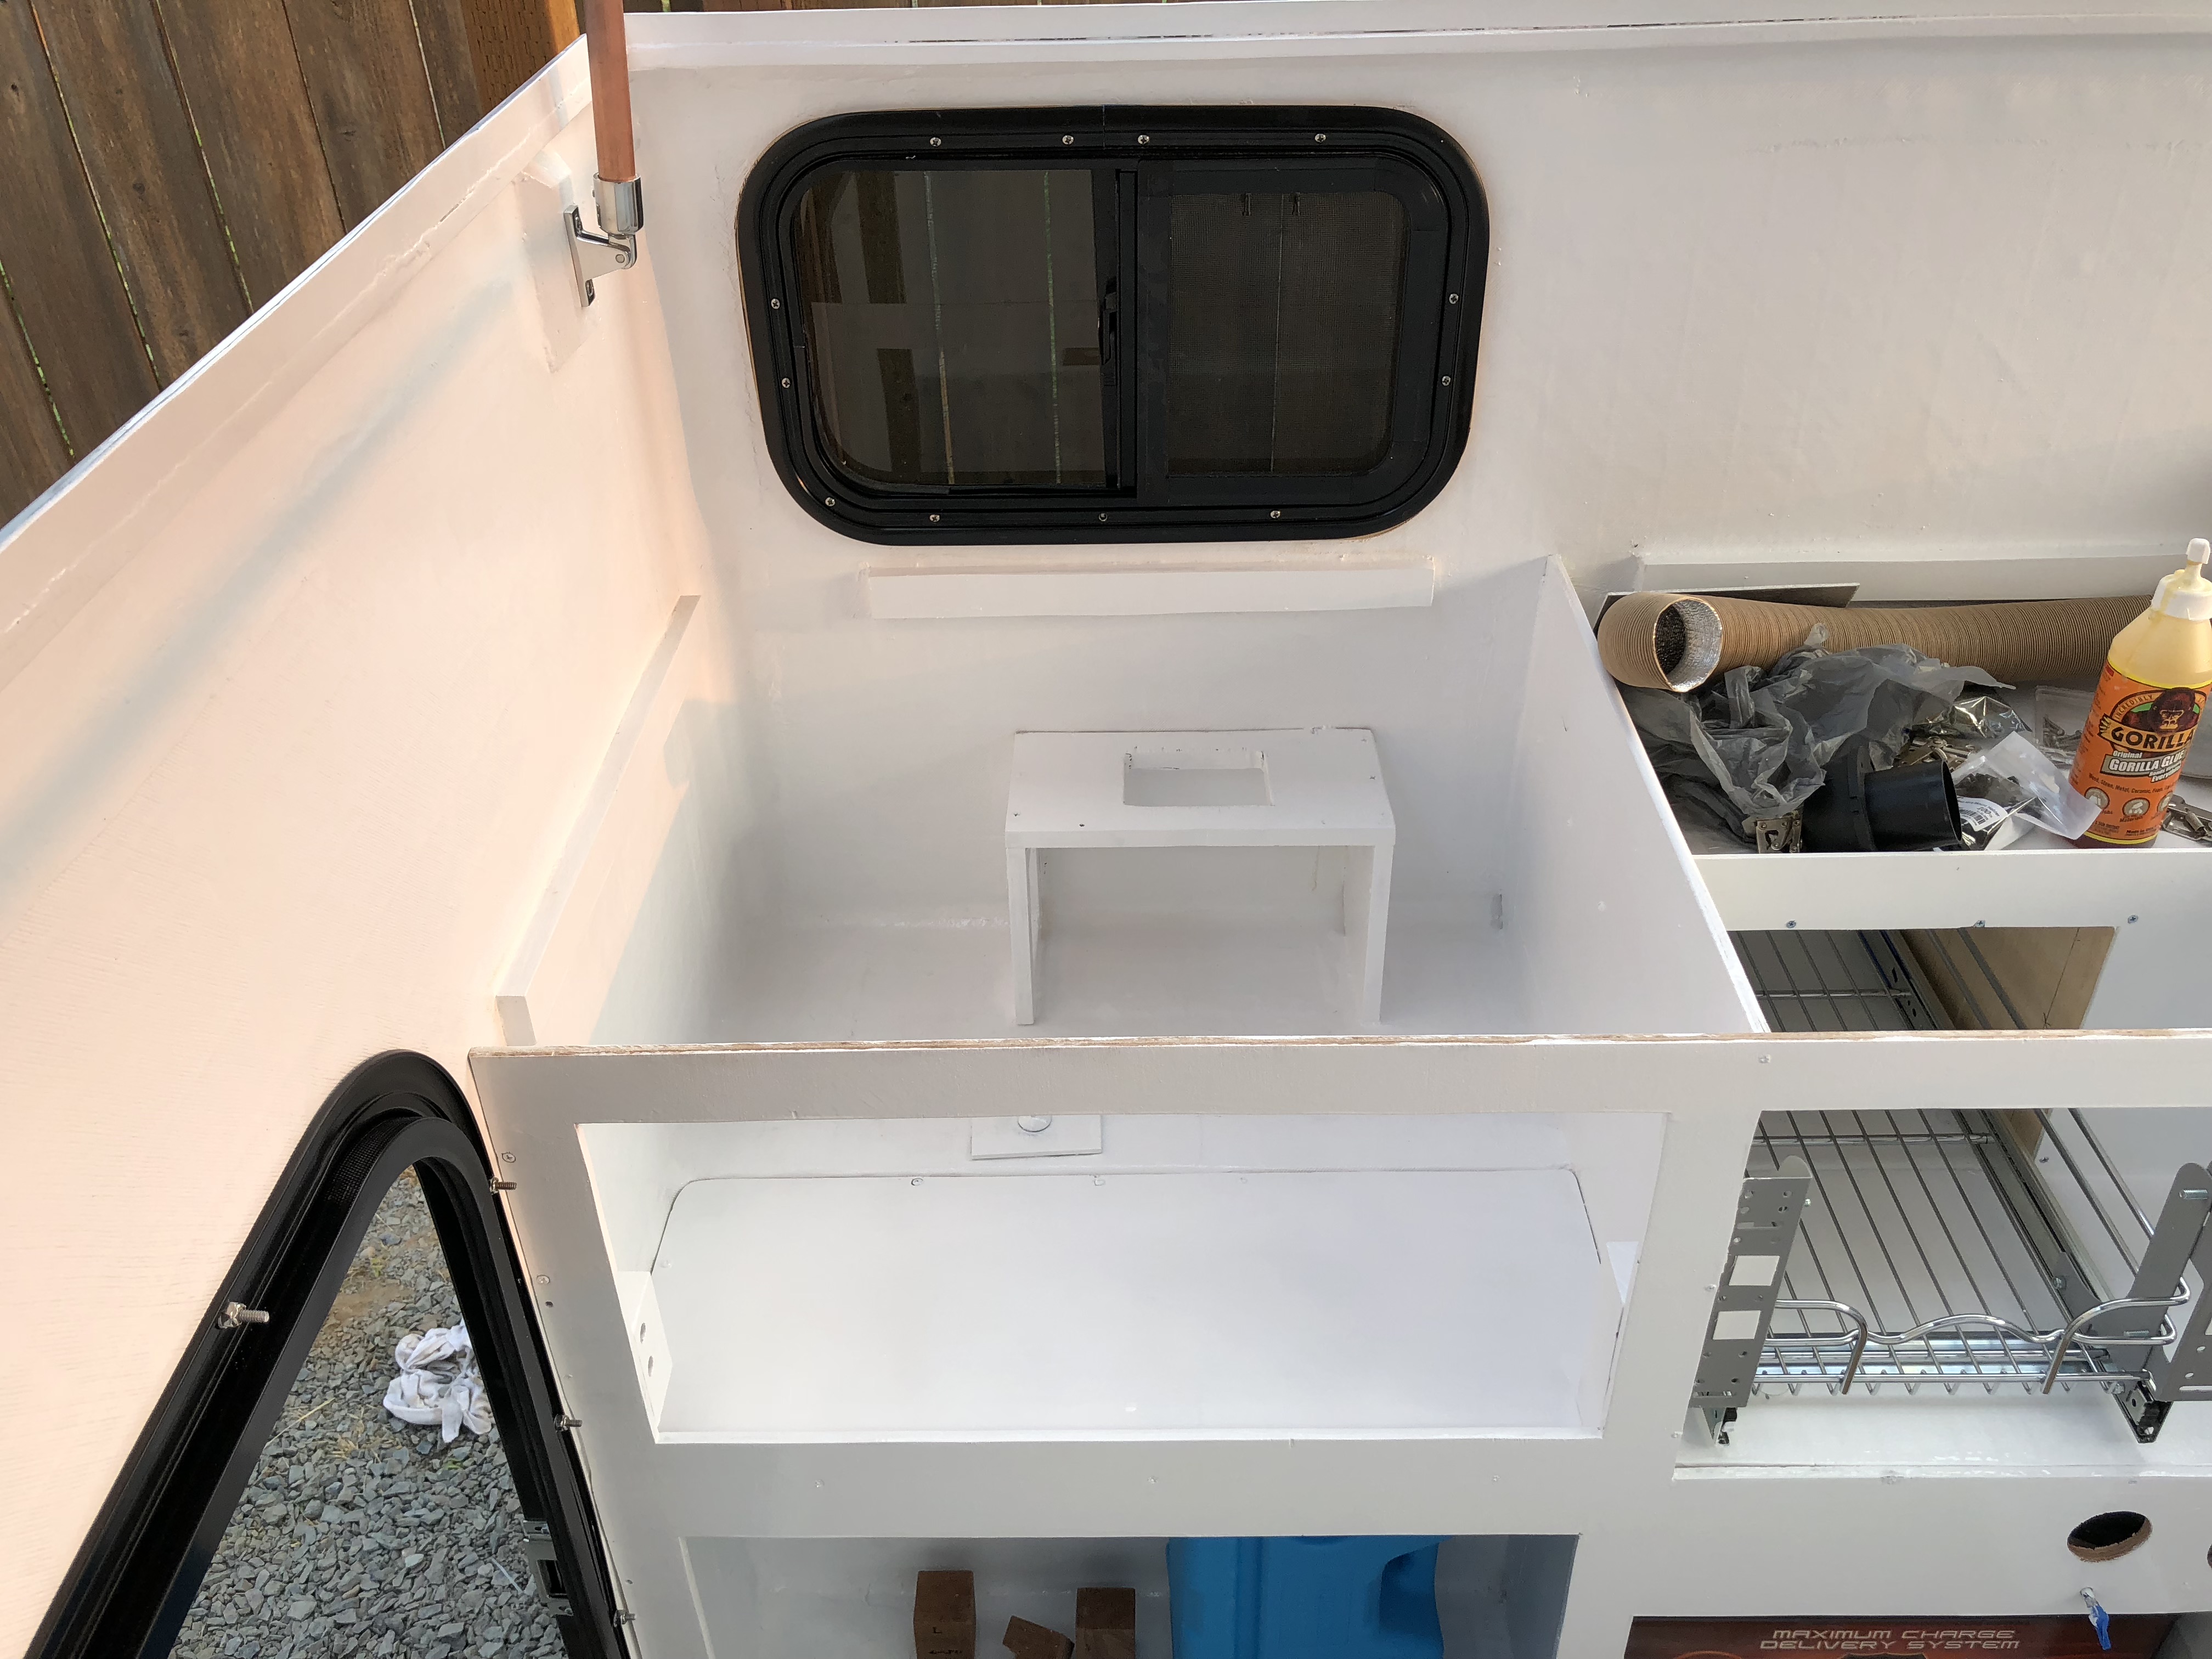
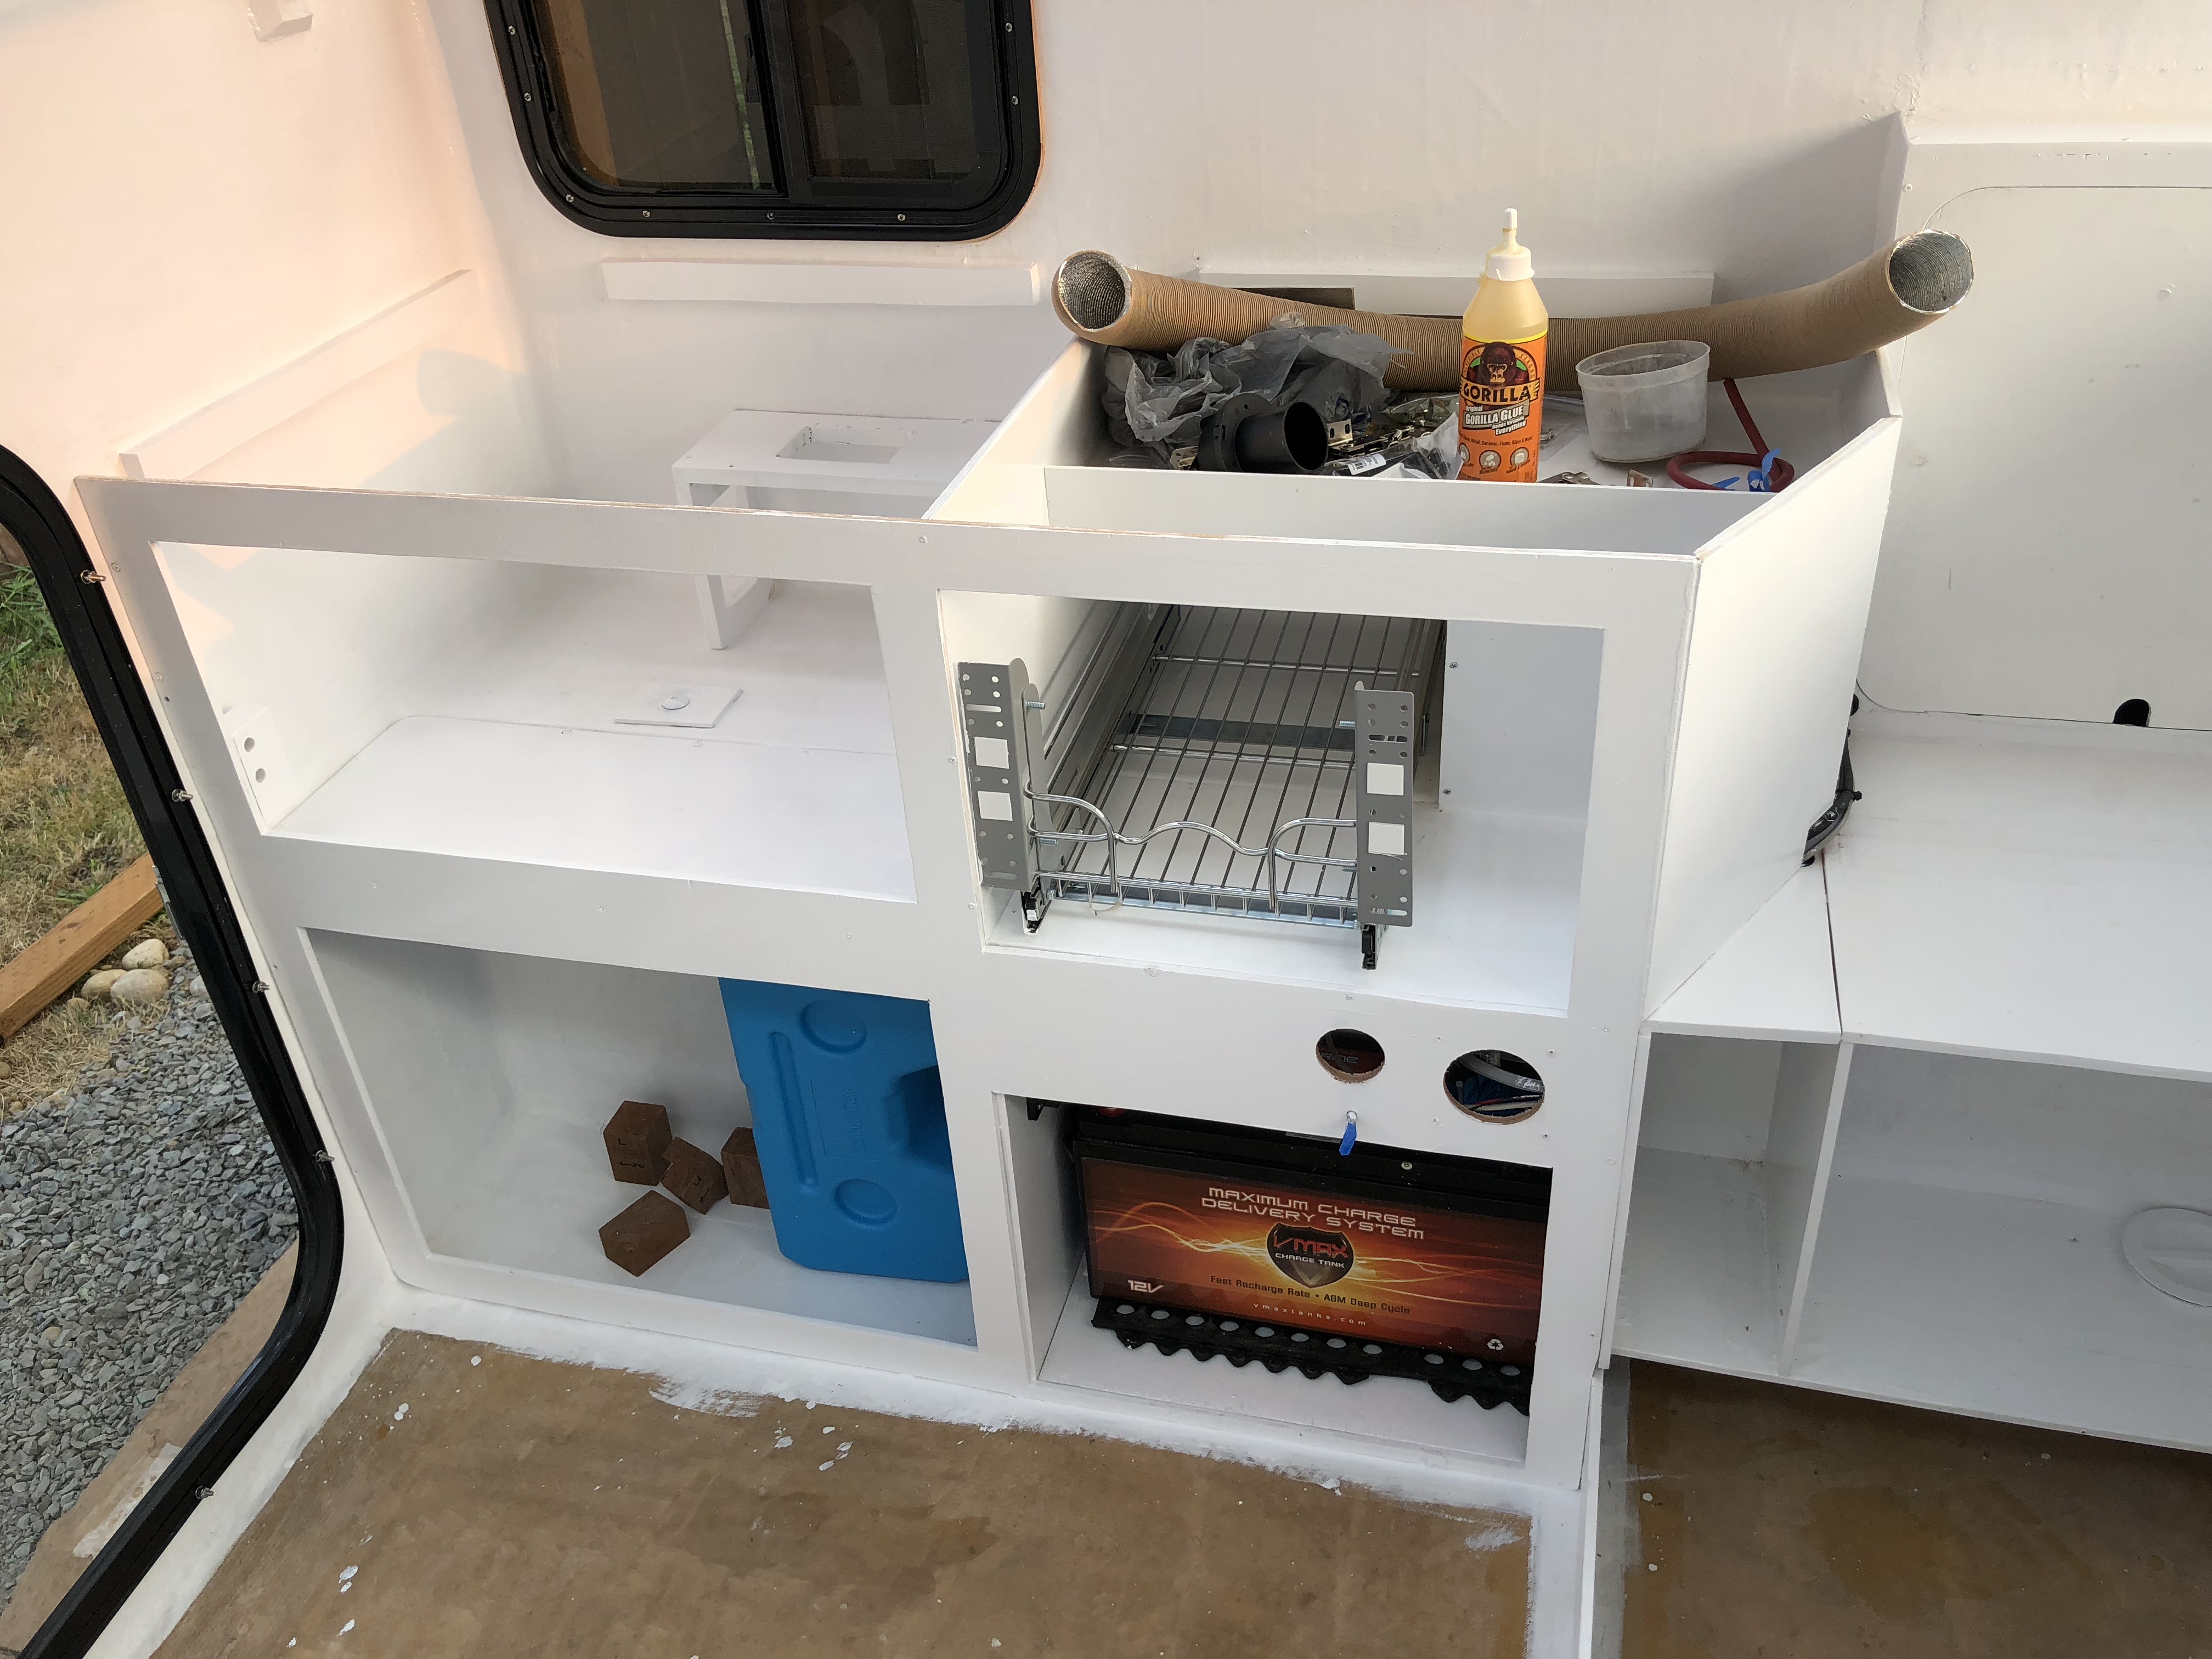
Now that the countertop color is finally sorted out, I got it test fit in place on top of the cabinets.
IMG_0341.jpg

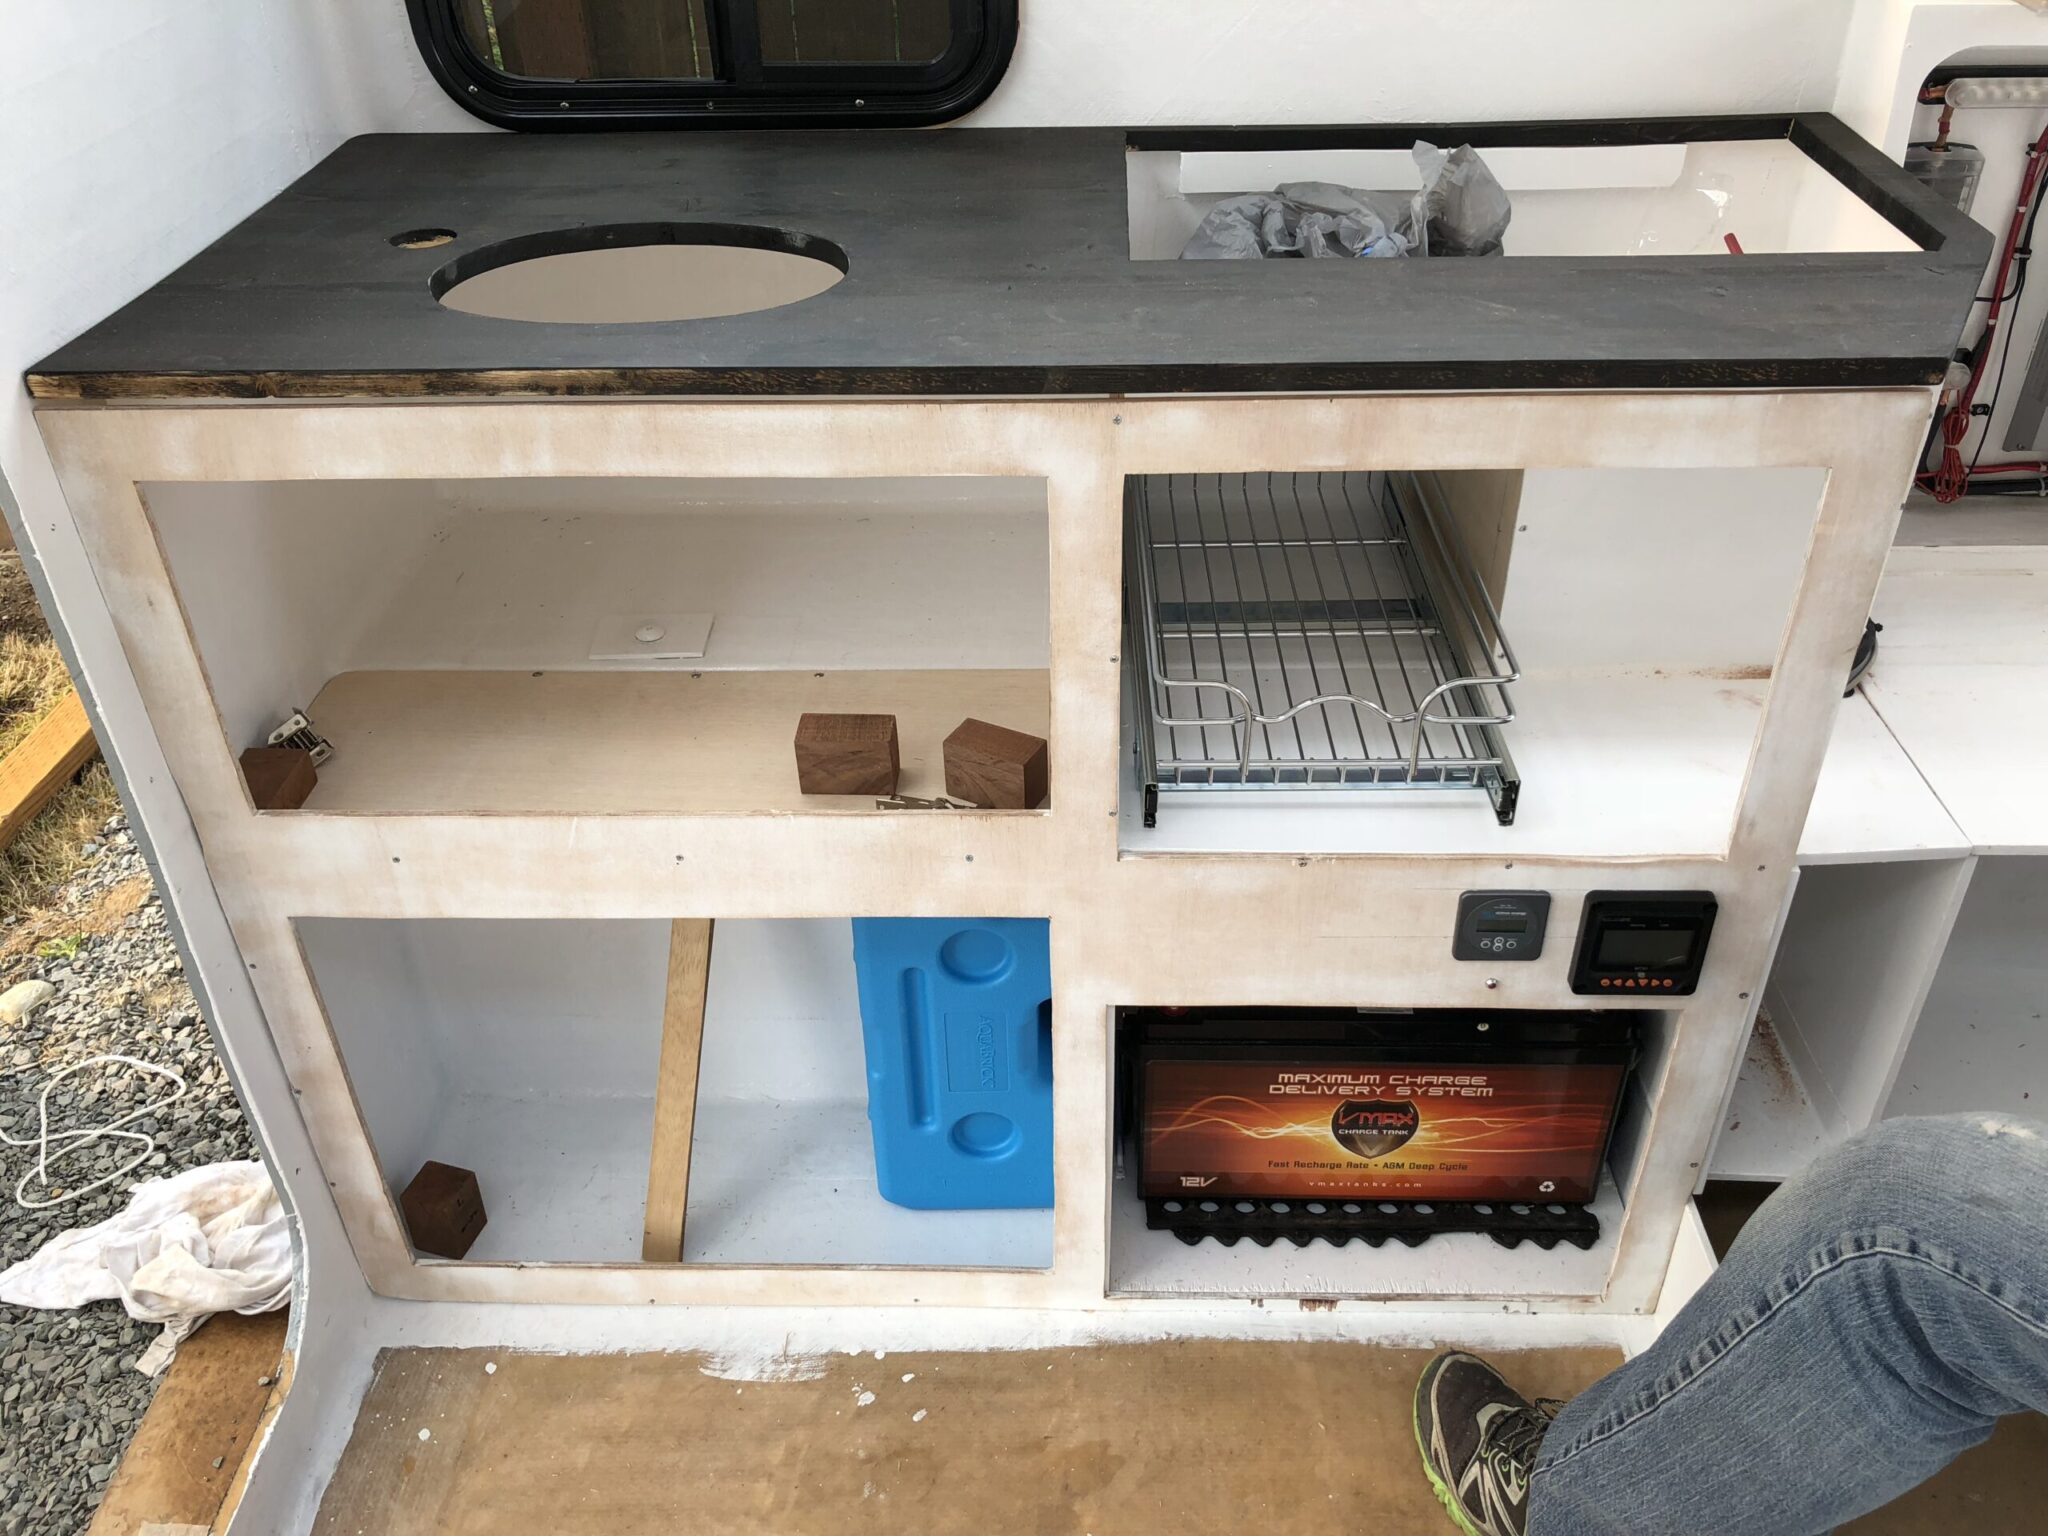
We had to make this awkward corner at an angle so the person on the left side can get out when the table is down. Not a lot of volume is lost, so that's good. That's what we have to do with the minimal amount of interior volume.
IMG_0342.jpg

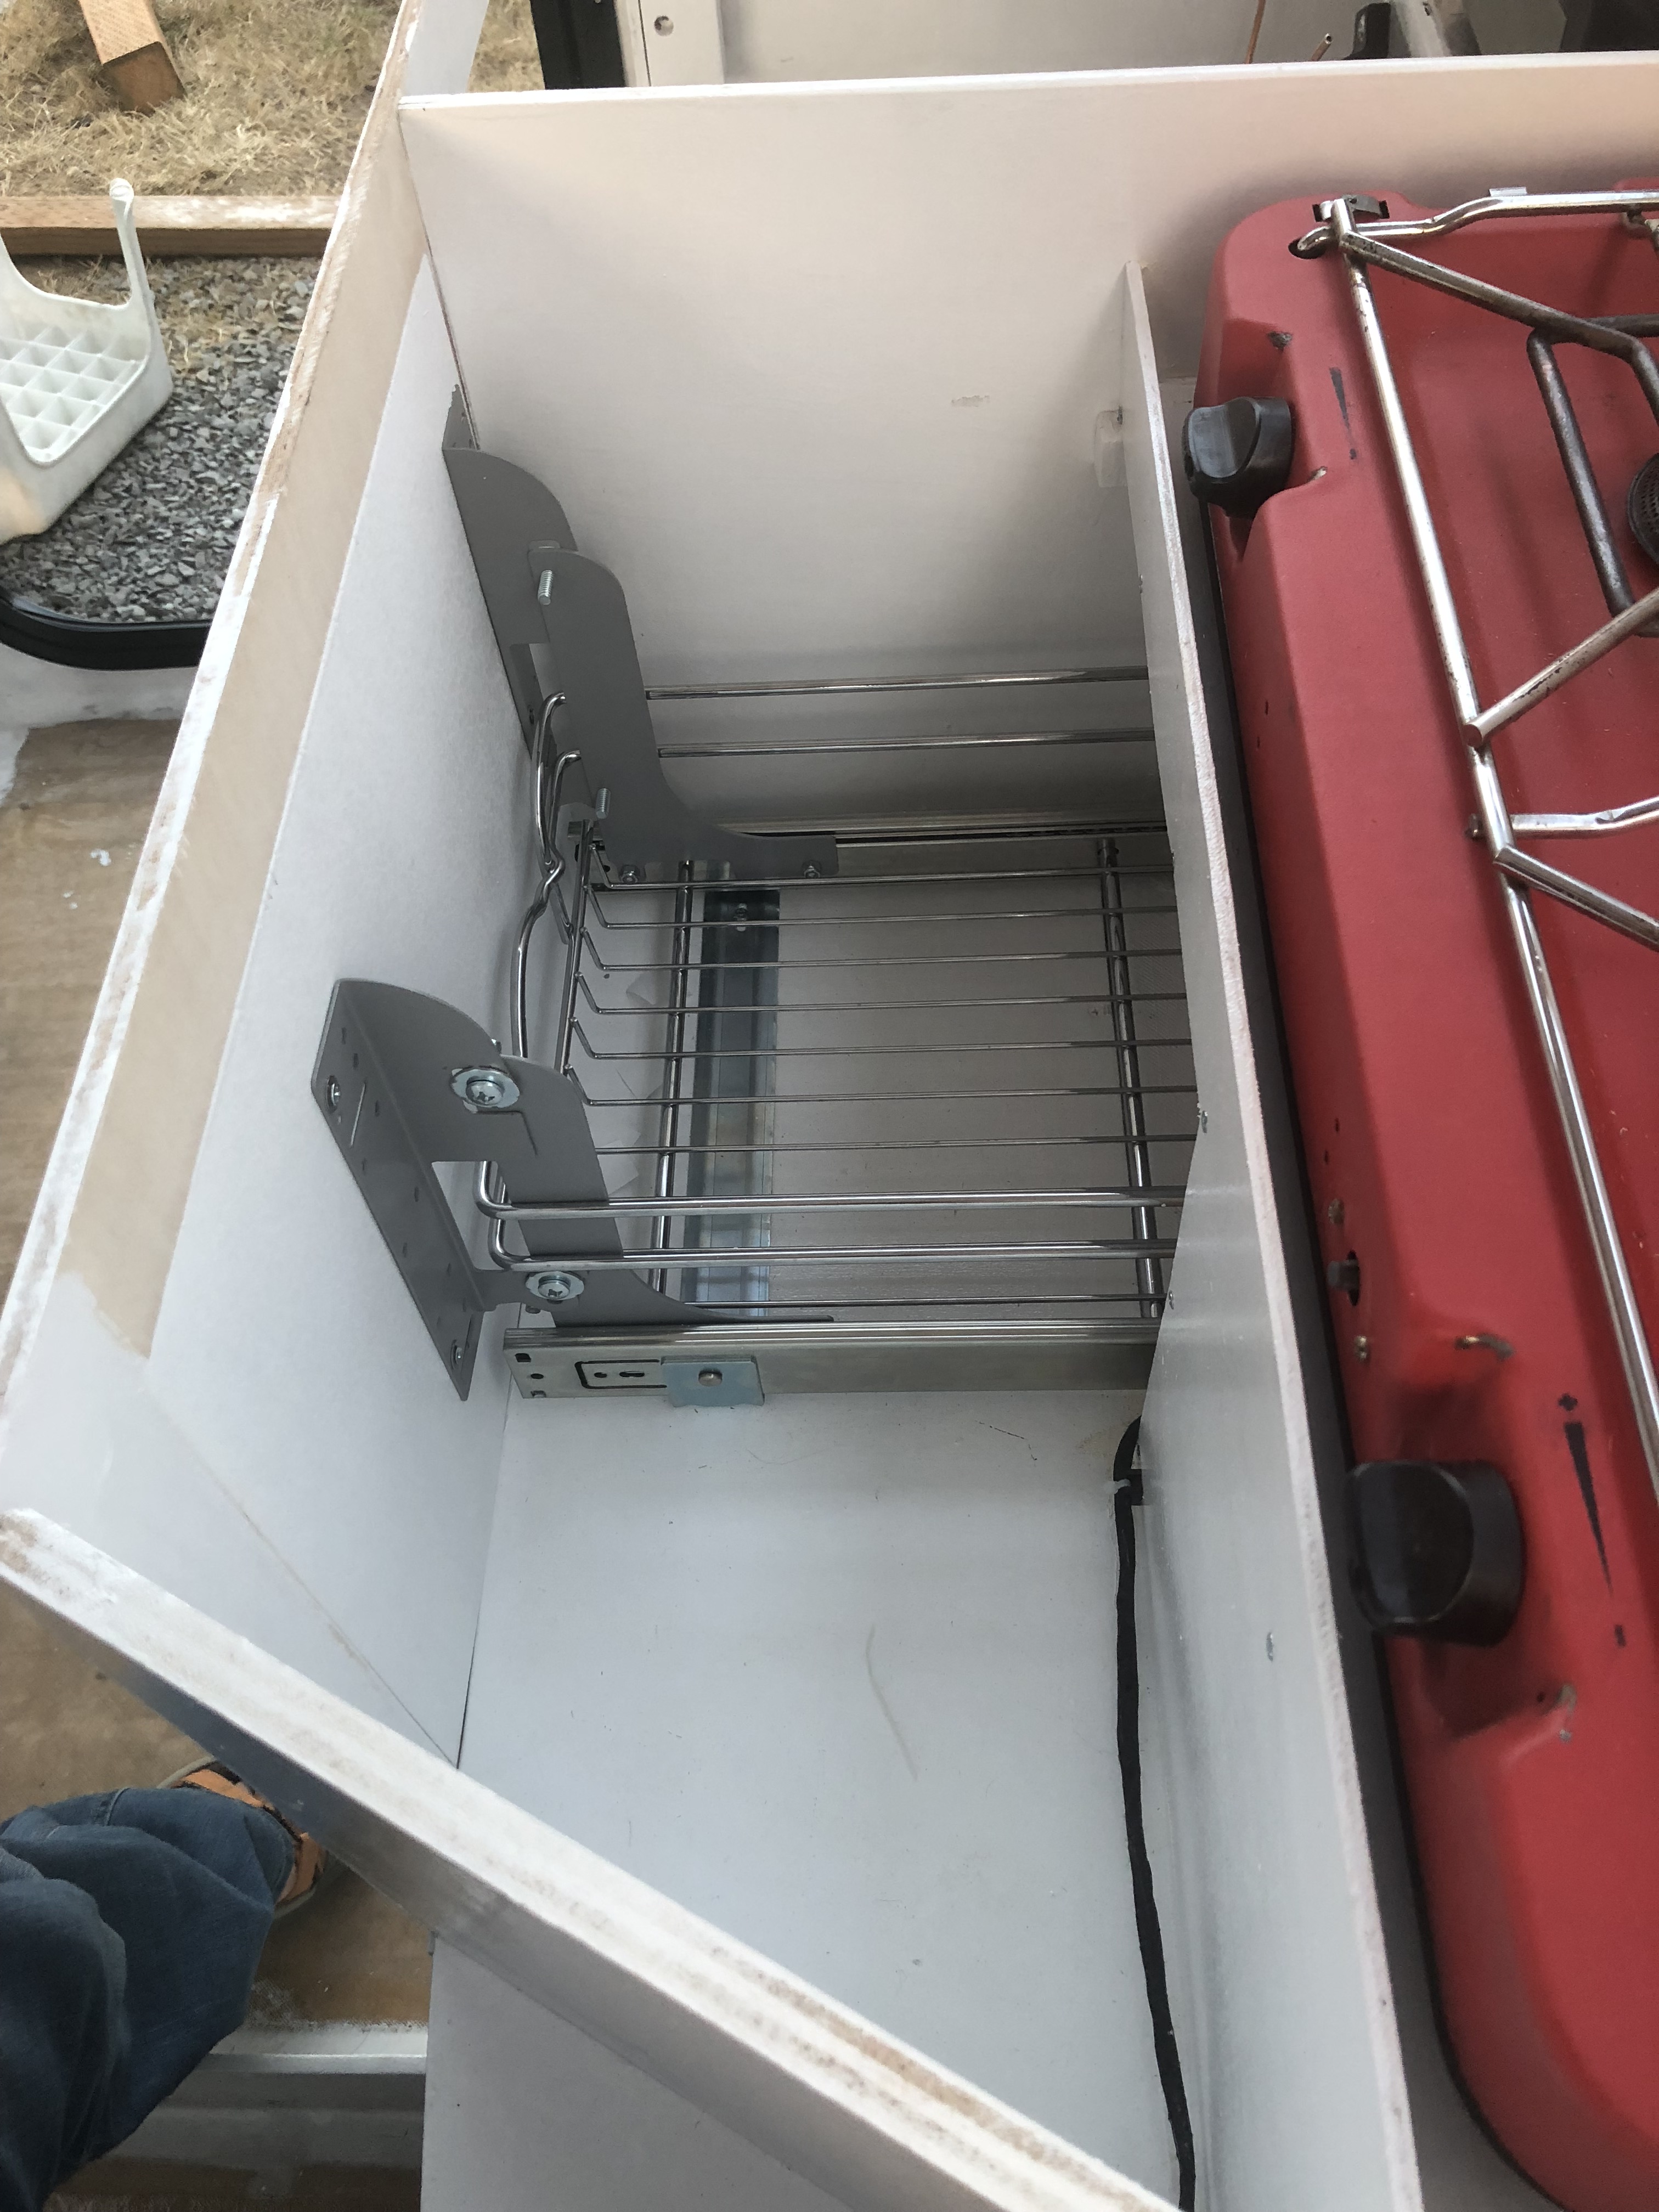
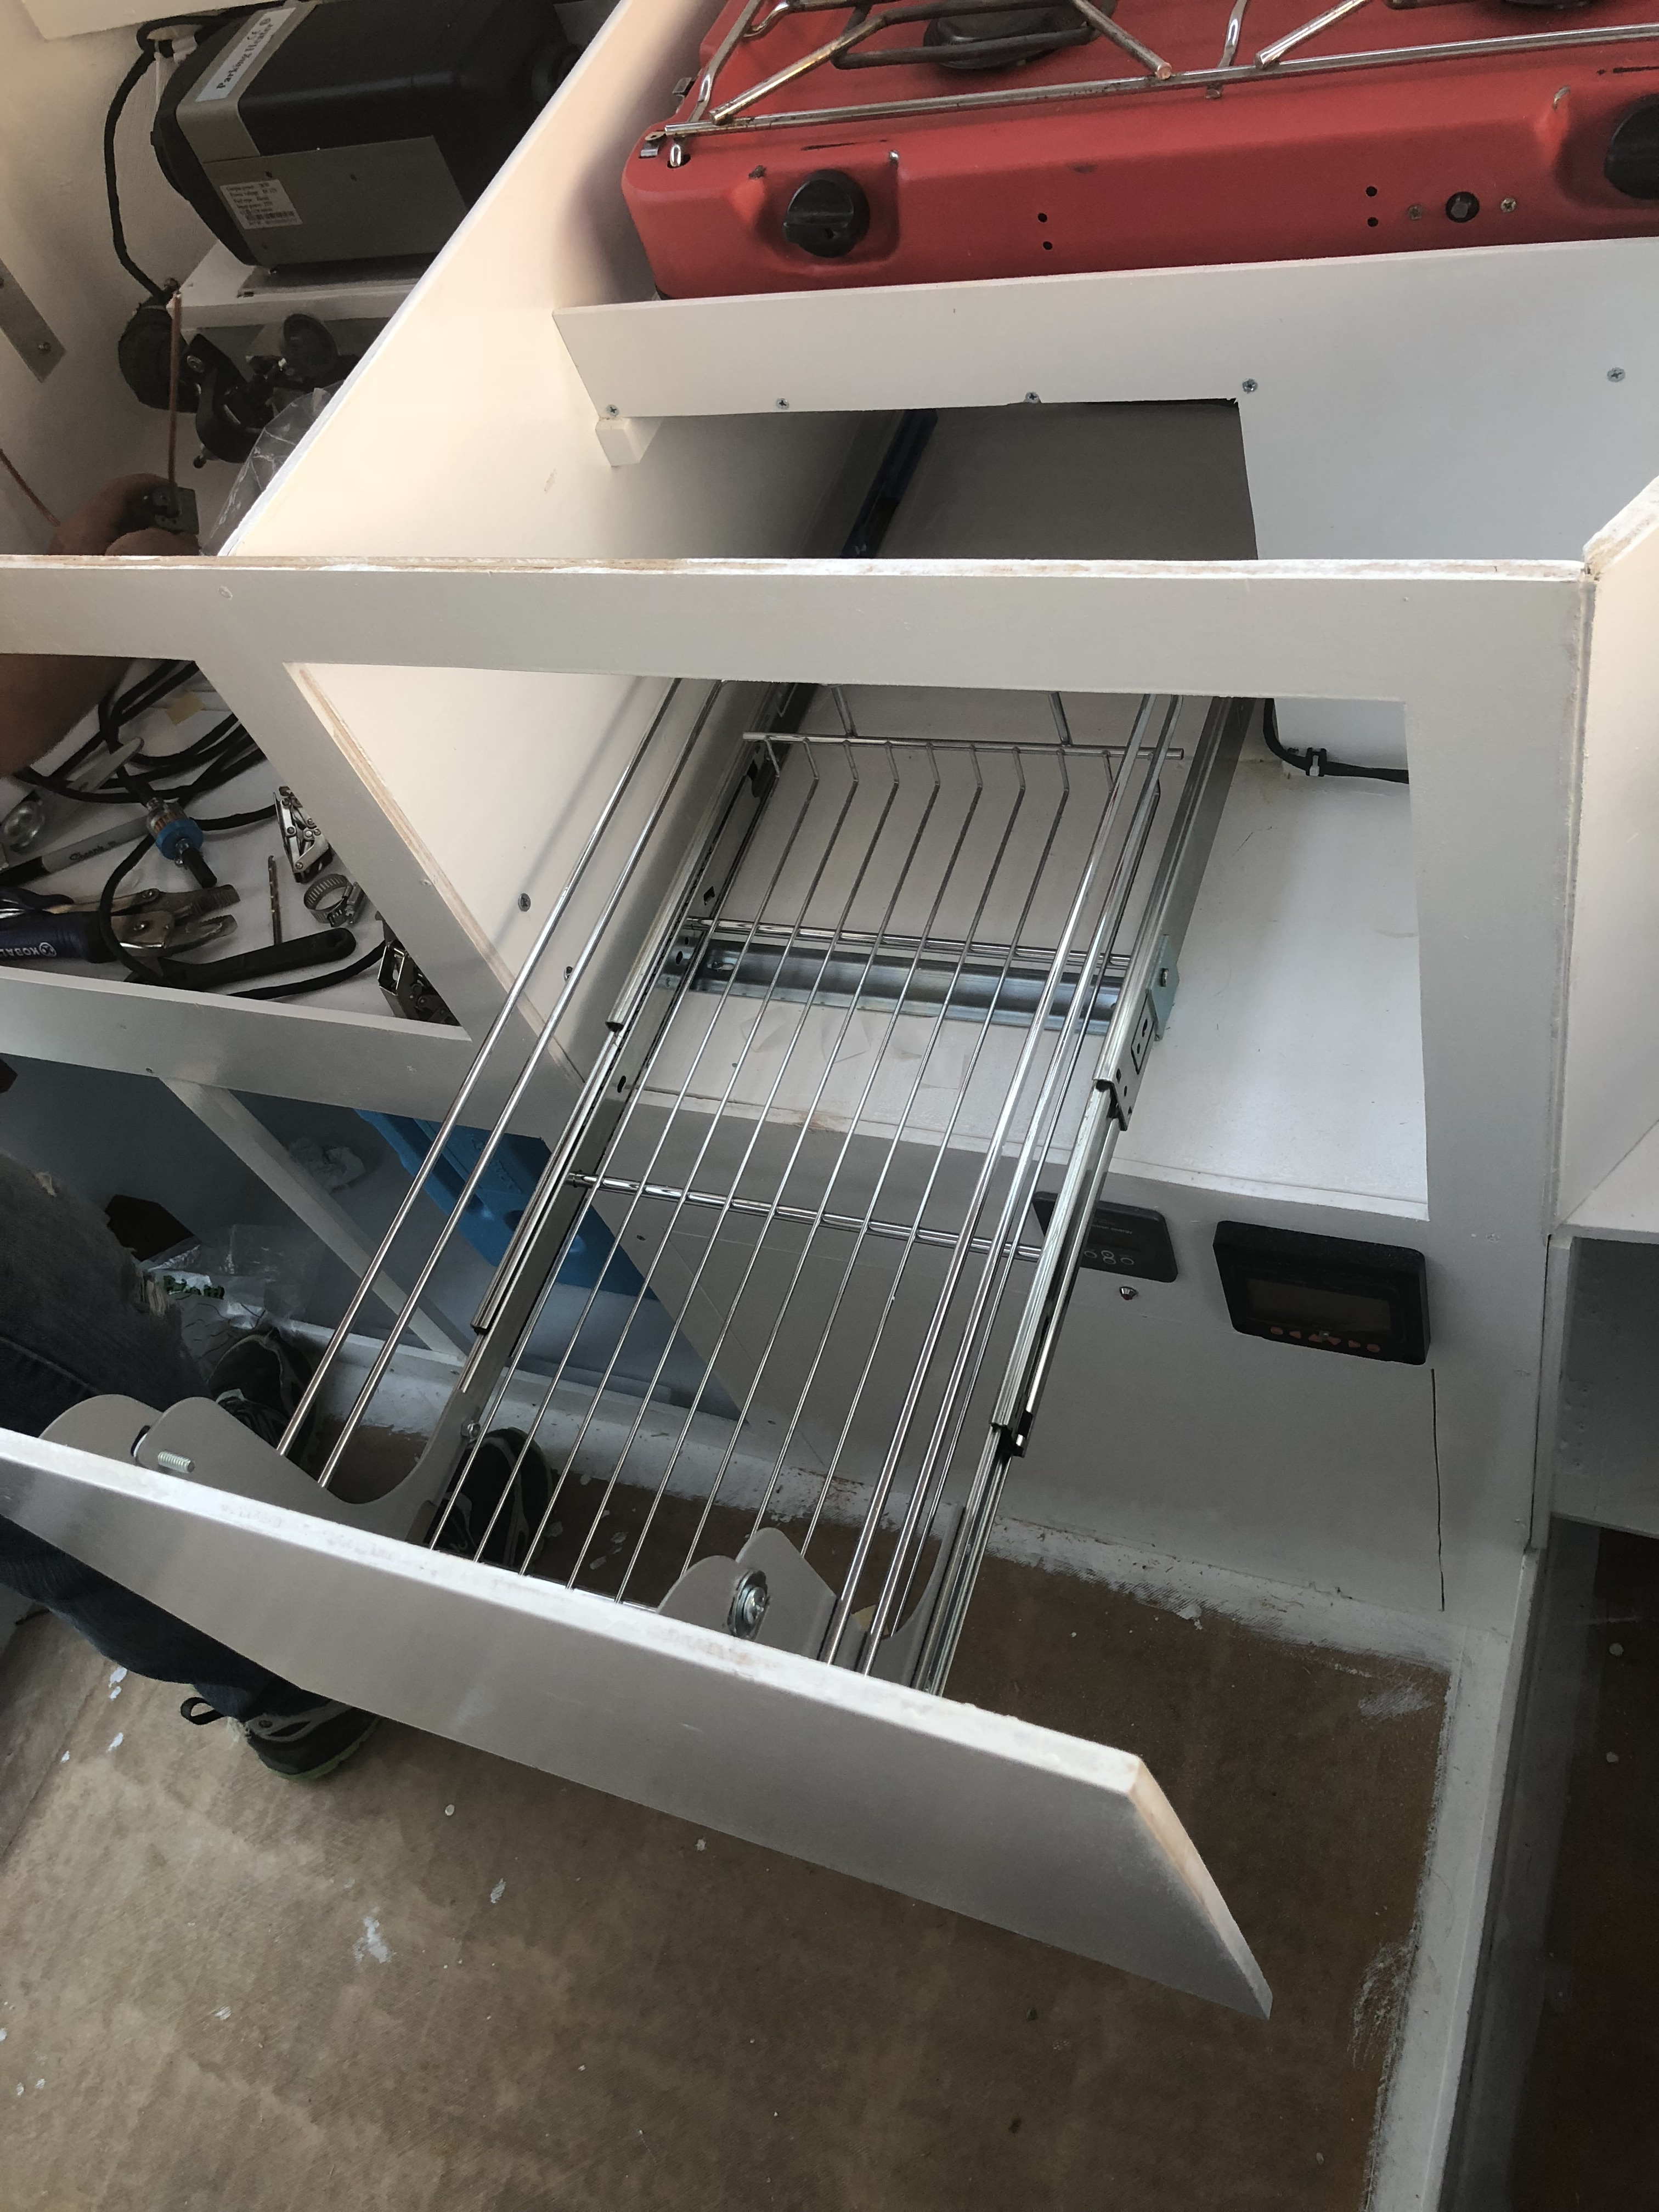
We also went to Lowe's and found a heavy duty drawer slider that's the perfect dimensions for the little custom cubby hole!
IMG_0344.jpg

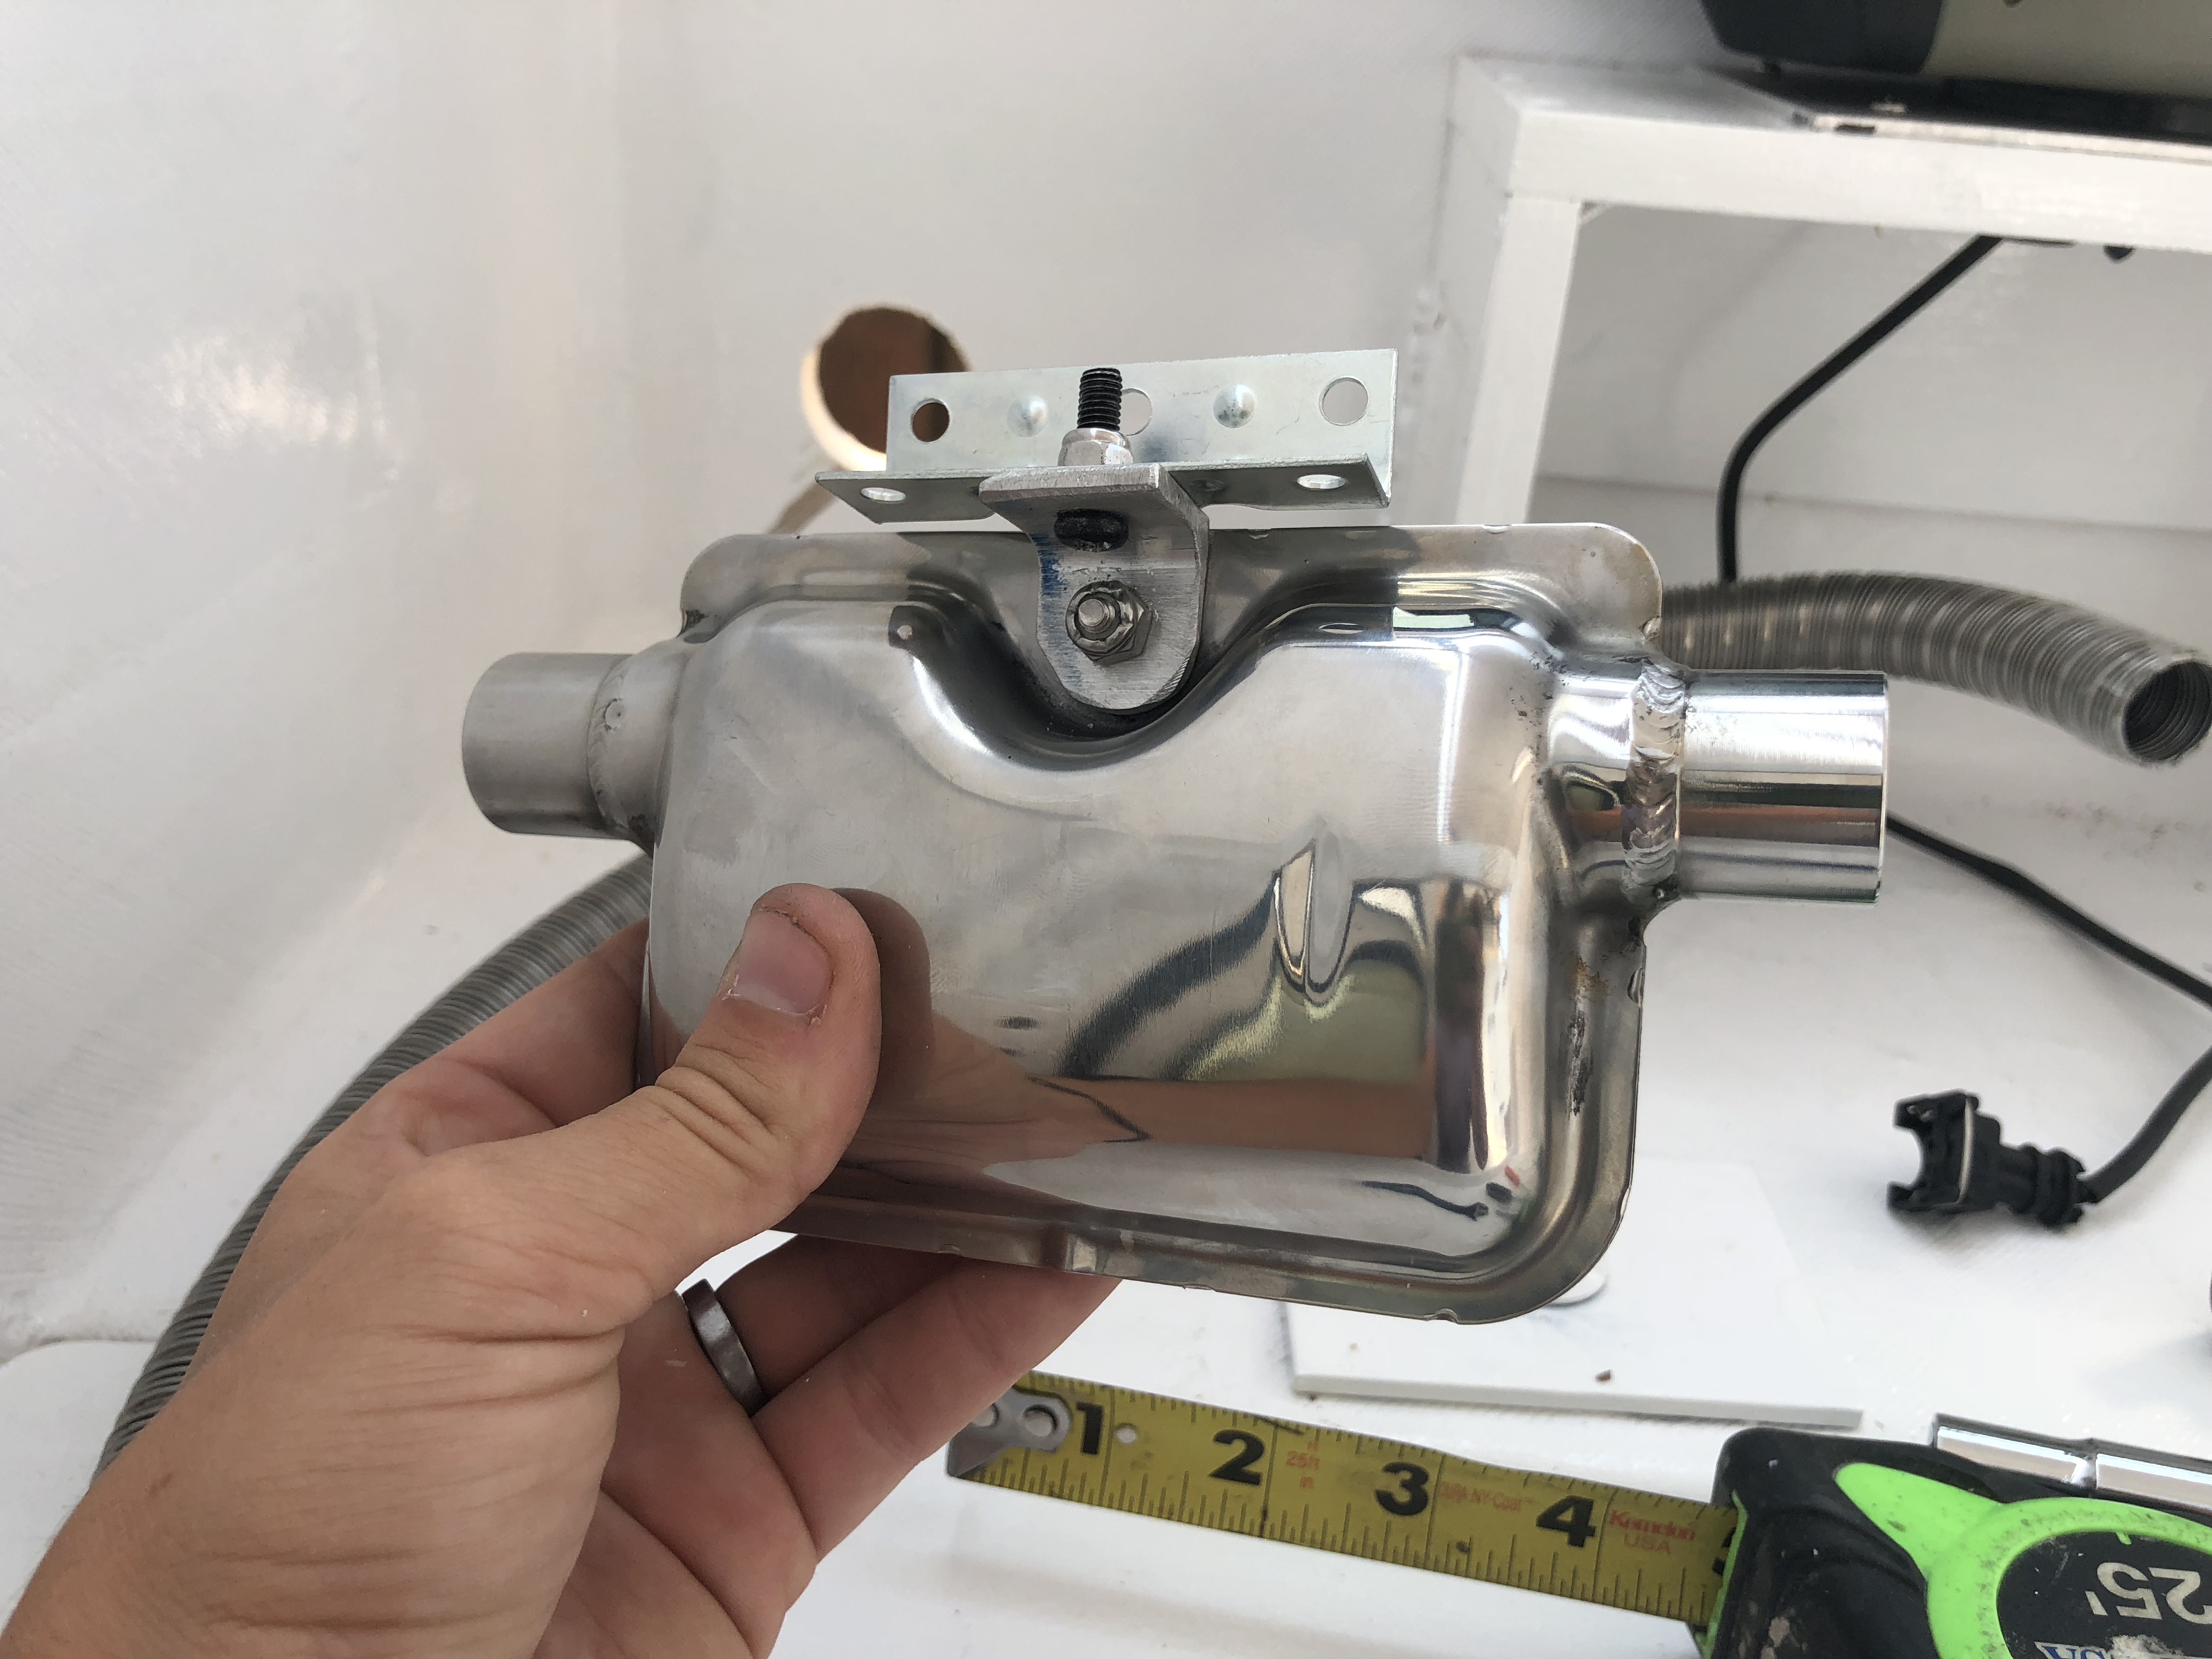
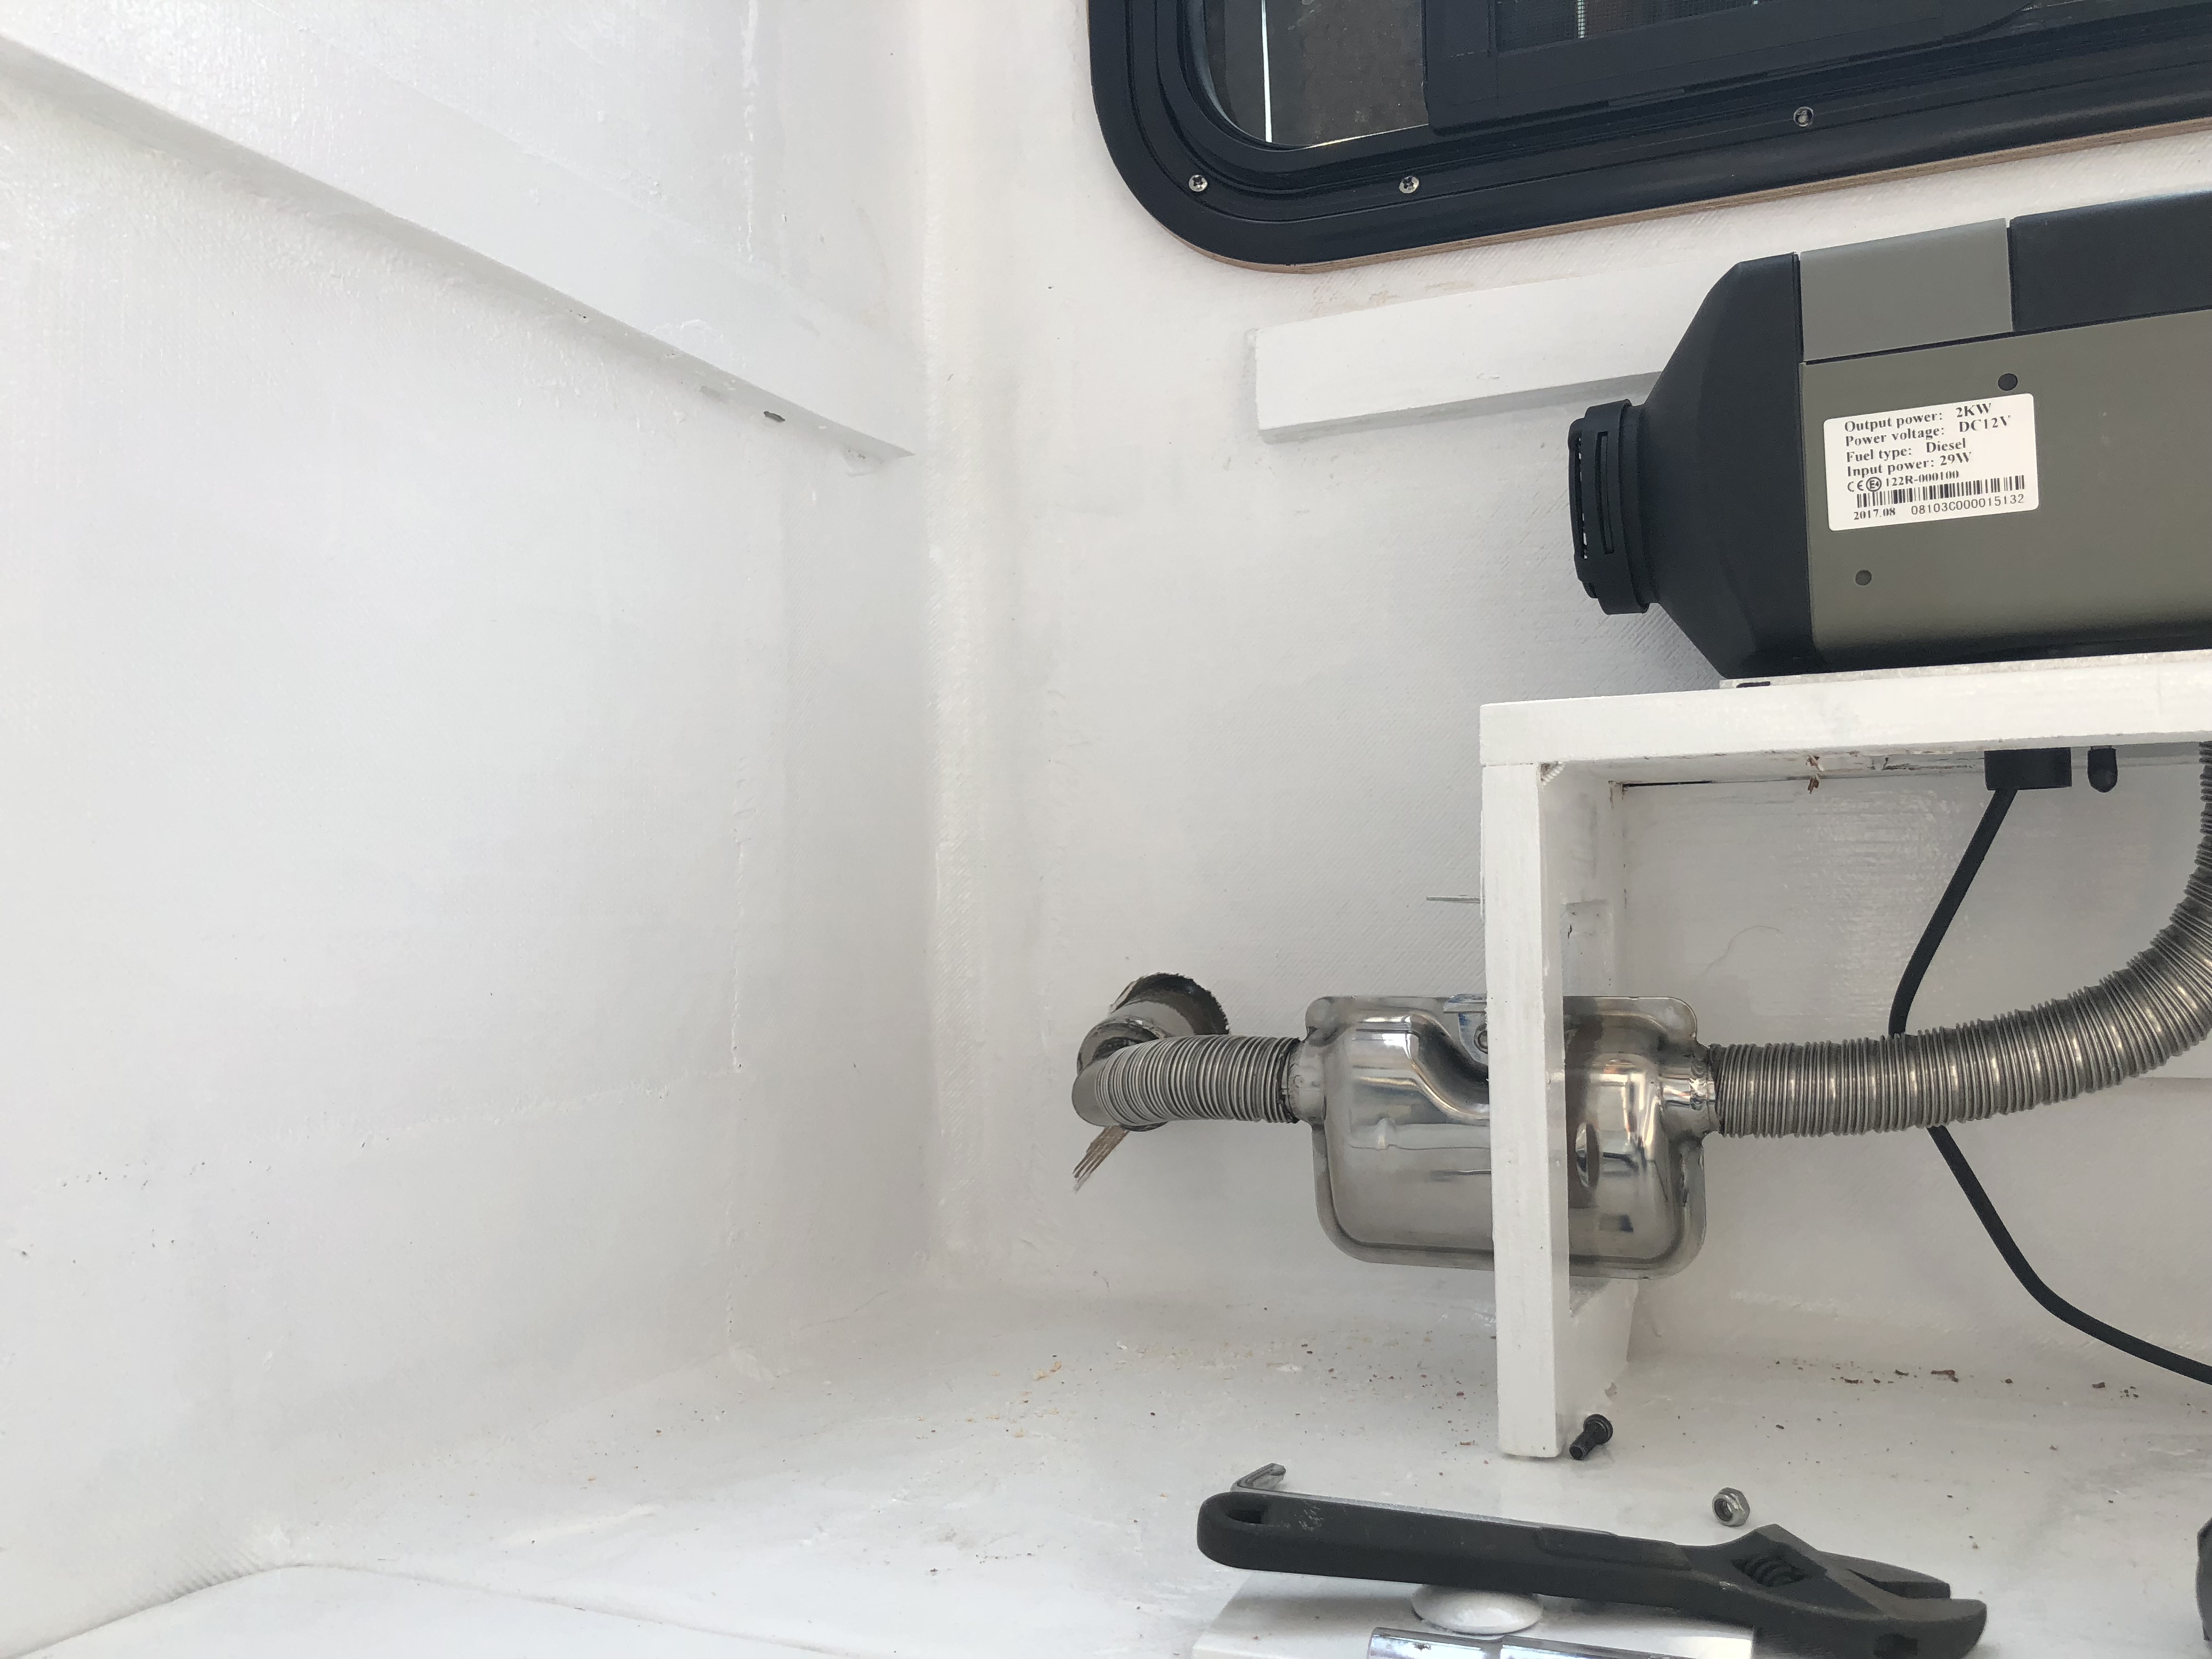
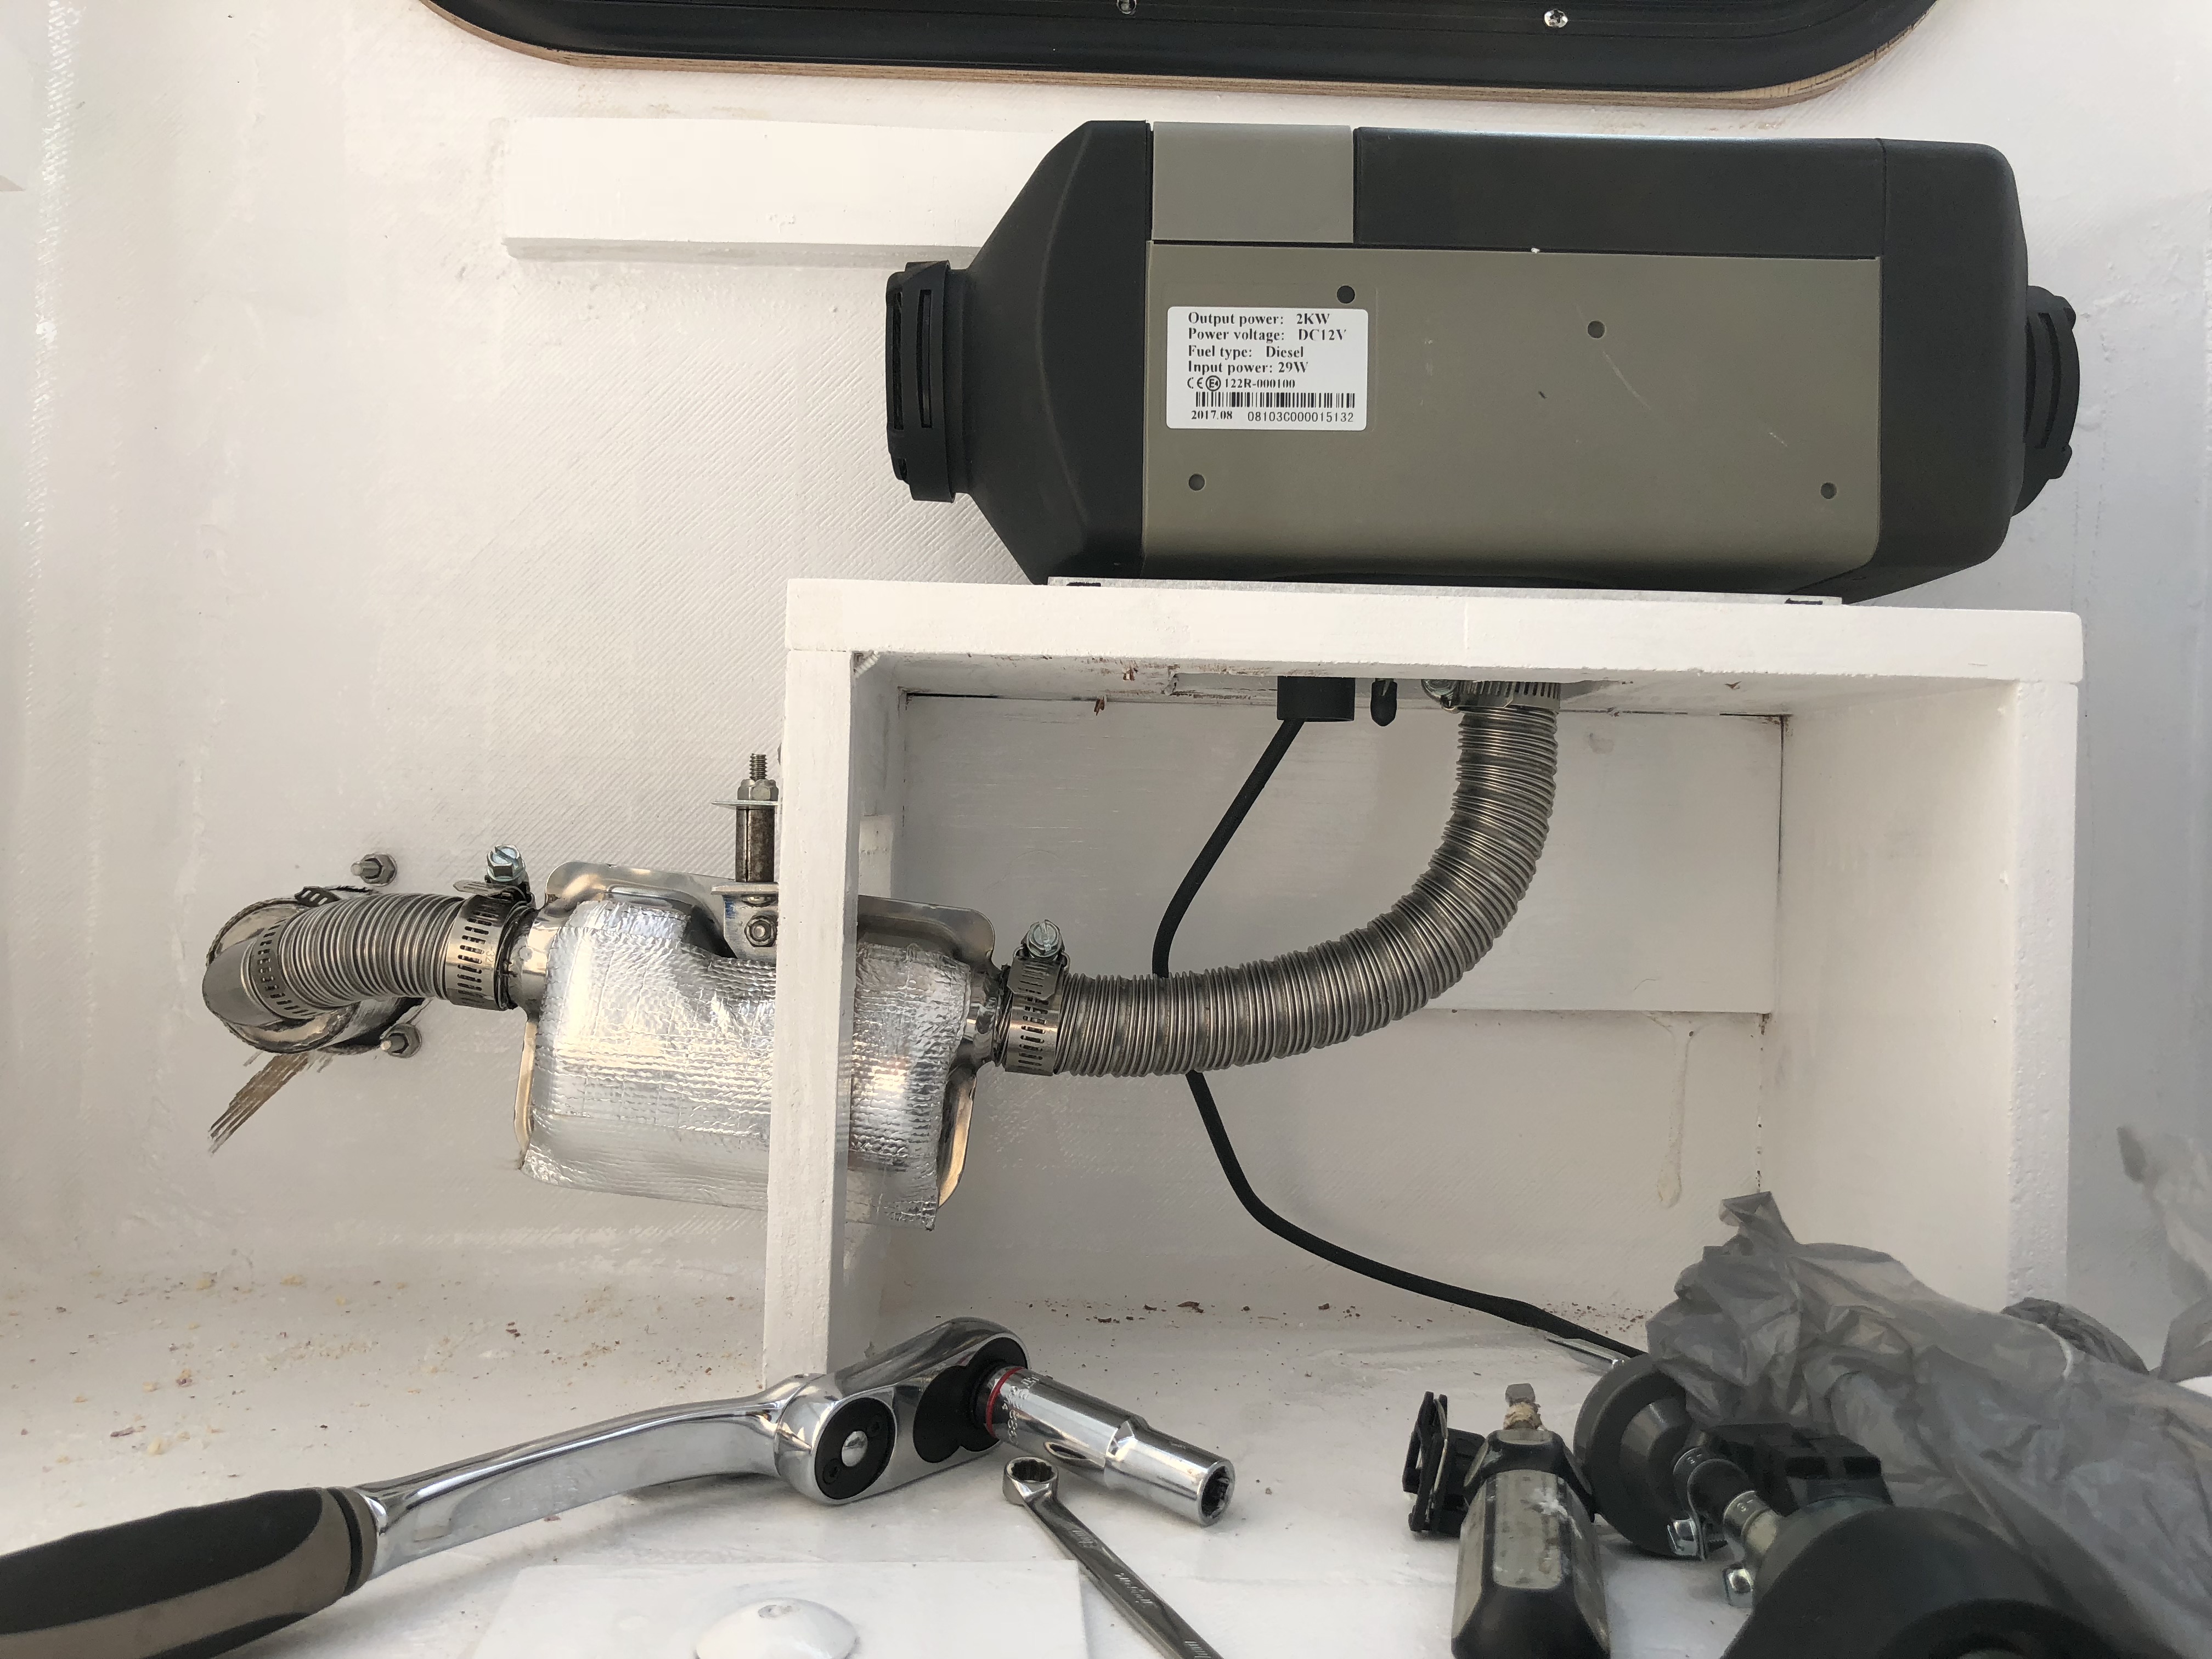
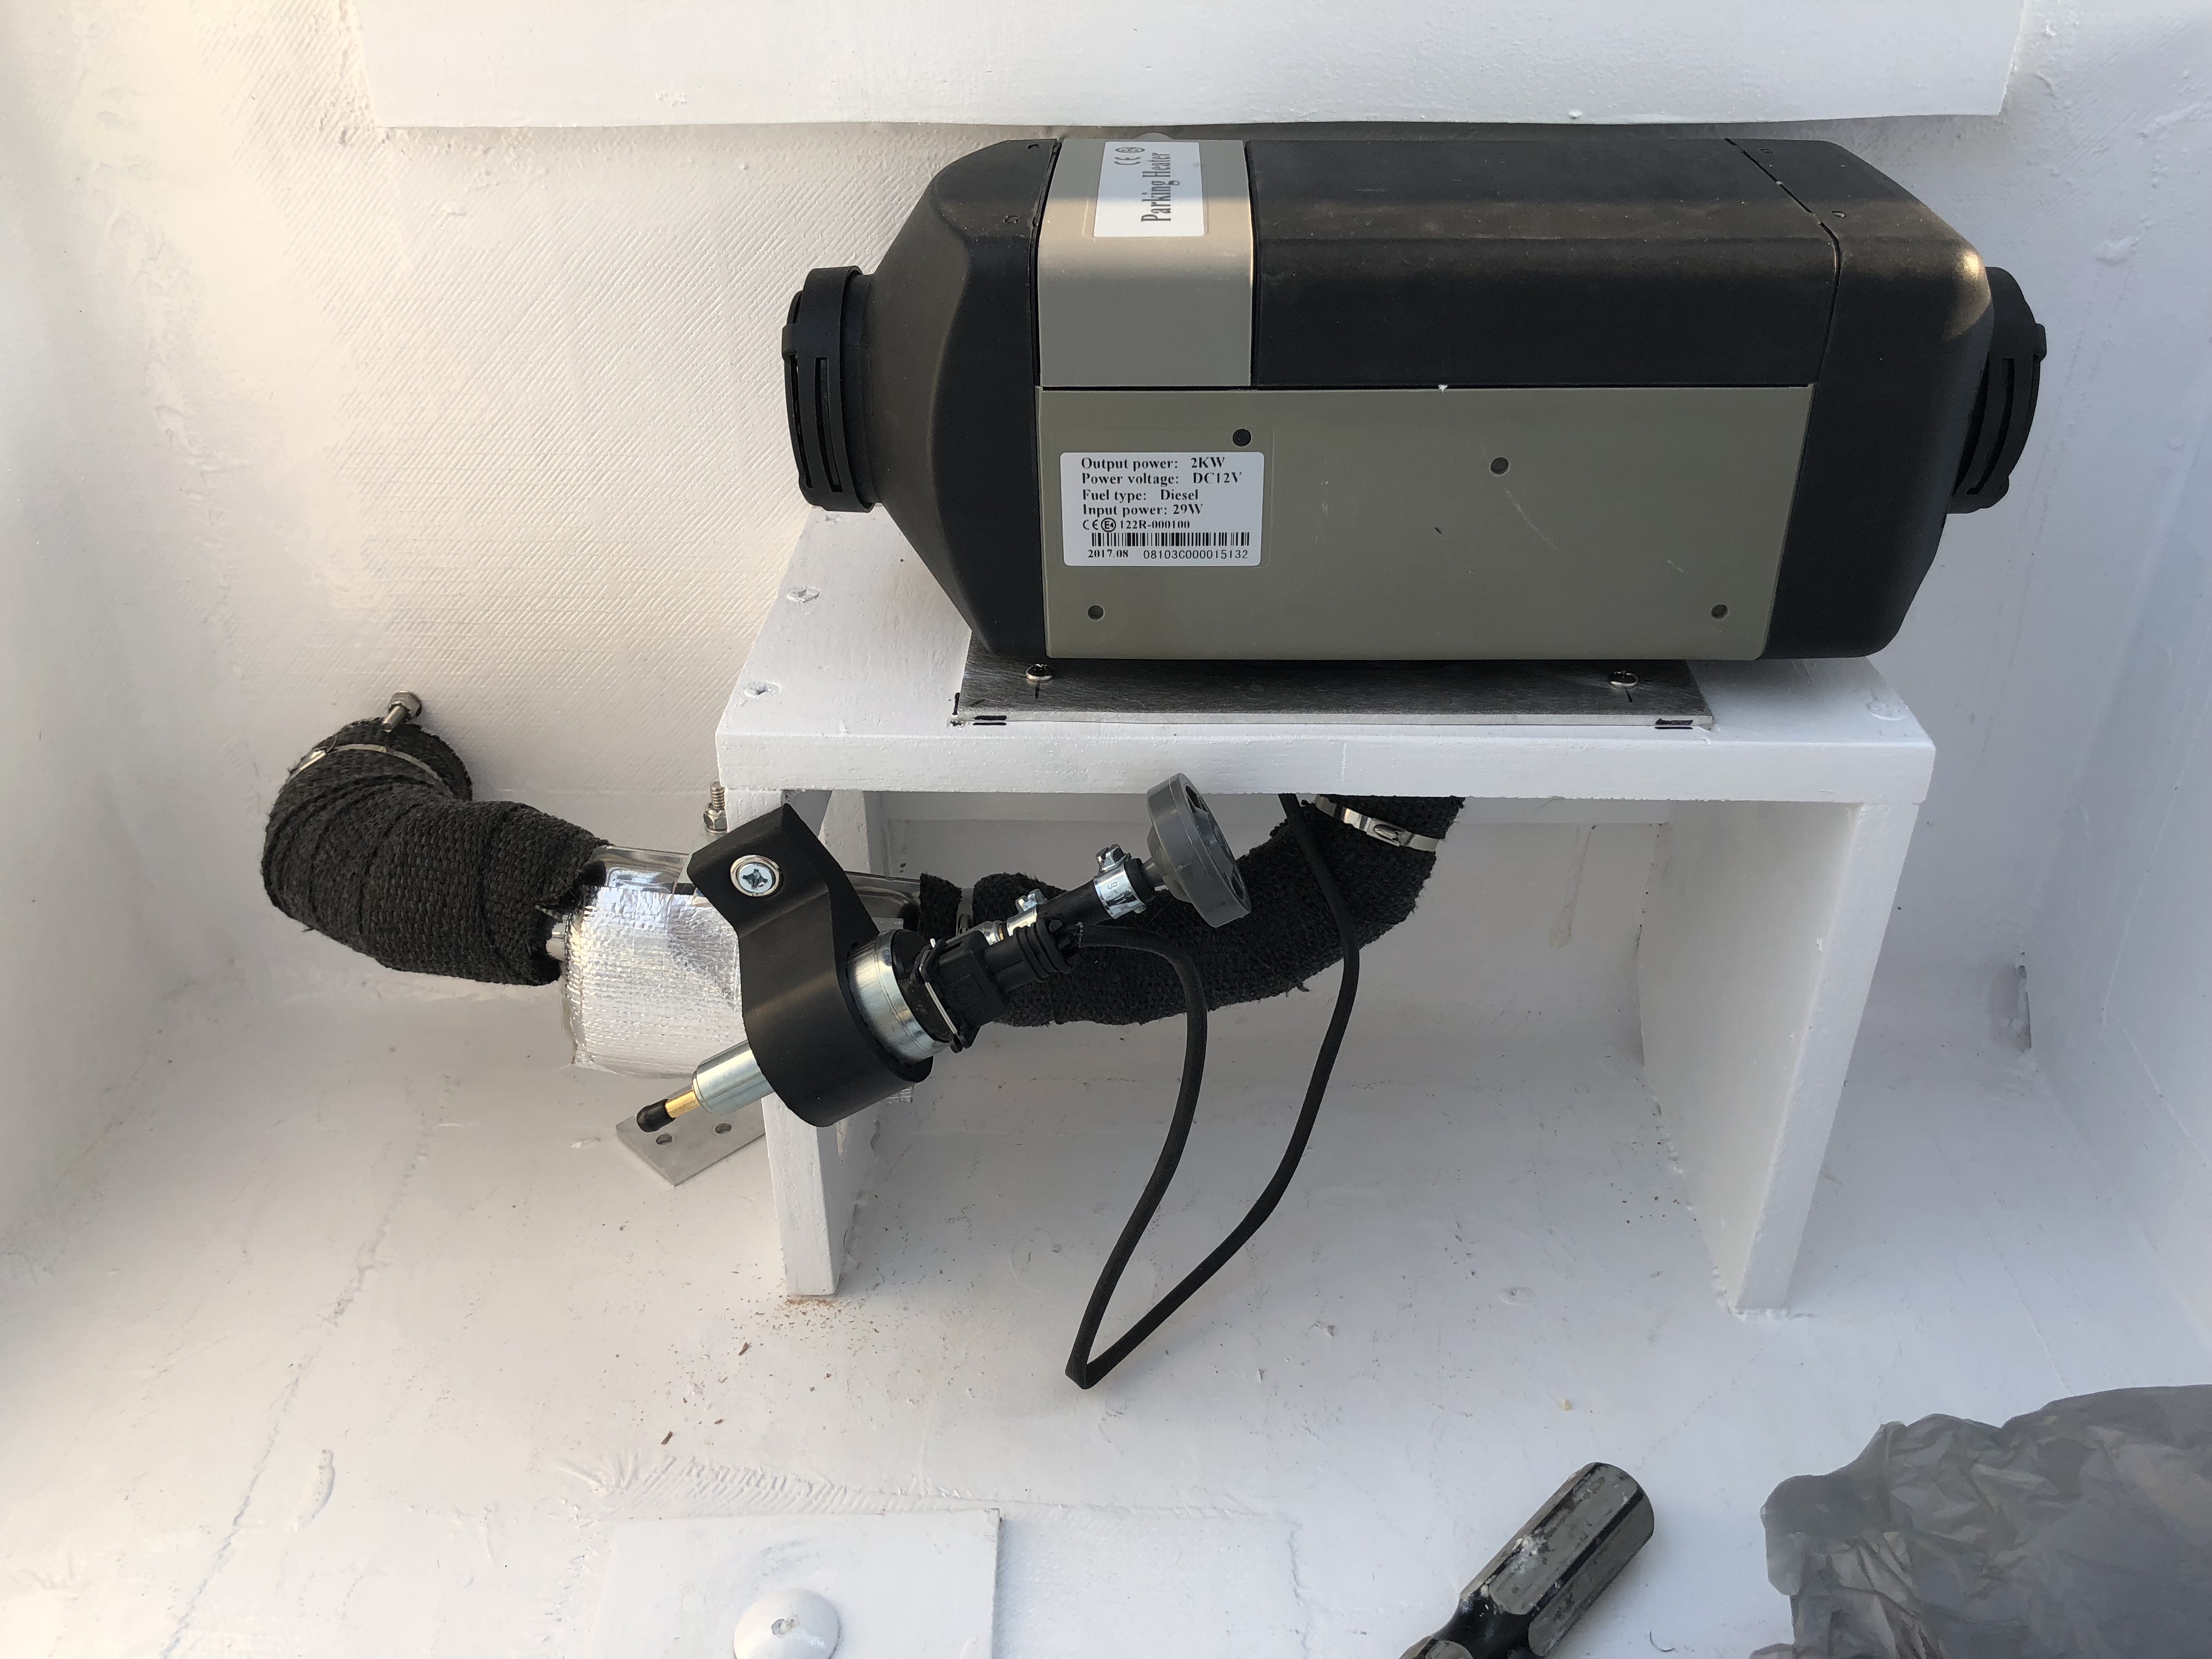
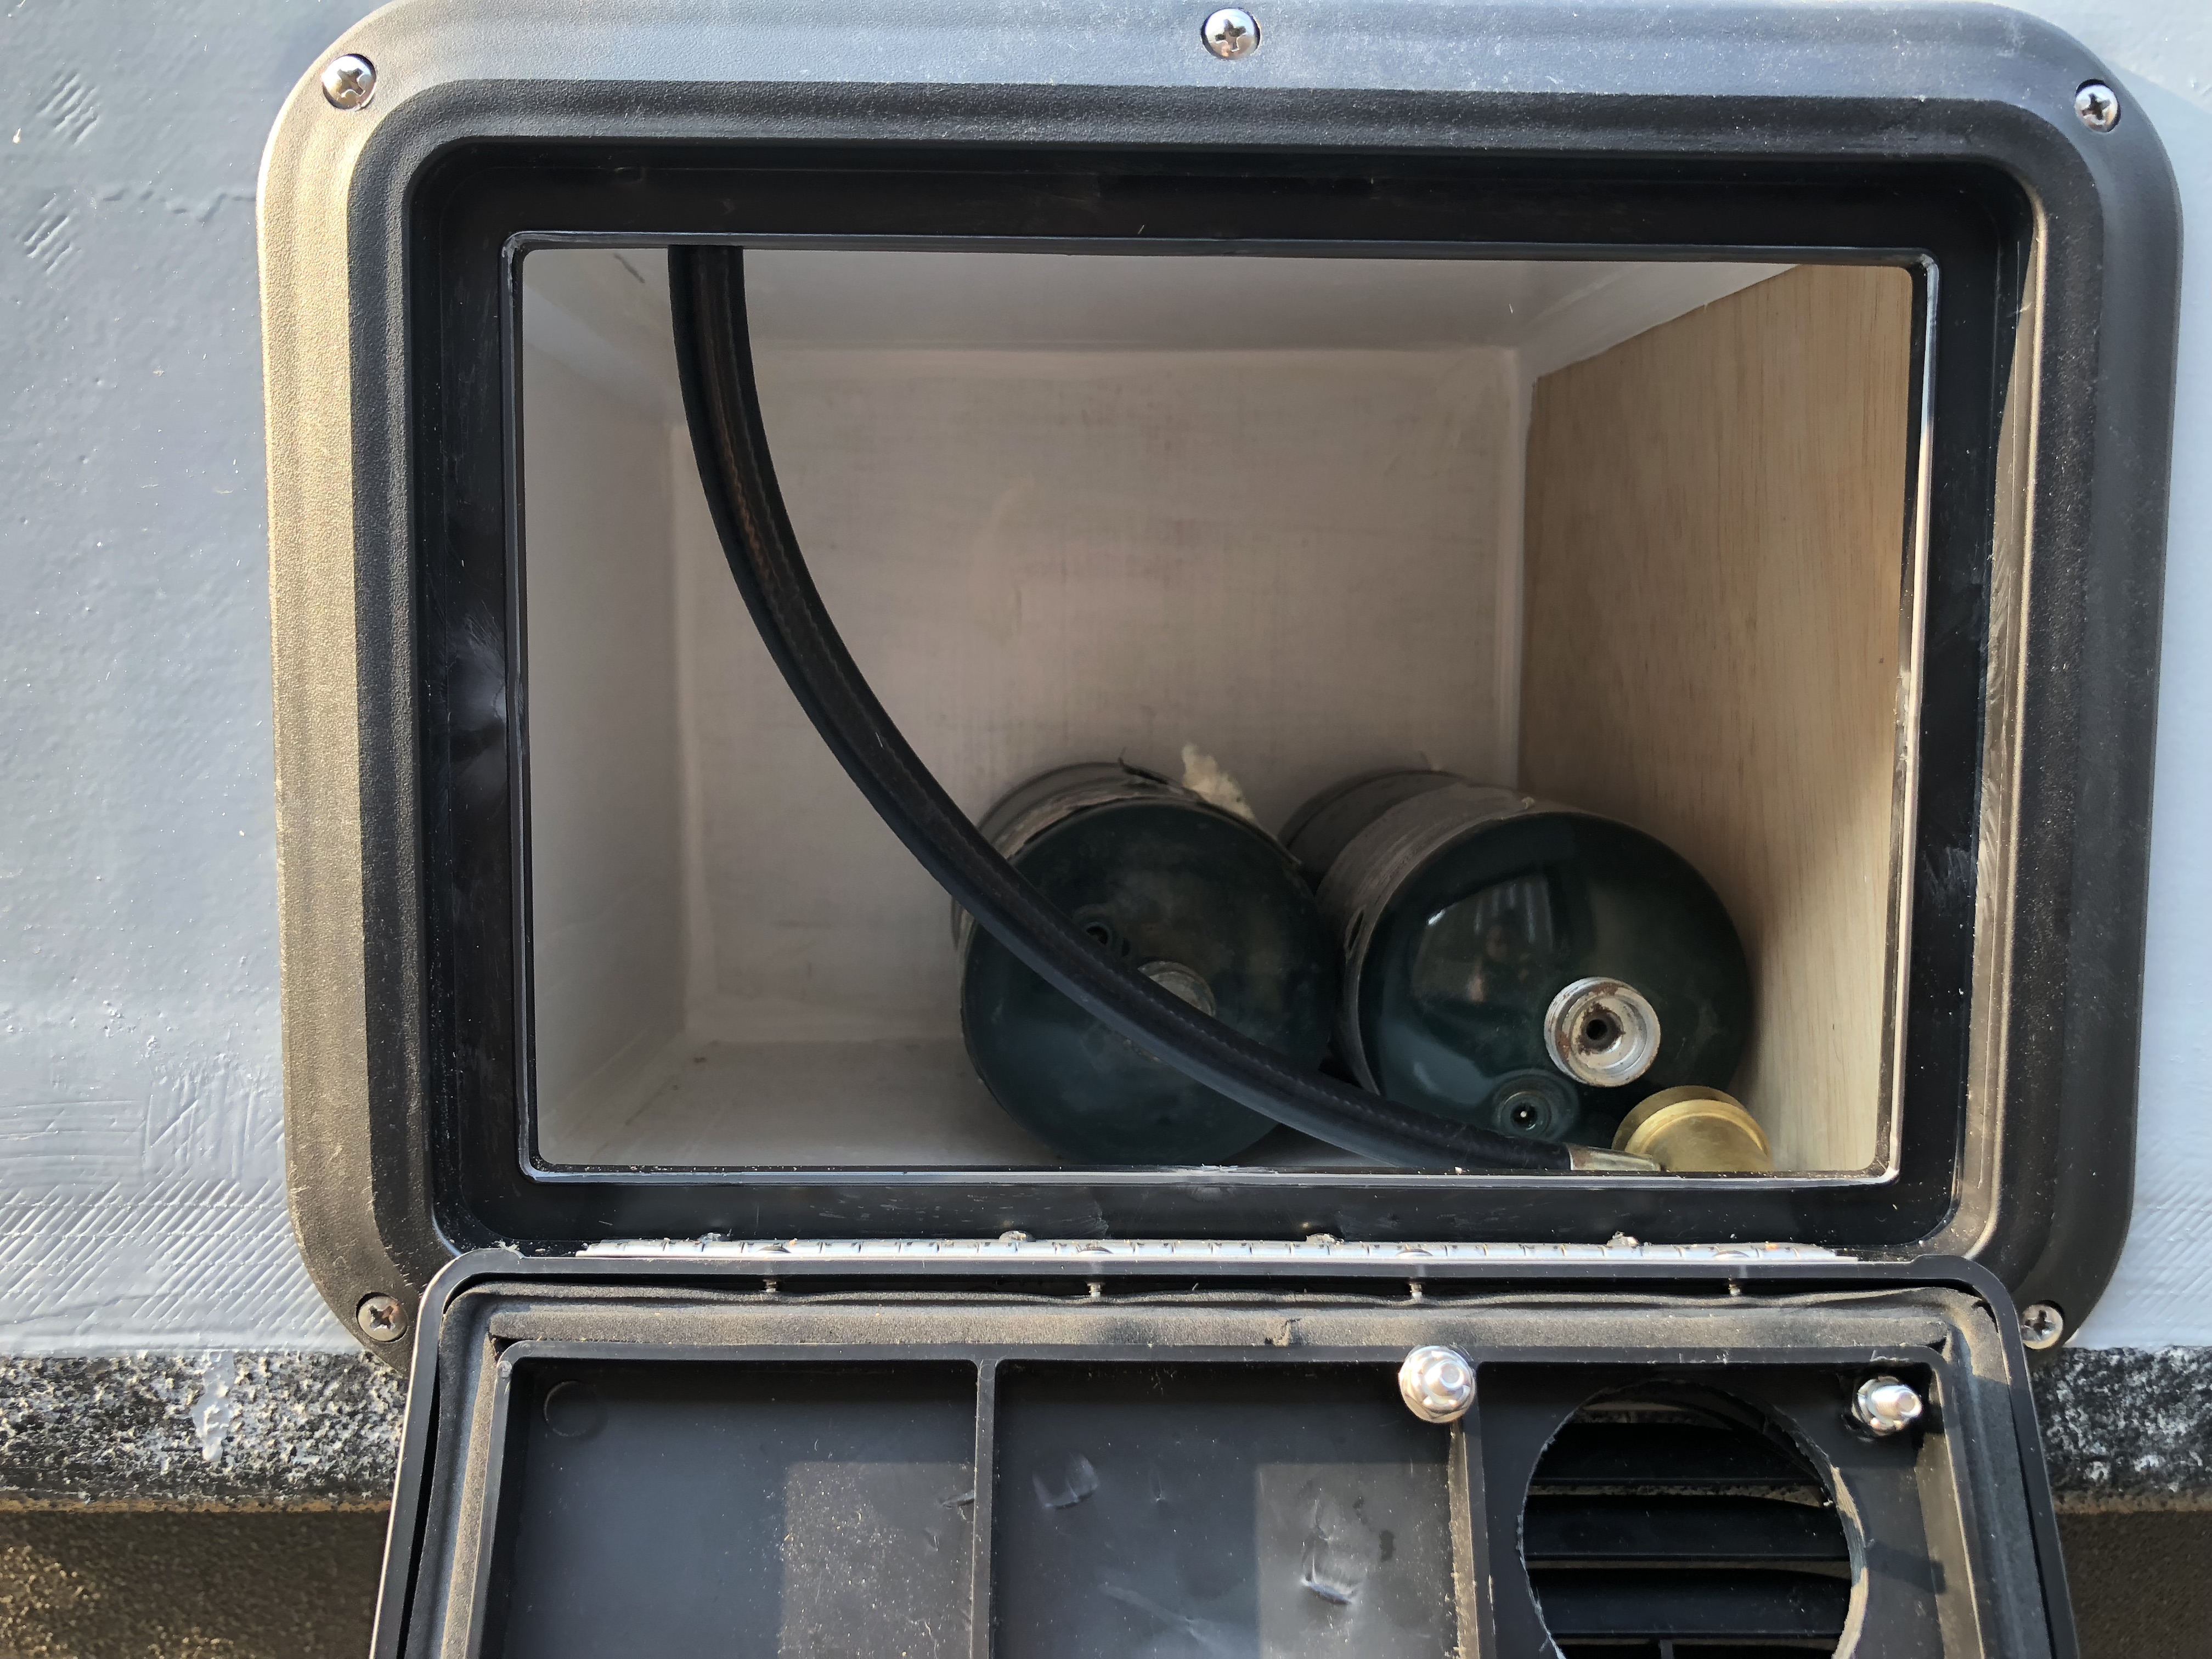
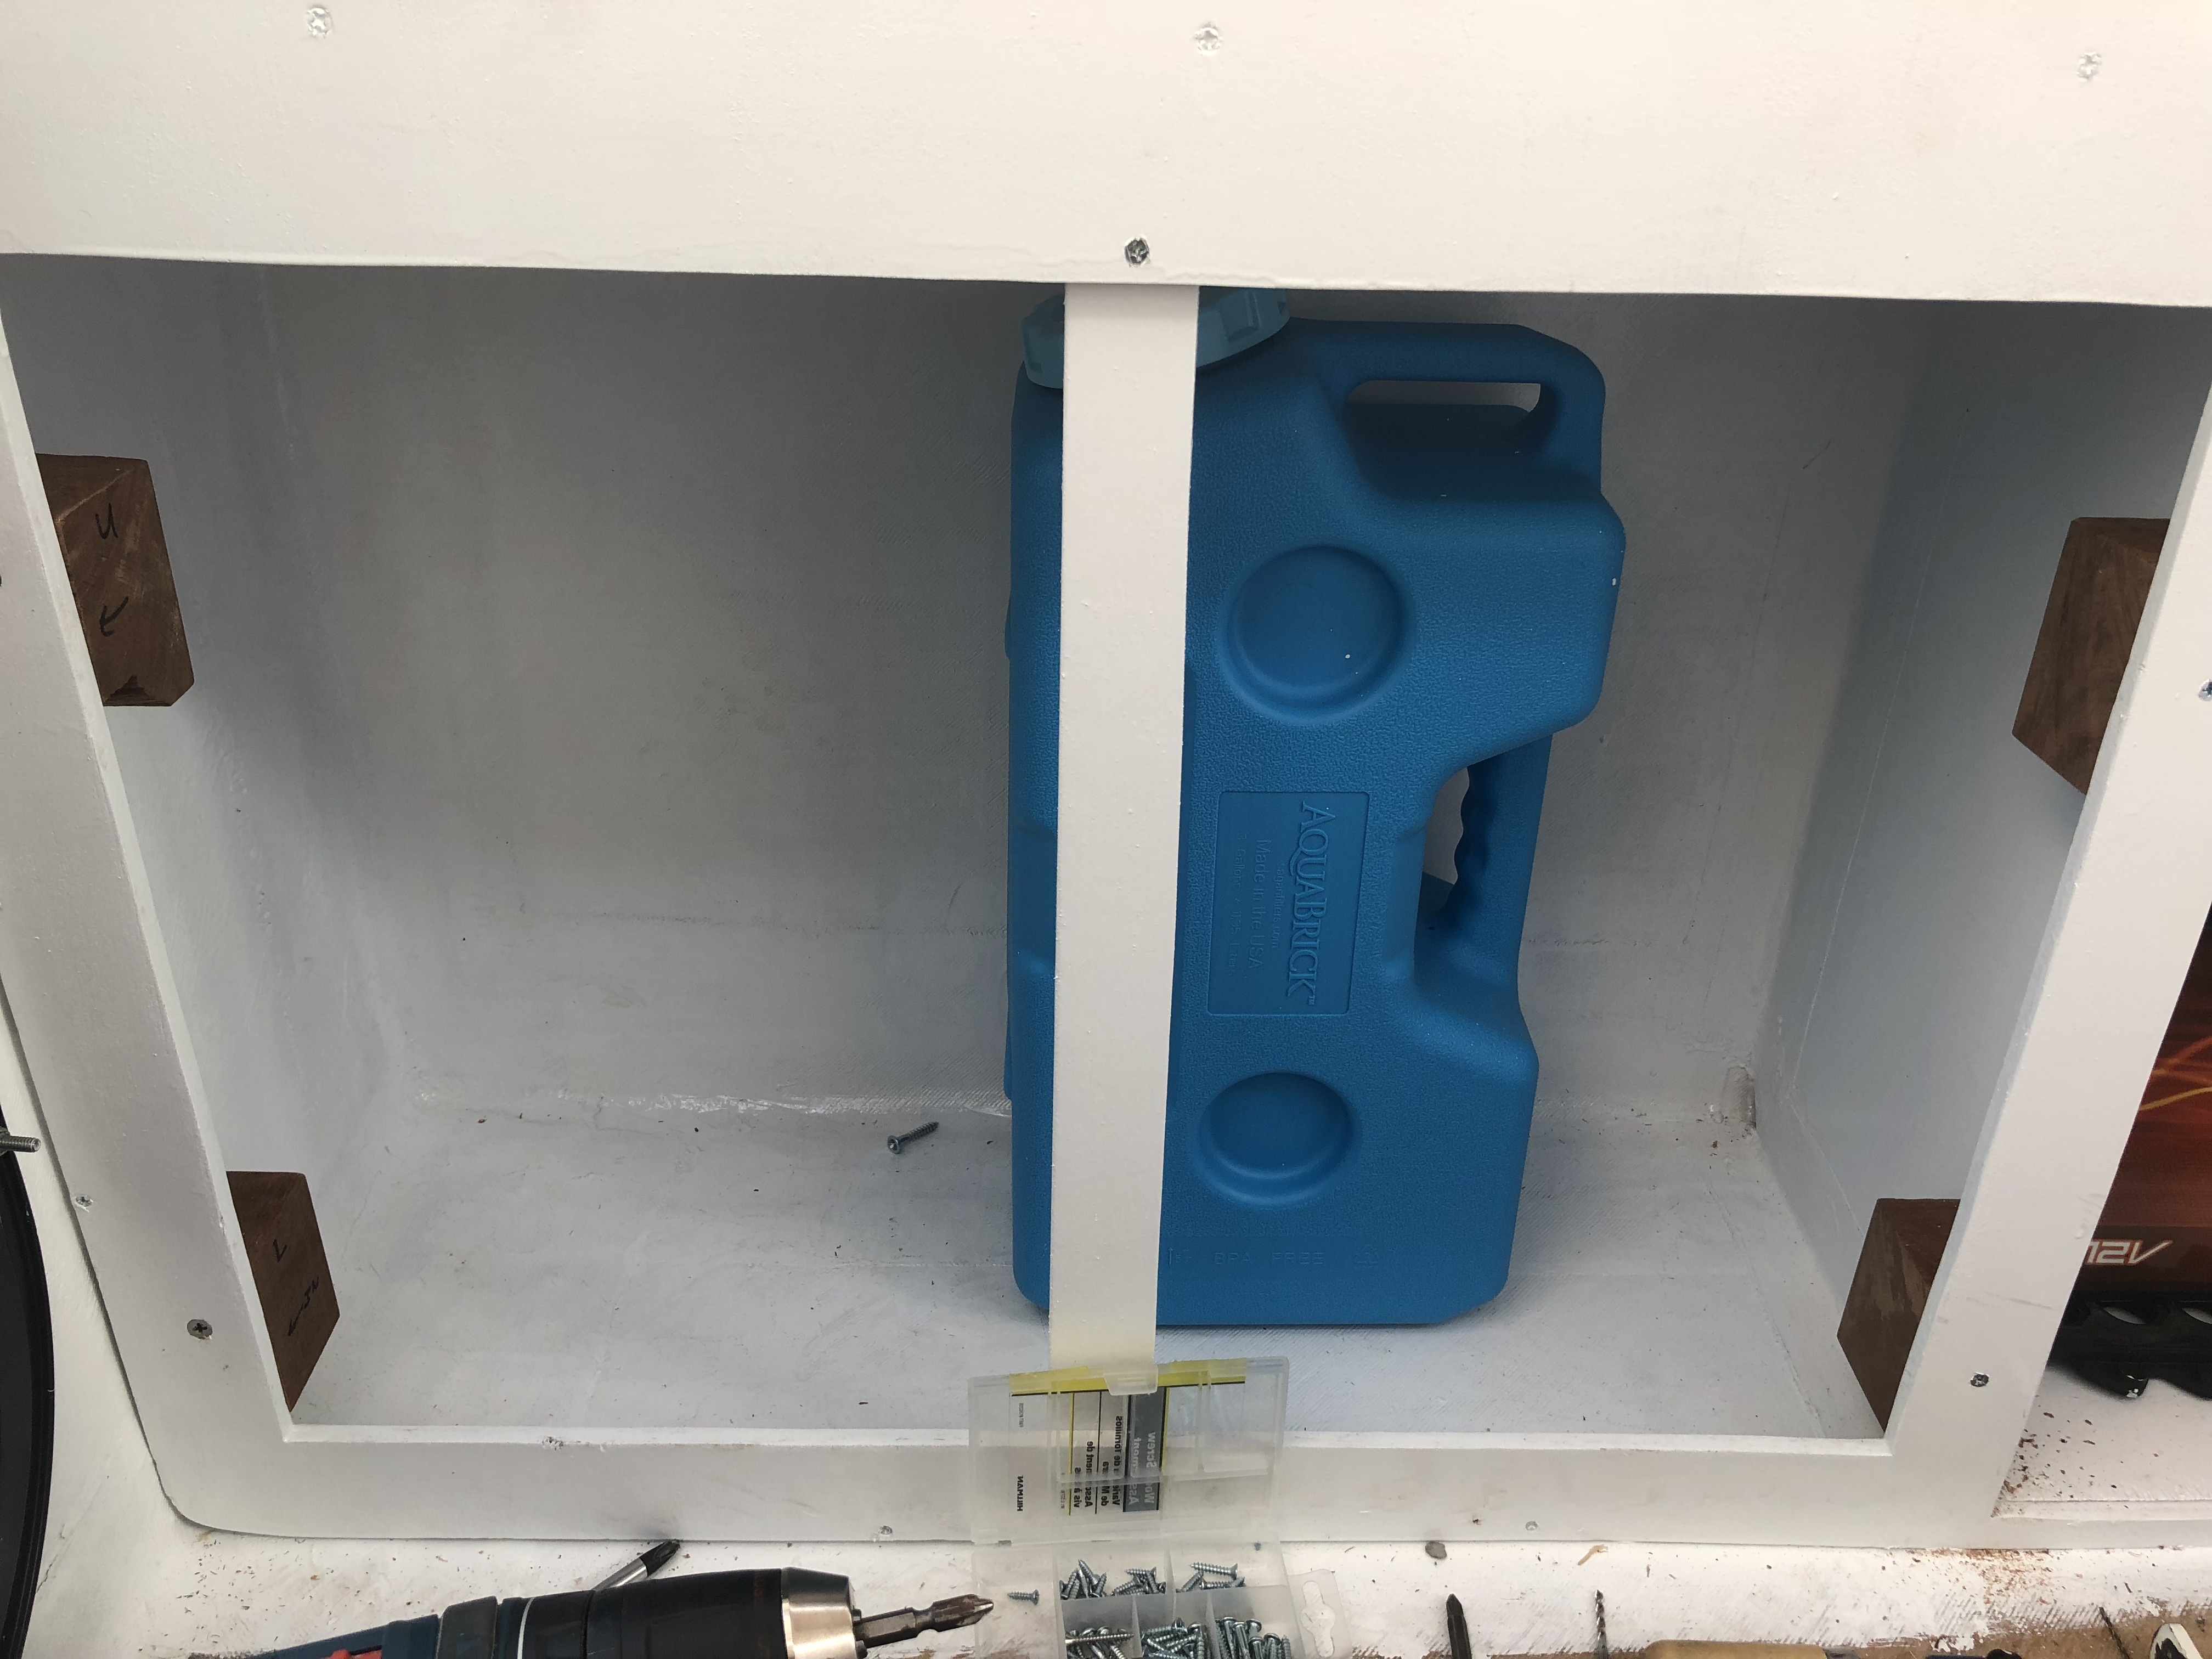
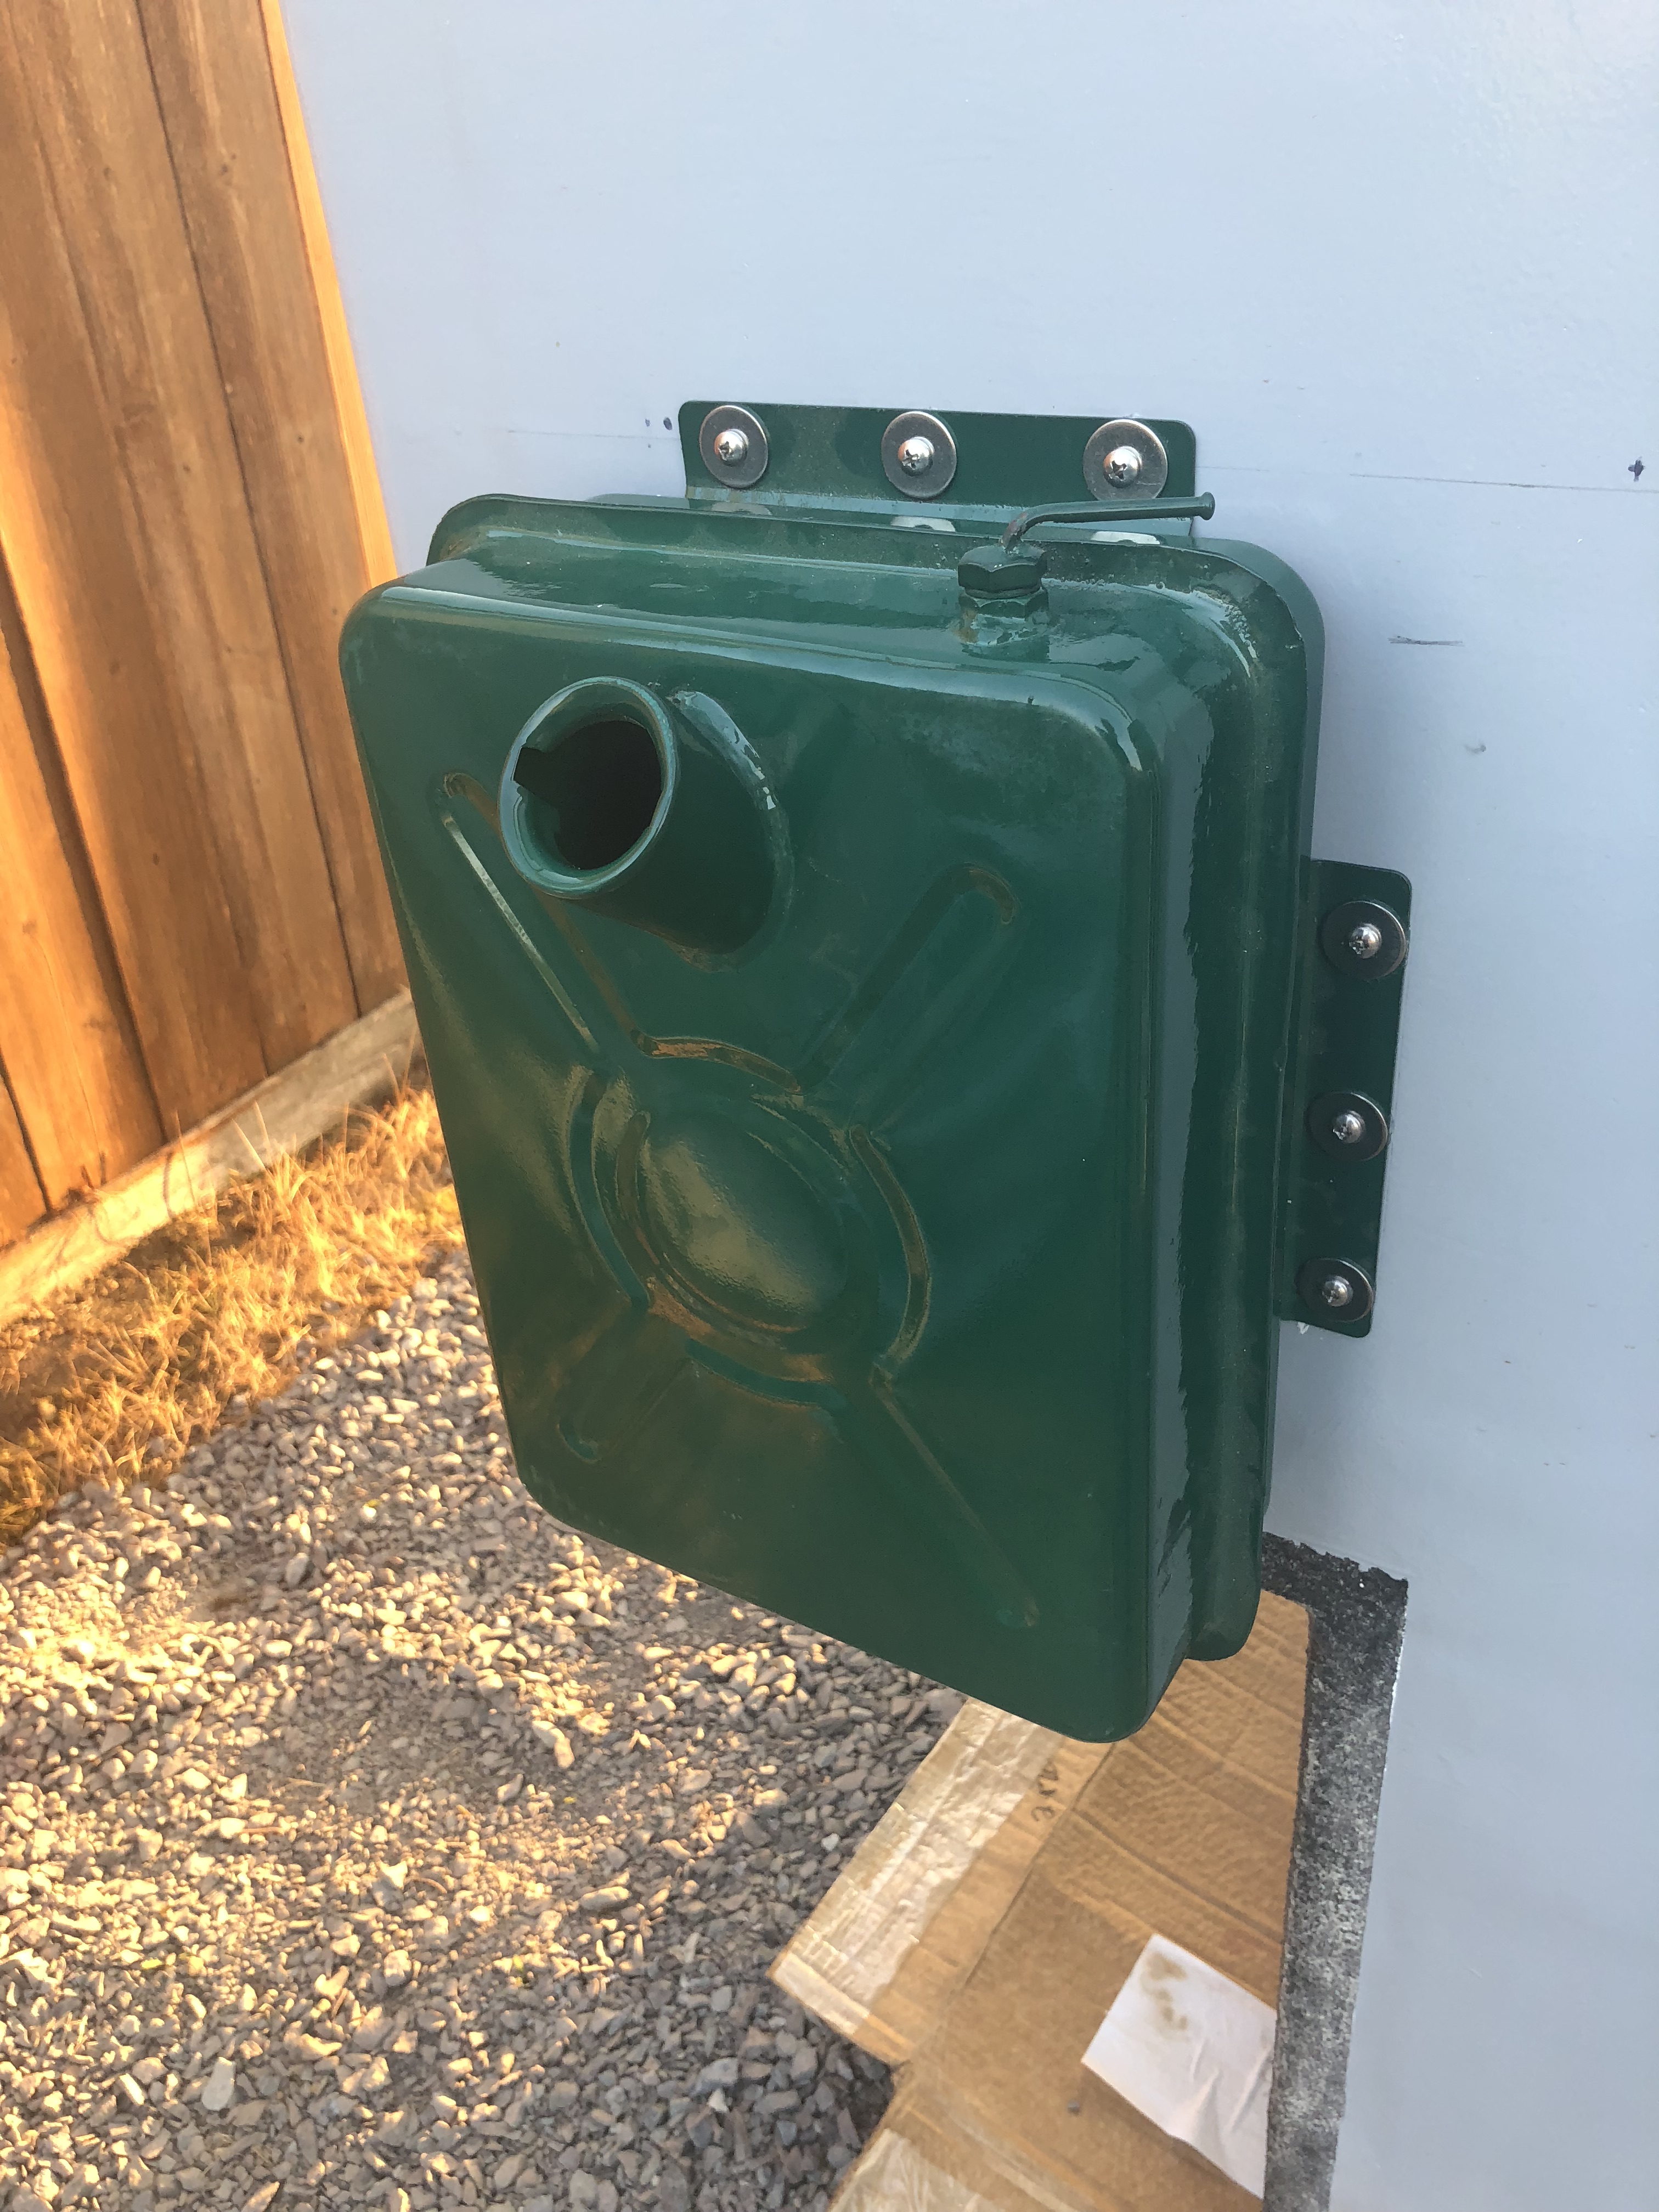
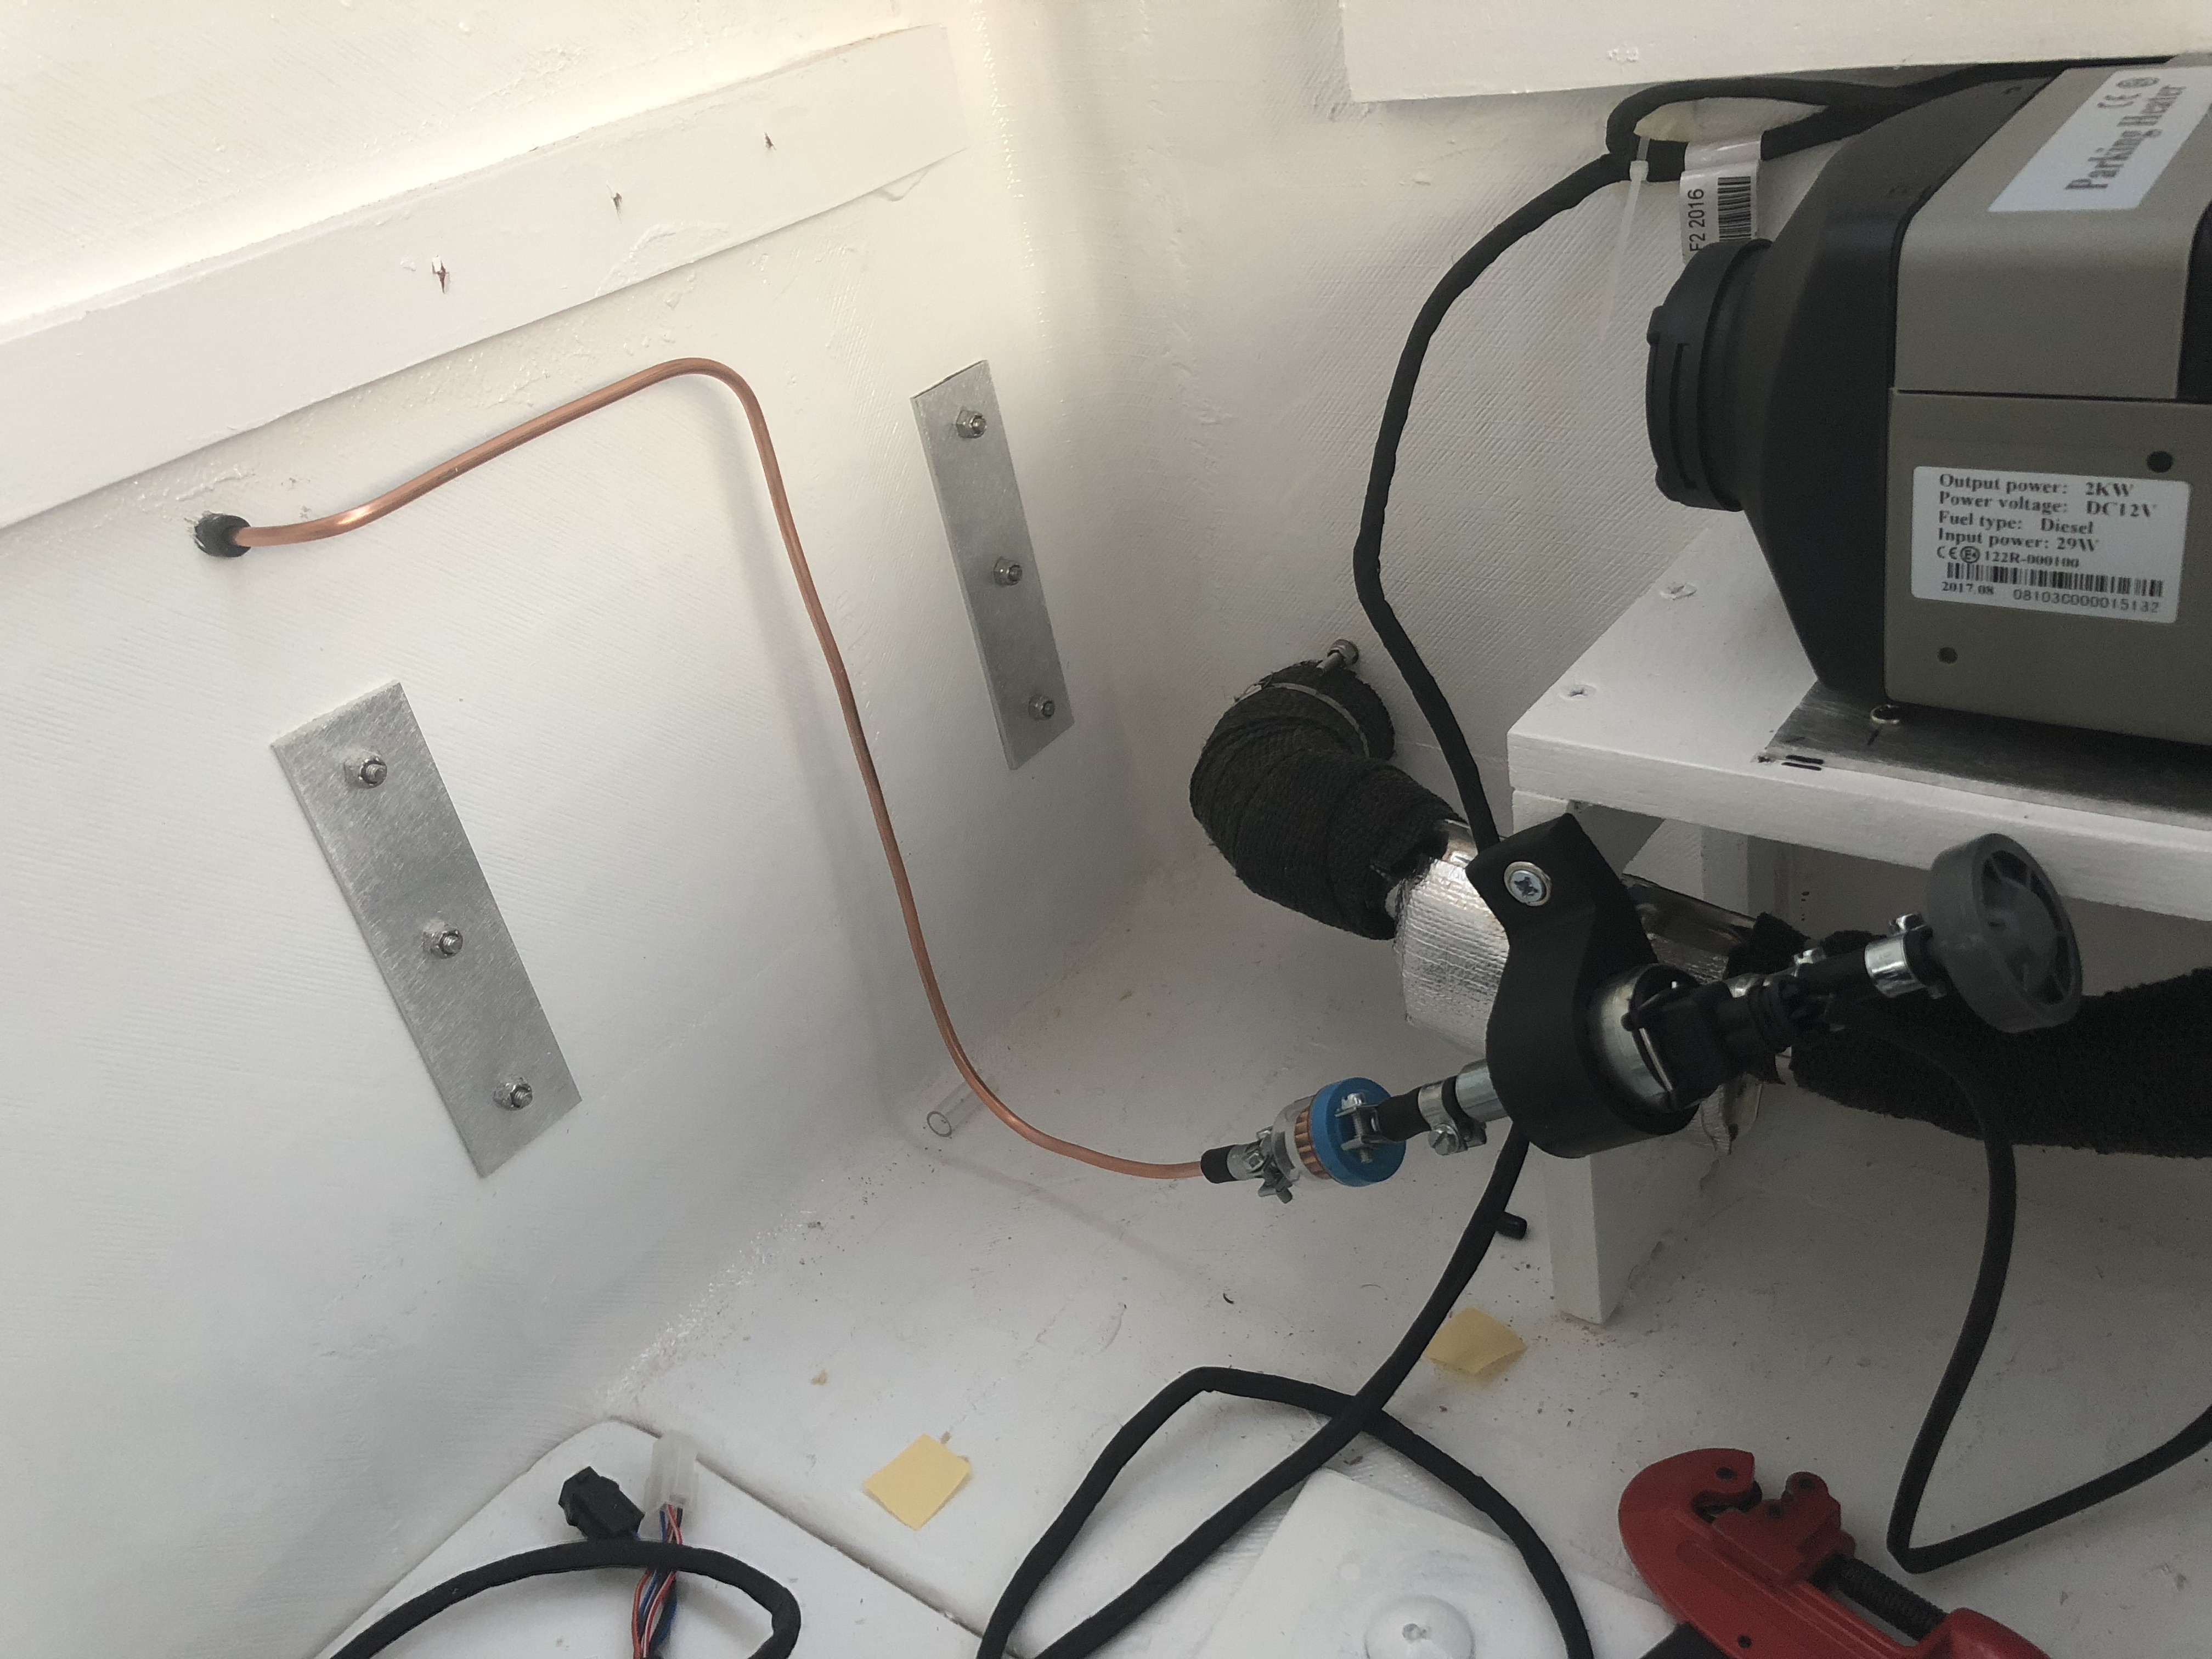
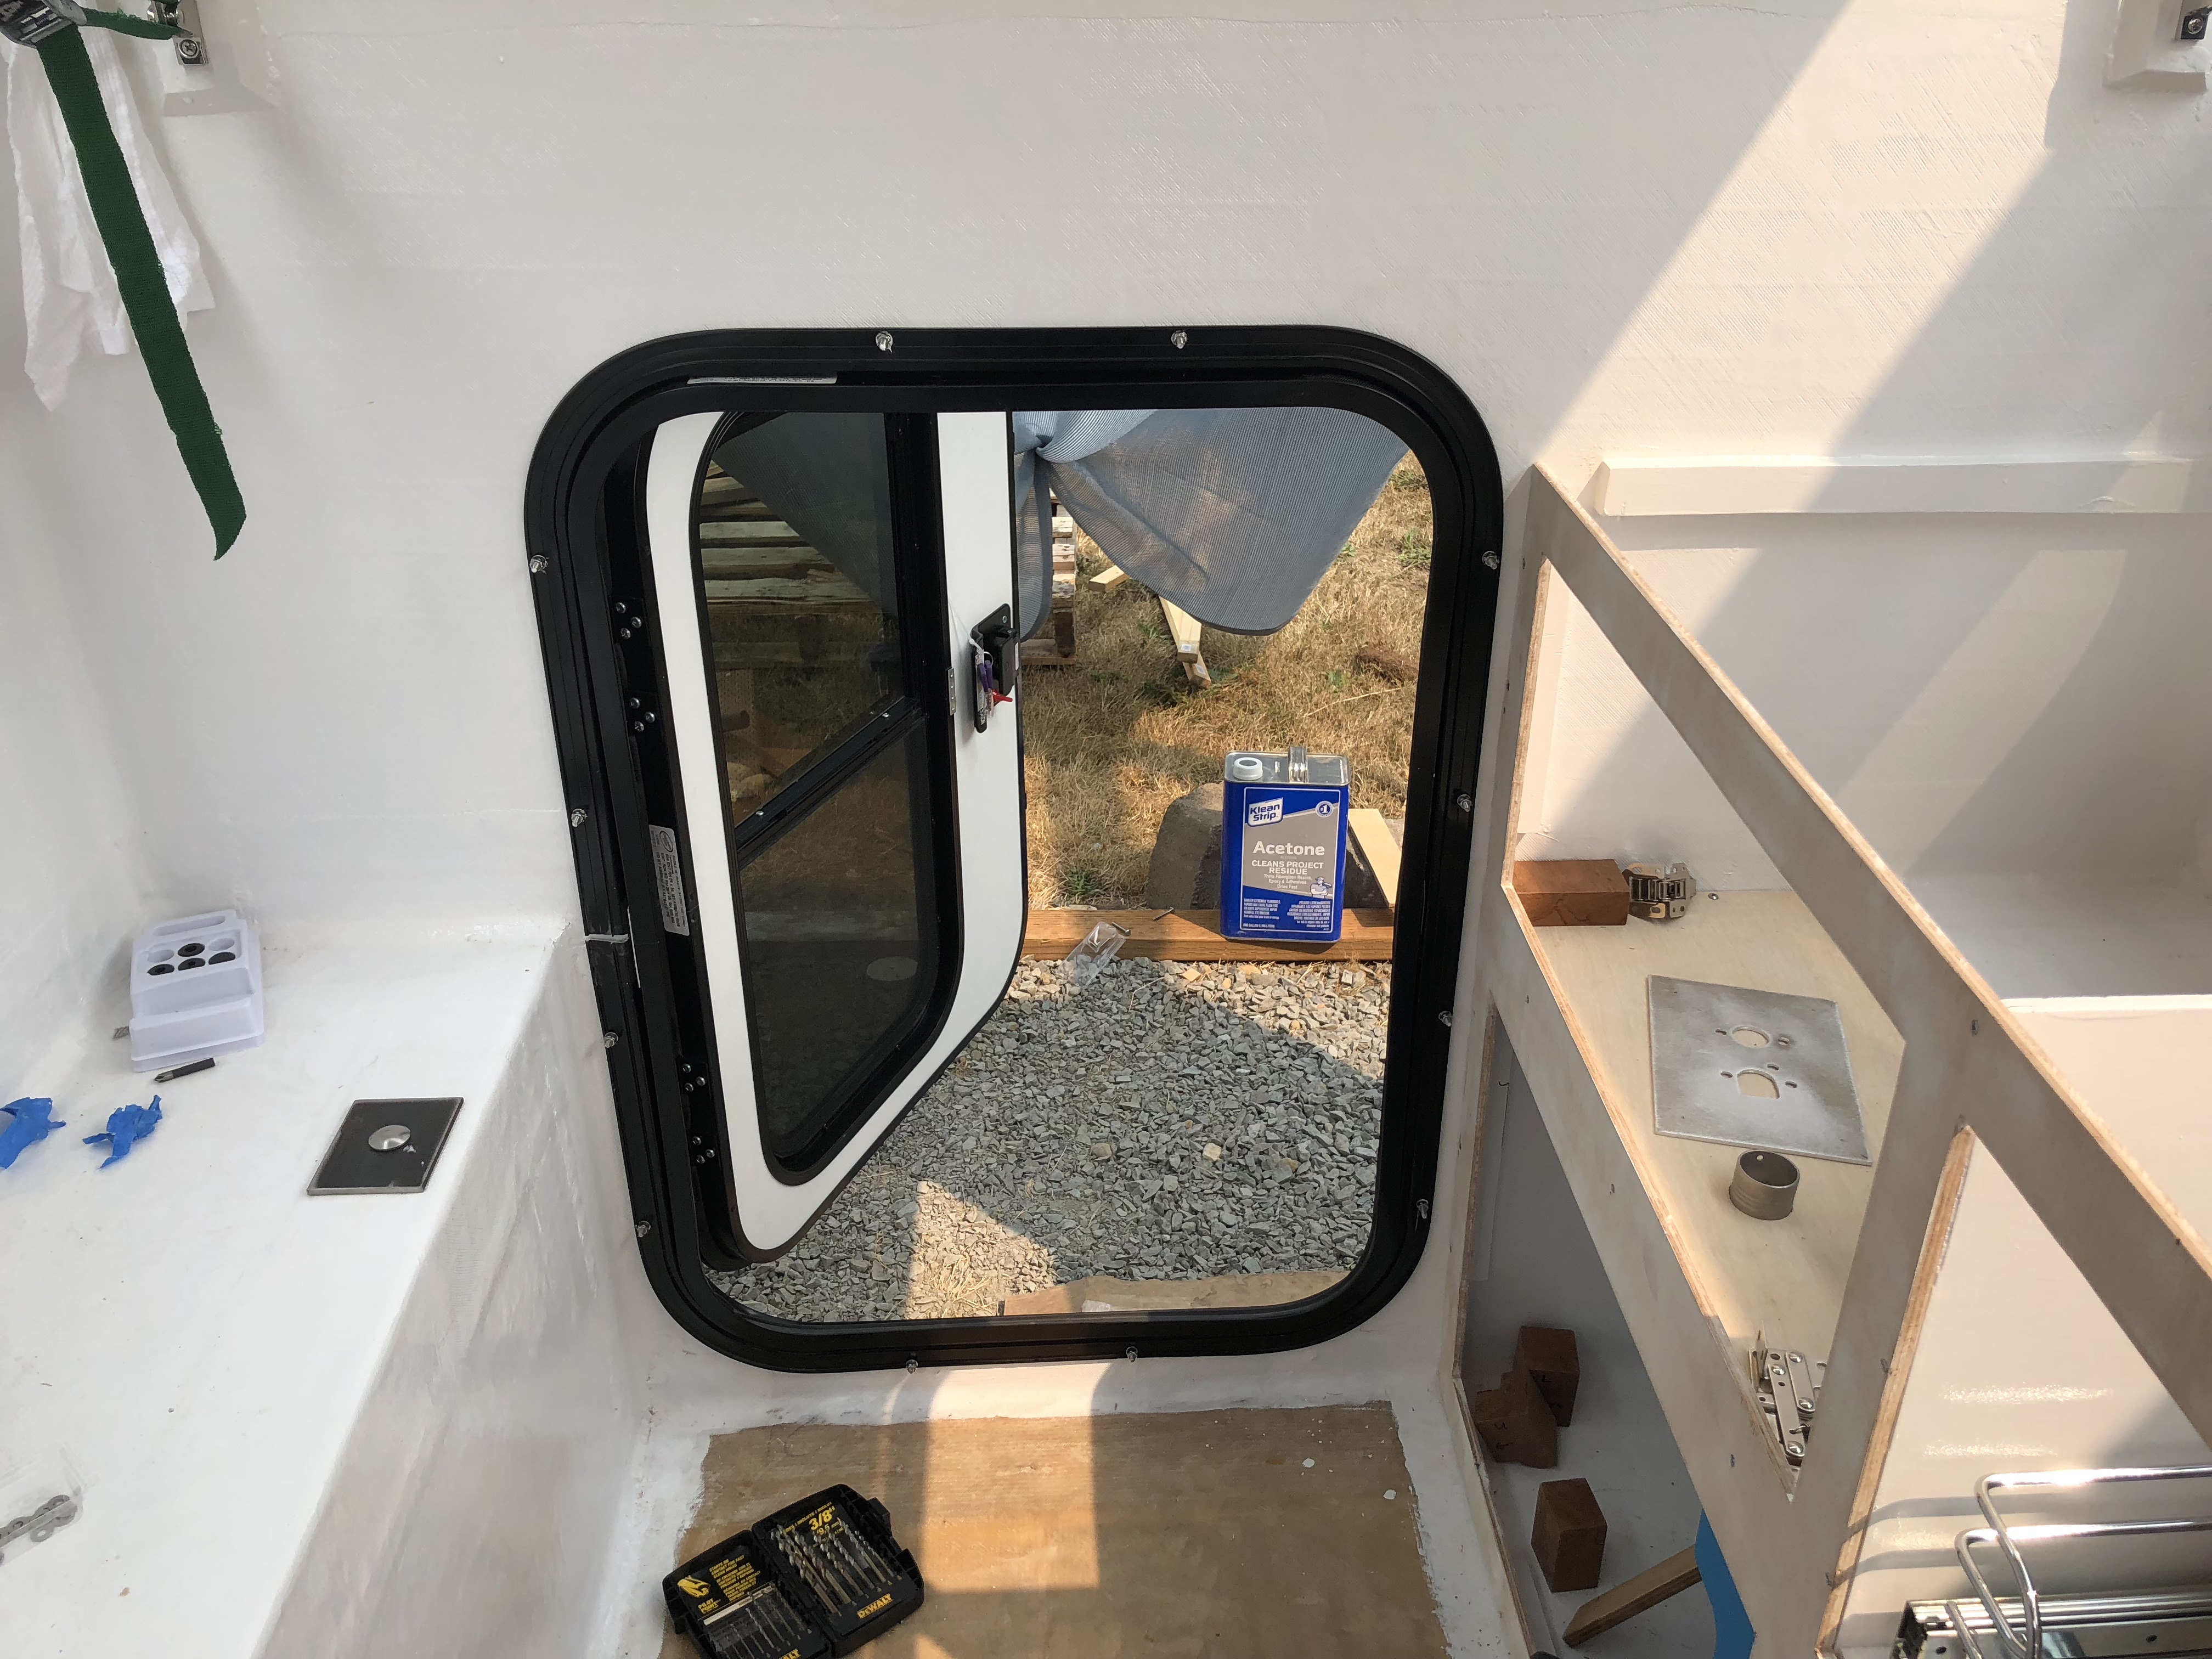
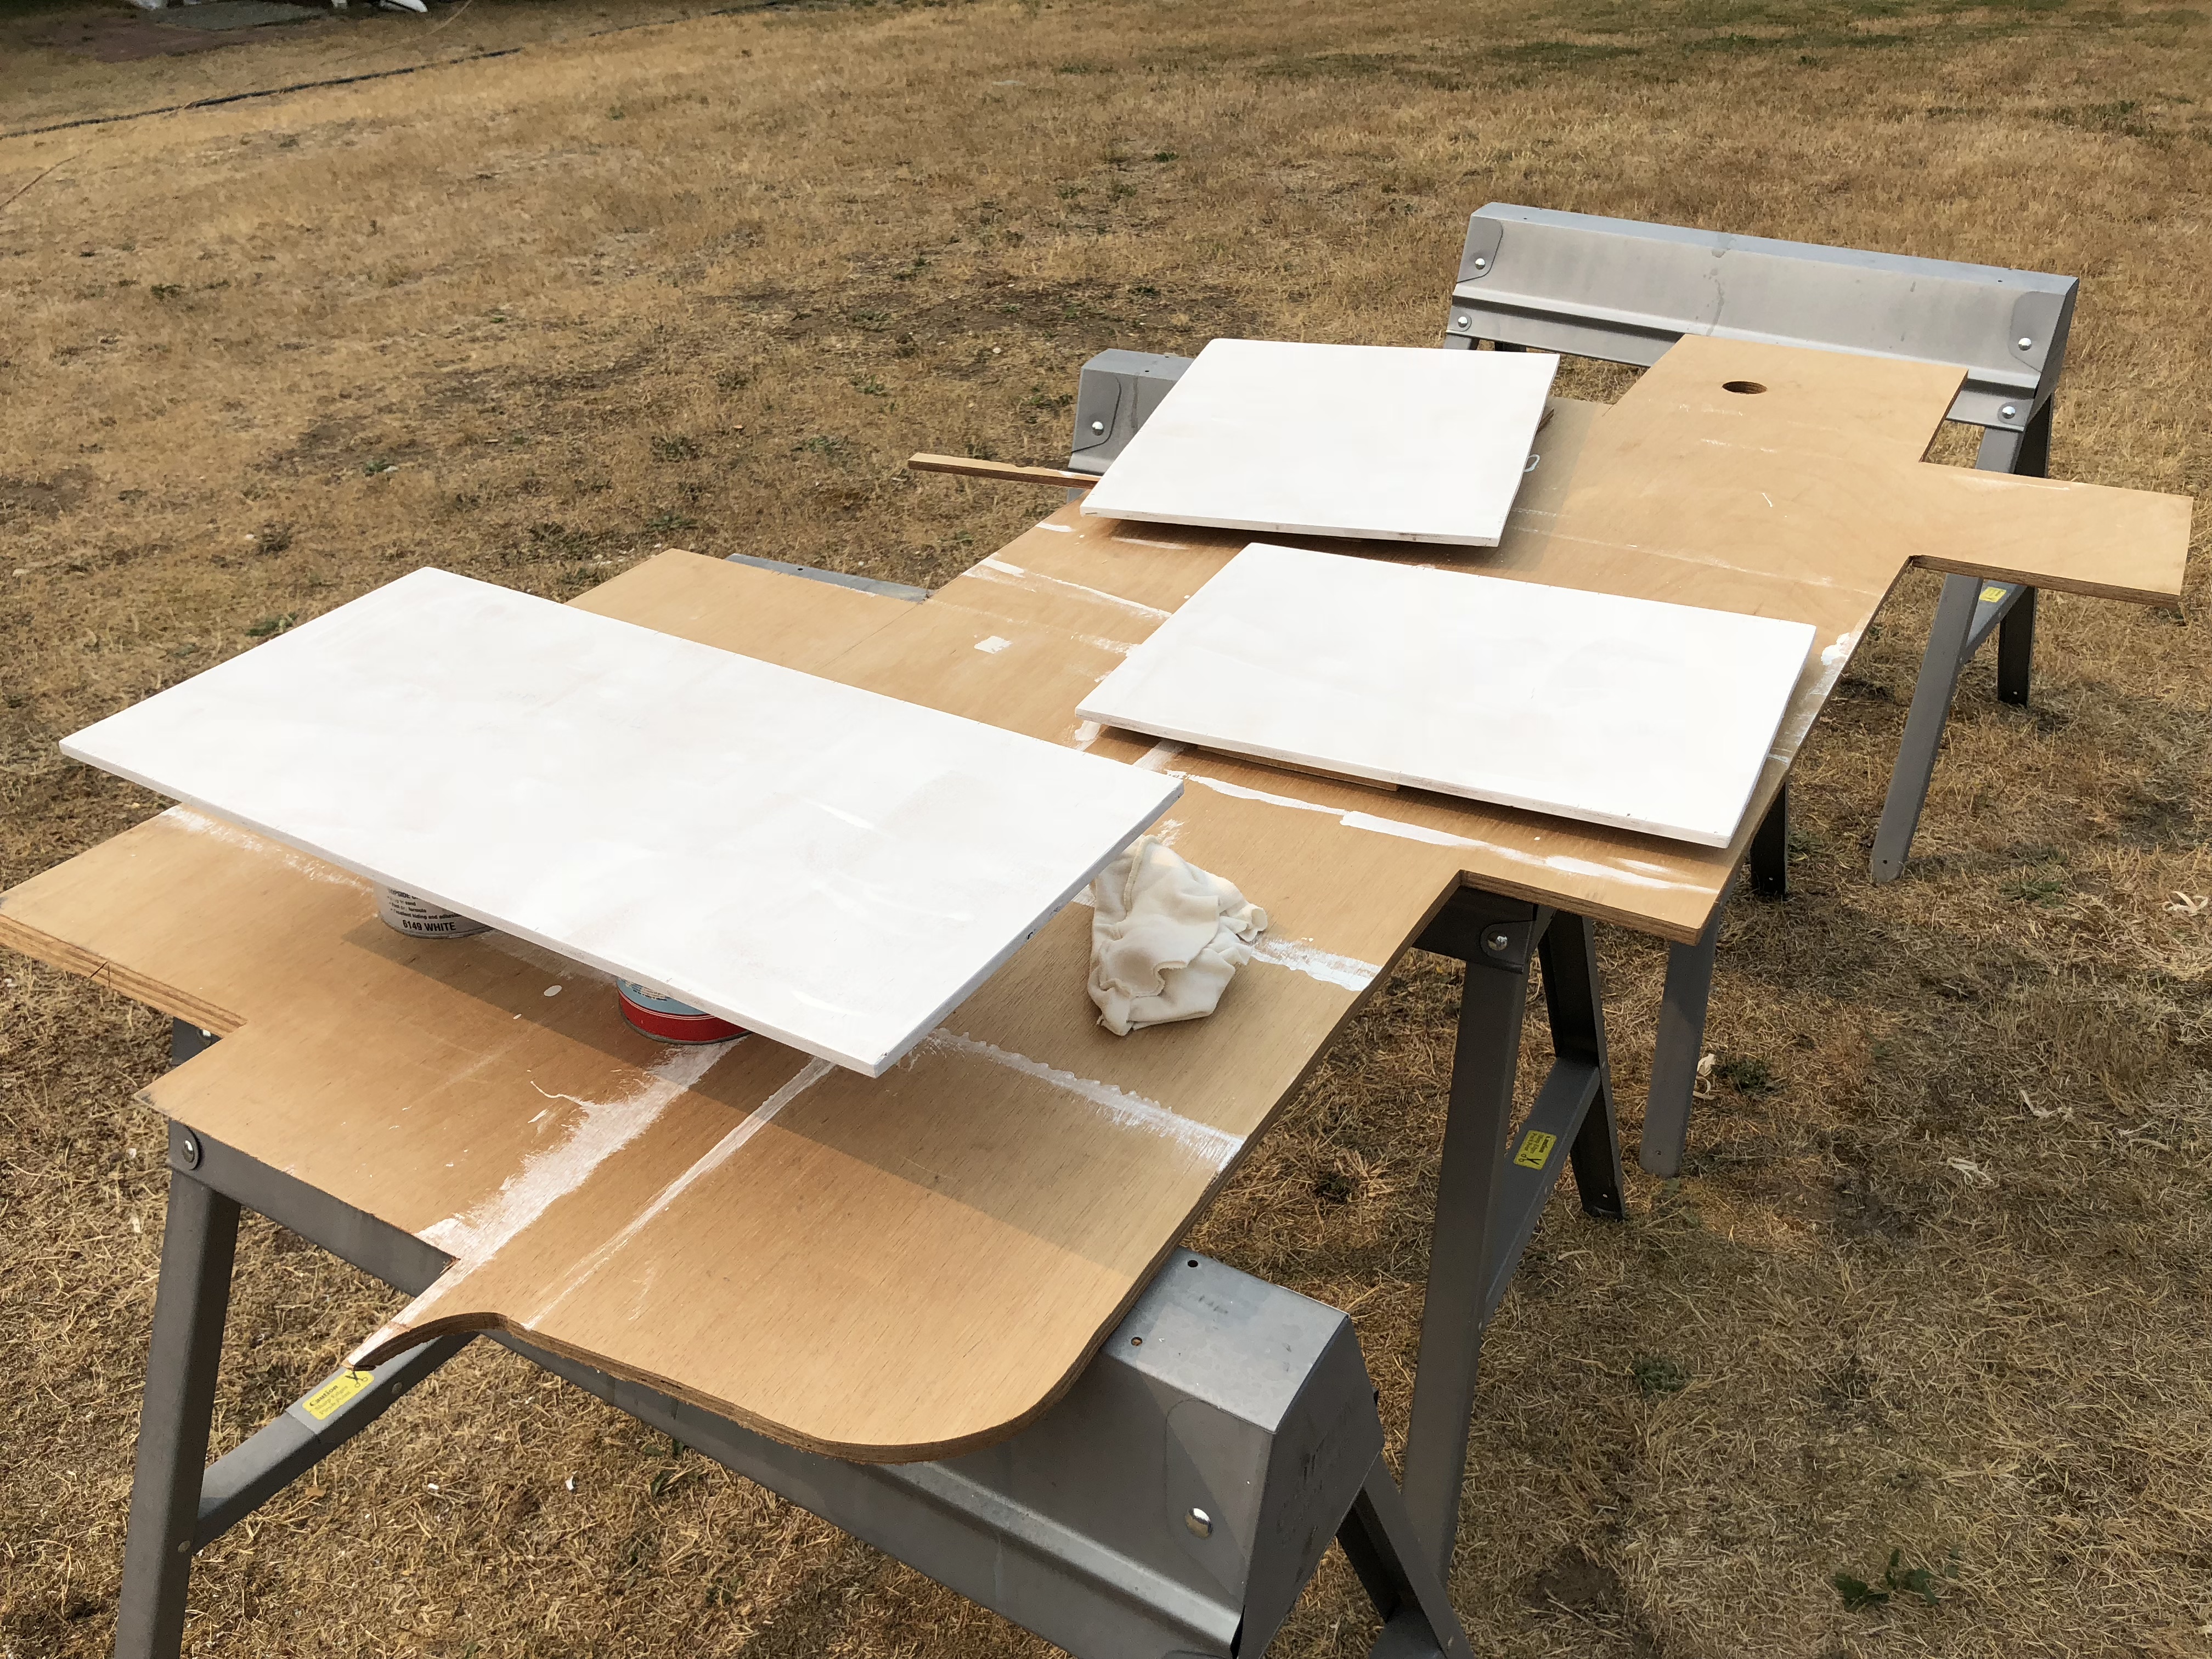
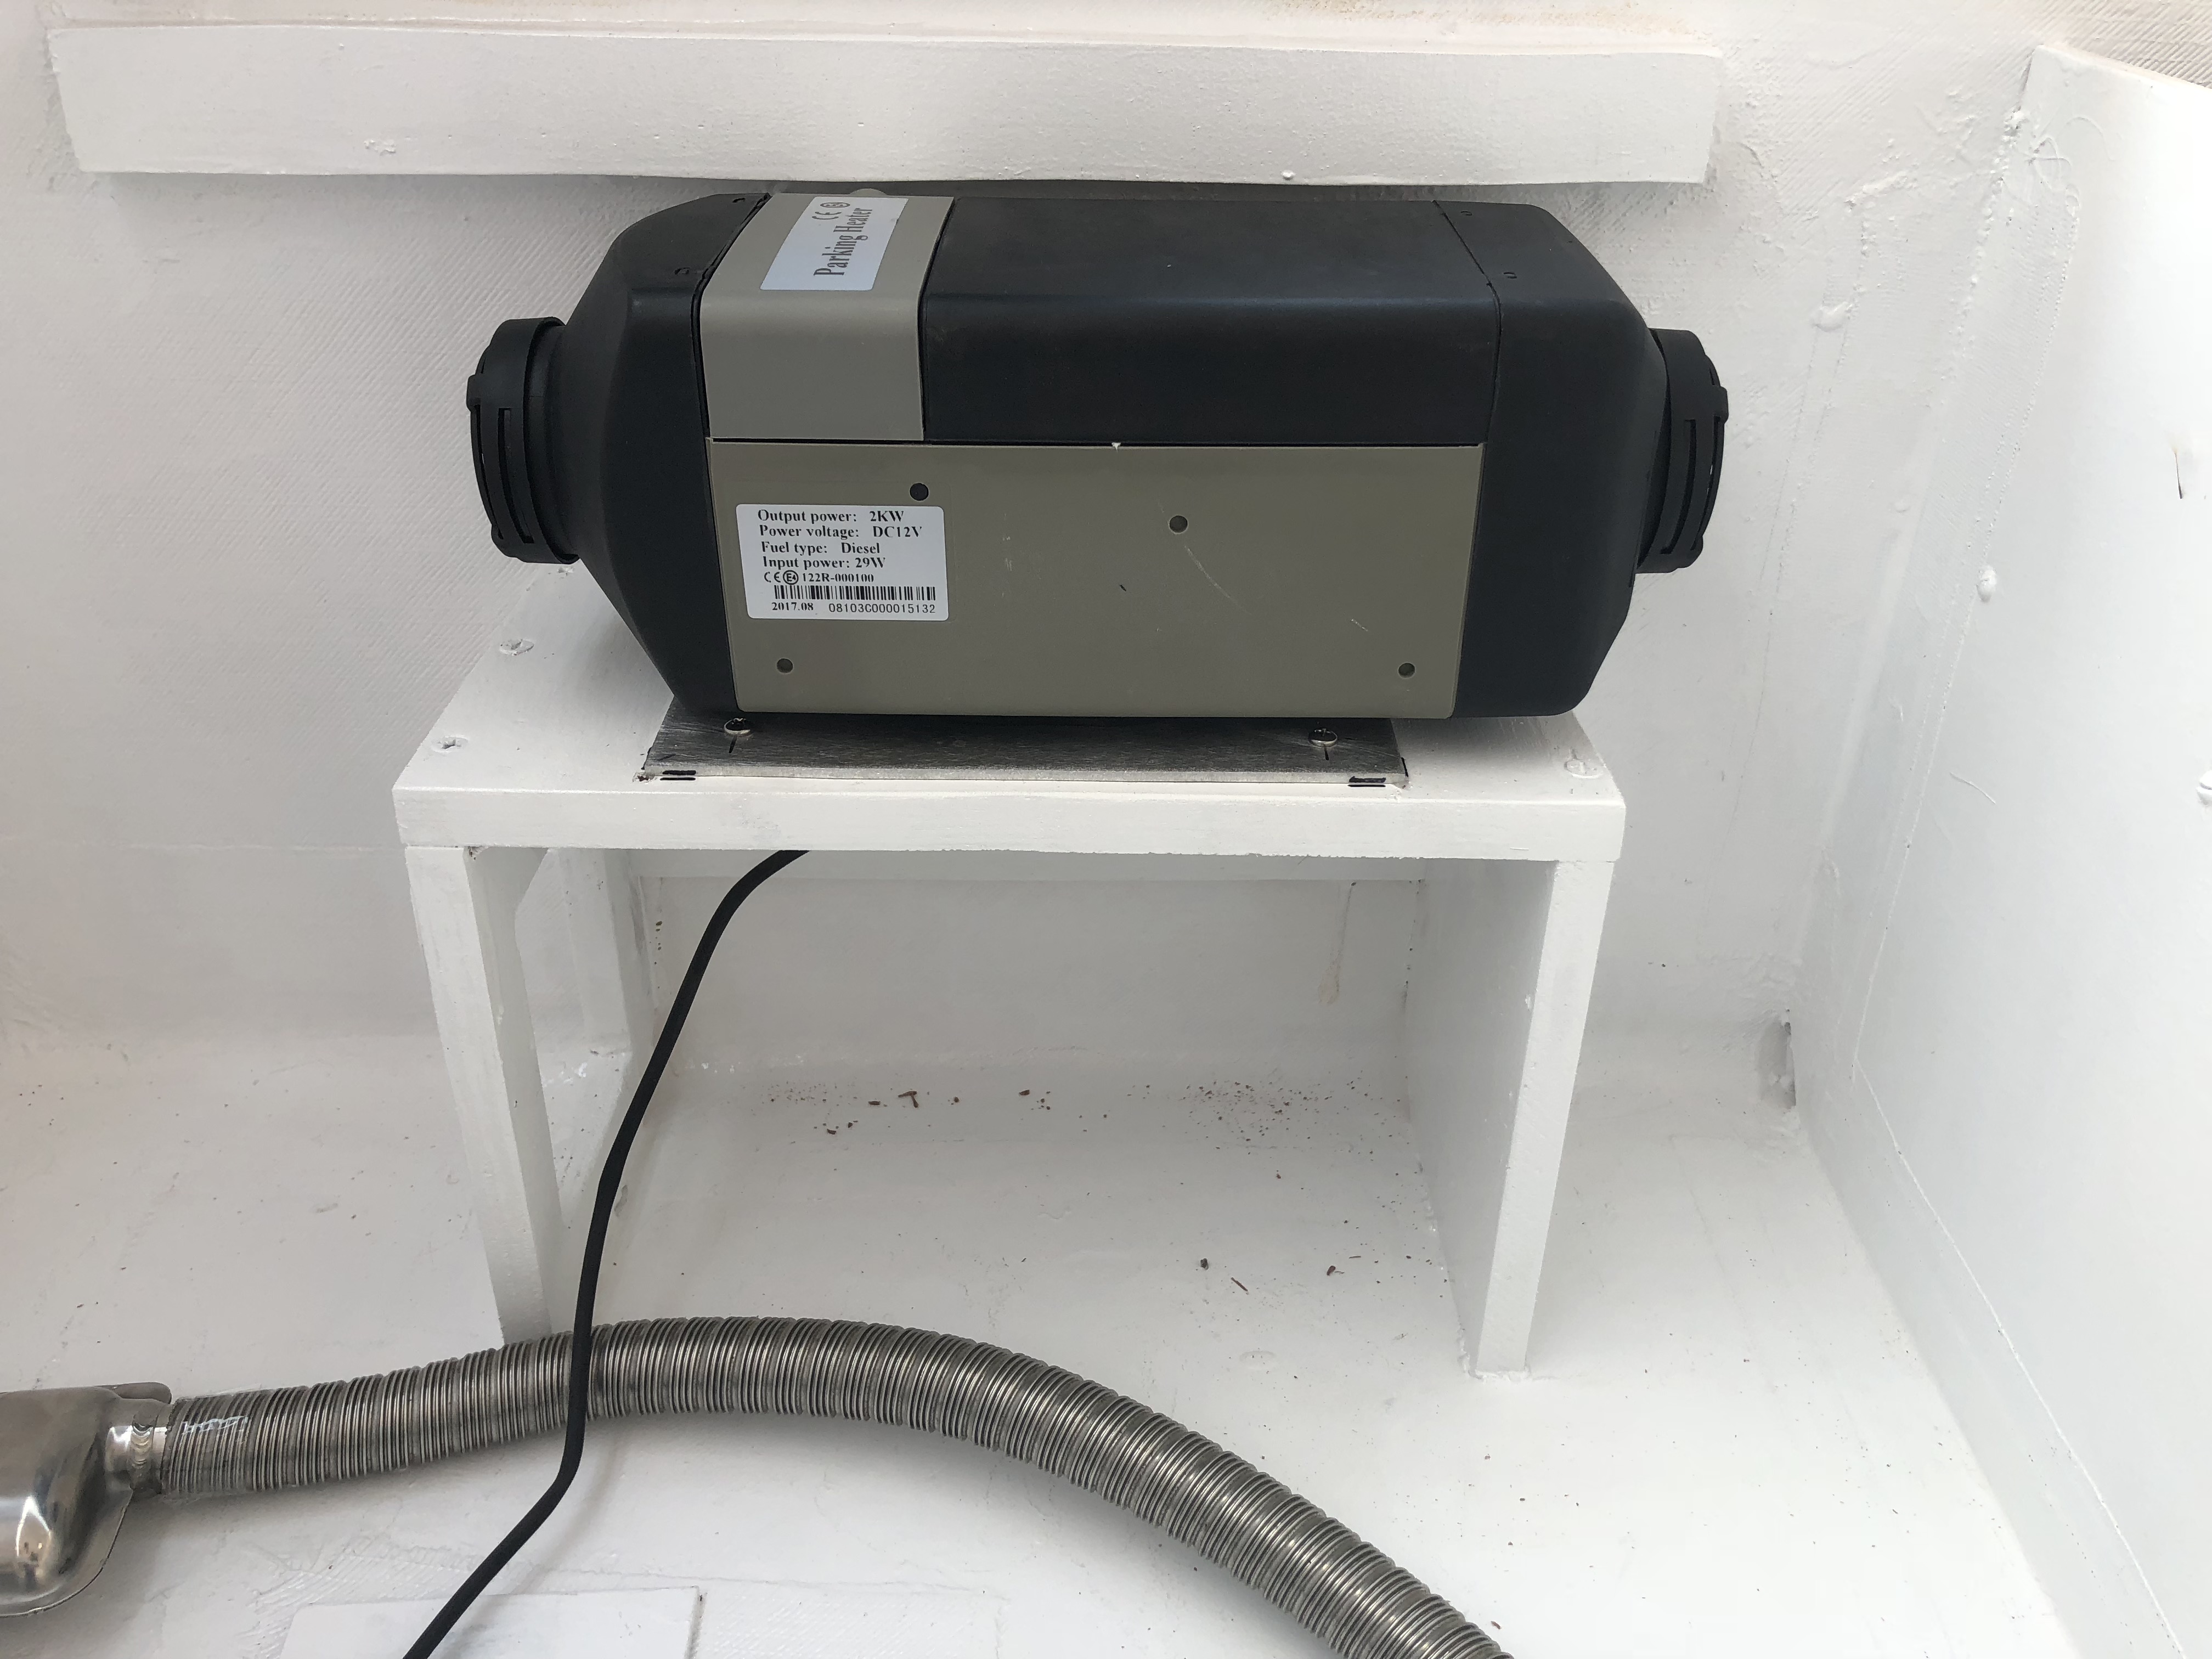
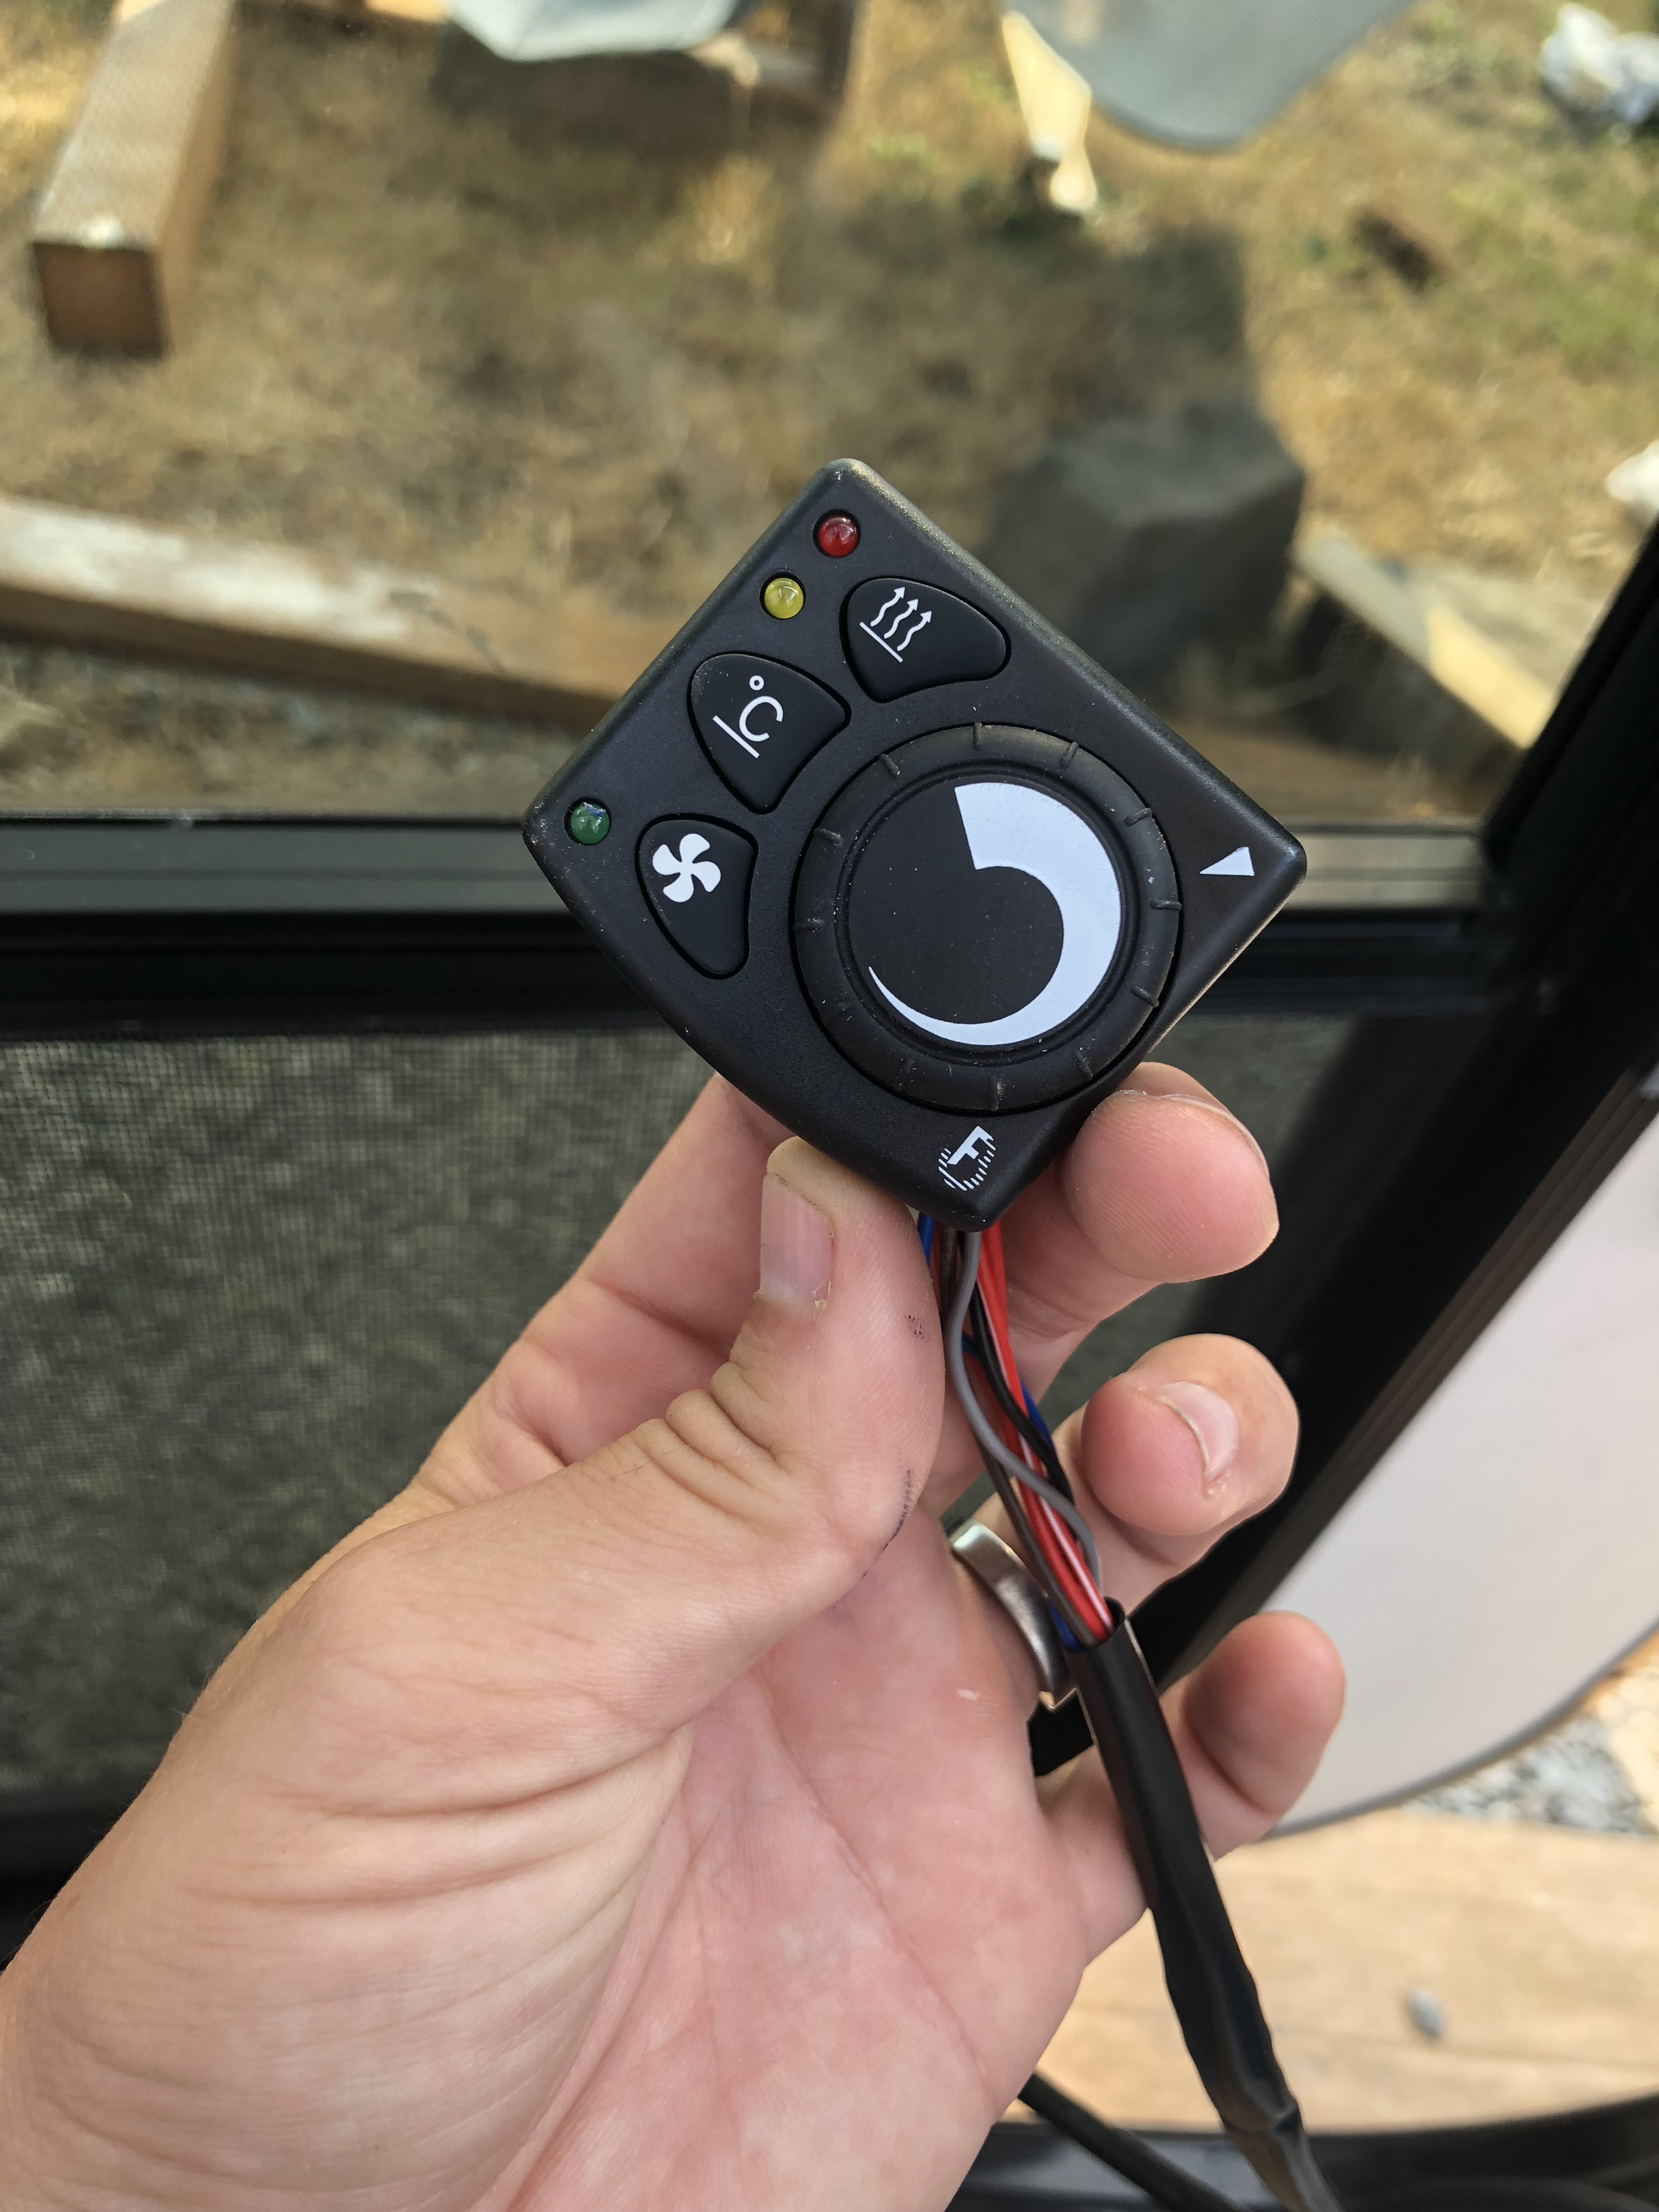
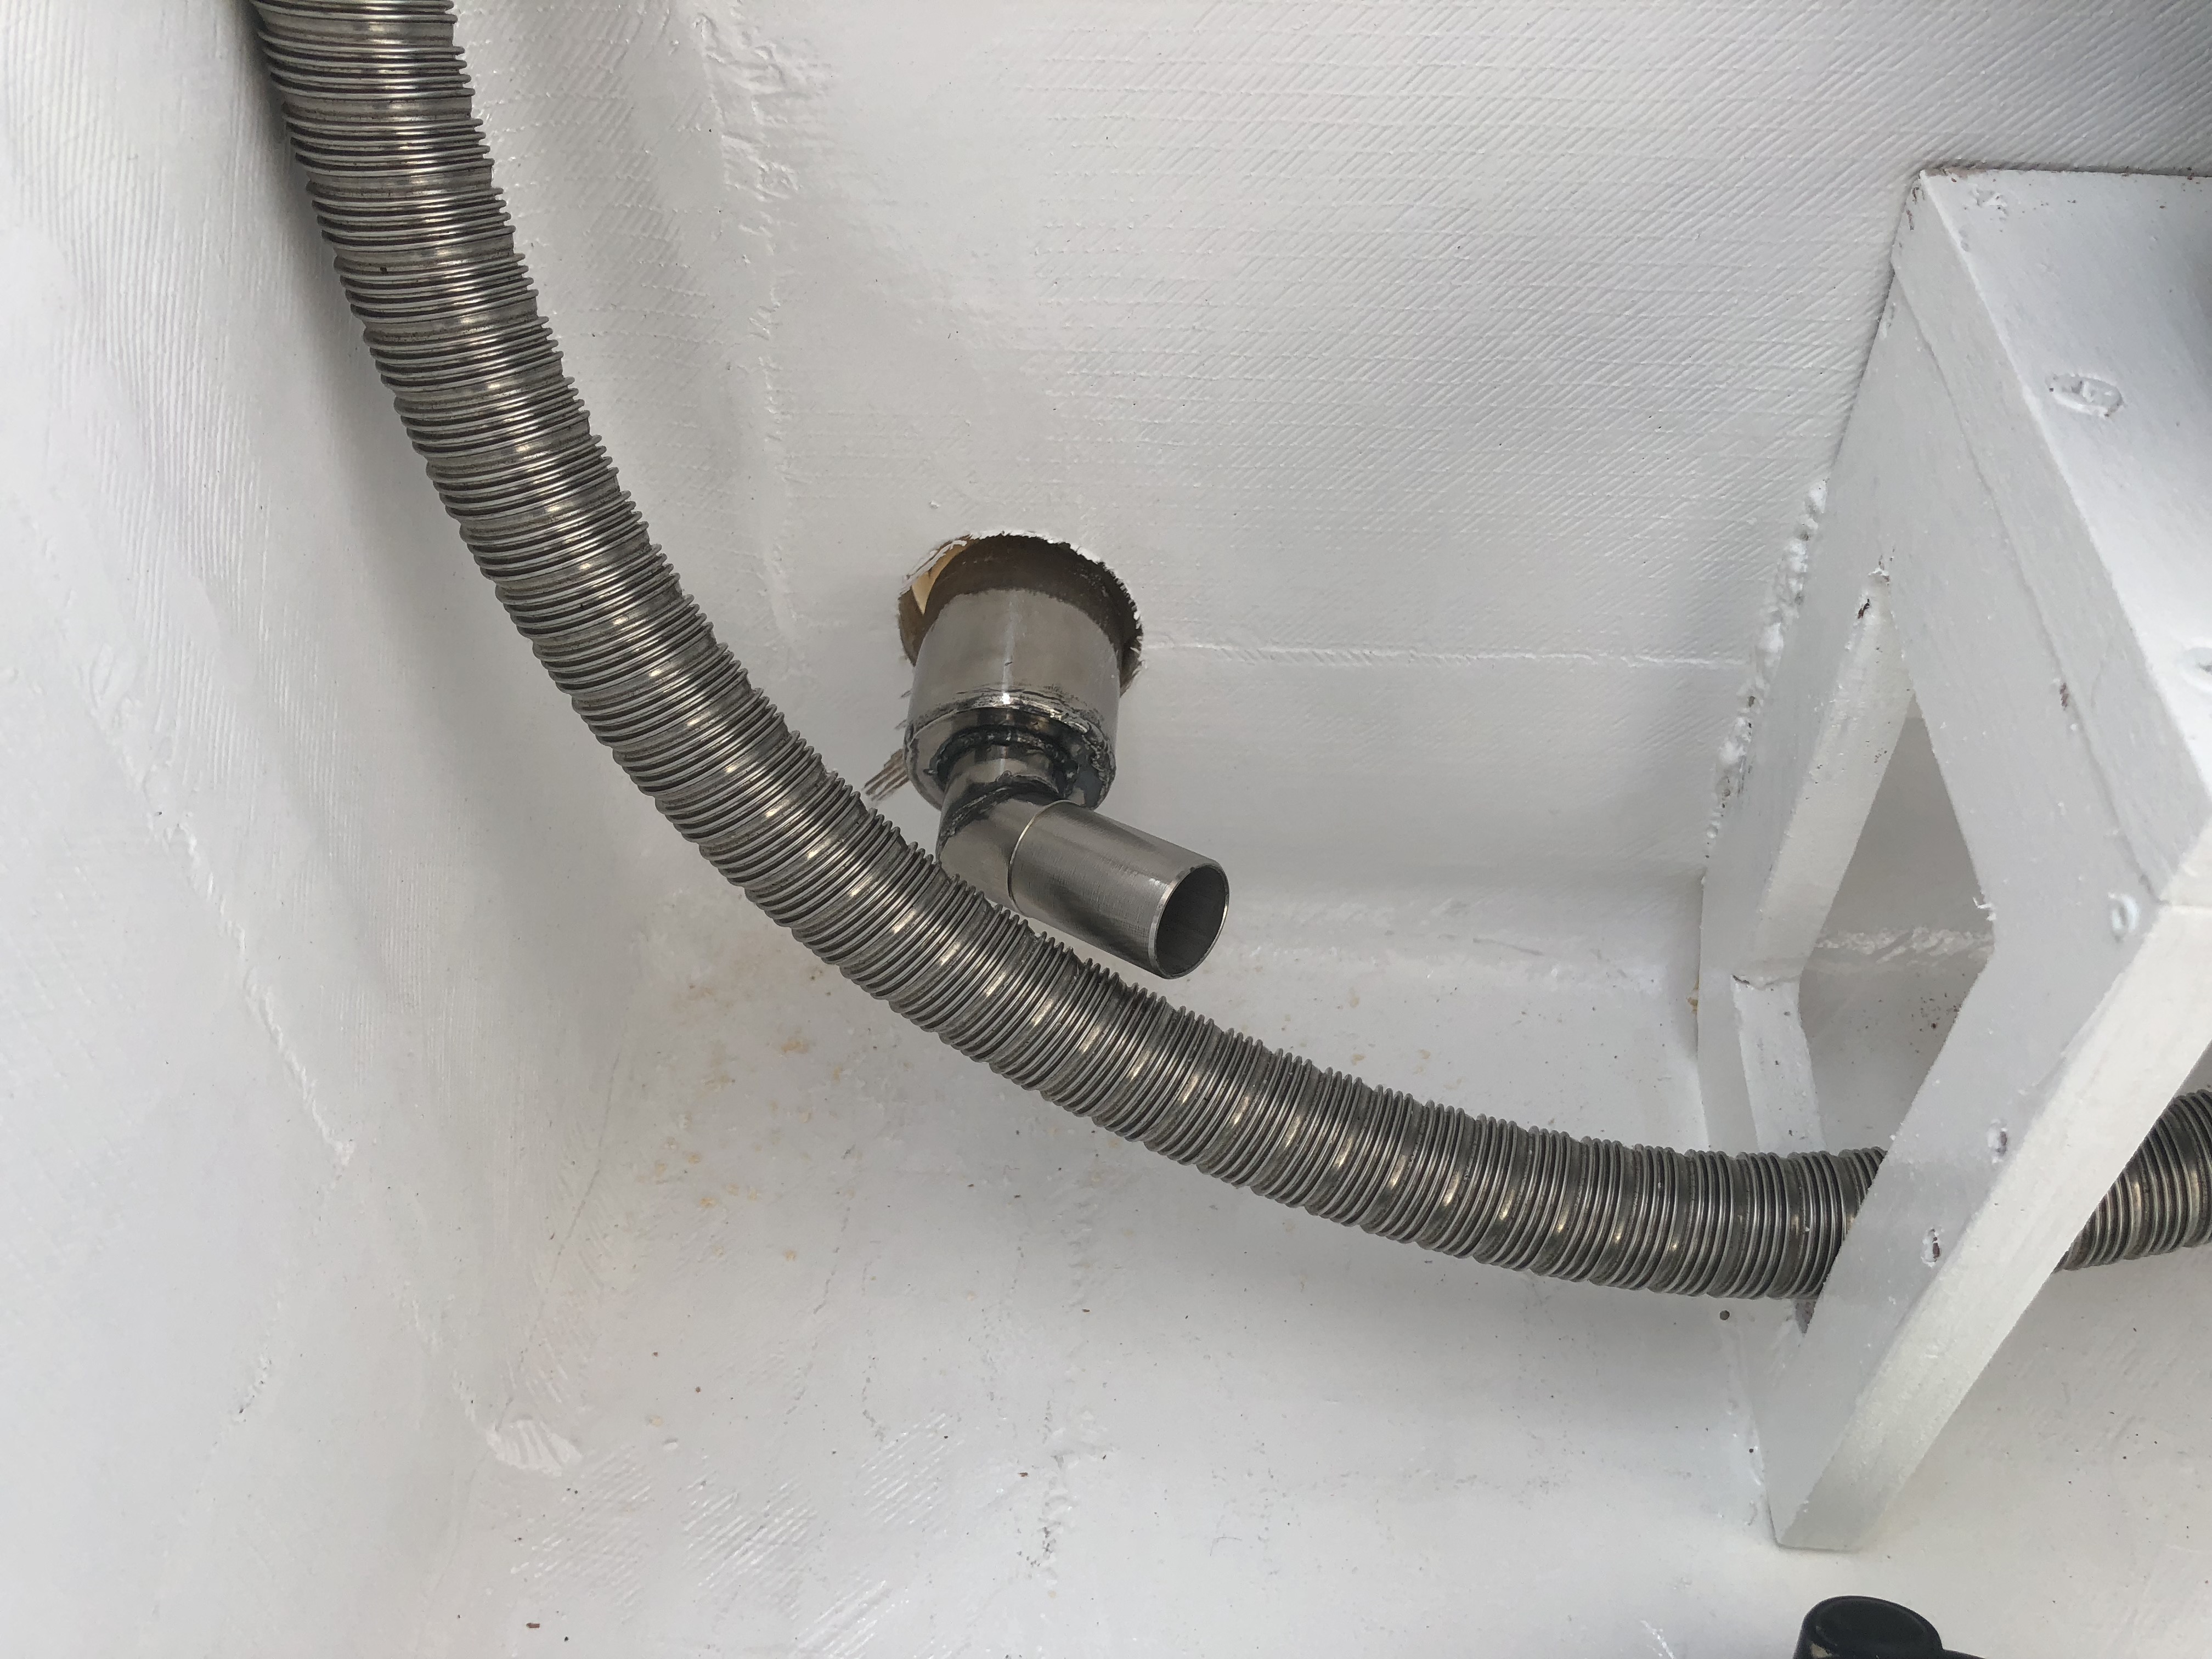
The next major install on the camper is the little forced air diesel heater. I wanted it to be accessible if it needed to be worked on, but out of the way. We decided to put it against the outer bulkhead behind the sink. To start though, it needed a foundation, and as usual we had extra plywood.
IMG_0345.jpg

IMG_0346.jpg

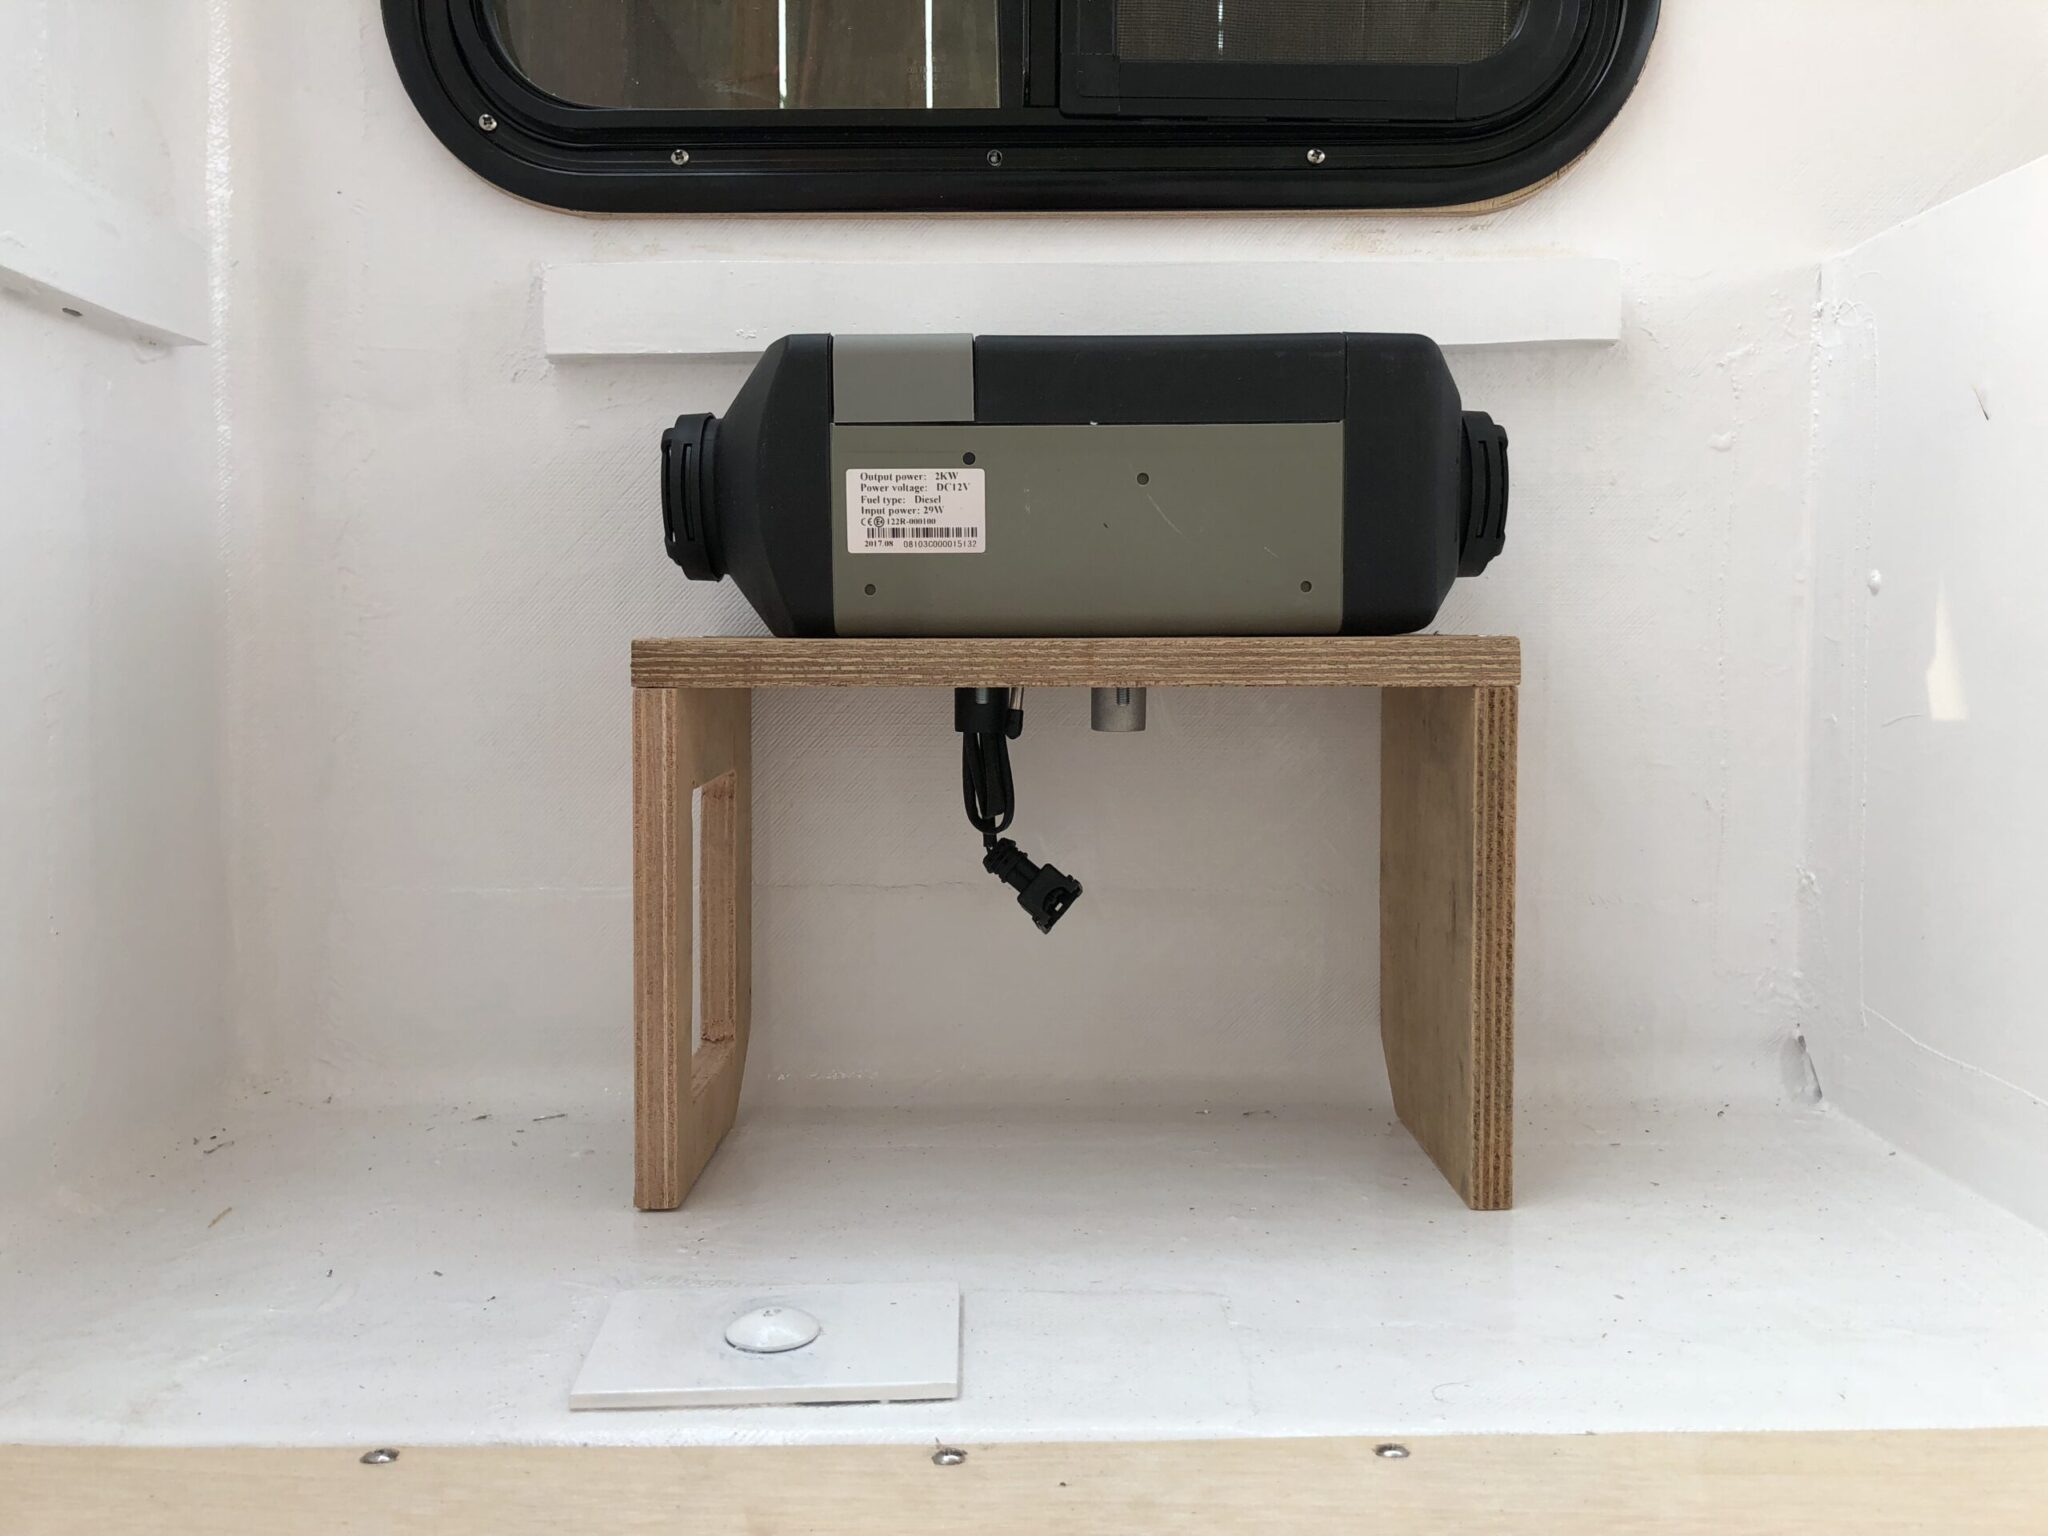
It needs to be glued in place like everything else!
IMG_0348.jpg

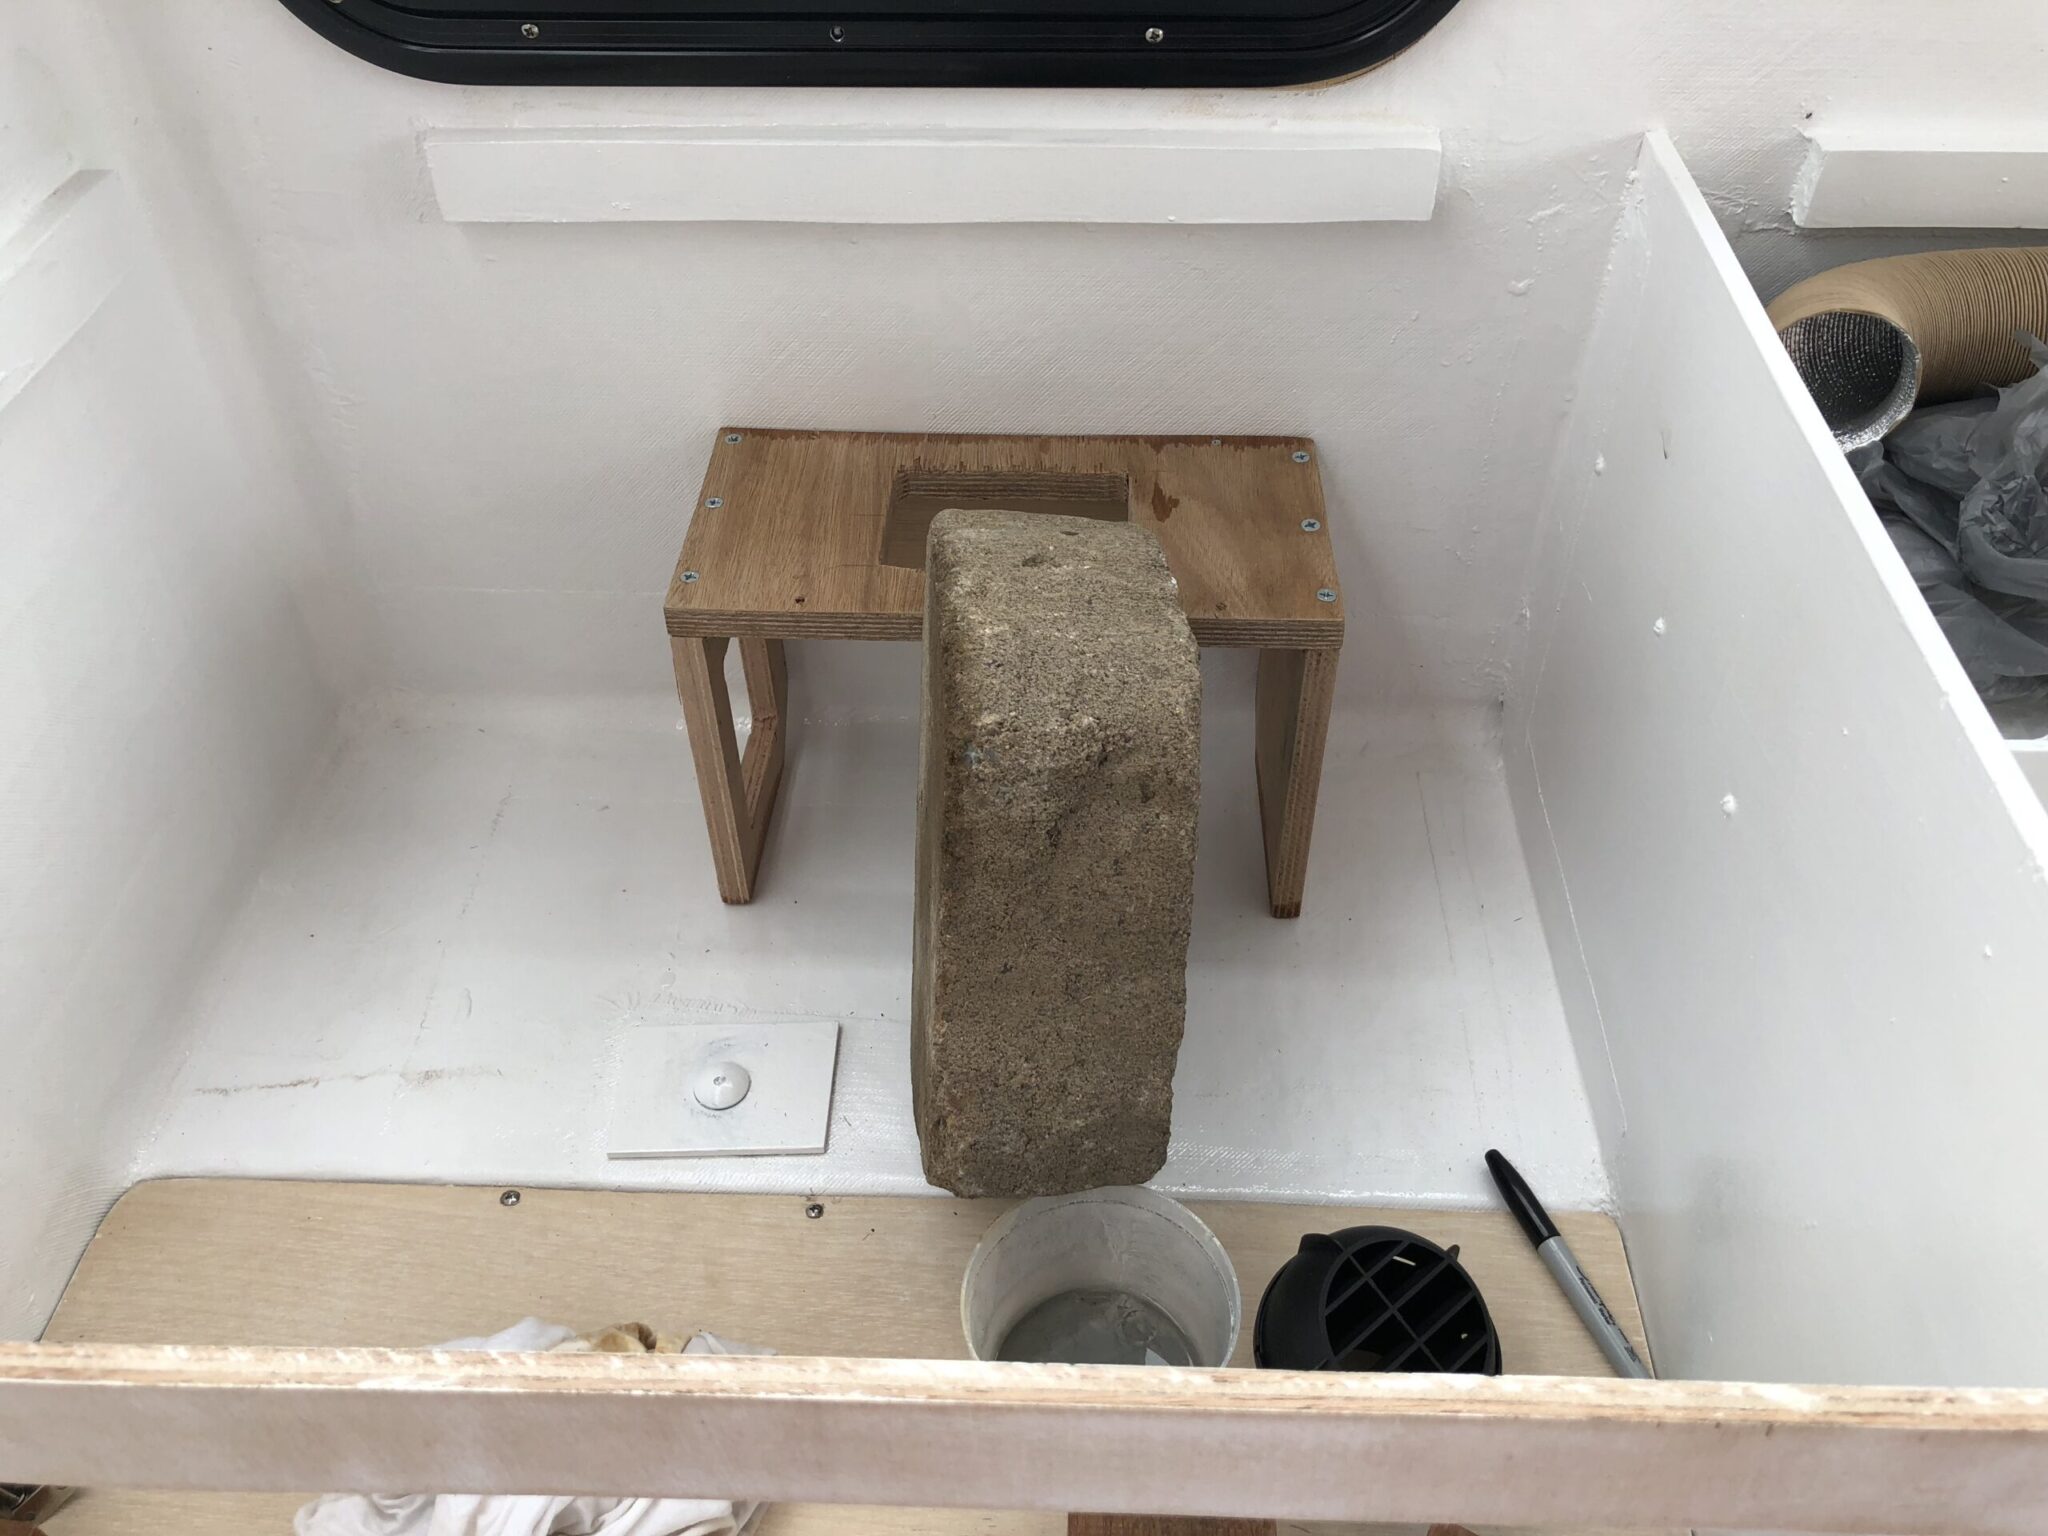
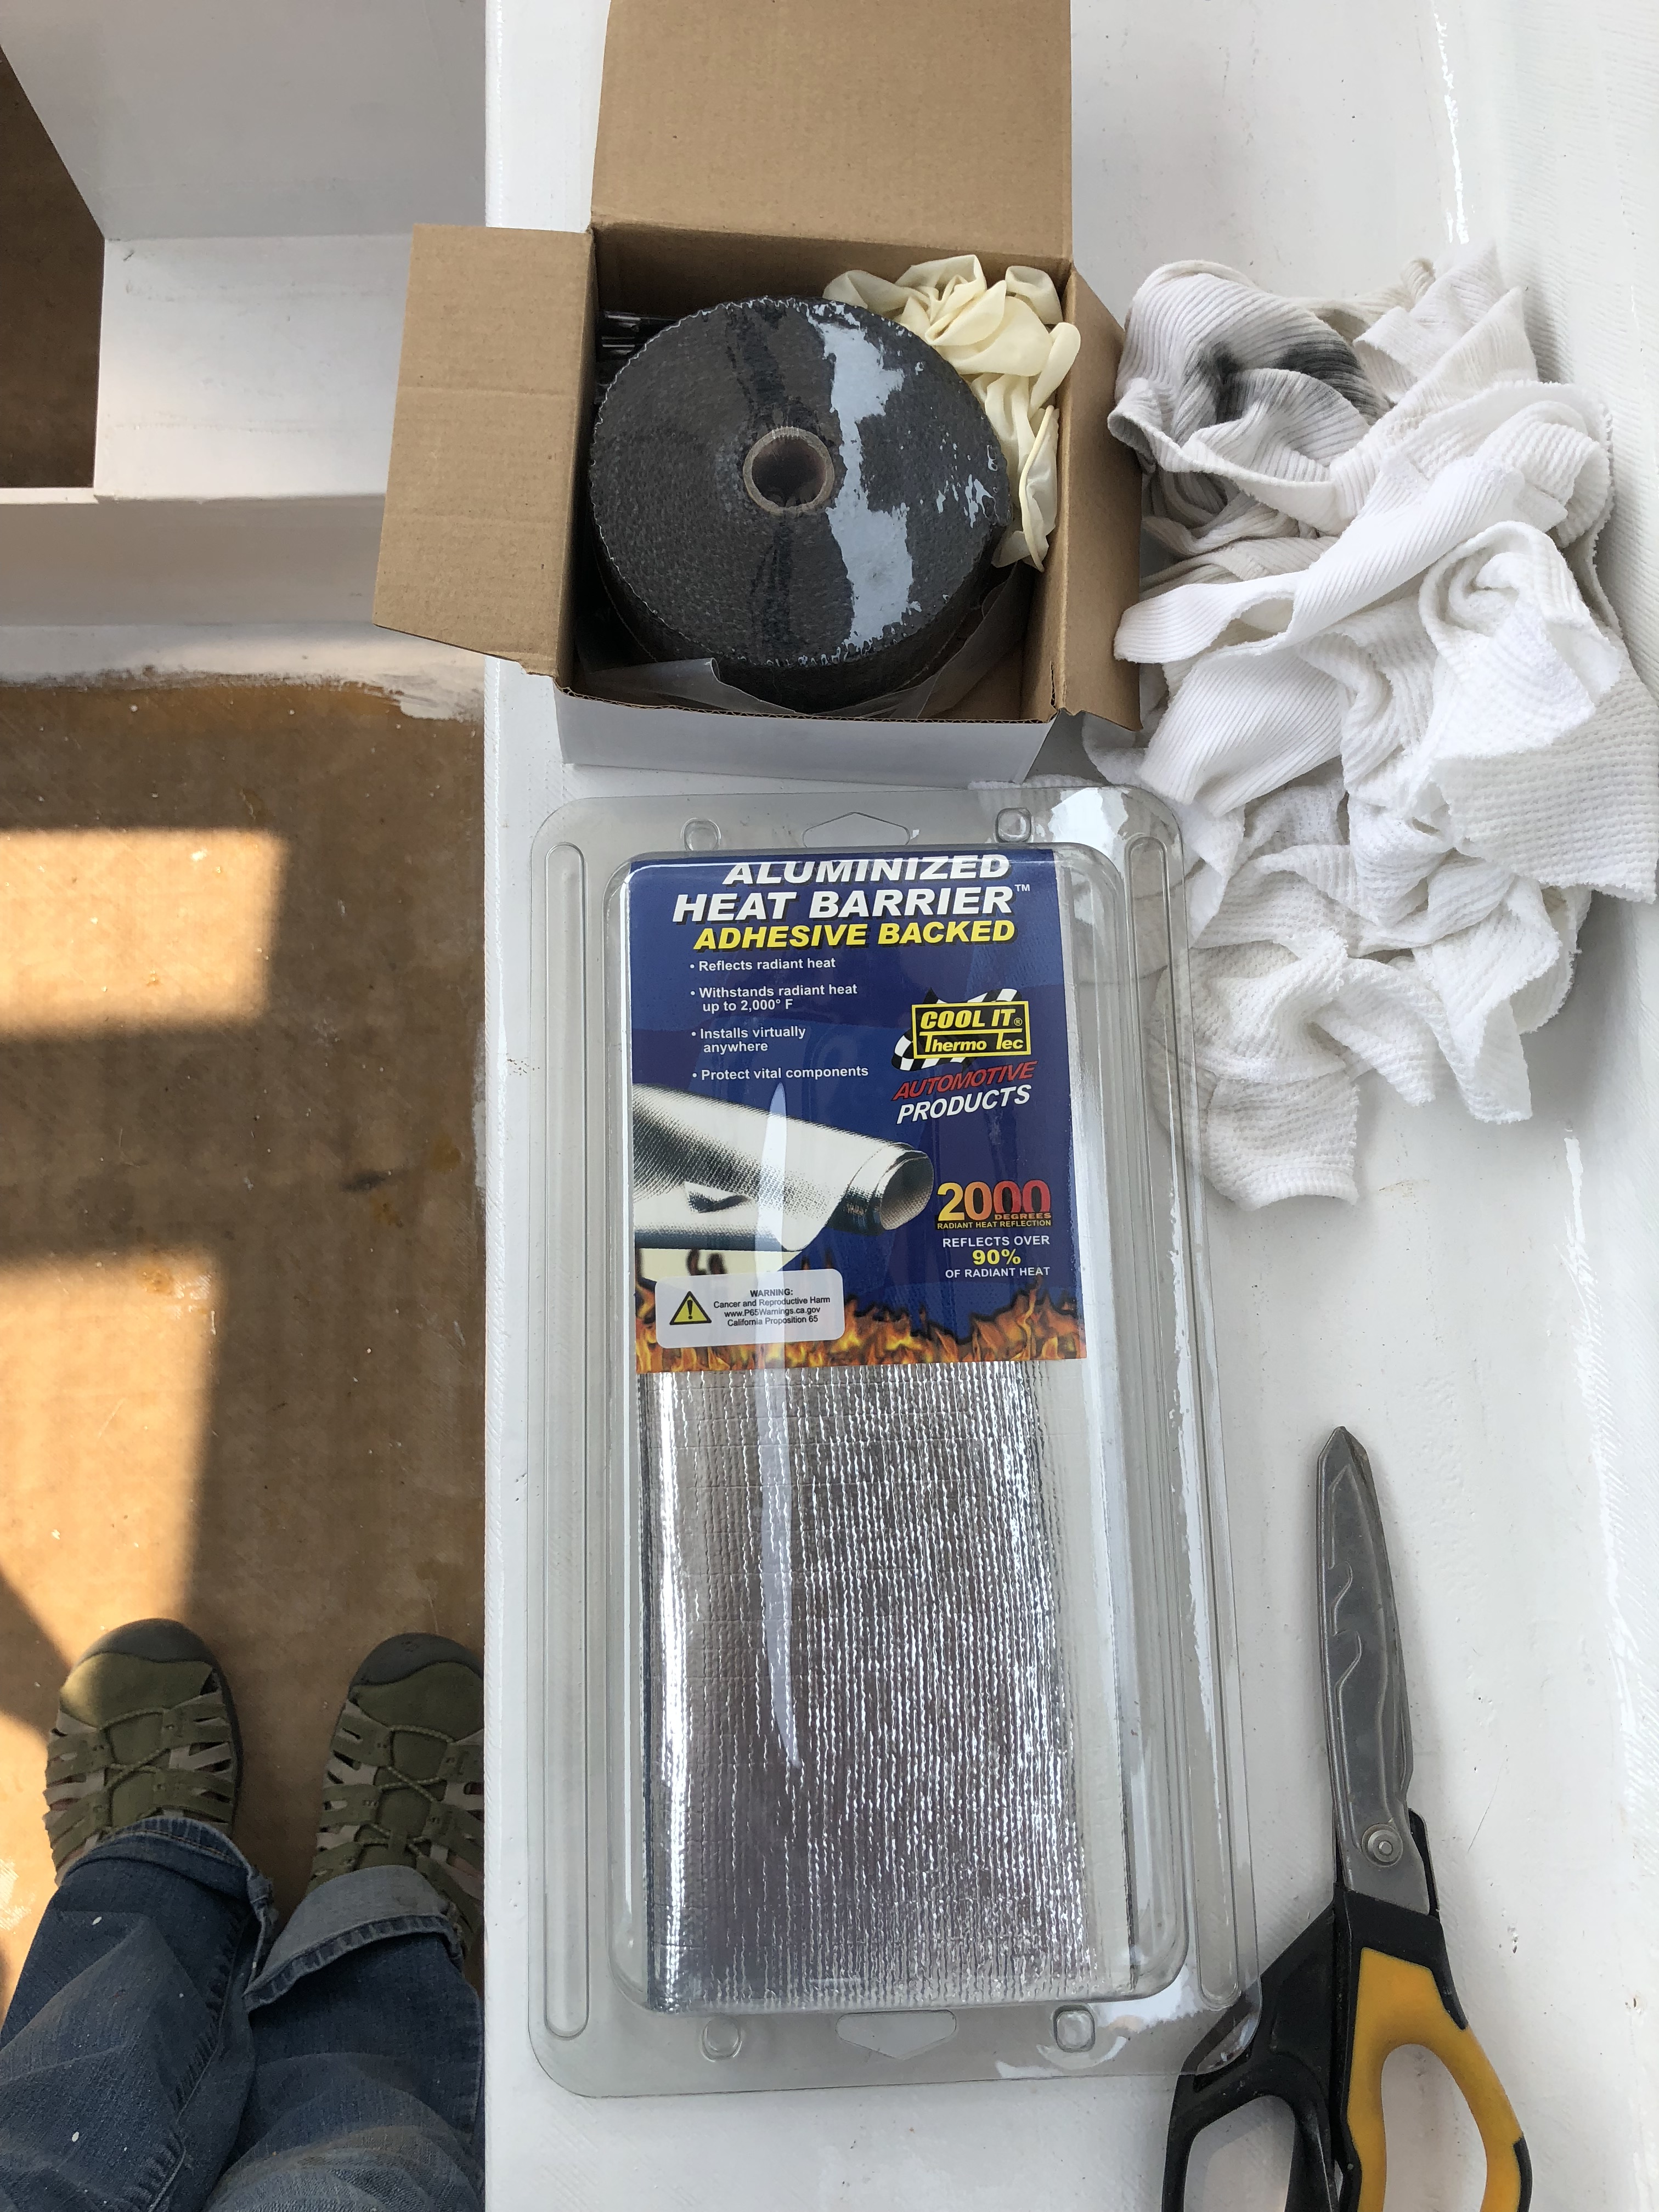
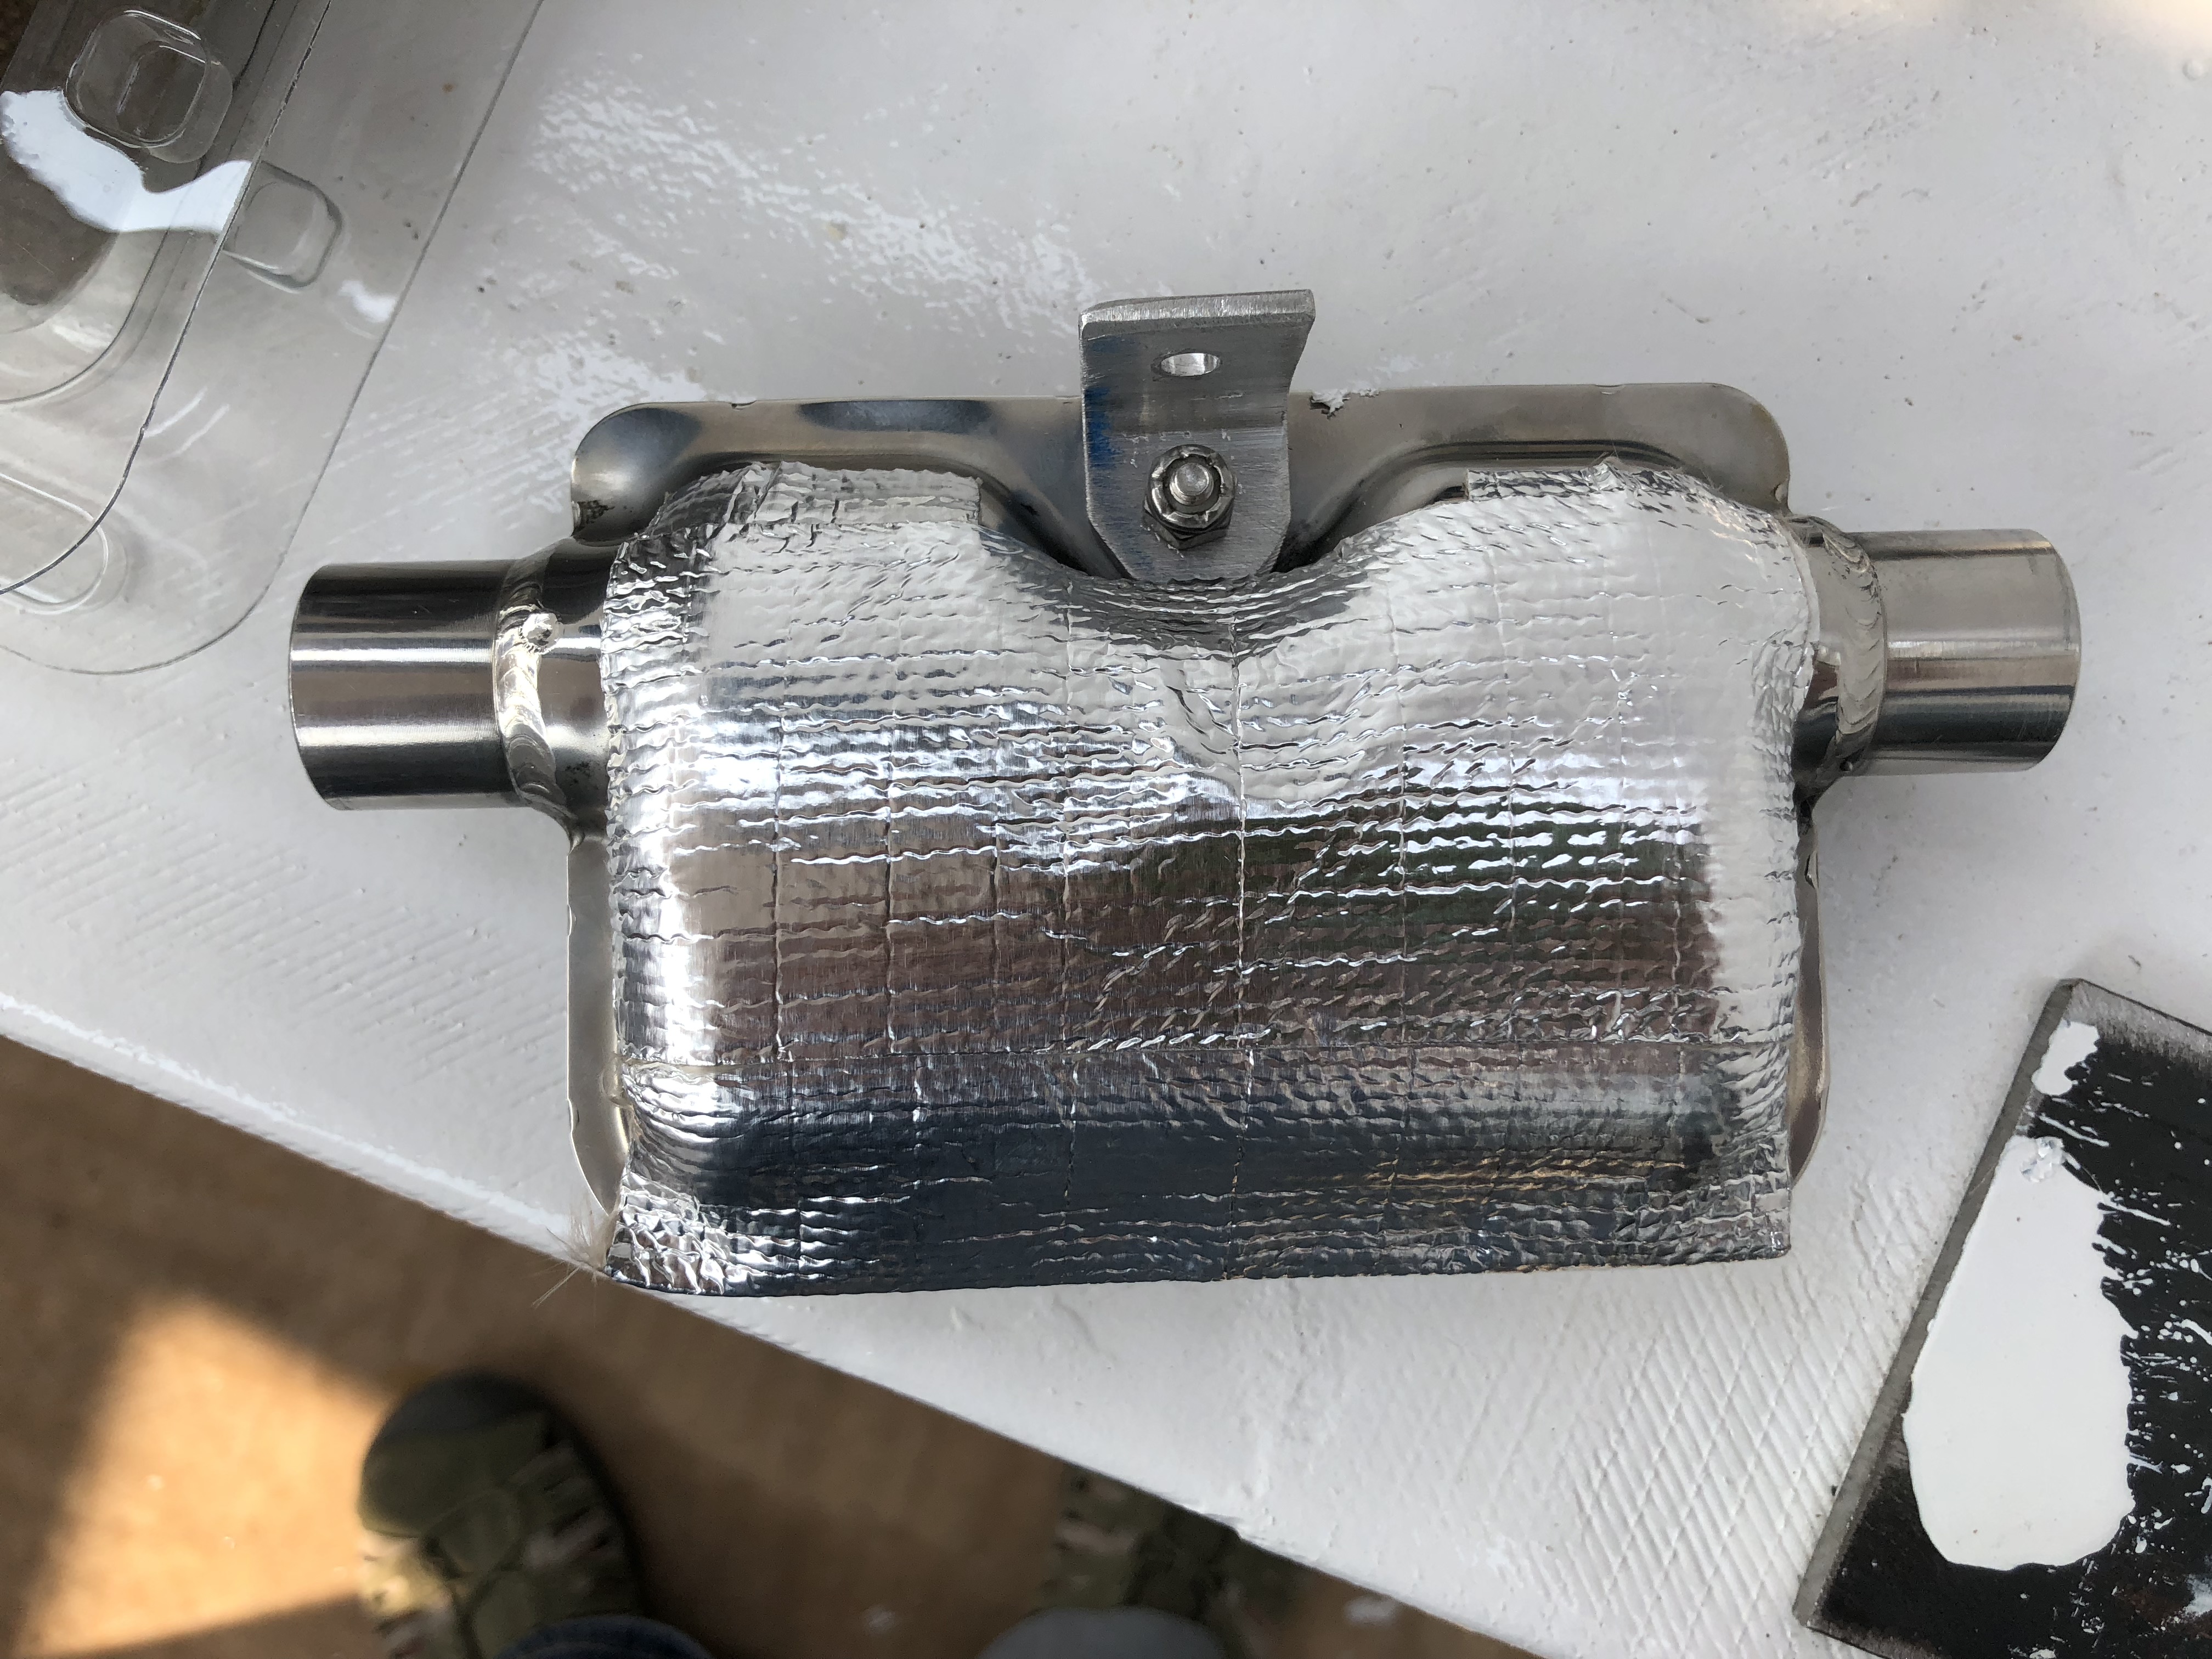
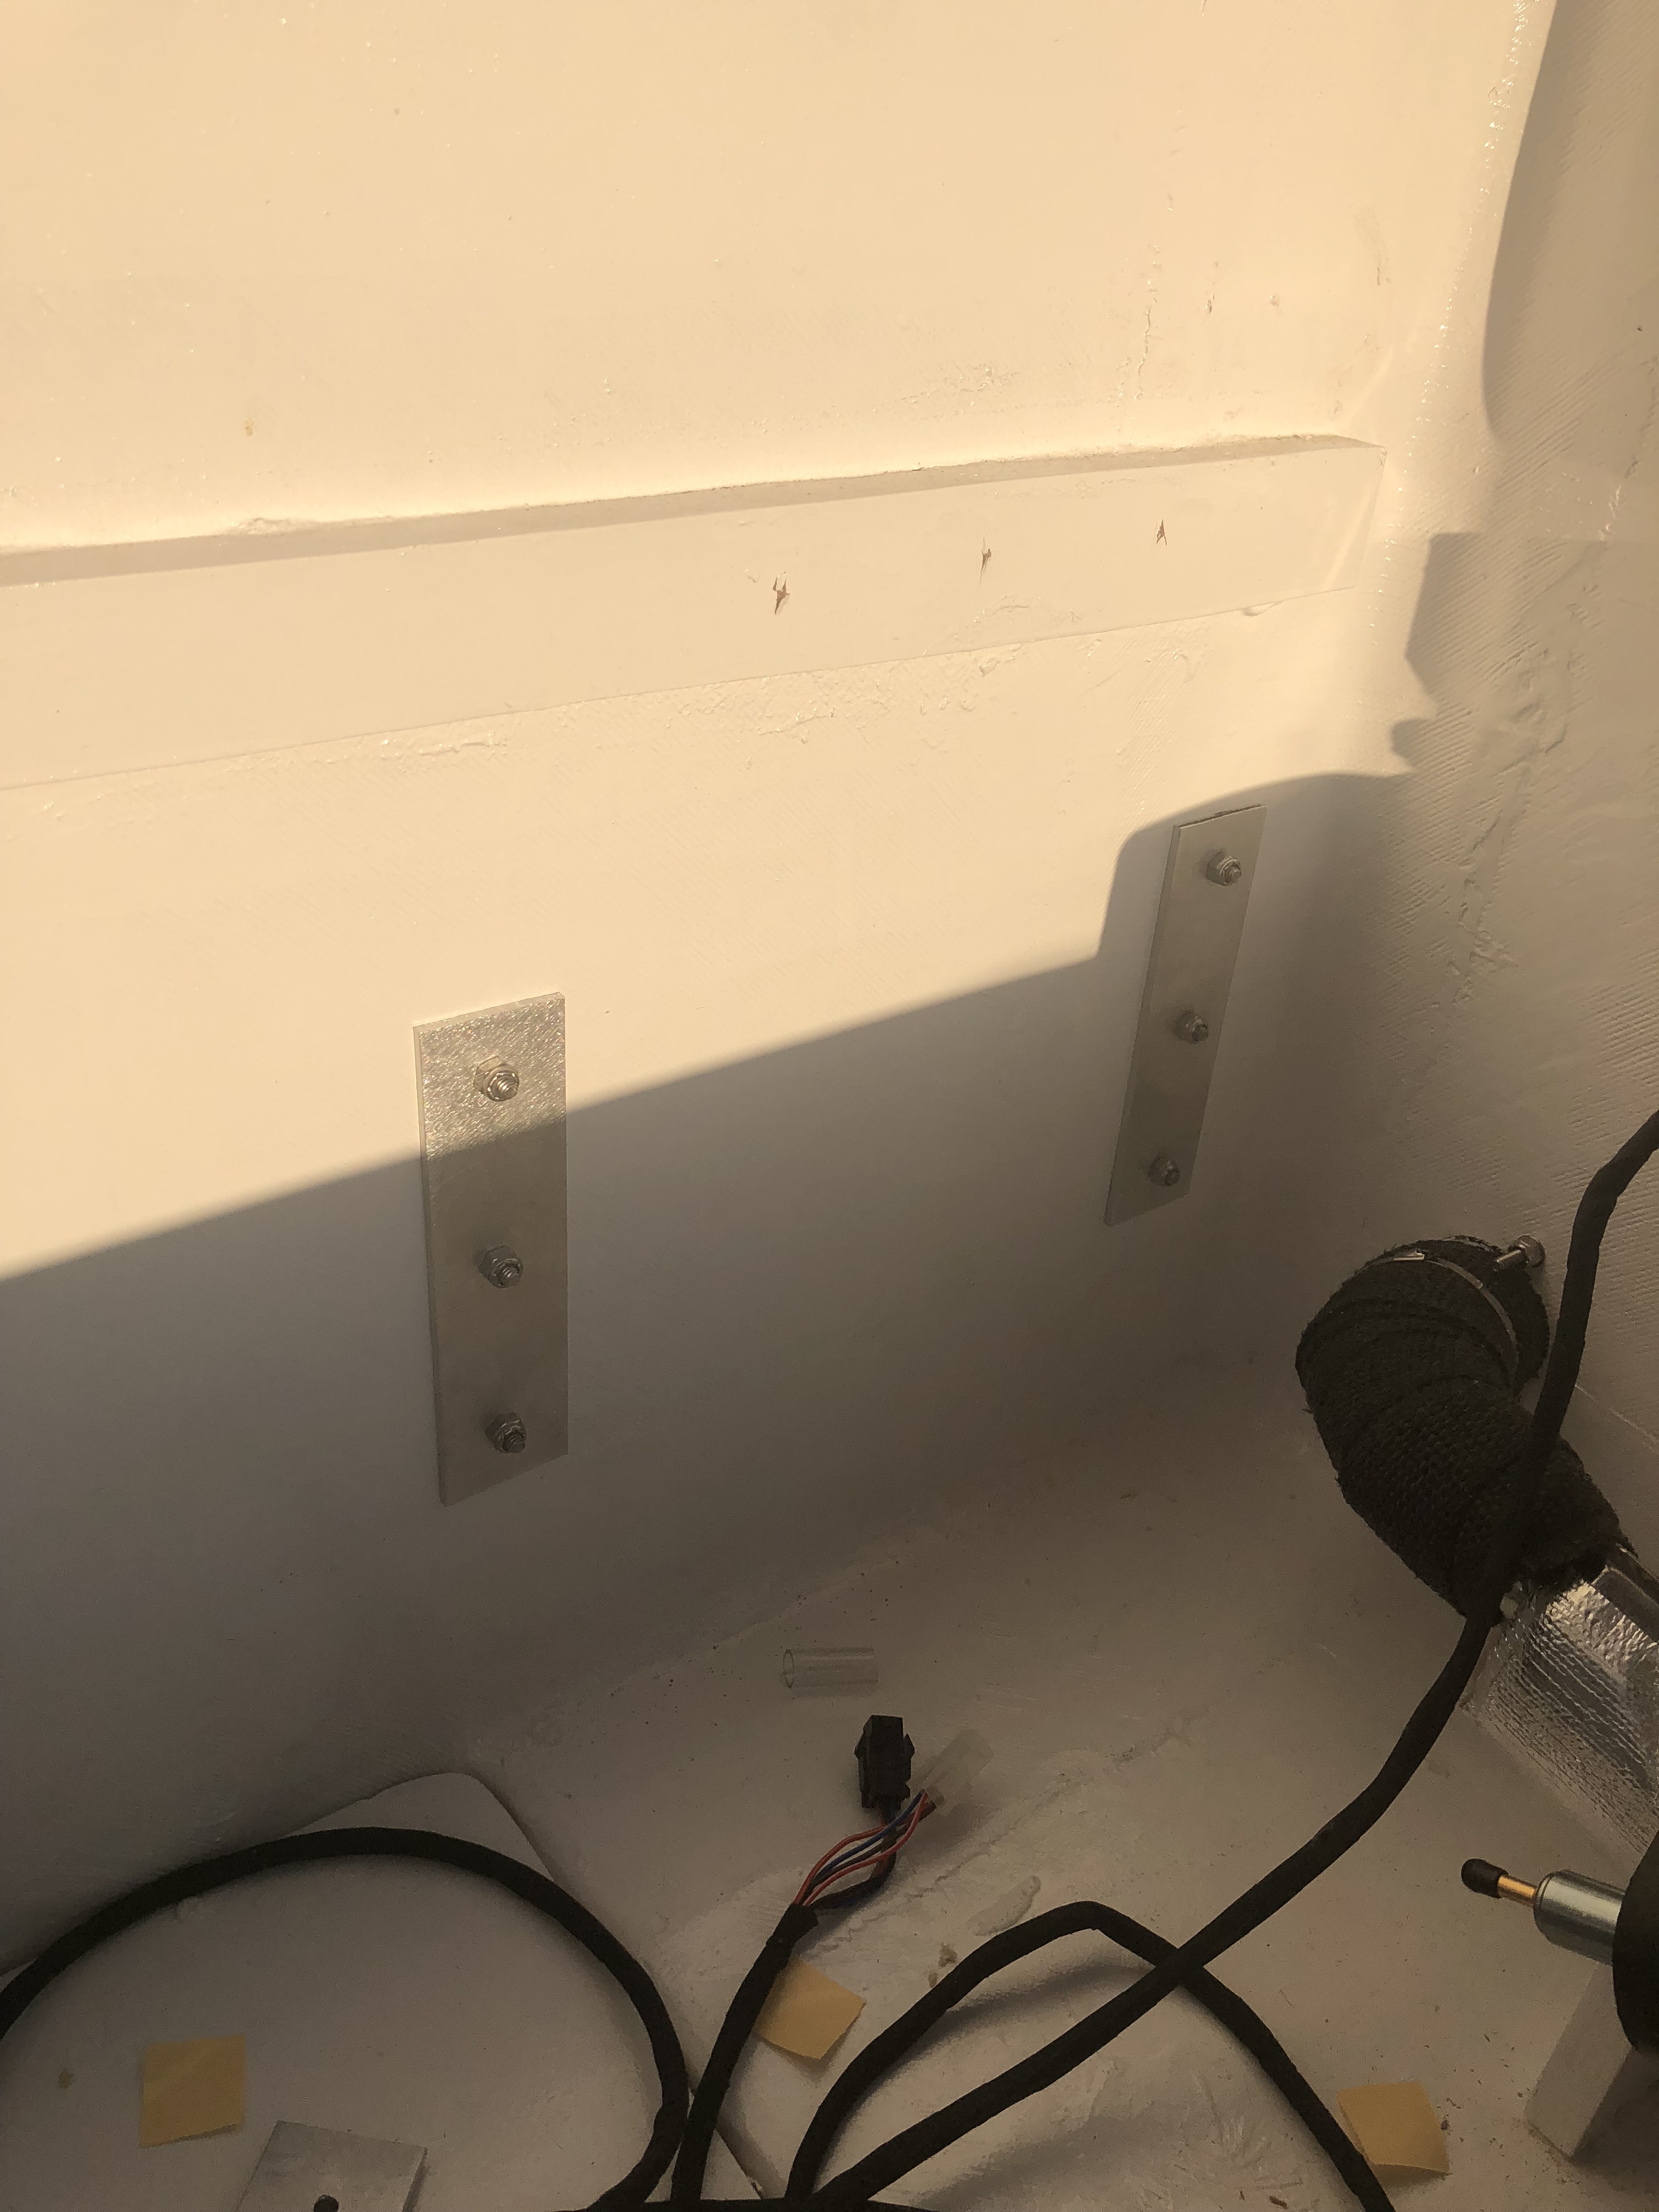
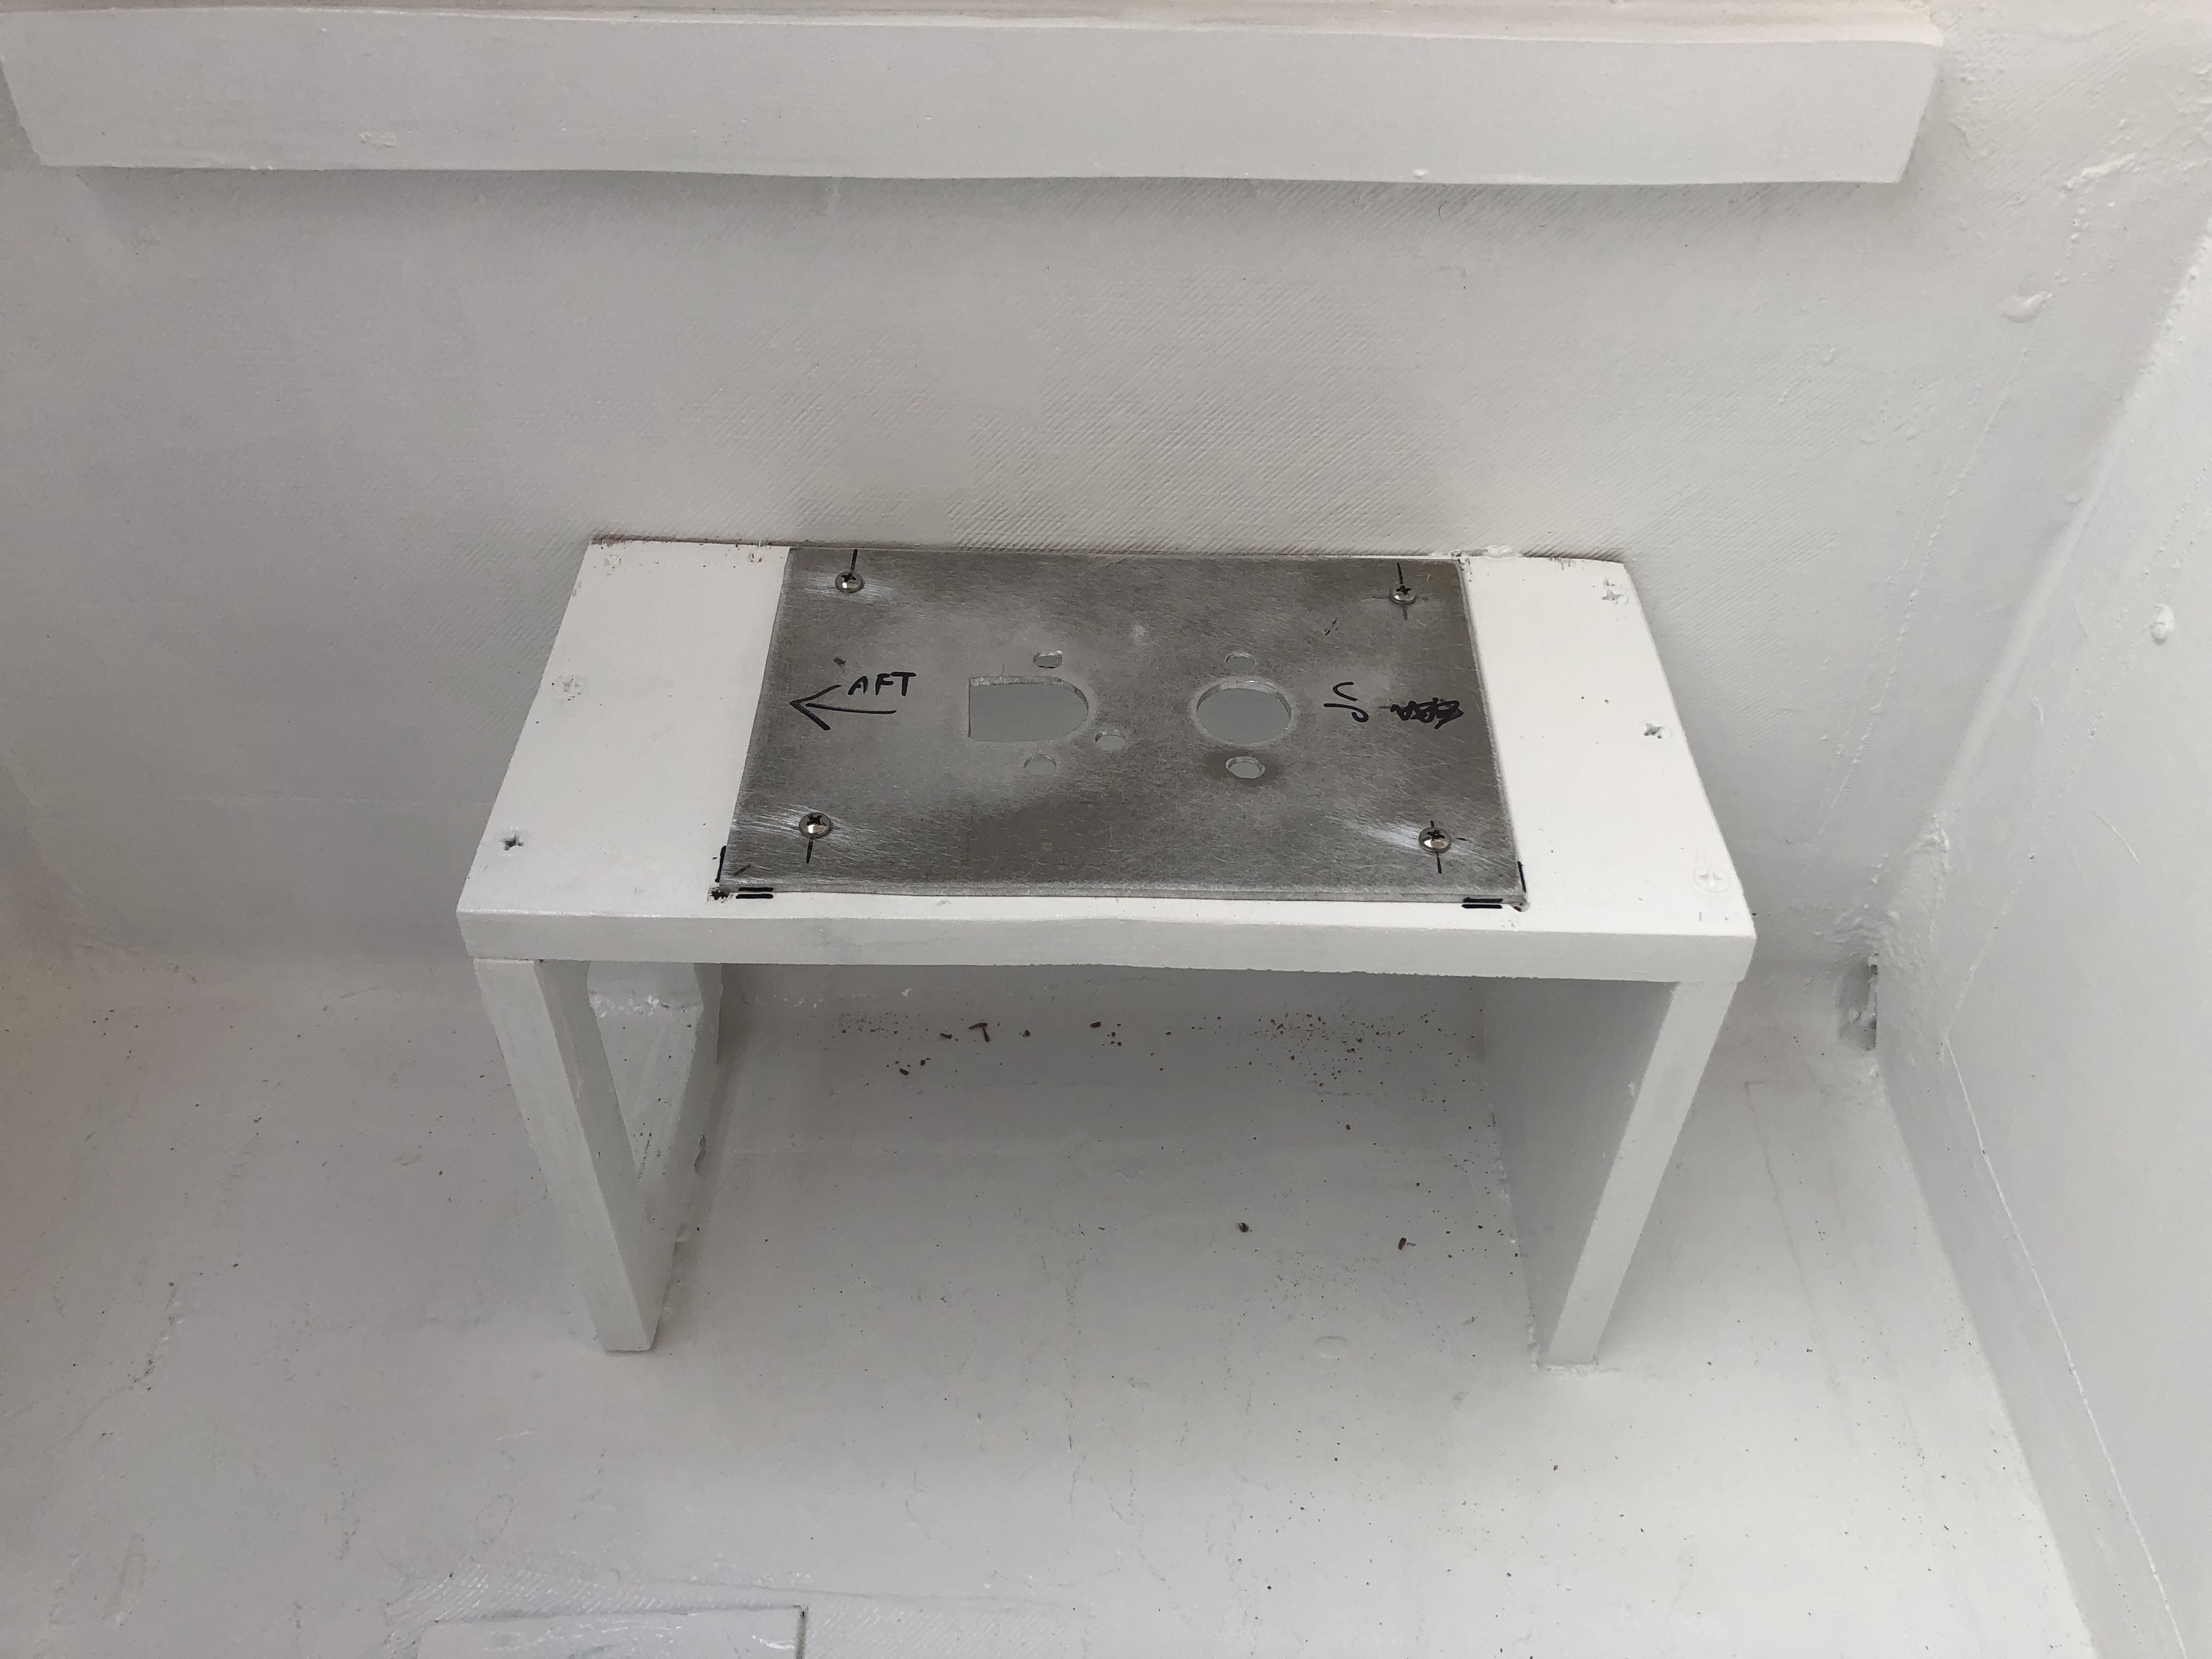
Now we wait... There is also an aluminum plate to go between the heater and the wood just in case there's some heat.
 

underkill

Active member
Since the tube of waterproof sealant we used on the door is only good for an hour and is pretty expensive, we wanted to seal as many things as possible with it before it had to be thrown out! Here's the water tank fill:
IMG_0351.jpg

FINALLY THE DOOR!
IMG_0352.jpg

IMG_0354.jpg

IMG_0355.jpg

The door was a bit of a pain to install, but I do like that it has a sliding screen window and ready made lock and latch setup.
 

underkill

Active member
We saved the pieces that we cut out of the main galley cabinet face to use as flush mounted cabinet doors. I got those all painted and ready to install, along with painting the inside of the cabinets and other places that I missed or messed up while installing other things!
IMG_0357.jpg

IMG_0359.jpg

Everything is so bright and fresh looking in here!
IMG_0358.jpg

Here's the aluminum spacer for the diesel heater. It's got an opening for the intake and exhaust ports and bolts down between the heater and the plywood base.
IMG_0361.jpg
 
Last edited:

luthj

Engineer In Residence
Regarding your air heater. Some versions come with a seamless corrugated tubing. Others have a seam. The seamless wont leak with a bit of high temp rtv on the joints. The seamed tubing will likely leak some odor into the cabin.
 

underkill

Active member
We got the heater unit bolted down onto the foundation. I'm still amazed at how tiny this thing is...
IMG_0362.jpg

The thermostat unit comes preconnected on a long run of wire. We ran the wire all the way along the back under the door and to the other side of the camper.
IMG_0363.jpg

Cut another hole in the camper for the exhaust.
IMG_0364.jpg

I made an adapter so we could hang the muffler from the wood. Also note my tiny girl hands for scale. ;)
IMG_0365.jpg

Here's the tubing cut to length and mocked up to make sure it would all fit. There's definitely not a lot of extra room.
IMG_0368.jpg

Since the diesel exhaust, no matter how tiny, is underneath our kitchen sink I wanted to make sure it was insulated very well! I bought some adhesive heat tape and some fiberglass header wrap.
IMG_0379.jpg

The adhesive stuff worked awesome on the muffler.
IMG_0380.jpg

3 layers of tape on the muffler.
IMG_0381.jpg

2 layers of header wrap for maximum hot rod coolness! ;)
IMG_0382.jpg

Final installation with the precious little fuel pump. (the angle is intentional... following directions!)
IMG_0387.jpg

It's been a while since I made a truly ************** mistake... so here goes! I'm working with this fiberglass header wrap and notice a pair of rubber gloves in the box... thinking that was weird and maybe they're packing material or something. Ignore it and go on about my business. About 10 minutes later my hands start to itch like crazy because somehow I didn't put it together that the header wrap is fiberglass and is going to be just as itchy as the fiberglass that i've been working with for a month now... :eek: so... wear your gear, kids! (I have a renewed hatred for fiberglass)
 

underkill

Active member
I didn't quite have the right fuel line to finish up the heater installation today so I moved on to the propane and the stove installation! I removed the hose from the camping stove, routed it into the propane locker, and sealed the hole with goop.
IMG_0384.jpg

Stove is installed with the lid and the side flaps removed.
IMG_0385.jpg

More than enough room with the hose to connect to the bottles!
IMG_0386.jpg

Another trip to Ace Hardware was required to get the hose and various adapter bits to connect the water bladder to the faucet.
IMG_0377.jpg

Final coat of nuclear white on the galley doors.
IMG_0370.jpg

The diesel heater kit also came with this cute little tank. I'm going to mount it somewhere on the back of the camper.
IMG_0369.jpg

The bed tie down access plugs are installed and sealed in.
IMG_0375.jpg

We debated roof latches for a while, but decided it couldn't hurt to have them. It would suck to be running down a rough trail and have the camper roof fly open. We bought these nice stainless adjustable ones off Amazon for not a lot of money. Everything is sealed for watertightness.
IMG_0389.jpg

IMG_0388.jpg

So now we have a completely enclosed, watertight, and LOCKABLE camper! :)
IMG_0390.jpg
 

coastalcop

Active member
Im confused a bit. Im looking at your countertop, specifically the stove access. Is the idea to lift the lid and use the stove, or to lift the lid and pull the stove out? The reason I ask is if it is the former, how easy is it to access the side mounted knobs on the stove? Still amazed by the build BTW ;)
 

underkill

Active member
Did you find the fuel pump to be loud mounted inside like that?
Not particularly. You can hear it clicking and know it's there, but it's not loud enough to be annoying at all. It's probably quieter than the noise from the fan blowing the hot air.
 

underkill

Active member
Im confused a bit. Im looking at your countertop, specifically the stove access. Is the idea to lift the lid and use the stove, or to lift the lid and pull the stove out? The reason I ask is if it is the former, how easy is it to access the side mounted knobs on the stove? Still amazed by the build BTW ;)
Exactly that! There will be a hinged lid over the stove that will lock up into place and we'll just use the stove in the little nook. The knobs are still accessible with the stove in place, so it's not hard to use at all. I looked at the nice stoves meant to be installed in campers but didn't see the point in spending the money on one when we already had this one. It's also easily replaceable with a different one if it fails or something on the road. But because it was kind of "made to work" it's not as clean of an install as a "real" one. We do have a ton of counter space when we're not using the stove though!
 

underkill

Active member
Today was pretty much a bust because I needed large fender washers instead of the little ones I had on hand...

The main galley cabinet is going to have the doors split in half, so I got the center divider piece installed.

IMG_0393.jpg


While Jason was wiring up the diesel heater, I figured out where to mount the diesel tank. I was originally going to center it vertically on the back bulkhead of the camper, but realized that when the shell is in the truck it will be pretty much impossible to refill the tank. So I decided it needed to be lower...which will give us more room on top of it for a shovel or something.
IMG_0392.jpg
 

underkill

Active member
Today more than made up for yesterday's complete lack of progress. We finally got all the parts we didn't know we needed and got back to work!

The big drawer slider is fully installed with the door on it and everything! It's HUGE and should hold a ton of our kitchen stuff. The odd space on the right is the perfect size for my tiny coffee pot, so that worked out perfectly as well!
IMG_0400.jpg

Just need some little boxes in here and we're good to go!
IMG_0401.jpg

The cabinet doors are a pretty tight fit, so I'll need some sort of pull on them, but I love how sleek it turned out! Exactly what I wanted!
IMG_0402.jpg

Now that we have fender washers we finished up the installation on the diesel tank for the heater.
IMG_0398.jpg

We have backing plates on the other side to distribute the load on the fiberglass. The upper screws go into the wood support for the countertop. This tank isn't going anywhere!
IMG_0394.jpg

We had an empty space behind the cooler that we decided would be perfect for a small cabinet for chips and stuff like that. To size that we drug our cooler out into the camper. I know I measured the window and it cleared, but I forgot to take into account the knobs on the inside that lock the window down. So you can't fully open the cooler unless you pull it away from the wall slightly. Super annoying since that window was a waste of time anyway.
IMG_0396.jpg

The diesel heater kit came with some hard plastic line, but I really didn't like the looks of it. It looked brittle and easy to damage, so we replaced it with equivalent 3/16" copper line.
IMG_0403.jpg

Only a little bit of fuel line is visible outside the camper.
IMG_0404.jpg

This thing even came with a locking fuel cap!
IMG_0405.jpg
 

Forum statistics

Threads
185,894
Messages
2,879,296
Members
225,450
Latest member
Rinzlerz
Top