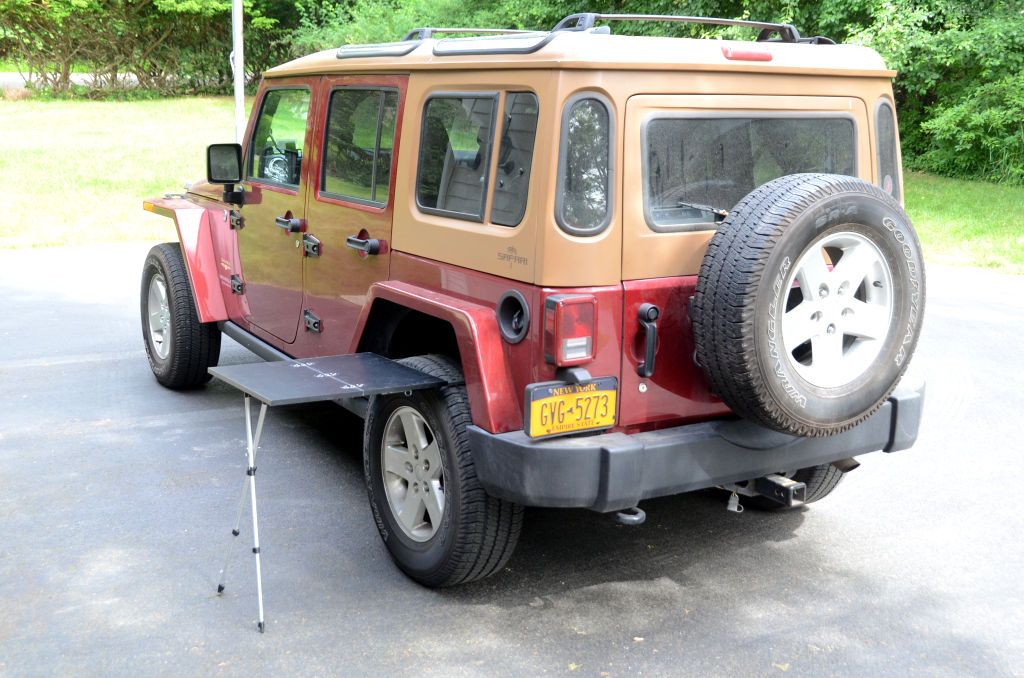
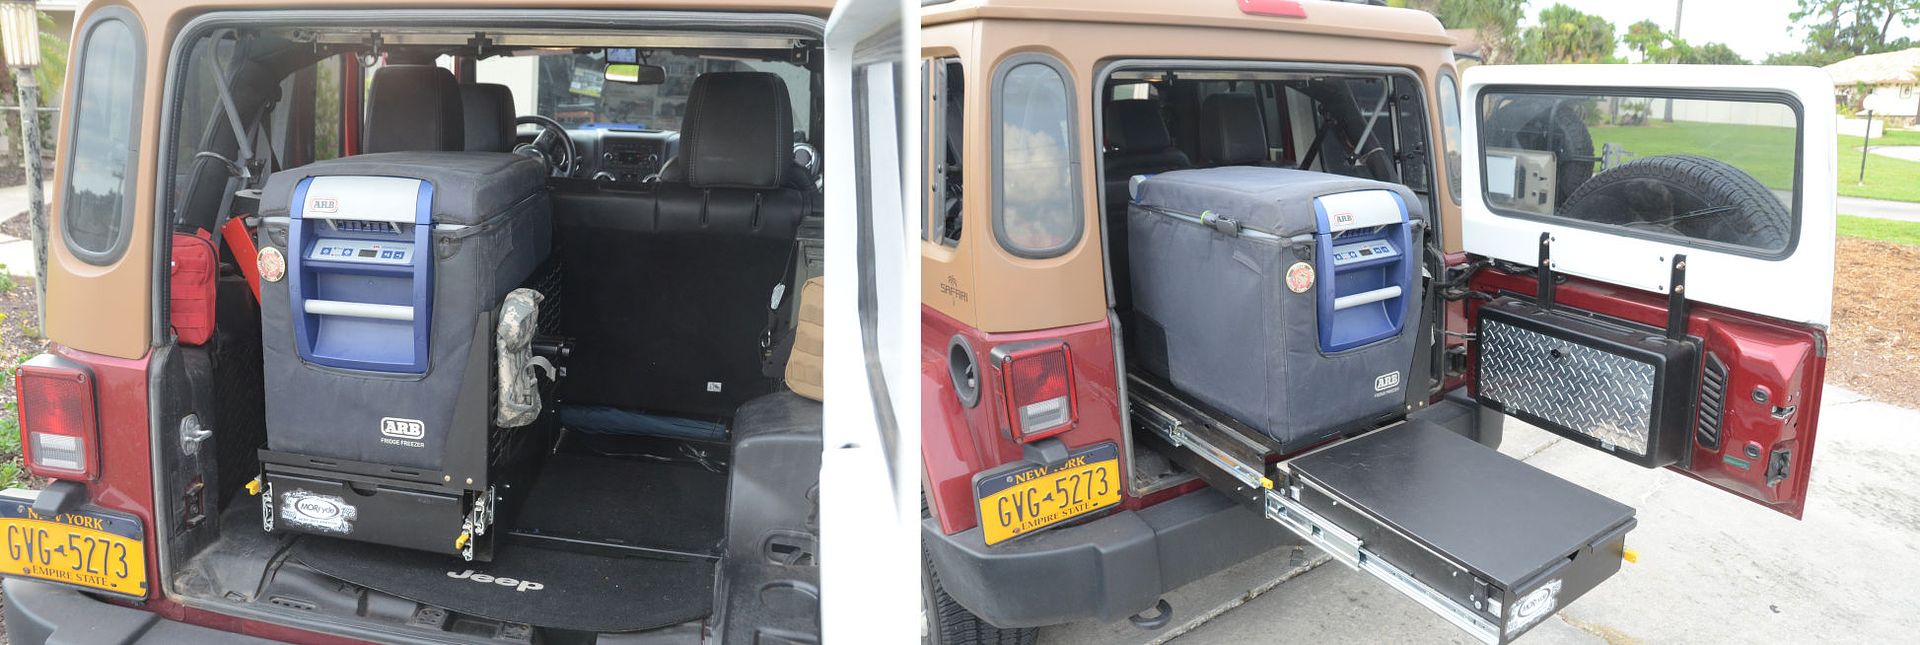
At the SEMA Show last fall a company asked me to test a tire-mounted trail table. I was leaving for a camping expedition in Death Valley right after the show, so I took the table along and used it when I camped. It's mounted on the rear tire in this photo:
I found it useful, but because it didn't fold it was very hard to store in the Jeep between campsites. Also, because of the way some of the parts stow on it, it rattled like crazy on the trail. The summary of my report back to the company was that it was useful, but not practical on the trail because it's too large to find a place to store it in the Jeep.
To address those shortcomings, and to provide even more capability, I deisgned something I think is better.
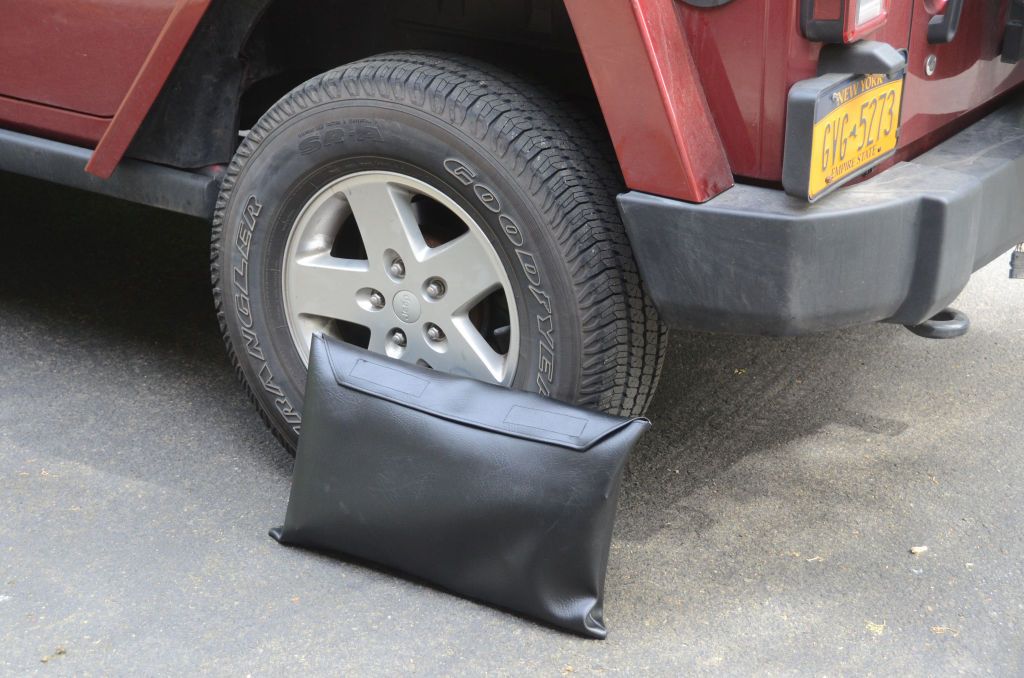
First, I had to come up with something that stows very compactly, so this one does - roughly 15" x 22" x 3". And to keep it quiet, a strong vinyl storage bag.
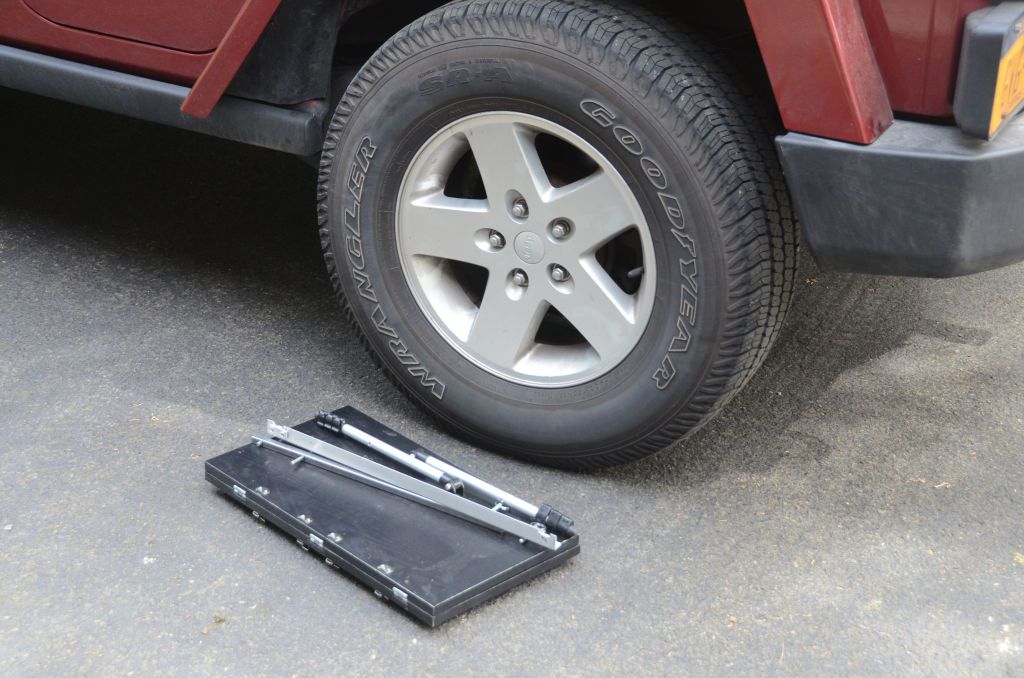
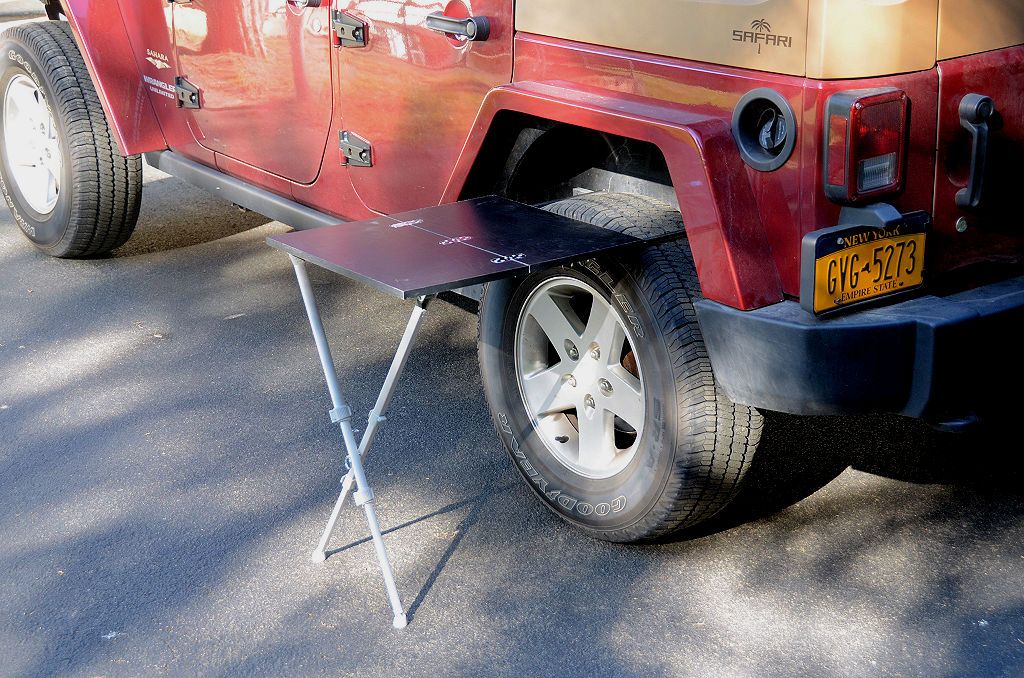
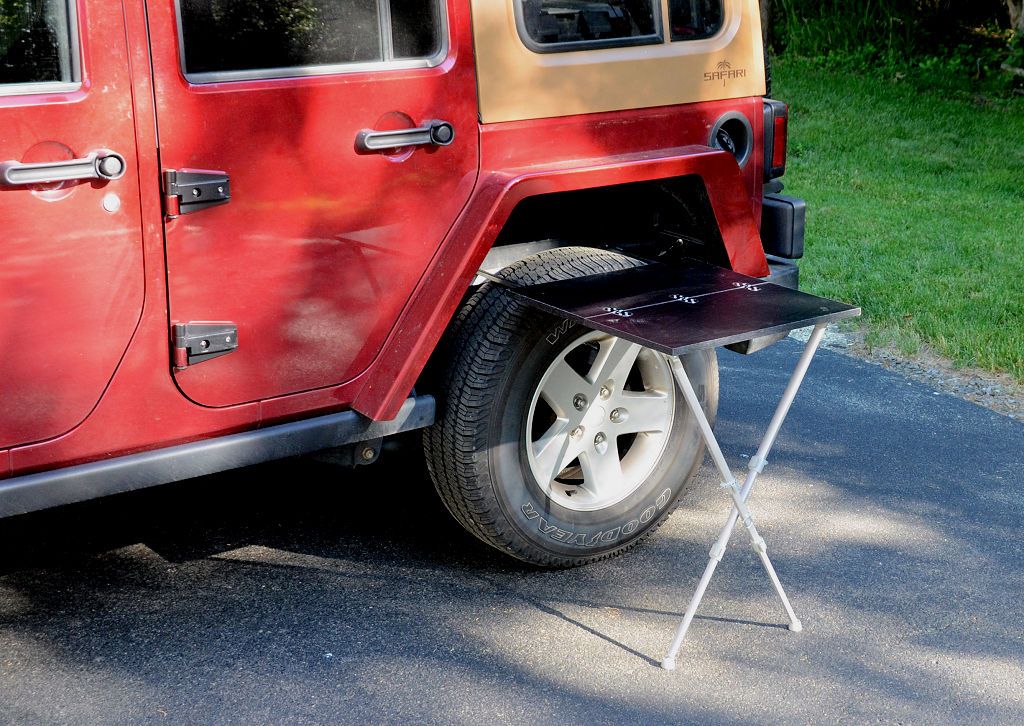
The table folds in half, so when it comes out of the bag it looks like this:
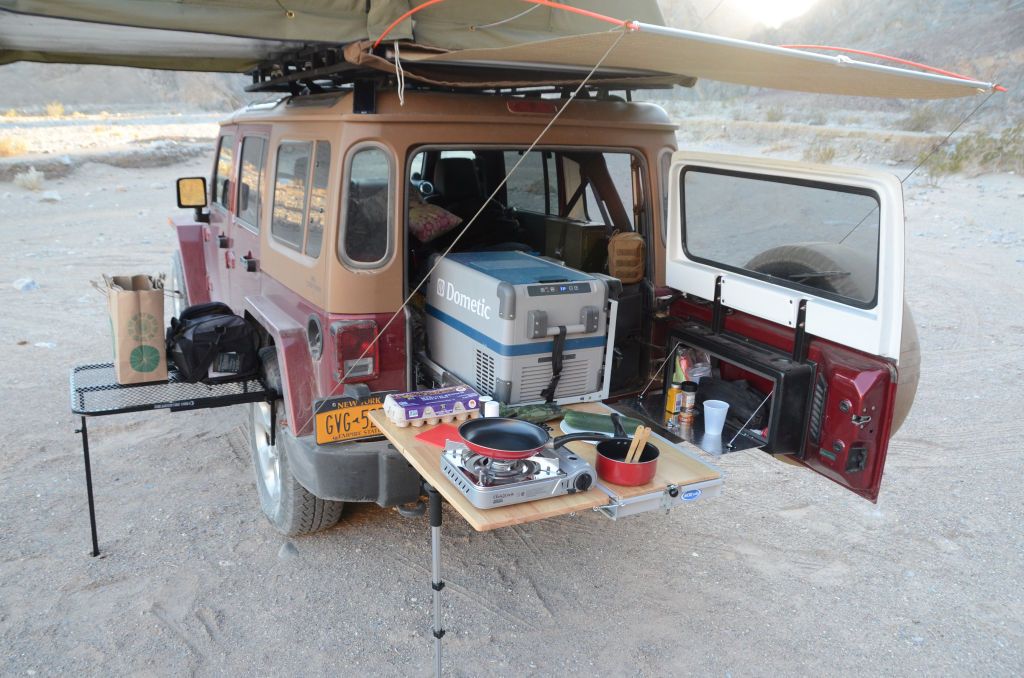
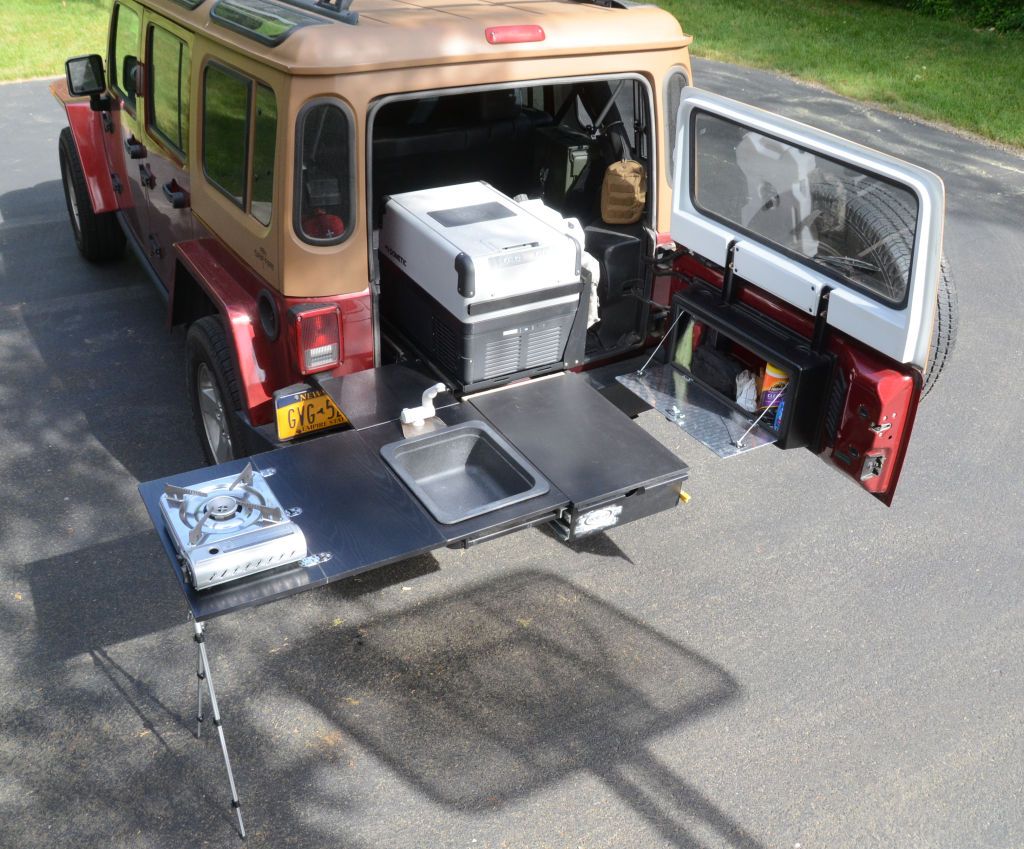
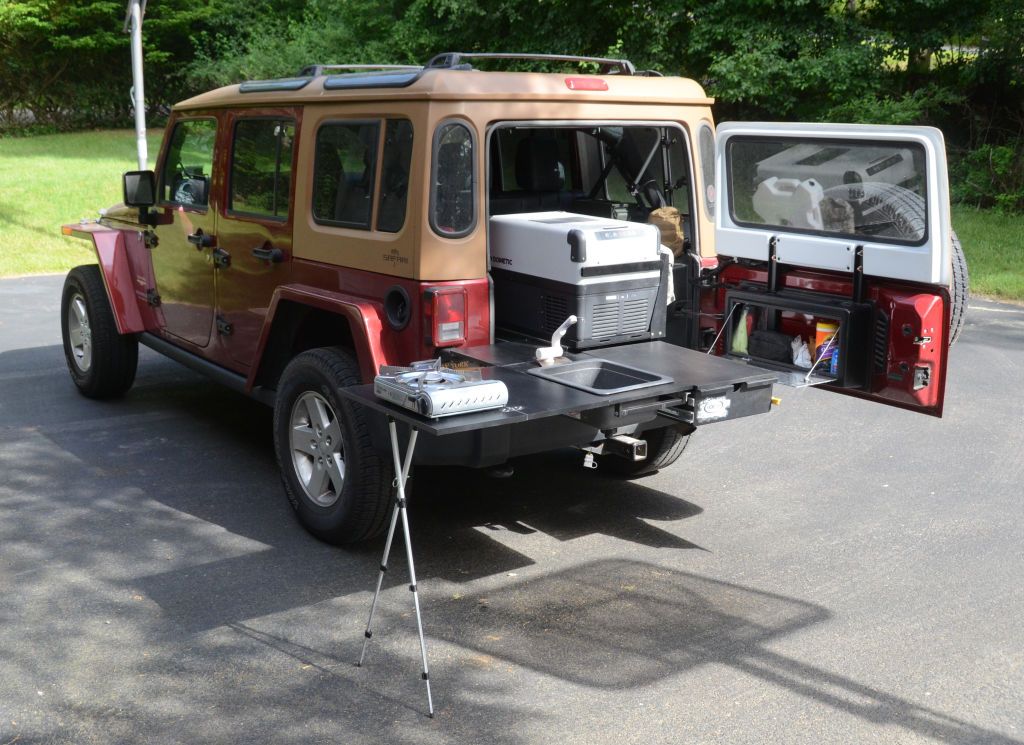
And here it is set up on the tire. Unlike the table I tested, which has an expanded sheet metal mesh top, this table has a solid top that matches the Trail Kitchen.
Ans speaking of the Trail Kitchen, I didn't want to stop at designing just a tire table - this one is also an extension table for the Trail Kitchen. The Trail Kitchen already has more counter space (about 5 square feet) than pretty much any other kitchen/slide product on the market, but this takes it to a new level, it adds almost 4 square feet more for a total of 9 square feet of counter space (without the sink - the sink takes up about a square foot and a half):