1949 International/Jeep Wrangler Rock Crawling & Overland Build

GoldiesGarage

Well-known member
Yeah you definitely need to update this thread more!! This is one one of my favorite ones on EP. My dad is a big IH guy and I was literally just telling him about your build the other day.

Come on, entertain us with a new build or something cool!

Thanks, I've been very busy. I had to go get 3 months of technical training. Now that is over it, car building and adventures should start picking back up.
Hmmm... build something cool... All my other builds wont fit this website: 1960 Edsel Ranger will be a cruiser, 1934 Chevy Truck is getting built for autocross, and 1956 Chevy Pickup IDK yet but I do want to build an Ultra 4 rig... We'll see what happens.
 
Very interesting.................I like the thoughts, but am at first concerned about the structural compromise to the frame from the heat. What are your thoughts?
Just happened upon this thread so I apologize in advance for quoting from the beginning of your build.

I would have to say that if it did not bend anywhere during the fire, then the metal did not overheat. One way to look at it - think about how much heat people put into frames when they torch off unneeded brackets and weld on new ones. I'd be more concerned with the cast pieces on the axles, like the diff housings and the upper link brackets. and specifically where the axle tubes insert into the housings, but you've been driving it long enough by now to prove that it hasn't been a problem.

Cool truck. I wish I had time to build one...
 

GoldiesGarage

Well-known member

GoldiesGarage

Well-known member
So, I finally got around to installing the 6 inch lift in the rear. I bought some Kings 2.5 remote reservoirs from Filthy Motorsports since they were in stock. I'm working at our new space and didn't have much tools but I was able to figure a way to full droop the suspension. I slid my bed floor back and attached a ratchet strap to the frame. I did have to remove my Rough Country Muffler guard so the kings would clear but now the rear will be lighter and I can try and sell it.
My current rear suspension consists of
TeraFlex long arm kit
TeraFlex 6 inch Coils
King Shock for 6 inch lift JK
Limiting Straps 15 inch (not installed yet)
Sway bar ends links are aftermarket and seem long enough (I am currently using them to limit suspension travel)
TeraFlex bump stops. One is currently dead so I will need to replace that in the future.

52376345912_0bcc8fda70_z.jpg


52377714740_eff9d05913_z.jpg


52376345177_2634d323c5_z.jpg


52377294926_9559591766_z.jpg
 

GoldiesGarage

Well-known member
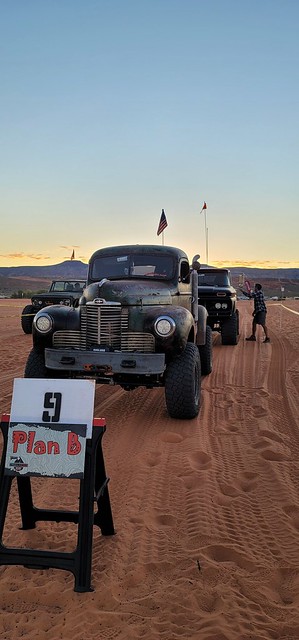
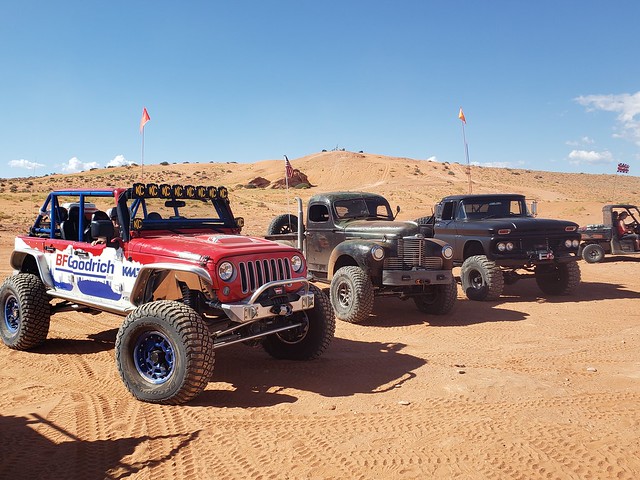
Went to my first Trail Hero Friday and Saturday. I signed up for the trail Plan-B on Saturday sponsored by BFGoodrich Tires . Trail Hero stated the trail was rate 6.

Friday - I arrived to the Sand Hollow area around 2 pm. I went looking for registration and no one was there. I talked to the guy at the front desk he
told me registration was from 7am-10am and they will be gone at 10 am on the dot. This odd for being a big event like this. When you pay for a trail, you
get a pass to enter Sand Hollow State Park for free. Which makes sense, but if you come after 10 am you must pay to go to the event which doesn't make
sense. Anyways I got frustrated and paid to get into the event. I walked around a little bit but I didn't see anything exciting. I then went back to
the free camping area about 5 minutes away and called it a night. Also, Dave joined me (we met at a Car meet up in Las Vegas and this will be our first
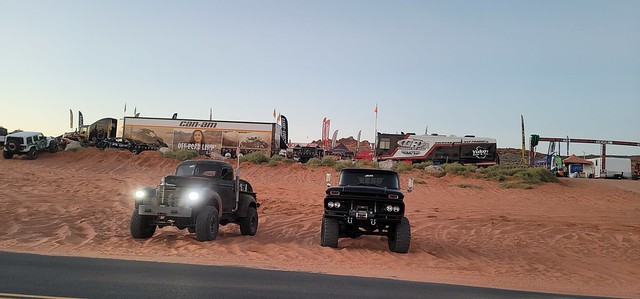
outing together.) He drives a 1962 GMC truck on 38's

Saturday - Woke up at 6ish, packed up and made sure to be at registration at 7 am. Super easy process and was done in about 5 minutes. Dave and I went
straight to staging. "Staging at 8:30 am and leaving at 9 am" We left at 9:30. The staging lane was full. Staging is pretty cool cause you can meet
new people. Throughout the trail I was in different positions from the front to the very back and they have different pros and cons. We went through the
dune section which was a thrill speeding and praying not to be the one who gets stuck. We get the 1st Plan-B sign and it says Plan-B 7" and I'm like Oh
no I hope I can do this. Right off the bat it gets crazy off camber, narrow twisting sections, hill climbs and steep drop offs. I've never done a trail
like this before. It defiantly took me out of my comfort zone. I would say is a great thing if I wasn't in this trail ride, I would have said NOPE NOT
TODAY and turned around. Finding the limits of the truck was interesting and seeing if all my hours of planning and building would pay off by not
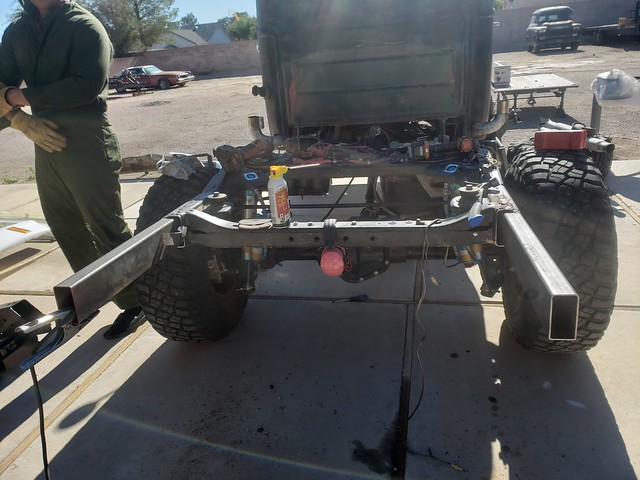
breaking. The truck is way more capable than the operator but I'll work on that. This trail pointed out I need to get my rear locker working. I could
do one of the last obstacles and I had to take the bypass. Overall, the Plan-B was SUPER fun. It had my heart racing and my hands shaking. I would
say it is a great intermediate trail that will test the driver and the rig. 35 front and rear lockers and a small lift is what I would recommend. In the
group, there was a XJ with 33s, Front & rear lockers, and a small lift, which made it through most of it. No one took body damage that I know of,
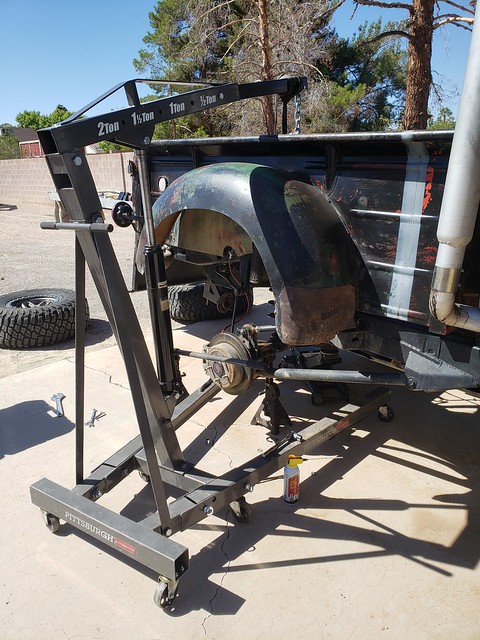
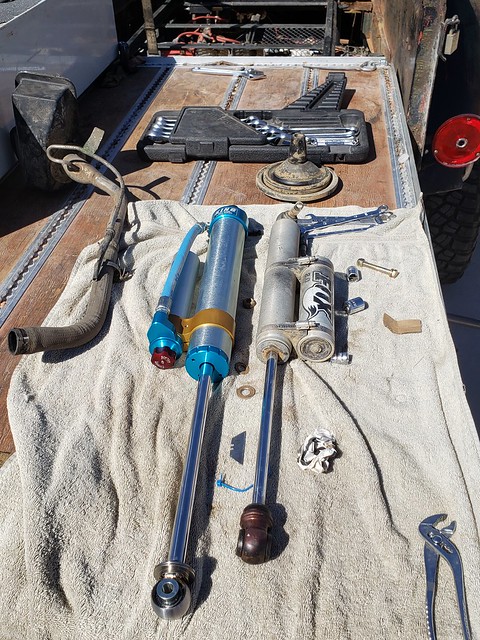
but Dave hit his drive shaft on a rock and blew his driver front hub. The overall pace of the run was easy going nobody was rushing anyone it was a
relaxed atmosphere but I did self-induce a rush on myself.

My thoughts of being in different positions of the convoy.
Being in the front is cool because you get to the obstacle, and you get to hit it quickly and then you can watch the others tackle it.
Being in the rear you are in the vehicle longer waiting to get the obstacle and if felt like a slower pace but if you want to put on a show, most of the group is watching.
Definitely would do this again.

52419223701_96c4e8af1b_z.jpg


52418722957_77239c6d9f_z.jpg


52418712557_c469b0a2b2_z.jpg


52419661605_010022a15c_z.jpg


52419523414_ee39729435_z.jpg


52419734783_feb82ce80b_z.jpg


52419223761_2aaa17a5b4_z.jpg


52419734848_9439098552_z.jpg


52419734728_9f583f1243_z.jpg
 
Last edited:

GoldiesGarage

Well-known member
After 10,000 miles and a lot of flexing. I needed to fix some stuff. I don't have a rear bumper and I don't like my the end of my bed getting dragged on rocks and what nots. I need to extend the frame. I bought some square tubing pushed it in the rear of the frame and welded it in. I plan on adding a tow hitch and re doing all the wiring back there while it is all accessible. I really want a rear winch, so If I can figure out a compact way to install one I will. My Brother is hanging out with me and helping me at the same time learning. His first welds are on my truck ? . I also have to reinforce the bed since it will take more weight then factory specs. With all the flexing I had two of my temporary bed mounts break, so I will need to figure out another way to mount the bed.

52510538968_8b56f6cb66_z.jpg


52510539118_f7e785560b_z.jpg
 

GoldiesGarage

Well-known member
I need to re-enforce the bed sides to hold the weight of the camper shell & westfalia roof I plan to add. So I cut open the stake pocket to add some square tubing. Another reason I had to cut was, inside the stake pocket there was a piece of metal stopping the tubing from going all the way through. The square tubing will be dual purpose. The top portion will be used to connect the camper shell to the bedsides and the bottom will be used to mount the bedsides to the frame. I am still thinking about how I want mounts to be. I know I have to think of it flexing. Which is why it is taking me a while to figure it out.

52557870286_84bfe77312_z.jpg


52558412118_625f8d9bed_z.jpg


52558412088_7878fc1bb8_z.jpg


52557870251_0f03f348cc_z.jpg
 

Forum statistics

Threads
185,894
Messages
2,879,296
Members
225,450
Latest member
Rinzlerz
Top