Yet another 3rd Gen Montero "Build", also story time!

eyehate

Member
The Full Monty:
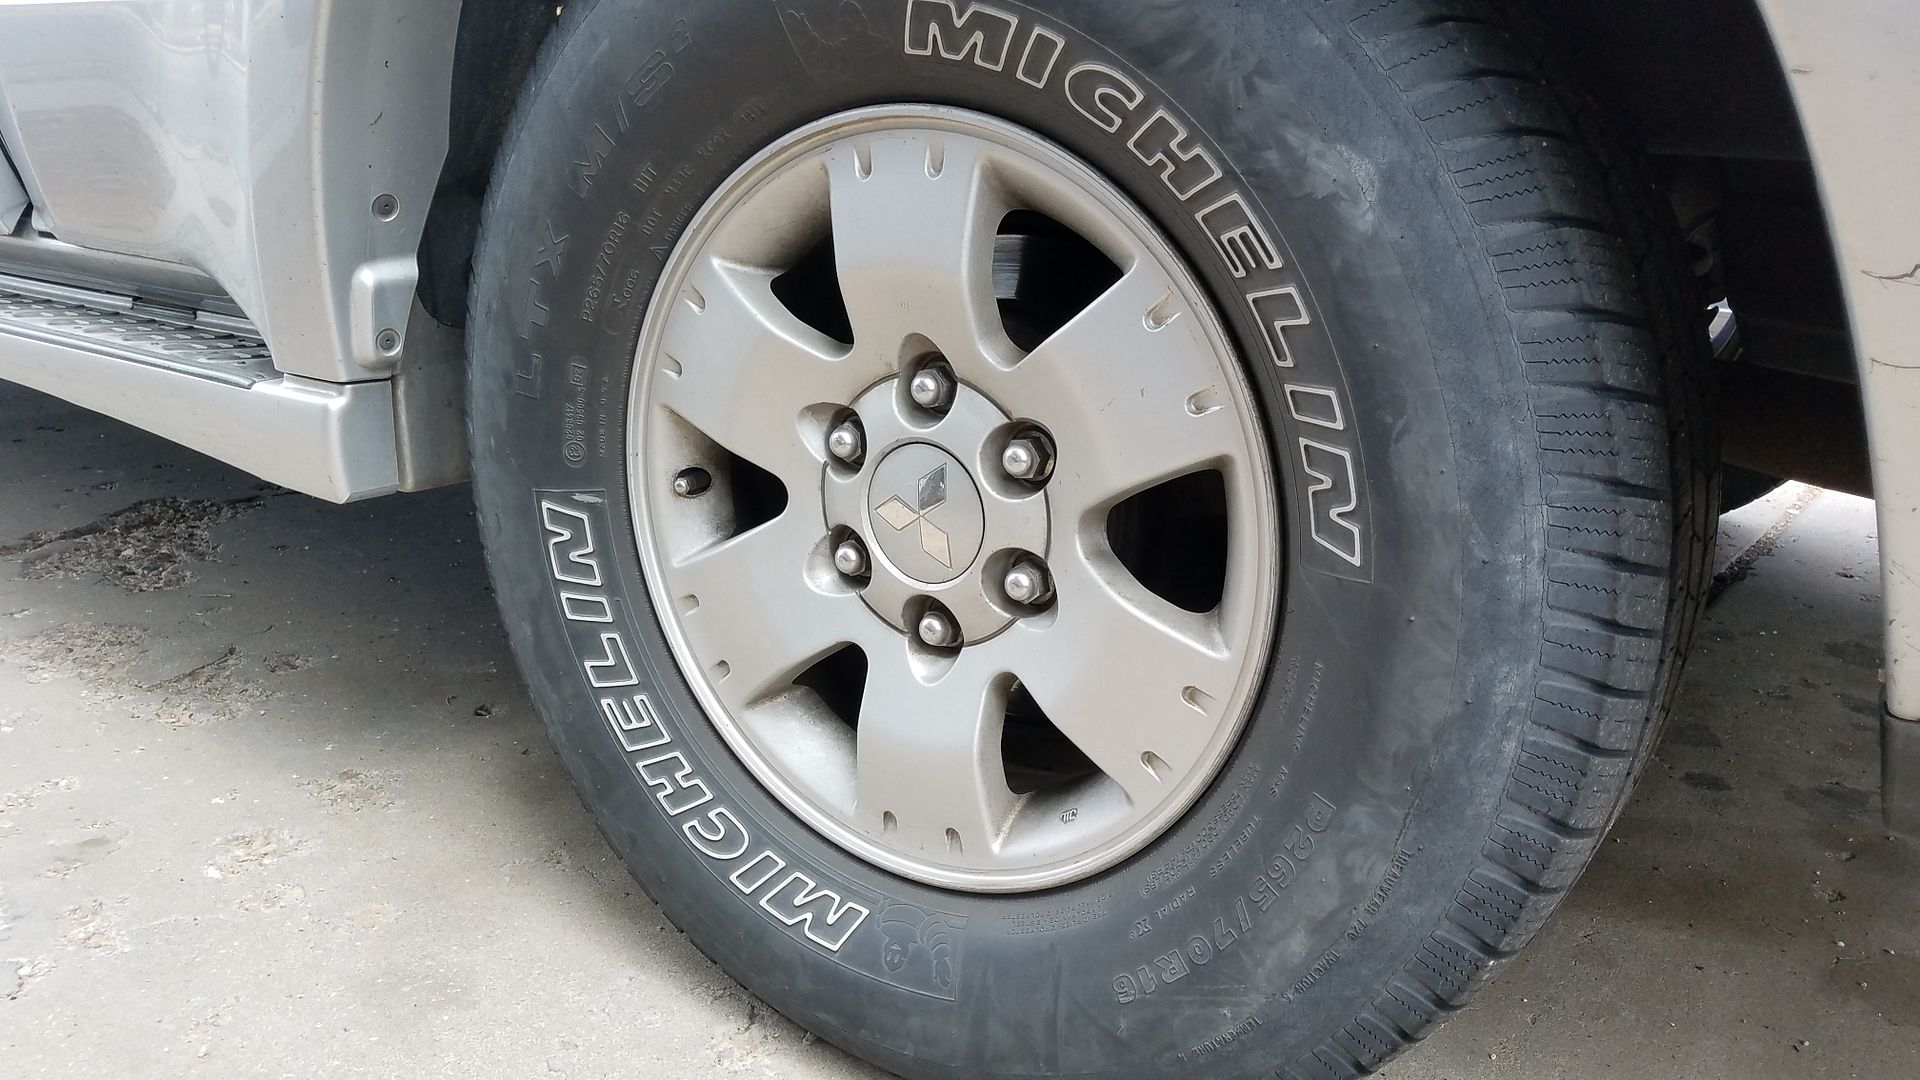
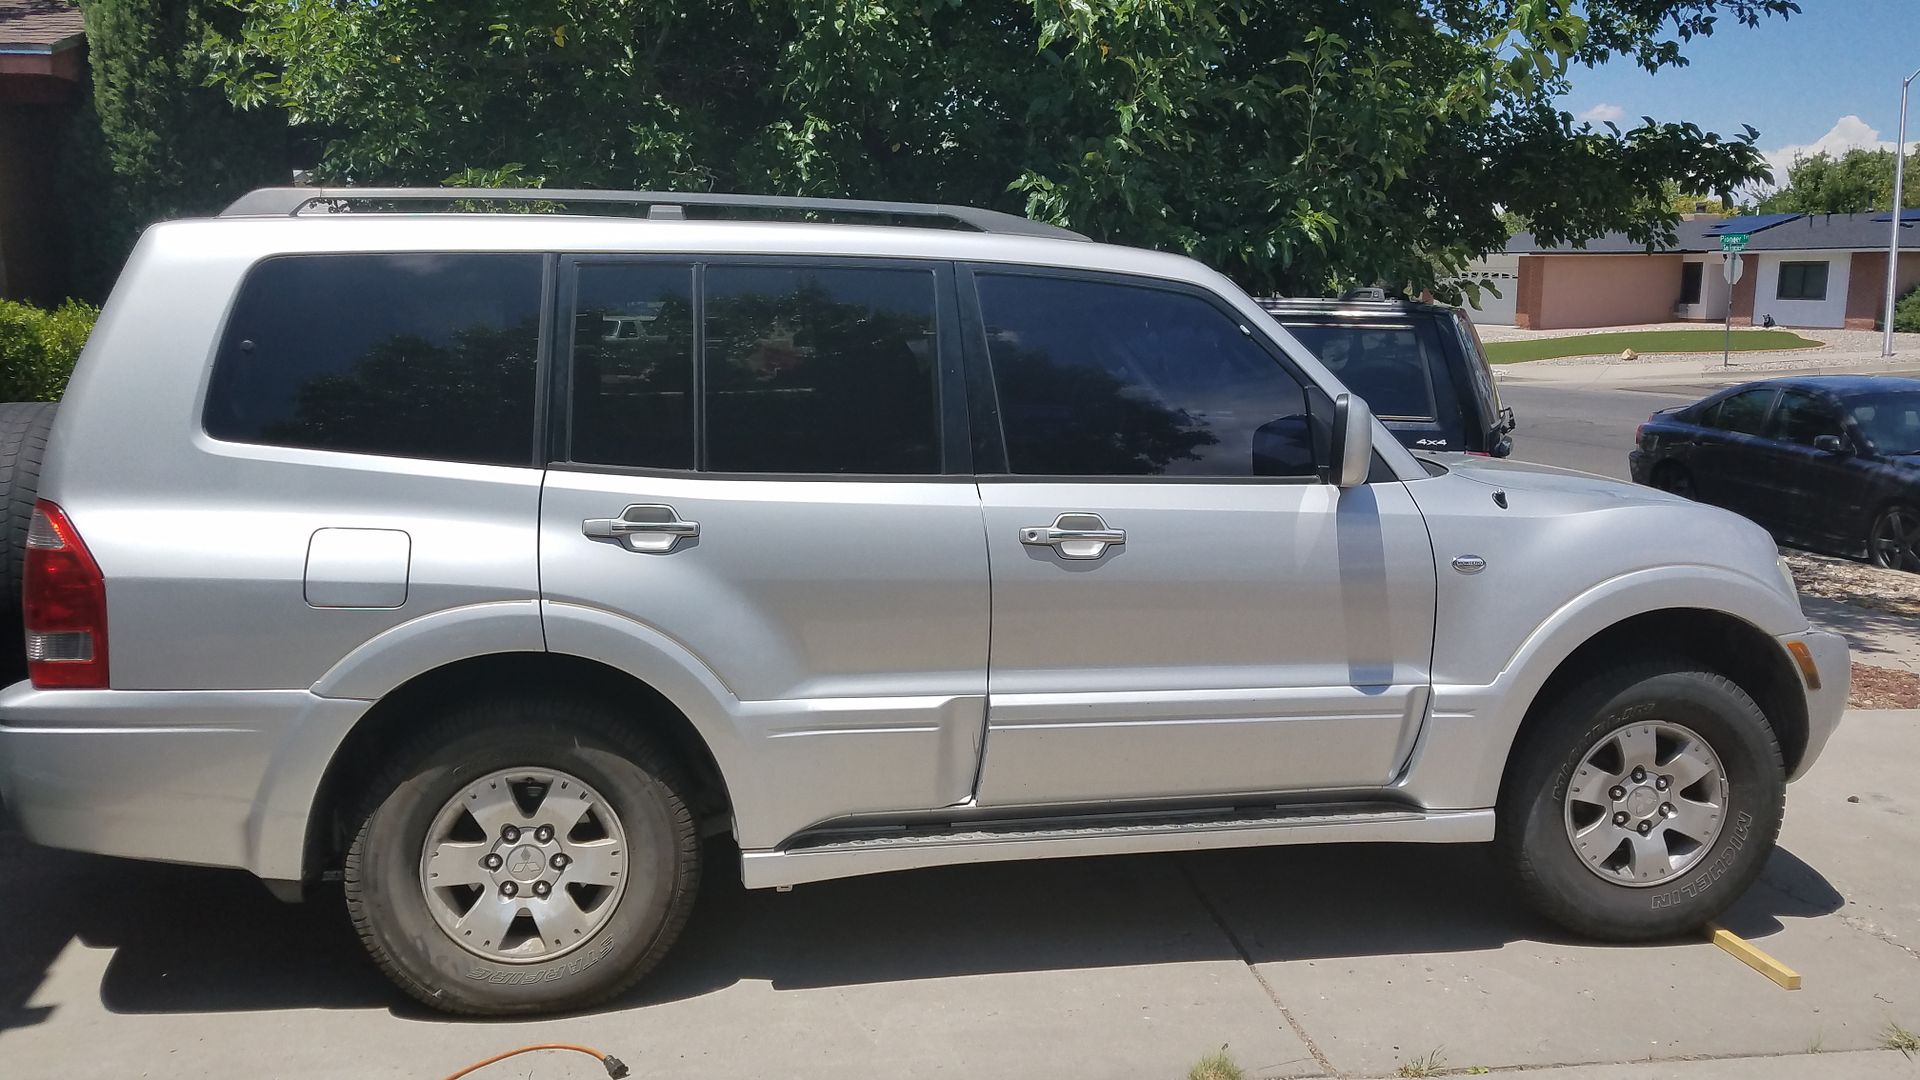
Starting with a bone stock 125k mile silver 2003 3rd gen Montero Limited. This thread will house my breaks, fixes, frustrations and triumphs.
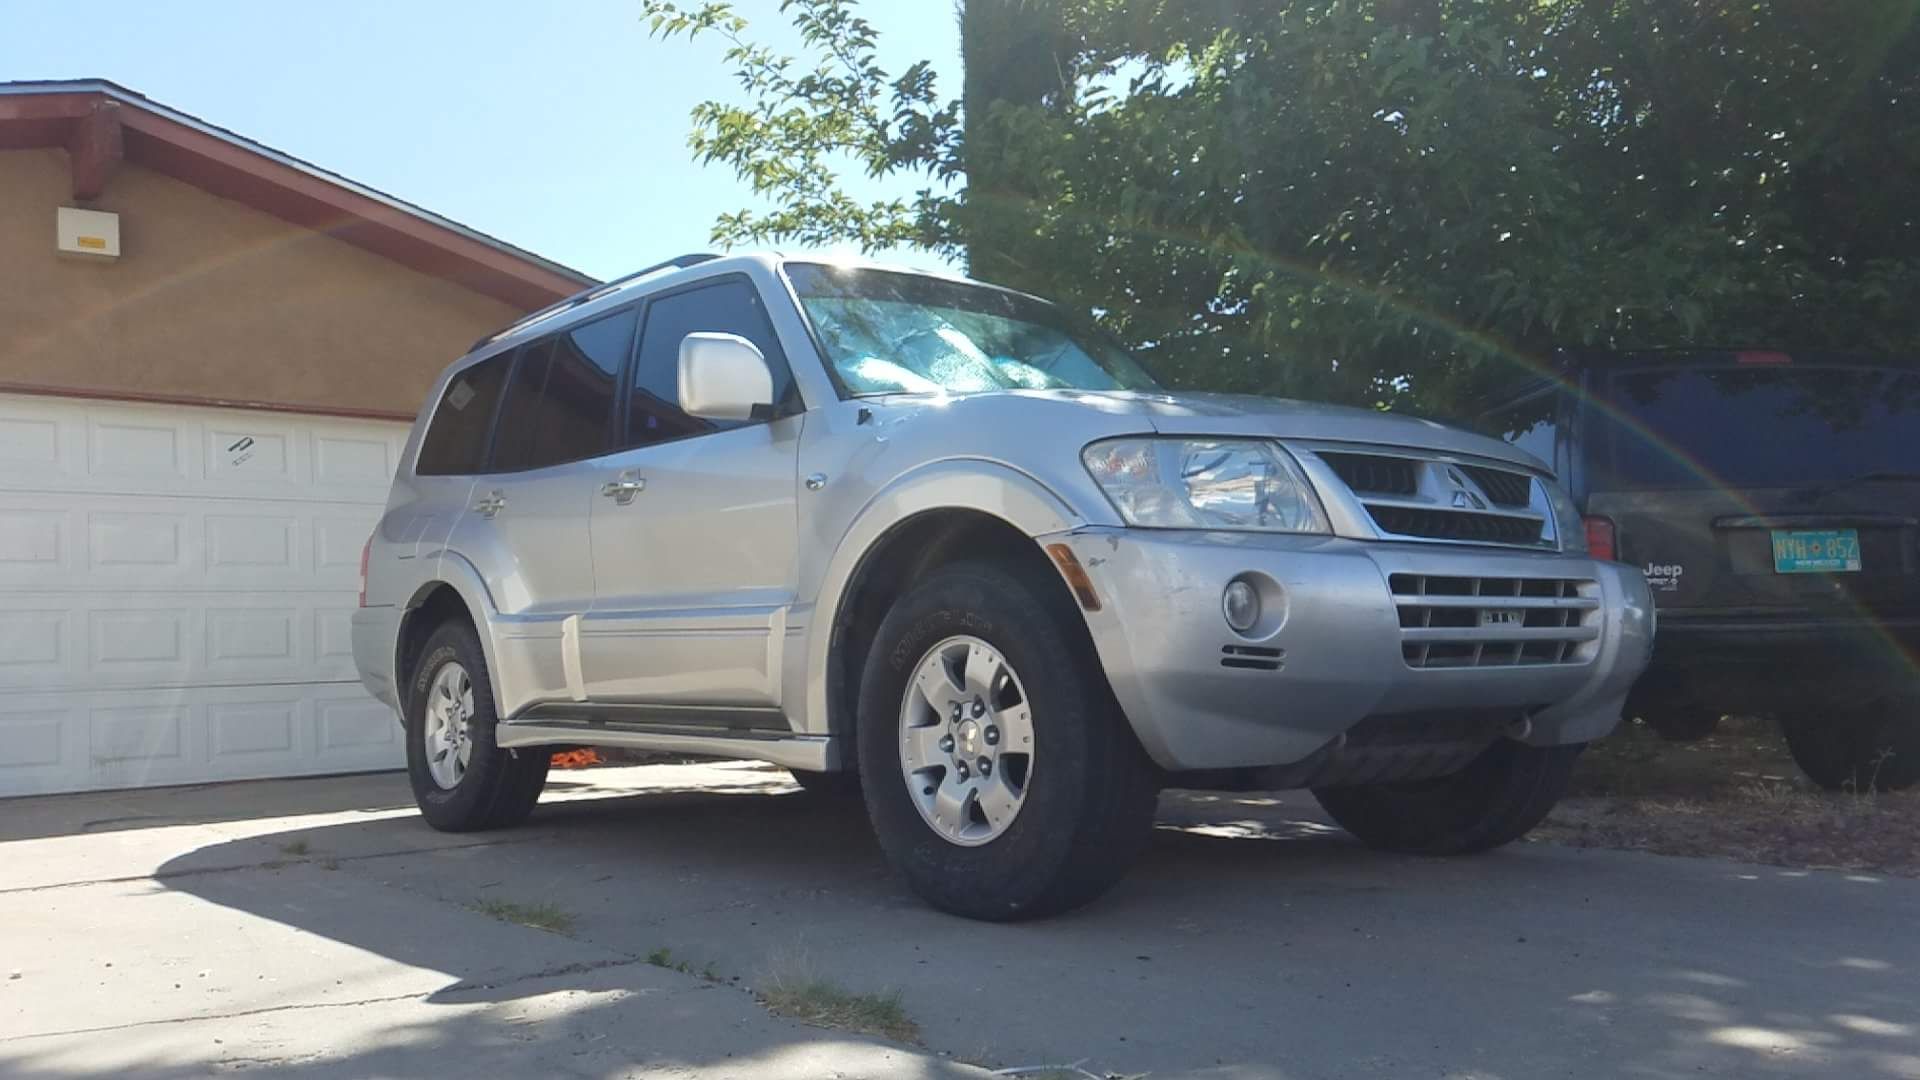
received_10213194445084476_zpsoophtutq.jpeg

received_10213194443884446_zpskczu5kjy.jpeg


The History:
To start, I come from the performance car world (10 years of drifting and 2 seasons of Formula Drift to be specific). https://www.youtube.com/watch?v=4Mt6uCk2ZOw
I have little experience building anything for offroading / overlanding except for my stock jeep Cherokee (that we drove absolutely everywhere) which was sold for this here unit. The wife and I love camping, and hopefully this will make things easier.

The First Adventure:
20170605_201608_zpshcfaleir.jpg

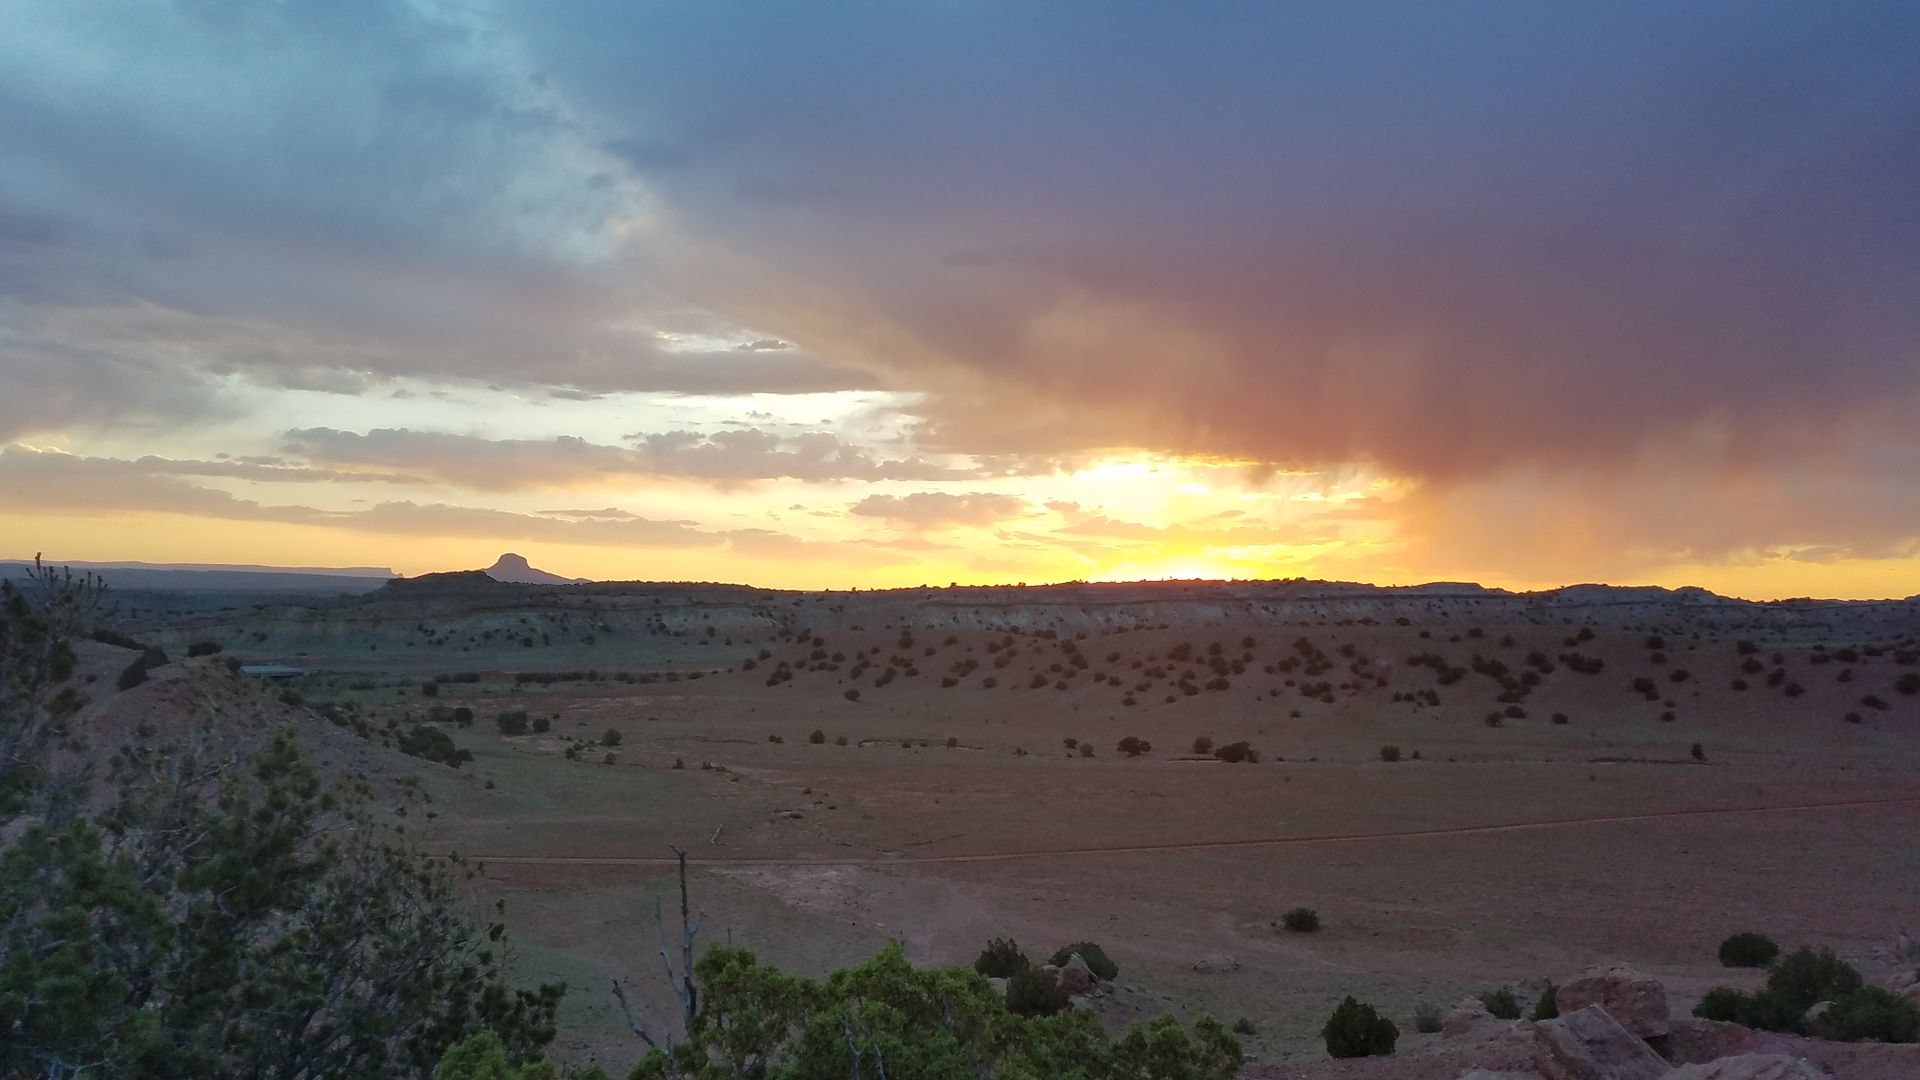
We bought it and immediately put it through the ringer. Checked the coolant and oil and off we went to Red River, New Mexico's "Goose Lake". Bald all season tires and all. It includes a river crossing followed by 10 miles of trail, going up almost 1300 feet to a lake. Not a hard trail, but by far not the easiest.

I chose this one as the first outing, as A) The Jeep more than likely would have made it, and B) I knew that guides run these trails twice a day in case we broke down or any other number of issues taking a car we just bought 10 miles off grid.

We got a late start due to the family we bought the Monty from showing up an hour late to sell it. Drove home, filled up with gas, loaded her up and headed off 3 hours to Red River. Center diff light blinking, pulling over, turning off and on then continuing the whole way (fixed after our adventure though)... We arrived shortly before dark (was hoping to get there well before that, but what can you do), and with just a smidge of daylight left we attempted the river crossing that was immediately after the turn off for the trail. I had googled videos of the river crossing and watched 5-10 of them, and it seemed ok based off that. Looking at it seemed a bit deeper than the videos, but we went for it anyway.

Here is a video of me fully submarining the front end: https://www.youtube.com/watch?v=B1uH0kZcx0M How it made it through that with no snorkel and sans hydro locking is beyond me, but it did and once on the other side, I felt quite a bit better about the purchase. Once notch in the belt for the Monty.

We continued on as I learned how the traction control worked with light application of the brakes when one wheel would be elevated, vs turning TC off for mud or sand. There were a few steep sandy climbs that it made it up no problem as well. Another notch in the belt for the Monty. Slowly feeling better and better about how capable it actually is.

It's now pitch black out, and we are still 3 miles from the lake mobbing forward at about about 4mph, when we see a fully decked out 4runner parked off the side of the road in a little nook. Strange, we thought, "wonder why he picked there to camp", and continued onwards. No more than a mile up the trail we hit a patch of snow about 20 feet long and about 2.5 feet deep heavily rutted and a high center section. I put her in 4 low center lock and attempted it 3 times before going in with enough momentum to clear it. I was beaming about how this little patch had turned him around and we made it up with a stock bald tired Montero...

Boy was I in for it. About an 8th mile from the lake, we hit another patch of snow. This time it was about 40 feet long and ranged from about 2 to 4 feet deep in spots. We consistently made it about 4 feet from the fronts clearing and being able to move forward. I tried probably 15 times to no avail. Time number 16, I got us high centered as all get up, and the bald tires made nice little ice cups around all 4 tires.

I busted out the old foldable shovel, and in t-shirt and shorts, dug out under the passenger rear tire enough to get a jack under, jacked it up and put as many sticks as I could under it. Backed off the jack, and boom! 2 hours later we were out and parked on the side of the road just like the 4runner, tired hungry and defeated.

The next day we went back down, crossed the river and hit another lake camping spot about 45 minutes away. Using the 4wd for almost 25 miles of driving fixed the center diff light blinking issue, so that was awesome. For its first outing, even with the ****ty tires, I think it did phenomenal, and with a few tweaks could border on epic.

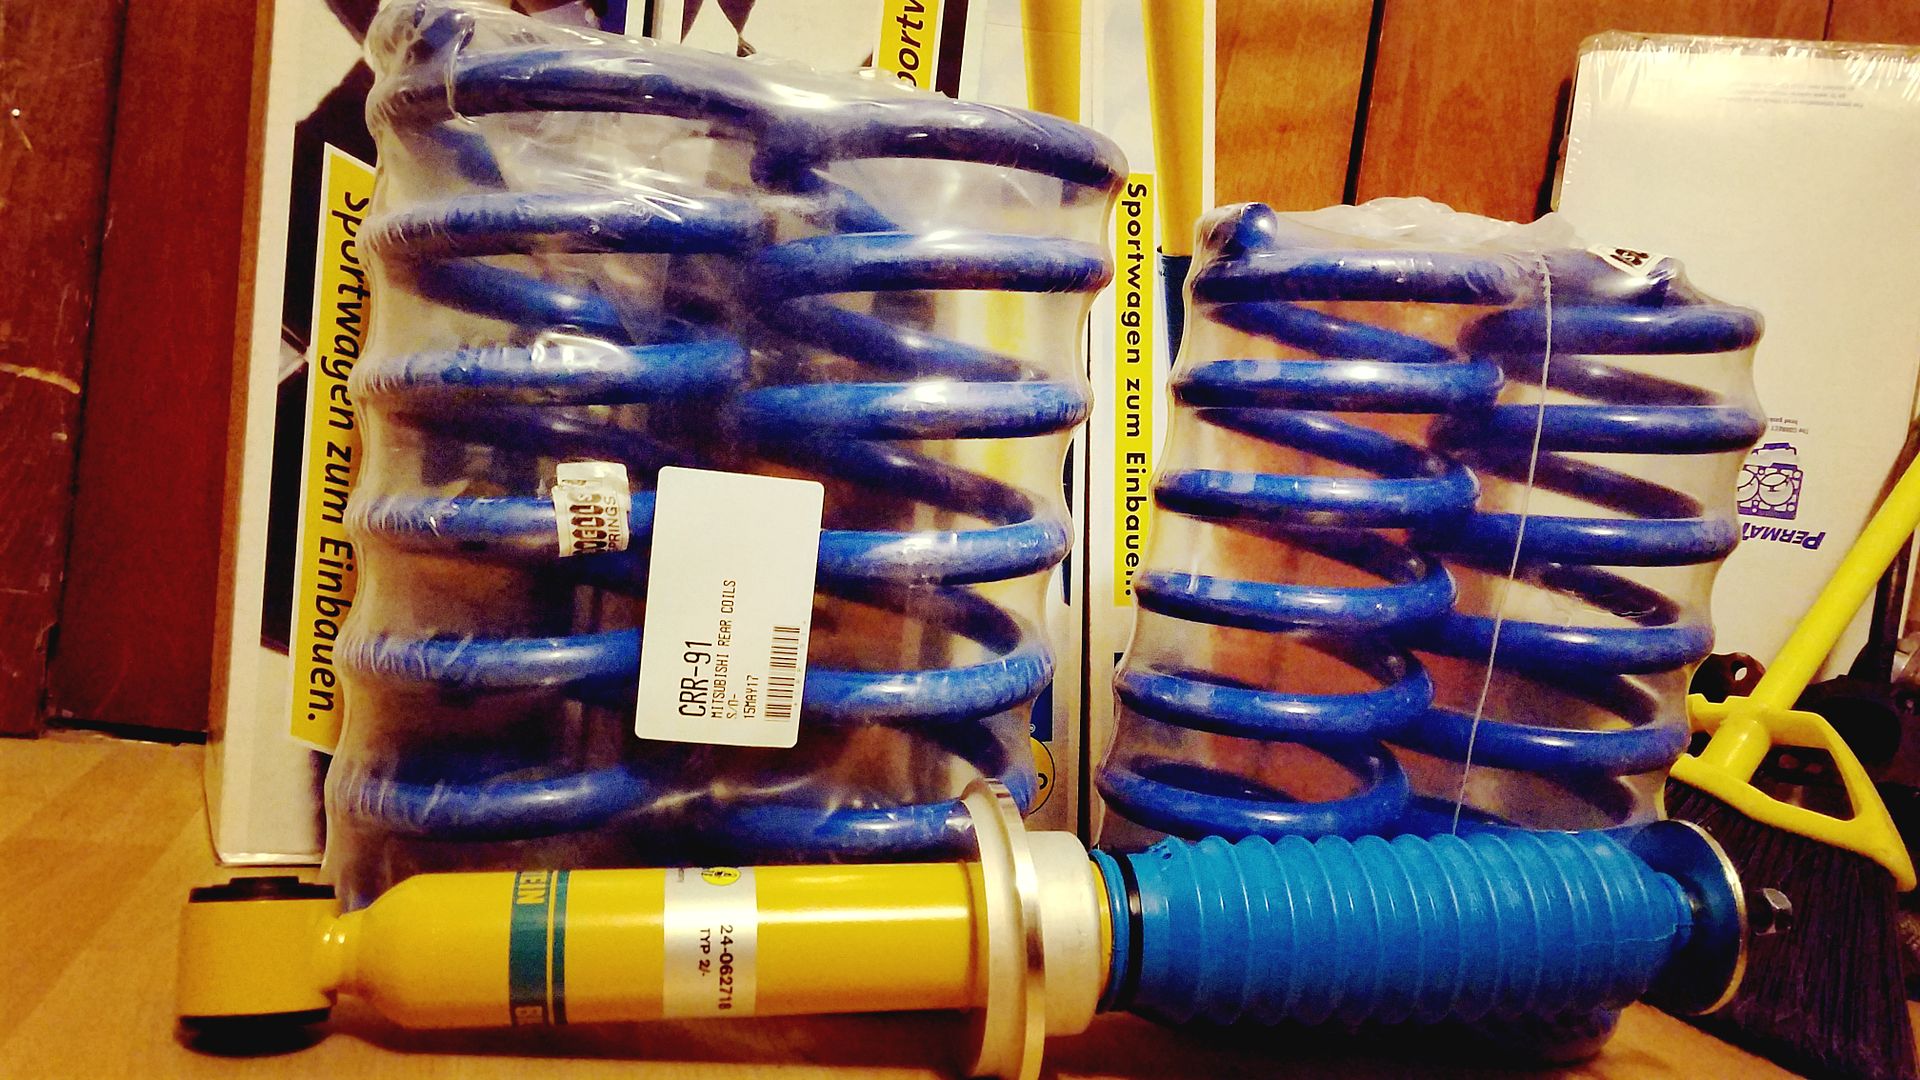
2nd post will have all of the issues I have encountered / fixed after said first adventure, then on to the making it cooler parts.
 
Last edited:

eyehate

Member
Epic second post time. Ok, after an exhaustive search over the past week of owning this thing, trial and error, and learning what the shady previous owners of the Monty did to hide issues, I've fixed some of these, but some are still giving me major problems. I'll leave the solved ones here in case anyone else needs them.

1. Blinking center diff light every 15 mins (or every 10 or so miles going above 60mph) - Solved, drove a good distance off road in 4 wheel high and low

2. Rear seats would fold down, but not forward - Solved, held seats at 45 degree angle while pulling the latch on the back.

3. Doors wouldn't stay open when parked on flat (worse on any incline) - Solved - see this video
4. Rear sub not working (still need to fix, just haven't had the time)

5. No Aux port - Solved, installed aftermarket stereo with aux port using this harness https://www.amazon.com/gp/product/B0002ZGEO4/ref=oh_aui_detailpage_o02_s00?ie=UTF8&psc=1

6. Monty would die / stall after installing new battery - Solved, Lengthy idle re learn process completed (took an hour), also cleaned throttle body out with brake cleaner

7. Fuel gauge not working / fluctuating, broken. - Solved, re soldered r10 resistor on the back of the small box of the instrument panel.

8. Upon inspection of the fuel gauge not working I noticed the previous owner had glued a small tab to keep the temp gauge in the middle of the dial. Removed and the above fix worked for that as well.

Here are my unsolved mysteries:

9. No CEL, SC or TC lights during key on. Upon further inspection previous owner smashed the bulbs in the dummy light panel for Traction control (TC), Stability Control (SC), Check Engine Light (CEL) to keep them from coming on. The junkyard had a few 01s so i replaced all the broken bulbs with good ones (verified on the pins that do work) and the SC and TC lights now work, but the CEL does not light up on key on. Fuses are good, not sure what to try next. SOLVED - after much heartache and pain trying to get my gauge cluster to work, new bulbs, new boards etc, i gave up and bought a 2004 cluster off of ebay for 80 bucks, and all lights now function as they should

10. No right turn signal indicator, turn signal still works, just do not get the green arrow in the dash, replaced bulb, and changed bulb to left side to verify it still works. Still no green arrow. SOLVED - via the above fix

11. No brights indicator. Brights function fine, no indicator that they are on, same bulb switching as before, no luck there. SOLVED - via the above fix

I'm assuming I will have to buy another cluster to address 9, 10 and 11, I just can't find any 03's for sale at the moment. Anyone else have any ideas?

12. TC and SC lights come on after hard accel. They go away after the car has been turned off and don't come back until I floor it again. No codes for this on the code reader. SOLVED - turns out both my camshaft and crank sensors were bad, when i did my timing belts, I replaced these, no more issues.

13. White smoke out of the exhaust after idling for more than 5 minutes. Goes away after driving and doesn't come back until idled again. Valve seals?

14. Cruise Control does not work. Fuse is good, indicator does not light up when the button is pressed. Checked vacuum hoses all over the engine, they are good. Not sure what to do next.

I'll update these as I get them fixed, but hopefully someone can point me in the right direction. If I have anymore, I will update the thread as well.

Thanks in advance for the help!
 
Last edited:

eyehate

Member
I wanted much better shoes for it, and saw after reading many many threads here that 285/75r16s would fit stock or lifted with minimal to no trimming. Opened the poor wallet and purchased the following:

Bilstein shocks -
Front: https://www.amazon.com/gp/product/B009FU62E4/ref=oh_aui_detailpage_o09_s00?ie=UTF8&psc=1
Rear: https://www.amazon.com/gp/product/B009FU7QQM/ref=oh_aui_detailpage_o09_s00?ie=UTF8&psc=1
Lowell springs -
http://www.kollarracingproducts.com/, Andy was awesome to deal with.
285/75/16 Federal Couragia M/T -
https://www.walmart.com/ip/Federal-Couragia-MT-Mud-Terrain-Tire-LT285-75R16-126-123Q-10ply/106465614

I also hate the stock 03 wheels, so I headed down to the junk yard and found 5 2001 wheels. From the moment I saw Monteros for the first time, I loved the 01 02 style wheels. I sanded, primered and painted them gun metal. I sure hope they fit the hubs...

Ugly
20170718_141915_zpsoxsqc3zz.jpg


Nice
20170718_141919_zps8iq04w6w.jpg


Nicer
20170718_153510_zps0ufhqcgq.jpg


The tires and springs have yet to arrive, but I will post more pics as soon as they do.
 
Last edited:

EyeInTheSky

Adventurer
Congratulations and welcome to the party. I remember my first water crossing...the pucker factor was quite high for me.

Sounds like your previous owner was terrible, I'd have an experienced Mitsu mechanic do a full checkup on it once you get some more of your list knocked out.

You probably won't get any codes for the Mitsu-specific issues you brought up, as they are communicated via a proprietary format. You'll either need an ungodly expensive scanner, or do what I did and get in first name basis with a local dealership.

car-part.com is a good source for junkyard parts. You might want to try that for the replacement cluster.

Rear sub is cheap and easy. Dont believe Crutchfield, you don't need a shallow mount sub.

For my rear seats I found that if you hold the rear latch up when they are fully upright and continue to hold it up while collapsing they always tumble nicely.

Based on what you've written I suggest a diff/t-case flush, since it seems like the previous owner neglected a lot of things (and seem to have gone out of his or her way to do so).

Last note, none of your pictures loaded for me. Is that just a problem on my end?

Looking forward to more posts about your ride.
 

eyehate

Member
Awesome info, and advice EyeInTheSky and Michael Brown, much appreciated. I'll give that site a look over for the cluster, as well as flush and or change the drivetrain related fluids. I am probably going to tackle the timing belt as well, since it was probably ignored.

The pics I tried to use google to host but obviously that doesn't work at all. I will re upload with photobucket.
 

IncorpoRatedX

Explorer
Nice rig and excellent intro story. Looking forward to what you'll do with this. From the sounds of how head strong you use the rig and understanding the motorsports you come from; I bet you'll be in the market for skids and armor in the distant future. There's been a few excellent testimonies of what a gen 3 can do in stock or close to stock form. Pete's went all over the place, Rainier's did the rubicon basically stock, looks like you're already representing quite nice, did you have a chance to talk to the Toyota driver?
 

eyehate

Member
I'm quite sure i'll be visiting the body armor soon. I've had a few close calls off roading the drift car, and the bash plate saved my motor. I am quite excited to try and tackle that snow again soon as the lift and tires are on, this time with pics and or vids.

I didn't get to chat, as he looked to be peacefully sleeping, and was gone in the morning when we went back.

Side note the shocks and spring are here!

20170720_233656_zpshmraxuko.jpg
 

eyehate

Member
Thanks, coming from my bang up drifting career (basically broke something every round), I learned early on to not sweat the issues and have a good time. I shall be giving MS a call monday to ask about the speedo cluster for sure <3

I did the rear lovell springs and bilstein struts today, I will do the fronts tomorrow. I know there are tons of how to's covering this, but I never find any with the ins and outs of actually doing it, just the steps involved, so here is how that went:

The before:
20170721_131530_zpsdvm1fyx0.jpg

20170721_150553_zpsemzsztko.jpg


The Tools:
21mm socket for the wheel removal, 22mm for the bolts in the lower control arm, large adjstable for hammering, holding and prying, 14mm wrench for the strut nut, 17mm wrench for the new strut nut, allen key for the top of the bilstein, screwdriver to push the bolts through the lca, 3/8th and 1/2 inch impacts, 1/2 inch wrench, a jack stand (not pictured), something to pry with and a scissor jack I had laying around.

e7ba66f9-4cd3-42cc-9b93-7bd876859ab4_zps5olvizyf.jpg


The Process:
Jack up, Remove wheel, place jackstand - self explanatory

Remove the 2 22mm nuts on the lower control arm, helped me to use the scissor jack to raise it a bit. This allows the bolts to tap out easily. Remove both bolts. This part is under pressure from the spring, so be careful to not hit the scissor jack. Death could occur.

20170721_142026_zps1tbb3fxx.jpg


Let the scissor jack down, and let the arm hang loose, if you need to jack the car up more now is a good time to do so from a point other than the lca. You will need the extra height to get the new spring in. Now is an appropriate time to take out the strut as well. I had to wedge my wrench on the upper tube to keep it from spinning, and used the 14mm to remove said part.

20170721_142247_zpsyxurwmxp.jpg


You should now have something resembling this, if you don't, you should probably ask for help.

20170721_142933_zpsfxmbfbpr.jpg


Now pop the spring in. You want to do this before you put the new strut in or it will just be in the way See picture as to why I said this. The springs are kind of heavy, so if you have a friend to hold the lca down, you are in good shape. I did not, so I used some advanced yoga techniques to hold the lca and insert the strut. I then used the trusty scissor jack to hold it in place.

20170721_144300_zpsn2qymlrd.jpg


Move on to the strut now. Separate the bushings to their appropriate sides of the mount, and slip the threaded end on through. Tighten using the 17mm wrench and an allen key, the size of which eludes me.

20170721_144420_zpsw1nvm8nj.jpg


Now the fun part. Using ol' faithful, carefully jack the scissor jack up to the height were you can get the strut bolt in. Once thats in and the hand grenade you just put the pin back into is safe, jack up a bit more the get the knuckle side situated and slide the bolt through.

20170721_145007_zpsbq5nahma.jpg


Get both of the nuts and lock washers back in place, and get them good and tight. slowly let the scissor jack down ( make sure your jack stand has not moved), and it should be similar if not exactly what is in this next photograph.

20170721_144256_zpspfpm58pm.jpg


Rinse and repeat for the other side. Took about an hour for the first side taking pictures and not knowing what i was doing, second side took about 20 minutes. It is almost exactly a 2" lift as stated.

After:
20170721_150435_zpsahgvbbgb.jpg
20170721_150548_zpsvu7c7jap.jpg


I also had the stealership do a trans and transfer case flush and fill to the tune of 420 bucks :(
 
Last edited:

EyeInTheSky

Adventurer
Thanks, coming from my bang up drifting career (basically broke something every round), I learned early on to not sweat the issues and have a good time. I shall be giving MS a call monday to ask about the speedo cluster for sure <3

I did the rear lovell springs and bilstein struts today, I will do the fronts tomorrow. I know there are tons of how to's covering this, but I never find any with the ins and outs of actually doing it, just the steps involved, so here is how that went:

The before:
20170721_131530_zpsdvm1fyx0.jpg

20170721_150553_zpsemzsztko.jpg


The Tools:
21mm socket for the wheel removal, 22mm for the bolts in the lower control arm, large adjstable for hammering, holding and prying, 14mm wrench for the strut nut, 17mm wrench for the new strut nut, allen key for the top of the bilstein, screwdriver to push the bolts through the lca, 3/8th and 1/2 inch impacts, 1/2 inch wrench, a jack stand (not pictured), something to pry with and a scissor jack I had laying around.

e7ba66f9-4cd3-42cc-9b93-7bd876859ab4_zps5olvizyf.jpg


The Process:
Jack up, Remove wheel, place jackstand - self explanatory

Remove the 2 22mm nuts on the lower control arm, helped me to use the scissor jack to raise it a bit. This allows the bolts to tap out easily. Remove both bolts. This part is under pressure from the spring, so be careful to not hit the scissor jack. Death could occur.

20170721_142026_zps1tbb3fxx.jpg


Let the scissor jack down, and let the arm hang loose, if you need to jack the car up more now is a good time to do so from a point other than the lca. You will need the extra height to get the new spring in. Now is an appropriate time to take out the strut as well. I had to wedge my wrench on the upper tube to keep it from spinning, and used the 14mm to remove said part.

20170721_142247_zpsyxurwmxp.jpg


You should now have something resembling this, if you don't, you should probably ask for help.

20170721_142933_zpsfxmbfbpr.jpg


Now pop the spring in. You want to do this before you put the new strut in or it will just be in the way See picture as to why I said this. The springs are kind of heavy, so if you have a friend to hold the lca down, you are in good shape. I did not, so I used some advanced yoga techniques to hold the lca and insert the strut. I then used the trusty scissor jack to hold it in place.

20170721_144300_zpsn2qymlrd.jpg


Move on to the strut now. Separate the bushings to their appropriate sides of the mount, and slip the threaded end on through. Tighten using the 17mm wrench and an allen key, the size of which eludes me.

20170721_144420_zpsw1nvm8nj.jpg


Now the fun part. Using ol' faithful, carefully jack the scissor jack up to the height were you can get the strut bolt in. Once thats in and the hand grenade you just put the pin back into is safe, jack up a bit more the get the knuckle side situated and slide the bolt through.

20170721_145007_zpsbq5nahma.jpg


Get both of the nuts and lock washers back in place, and get them good and tight. slowly let the scissor jack down ( make sure your jack stand has not moved), and it should be similar if not exactly what is in this next photograph.

20170721_144256_zpspfpm58pm.jpg


Rinse and repeat for the other side. Took about an hour for the first side taking pictures and not knowing what i was doing, second side took about 20 minutes. It is almost exactly a 2" lift as stated.

After:
20170721_150435_zpsahgvbbgb.jpg
20170721_150548_zpsvu7c7jap.jpg


I also had the stealership do a trans and transfer case flush and fill to the tune of 420 bucks :(
Nice write up with pics. Can't wait for my budget to open up some more so I can throw some new springs on mine.

Did your dealership service include the front and rear differentials? Or just transmission and t case? Also, my dealership charged me about 220 for just the transmission, so you may want to negotiate with them a bit more for your next service.

The diffs are easy if you need to do them still, just make sure you get a fluid pump (<$5) to make your life easier.
 

Forum statistics

Threads
185,915
Messages
2,879,589
Members
225,497
Latest member
WonaWarrior
Top