Vandit - A Build Thread - 2013 E-Series Camper Van/4x4 Build

aarcaris94

Active member
-After a few weeks I finally got the sliders back from powder coat and was able to get them installed! The installation was relatively smooth, but as I previously mentioned we had to relocate the parking brake (still need to readjust this) and we had some struggles getting the forwardmost mounts on due to the frame being boxed. The texture powder coating turned out great and is very similar to the powder coating on my front bumper. For those that were curious about how strong they would be, I can confidently say they are very stout! They for sure added strength to the frame and we were surprised to see that any flex we could get in them was actually coming from the frame rails flexing and not the sliders themselves. Super happy with how they turned out and happy to have a slightly lower step into the van!

14991-albums1617-picture47333.jpg

Slider back from powder

14991-albums1617-picture47334.jpg

Getting set up for install

14991-albums1617-picture47335.jpg


14991-albums1617-picture47336.jpg

One side on

14991-albums1617-picture47337.jpg

Round two

14991-albums1617-picture47341.jpg

Back in the garage install all done

14991-albums1617-picture47342.jpg


14991-albums1617-picture47343.jpg


14991-albums1617-picture47344.jpg


14991-albums1617-picture47345.jpg


14991-albums1617-picture47346.jpg

This might be my new favorite picture of the van!


Now Enough garage pictures it's time to get this thing out on a trip!
 

aarcaris94

Active member
Update:
- No changes or updates to the build but we did get out for a quick trip over the Cascades to the Mckenzie River area and it worked great! Van has been running well and after getting some more hours behind the wheel I can say I am very impressed and stoked on the U-Joint 4x4 Conversion. It drives great on road, smooth off road, and works great on the snow/ice! We still haven't had it in any serious off road conditions due to the amount of snow we have had this year but come spring I think we will be getting even more use out of it.For now here are a few quick pictures of Vandit in its natural habitat and some of the Mckenzie River area.​

14991-albums1610-picture47520.jpg

Couldn't be happier with the color of the van in these PNW forests

14991-albums1624-picture47523.jpg


14991-albums1624-picture47527.jpg


14991-albums1624-picture47526.jpg


14991-albums1610-picture47521.jpg


-The last thing that is somewhat of an update to the build is that I am getting closer to the final design for the rear bumper. I have been slowly trying to teach myself Fusion 360 to be able to create a better working model, and think I am starting to figure it out. Hopefully, soon I will have some updates on the Rear Bumper Project thread.
 

aarcaris94

Active member
Update:
-Since completing the interior build we have been trying to find a solution to one of one problem that we were not really expecting, which was the flooring. We love the coin flooring and have been super happy with it and would do it exactly the same way if we were to do it again, but our dog Ace is not as much of a fan of it. Something that we have noticed especially now that he's getting a little older he tends to slide around a lot on it while we are driving if he walks around. For the most part, he's good about just lying down, but there are times that he is feeling antsy and then he just can't seem to get a good grip on it. Our temporary solution was adding in a small rug which helped a lot, but that meant he really could only again stay in one spot while driving. In addition to him sliding around at times, we have also worried about if we did damage teh floor in any way it wouldn't really be an option to redo it as it runs under all the cabinets. The flooring is extremely durable but we figured there must be a good solution out there.

After some internet searches, I came across inhabit Design Works out of portland Oregon which makes custom rugs/floor mats for sprinters using a woven vinyl material. From all the reviews everyone who has them seems to love them say they help provide a softer floor, they're easy to clean, and suppose to give more grip for a dogs. So after reaching out to them to get a quote to do a custom floor mat/rug set up I decided it was worth some effort to figure out how to do it myself. Don't get me wrong I think they make a great product, but it was too steep of a price to make it worth it for us.

So I started on my search for a product that would get the job done. After some time I found 
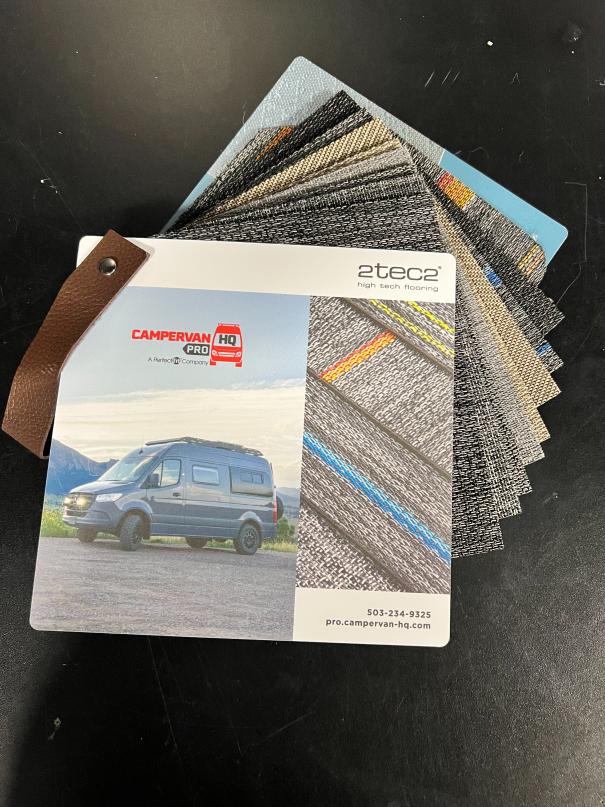
2tec2 flooring on Perfectfit's website. This product is very similar to the Chilewich material used by inhabit but was more affordable (still very pricey though). I order a sample pack just to make sure it was what we wanted and so we could see the colors in person.

14991-albums1610-picture47814.jpg

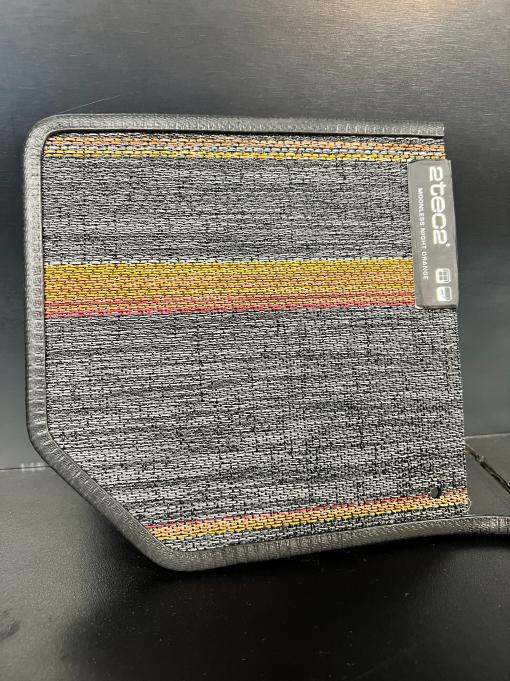
The material felt very durable, easy to clean, more easily replaceable/ repairable if damaged, and seems like it will give more grip for our dog. Also due to it having a felt backer, I think it will help keep the floor a little warmer for those cold winter nights. Once we got the samples we did some tests just to make sure it would be a good fit for us. It passed our scratch test with flying colors though the grip test wasn’t 100% conclusive but it does seem like would be an improvement over the coin flooring. I was the least confident in how the material would handle a water test. For that, we first ran water over it in the sink and surprisingly it beaded right off so we took it up a notch and submerged it for a while in the sink. Unsurprisingly the felt did soak up some water but after an afternoon on a window sill in the sun, it was 100% dry! That sealed the deal for me and sent me on the next search, how to finish the edges without a sewing machine, and how to secure it in place. After thinking through multiple ideas for finishing off the edges I finally came across an idea that I liked and seemed like it would work! The plan was to use a rubber edge seal trim. This would be easy to install, easy to replace, inexpensive, and give it a clean finished look without the added cost or struggle of trying to sew through the thick material. So I ordered a bunch of different options from Amazon and started testing them out on the sample pieces. After doing a couple of tests I found our favorite one and placed an order for the material and edging. Then it was time to test how well a snap would work in the material. I ordered a cheap tool from amazon to help do that install and it worked perfectly so it was go time! I ordered all my materials and started on my template.

14991-albums1610-picture47815.jpg

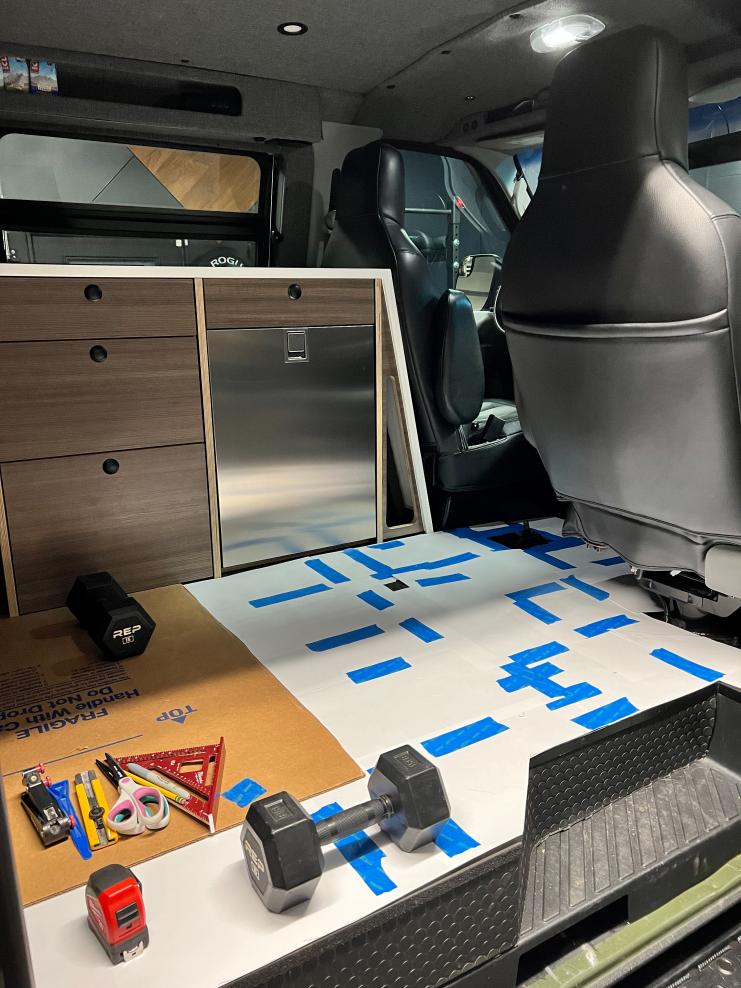
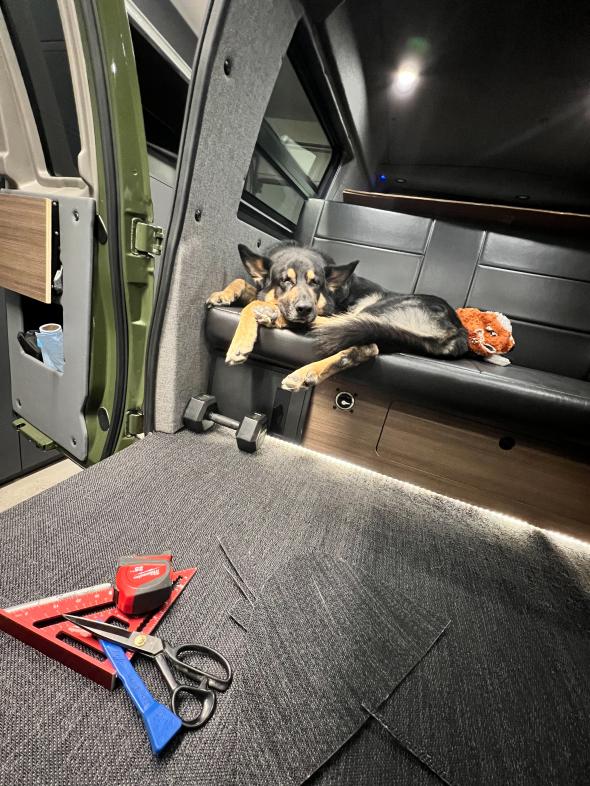
Test Piece Number One

14991-albums1610-picture47816.jpg

The Start of The Template

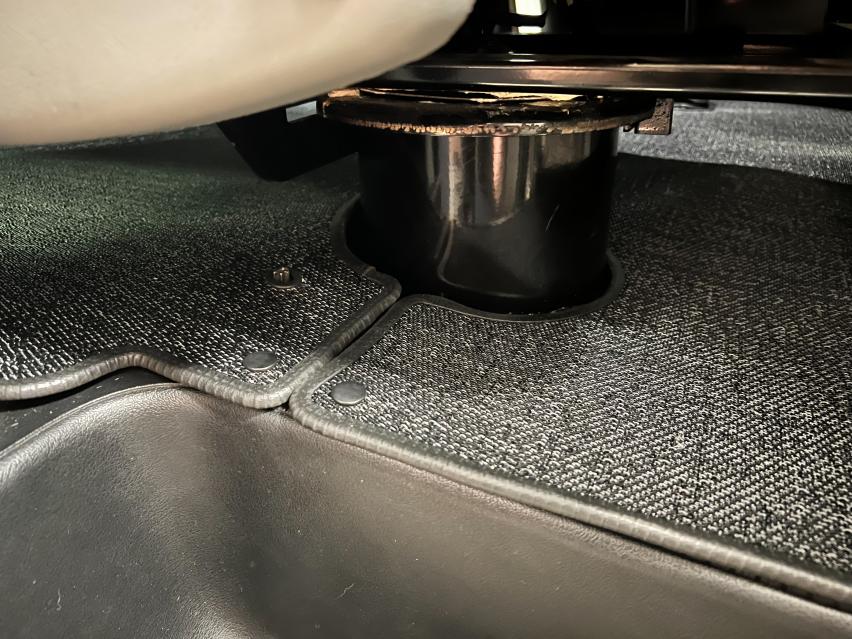
Since I have toe kick lighting I decided to only use the edge trim on the outside edges to help minimize the impact on those lights. The material is still run all teh way back under the toe kicks though to help lock it into place and give it a seamless look.

14991-albums1610-picture47817.jpg

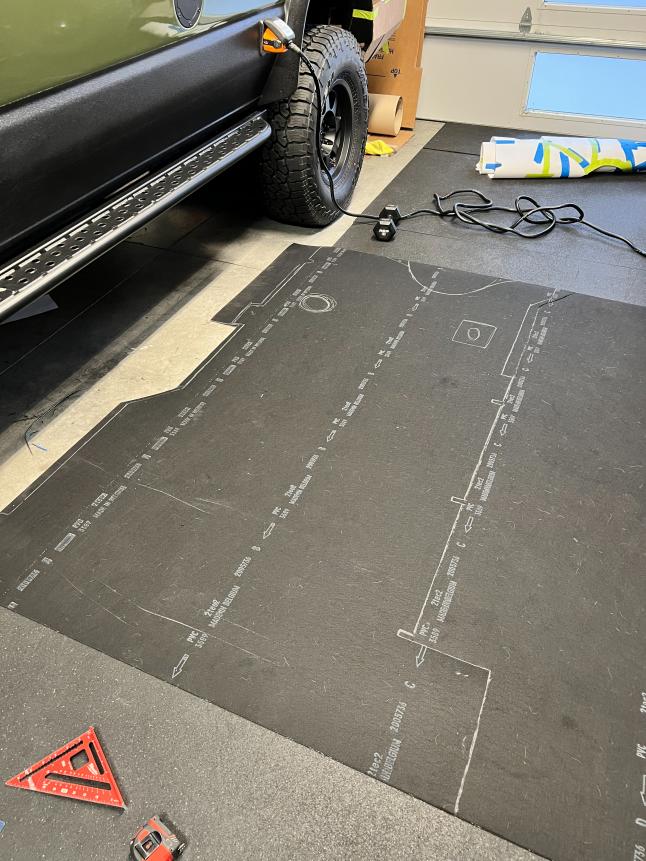
Traced the template out on the backside of the material.

14991-albums1610-picture47818.jpg

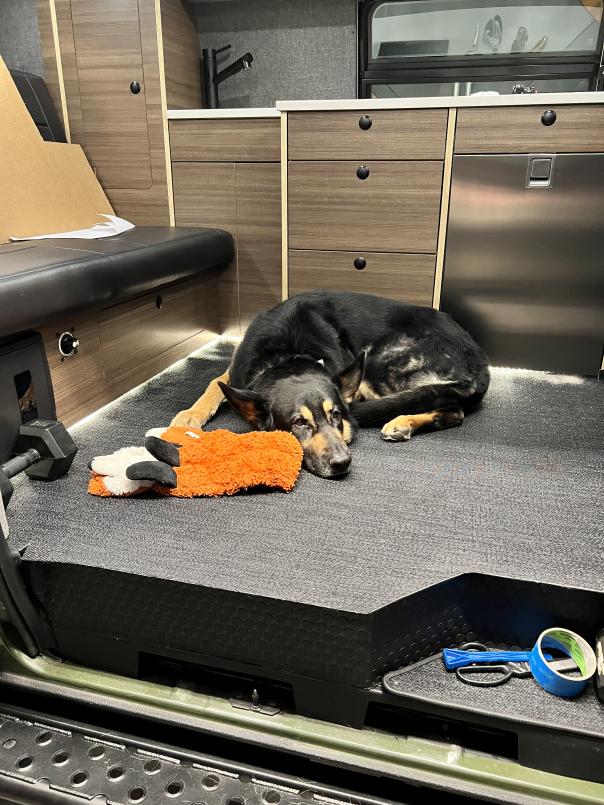
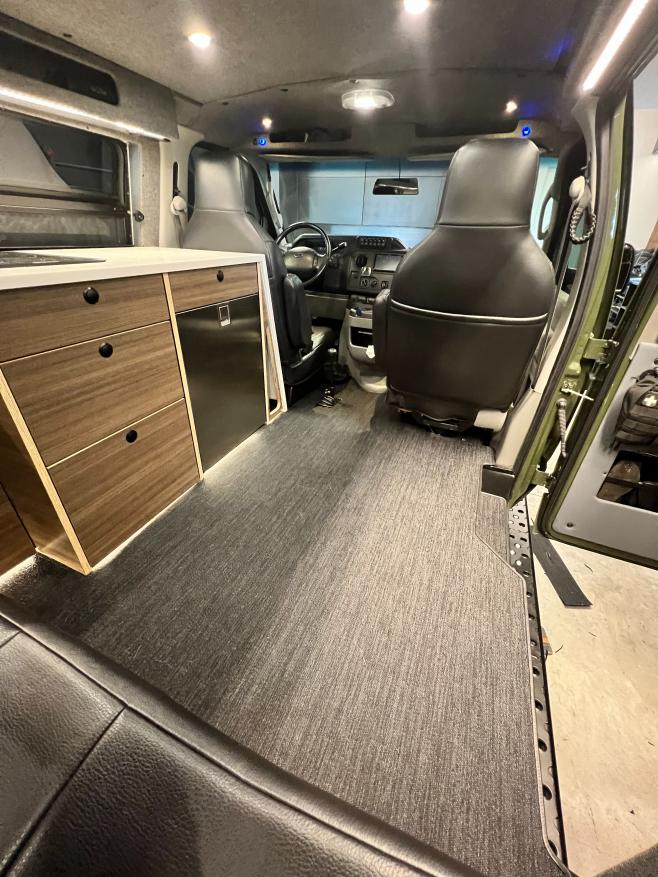
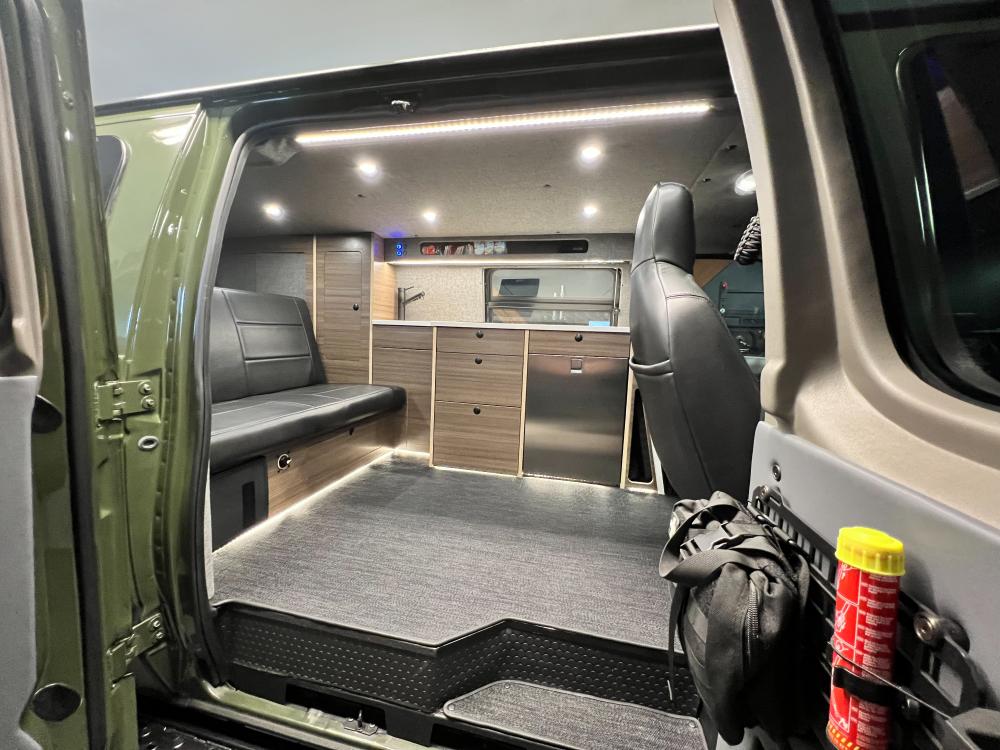
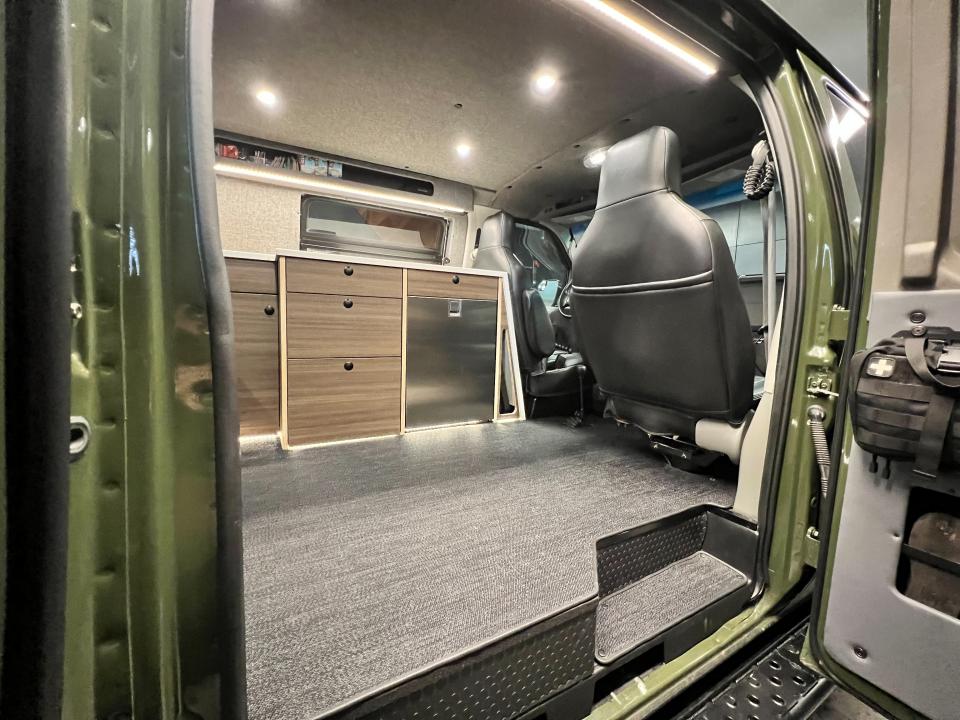
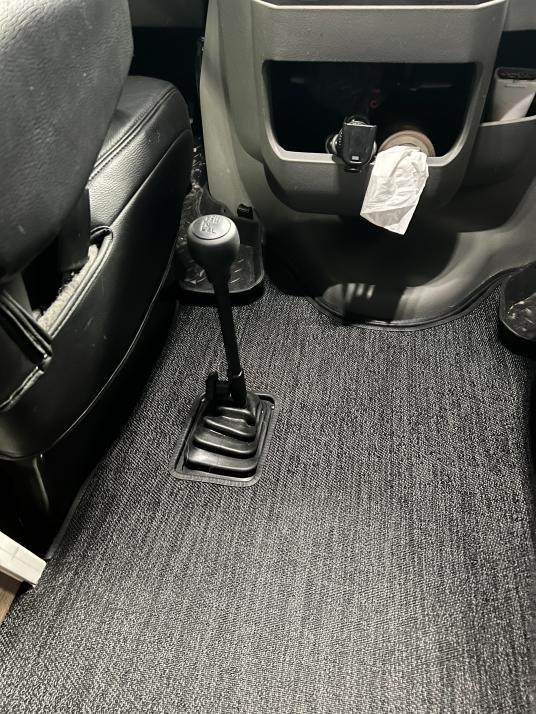
First Test piece in the van.

14991-albums1610-picture47819.jpg

Ace approves of the floor mat

14991-albums1610-picture47820.jpg


14991-albums1610-picture47821.jpg

Decided to cut the outside edge after getting the inside edge all locked in.

14991-albums1610-picture47822.jpg

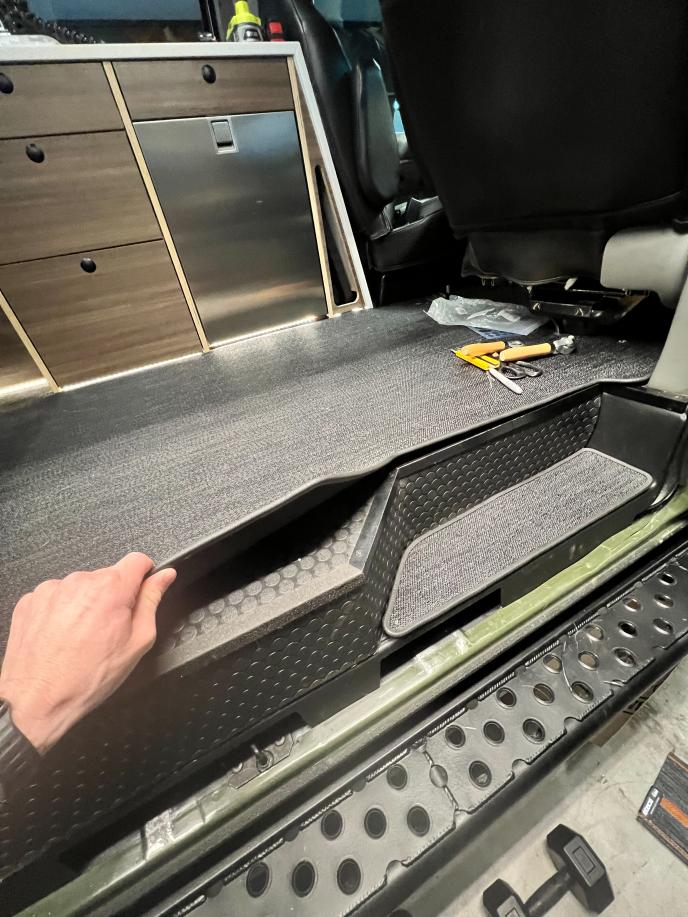
Still pretty thin even with the rubber edge seal installed.

14991-albums1610-picture47823.jpg

Was able to run it all the way up to under the front Husky floor liners.

14991-albums1610-picture47826.jpg


14991-albums1610-picture47827.jpg

Still might add a few snaps on the outside edge but so far it's not moving

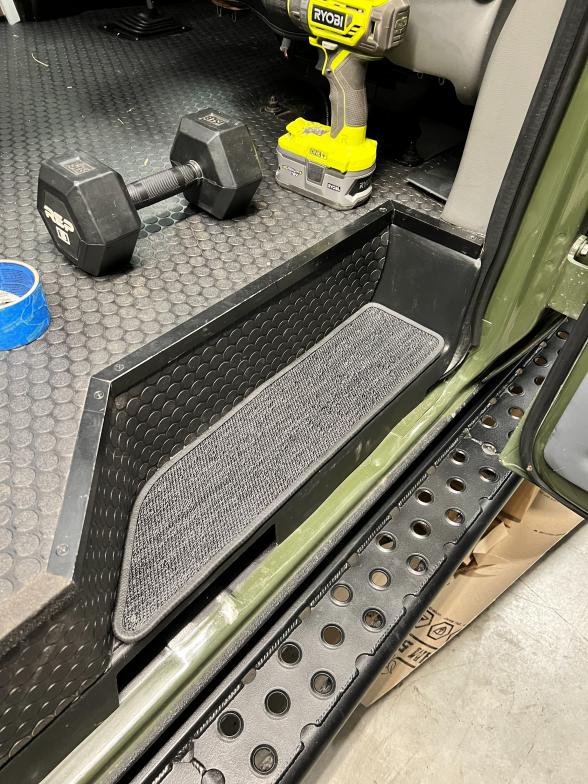
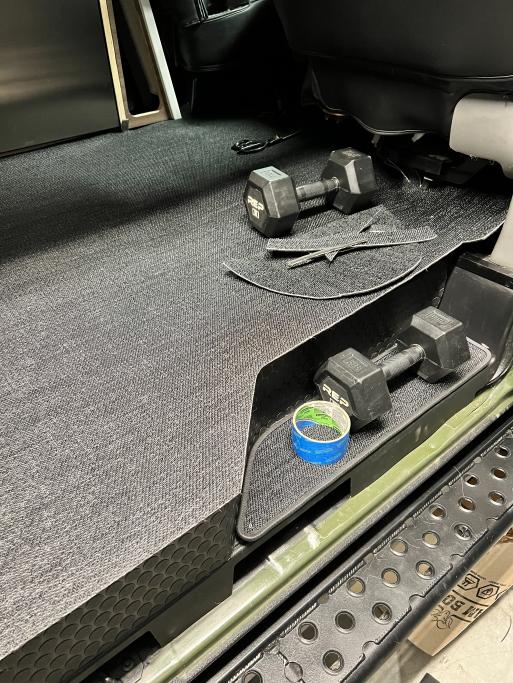
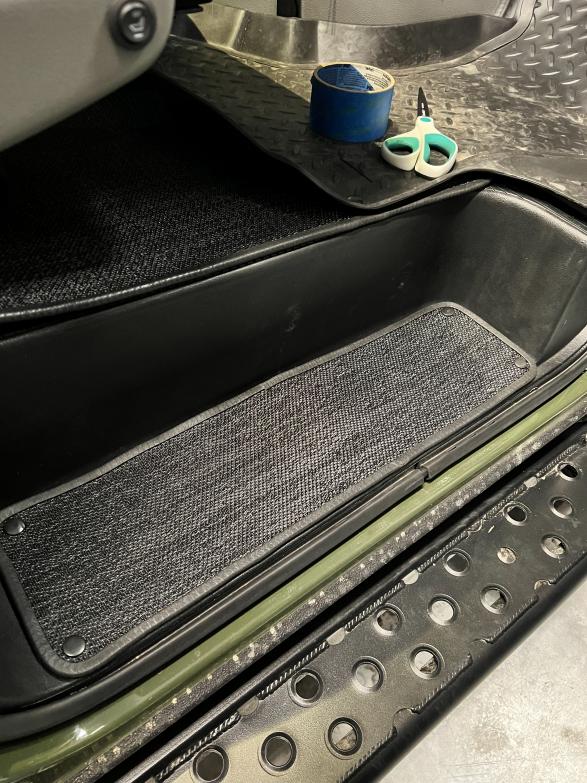
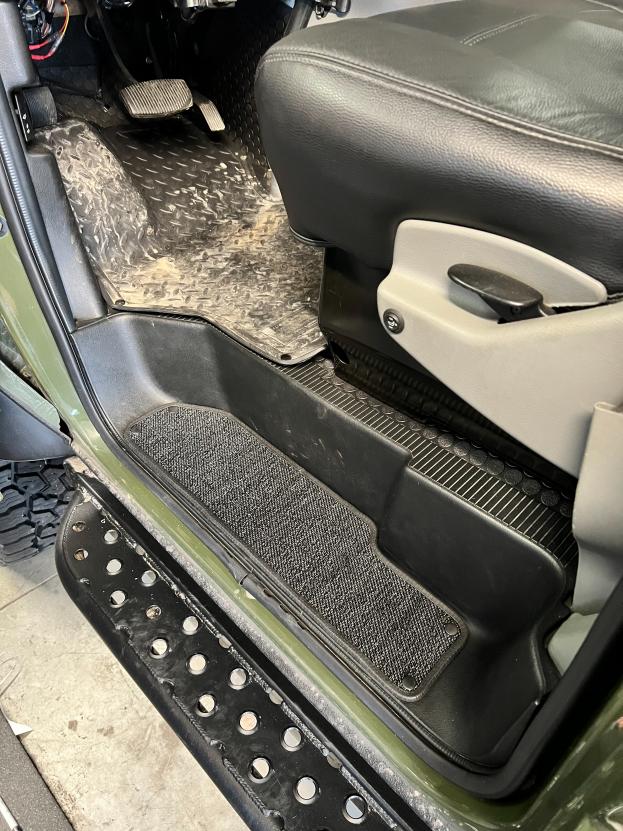
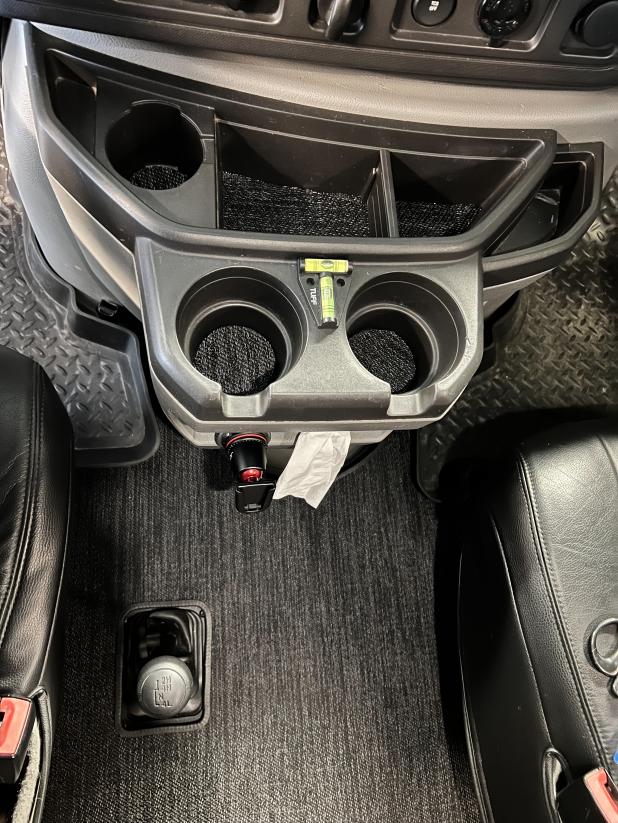
After getting the main floor section done I had quite a bit of material left over so I went ahead and used it for the factory step locations.

14991-albums1610-picture47824.jpg

Passenger side step

14991-albums1610-picture47825.jpg

Driver side step

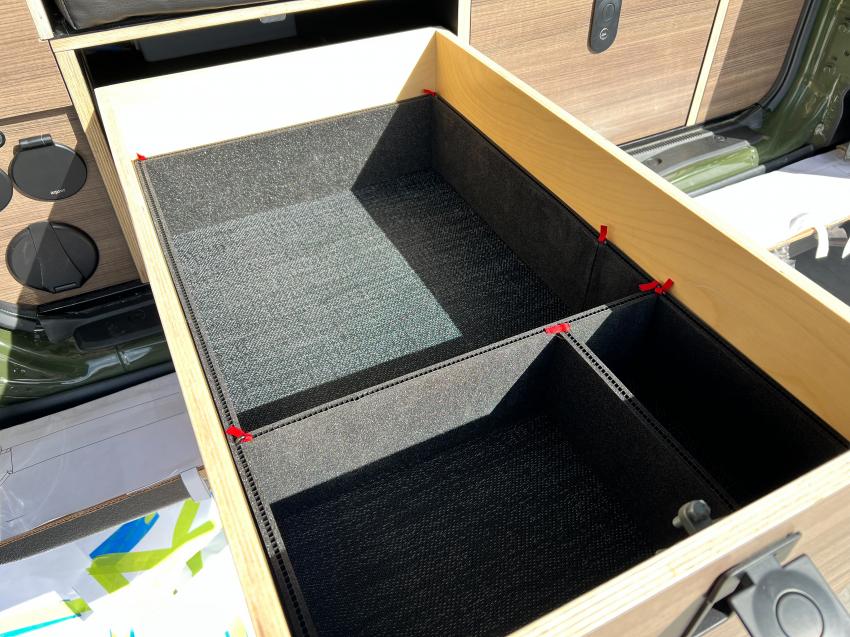
I still have a decent amount of material left over so I am going to make inserts for all the drawers in the van. I will post some more pictures once I get those done and any other added areas I may do depending on how much material I have left after those.
 

aarcaris94

Active member
Floor Mat Update:
-Spent some time this weekend finishing up my last few details (edging and Snaps) of the floor mat and trying to find more spots to put the woven vinyl mat as I have a fair amount left over. Decided to add it to my drawers as a drawer liner, and my below bench storage box as we frequently keep boots under there. I still had a fair amount of material so I started trying to find more areas for it. I decided to add some inserts to the center console, and have to say I really like the little extra detail this adds! I still have a little bit of extra material, so I may continue to play around with adding it in a few more areas but for now, I am considering the floor mat complete and a total success!


14991-albums1610-picture47840.jpg

Finished the edging around the transfer case shifter

14991-albums1610-picture47843.jpg

Added some snaps, but you can hardly see them in this picture.

14991-albums1610-picture47844.jpg

Added a grommet around the seat base bolt to help hold it in place.

14991-albums1610-picture47837.jpg

Rear drawer mat.

14991-albums1610-picture47842.jpg

Kitchen drawer mat.

14991-albums1610-picture47841.jpg

Below the bench mat should make cleaning easier if we put dirty boots in there.

14991-albums1610-picture47838.jpg

I really like the way these inserts add a little something to the center console.

14991-albums1610-picture47839.jpg

Center console inserts


flydream

New member
Any chance you recall what rubber edge trim you used for the floor mats, looking to do the same for my truck camper. Thanks, very nice build
 

iggi

Ian
Inspiring build! Good motivation as I get going on finishing my interior and start prepping for the exterior.
 

86scotty

Cynic
Have you thought about putting a door in the side or end of your side door step well? You have some unused space there where you build your floor up. I usually leave the end open and roll my door mat up and store in there but it works great for dirty shoes as well.

Do you mind sharing how much your flooring cost you? Just the material, I mean, in the amount you needed for your floor. I saw your link on the edging.
 

aarcaris94

Active member
Have you thought about putting a door in the side or end of your side door step well? You have some unused space there where you build your floor up. I usually leave the end open and roll my door mat up and store in there but it works great for dirty shoes as well.

Do you mind sharing how much your flooring cost you? Just the material, I mean, in the amount you needed for your floor. I saw your link on the edging.
I have thought about and and will probably eventually do it, but just haven't gone back to do it quite yet. I have a few other items to knock out first but do have that on the list of possibilities.

I can't remember exactly what it was for the floor mat project, but I think it was around $500 in material. From memory, I think I did 7' of material and that stuff is about 75 a linear foot plus I think I ordered 40 feet of the edging. Not the cheapest, but much less than the quote I got to have it done!
 

Forum statistics

Threads
185,833
Messages
2,878,703
Members
225,393
Latest member
jgrillz94
Top