Due to my lack of funds and Tuffy's overhead console being $400+, i decided to build my own console to house my stereo, cb, maxitrip auto comp., and a switch panel. Now i realize there will be some dispute about using plywood for the main body of the console, but i am a very adequate woodworker, so i decided to stick with what i know ( I didn't win the Construction student of the year award for doing nuthin' ! ). So the main issues i have heard with using wood for something like this are moisture and vibration. I used rocker guard over the whole thing, so moisture is not really an issue. Plus i gusseted (lol is that even a word??) quite will, so i dont think vibes will be a problem.
The design:
Due to my inability to plan stuff in advance, i came up with the overall design and layout of the console during a random stroll through home depot with one of my buddies. the idea seemed fairly solid, so i picked up most of the needed materials at that point.
The Materials:
One sheet of plywood ( got it from the scrap section for 51 cents )
one 1"x1/8"x48" steel bar. ( had to get another one later, so two were needed )
one 8' piece of 1/8" c-channel aluminum....lots will be left over. just need 44.5" for the front crossmember that goes between the cage bars.
a plethora of 1/4"x3/4"and1/2" bolts, with corresponding nuts and rubber washers for each
about 6-8 larger bolts (cant recall the size at the moment)
one 3'x2' sheet of galvanized steel (doesnt have to galvanized, but it was shiney.. )
some small screws, 1/2" i believe
lots of primer and paint
few cans of rocker guard
waterproof/outdoor glue
and a few other things i've probably forgotten but will add later.
In total this cost me just less than $150 ( the paint accounts for a fair bit of it ) not including the switches, stereo, wiring, etc.
Tools:
hammer
Assortment of saws: band saw, scroll saw, jig saw, hack saw are all good to have
Screwdrivers
Drill
Drill bit set....everything from 3/16s to 1/2" (for both metal and wood)......drill press would've been nice
a few files
marking awl
center punch
sandpaper
vice
anvil was nice to smooth the edge of the freshly cut sheet metal
tin snips
and again, i've probably forgotten something that i can add later
now, time for pictures
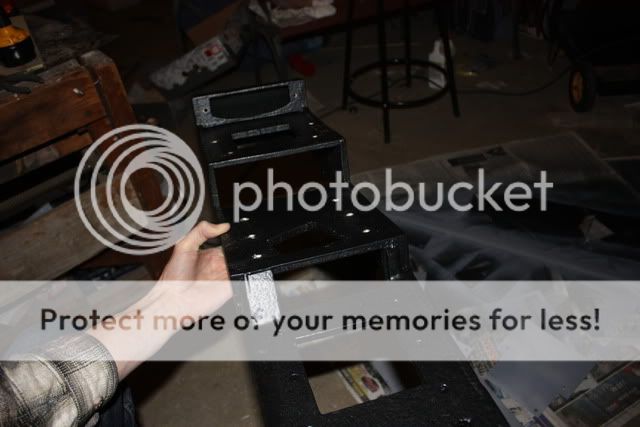
getting started

planning stuff out
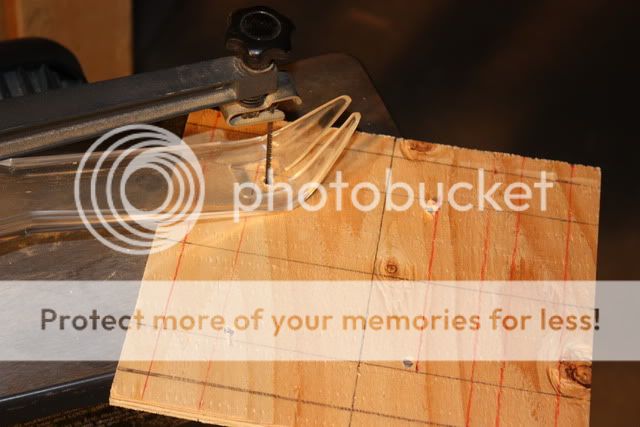
cutting one of the sides

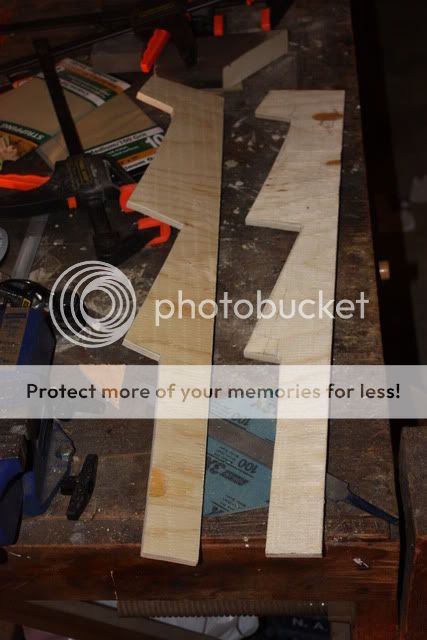
the two identical sides next to each other
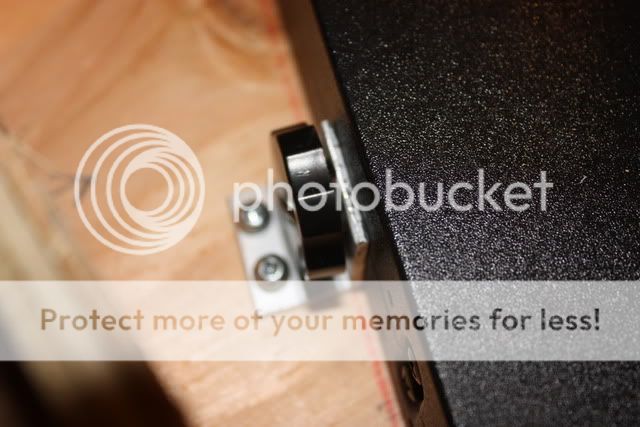
The maxitrip

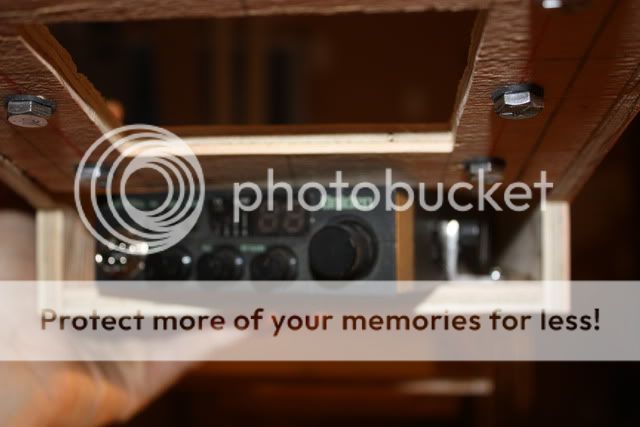
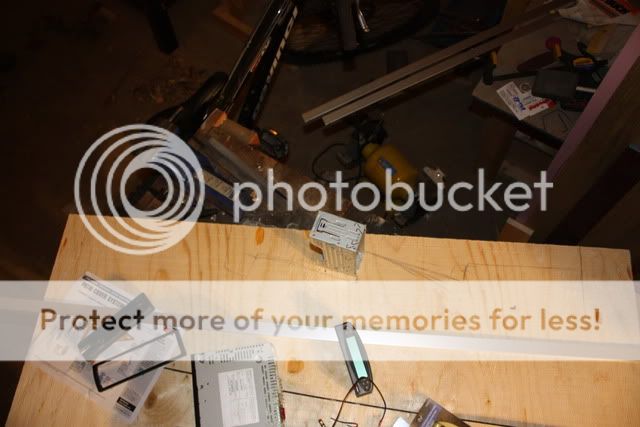
a quick mock up of the stereo and computer
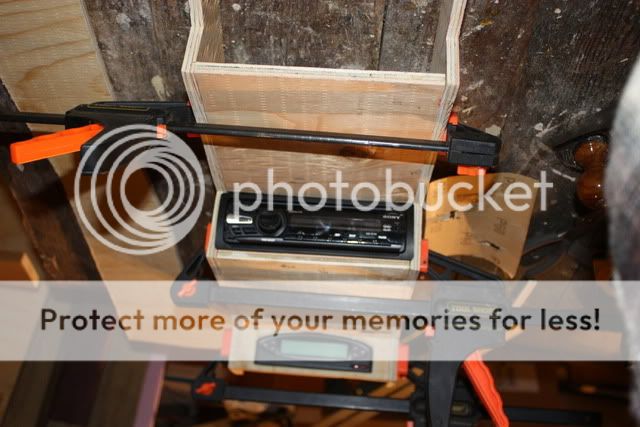
Glueing.....the more clamps the better

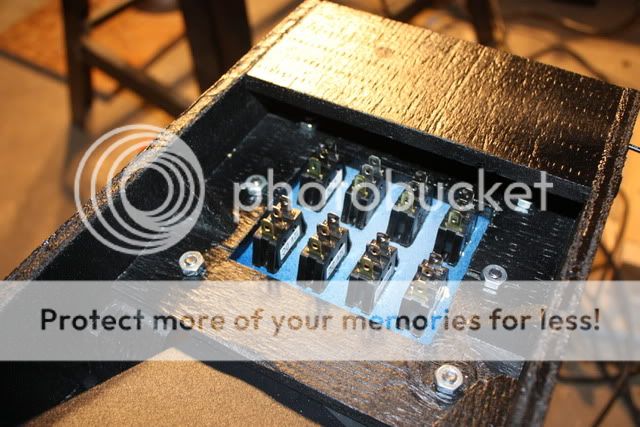
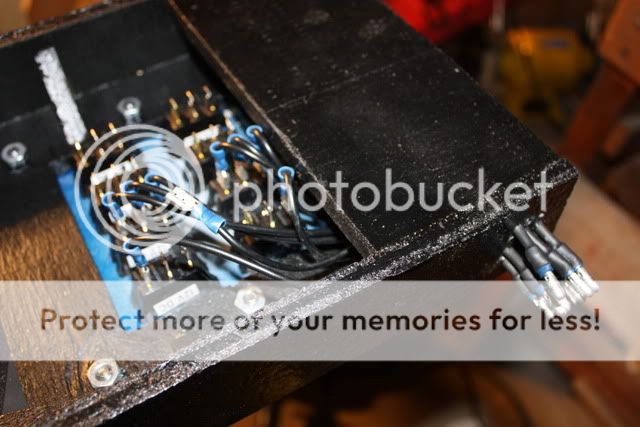
Deciding what to do for the switch panel

I drilled 4 holes, one at each corner of where the switch panel housing had to be cut out.
Mock up of the switch panel (though there will be 8 switches when it is done...one for the coffee maker, passenger ejection, oil slick....etc )

cont....
The design:
Due to my inability to plan stuff in advance, i came up with the overall design and layout of the console during a random stroll through home depot with one of my buddies. the idea seemed fairly solid, so i picked up most of the needed materials at that point.
The Materials:
One sheet of plywood ( got it from the scrap section for 51 cents )
one 1"x1/8"x48" steel bar. ( had to get another one later, so two were needed )
one 8' piece of 1/8" c-channel aluminum....lots will be left over. just need 44.5" for the front crossmember that goes between the cage bars.
a plethora of 1/4"x3/4"and1/2" bolts, with corresponding nuts and rubber washers for each
about 6-8 larger bolts (cant recall the size at the moment)
one 3'x2' sheet of galvanized steel (doesnt have to galvanized, but it was shiney.. )
some small screws, 1/2" i believe
lots of primer and paint
few cans of rocker guard
waterproof/outdoor glue
and a few other things i've probably forgotten but will add later.
In total this cost me just less than $150 ( the paint accounts for a fair bit of it ) not including the switches, stereo, wiring, etc.
Tools:
hammer
Assortment of saws: band saw, scroll saw, jig saw, hack saw are all good to have
Screwdrivers
Drill
Drill bit set....everything from 3/16s to 1/2" (for both metal and wood)......drill press would've been nice
a few files
marking awl
center punch
sandpaper
vice
anvil was nice to smooth the edge of the freshly cut sheet metal
tin snips
and again, i've probably forgotten something that i can add later
now, time for pictures
getting started
planning stuff out
cutting one of the sides
the two identical sides next to each other
The maxitrip
a quick mock up of the stereo and computer
Glueing.....the more clamps the better
Deciding what to do for the switch panel
I drilled 4 holes, one at each corner of where the switch panel housing had to be cut out.
Mock up of the switch panel (though there will be 8 switches when it is done...one for the coffee maker, passenger ejection, oil slick....etc )
cont....