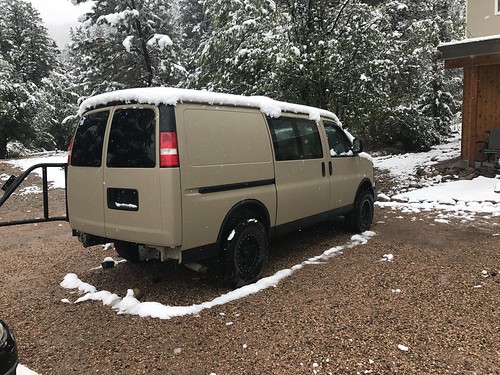
More progress... and setbacks.
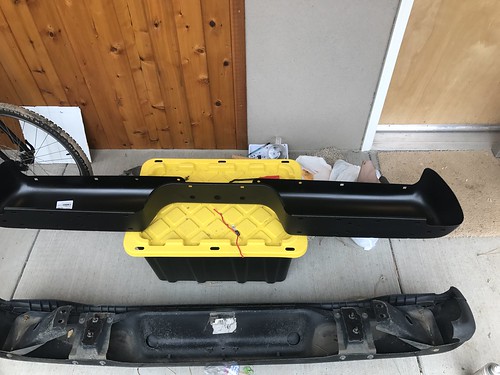
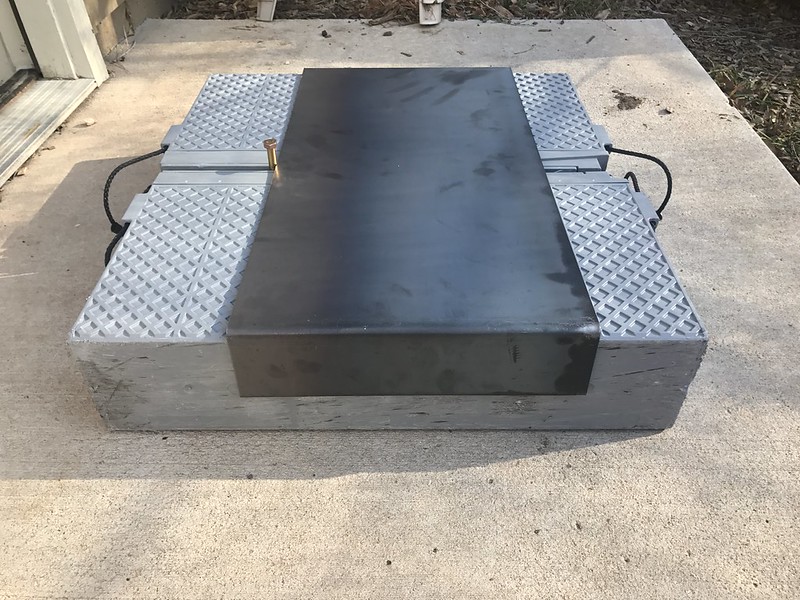
This weekend I checked one major milestone for this phase of the project off the list - I didn't have to tarp the van for the first time in almost a month. That's right she's weathertight again. And not a day to0 soon (as we got snow Sunday evening). I was able to install the rear popouts, vent fan, and complete several other smaller projects. If things would have gone to plan this phase of the project would have been wrapped up. However, I discovered, much to my dismay that the replacement rear bumper shell I ordered was incorrect. I was not sent an Express bumper shell at all, I'm not sure what I received but it definitely does not fit an Express. I contacted the seller and they are shipping a correct Express replacement. It's a major bummer however as I had already Raptor Lined the replacement, luckily I still have a liter of black Raptor but I'm looking at some fairly major delays when you factor in shipping, prepping, and painting the replacement (and cure time). It was a major let down, and honestly I could barely look at the van for several days I was so upset.
My lease is up in May and I am planning to leave on my trip at that time. With only 6 months left to complete the van and a long to do list (electrical, cabinets, propane, etc.) I canlt really afford wasted work time. The paint project has unfortunately taken far longer than expected, in large part due to seller mistakes that have created substantial delays (Raptor Liner, Bumper Cover, Spare Tire Carrier), especially when you factor in missed weather windows. I'm starting to get a little apprehensive, but have to keep maintaining momentum and focussing on the positives. It will be a tremendous relief when the bumper is installed and I can finally wrap up this stage, with the exterior and mechanical side of the project complete.
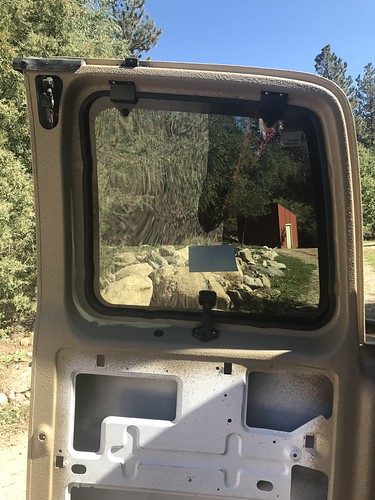
Installing the Pop-Outs:
This was actually a fair simple process with 2 people. A friend held the windows in place while I marked the pilot hole locations. The windows were then removed, pilot holes drilled, and the windows were mounted using stainless steel hardware. Eventually, I may replace the sheet metal screws with riv-nuts and stainless bolts for a more permanent solution, but we'll see how the sheet metal screws fair. I'm very happy with the result definitely a step up from the mismatched fixed windows, and should facilitate good airflow over the bed to the front mounted roof fan.
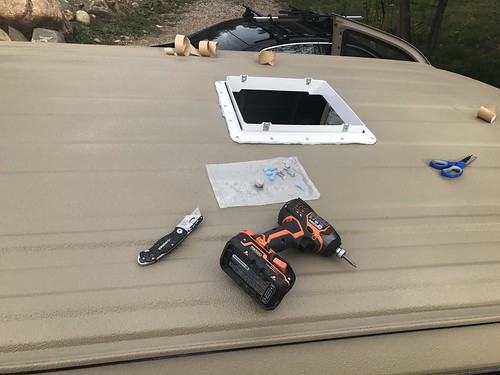
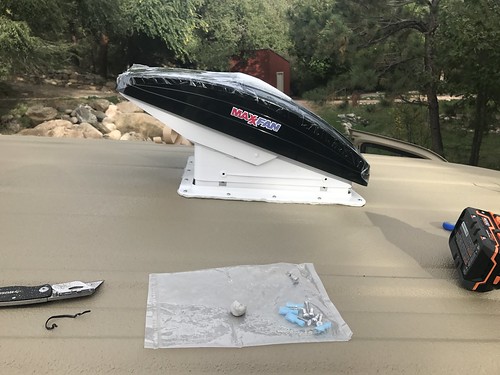
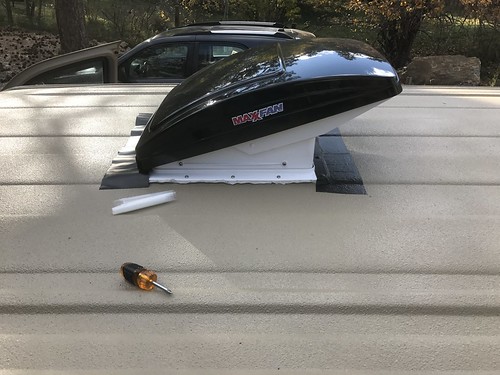
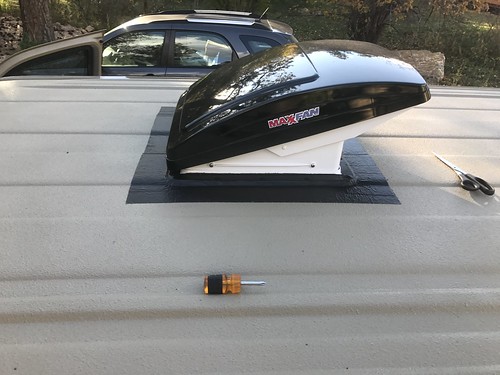
Installing the Maxxfan:
I then addressed the rather prominent hole in my roof. I chose the Maxxfan 6200k with it's integrated rain fairing. The fan can be operated open or closed. I used 1.5" Butyl Tape to seal the fan and plan to finish with 4" Eternabond Tape. I'm trying to decide between Tan or Black Eternabond. Tan seems the obvious choice, but I fear it may be a lighter shade of tan than the Toyota Quicksand color used on the van. I'm thinking black would fit the current tan/black color scheme the van has going on and may actually be less obvious than a mismatched shade of tan, especially with a black fan.
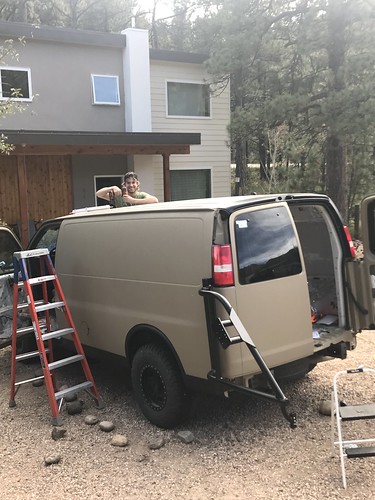
One of the rare photos of me actually working on the van (as I'm usually working solo)...
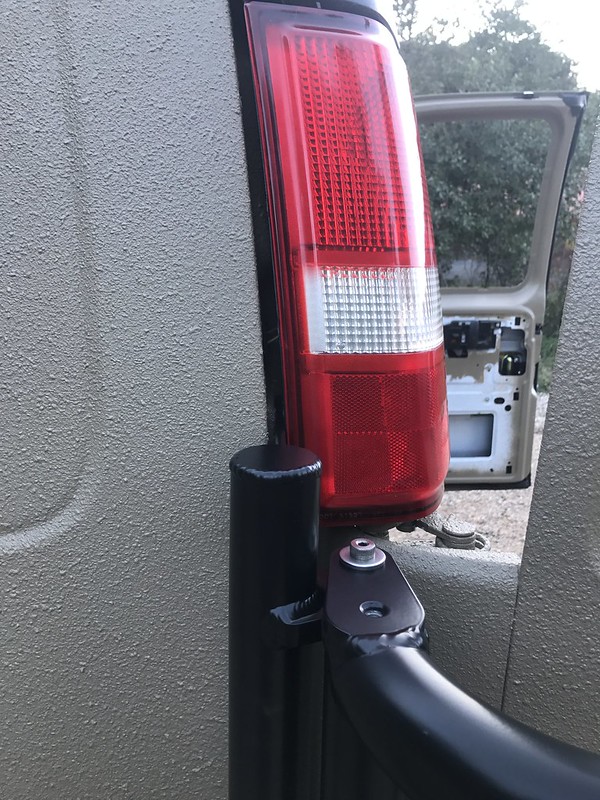
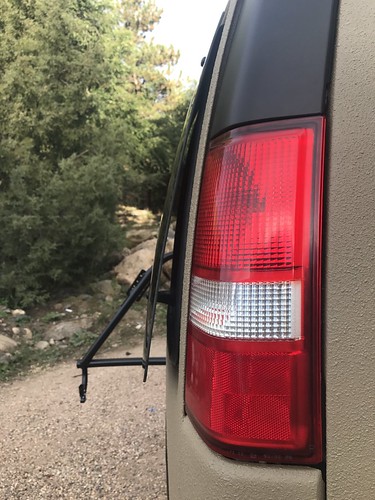
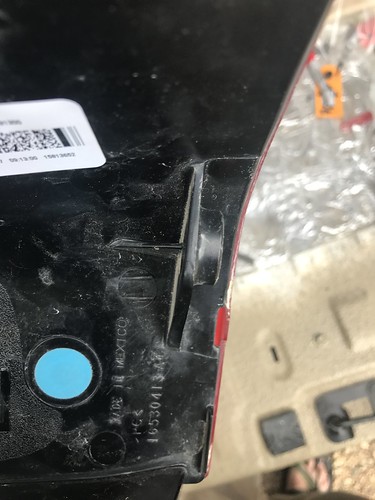
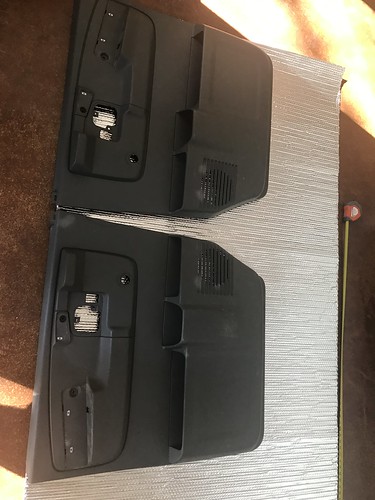
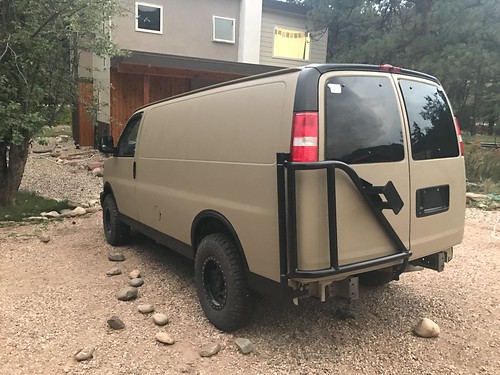
Taillight Modification:
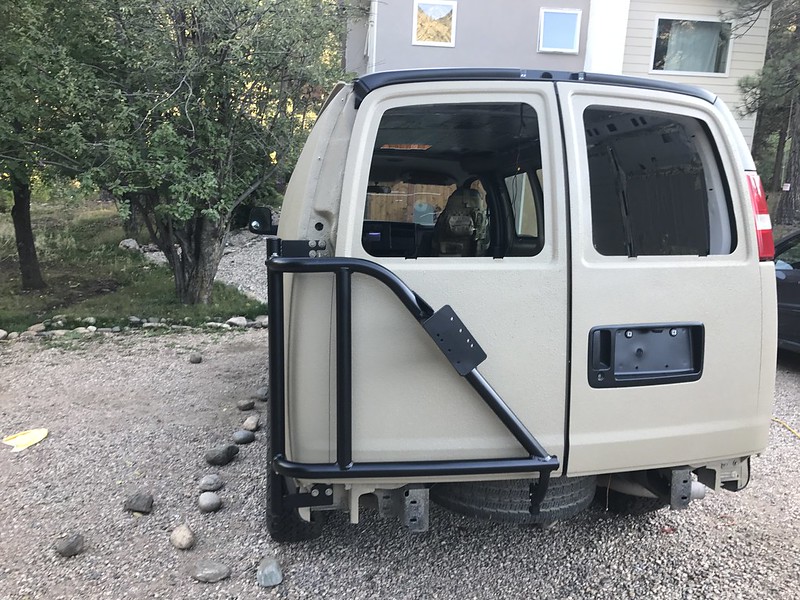
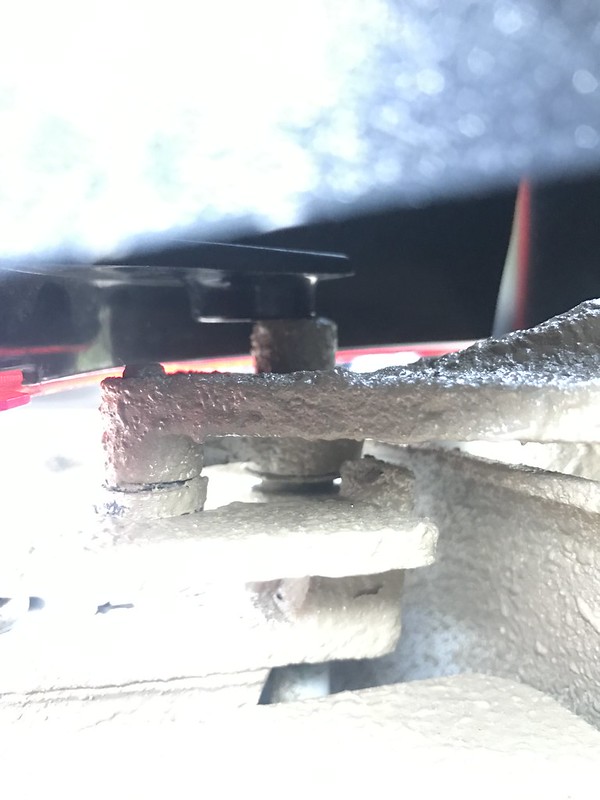
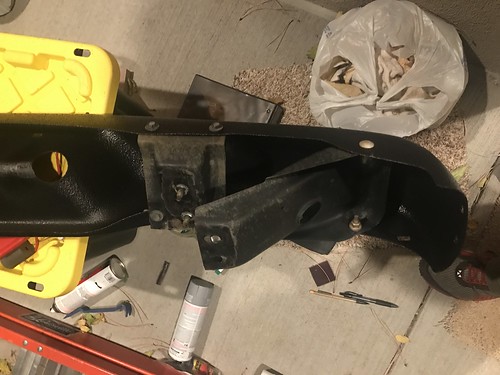
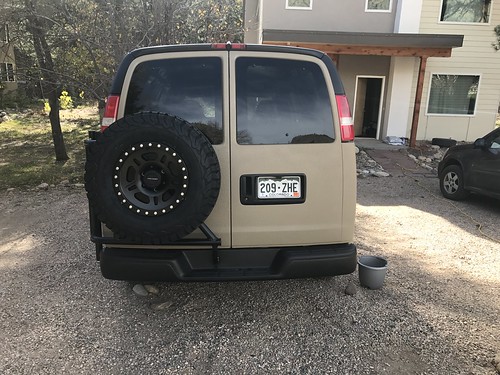
After installing the Aluminess Spare Tire Carrier I ran into clearance issues with the factory taillight. THe Aluminess tire carrier bolts to the door hinges and runs behind the factory taillight. With the added width of the tire carrier the taillight would no longer fit into place. The issue was largely the 4th mounting point in which a molded ring fits over a pin on the door hinge. I ended up cutting away the front of this pocket. This allows the taillight to be mounted at the correct vertical position though it still sticks out a bit further than stock. The disadvantage is that I sacrificed the 4th mounting point but the taillight is pretty solid with the 3 bolts. All in all it's not perfect but works fairly well.
Passenger side taillinght for reference:
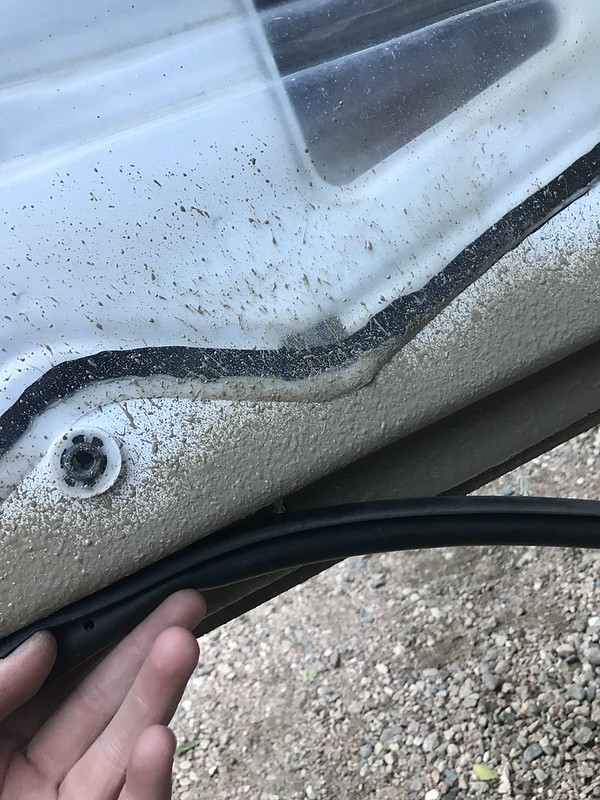
Pre-Modification:
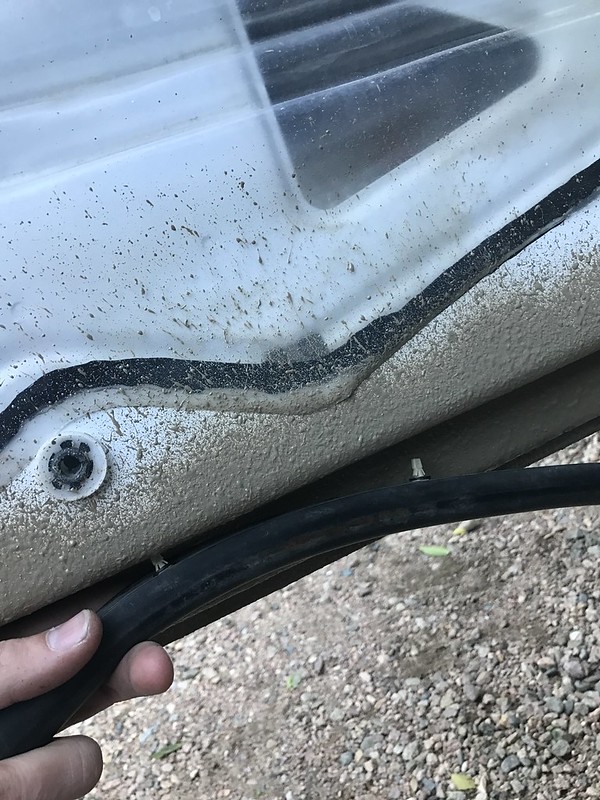
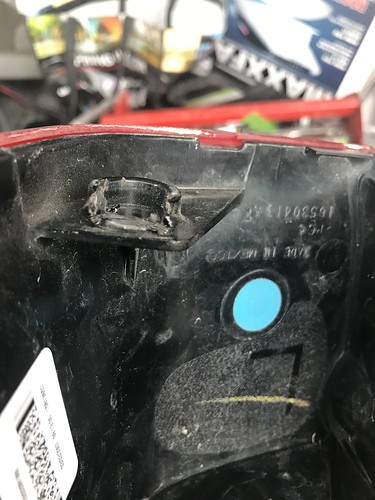
Post-Modification:
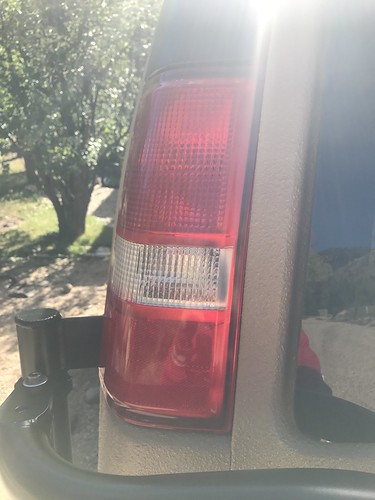
End Result:
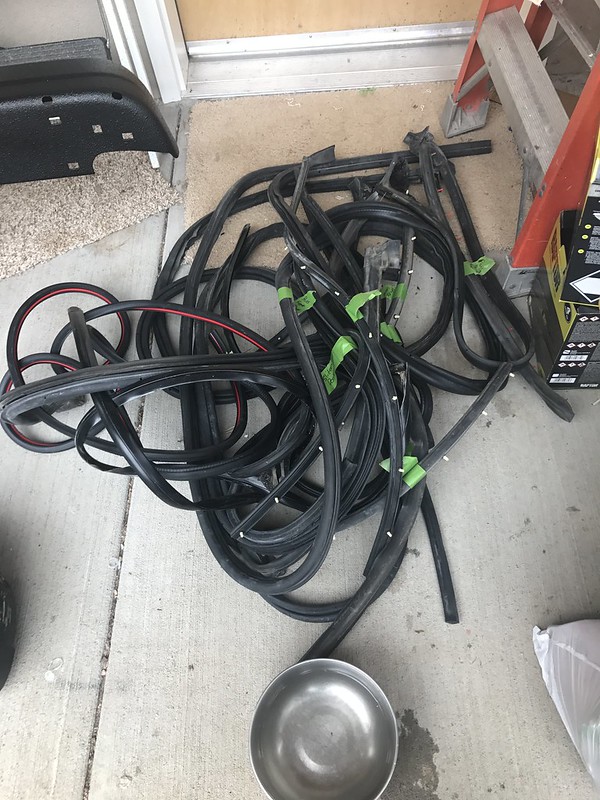
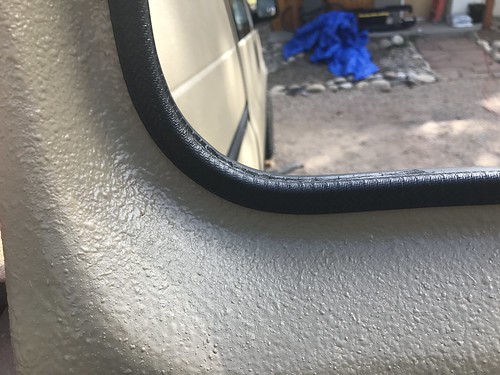
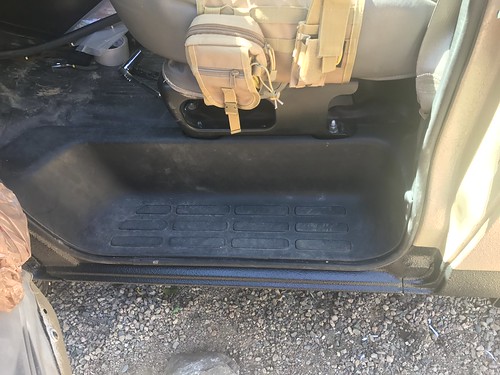
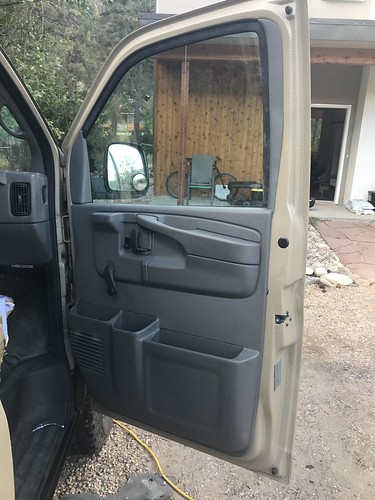
Reinstalling Trim and Miscenllaneous Items:
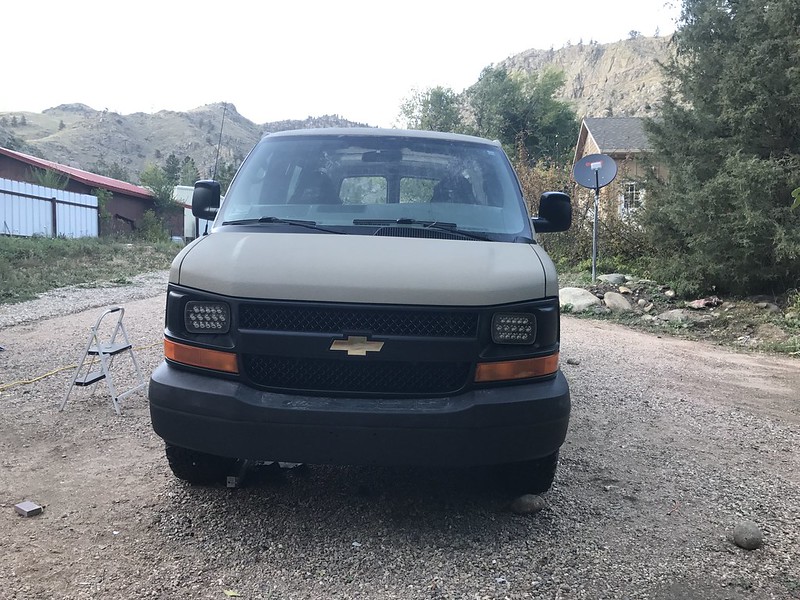
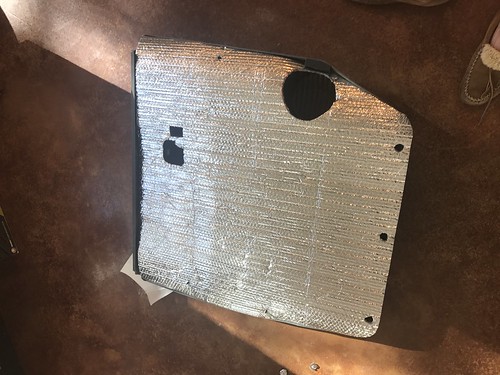
Next I began putting the interior back together. It's the first time in onths that the footwells have been installed and it's fantastic. To help insulte the driver and passenger doors I made reflectix sheets that fit between the platic door panels and doors themselves. Since the windows need to roll down into the interior space this was the best insulation strategy I could think of and worked well. I also installed the rain visor on the driver/passenger windows and the bug guard on the hood.
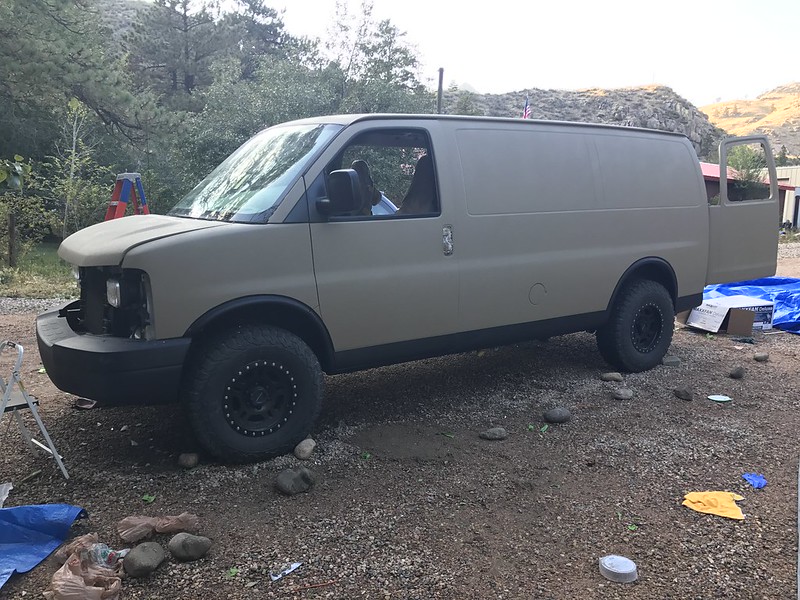
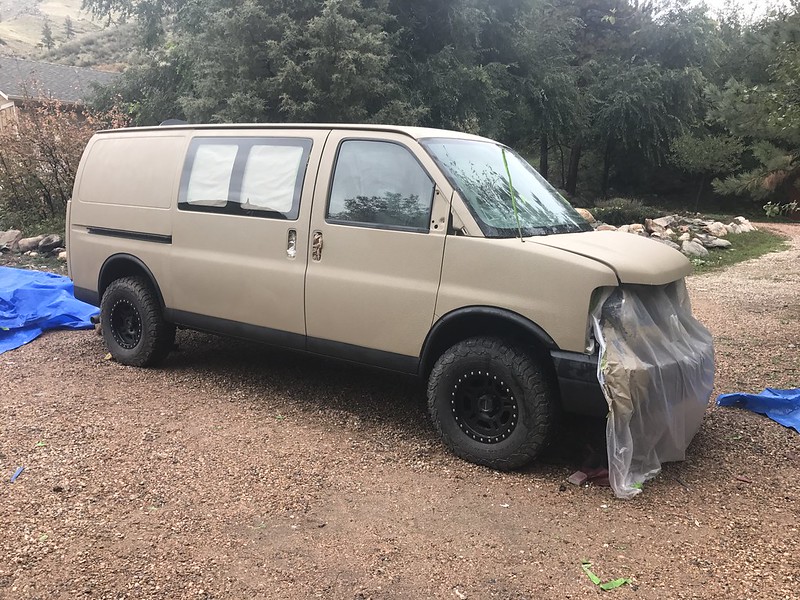
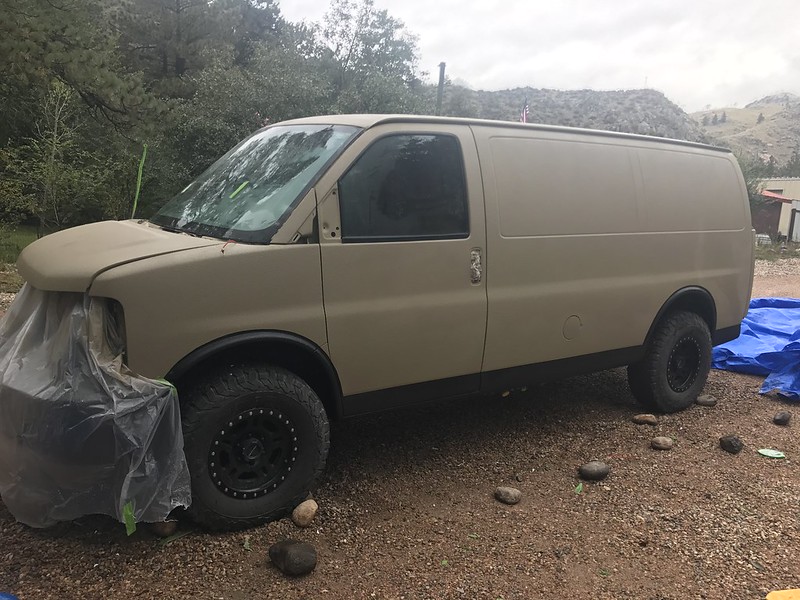
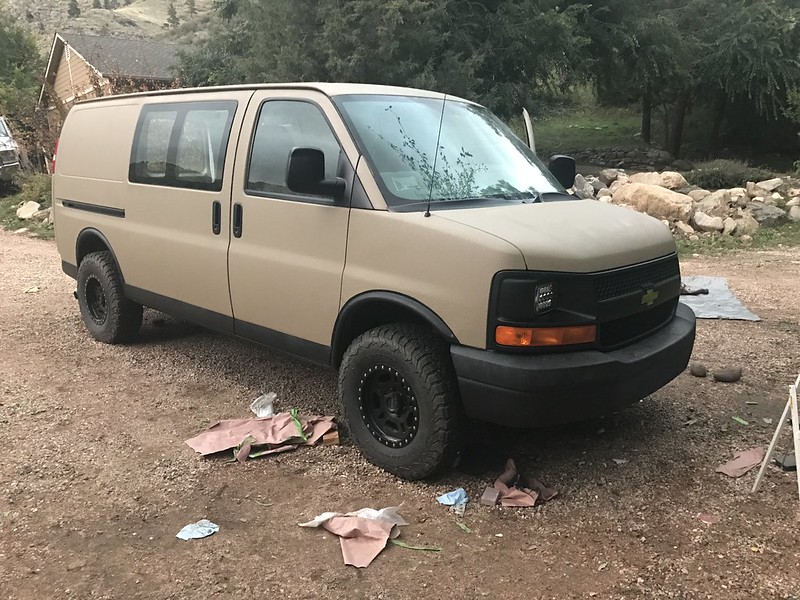
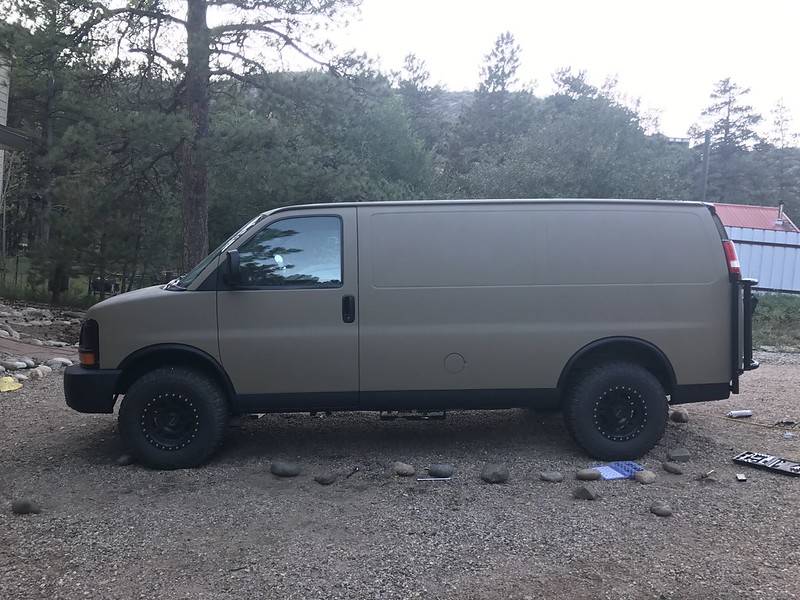
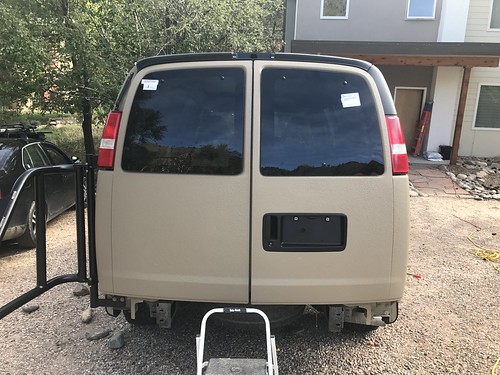
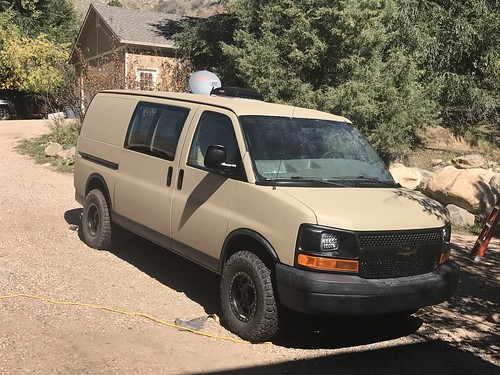
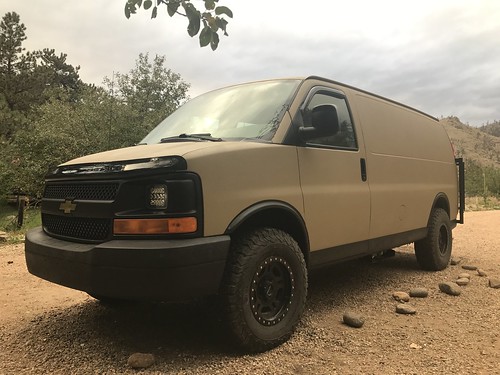
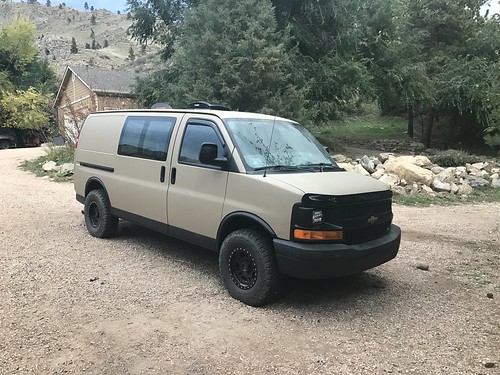
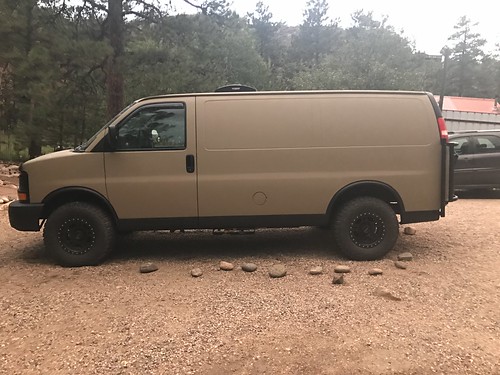
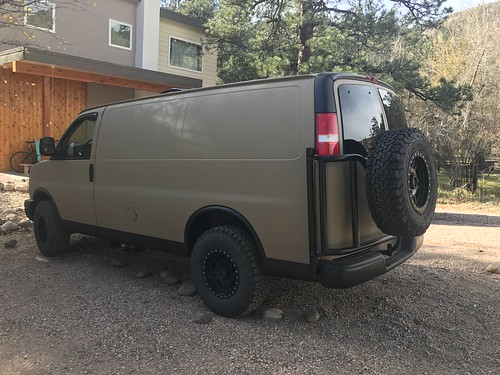
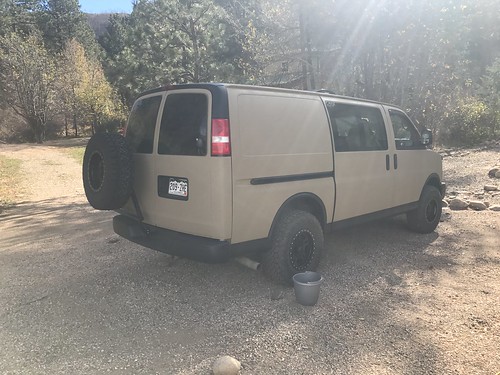
How she sits now (so tantalizingly close to finished):
Not a moment too soon...
And the hold-up...