Sedole's Gen 3 - the Iron Hog

sedole

Active member
I just read about the height adjustment on the Bilsteins! I was told on another thread they were not adjustable. I have the light duty front springs took the car off the jack's and it was too low, I ordered a 6mm spacer (raises car 12mm) now I just read this. Now i'm wondering if I do one or the other. I have the medium duty springs in the rear.

That's a great question, and to be honest, I'm not sure either.. Results may vary of course, but with mine on the higher setting I got about 22mm more lift. So amount of additional lift wanted might be the deciding factor.
 

sedole

Active member
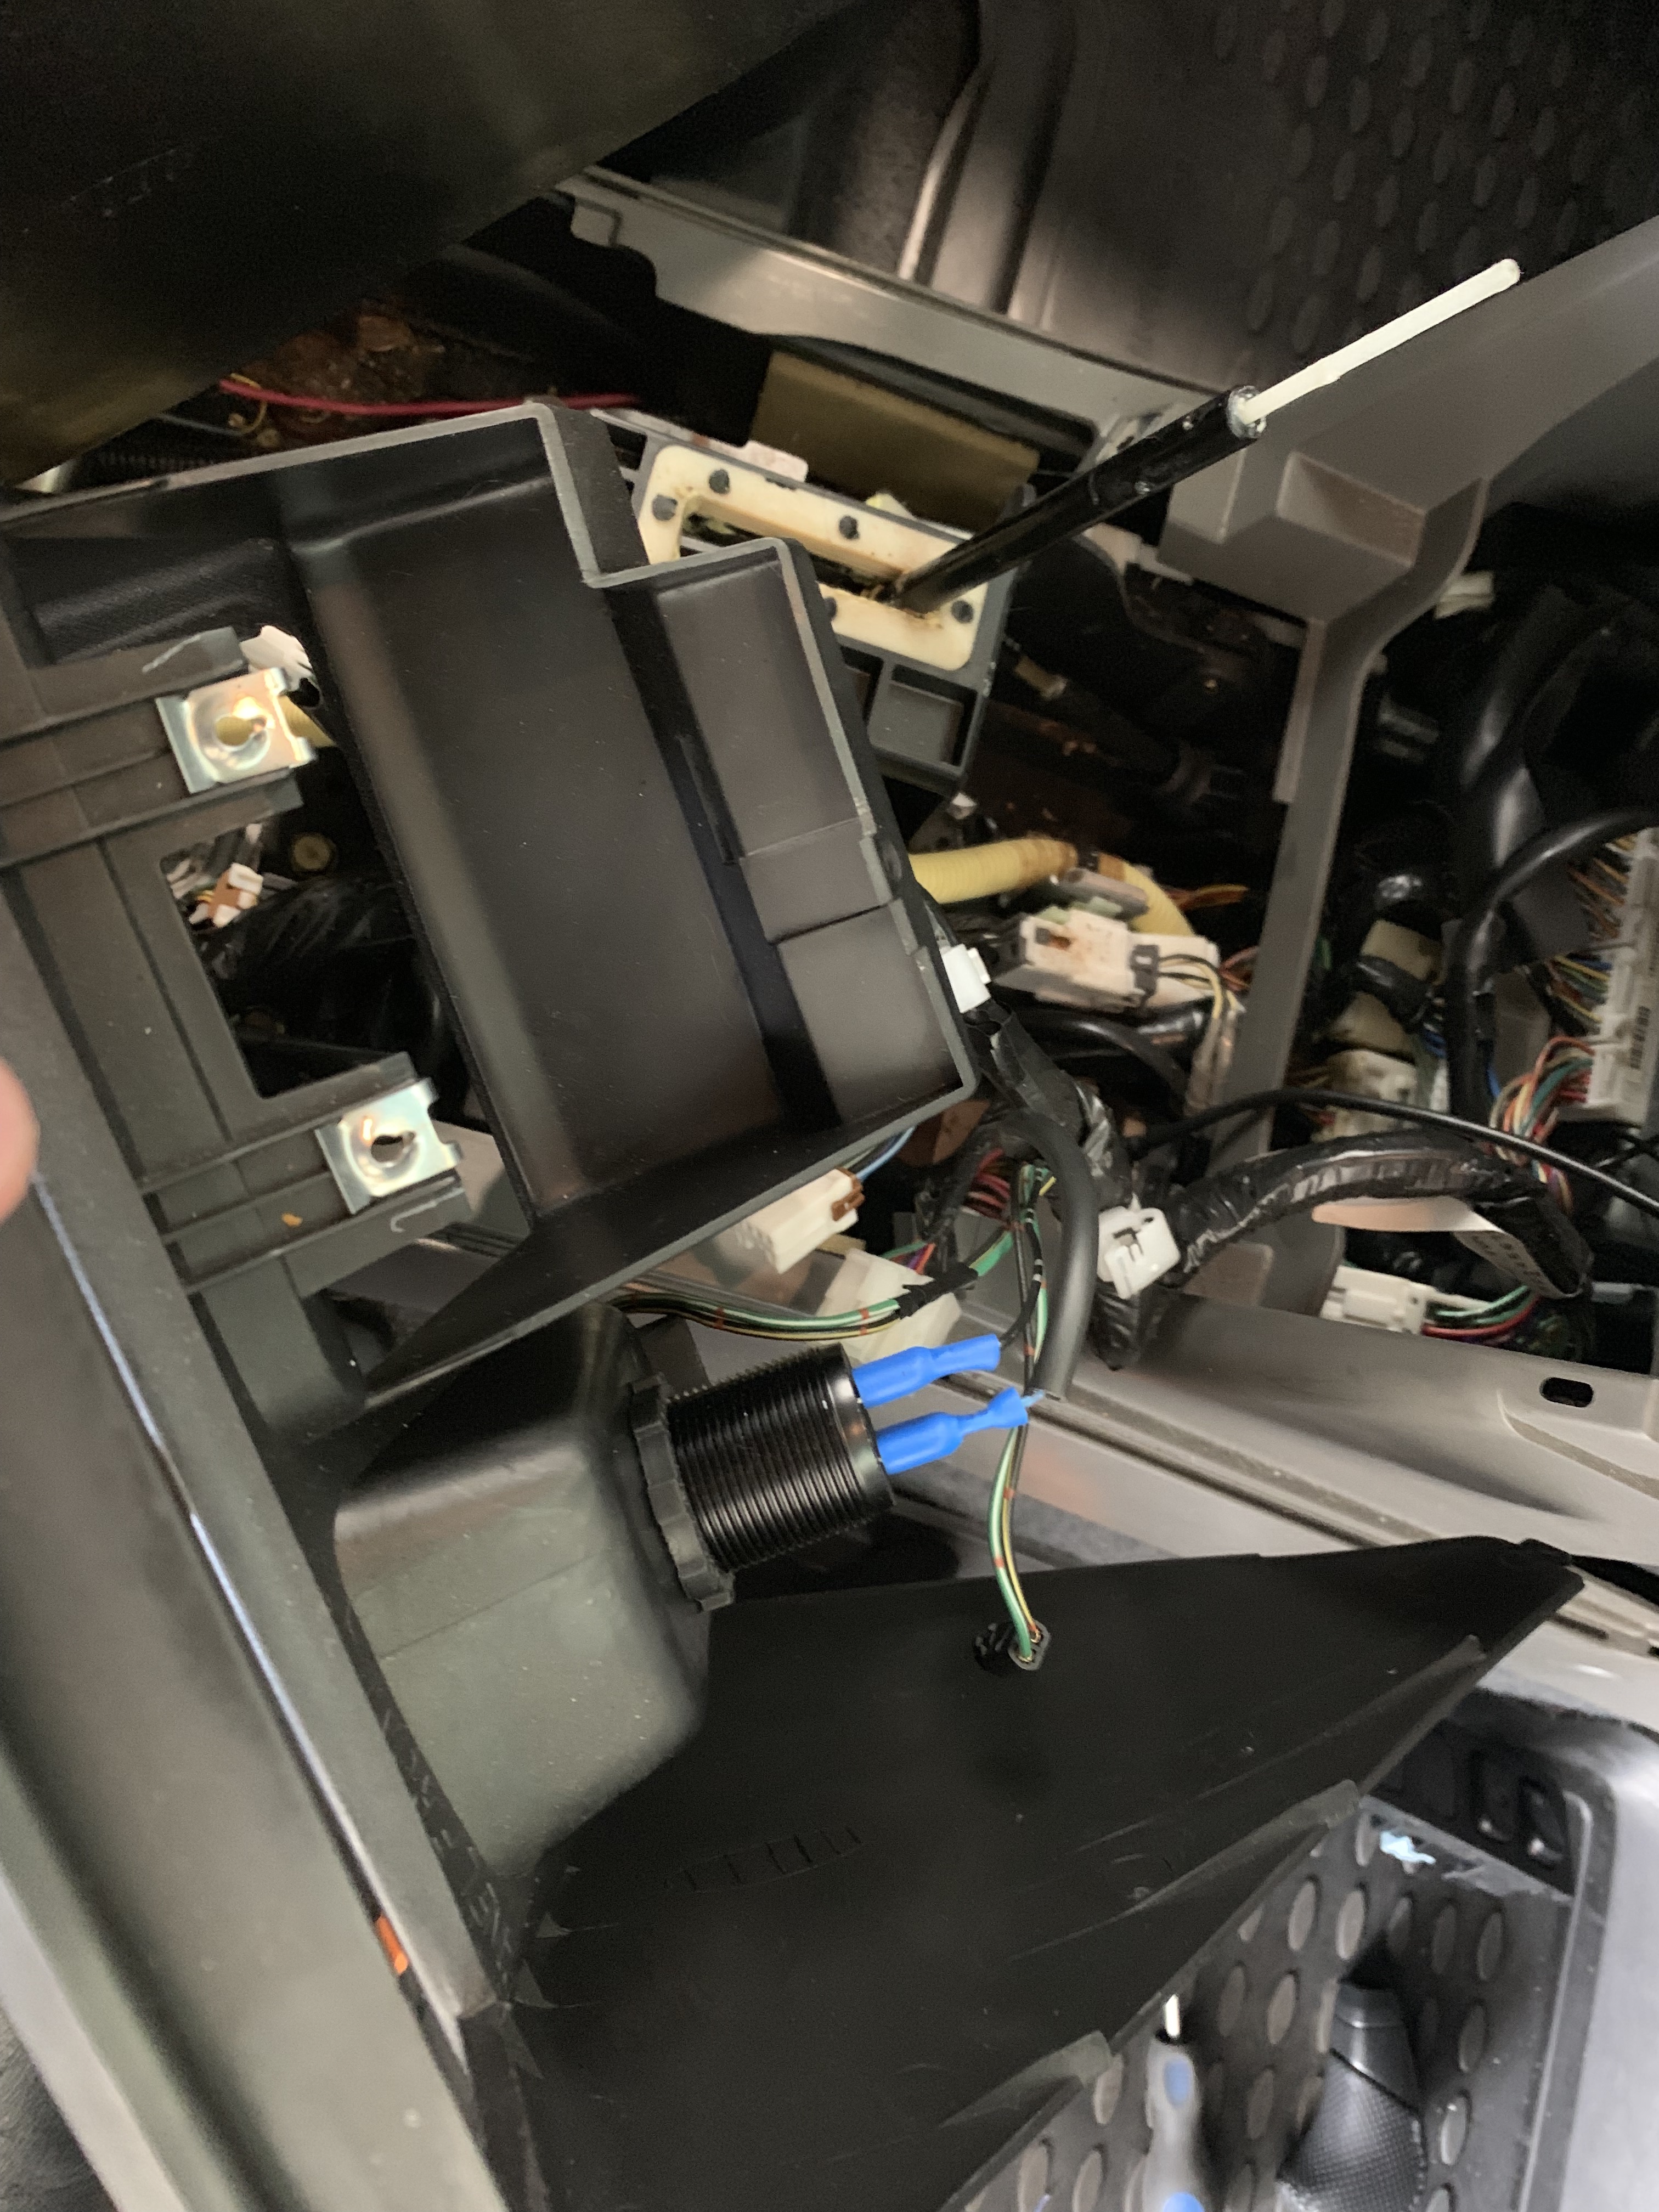
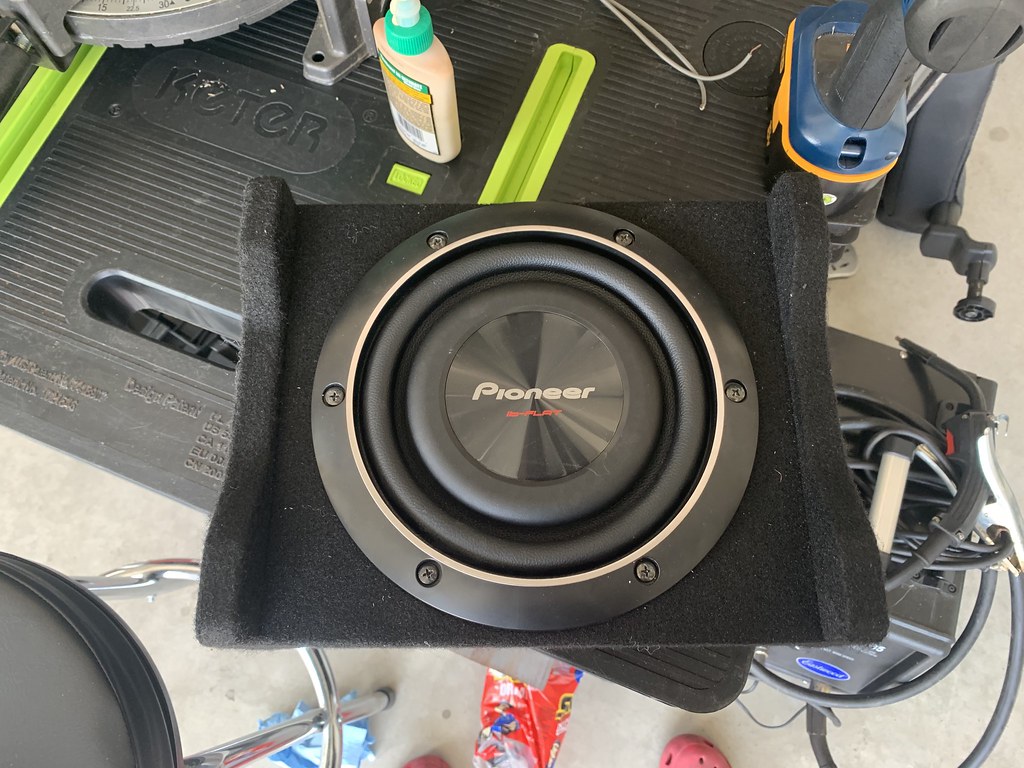
More on that subwoofer...Now that I freed the low profile pioneer unit, I put the old JBL into storage and put the new pioneer with it's respective box into place. Both subwoofers are 8 inches, but the pioneer combo is literally half the size. And, it has these little mounting legs that allow the subwoofer to fire downwards--to me this means I don't have to worry about damaging it and can store more stuff! (I do need to figure out a way to protect the wire terminals though.) I also don't feel like i'm sacrificing anything by going to this unit. In fact, it's arguably a slightly better choice sound wise than the JBL, even despite its size (though I did add poly-fill to this one and didn't to the JBL). I think this is an excellent compromise on space and sound quality. Ft. my hand for reference.

48095360918_dc05720767_b.jpg

48095361258_6e86df7ca9_b.jpg

48095359798_3839471ffc_b.jpg

48095360058_b9345b4646_b.jpg

48095417197_6ac2acc8cd_b.jpg

48095360503_3f37212b3b_b.jpg


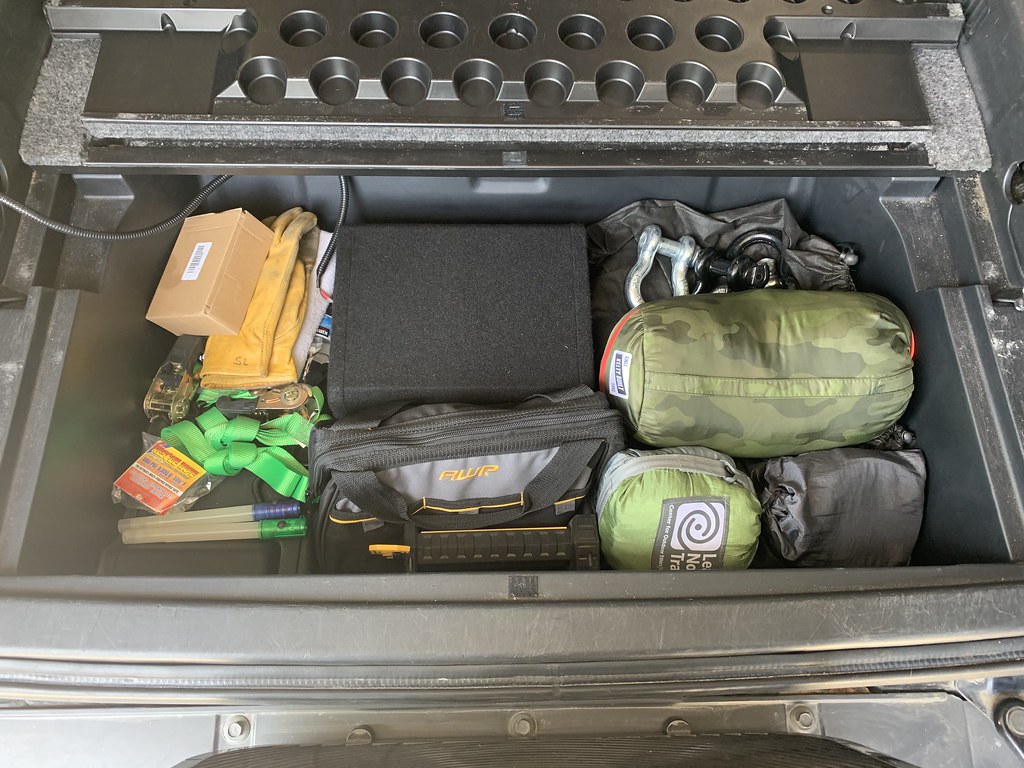
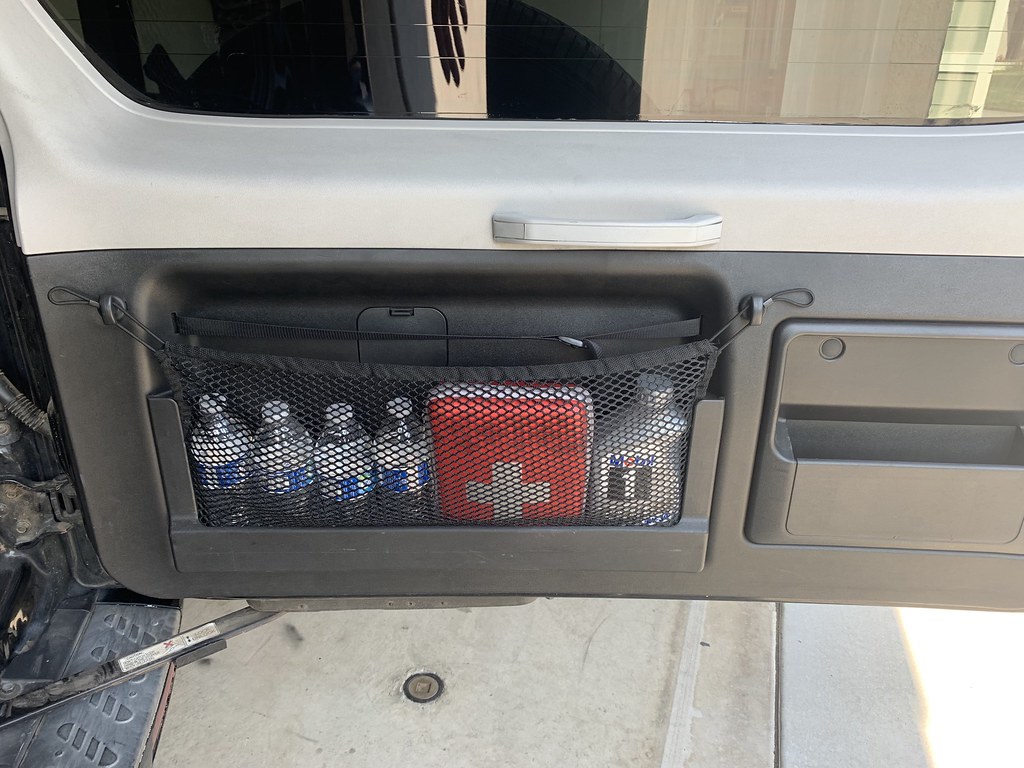
As you can see, I can neatly pack all the gear I carry every day around the box just fine! Speaking of which, I carry 4L water, 1L oil, basic first aid kit, 20' tow strap, 4 shackles, 2 ratchet tie downs, jumper cables, rescue tape, extra 4wd solenoid, emergency lights, work light, air compressor, rapid tire deflator, work gloves, synthetic down blanket, and hammock and straps.
When I go on a long trip or go wheeling, there is still space to throw in my tool roll, and in the winter there is also room for my snow chains and snow shovel (in addition to everything I've already mentioned). I think I could fit a snatch strap and a bridle strap with everything in there too!
If you can't tell, I love this third row storage cubby!

Now, something I've been meaning to do the for last 6 months/my entire ownership period, DEEP CLEAN. I've stated it before, but this car was filthy, inside and out. The first owner had 4 young kids and seemed to have never cleaned the rig, and the second owner smoked in it (for his short 1 month ownership). I've previously vacuumed and cleaned the seats, but didn't get around to shampooing the carpets or cleaning the outside (of which I've added a lot of my own dirt too haha).

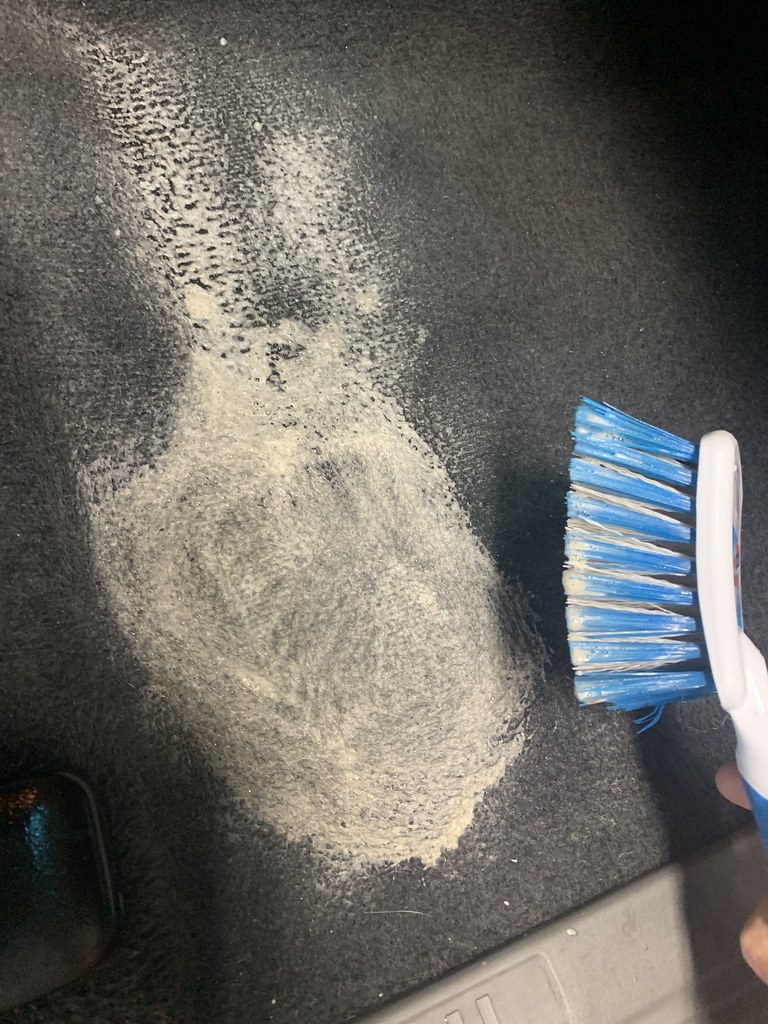
I like to shampoo my carpets with a mixture of gain detergent diluted with a lot of water. Works great and smells great too (I can't stand the "stock" blissel/etc brand cleaner smells). I find it best to get a stiff bristled brush like so and scrub before using a handheld attachment on your carpet shampoo vacuum.

This was after I already hit the spot 3x!

48095402637_a489ff8d9f_b.jpg


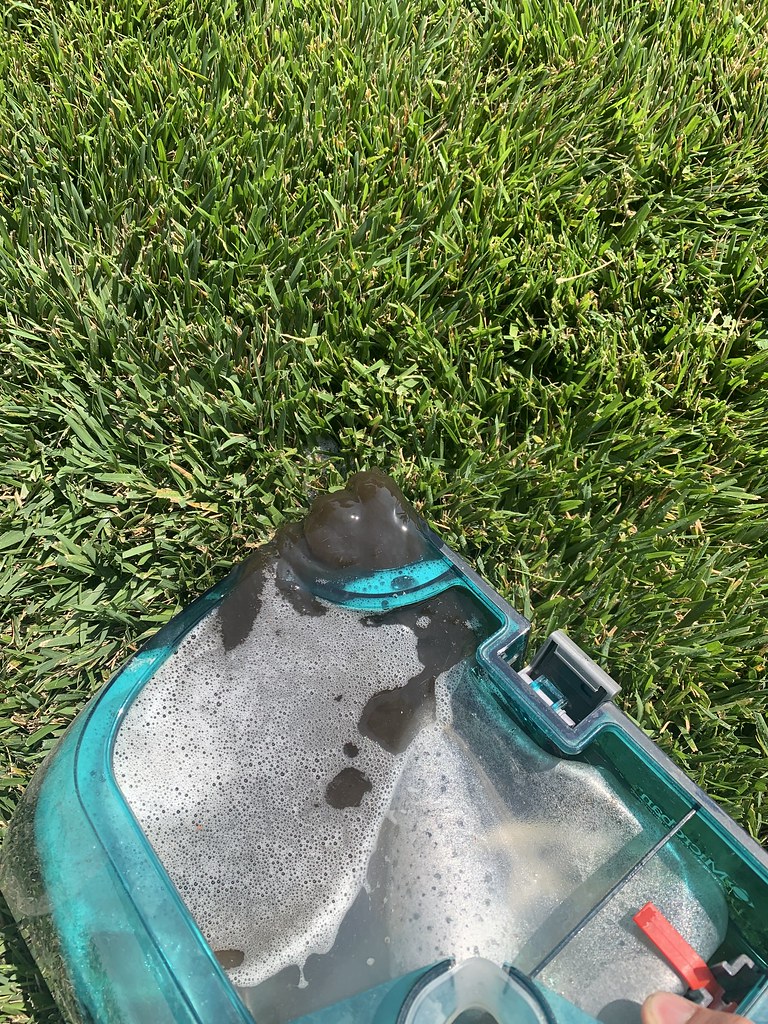
Filthy water at the end...so grot ?

48095313526_b92ca447cc_b.jpg


Buuut, it's worth it for much cleaner looking and much much better smelling carpet!! (I should've taken a before pic..oh well.)

48095362498_87cfc58392_b.jpg

48095402372_b458fc4669_b.jpg


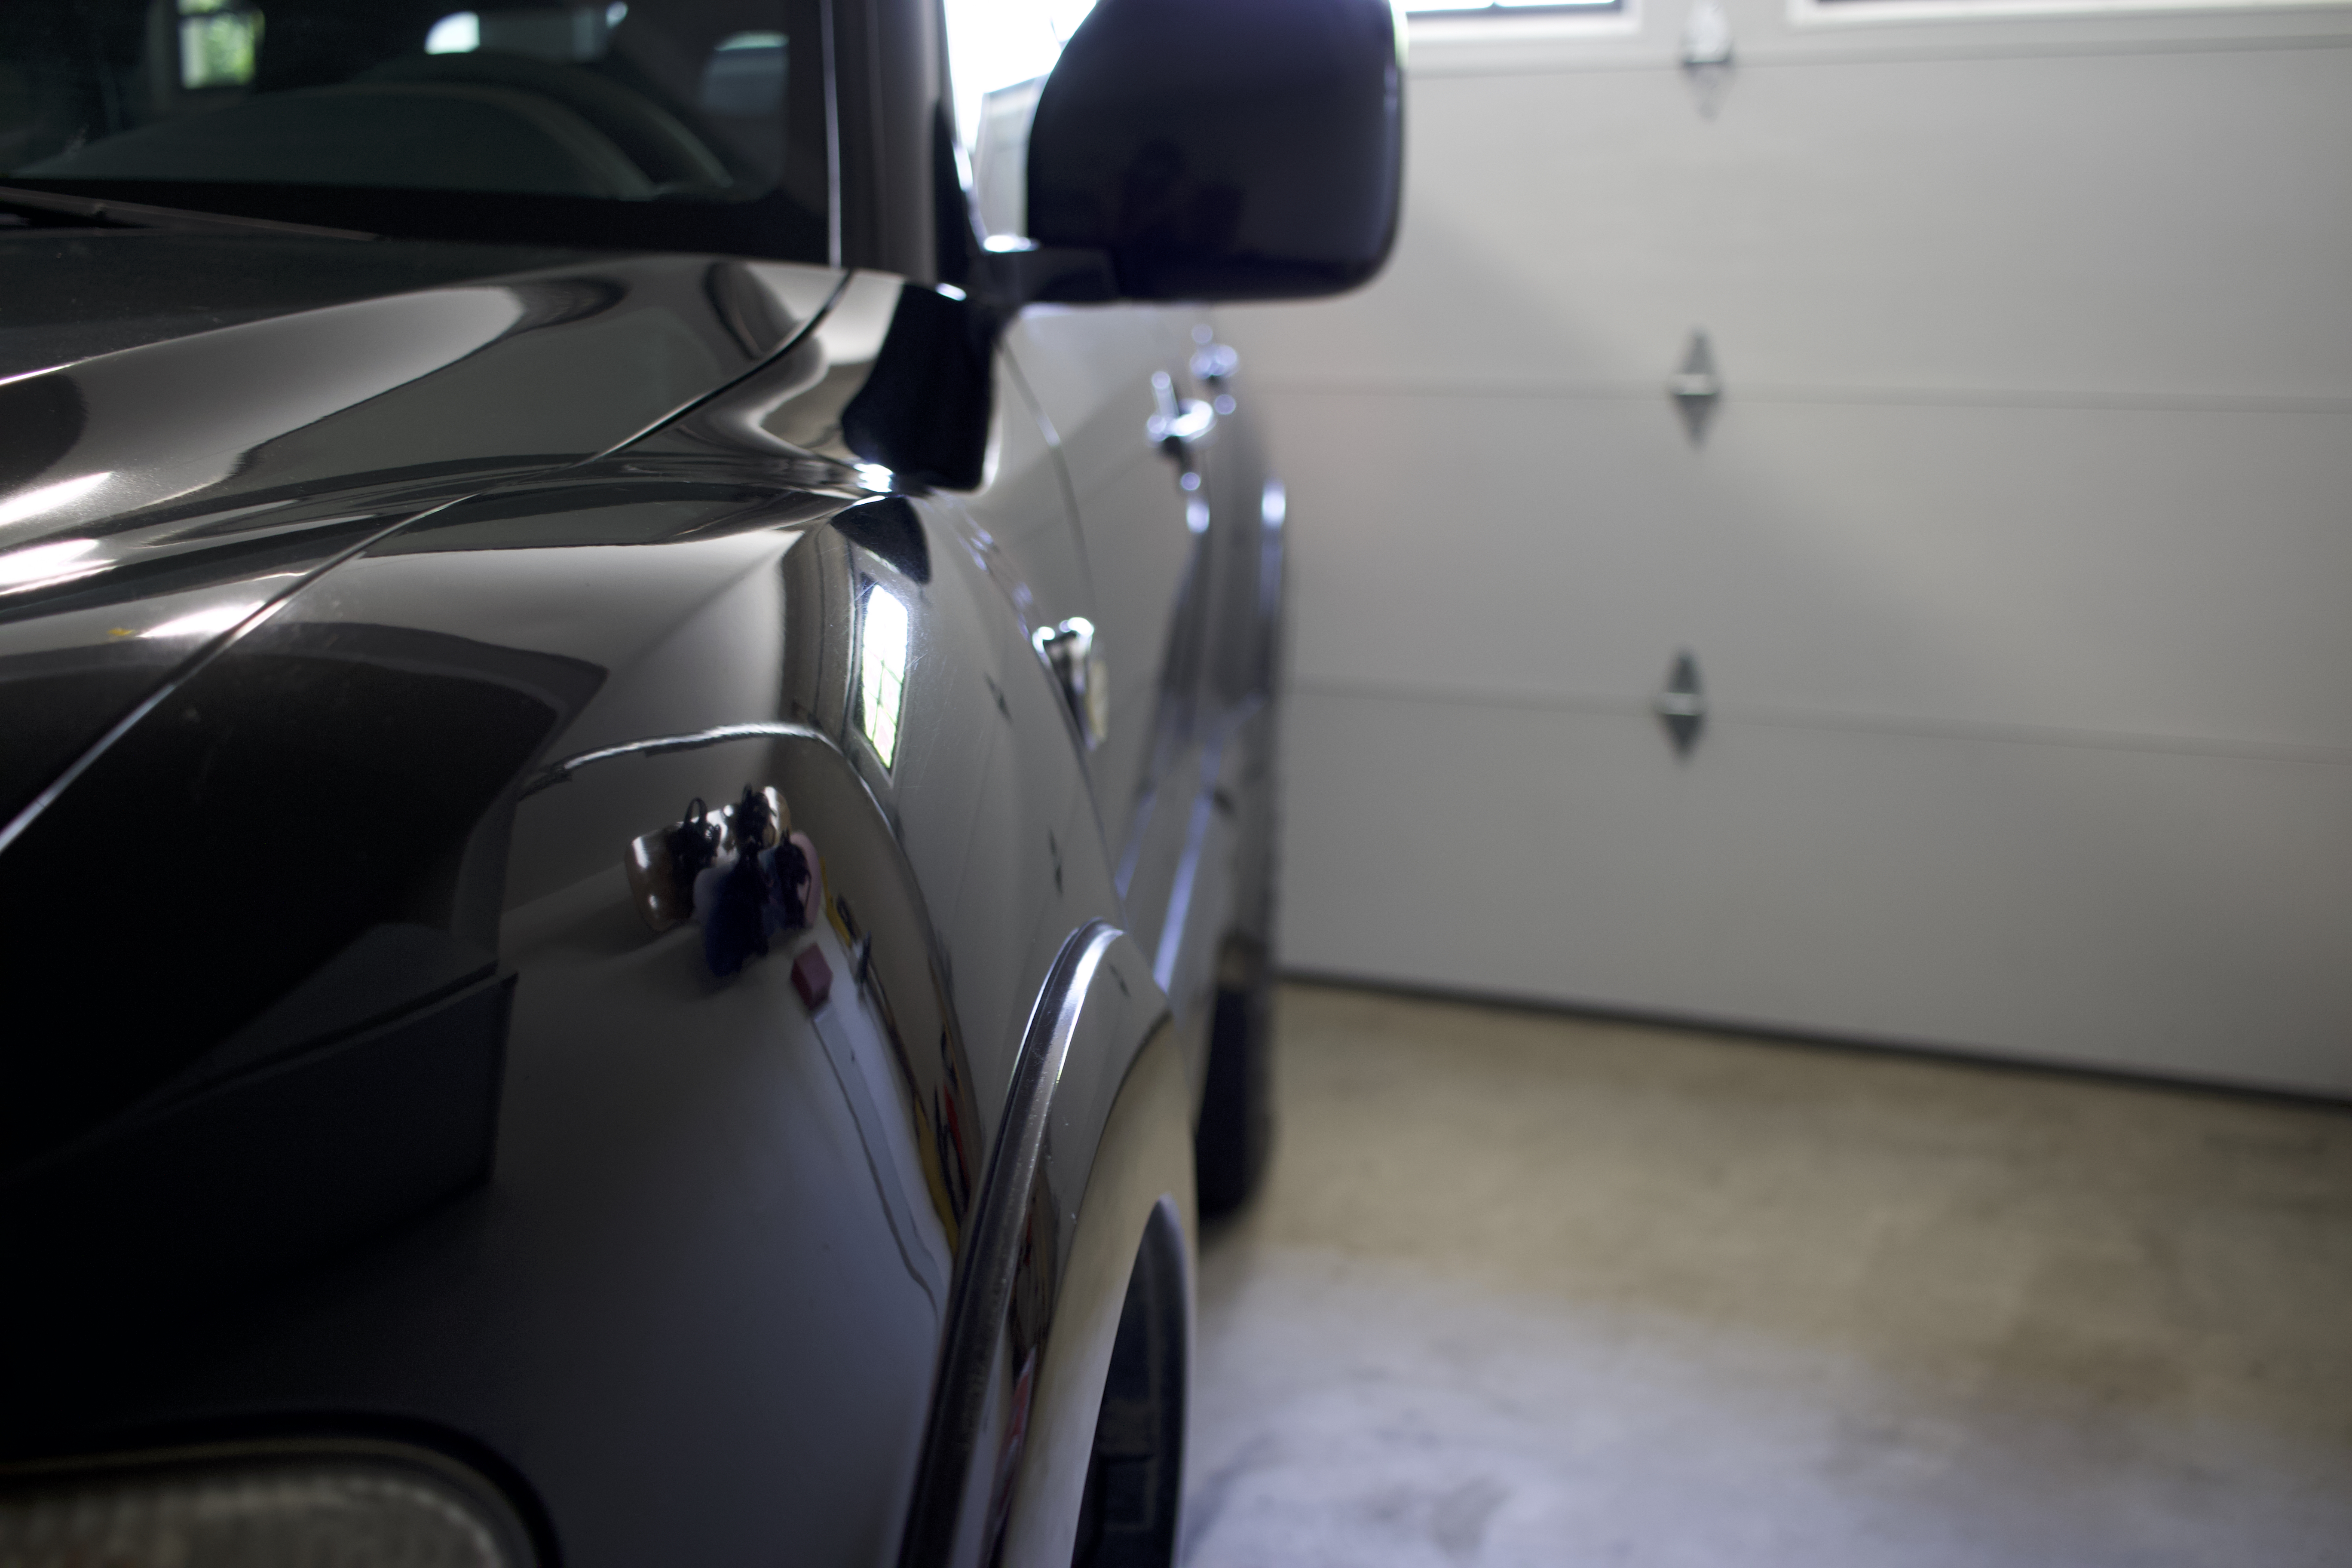
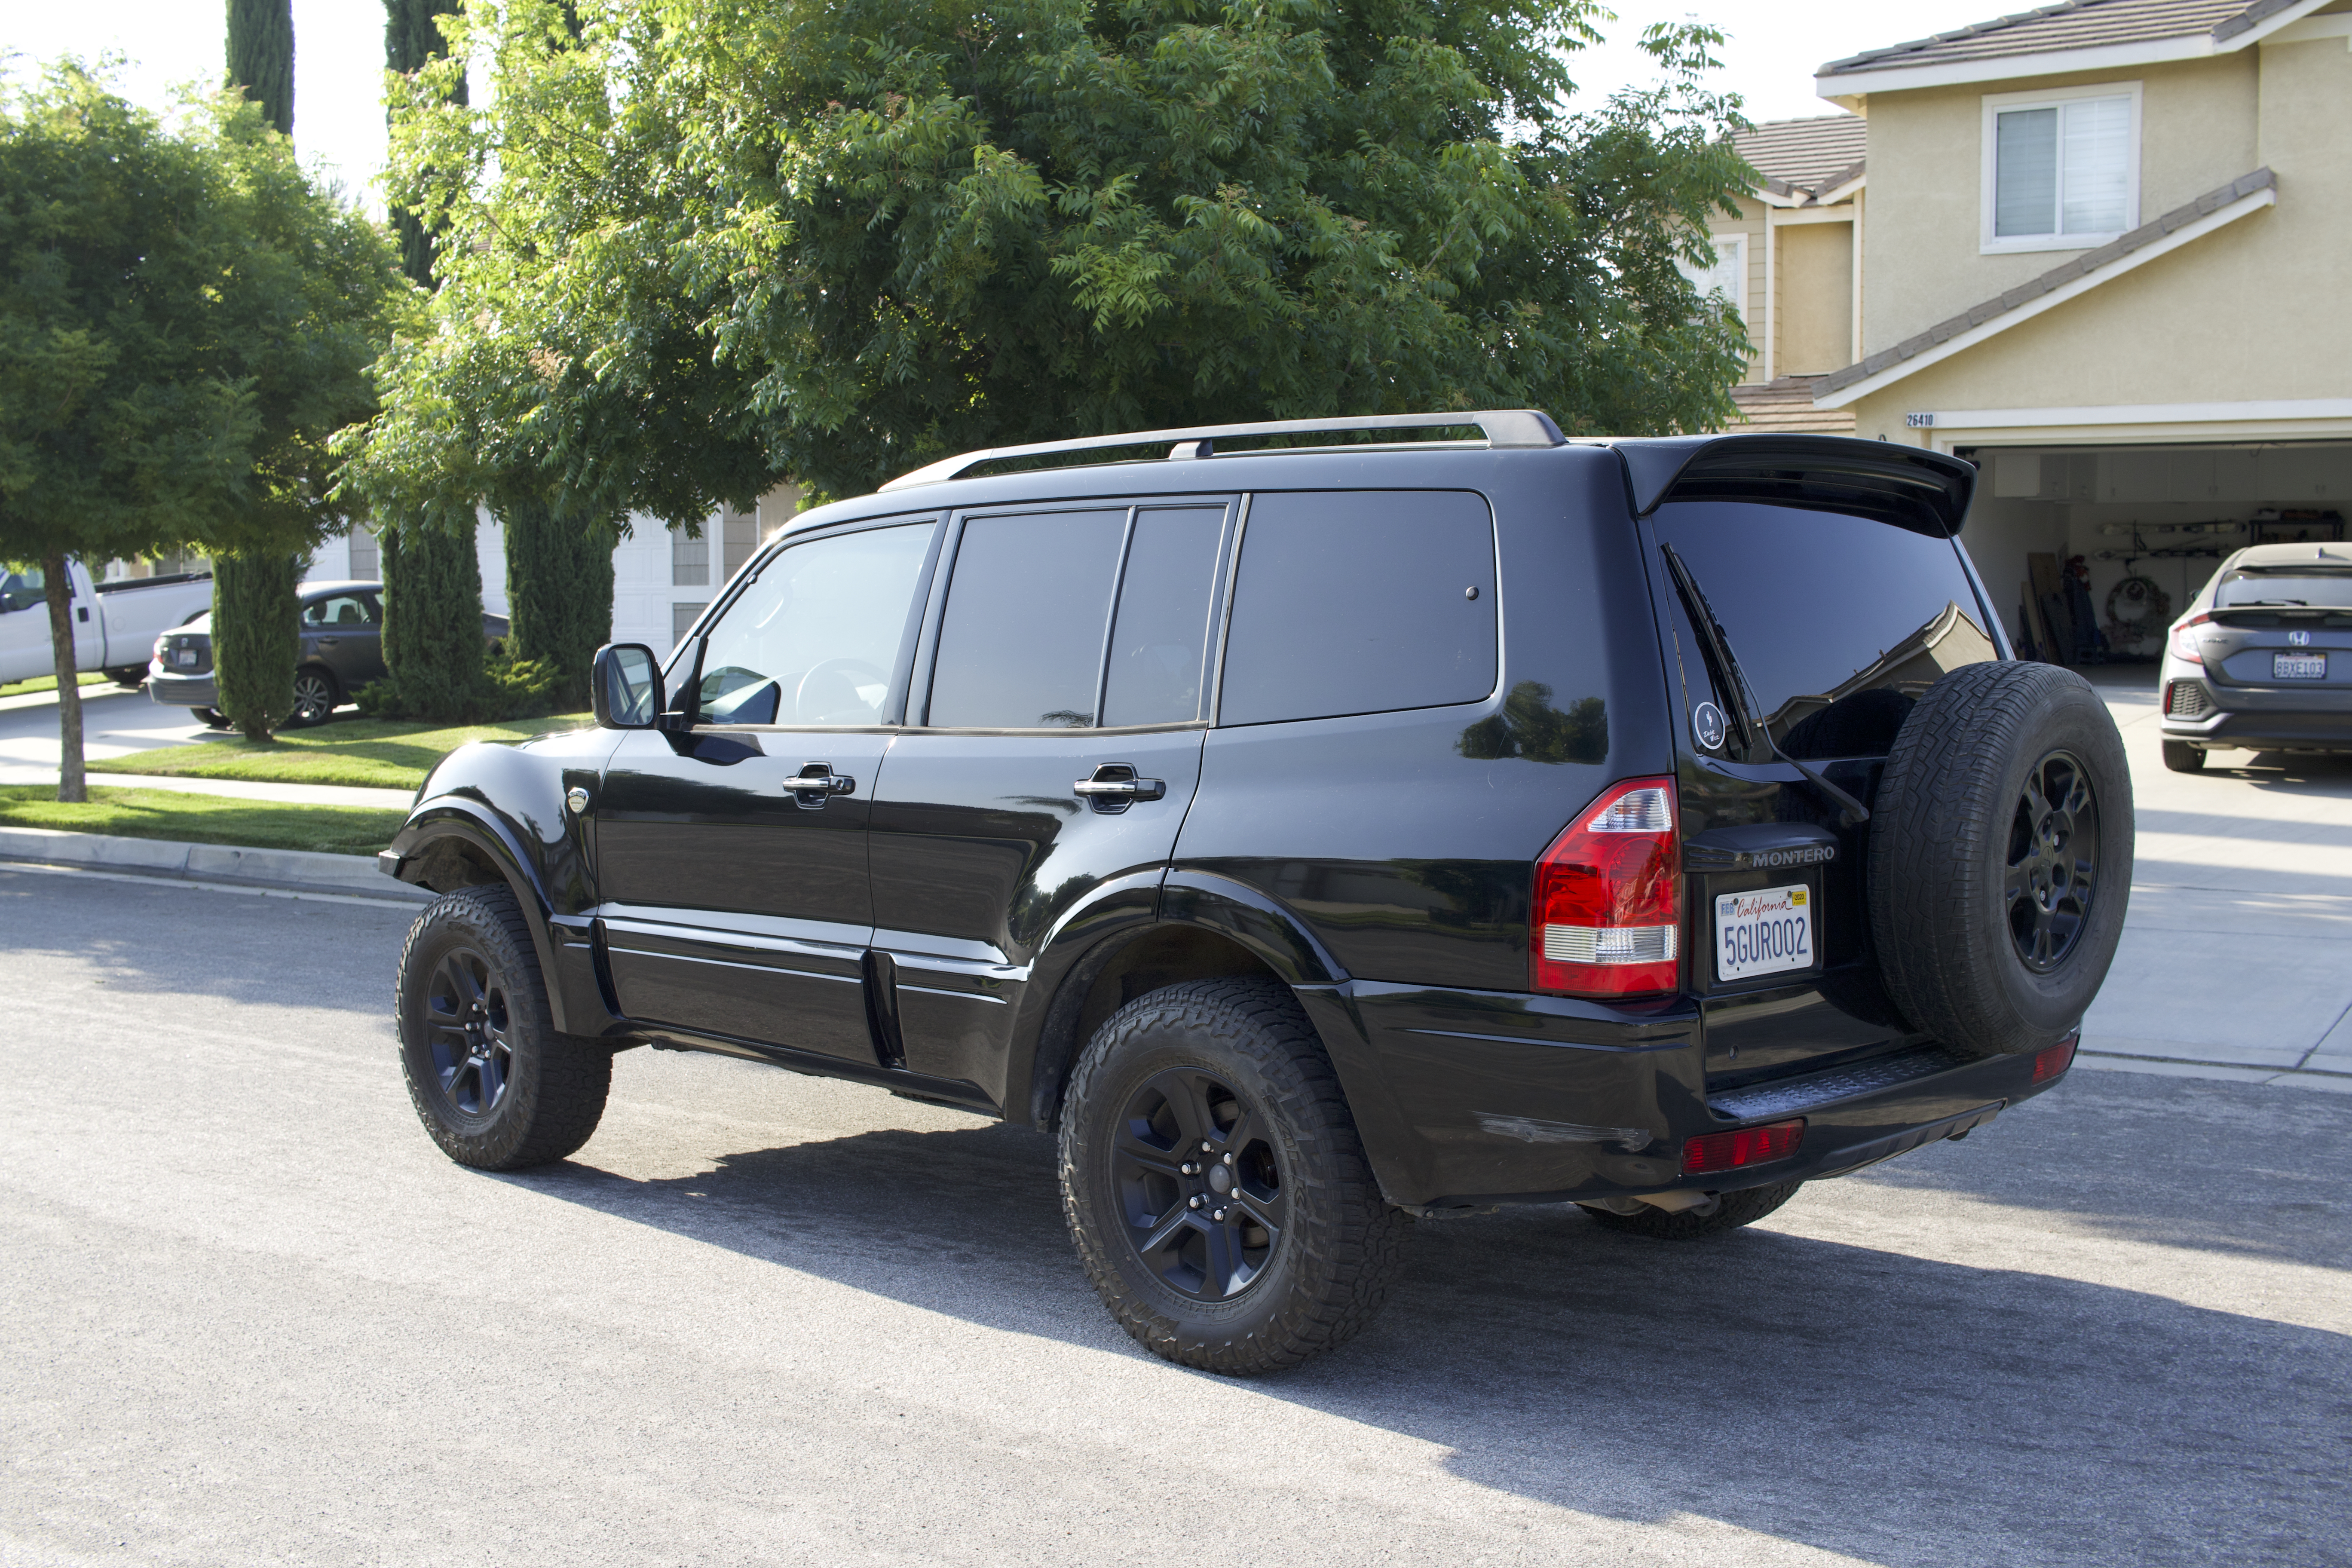
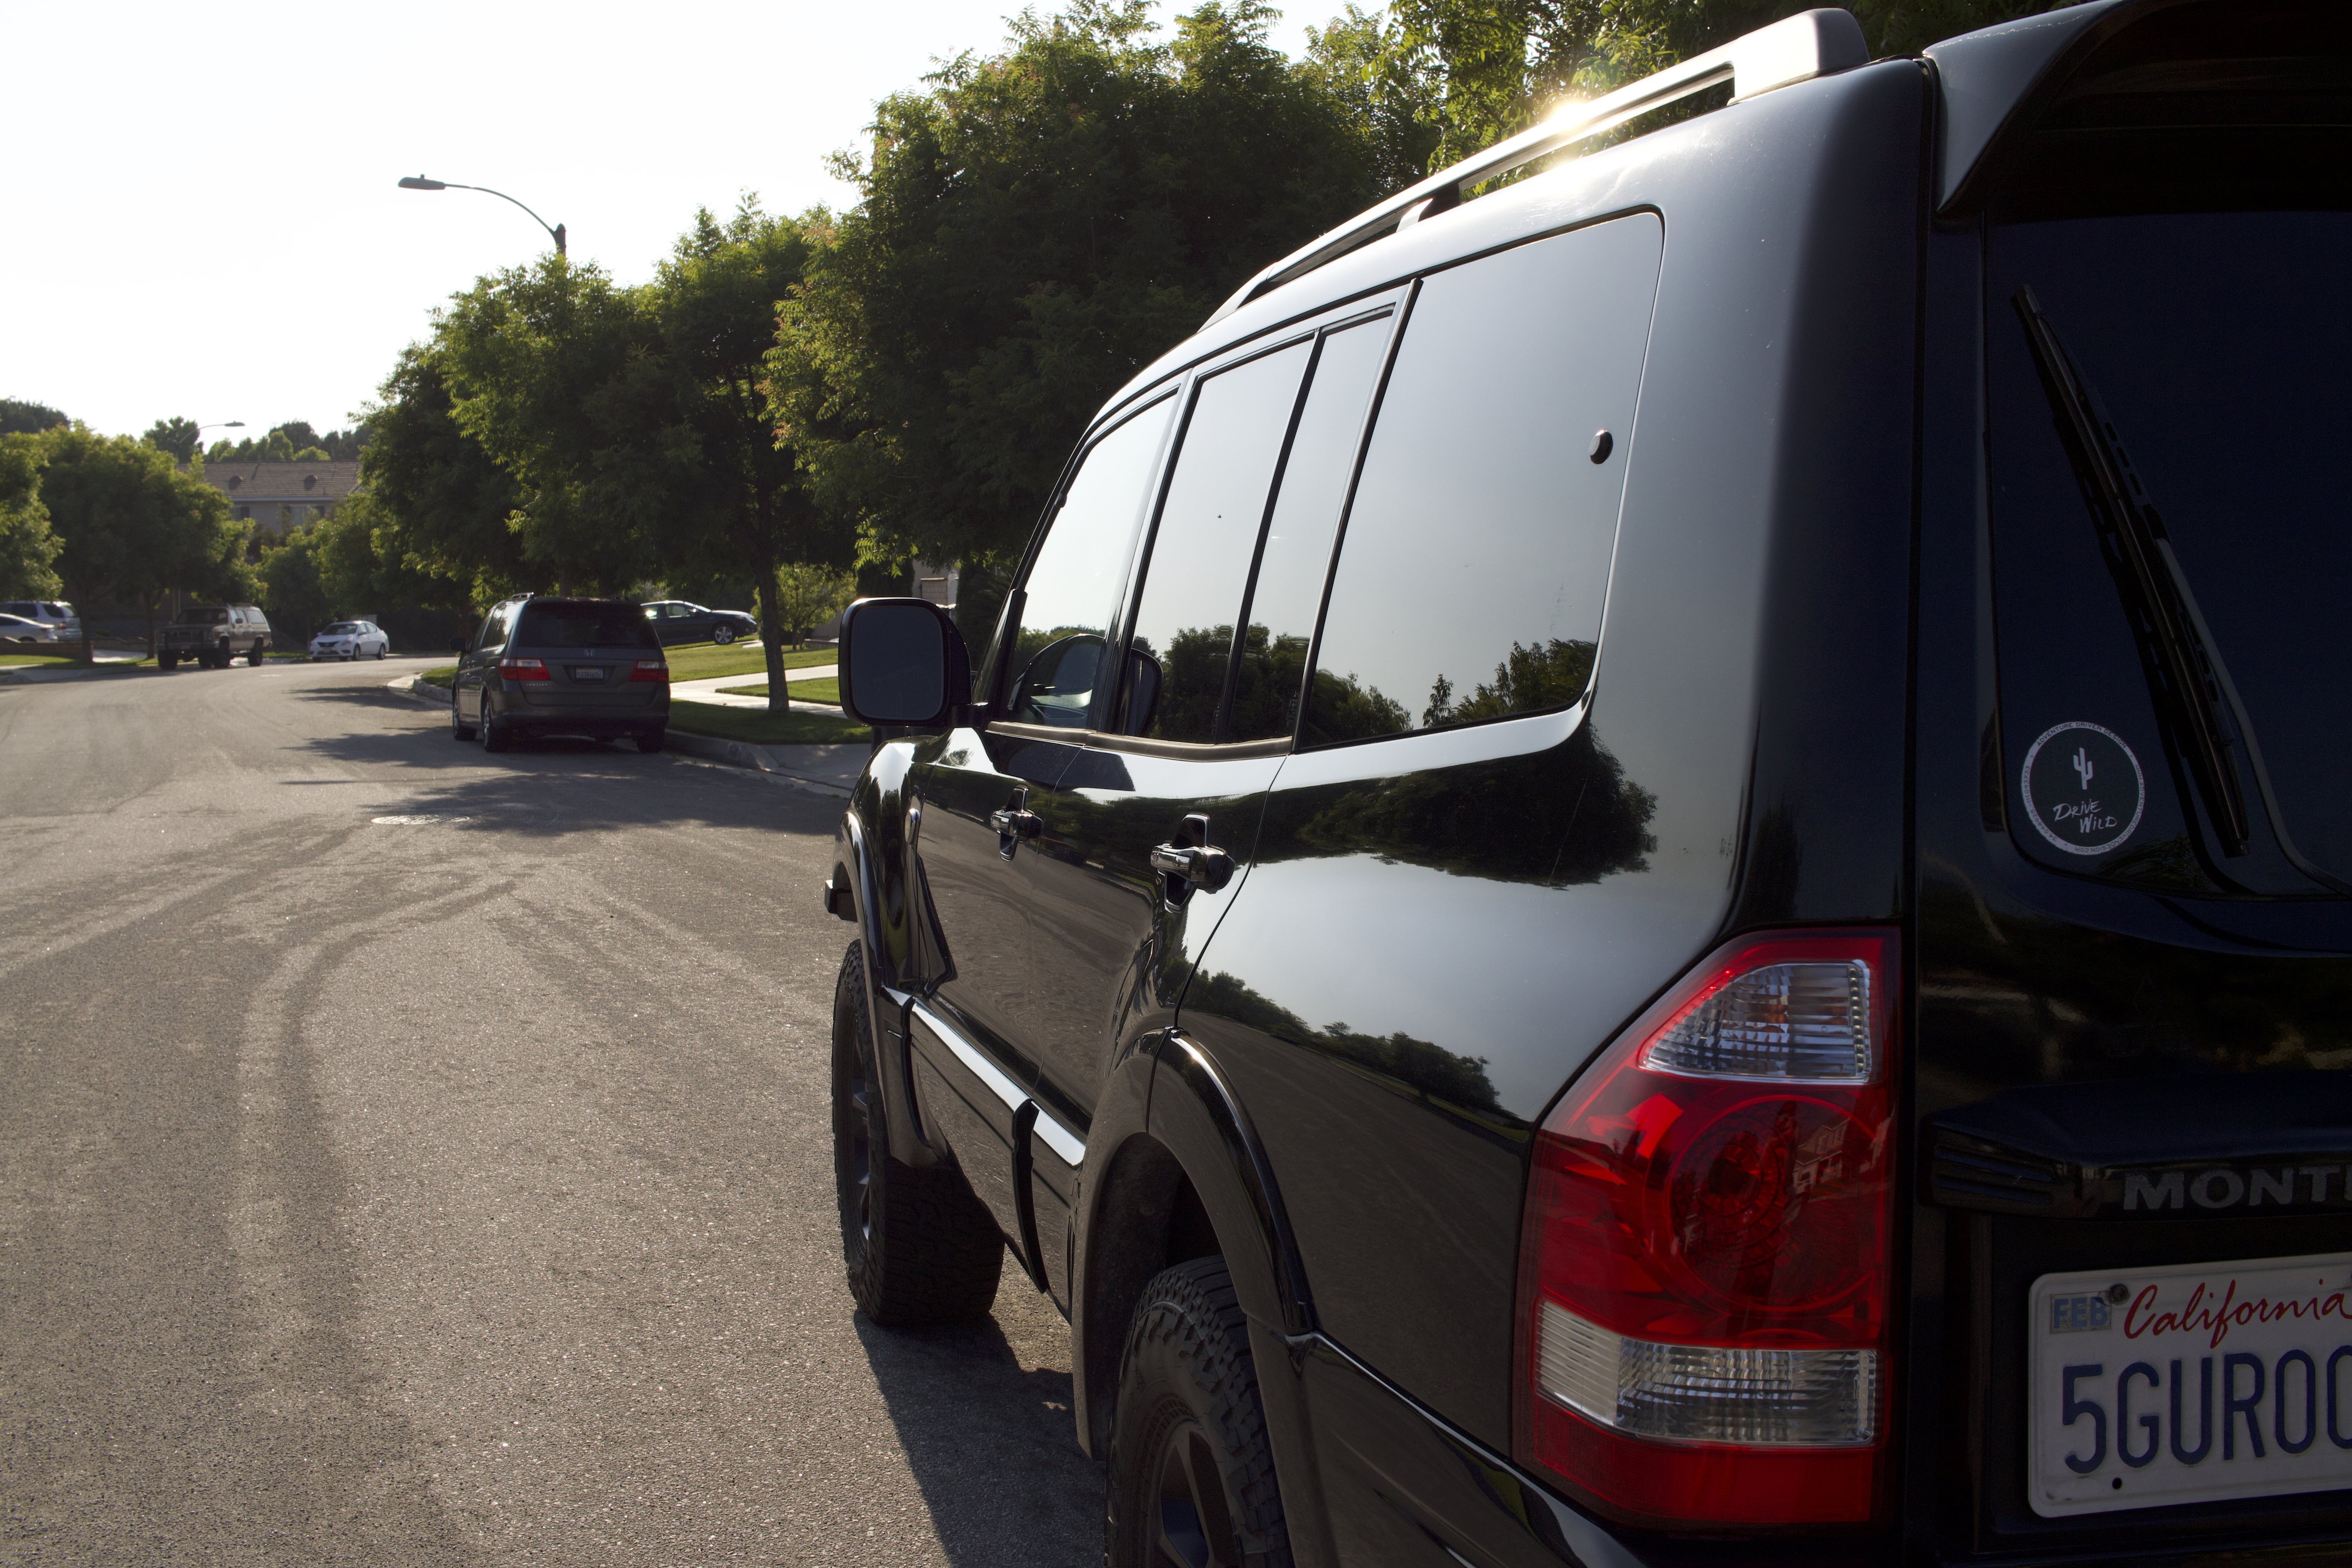
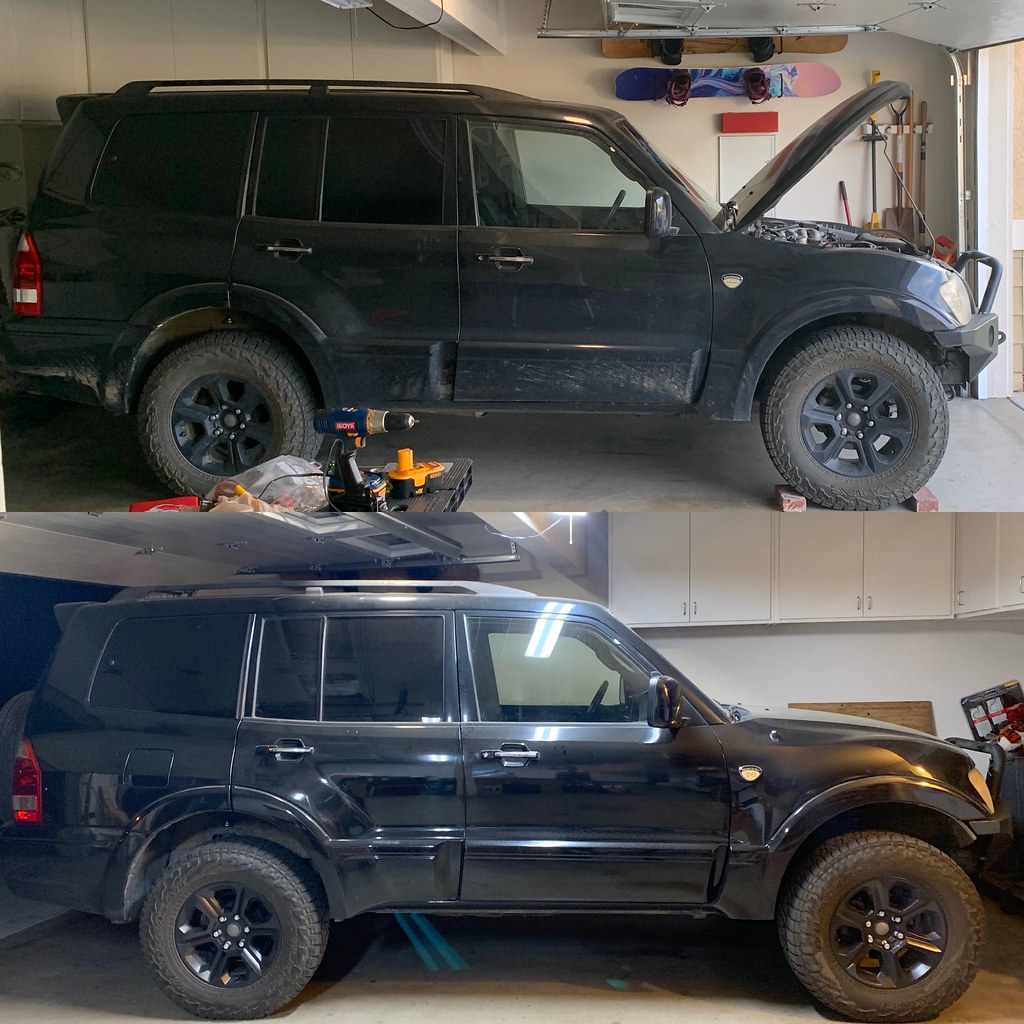
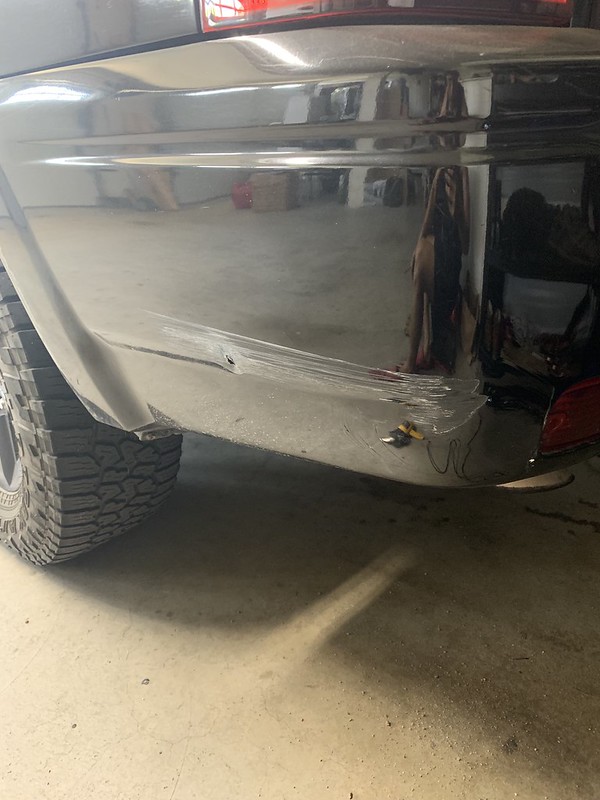
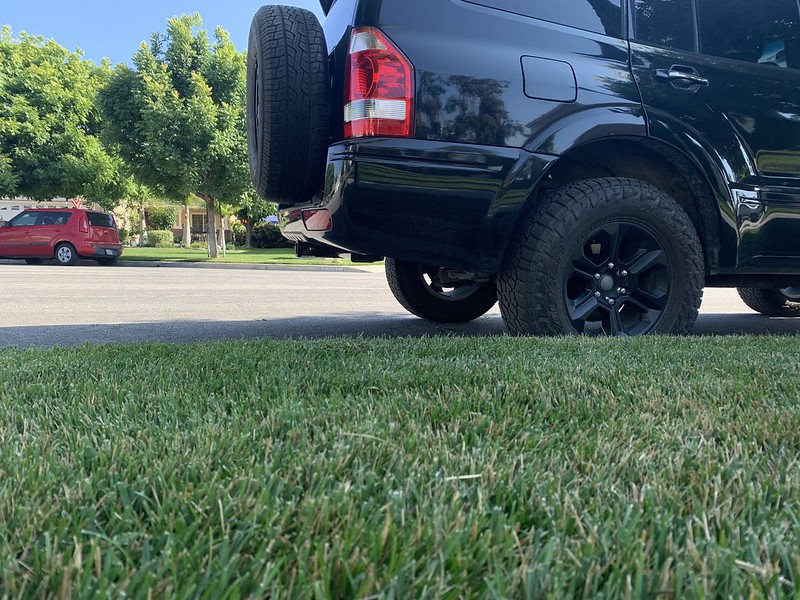
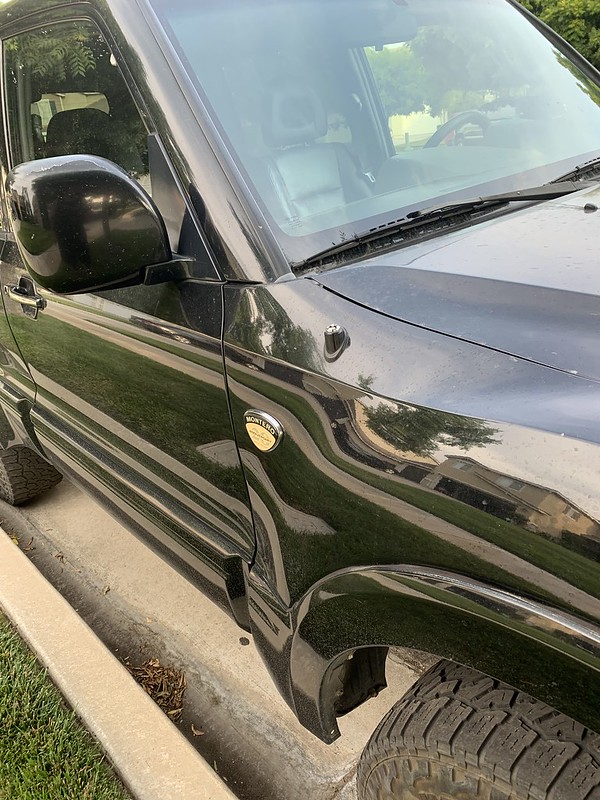
Now, about that exterior... I've never really thought the paint on this thing was that good, but I've also never actually washed it myself, so I decided to give it a proper bath. As I'm washing all the mud, sand, winter road grime, etc off I started to realize "hey, I've actually got some half decent paint on here!" The plan was just to wash it, but the weather was great this morning so I decided I'd clay bar the hood. Well, this lead me to saying, might as well do the front fenders too (all the heavily hit areas, you know?).. Anyways, one thing let to another and I ended up spending 5 hours washing, clay bar-ing, polishing, and waxing. Ooohhh weeee, was it worth it. Look at that paint! She probably won't be this clean again for another year!

It looked good inside the garage...

48095310831_22a1b49e04_o.jpg


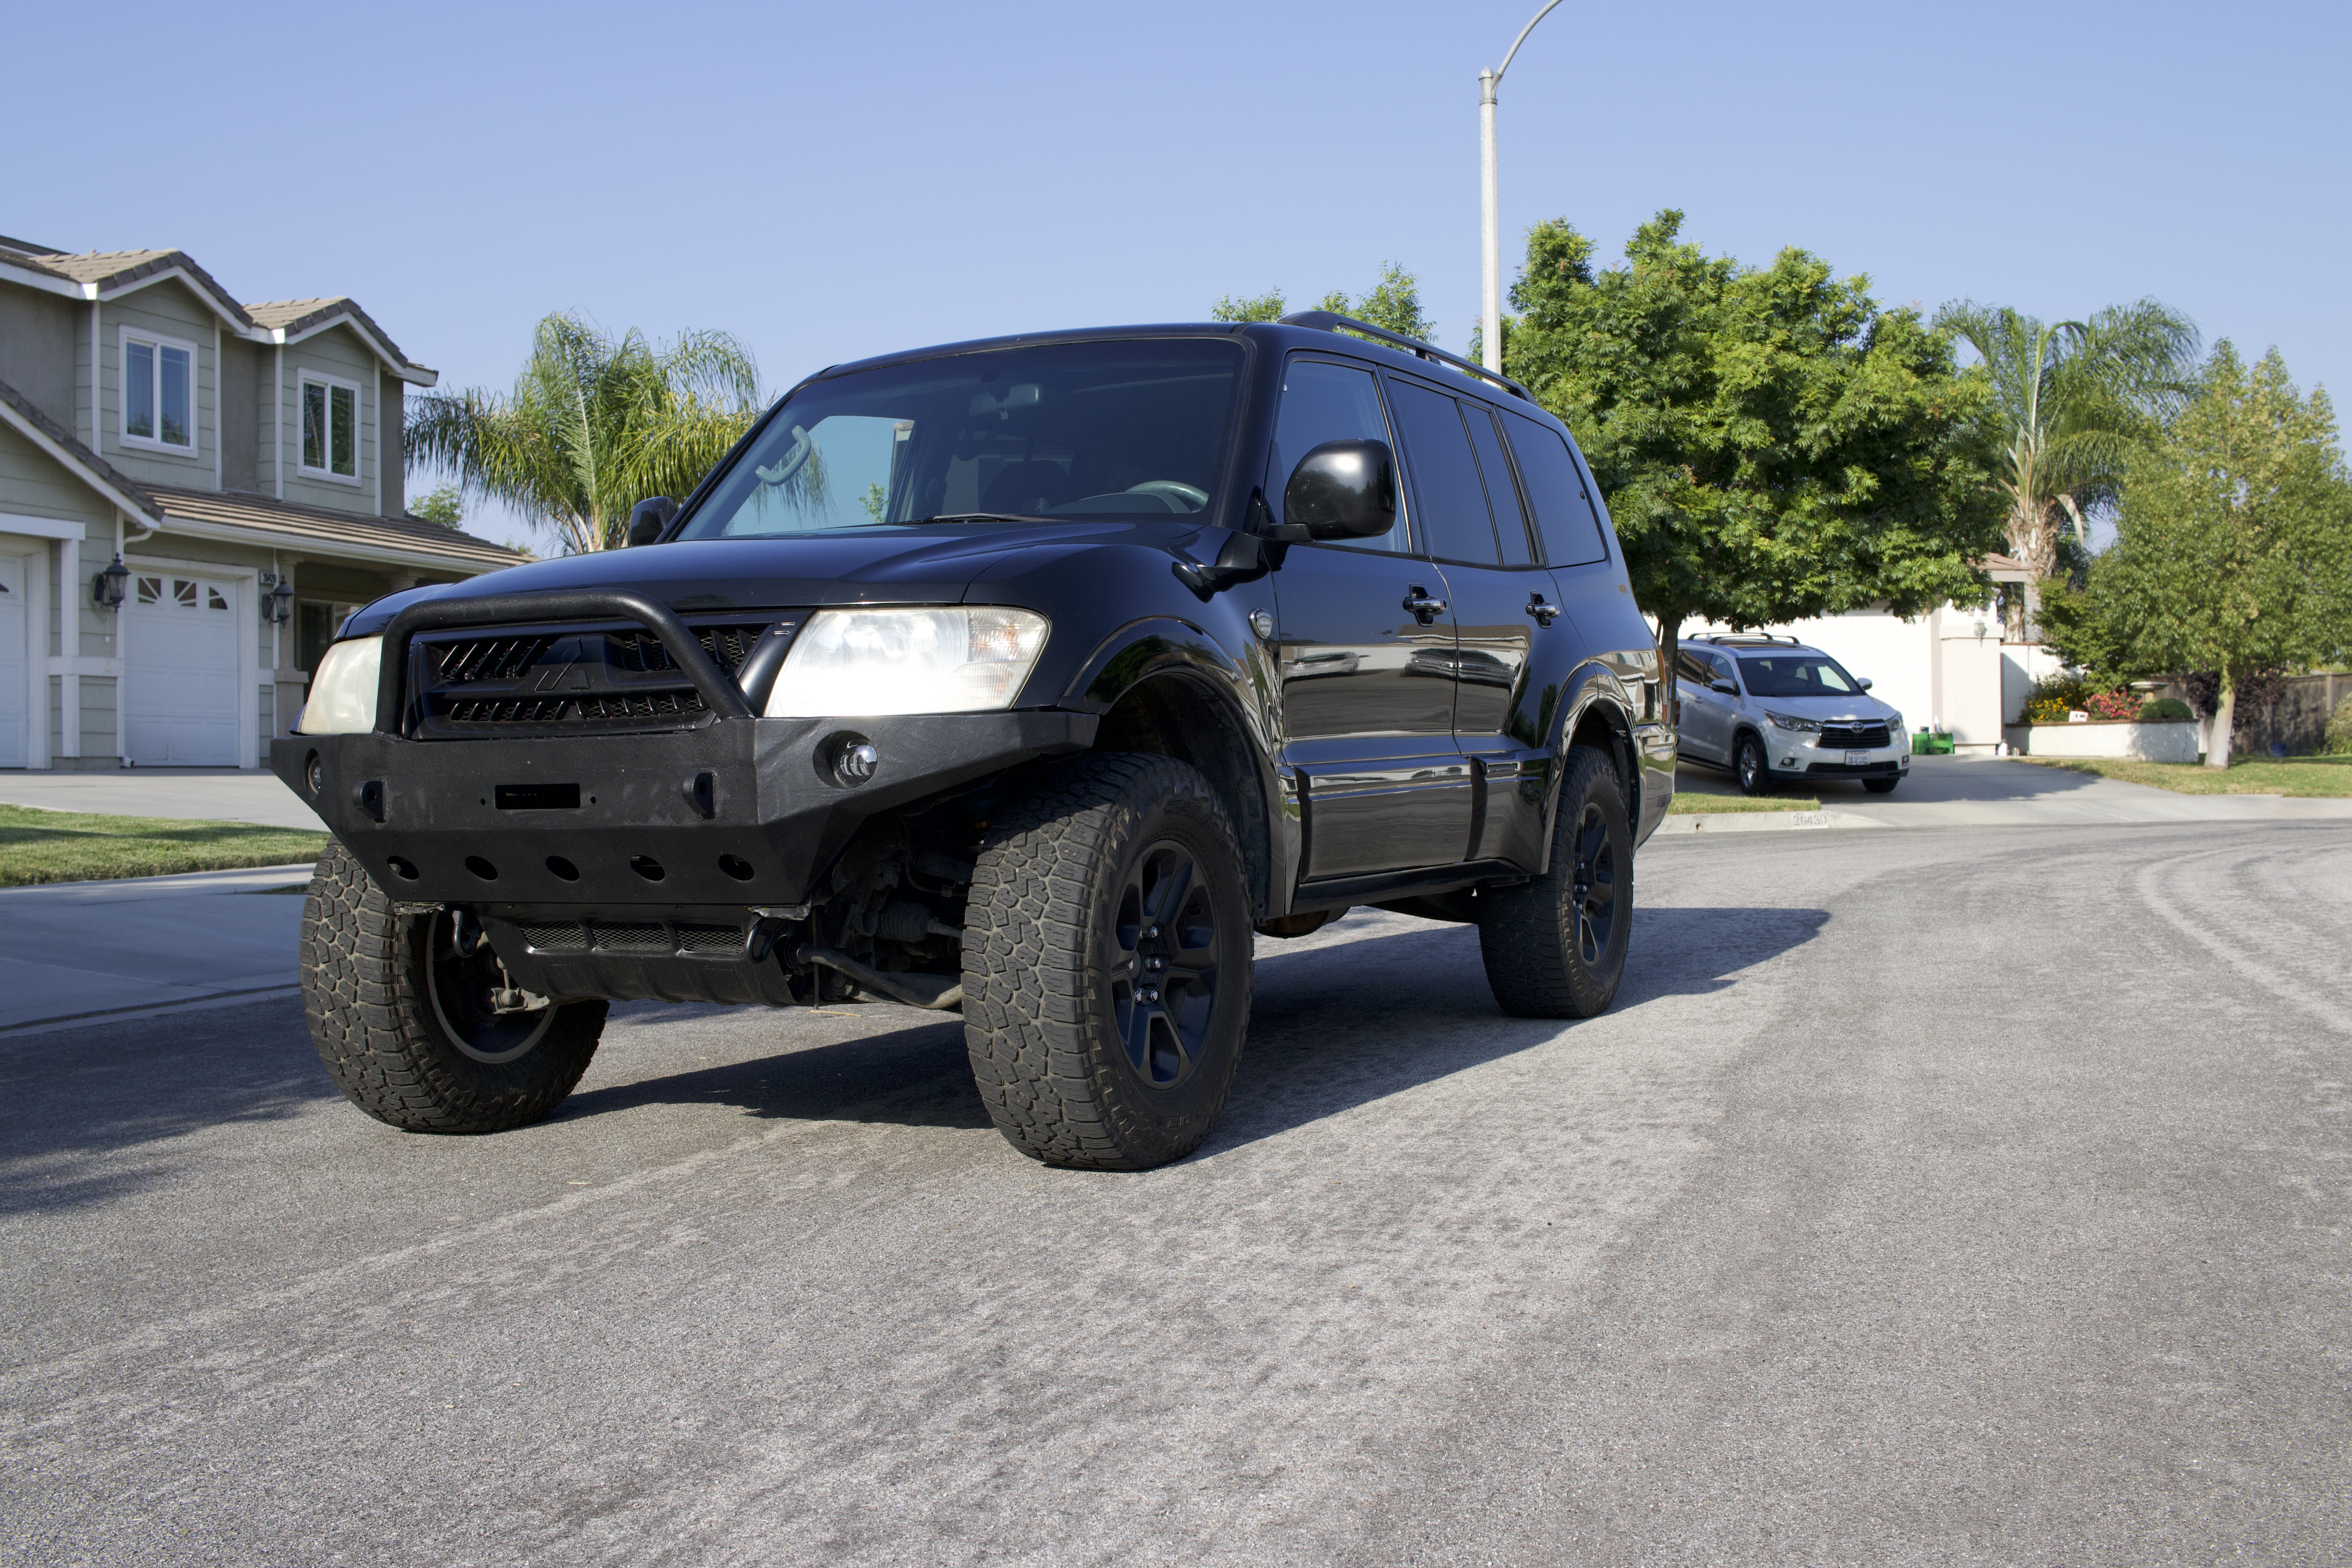
But then I brought it outside and remembered why I fell in love with the Gen 3 in the first place...
Those curves! ?

48095357853_9e08175cfb_o.jpg

48095304221_d93447c1f8_o.jpg

48095350538_c6e2e80a57_o.jpg

48095404662_6b7b536e78_o.jpg

48095410372_b4db944daa_o.jpg


P.s. Anyone got any headlight clouding polishing recommendations/tips? I polished them to an acceptable level 4 or 5 months ago, but it didn't last. But I also didn't use any UV protector... ?‍♂️
 

sedole

Active member
Love it, looks like new!

Thanks!


The Gen 3 has already proven itself many times as a road trip warrior in the 4 months and ~7,000 miles I've had it. However, one thing that myself and my passengers have wished for are more power points for keeping devices charged. Mitsubishi actually did a decent job placing 2 outlets within easy reach of the front passengers, and 1 for the third row, but leave the middle occupants out. So, I decided to wire in some dual USB outlets to improve the situation!

Up front, I rarely use the cigarette style outlet for anything, so I decided to keep the one in the center console, but change the one near the ashtray.

Installation is simple. Remove some trim pieces, widen the hole a little (a dremel makes quick work of this), crimp on your new connectors, and plug it all back it! I got this unit off of amazon. It's made out of aluminum, has a really durable dust cover, looks pretty factory, and doesn't have any of those annoying LEDs built into it.

48130090527_846be91ea4_o.jpg

48130007571_69c20c5b9e_o.jpg

48130090757_8a729ba687_o.jpg


I also gifted the second row the same treatment. I made an ABS panel to replace the existing ashtray on the back of the center console and placed my outlet there. In my case, the original owner had previously hardwired a power inverter into this location (as part of the A/V system). However, it really didn't give that much juice...it couldn't charge a macbook and could barely charge your average iphone. Plus it had a really loud annoying fan that runs constantly. Anyways, this made my job really easy! There was already a fused hot wire switched on with accessory power and a convenient ground as well. All I did was extend the wires a little bit, heat shrink and loom cover, and crimped on new connectors. I also changed the fuse out for a 15A one. I used wood screws to hold my panel in place...at some point I'll run down the hardware store and get some more subtle black hardware.

48130091827_94240af9b1_o.jpg

48130090202_d11805d4eb_o.jpg

48130008211_a12be2ed73_o.jpg

48130007791_70521ab536_o.jpg

48130031413_55e37ca2ca_o.jpg


Quick, easy, and now myself and my passengers won't have to fight over who gets to charge next!


And now an update on the Bilsteins and OME springs. First tank of gas returned 14.1 mpg (corrected for tire size) for 50/50 driving. This is pretty much in line with what I had been getting before (the average over my ownership is 14.2 mpg for 50/50). However, my smiles per gallon definitely increased! The truck rides so much better. I think I said it before, but really the best way to describe the change is that it used to feel like driving a crossover (i.e. car) with -meh- handling and now it feels a lot more like a decently dampened truck. The truck I have in mind is my friend's 06 TRD Tacoma on the factory Bilstein 4600s. Handling is much more confidence inspiring. The ride is a little more stiff than before, but still retains a luxury kind of feel. I.e. it's not harsh. My old Gen 1 on KYBs was harsh and hurt my back when doing a lot of bumps. This doesn't. However, I do notice that the first bump I hit of a bumpy section of road or dirt feels a bit stiff, but then subsequent bumps get soaked up a lot better.
 

sedole

Active member
I was going to hold off for a while more when my budget has more wiggle room, but a pair of rear MD springs new open box and reduced price popped up on eBay, so I bit. I'm very glad I did though, the truck rides fantastic now! I put the A spring on the driver side.

48208654266_ef6d173c4c_c.jpg

48208709042_1f4752c4d2_c.jpg

48208655991_96fa1fd21c_b.jpg


The very next day I saw an ad for a Uhaul hitch for a reasonable price. Talked the seller down several more bucks and took it home! Hit it with the wire wheel and some fresh paint to combat the small bits of surface rust it had.

48208706612_601690105c_c.jpg


While I waited for the paint to dry, I popped this little dent out.

48208655161_4094d3f07d_c.jpg

48208707097_0835f7d303_c.jpg


And the hitch installed. This thing really does tuck up pretty well! Happy to have a solid rear recovery point now as well as the option to tow in the future.

48208706057_490260ea60_c.jpg

48208654896_81210a15c3_c.jpg
 

mbialick

Member
I was going to hold off for a while more when my budget has more wiggle room, but a pair of rear MD springs new open box and reduced price popped up on eBay, so I bit. I'm very glad I did though, the truck rides fantastic now! I put the A spring on the driver side.

48208654266_ef6d173c4c_c.jpg

48208709042_1f4752c4d2_c.jpg

48208655991_96fa1fd21c_b.jpg


The very next day I saw an ad for a Uhaul hitch for a reasonable price. Talked the seller down several more bucks and took it home! Hit it with the wire wheel and some fresh paint to combat the small bits of surface rust it had.

48208706612_601690105c_c.jpg


While I waited for the paint to dry, I popped this little dent out.

48208655161_4094d3f07d_c.jpg

48208707097_0835f7d303_c.jpg


And the hitch installed. This thing really does tuck up pretty well! Happy to have a solid rear recovery point now as well as the option to tow in the future.

48208706057_490260ea60_c.jpg

48208654896_81210a15c3_c.jpg
Also ddid you happen to grab the part number for the hitch? I’m looking for one that has good clearance as well
 

MNMONTERO

New member
How are the Bilsteins working out for you, and why did you decide on them as opposed to OME Nitrochargers? (Sorry if you explained this already and I missed it!). Also, I am going to replace the factory sub but still use the third row area, so won't do what you did with the extra box--how long did it take you to remove everything to get at it? Thanks, and great, informative post.
 

mbialick

Member
Hello, it looks you stuck with the upside down cup on your front suspension install, could you take a look at my post? Did you use the extra washer that came with the strut?


sedole

Active member
Hello, it looks you stuck with the upside down cup on your front suspension install, could you take a look at my post? Did you use the extra washer that came with the strut?


Yeah, I used the upside down cup but ditched the damper/bumpstop bellow looking thing that used to sit right below it. I'm not sure which way is correct, I'm guessing either using the cup or the included washer would be fine though. I just followed what sonicmasd did on his Yoshi build thread (page 1). I don't have a part number for that hitch either, but I think he posted a picture in his thread as well!
 

sedole

Active member
How are the Bilsteins working out for you, and why did you decide on them as opposed to OME Nitrochargers? (Sorry if you explained this already and I missed it!). Also, I am going to replace the factory sub but still use the third row area, so won't do what you did with the extra box--how long did it take you to remove everything to get at it? Thanks, and great, informative post.

Working out great! I'm very pleased with them. I chose bilsteins over nitrochargers because the bilsteins have a reputation for being longer lasting and valved softer iirc. I had bilsteins on my gen 1 and loved them so I just stuck with the same.

Honestly, getting the panel off isn't too huge of a deal. With plastic trim remover tools, you can probably have the side panel off and undamaged in 15-20 minutes or so? Just a guess as I didn't really watch the time. I will say that the first time I did it, took me considerably longer, but the second time around took no time at all.
 

sedole

Active member
Finally got an alignment after doing the lift springs install. Went to a small indy shop to get it done and they did a really great job. I waited for the work to be done and the tech really was meticulous about setting the alignment straight. He didn't just adjust the toe and go like most other shops I've been to and he torqued everything using hand tools. They also mentioned to me that some of my suspension components were loose, but I didn't catch what exactly. Anyways, the truck drives better than ever and 90% of my steering wheel vibration at highway speeds is gone.

Drained and filled the transmission. It came out DARK. I don't think this has ever been changed. I plan to drain and fill again in the next couple months and replace the filter at that time. However, I already notice a difference in the shift feel.

48408185022_9b0649ee81_c.jpg


Sanded and cleared the headlights. One of them looks to have been replaced at some point, so they don't have the same level of clarity unfortunately.. But a projector retrofit is on my idea list for sometime in the future so I'll address it at that point.

Before:
48408034496_e57d2c63d6_c.jpg


After:
48408183582_f8f9150d96_c.jpg


If you look close, you can see that I also decided to hack up the grill.. It's pretty rough and not done yet, but I've got an image in mind.

Badge delete:
The 20th ae badges are actually kind of cool imo, but I like to roll a bit more incognito. Unfortunately removing these badges leaves some large holes behind..so I found some amber side reflectors on ebay. They stand out a little more than I'd like so I might lightly smoke them out. They're not wired up at the moment, but I may do that some day.
When it comes to removing adhesive/vinyl from vehicles, I like to use a vinyl eraser! Makes quick work and doesn't harm the paint. Some residual adhesive was baked into the paint, but I'll get that out with the clay bar the next time I give the rig a good cleaning.

48408033836_9d6f6687cc_c.jpg

48408033246_323d66d487_c.jpg

48408034161_8c7656ba85_c.jpg

48408184897_0365f476f5_c.jpg


Lastly, threw on some LED spotties and wired them up to a factory fitting push switch from Air On Board. I went with the same lights that I had on my gen 1. They aren't the greatest, but they are cheap and this way I don't have to worry about them getting stolen or damaged. I am very happy with the switch, however. Feels like very good quality and looks oem! I wired it up so that the words light up with the dash lights and the lamp icons light up when the lights are on.

48408183367_292a69ca1e_o.jpg

48408033151_e5ed5a4515_c.jpg

48408184952_198a7ecb39_c.jpg

48408184772_1682eb8371_c.jpg
 

AZPAJERO

Observer
Loving your rig man. Gotta respect guy that goes into such great detail. If all goes according to plan I'll be in a Gen 3 myself here in the next couple days. Fingers crossed.
 

sedole

Active member
Loving your rig man. Gotta respect guy that goes into such great detail. If all goes according to plan I'll be in a Gen 3 myself here in the next couple days. Fingers crossed.

Thanks man! Post pictures when you do and when you start modding it. I'm excited to see what you'll do to it! Your gen 2 is killer!
 

Forum statistics

Threads
185,914
Messages
2,879,576
Members
225,497
Latest member
WonaWarrior
Top