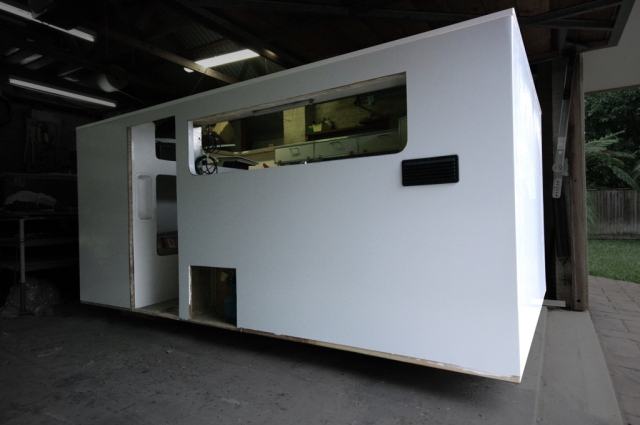
Rolling Studio - FG Camper Conversion

john lovett

Observer
Thanks pods8, I just did a quick search for PEX tubing and found an Australian distributer - it looks to be the answer.
The fiberglass tank will only be used for drinking water if the plastic tank runs dry. We filter all our drinking/cooking water any way - Australia still has some pretty foul bore water in in some places - smells like sulphur and makes your hair stand up straight (when you wash with it , not when you drink it!)


Thanks for that Gary, I saw the black tubing but unfortunately I need 12.5mm internal diameter. The PEX tubing is available here and looks to be the solution.
 
Last edited:

john lovett

Observer
External Cladding

cladding3-1.jpg


The aluminium composite cladding quickly tidied up the rough look of the box. The stuff is easy to work, and adds around 45kg to the camper weight. It also strengthens and further insulates the structure.

cladding.jpg


This product had the brand name Signalloy – there are many available (Alucabond was probably the original), all with a core of polyethylene, sandwiched between two thin skins of aluminium. It is extremely rigid and, for its strength, light weight. It comes in a range of colors or can be painted.

img_3153.jpg


Bending requires a U shaped router groove through the inside aluminium skin and almost through the core. The 90 degree bends at the back were helped along with a heat gun. Router depth is critical to the quality of the bend. Too shallow and the outer skin will split on a 90 degree angle, too deep and the bend becomes a hard sharp line. Almost through the polyethylene seemed to work best, but test first on some scrap.

img_3147.jpg


A sheet size of 4 m x 1.5 m was almost perfect for this job. The 15mm short fall at the bottom will be covered by an aluminium angle once the box is on the truck.

img_3148.jpg


The sheets were bent and clamped in place so the openings could be traced on from the inside

cutting.jpg


A jigsaw with a fine metal blade made easy work of the windows door and hatches.

tubes-1.jpg


Sikaflex adhesive – plenty of it – made sure every thing was sealed and fixed securely in place

side2.jpg


Giant white goods.
 

john lovett

Observer
Pop Top Roof

Larger images on New Rolling Studio blog

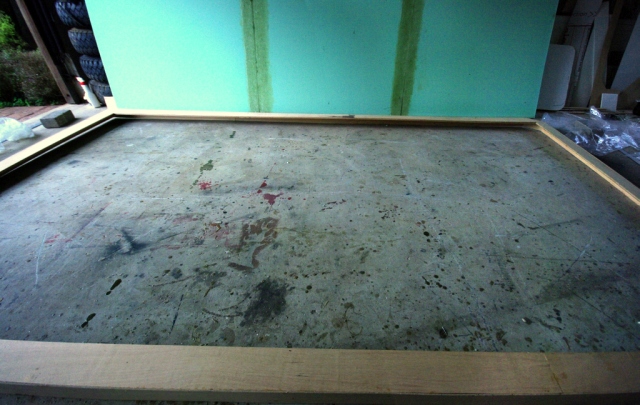
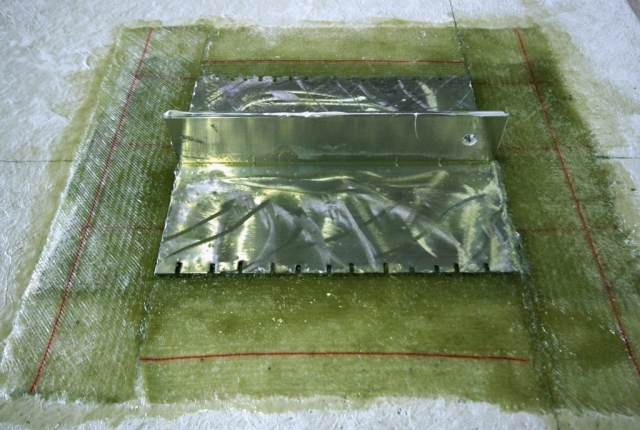
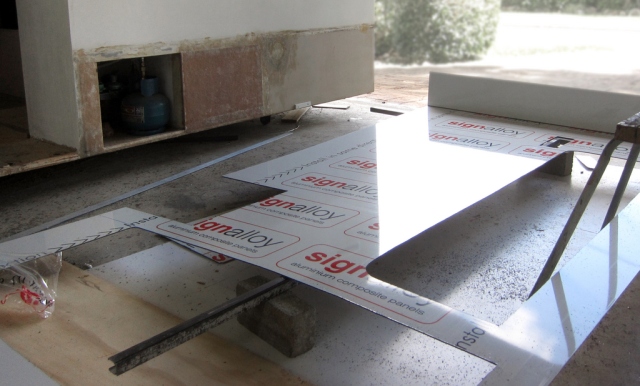
My original intention was to make the roof from ply and polyurethane foam all sealed up with vinyl esther resin. The ply frame proved to be too flimsy so was disgarded in favor of 3mm 50×100 aluminium angle.The ply frame did come in handy for shaping a slight dome into the 3.5×2 metre sheet of foam.
imgp5511.jpg


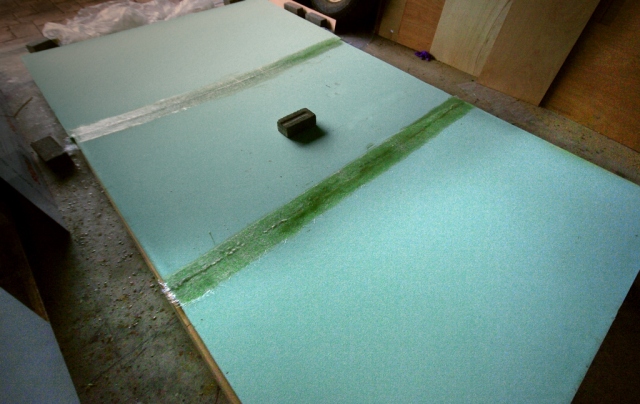
The weight of a brick in the center of the foam supported by the ply frame gave it just enough curve to make it rigid and shed water. The underside was glassed first then the panel was flipped over and the top was glassed.
imgp5512.jpg


Three layers of glass covered the underside then another two layers were applied to the perimeter.
imgp5529.jpg


Strengthening ribs were put in to stop any flexing over corrugations.
underside-roof.jpg


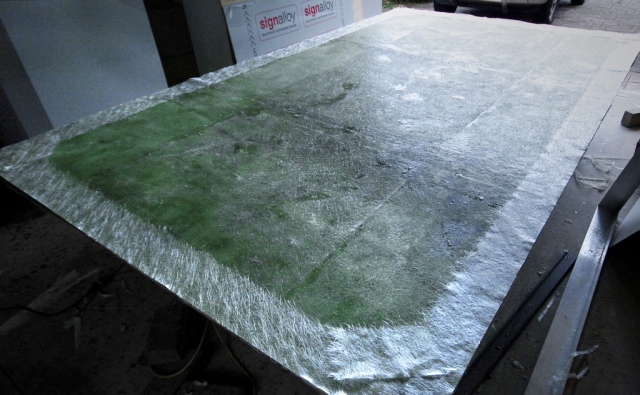
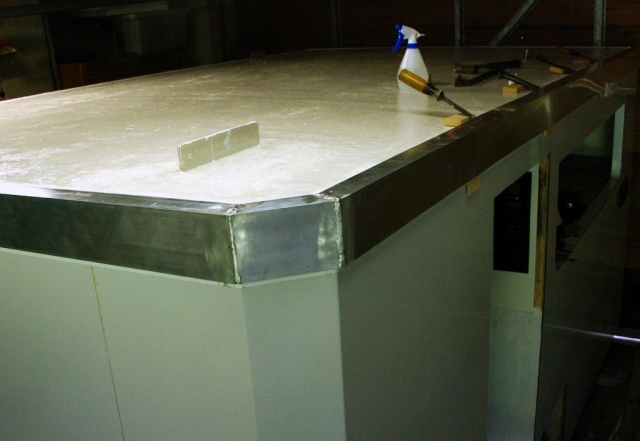
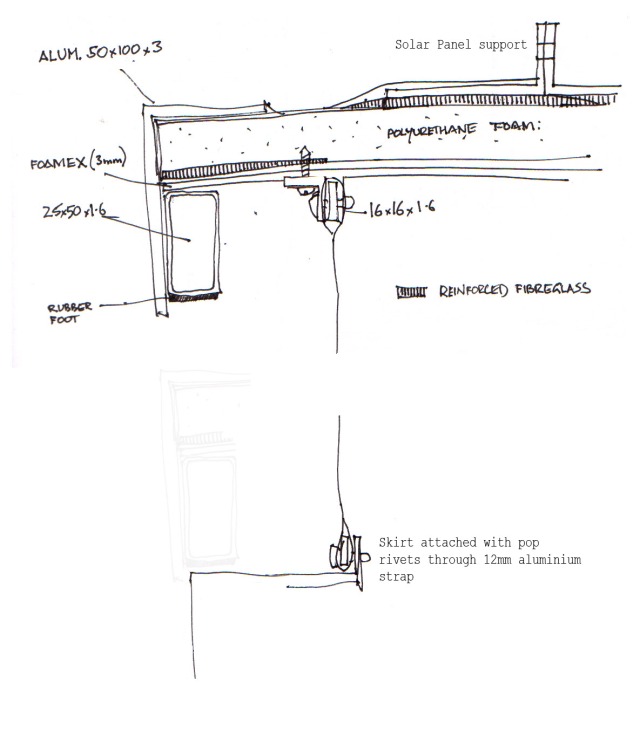
The top was given 3 layers of chopped mat. Solar panel mounts were made from 100x50x3mm Aluminium angle. They were hacked and gouged for adhesion, then glassed into place over reinforced pads on top of the roof. The panel frame will pivot on the front mounts, lifted by gas struts to provide air circulation when camped. The panels will also shade the roof without transmitting heat. When the solar panels were fixed to the roof of the original caravan, heat transfer, even through 30mm of roof foam, was a problem – the underside of the roof not covered by solar panels was always 10 degrees cooler than under the panels.
imgp5548.jpg


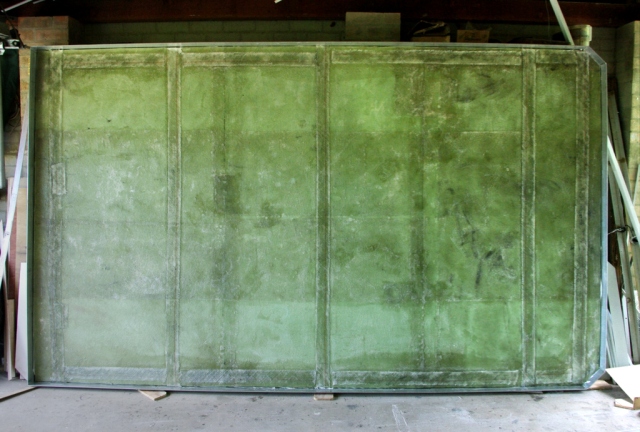
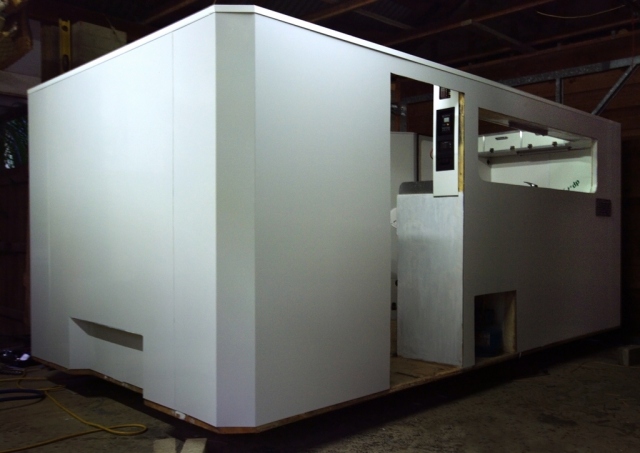
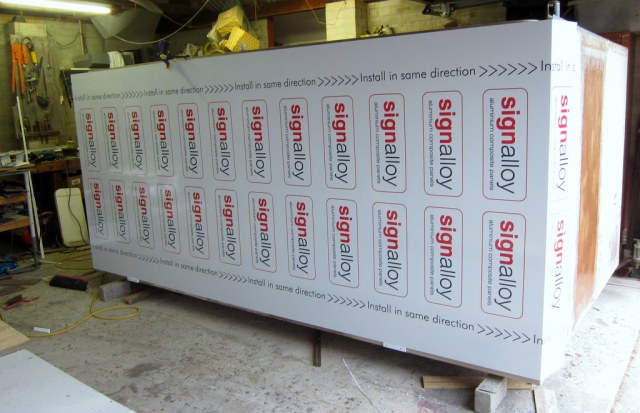
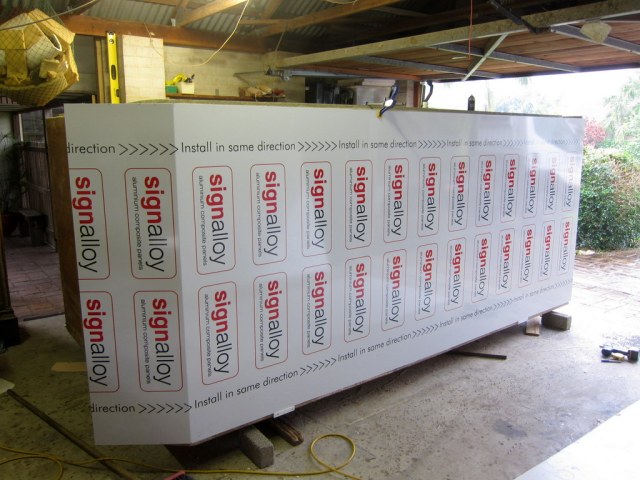
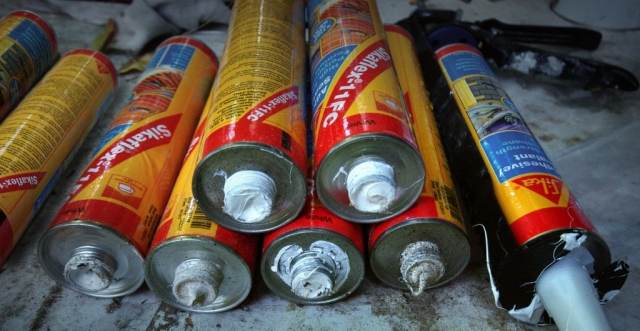
A frame of welded 100x50x3mm Aluminium angle locates the roof over the box. The glassed foam roof was fixed to the aluminium frame on the floor of the shed. This proved to be a mistake as the aluminium bowed slightly in the center of the long side making it a couple of mm too tight. The only way to fix the problem was to cut through the sikaflex and re position the frame.
imgp5558.jpg


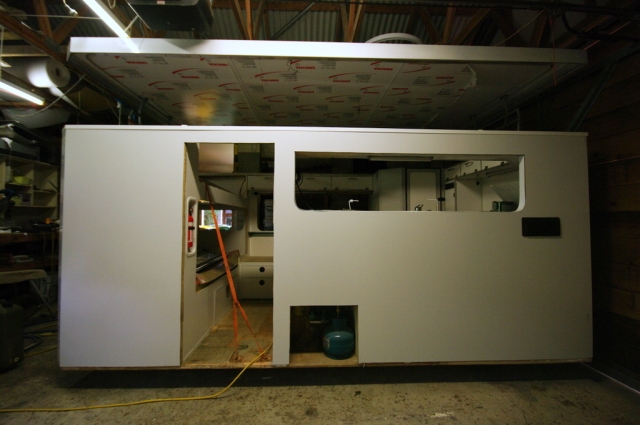
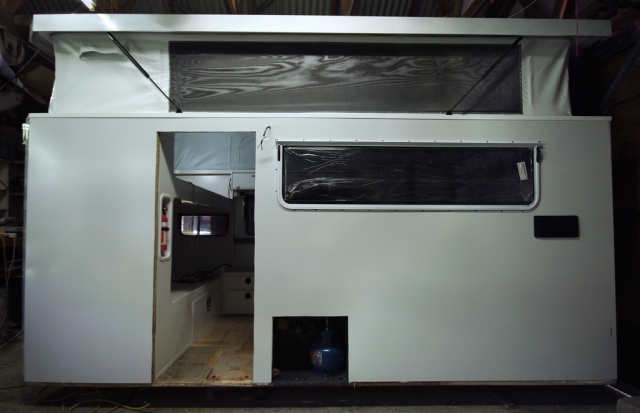
The inside of the roof was lined with 3mm compressed foam. A perimeter frame of 50x25x1.6 aluminium tube strengthens the roof and provides a foot for it to sit on. To support the vinyl skirt, a 16mm aluminium flange was screwed and glued in place.
imgp5613.jpg


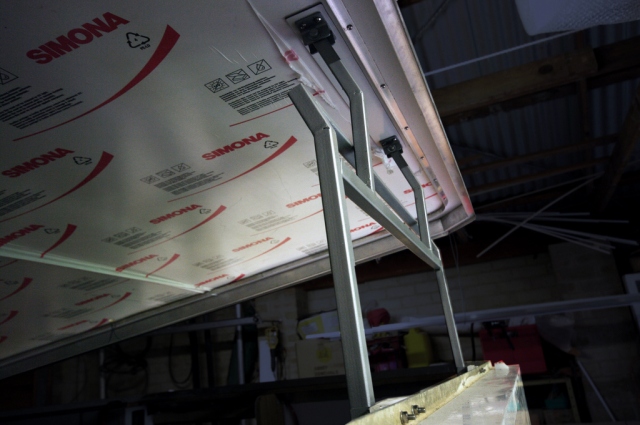
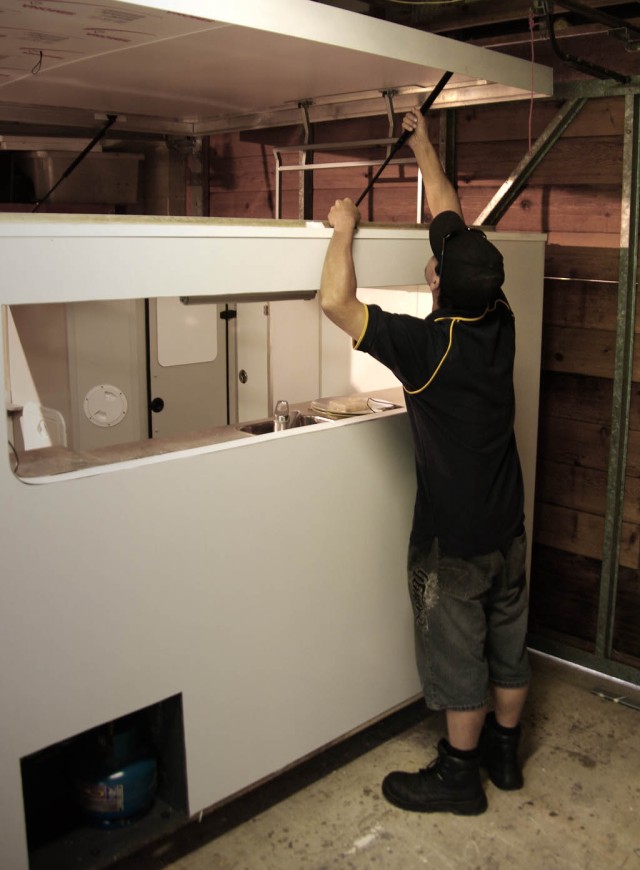
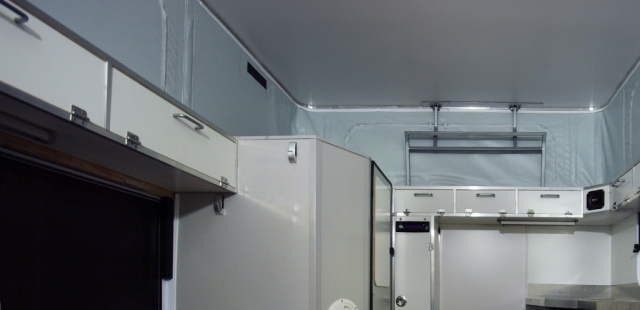
At each end of the camper, a simple mechanical lifter raises and lowers the roof. These are assisted by four 500n gas struts.
imgp5624.jpg


Roof suspended on lifters waiting for gas struts.
imgp5629.jpg


Gas struts are a bit of a black art, so the experts were called in to fit and adjust the pressure.
strutman1.jpg


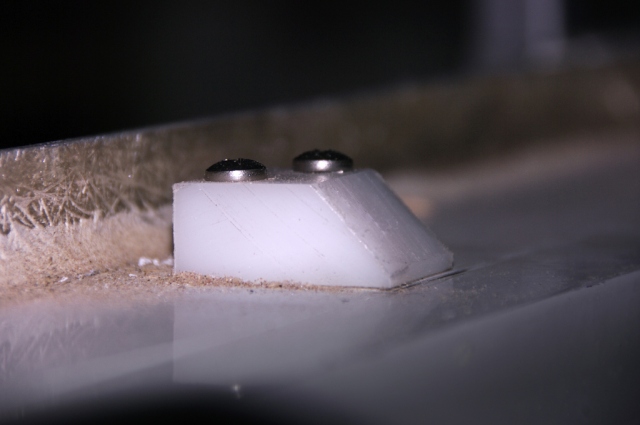
Eight nylon blocks locate the roof as it is lowered onto the box.
imgp5679.jpg


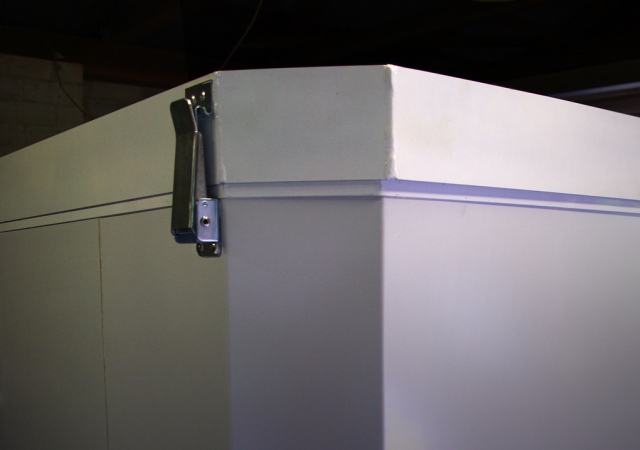
Latches on the front and back walls lock the roof down for traveling.
roof-clip.jpg
 

john lovett

Observer
Hi Pods8,
The ribs were simply two layers of the stitched, cross layered cloth I used on the subframe. It built up to about 8mm thick. Probably not necessary, but I had the roll of cloth left over so thought I may as well use it.
 

Ford Prefect

Expedition Leader
Other than the walls, it would appear that you are using very little of the original caravan, so why didn't you just sell the thing and build this from scratch? I have been really confused about that through your entire thread. The job you are doing is great, I really am loving it, but why butcher that beautiful trailer?

Is there no main bed planned for this vehicle, just the bunk beds?

Thanks for sharing all of this, really good stuff so far.
 

john lovett

Observer
Hi Brian,
Thanks for your comments.
We retained the kitchen and bathroom and and about 70% of the original box. At the start, modifying what we had seemed a good idea, but looking back it would probably have been easier to start from scratch.
I hate selling things and feel kind of attached to the old van so I'm happy to give it a new lease of life.
We decided to ditch the double bed in favor of bunks and more internal space.
Years ago we had a landcruiser with a small box on the back housing bunk beds. It worked well and was the most efficient use of the limited space, so we decided to go back to bunks to escape the crowded feeling most campervans with these dimensions suffer.
yellow-cruiser.jpg
 

john lovett

Observer
Vinyl Roof Skirt

Larger images on Rolling Studio blog

Once the roof was installed the guys from All Seasons Annexes came and measured up for the vinyl roof skirt. They asked a few questions, took a lot of measurements, did a couple of quick sketches and 24 hours later called and said your roof skirt is ready. I was amazed, the fit was perfect and the job was really well done. They put in four large windows for cross ventilation and a couple of breather vents – gas regulations apparently.

vynil-skirt.jpg


skirt2.jpg


Section through roof, skirt and box
roof-section.jpg
 

sarconcepts

Adventurer
nice detail,
you've given yourself plenty of room for the skirt to go, as the roof goes down
can't wait to see it back on the truck
do you know the campers finished weight yet?
 

john lovett

Observer
Hi sarconcepts, We have just lifted the box onto the truck - the crane driver said the box weight was around 500kg. I will put it over a weigh bridge and post details soon. We are limited to an all up, fully loaded weight of 4500kgs. In Australia we are given the option of registering these trucks with this lower weight limit - rego is cheaper and they can be driven with a normal car license.
 

Forum statistics

Threads
185,830
Messages
2,878,676
Members
225,393
Latest member
jgrillz94
Top