Rango.....1942 Willys MB

Metcalf

Expedition Leader
It felt productive and slow at the same time.....

100_0893.jpg


100_0891.jpg


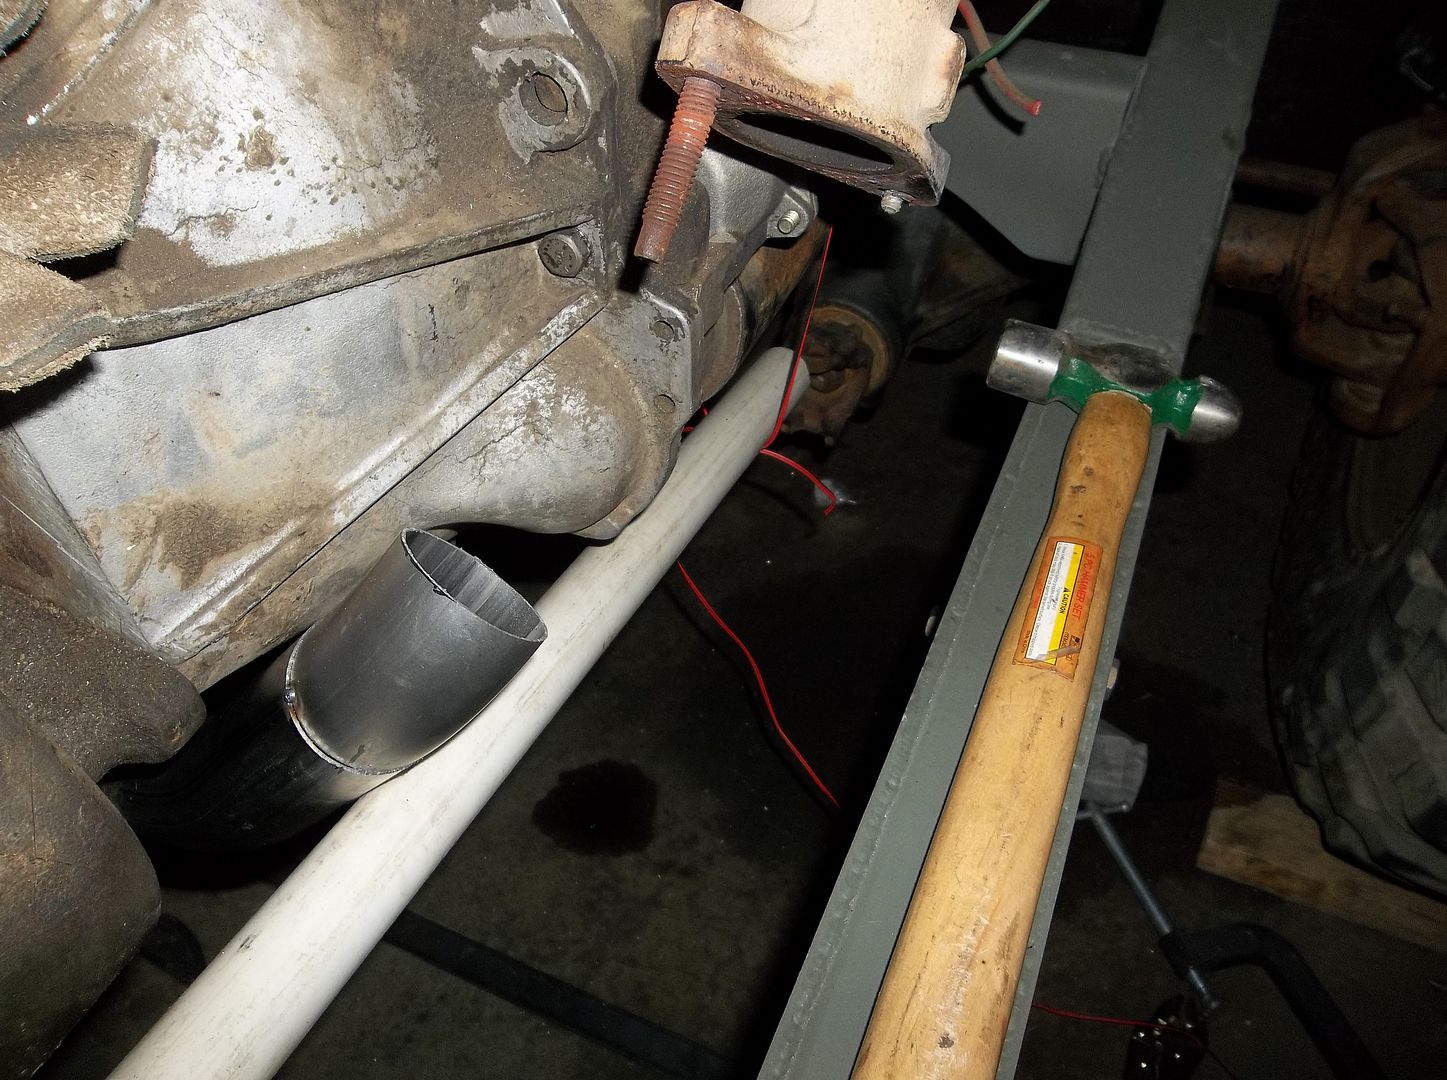
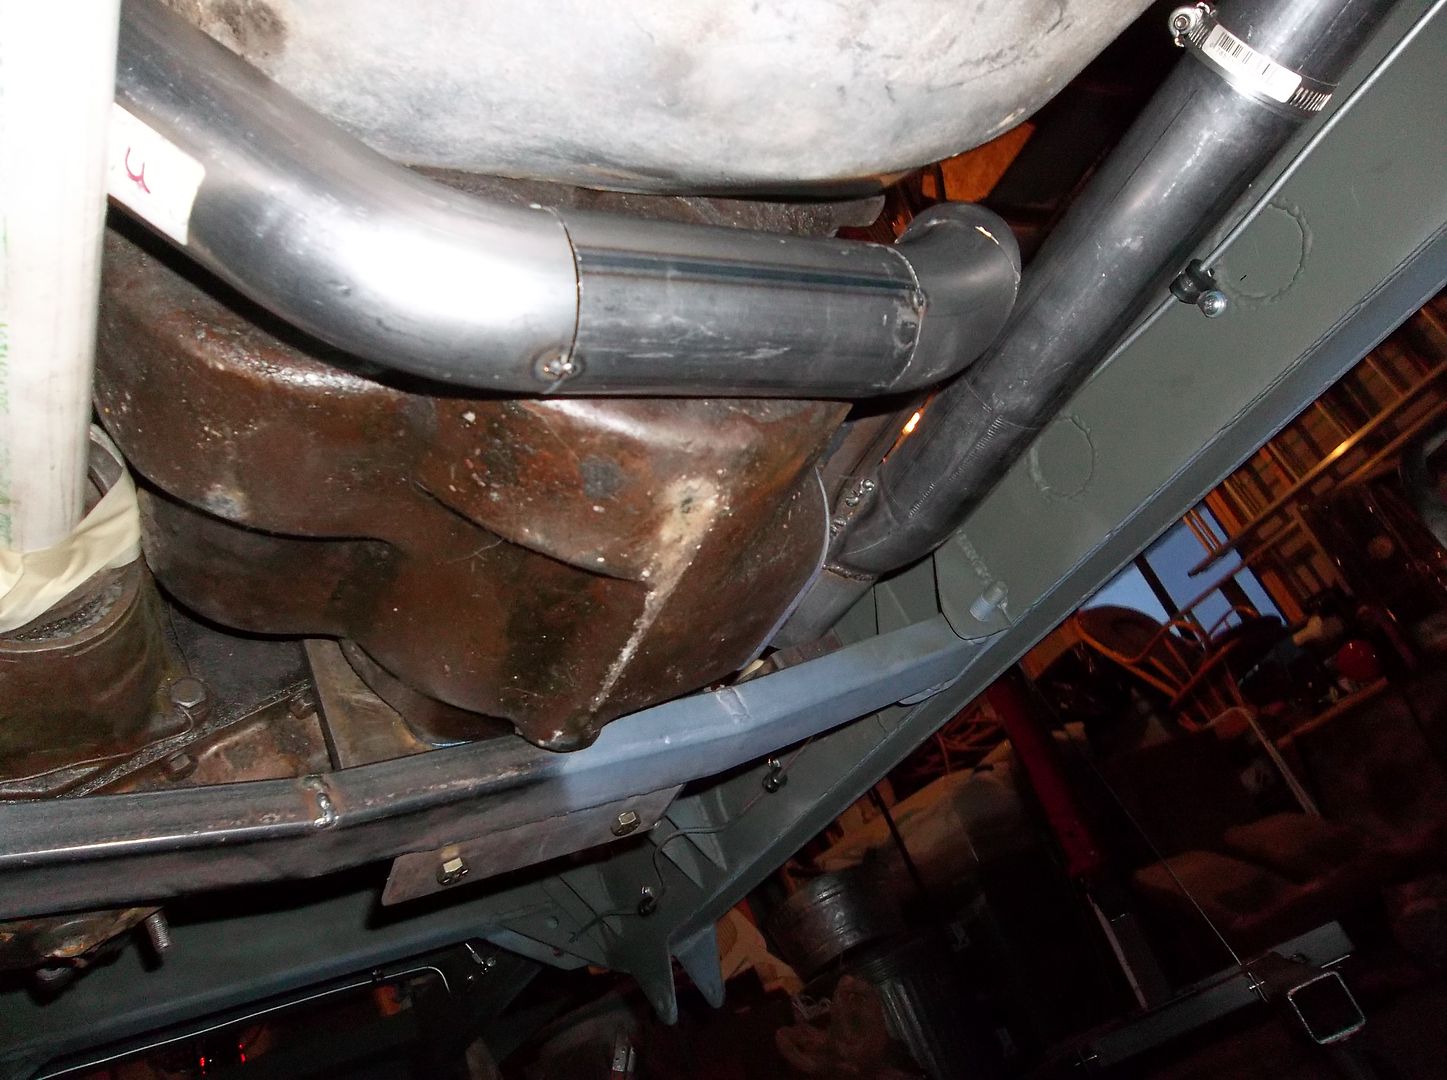
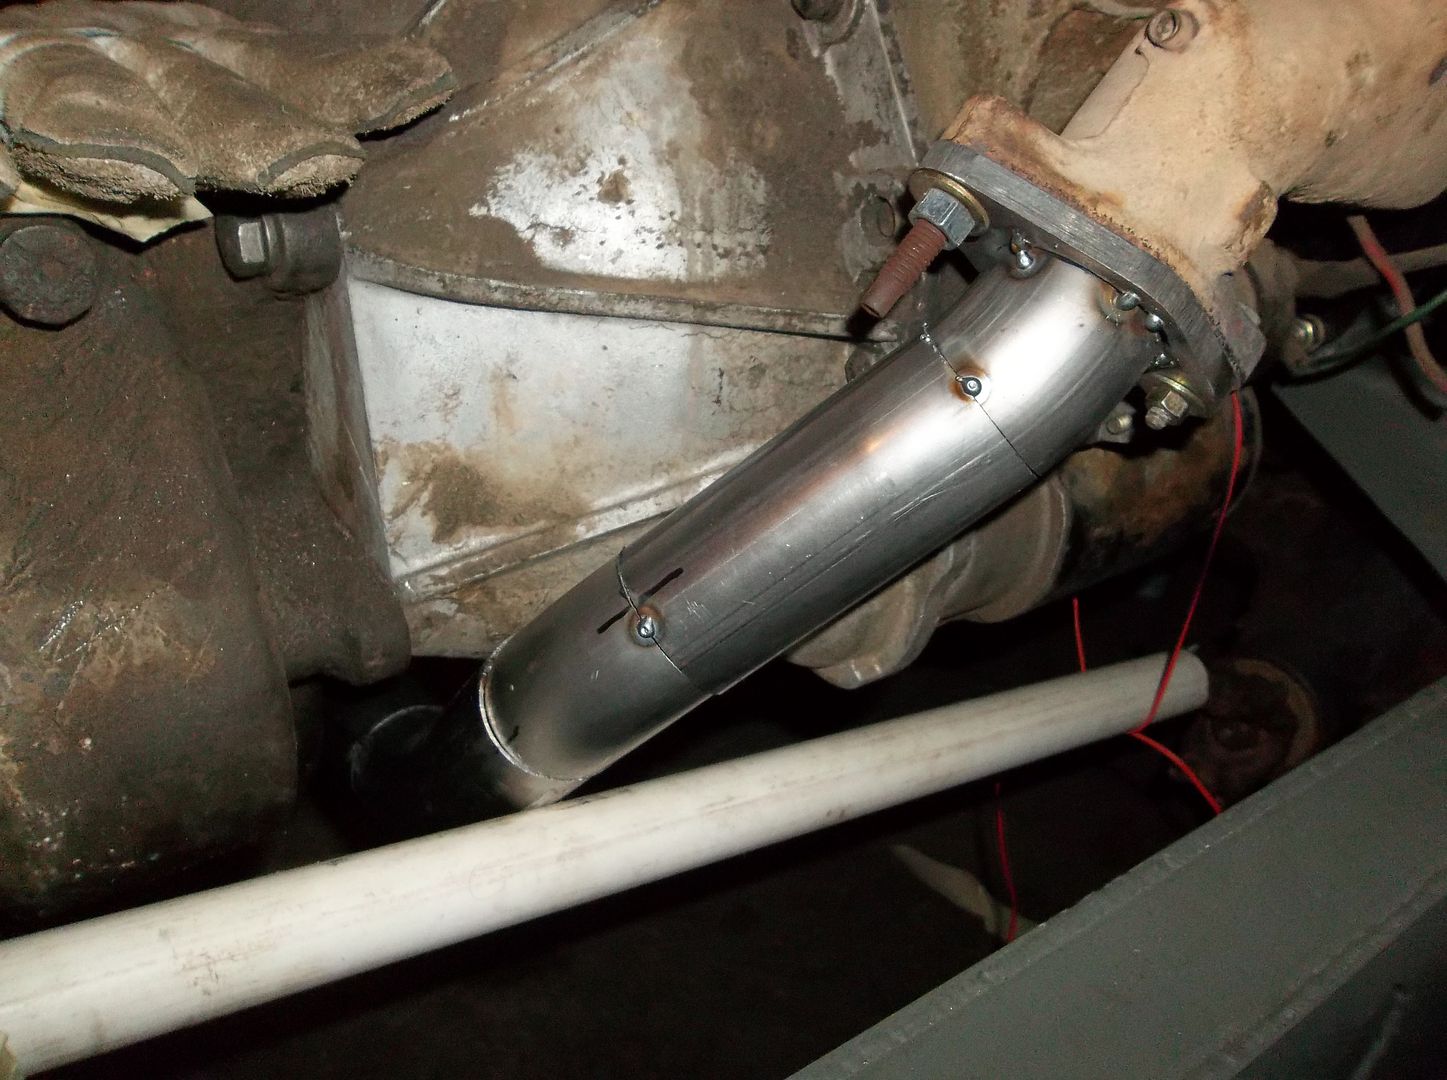
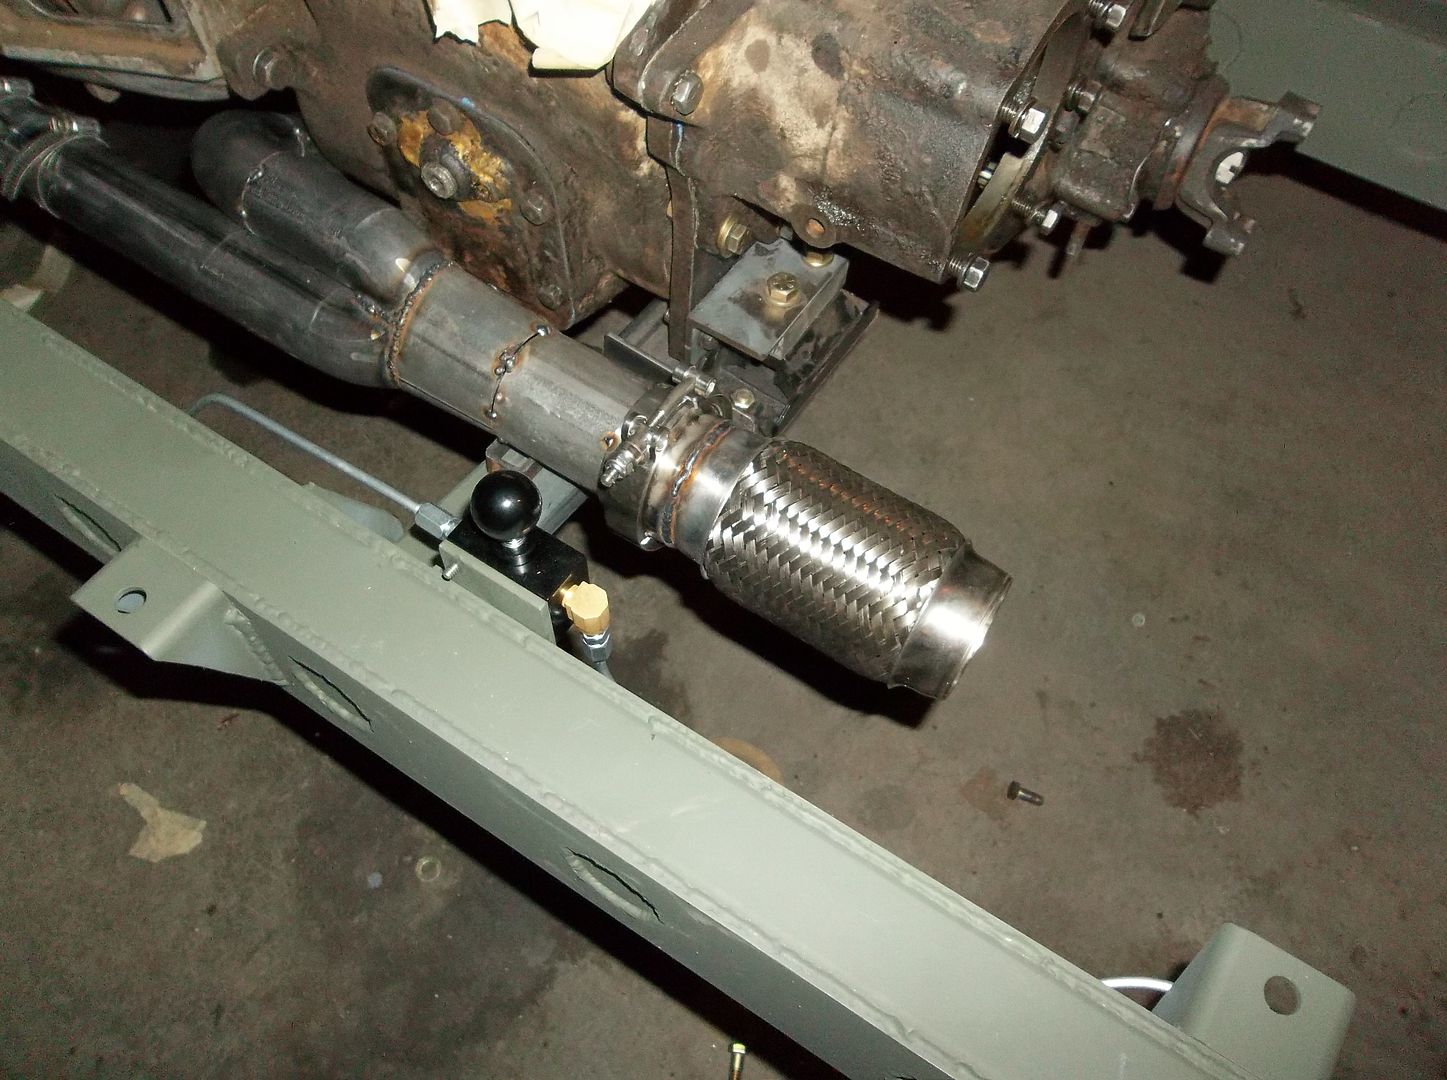
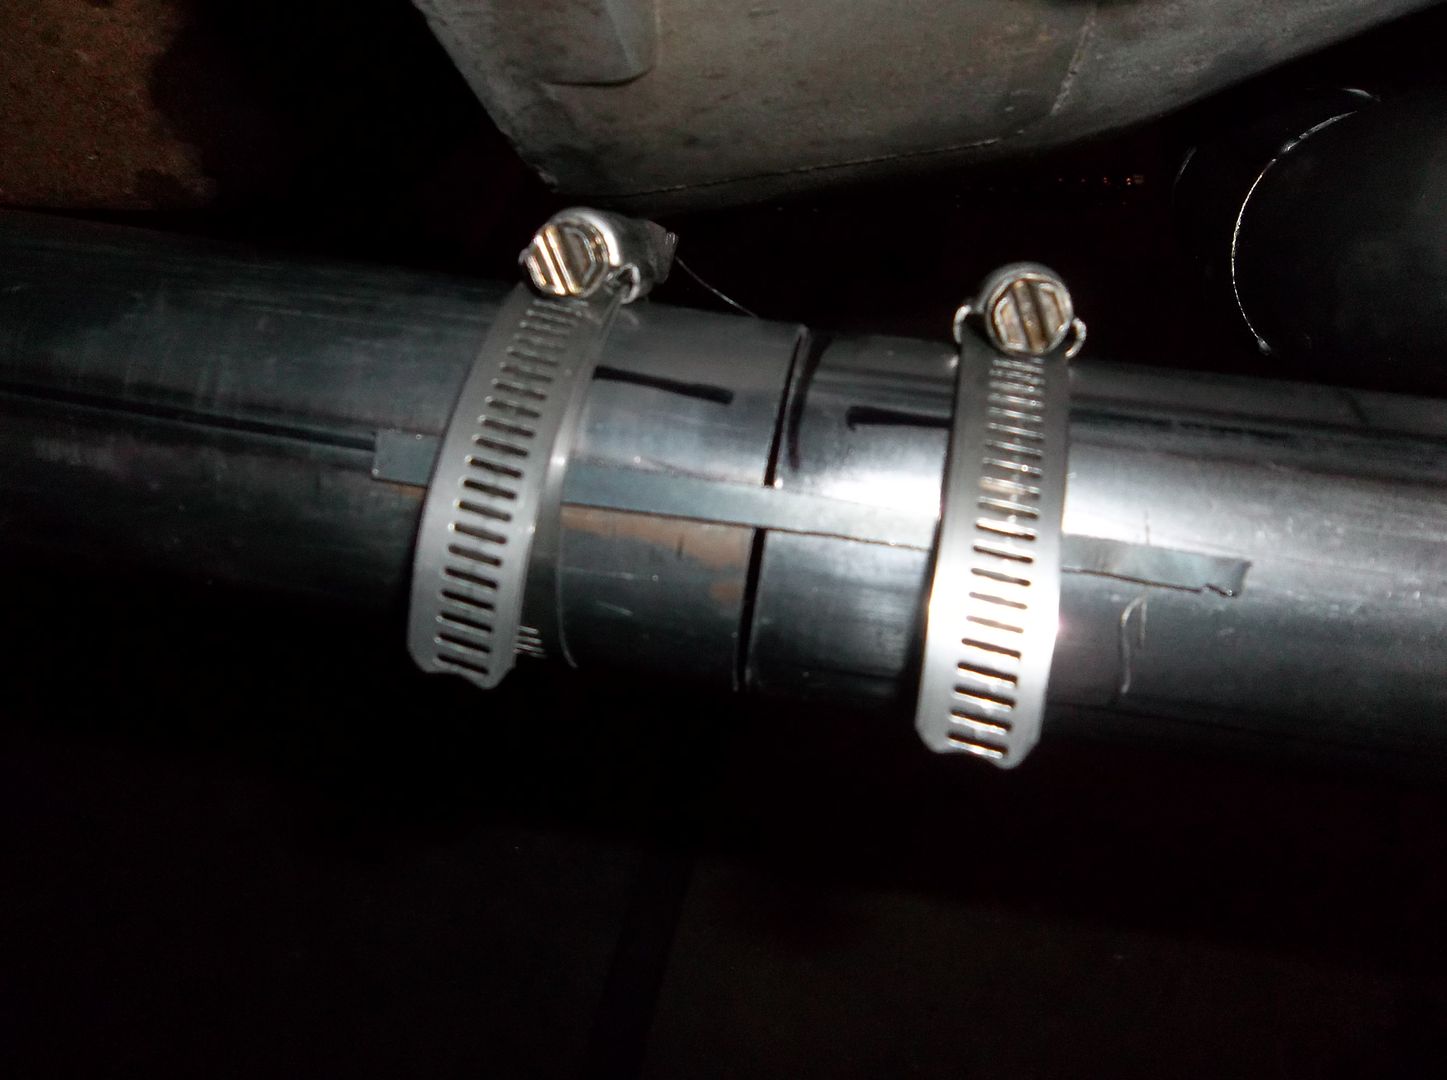
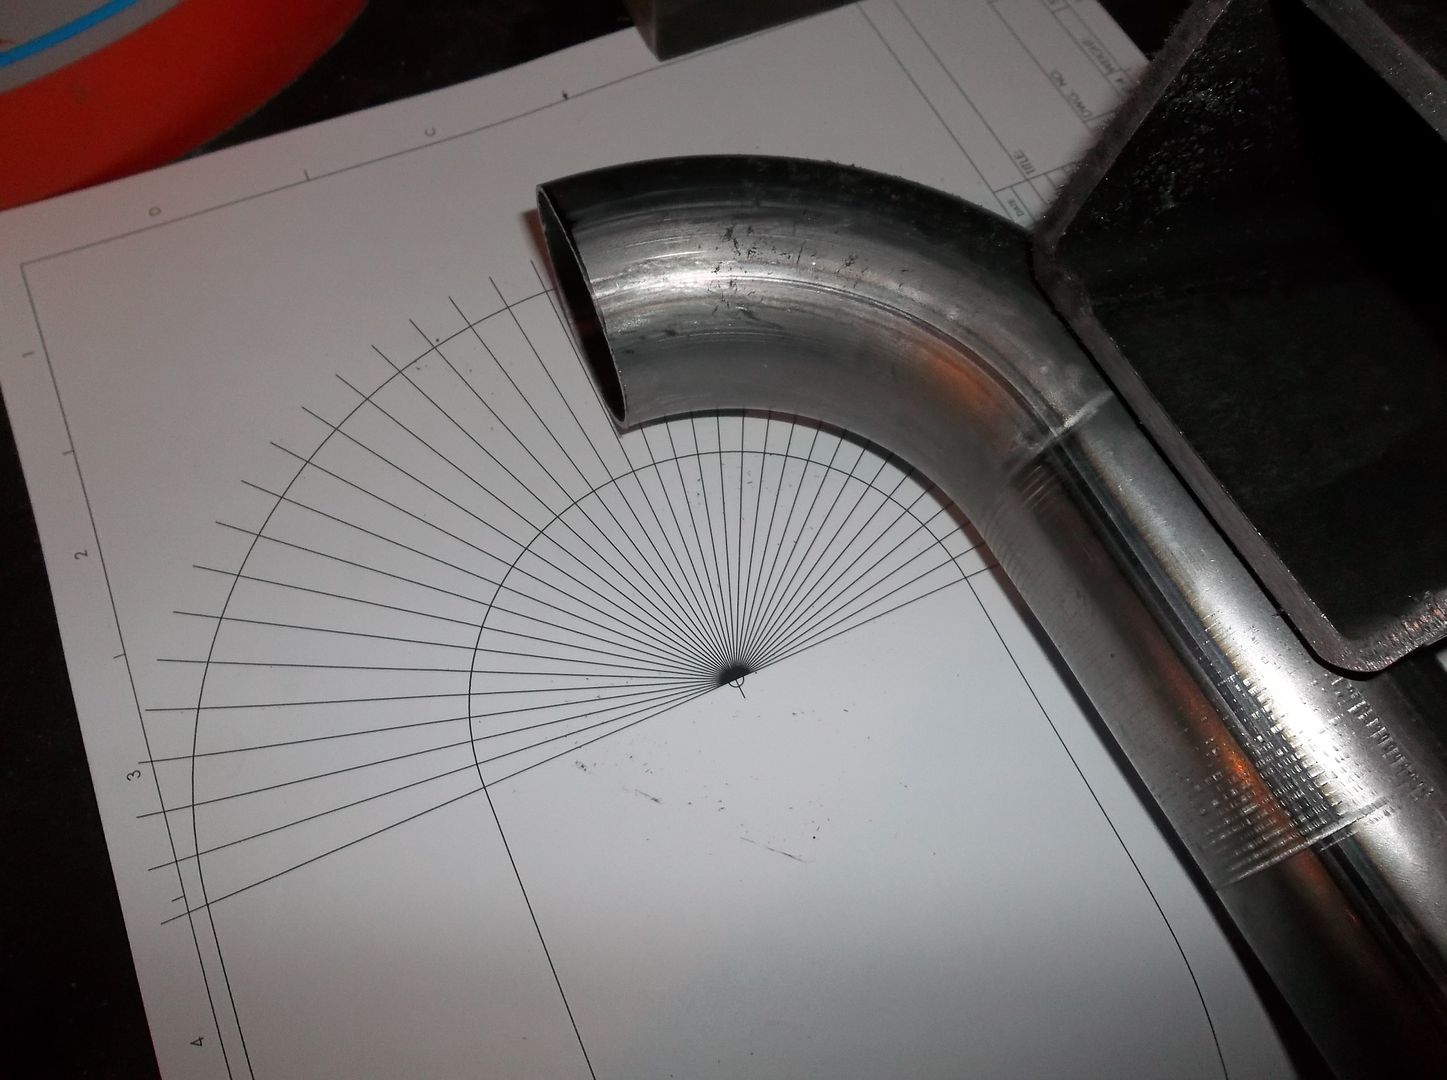
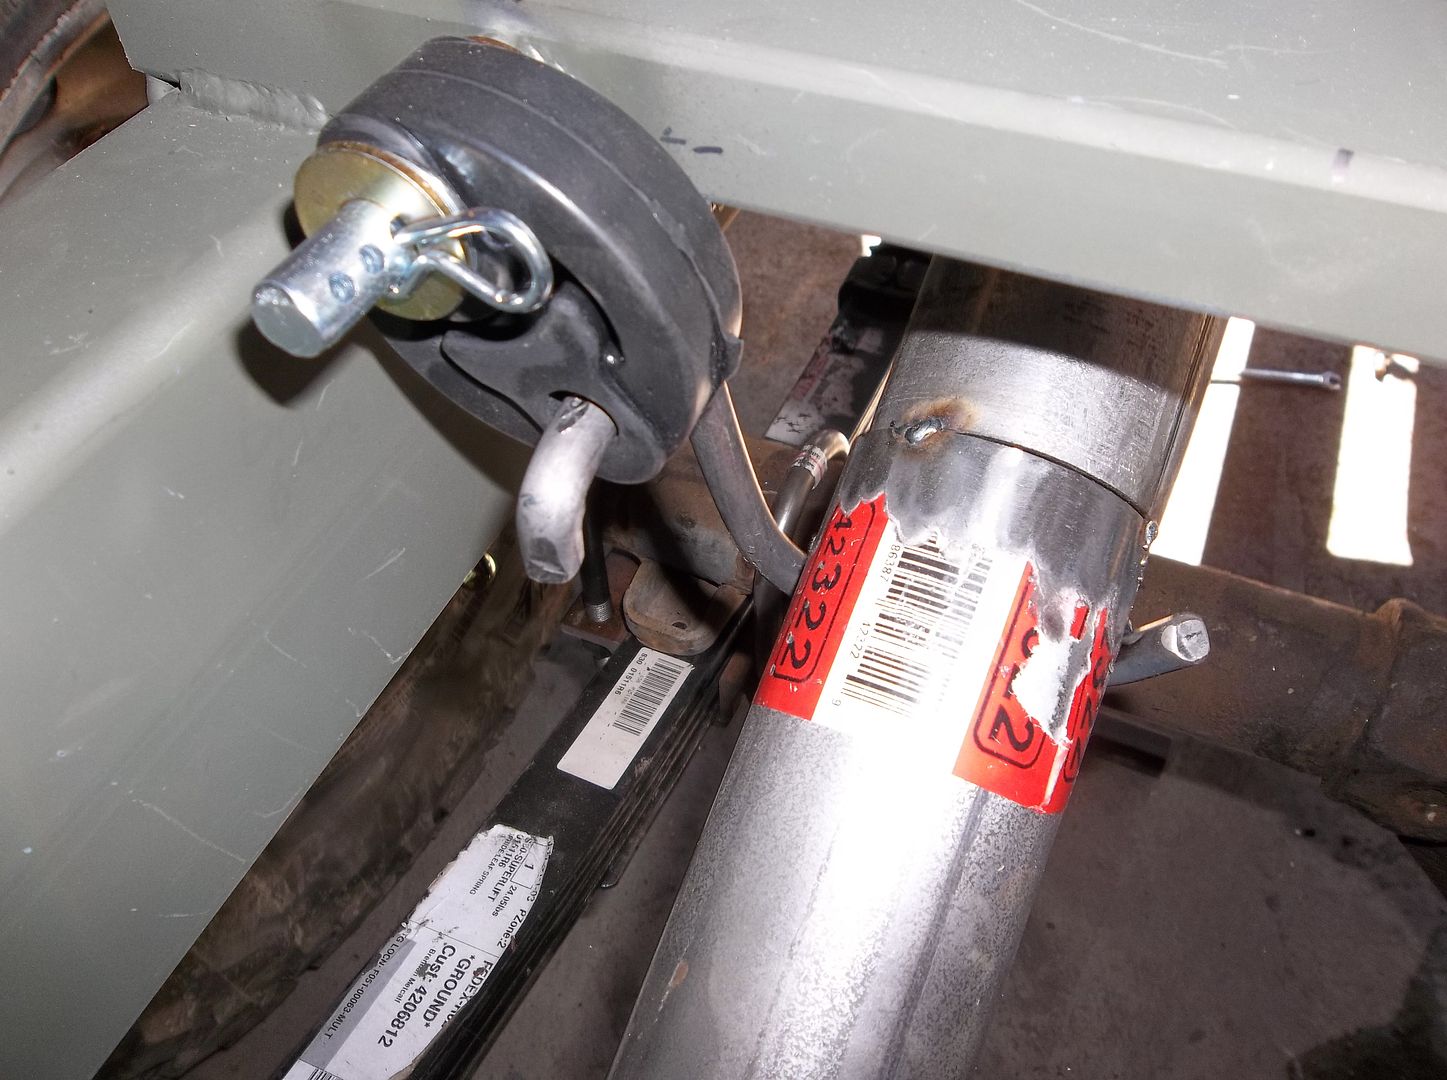
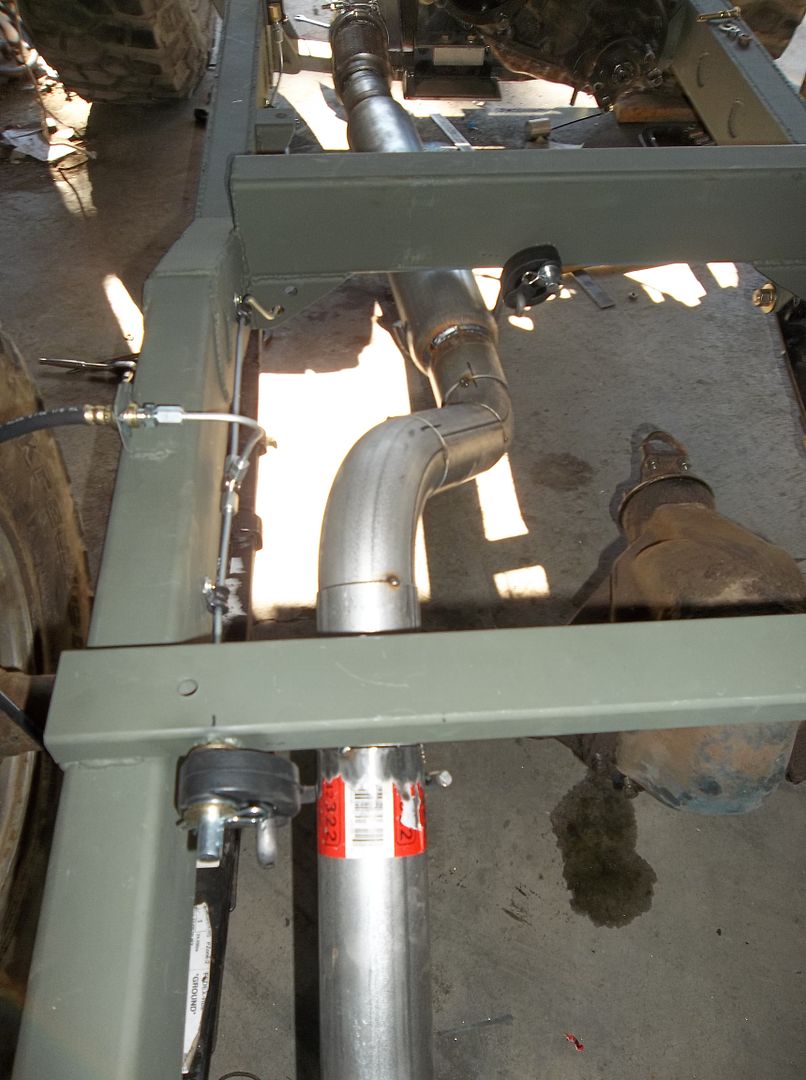
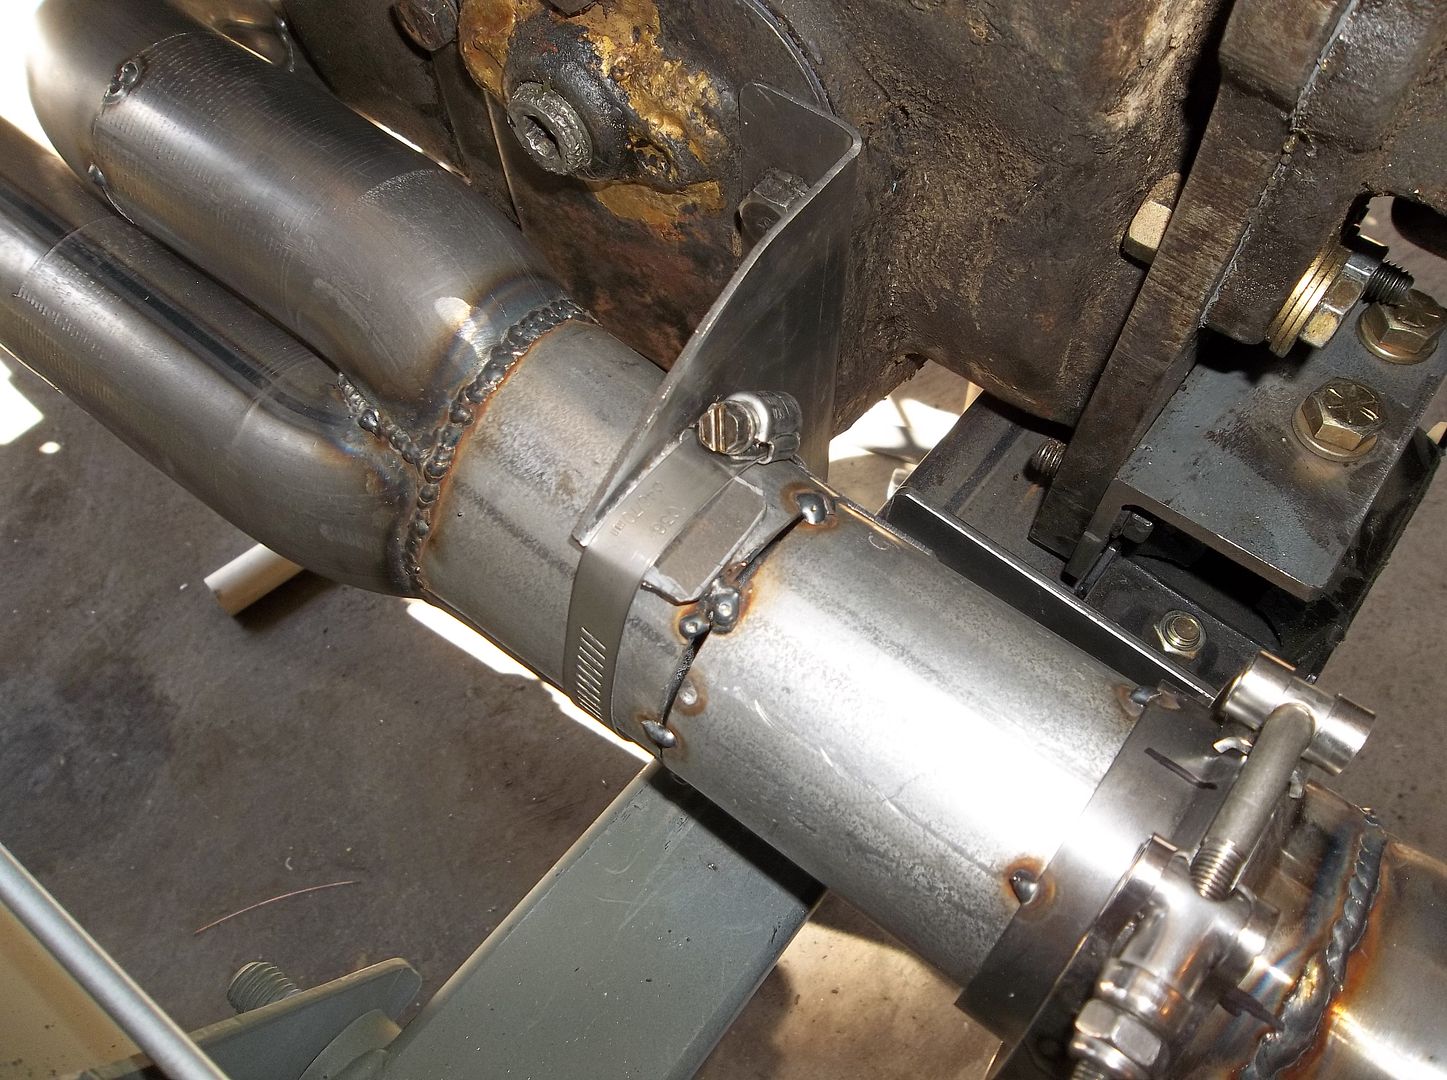
The Y-pipe is almost finished. I only have one more bend to go. I ended up having to make a new flange for the passenger side exhaust manifold so that slowed me down a bit....

100_0894.jpg


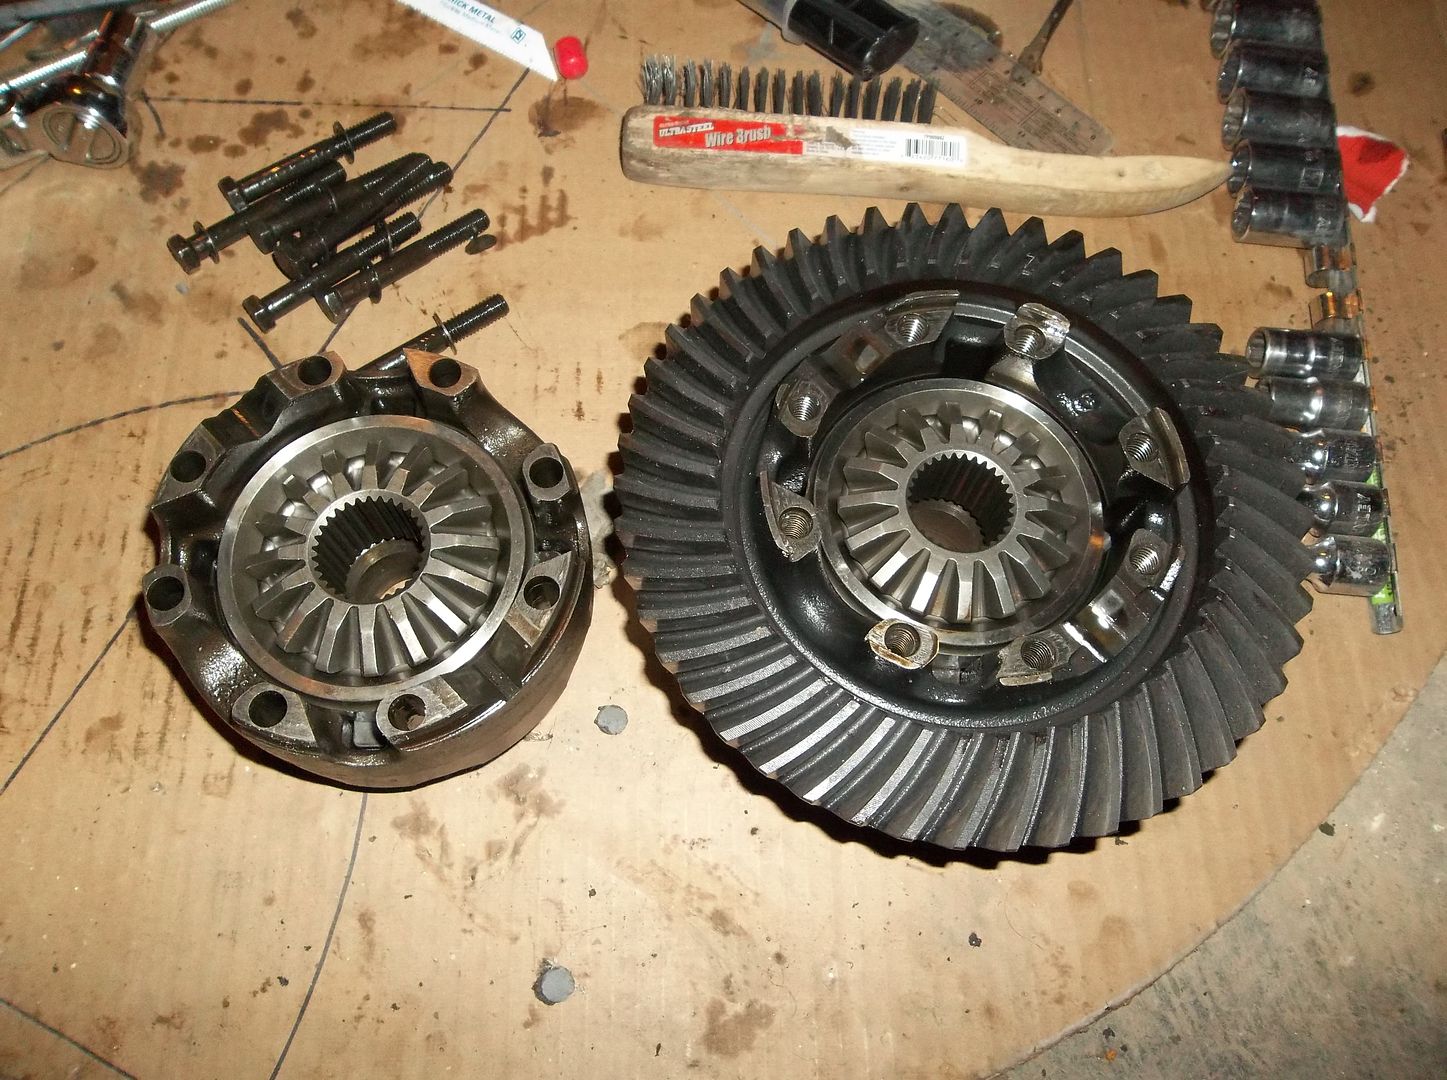
I did get the new 30 spline side gears in my Powr-lok rear diff....

100_0896.jpg


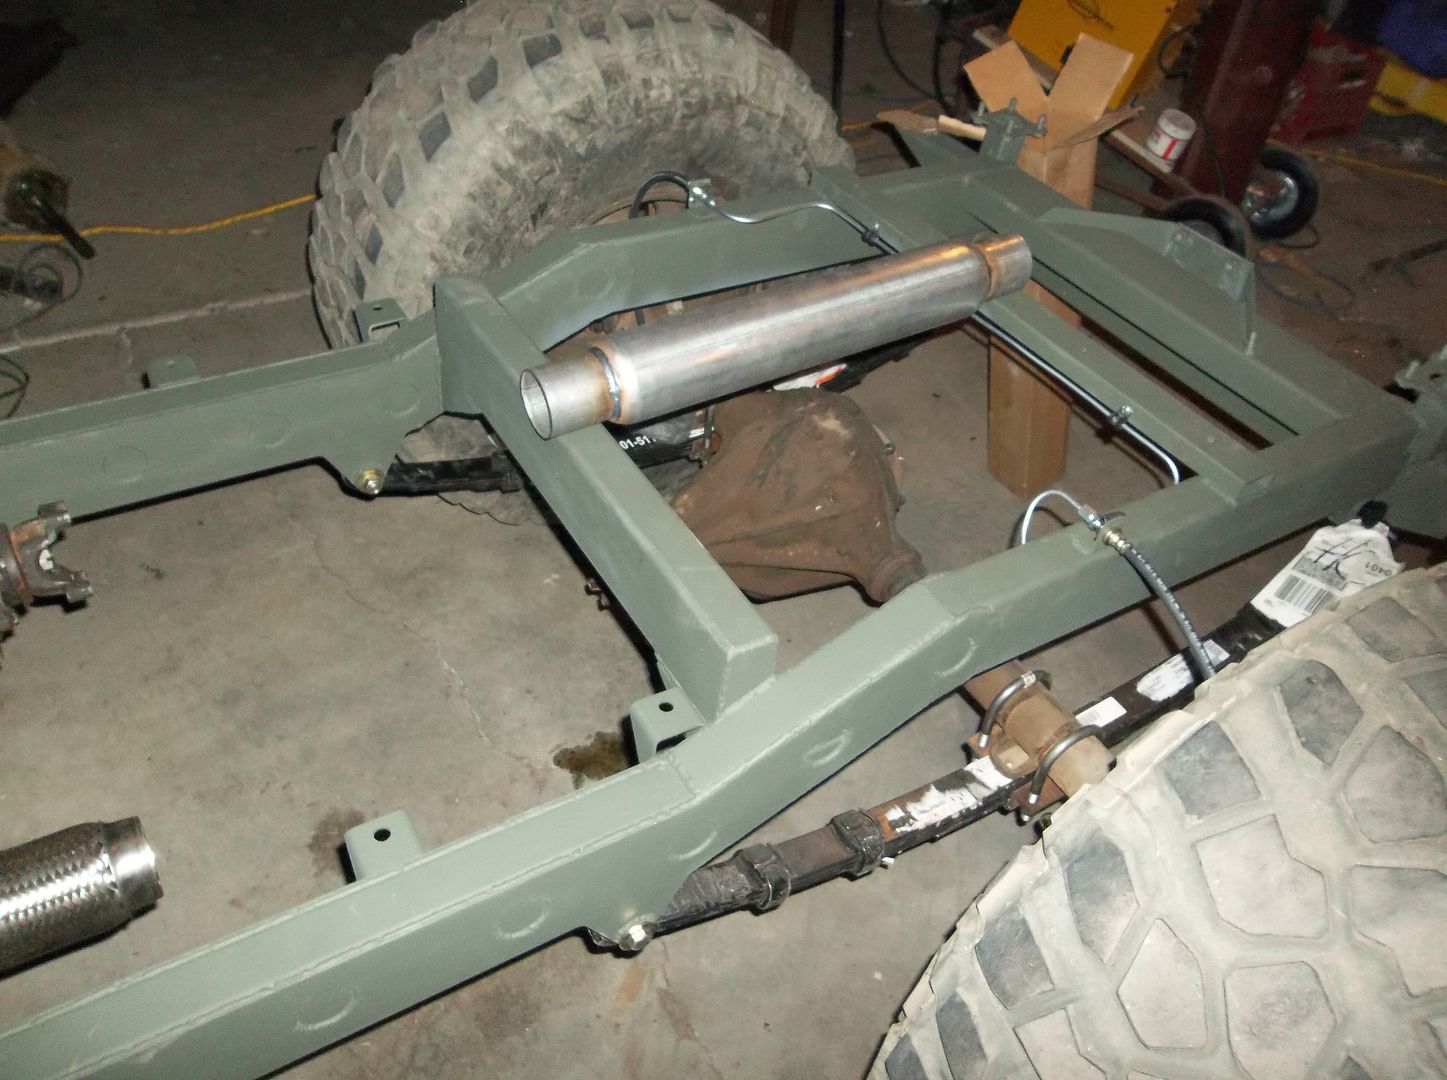
And then I stuck the carrier back in the axle housing and rolled it under the frame.....IT ROLLS AGAIN! Simple pleasures.

100_0897.jpg


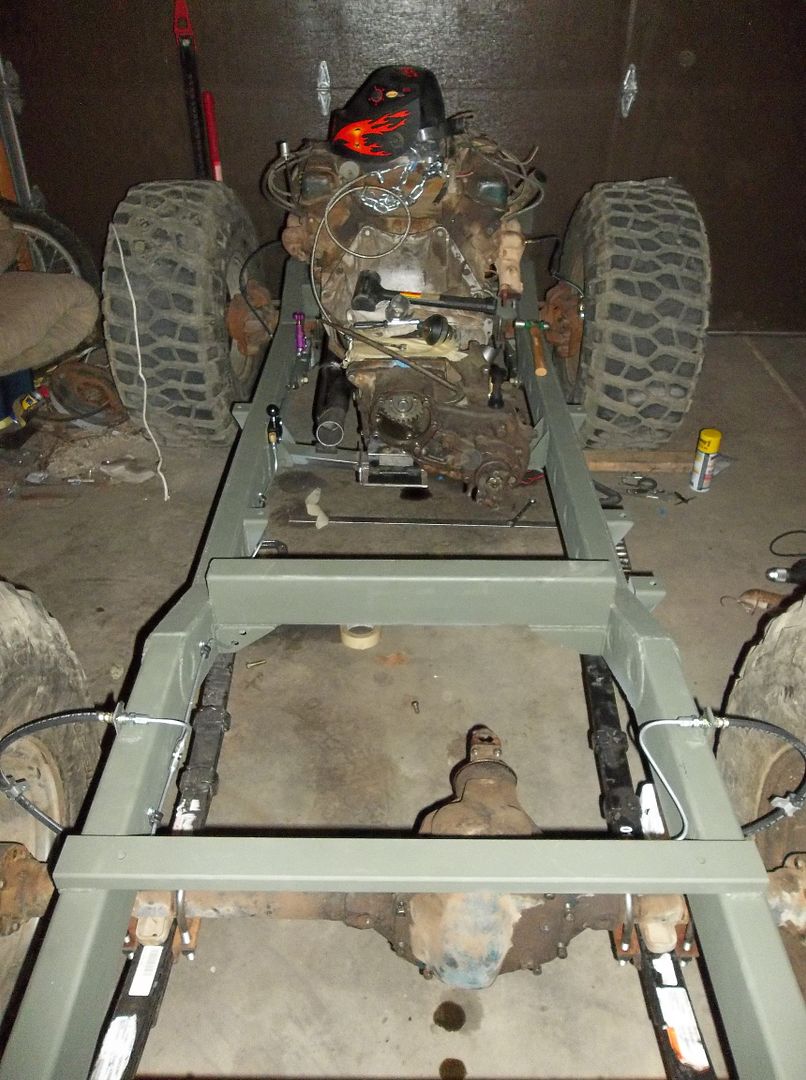
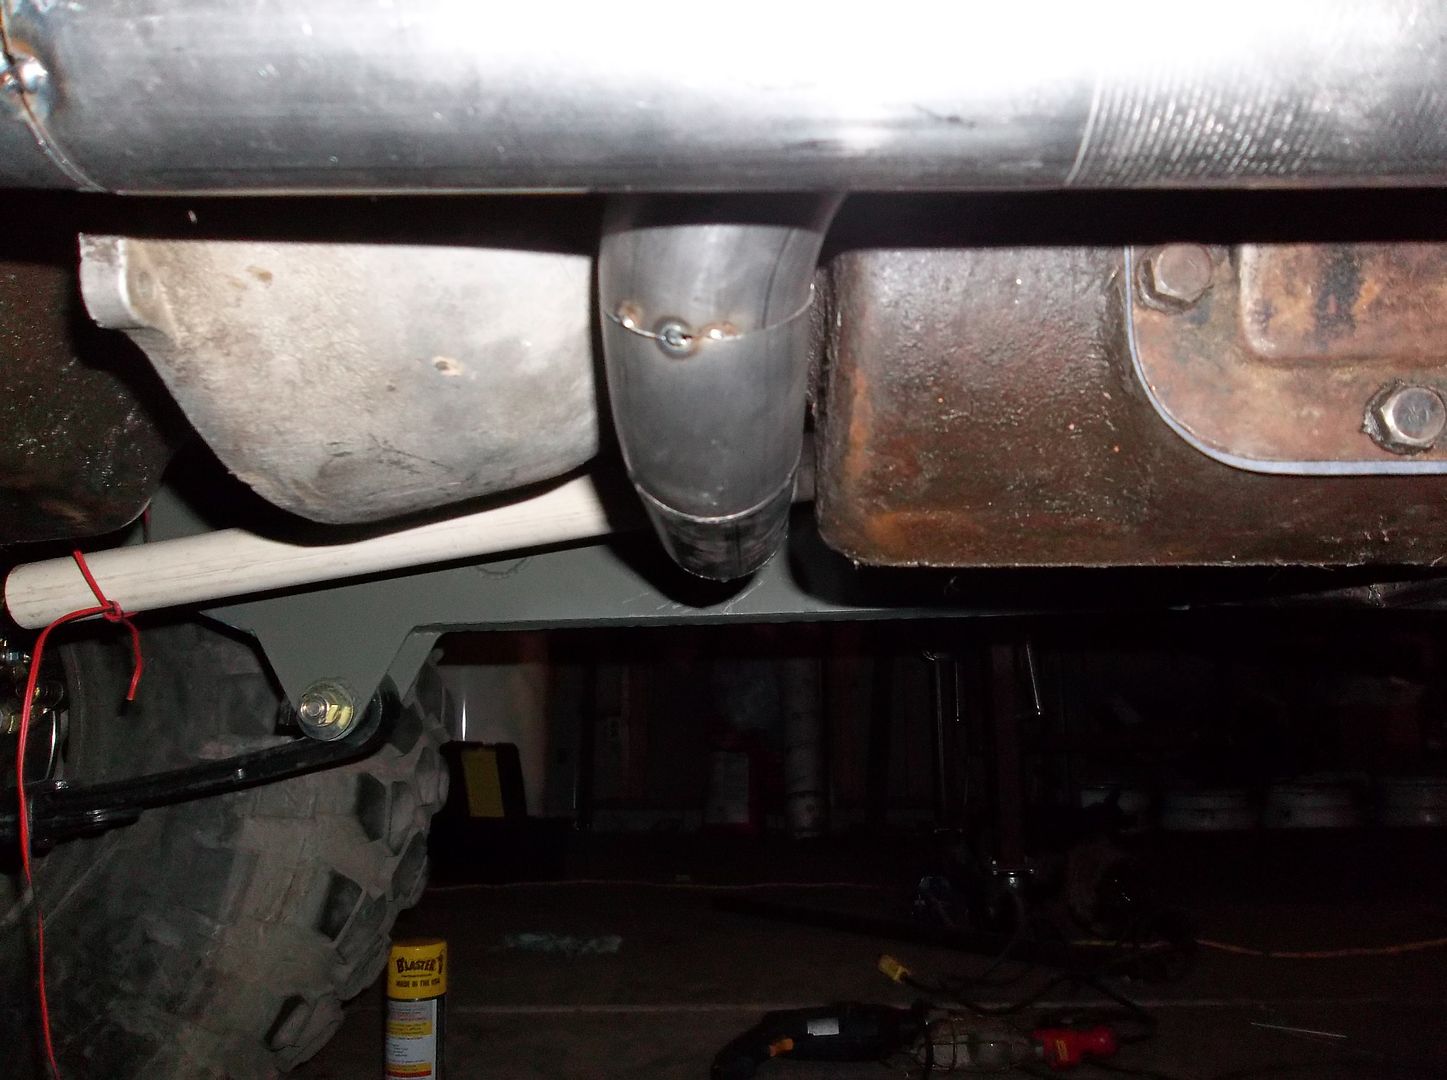
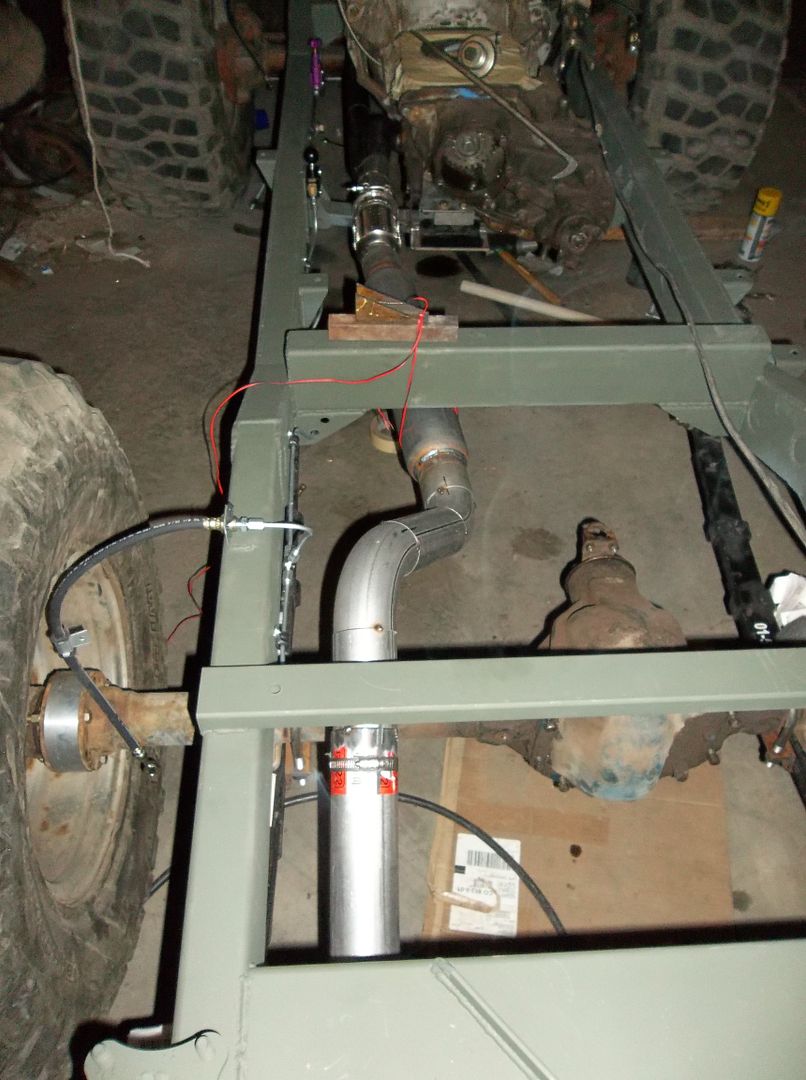
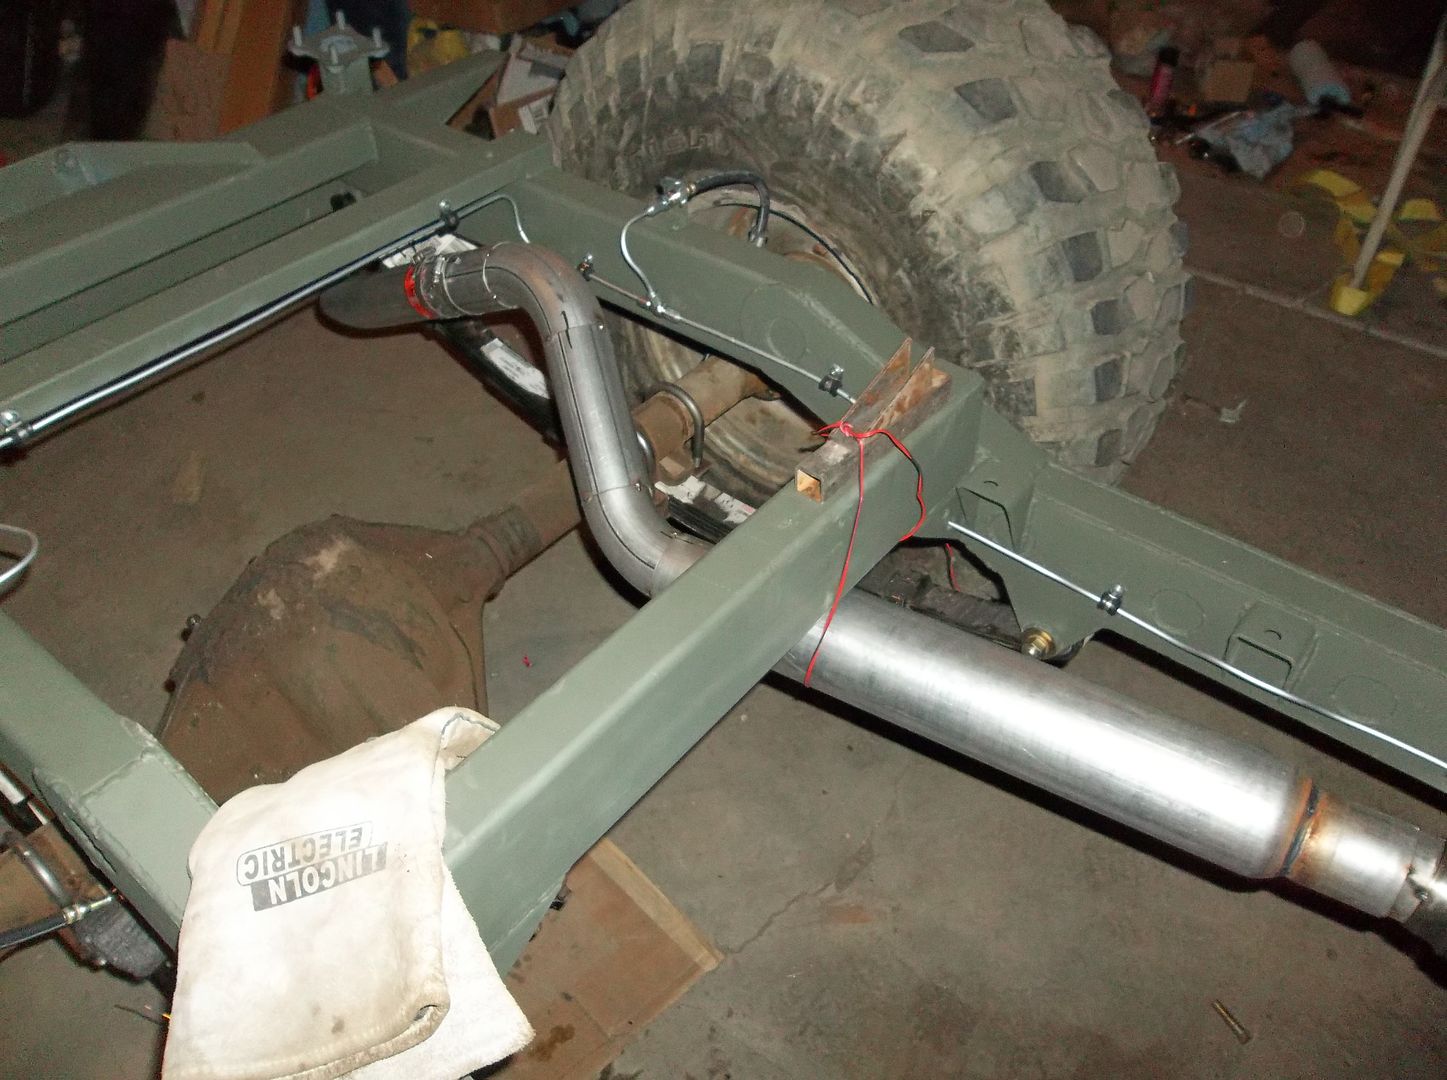
Any ideas on where to run the 2.5" rear exhaust and muffler?

I'm going to keep chugging away. I REALLY hope I can get the tub back on the chassis this weekend!
 

justcuz

Explorer
You could run the pipe down the left side of the frame, put a 90 at the rear and run a flat turbo style muffler across the back of the frame, another 90 with a small tailpipe coming out the right side somewhere inboard of the spring hanger. As I recall some old flat fenders were originally built that way. If the muffler is small and flat enough it will fit above the rear cross member and still leave a couple inches of clearance between the muffler and the floor of the body. Been watching your builds for a while now, the Jeep is turning out very well!
 
Last edited:

Metcalf

Expedition Leader
Thanks, I think its coming out pretty neat. Its just a big pile of parts that I basically already had....then I just tried to make it kinda cool.

I am going to use a approx 24" long 2.5" in/out glasspack. I need to get the exhaust system high enough in the chassis that the rear axle tube can go all the way to the frame rail. The fuel tank sump is basically right next to the drivers side frame rail on the inside and just behind the 'machine' gun crossmember. I would like to keep the exhaust away from that area.

I don't think I have enough room to 'exit' the exhaust from the chassis, I will probably have to dump it out at an angle kinda behind/below the rear bumper. The shackles are only going to hang down about 2-3" from the bottom of the bumper so I think a normal exhaust pipe exit would get mushed....

I will see how it goes tonight.....
 

Metcalf

Expedition Leader
The Y-pipe is all done except final welding. I think it turned out pretty decent. I do think that I may need to dimple it for clearance on the front driveshaft. I have the 2" pipe as close to the transmission as I dare. Not a big deal, but just one of those things....

100_0901.jpg


I also got the collector extended a bit, the V-band clamp tacked on, and the flex pipe installed....

100_0903.jpg


The Y-pipe ended up being tucked up very nice in the area between the bellhousing and front face of the transmission.....

100_0905.jpg


Now I need to find room for this in this area.....

100_0904.jpg


A few helpful tricks.....

100_0898.jpg


This is a good way to hold pipes together. The small sections of sheet metal can be bent to be used on bends.

100_0899.jpg


I also made up these 'cheat sheets' for the mandrel bent tubing I bought. These sheets allowed me to mark the tubing easily in 5 degree increments and then cut on the vertical bandsaw table.
 

jeepdreamer

Expedition Leader
What if you drilled a hole through the "machine gun" cross member and welded in a piece of tubing to keep the strength. Then you could run the exhaust through that and have the muffler between the MG member and the rear.?.
 

Bad Karma

Adventurer
I also made up these 'cheat sheets' for the mandrel bent tubing I bought. These sheets allowed me to mark the tubing easily in 5 degree increments and then cut on the vertical bandsaw table.

any chance you could email that to me? (for 2.5" tubing) :D:D:D
mikeczj at hotmail dot com
 

Metcalf

Expedition Leader
What if you drilled a hole through the "machine gun" cross member and welded in a piece of tubing to keep the strength. Then you could run the exhaust through that and have the muffler between the MG member and the rear.?.

The 'machine gun' crossmember is basically behind the step in the floor behind the front seats. If you where to notch it the exhaust would be above the floor of the tub.
 

Metcalf

Expedition Leader
what bend radius do you guys need the template for? I ended up printing it on 11x17 paper to get it to fit......
 

jeepdreamer

Expedition Leader
2" and 2 1/2" would be handy. Maybe post it in a PDF?
As far as the exhaust on yours I hate to admit I didn't realize the body was so close there. How much room is there between the tire and the frame? Could you do the same hole/reinforce deal and run the tubing along the outside of the frame? I would offer that getting the exhaust all the way to the rear and preferably out the side is a very good idea. You'll mostly be going slow and sucking that in all day on the trail isn't a lot of fun. Been there, had the headaches.
 

Metcalf

Expedition Leader
Can I post/attach PDF here? I have never tried that.

I need to know what CLR radius the tube is bent along? It would be like 2" dia tube on a 3" CLR ( center line radius ). If the CLR changes so does the locations of the alignment lines. I guess I could make it kinda universal with multiple alignment lines....but that gets pretty busy pretty quick. I also did every 5 degrees along the bend, for me this worked pretty well. If you go much finer the lines get a little too confusing. Its pretty easy to get 2.5 degrees between the lines by eye if you REALLY need to do that.

I basically only have about 4" from the bottom of the floor to the bottom of the frame throughout the chassis if I don't want the exhaust to hang down under the chassis. Having the exhaust outside the frame won't really work since the rear shock mount and brake lines are in that area....

These little old things are small!
 

Metcalf

Expedition Leader
Now for some progress....

100_0906.jpg


100_0909.jpg


I was able to get all but the last 6" of the rear exhaust section finished. I ran out of tubing....dang it! I ended up canting the muffler to the middle of the chassis by about 10 degrees to get the muffler and tailpipe away from the fuel sump location. It's still tight, but everything is on a flat fender. The exhaust will exit just to the inside of the drivers side shackle. I may see if I can find a thick wall piece of tube to make the end more crush proof, and a will probably angle cut the end so that the bottom edge doesn't get too beat up or become a snag point.

I also need t build some exhaust hangers and a hard mount near the Y-pipe....

100_0907.jpg


100_0908.jpg


I also built a new torque mount for the transfer case. It uses the same poly bushings as the shackle hangers. I think it should work ok. The clearance is pretty tight but hopefully it keeps everything where it is suppose to be. I will probably be welding the bracket for the bushing to the front of the transmission crossmember mount.....
 

Metcalf

Expedition Leader
Today went pretty decent.....

100_0911.jpg


I built a few of these to hang the rear section of the exhaust....

100_0912.jpg


I needed two rubber mounts to hold the rear section of the exhaust from the V-band clamp backwards....

100_0910.jpg


I also made a hard mount off the transmission near the merge pipe to keep the forward part of the exhaust from moving it around since the pipes are so close to everything. I don't know how much I like it, but it sure works!

Since the exhaust was all done I pulled everything and welded up the entire exhaust and sprayed it with some flat black BBQ paint....

Tomorrow it goes back together and the tub goes back on!
 

Forum statistics

Threads
185,894
Messages
2,879,296
Members
225,450
Latest member
Rinzlerz
Top