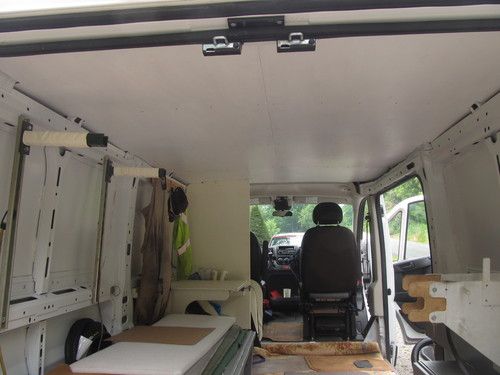
This thread outlines the interior build (90% complete) on a 136" wheelbase, low roof, gas FCA 2015 ProMaster. This vehicle is used as a daily driver, weekend camper and vacation vehicle on predominately paved roads and occasional dirt, forest roads. No mods to suspension/drive train or non stock tires are planned.
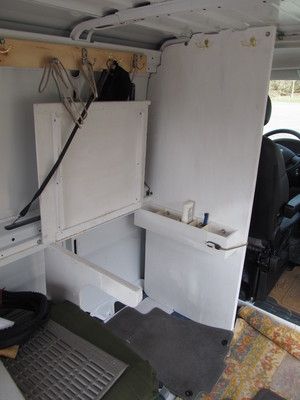
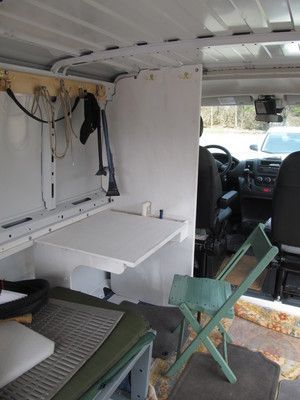
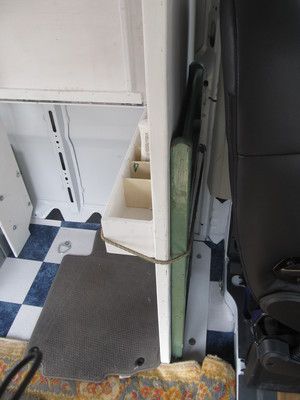
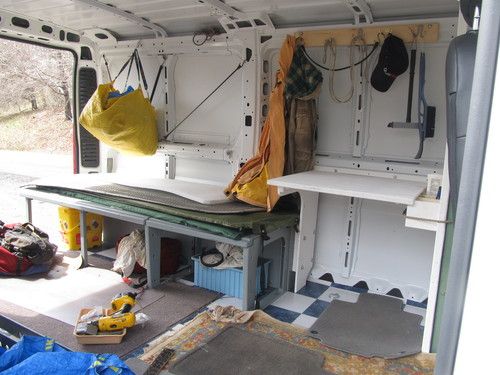
Prior to purchasing the ProMaster , I had driven (200,000+ miles) a 2003 Honda Element AWD. The Element was setup with a sleeping 'bunk' behind the driver's seat. Platform was a 5' with a fold out leaf, tilt and move driver's seat forward and a 1' leaf would fold giving a 6' long sleeping platform. Additionally, I would remove the passenger seat for more storage. The rear seats where removed when the Element was new and never reinstalled. The Element was an excellent vehicle, but for trips I had three issues: 1) Lack of space for winter trips which include a lot of gear 2) transition between 'bed' mode 'drive' mode was a minor nuisance and 3) lack of ceiling height for a sitting work desk/table.

Element in 'bed' mode, note missing passenger seat
The Element was up in years and miles and numerous repairs where on the horizon, so I started considering replacement vehicles. I wanted my next vehicle to allow enough headroom for a sit down desk and a the option to have a fully deployed bed/bunk at all times. I really only considered the ProMaster, once I discovered them. An Astro Van would have been nice, but I preferred to start with a newer vehicle to ensure fewer years of accumulated rust. I live in Pennsylvania where road salt is used in the winter.
The ProMaster is cross between a Fiat van and Chyrsler motor, built in Mexico. Neither of those parent companies are historically renown for outstanding quality, time will tell.
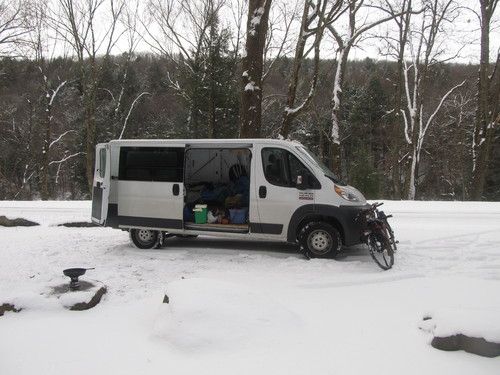
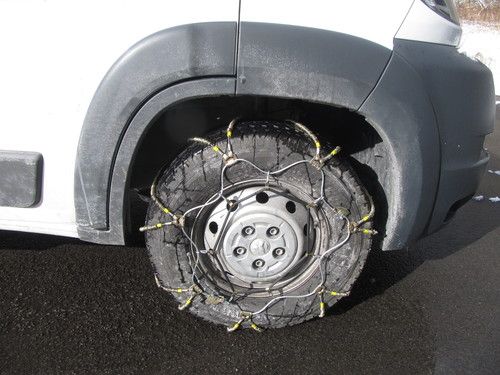
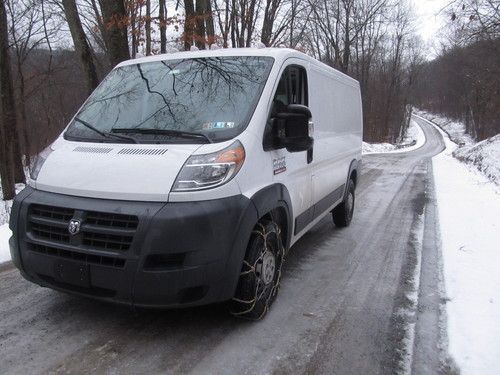
For those that don't know, the ProMaster is front wheel drive. To me, that was a selling point. I like the wheel spin feed back you get with front wheel drive. I've had the ProMaster through (2) mild mid-Atlantic winters. Definitely not as good in the snow as the Element was, so I need to drive a little more cautiously.
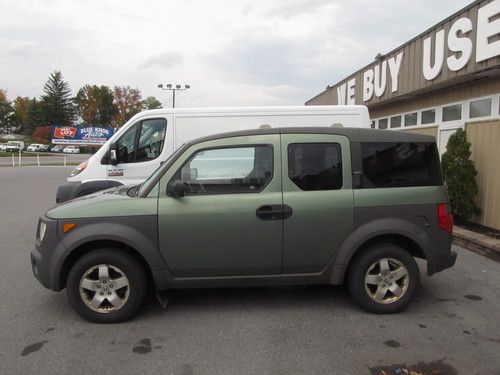
I bought the PM used with 15K miles on it at one of the high volume, no haggle used car places:

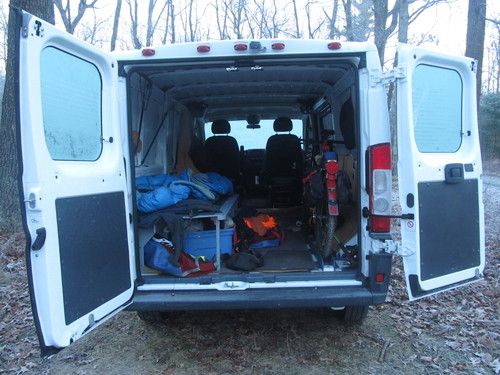
Trade In: Size Comparison
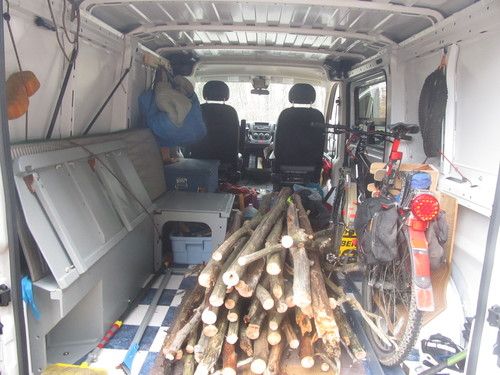
The Element had 5' behind the front seats, the PM has 10'. Space is not going to be an issue.
The PM was pretty much the bone stock version. I think the only 'upgrades' where windows in the rear doors with defroster elements.
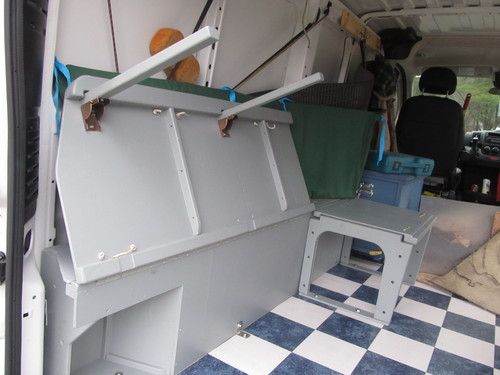
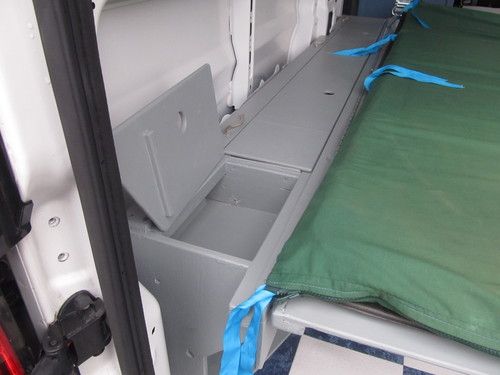
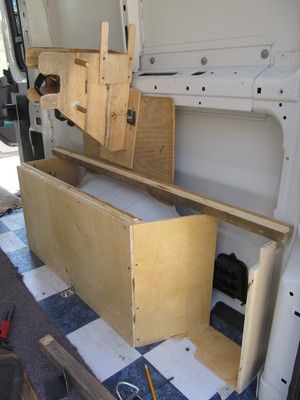
My basic interior layout was to improve on what I had in the Element. I' was going to recycle my bunk design, add a desk and some other simple improvements.
I spent a lot of time developing a CAD model
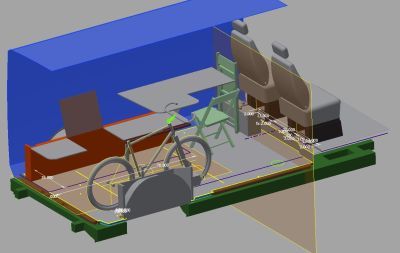
Preliminary CAD plan
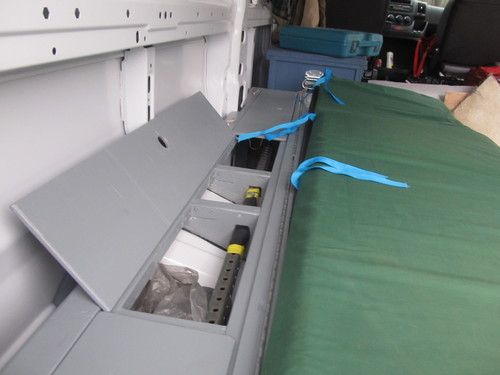
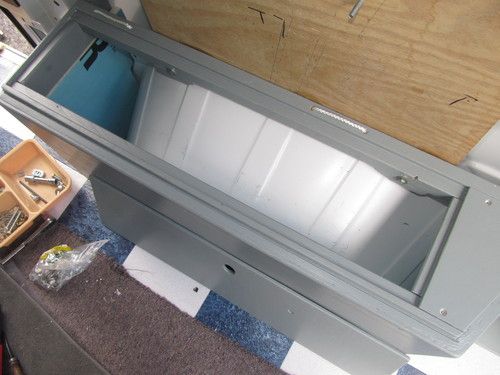
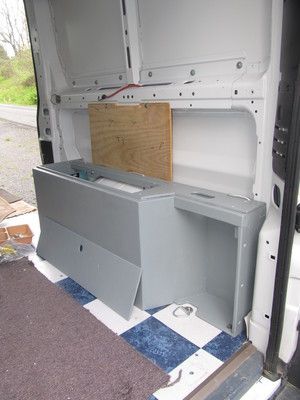
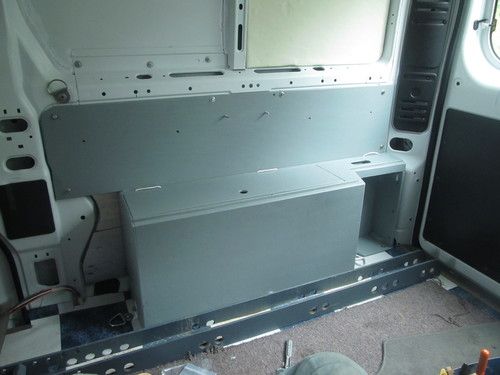
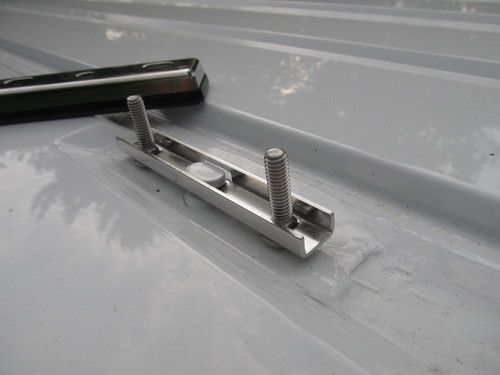
The reason for the extensive planning is that my basic plan is to have provisions for 'modular' items to be fastened to the floor.
Before installing the floor, I needed to have mounting provisions built into the floor for the future modules.
The first actual mod was to add window to the sliding door. This was the first almost disaster. I purchased a CR Lawurance window which is designed for the PM. I did my layout on the outside surface, without really paying attention to where the inner stiffeners where located. I figured that the window 'must' line up from the outside... right? Well the interior clamping flange almost missed the double thickness! Fortunately, things did work out and the window is installed securely and is aligned correctly. One other lesson learned... it is not a good idea to use a 4" grinder to debur the window cutout (I cut with a sabre saw) without covering most of the vehicle with a drop cloth. The swarf will be thrown all over, after the first rain, all this little rust specs where discovered on the roof of van... easily picked off, but another lesson learned.
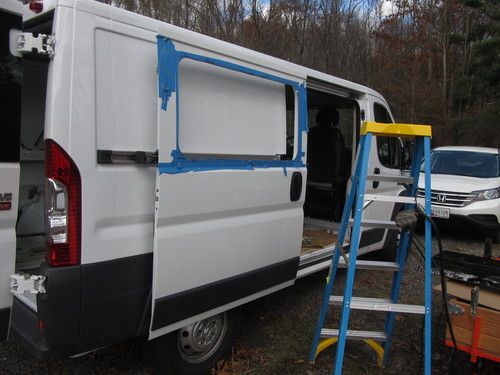
Window cutout
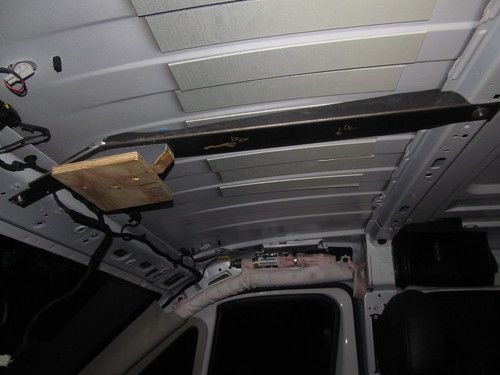
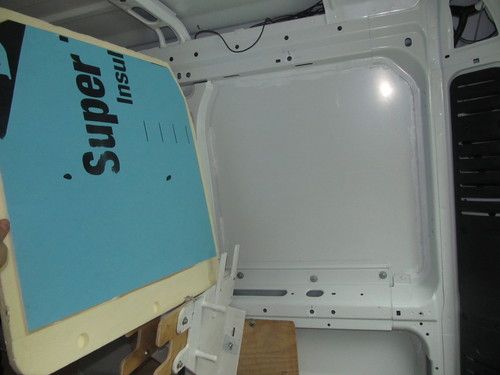
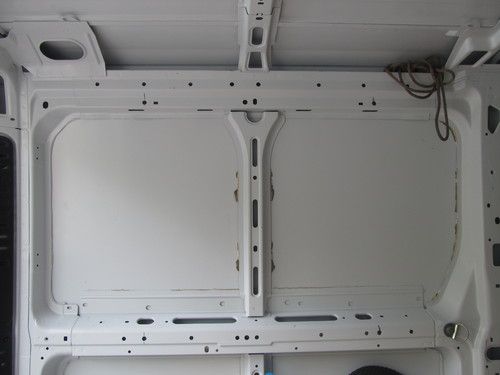
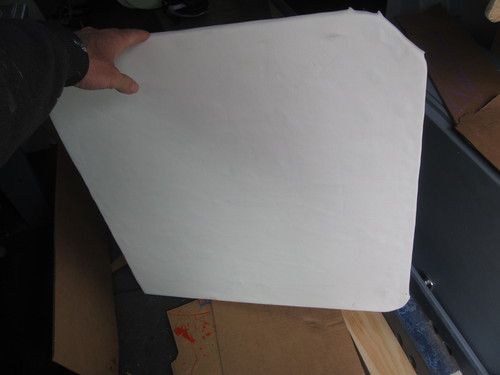
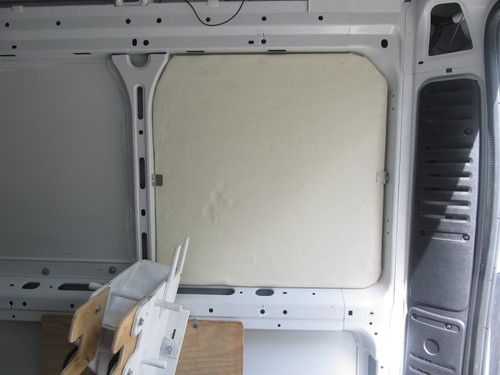
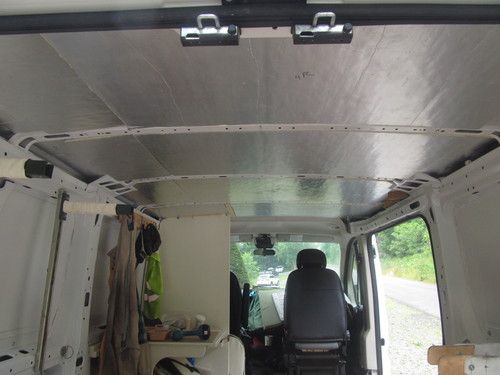
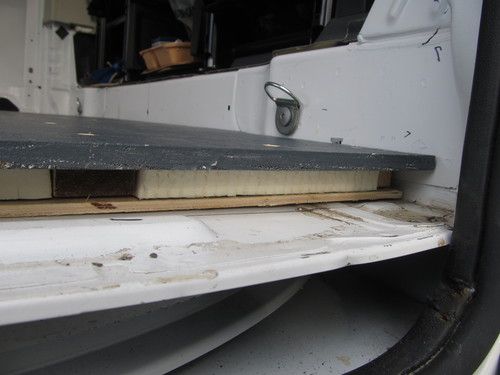
It seems that all sorts of methods used to thermal and acoustically insulate vans. I'm not sure how much I would actually need heat in the coach part of van, so I decided to do a good job insulating the floor and ceiling and a simplified insulating job of the walls and doors.
After reading various builds, I decided to use Poly-Iso rigid insulation. I didn't use any sound deadening mat, no spray foam, no Thinsulite, no fiberglass. Just poly-iso and construction adhesive.
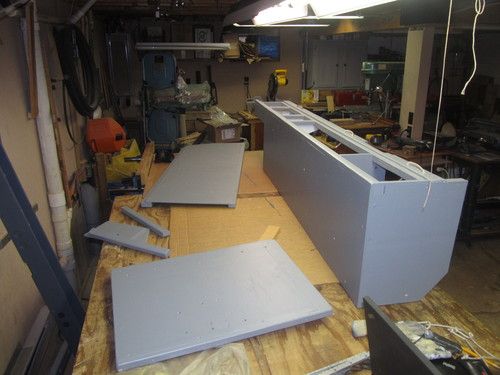
The floor was designed to attach using existing mounting holes (there are numerous weld nuts for tie downs in the floor) and is actually 3 modules that can be removed (after taking everything else out), if ever required. Once again, the floor was a near disaster.
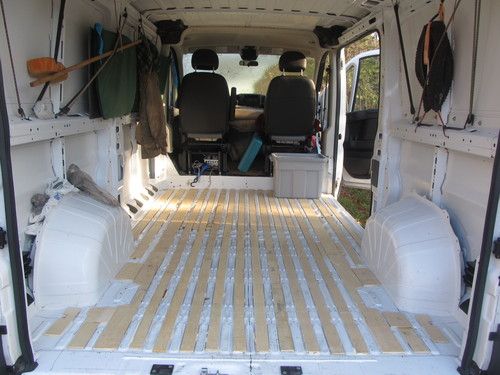
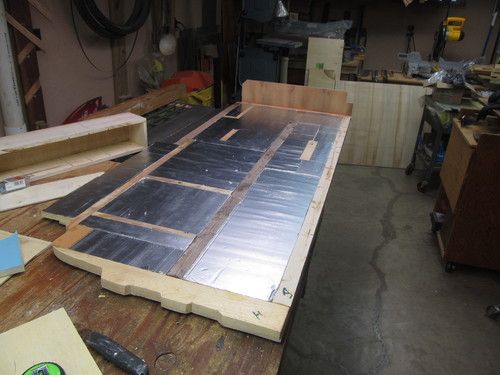
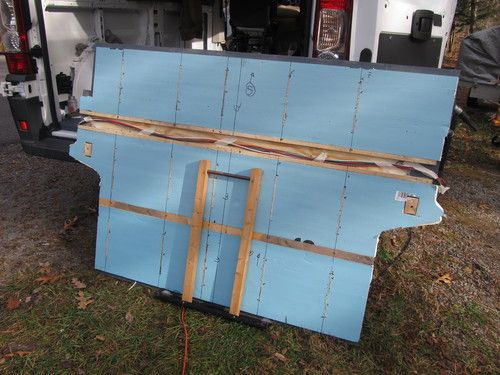
There are 3 floor modules
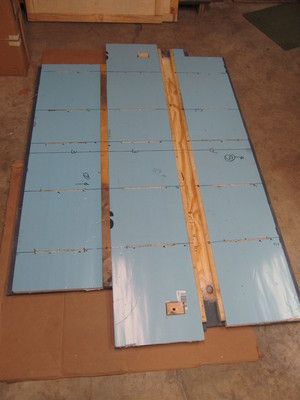
Middle Floor module, with wiring duct. Credit the wire duct idea goes to a build thread I read somewhere
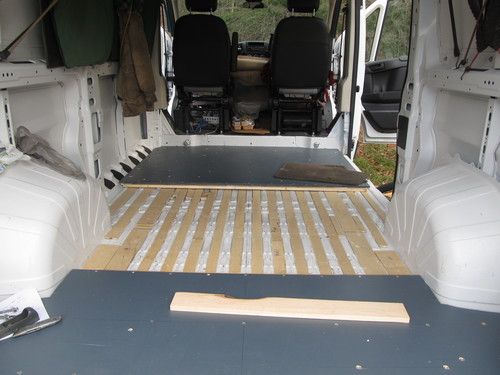
Ready for last module
So how was the floor a near disaster? Well given the floor is about 10' from front to back, in theory I thought it made sense to make 3 panels: each running the plywood grain east/west. The issue with this is that I used 1x2 for 'joists' running east/west to straddle the floor ribs. The 'joists' where attached to the plywood with its grain running east/west. I used 1/2" plywood and found the floor a little too springy between the joists. My fix was to route 6" x 1/4" wide slots in the poly-iso and then glue in 6x 3/4x1/4 wide strips of plywood for support.
I should have run the plywood north/south. But after adding the ribs, the floor is stiff enough.
Note stiffening ribs and wire duct. (the handle thing is used to carry sheet materials and is not part of the floor)
If I was to do this again, I would consider using the routed in plywood ribs more extensively and deleting many of the 1x2 joists.
Floor Construction, pic taken at slider door, the edge board is not installed.
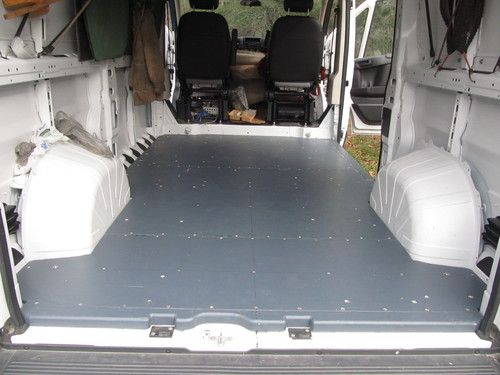
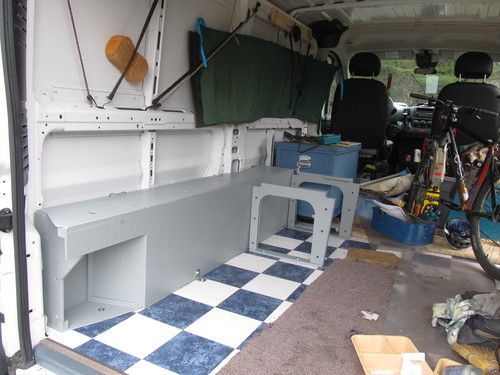
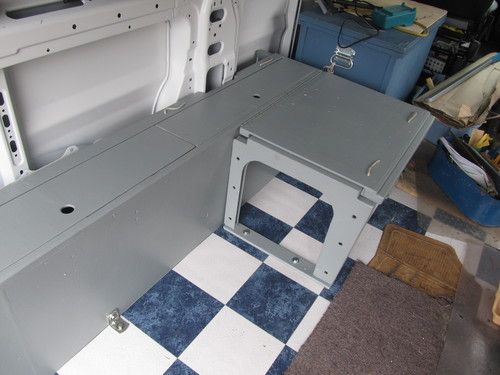
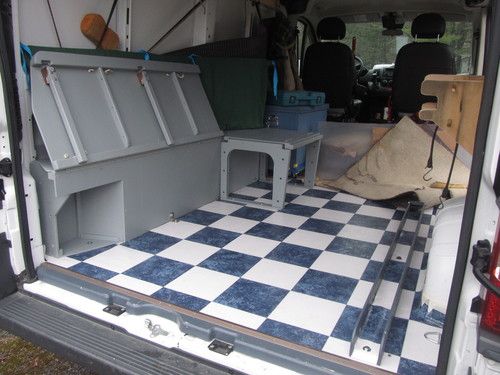
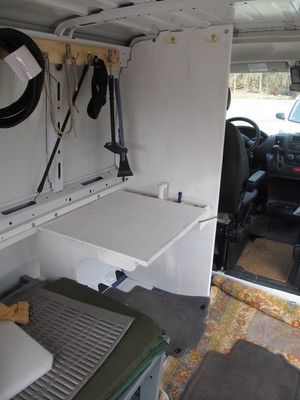
Floor installed
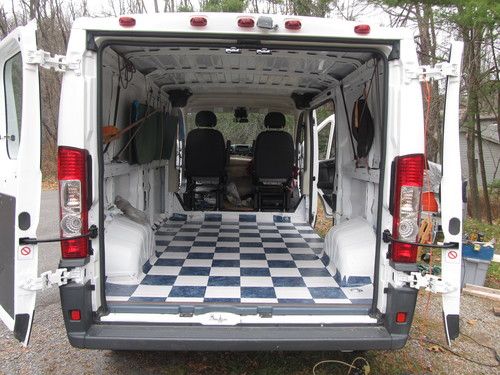
Floor Done!
Prior to purchasing the ProMaster , I had driven (200,000+ miles) a 2003 Honda Element AWD. The Element was setup with a sleeping 'bunk' behind the driver's seat. Platform was a 5' with a fold out leaf, tilt and move driver's seat forward and a 1' leaf would fold giving a 6' long sleeping platform. Additionally, I would remove the passenger seat for more storage. The rear seats where removed when the Element was new and never reinstalled. The Element was an excellent vehicle, but for trips I had three issues: 1) Lack of space for winter trips which include a lot of gear 2) transition between 'bed' mode 'drive' mode was a minor nuisance and 3) lack of ceiling height for a sitting work desk/table.
Element in 'bed' mode, note missing passenger seat
The Element was up in years and miles and numerous repairs where on the horizon, so I started considering replacement vehicles. I wanted my next vehicle to allow enough headroom for a sit down desk and a the option to have a fully deployed bed/bunk at all times. I really only considered the ProMaster, once I discovered them. An Astro Van would have been nice, but I preferred to start with a newer vehicle to ensure fewer years of accumulated rust. I live in Pennsylvania where road salt is used in the winter.
The ProMaster is cross between a Fiat van and Chyrsler motor, built in Mexico. Neither of those parent companies are historically renown for outstanding quality, time will tell.
For those that don't know, the ProMaster is front wheel drive. To me, that was a selling point. I like the wheel spin feed back you get with front wheel drive. I've had the ProMaster through (2) mild mid-Atlantic winters. Definitely not as good in the snow as the Element was, so I need to drive a little more cautiously.
I bought the PM used with 15K miles on it at one of the high volume, no haggle used car places:
Trade In: Size Comparison
The Element had 5' behind the front seats, the PM has 10'. Space is not going to be an issue.
The PM was pretty much the bone stock version. I think the only 'upgrades' where windows in the rear doors with defroster elements.
My basic interior layout was to improve on what I had in the Element. I' was going to recycle my bunk design, add a desk and some other simple improvements.
I spent a lot of time developing a CAD model
Preliminary CAD plan
The reason for the extensive planning is that my basic plan is to have provisions for 'modular' items to be fastened to the floor.
Before installing the floor, I needed to have mounting provisions built into the floor for the future modules.
The first actual mod was to add window to the sliding door. This was the first almost disaster. I purchased a CR Lawurance window which is designed for the PM. I did my layout on the outside surface, without really paying attention to where the inner stiffeners where located. I figured that the window 'must' line up from the outside... right? Well the interior clamping flange almost missed the double thickness! Fortunately, things did work out and the window is installed securely and is aligned correctly. One other lesson learned... it is not a good idea to use a 4" grinder to debur the window cutout (I cut with a sabre saw) without covering most of the vehicle with a drop cloth. The swarf will be thrown all over, after the first rain, all this little rust specs where discovered on the roof of van... easily picked off, but another lesson learned.
Window cutout
It seems that all sorts of methods used to thermal and acoustically insulate vans. I'm not sure how much I would actually need heat in the coach part of van, so I decided to do a good job insulating the floor and ceiling and a simplified insulating job of the walls and doors.
After reading various builds, I decided to use Poly-Iso rigid insulation. I didn't use any sound deadening mat, no spray foam, no Thinsulite, no fiberglass. Just poly-iso and construction adhesive.
The floor was designed to attach using existing mounting holes (there are numerous weld nuts for tie downs in the floor) and is actually 3 modules that can be removed (after taking everything else out), if ever required. Once again, the floor was a near disaster.
There are 3 floor modules
Middle Floor module, with wiring duct. Credit the wire duct idea goes to a build thread I read somewhere
Ready for last module
So how was the floor a near disaster? Well given the floor is about 10' from front to back, in theory I thought it made sense to make 3 panels: each running the plywood grain east/west. The issue with this is that I used 1x2 for 'joists' running east/west to straddle the floor ribs. The 'joists' where attached to the plywood with its grain running east/west. I used 1/2" plywood and found the floor a little too springy between the joists. My fix was to route 6" x 1/4" wide slots in the poly-iso and then glue in 6x 3/4x1/4 wide strips of plywood for support.
I should have run the plywood north/south. But after adding the ribs, the floor is stiff enough.
Note stiffening ribs and wire duct. (the handle thing is used to carry sheet materials and is not part of the floor)
If I was to do this again, I would consider using the routed in plywood ribs more extensively and deleting many of the 1x2 joists.
Floor Construction, pic taken at slider door, the edge board is not installed.
Floor installed
Floor Done!