CoyoteThistle
Adventurer
Well, haven't updated this thread in a while because there hasn't been much to report. Few minor trips here and there but I've mostly been busy with work and distracted by life. Anyway, a trip last week up the the east side of the Sierra's has prompted me into project action. It all started nice.
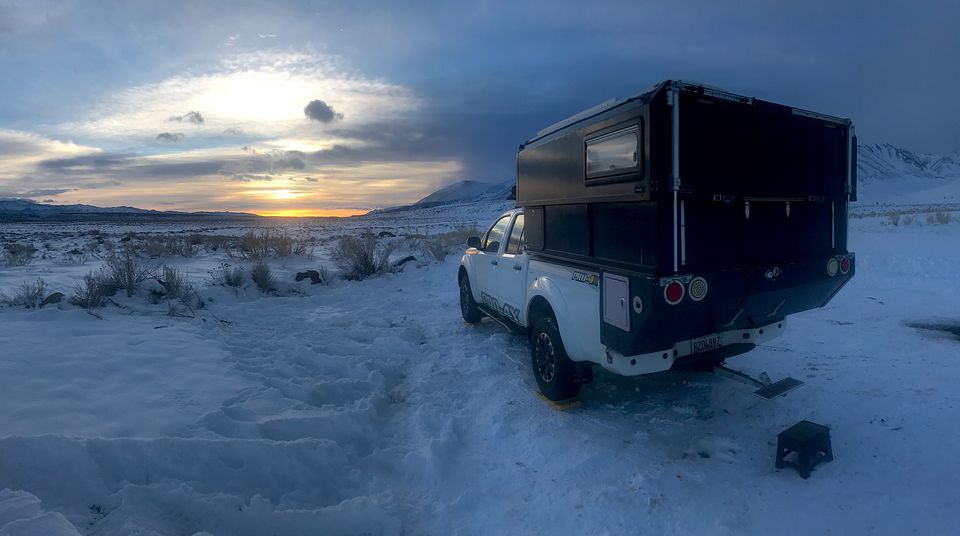
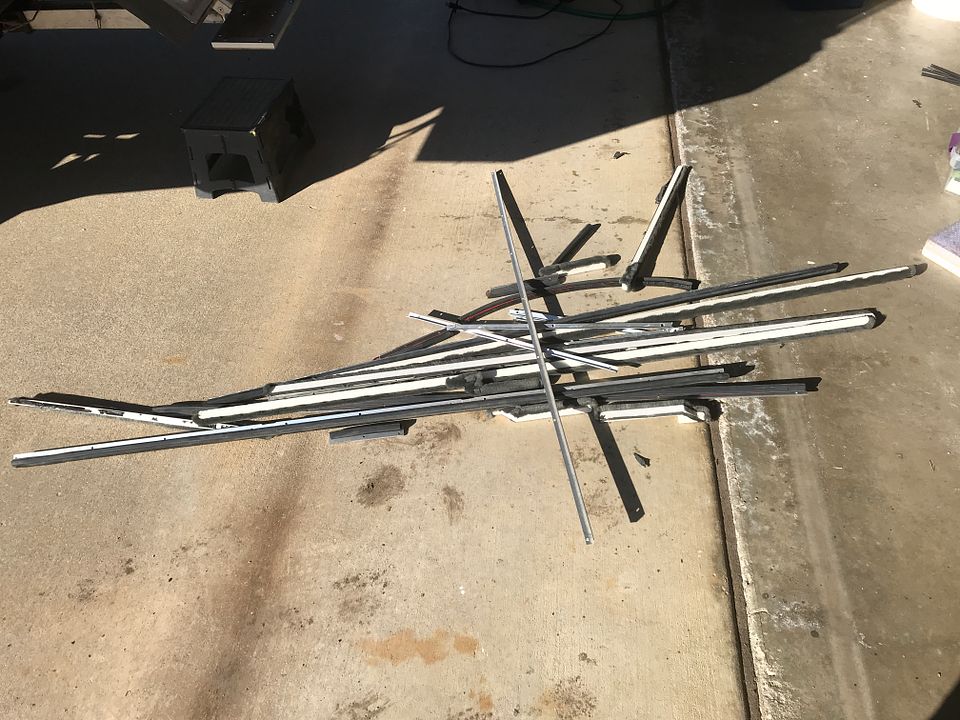
First, the new camper mounts to the sliders worked great until they didn't. The idea is super solid but as noted, loading bolts in that direction is not very strong. Passenger side snapped. Having the extra mounting points really stabilized the camper though so I'll go to the trouble of making some proper steel brackets to replace the eye-bolts. I'll have to bug my brother and see if he has his welding rig up and running these days. Camper is still bolted through the floor and chained to the bumper so I just removed the new mounts for now.
Then the storms came in. Now, I've camped in snowy conditions several times and never had big issues. This time however, the combination of wet, heavy snow mixed with rain and strong winds led to a poor camping experience. Caused me to miss out on two potentially good powder days. Not acceptable!
Biggest problem was condensation - humid 33 degrees and heavy snow/rain mix made things inside wet (plus wet clothes hanging to dry). Living and sleeping with the pop-up down for the most part. Running the heater helps but the thing runs almost non-stop to keep the camper at about 50 degrees when it is in the low 30's out. The bottom line is I have too many cold bridges (point sources for condensation) and not enough insulation, especially on the slide up (condensation on the walls). The panels I used have an R-value of about 3 which just isn't good enough it turns out. On top of that, the seal between the slide-up and camper still sucks - this is probably my biggest problem. I also decided I hate the PVC fabric on the pop-up. Gets crusty when cold among other problems. Do Four-wheel Camper and others use this because it is cheap? There must be something better. I ordered some fabric samples from Seattle Fabrics but if others have ideas, I'm all ears.
Driving home I pondered how to change the camper. Convinced myself the slide-up has to go to make it a winter-friendly camper. Played with the design frantically upon my return home. I like the low height when driving but that would have to be sacrificed if I abandoned the slide-up. Not happy with the compromises of a taller camper, I then had a slight revelation - the current design isn't the problem, the current execution is the problem. I need a better seal around the slide-up, better insulation on the roof and slide-up walls especially, and I need to eliminate all the thru-bolts in the roof and walls.
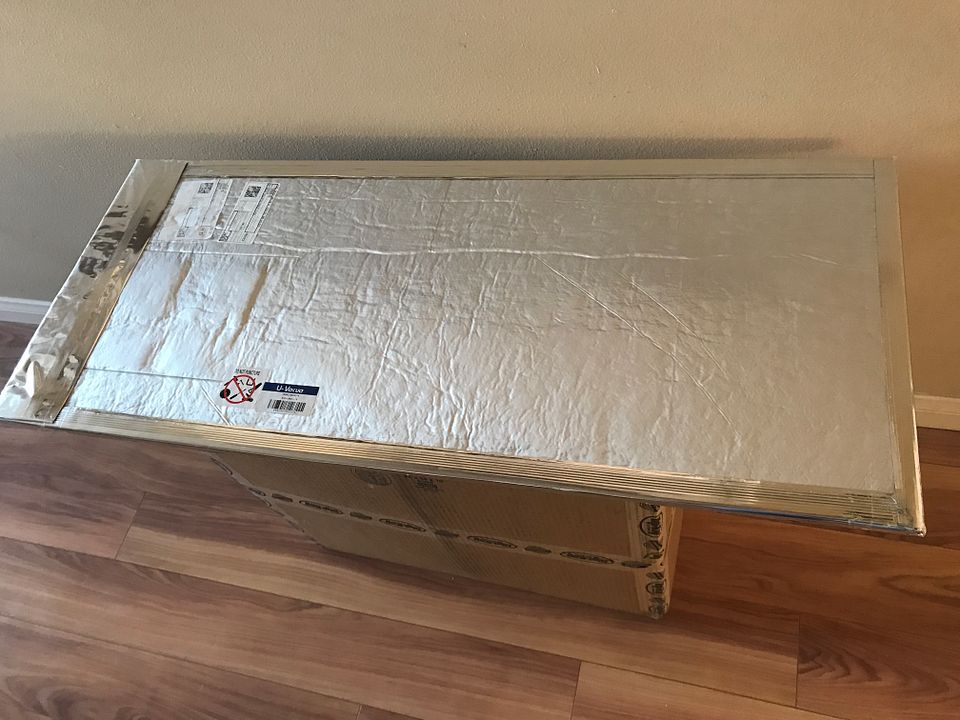
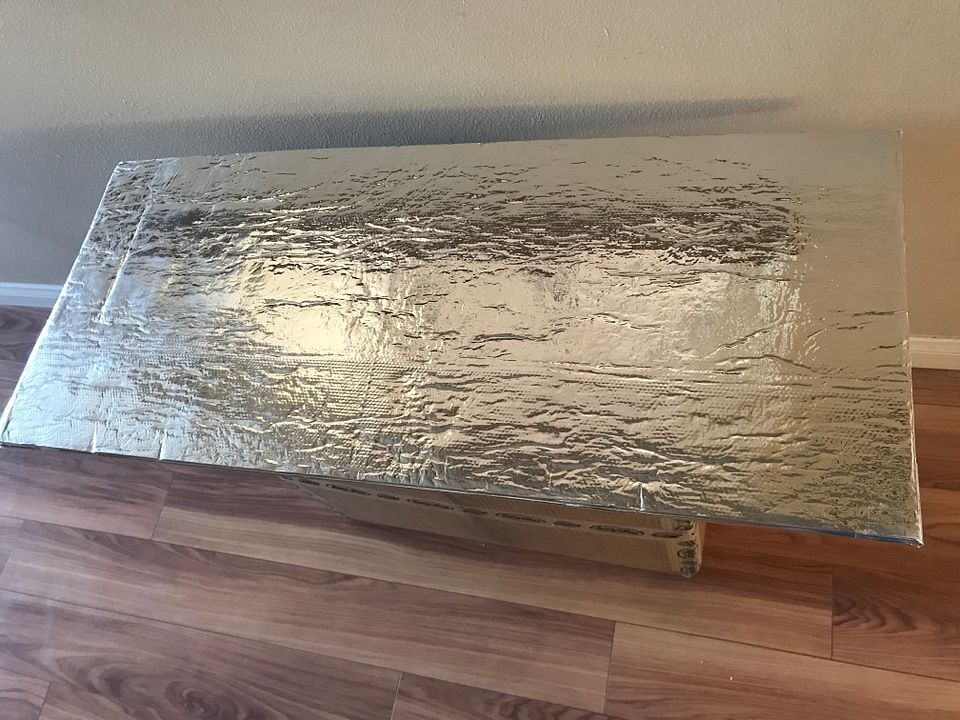
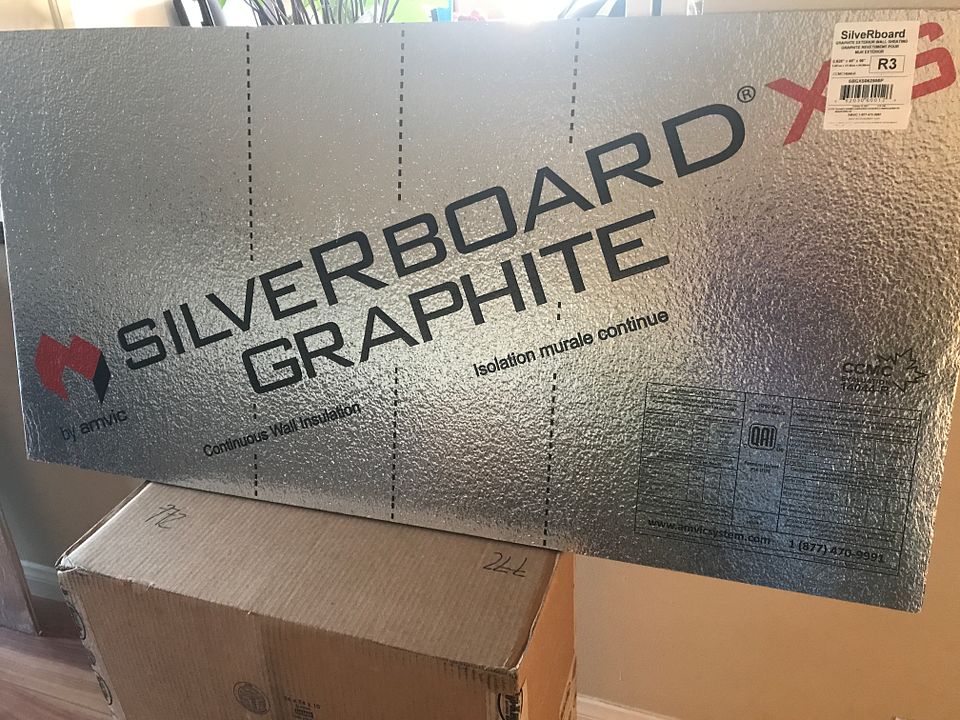
Extra insulation means adding thickness to the walls. If I abandon the current slide-up "seal" system, I'll have a 1-1/4" gap between camper and slide-up. That gives me space for about 1/2" of insulation. Best foam I could find has an R-value of 3. Then I came upon Vacuum Insulation Panels (VIP's). These things are kind of amazing. The 15mm (0.59") thick ones made by Panasonic have effective R-values between 14 and 23. They come in a half dozen or so sizes. Bigger panels have higher R-values. There is some thermal bridging around the edges of the panels so bigger panels with lower edge to core ration average out better. The R-value in the center of the panel is 45! That goes to 66 for the 24mm thick panels (20-32 effective R). The catches are, they are not cheap and with the fixed panel sizes, you have to fill in the rest of the area with foam board. The available sizes worked out pretty well for my wall and ceiling dimensions and I think I can cover about 3/4 of the area with VIP's with an average R-value close to 20. The rest in foam at 3. I think I can increase my insulation from a 3 to something between 10 and 15. I ordered panels here - will report back on how it goes. I'll need to cover the insulation of course to finish the interior and protect the VIPs from puncture. I'd like to use thin FRP paneling (goes by the name Filon), but I haven't been able to source it locally and shipping is $$$. Other options are 1/16" plywood (can't find locally), 1/8" plywood (local source, but getting a bit heavy), or something like marine vinyl or headliner material. Plywood means lots of painting (yech!). Fabric would be very light-weight but not as protective of the panels (i.e., no indoor dart tournaments).
Working on ideas for the slide-up seal. I have one wacky idea but I want to try simple first.
Eliminating thru-bolts should be pretty easy (mostly) but will require removal of the roof.
Oh, the one thing that did get a good test and worked well is the LiFePbattery warming system. Need to report on that at some point.
First, the new camper mounts to the sliders worked great until they didn't. The idea is super solid but as noted, loading bolts in that direction is not very strong. Passenger side snapped. Having the extra mounting points really stabilized the camper though so I'll go to the trouble of making some proper steel brackets to replace the eye-bolts. I'll have to bug my brother and see if he has his welding rig up and running these days. Camper is still bolted through the floor and chained to the bumper so I just removed the new mounts for now.
Then the storms came in. Now, I've camped in snowy conditions several times and never had big issues. This time however, the combination of wet, heavy snow mixed with rain and strong winds led to a poor camping experience. Caused me to miss out on two potentially good powder days. Not acceptable!
Biggest problem was condensation - humid 33 degrees and heavy snow/rain mix made things inside wet (plus wet clothes hanging to dry). Living and sleeping with the pop-up down for the most part. Running the heater helps but the thing runs almost non-stop to keep the camper at about 50 degrees when it is in the low 30's out. The bottom line is I have too many cold bridges (point sources for condensation) and not enough insulation, especially on the slide up (condensation on the walls). The panels I used have an R-value of about 3 which just isn't good enough it turns out. On top of that, the seal between the slide-up and camper still sucks - this is probably my biggest problem. I also decided I hate the PVC fabric on the pop-up. Gets crusty when cold among other problems. Do Four-wheel Camper and others use this because it is cheap? There must be something better. I ordered some fabric samples from Seattle Fabrics but if others have ideas, I'm all ears.
Driving home I pondered how to change the camper. Convinced myself the slide-up has to go to make it a winter-friendly camper. Played with the design frantically upon my return home. I like the low height when driving but that would have to be sacrificed if I abandoned the slide-up. Not happy with the compromises of a taller camper, I then had a slight revelation - the current design isn't the problem, the current execution is the problem. I need a better seal around the slide-up, better insulation on the roof and slide-up walls especially, and I need to eliminate all the thru-bolts in the roof and walls.
Extra insulation means adding thickness to the walls. If I abandon the current slide-up "seal" system, I'll have a 1-1/4" gap between camper and slide-up. That gives me space for about 1/2" of insulation. Best foam I could find has an R-value of 3. Then I came upon Vacuum Insulation Panels (VIP's). These things are kind of amazing. The 15mm (0.59") thick ones made by Panasonic have effective R-values between 14 and 23. They come in a half dozen or so sizes. Bigger panels have higher R-values. There is some thermal bridging around the edges of the panels so bigger panels with lower edge to core ration average out better. The R-value in the center of the panel is 45! That goes to 66 for the 24mm thick panels (20-32 effective R). The catches are, they are not cheap and with the fixed panel sizes, you have to fill in the rest of the area with foam board. The available sizes worked out pretty well for my wall and ceiling dimensions and I think I can cover about 3/4 of the area with VIP's with an average R-value close to 20. The rest in foam at 3. I think I can increase my insulation from a 3 to something between 10 and 15. I ordered panels here - will report back on how it goes. I'll need to cover the insulation of course to finish the interior and protect the VIPs from puncture. I'd like to use thin FRP paneling (goes by the name Filon), but I haven't been able to source it locally and shipping is $$$. Other options are 1/16" plywood (can't find locally), 1/8" plywood (local source, but getting a bit heavy), or something like marine vinyl or headliner material. Plywood means lots of painting (yech!). Fabric would be very light-weight but not as protective of the panels (i.e., no indoor dart tournaments).
Working on ideas for the slide-up seal. I have one wacky idea but I want to try simple first.
Eliminating thru-bolts should be pretty easy (mostly) but will require removal of the roof.
Oh, the one thing that did get a good test and worked well is the LiFePbattery warming system. Need to report on that at some point.
") That's a good reminder that I can fall back on that in the meantime while this is a work in progress - good call!
That's a good reminder that I can fall back on that in the meantime while this is a work in progress - good call!