Overland Sprinter Build

luthj

Engineer In Residence
Coming along well, a big to-do list for 30 days that is for sure. Looking forward to your journey ahead!

Thanks. I will be sure to post up some photos on ExPo. I will try to keep the blog up to date, but when your having fun in the outback....
 

luthj

Engineer In Residence
Alright, here is what I ended up with for attaching the shower frame to the rear door.

I set 4 10-24 riv-nuts in the door. Eye bolts are screwed into the rivnuts. Some rope and 6 cheap carabiners finish it off.


I also just finished up a mega-drawer for the rear storage area.


I am also making a floor mounted table for the passenger seat (when swiveled).


The UPS Fairy also dropped off a present. :rad:


Of course now I need to add disconnects for power and bolt a receiver to the front bumper. If I could just tear myself away long enough to start cleaning and packing over 2 years of crap. It is amazing how stuff manages to collect in and free space!
 

luthj

Engineer In Residence
Getting the hitch mounted winch provisions worked out. I am going to use Anderson connectors for the winch power. As a plus it will make jump starting a breeze.


The front bumper doesn’t have a receiver, so I bolted one on. Note that I have modified this bumpers attachment provisions to make it quite stout. Obviously if you get crazy it is possible to bend stuff.


Here are Jen’s slip over seat covers. They have ½” of medium density foam laminated to microfiber faux suede. They are held on with Velcro straps and cord, so they can be removed for cleaning if needed. Pretty damn good from where I am sitting. :sombrero:


Here is the forward table installed. I used sequoia table system with a 29” table leg.

http://amzn.to/2cFPwSz

http://amzn.to/2ch6gkS

http://amzn.to/2cJl65N


Here is the front cab curtain. Its primary purpose is to keep heat and AC in the front when driving. It also can be used when privacy is needed, but the windshield curtains are too much work.


luthj

Engineer In Residence
I bent some steel rod into a track for the slider mosquito net.


The cabinet sliding doors are finished and installed. Some screen door tension clips keep them stable.


I also installed some USB 3.1 compatible charging ports in the center dash console. These beauties can provide 2.4A each.

http://amzn.to/2c8OUb3


Anderson power connectors have been mounted front and rear to power the winch. 2 gauge wire is used.

Here is the rear unit with its liquid tight boot.


Here we have the trail ready winch.


I mounted the forward connector under the hood near the battery.


luthj

Engineer In Residence
What's the total weight of everything you added to the van?

The van weighs 8700lbs with water, gear, and driver/passenger. Empty prior to conversion it weighed about 6000lbs. So the conversion minus water is about 1300-1700lbs total.
 
Last edited:

luthj

Engineer In Residence
Thank you. That is a shockingly low amount of weight for all you added. Good job.

It was a challenge. The big savings were found in using 1/2" plywood, no backs on the cabinets, very light wall coverings, and reusing the factory floor.
 

luthj

Engineer In Residence
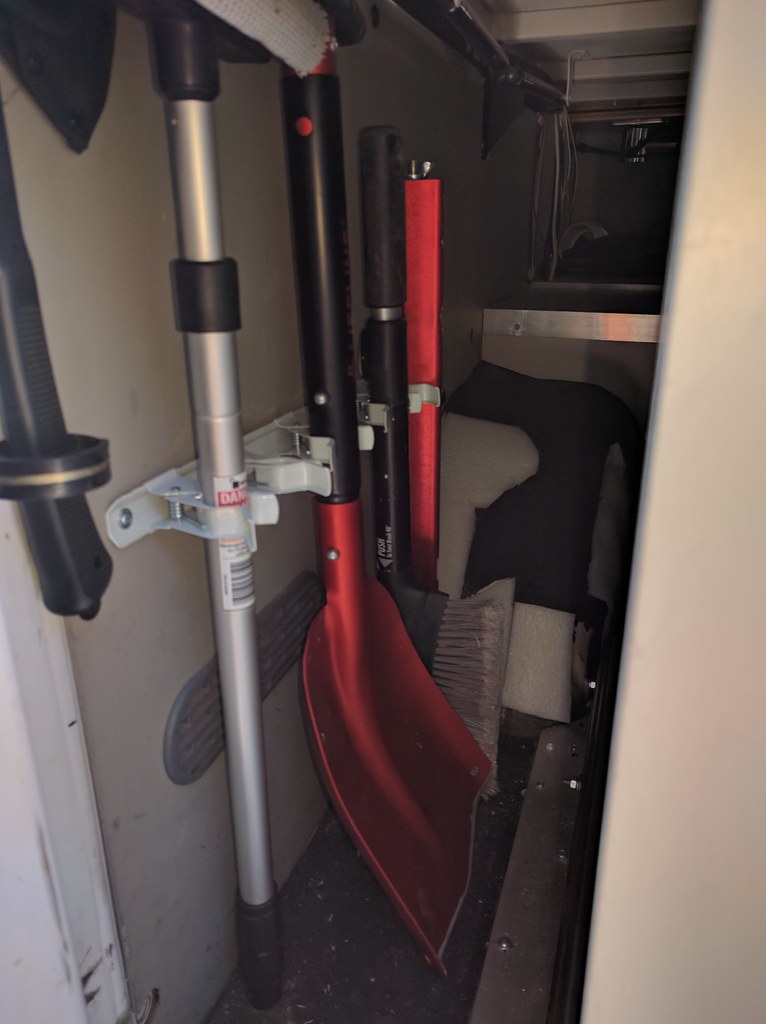
We are still plugging away at our task list. Less and less of it is van related, which bodes well. The little things that remain are what turn an adventure van into a long term abode. For example, having a place for everything. Some of the biggest frustrations can be avoided by having convenient and specific stowage locations for daily use items. Sunglasses, cell phones, shoes etc. Making repetitive tasks simpler by adding latches, loops, velcro, or customized stowage locations improves on task flow. Spending a few days ironing these details out makes daily living in such a small space easy.

Our packing method is to first sort by essential/nonessential, frequency of use, and then group by type. Daily use items are located within arms reach inside the cabin, rarely used items end up sorted inside containers under the bed. Safety and emergency items are kept in clearly marked locations regardless of use frequency. This approach minimizes unpacking, maximizes cargo space, and keeps frustration down. Each container gets marked, and a log of its contents is kept digitally. For critical or emergency items, the list is printed or hand written on the container.

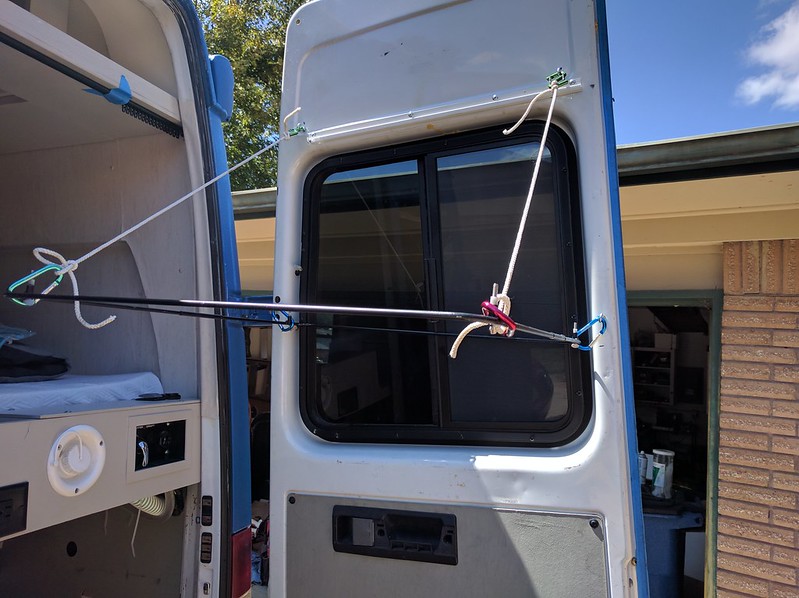
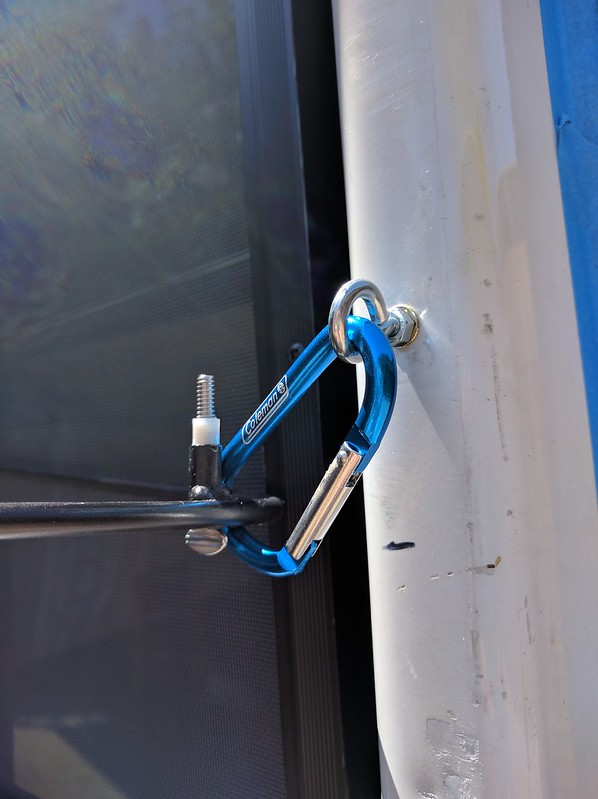
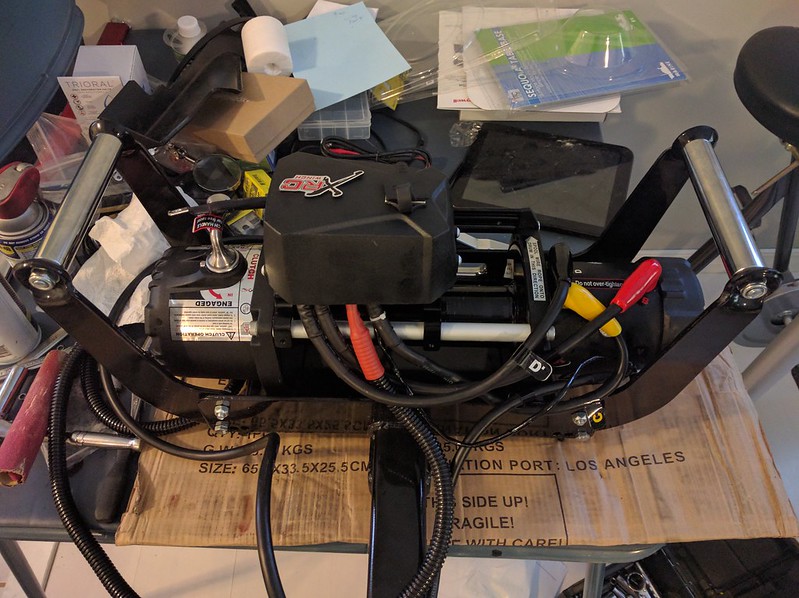
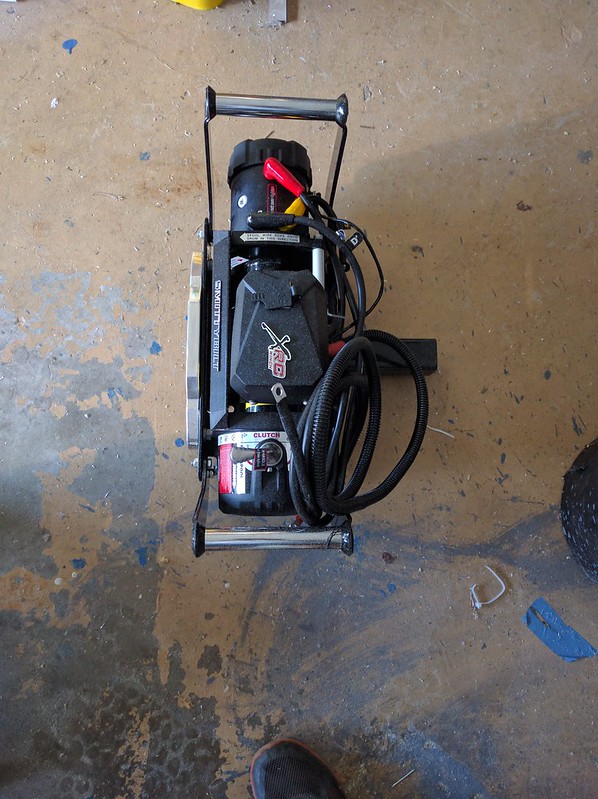
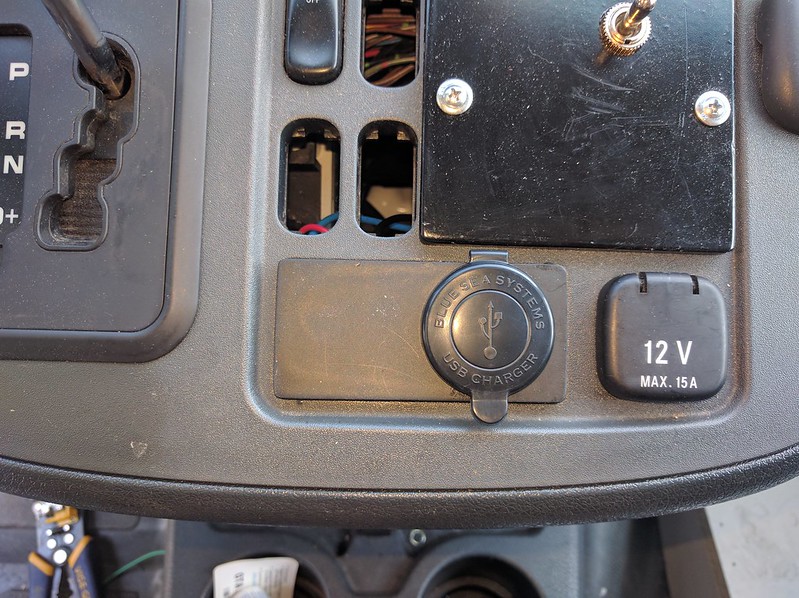
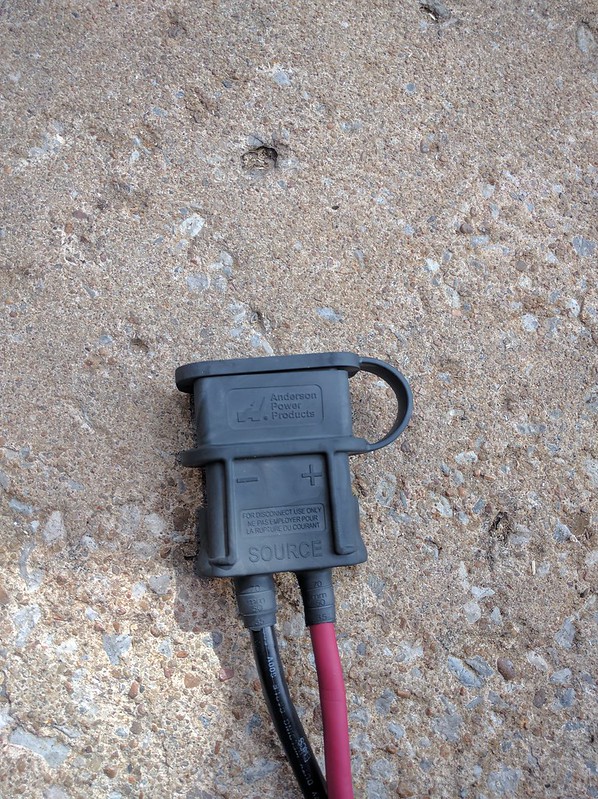
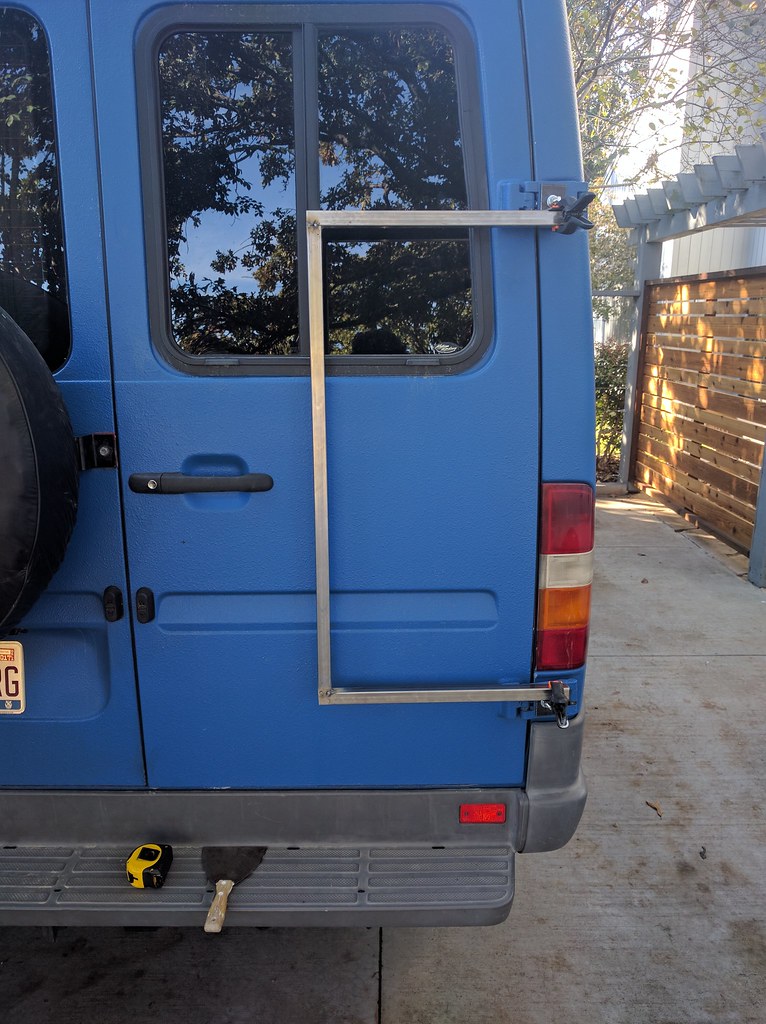
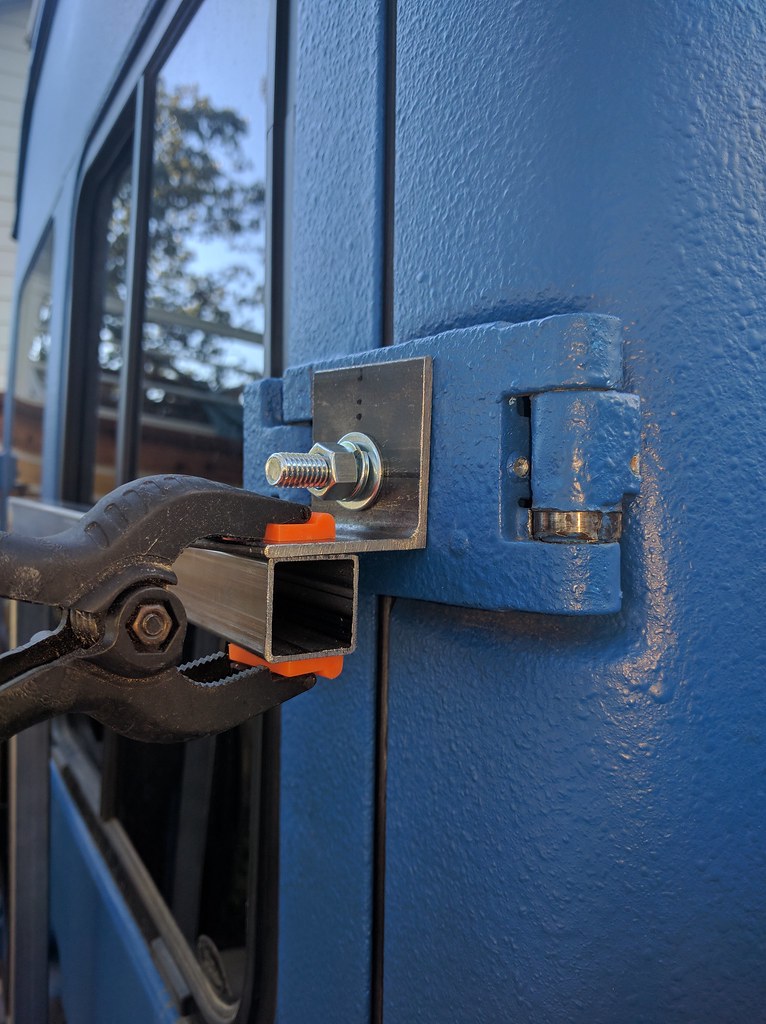
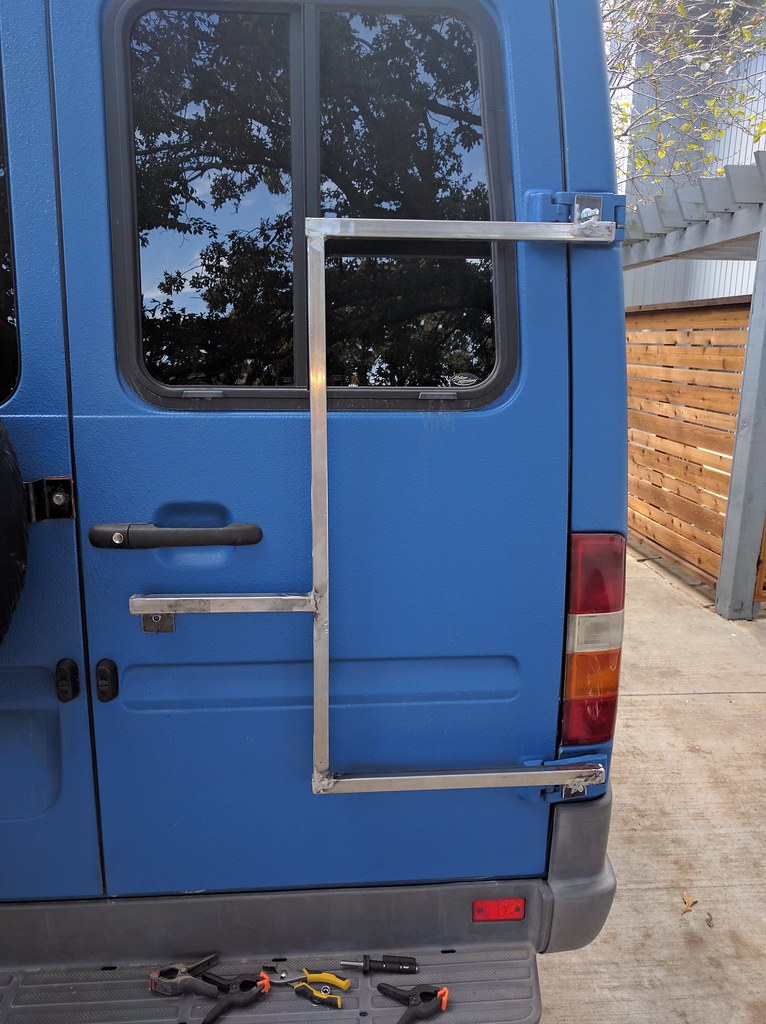
A few random items on the van.

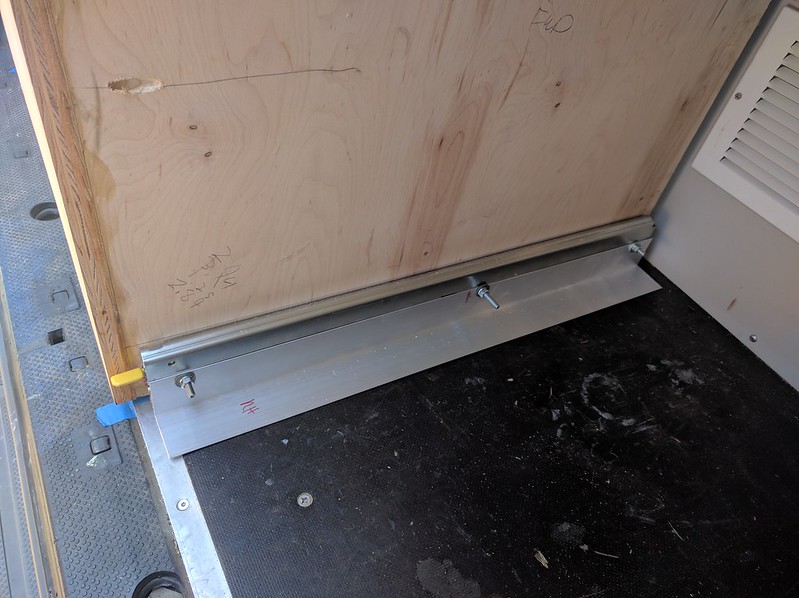
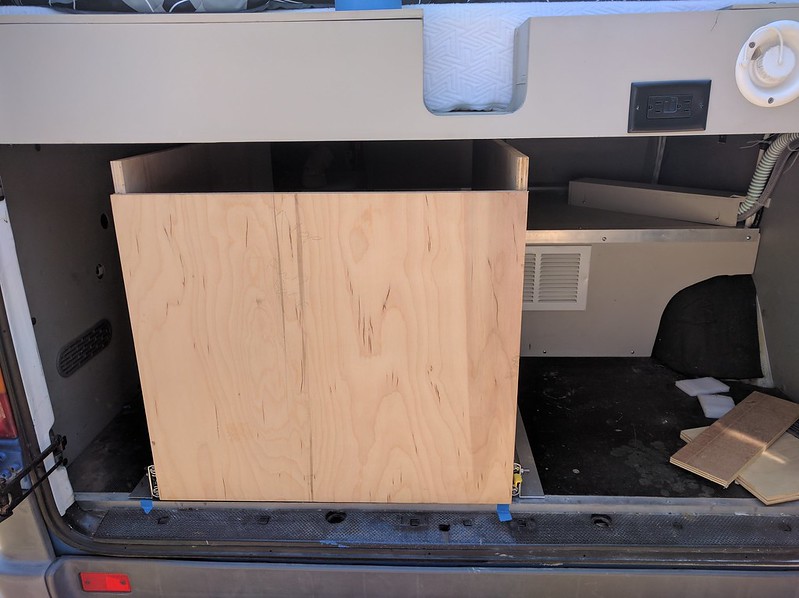
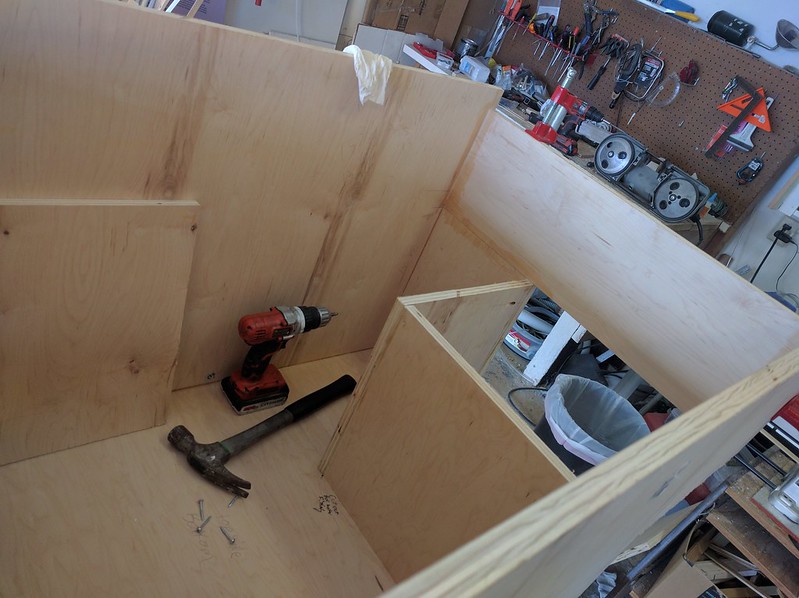
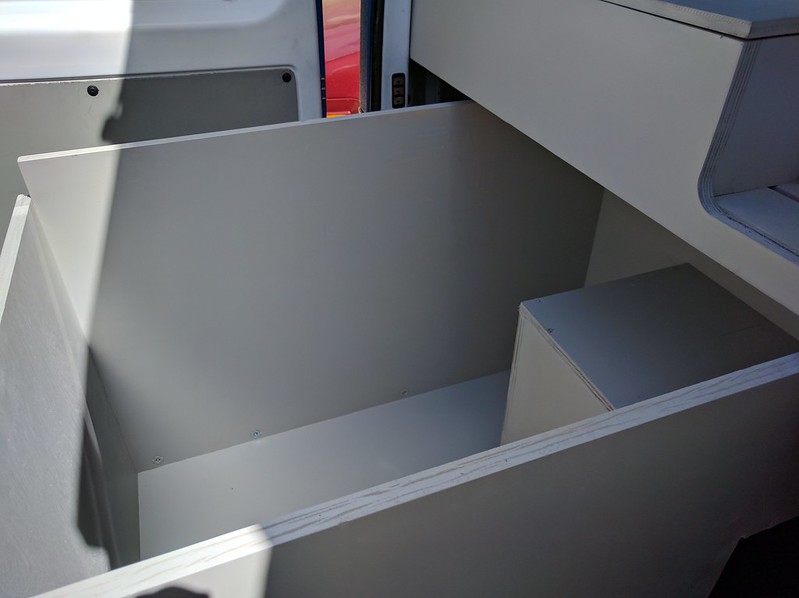
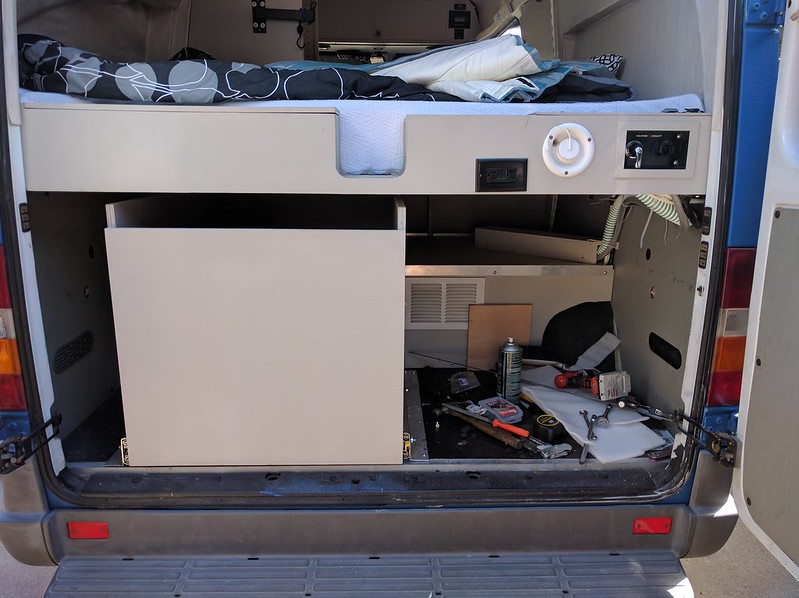
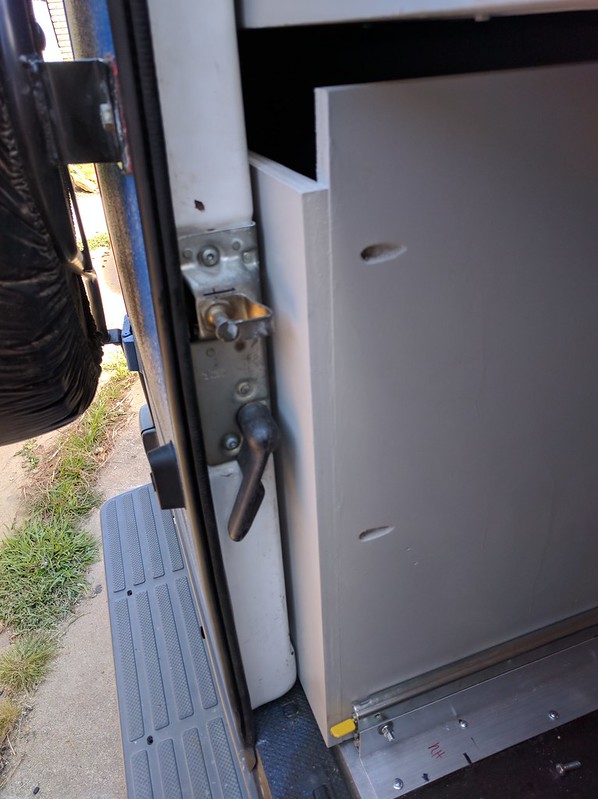
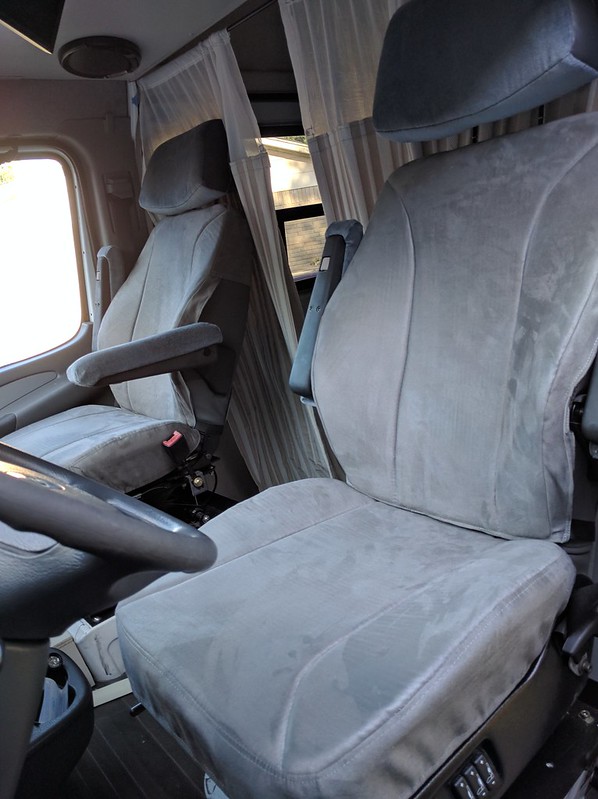
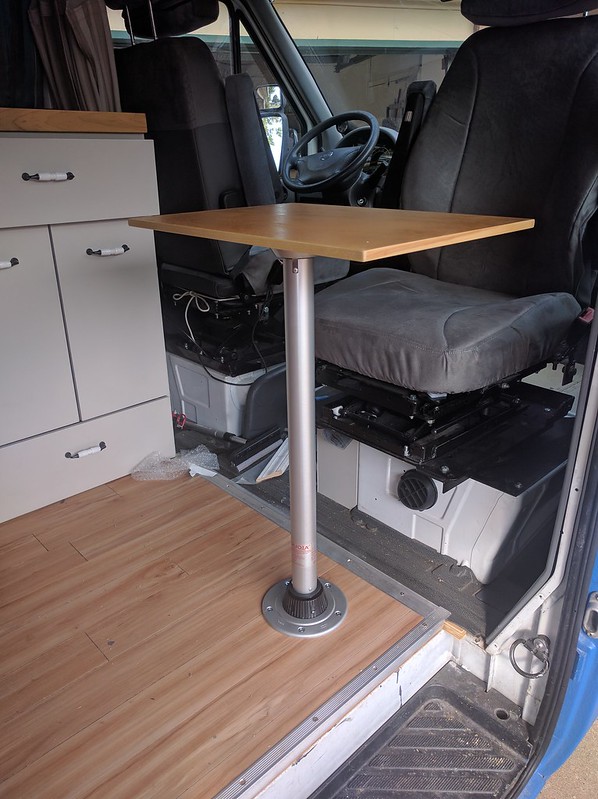
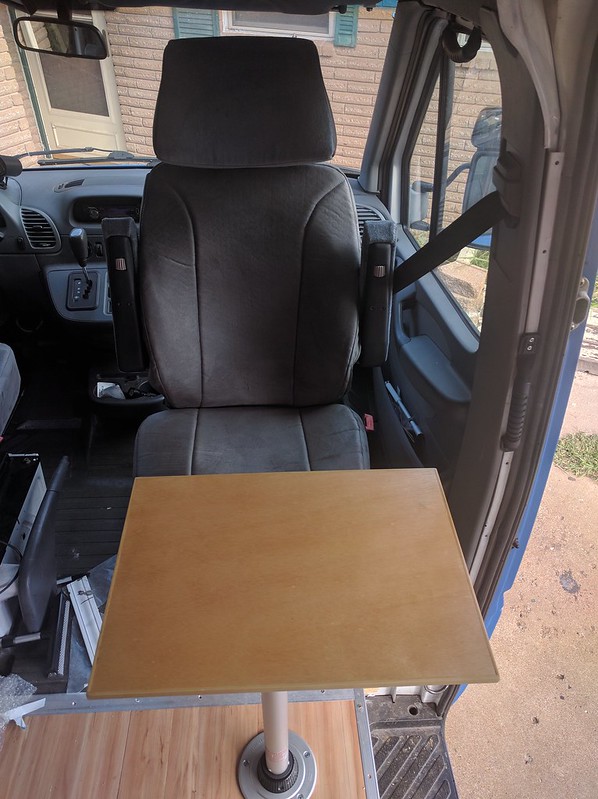
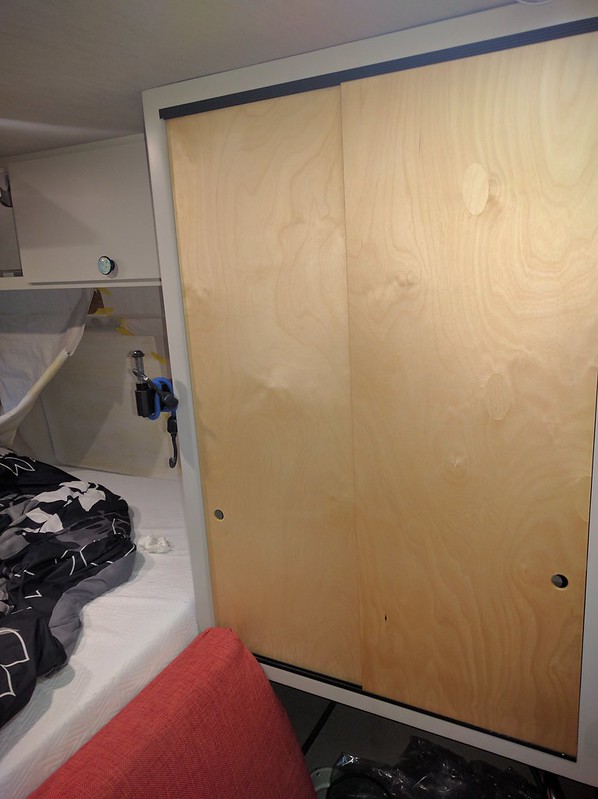
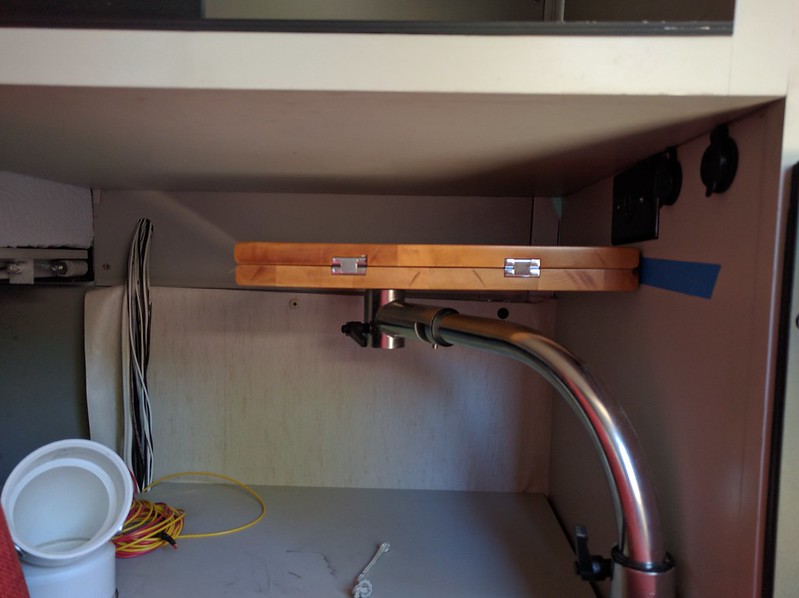
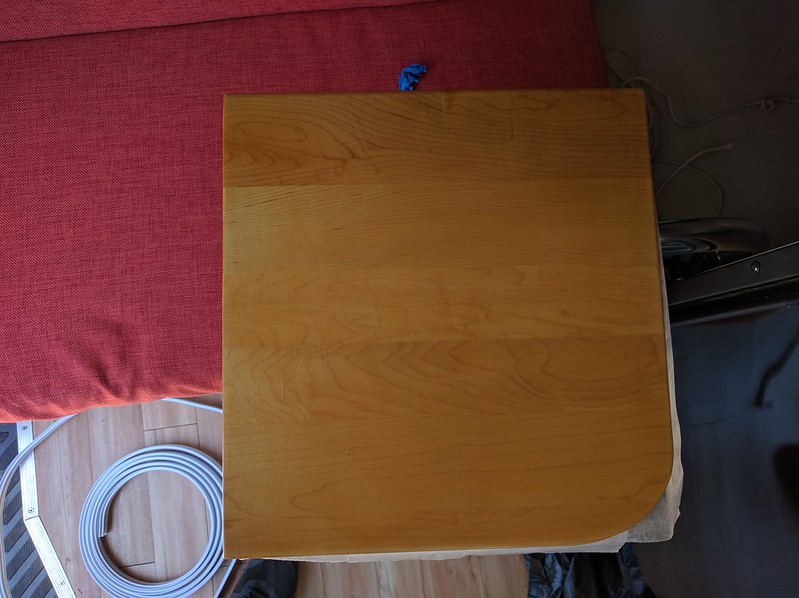
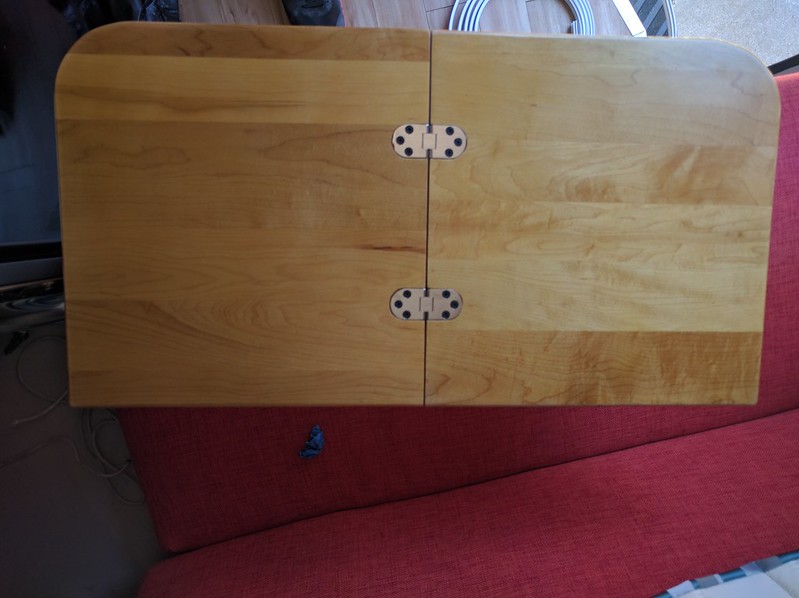
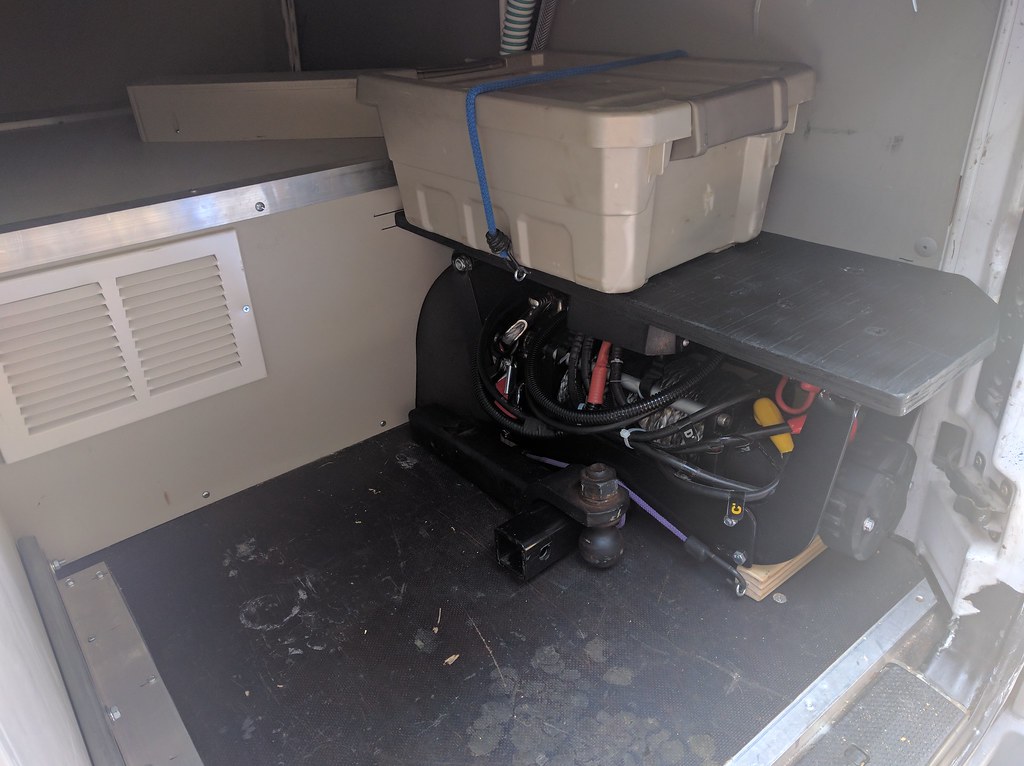
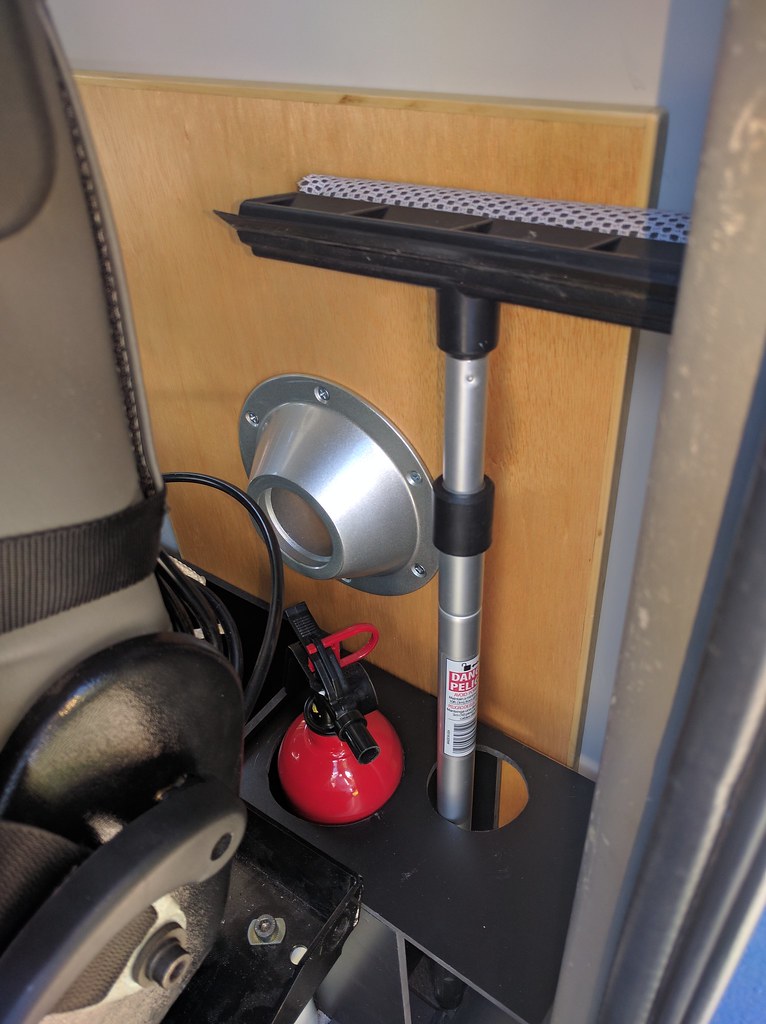
I used some left over Celtec to make a stowage unit behind the drivers seat. A removable trash container, fire extinguisher, and table leg are stowed here in addition to the forward table top.


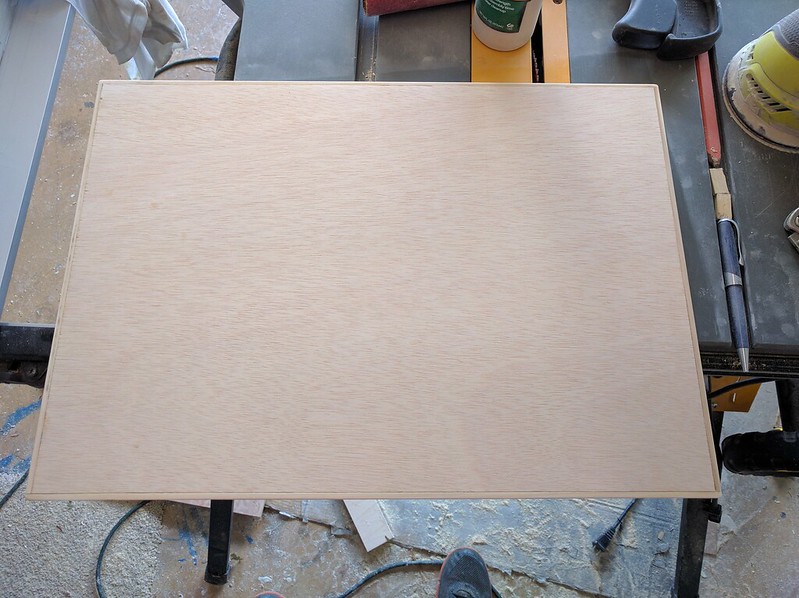
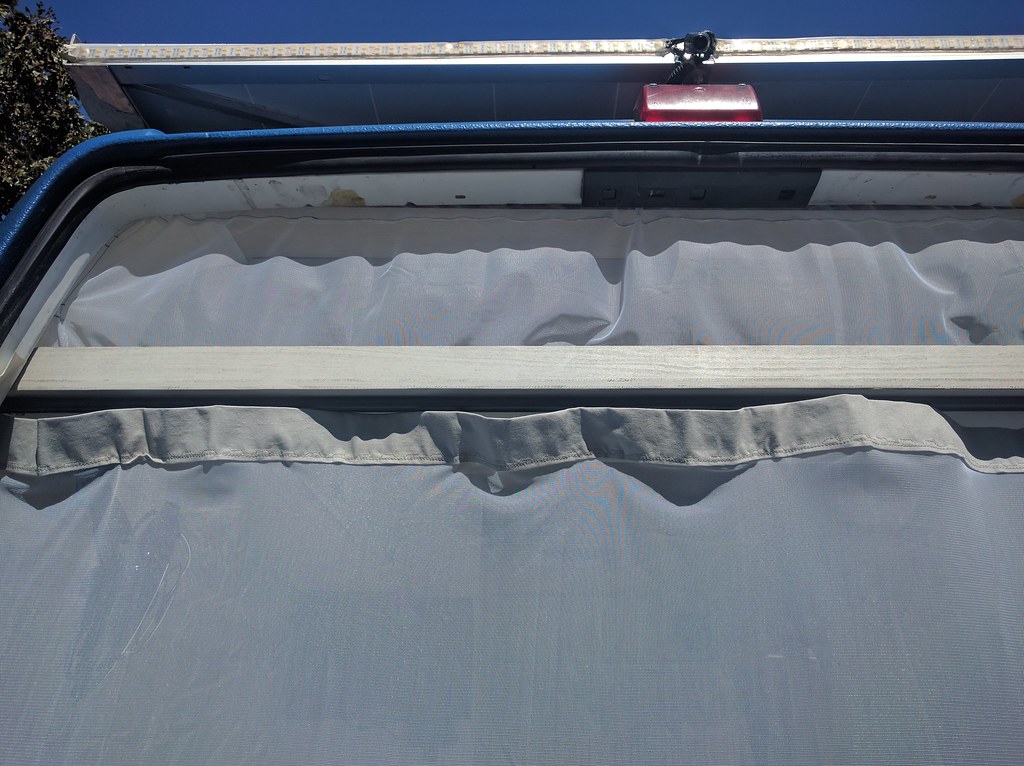
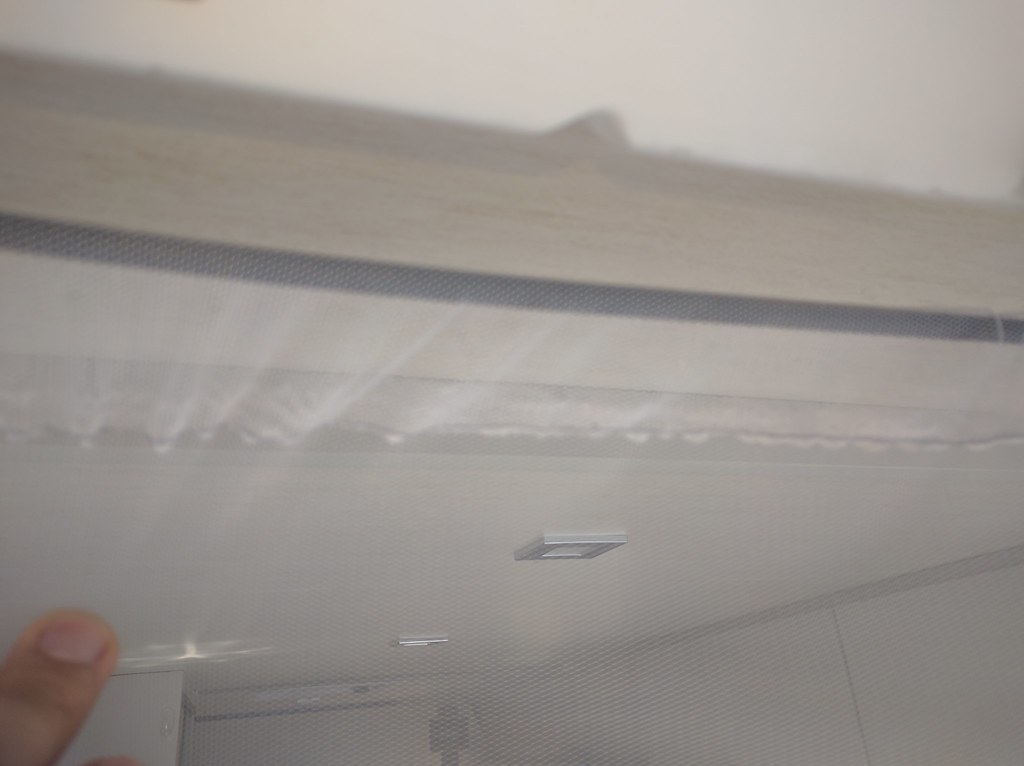
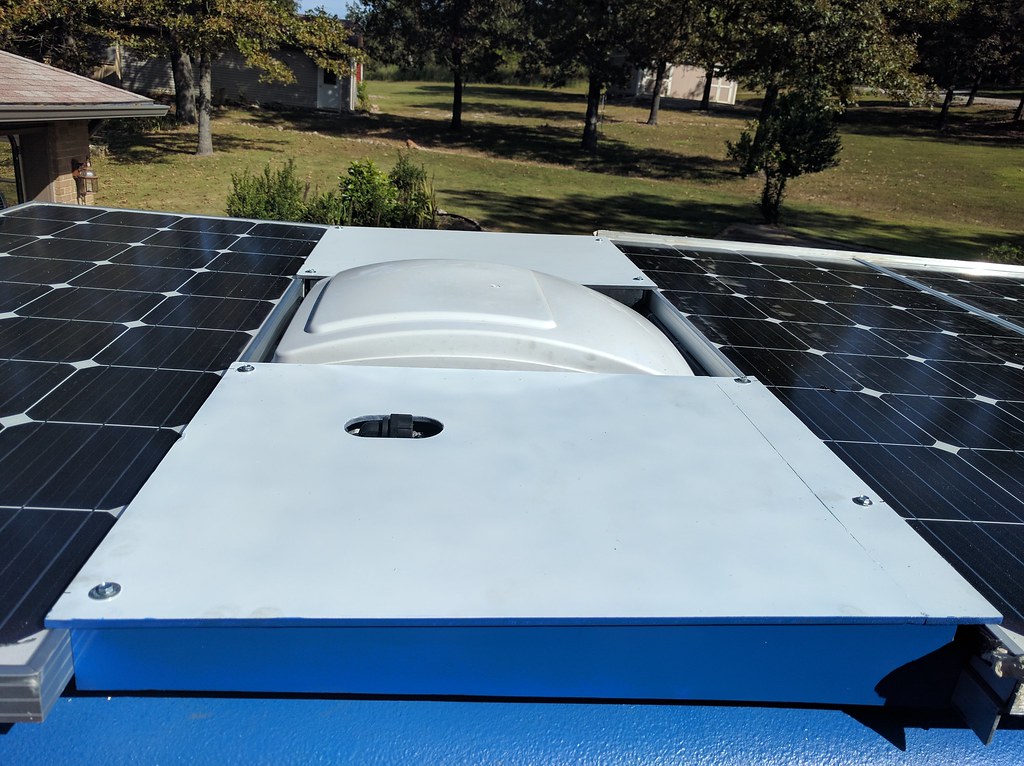
Using Celtec again I made 2 fairing panels for the roof. These fill the space between the forward and aft solar panels. Hopefully they will help to reduce turbulence from side winds. This should reduce buffeting of the roof vent, and lower the noise levels.


The celtec was bonded with CA glue. After working with the Celtec and CA glue combination, I have found it extremely easy, and good to work with. If I had to make cabinets again, I would strongly consider using the Celetc and CA glue combo for many of them.

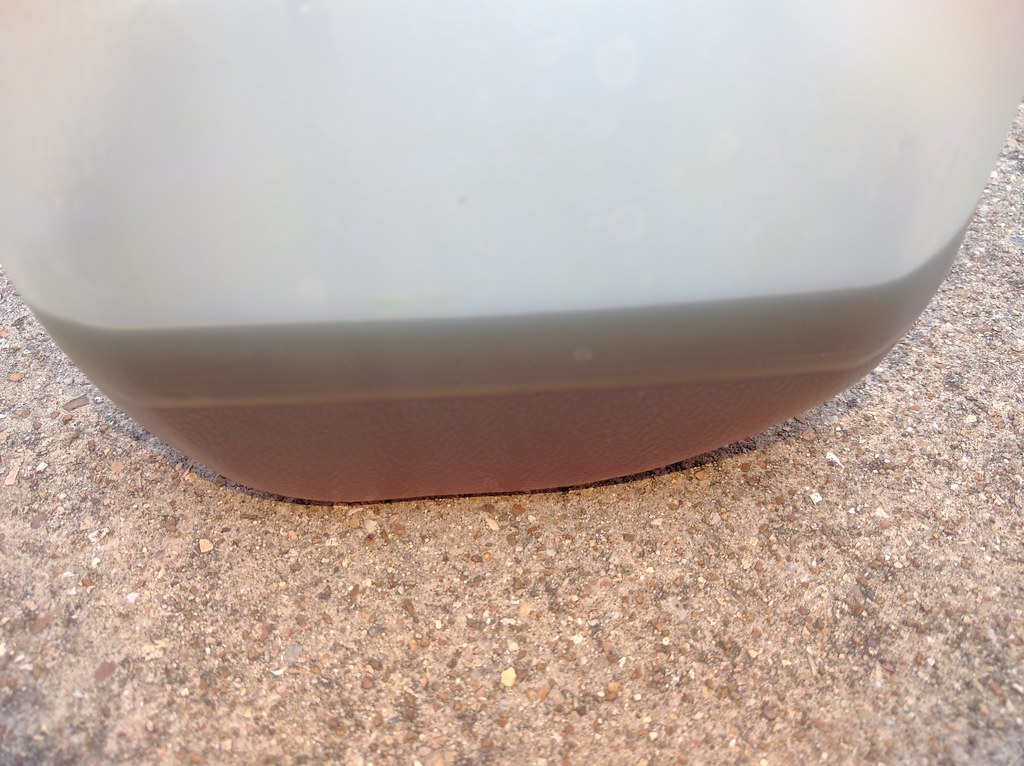
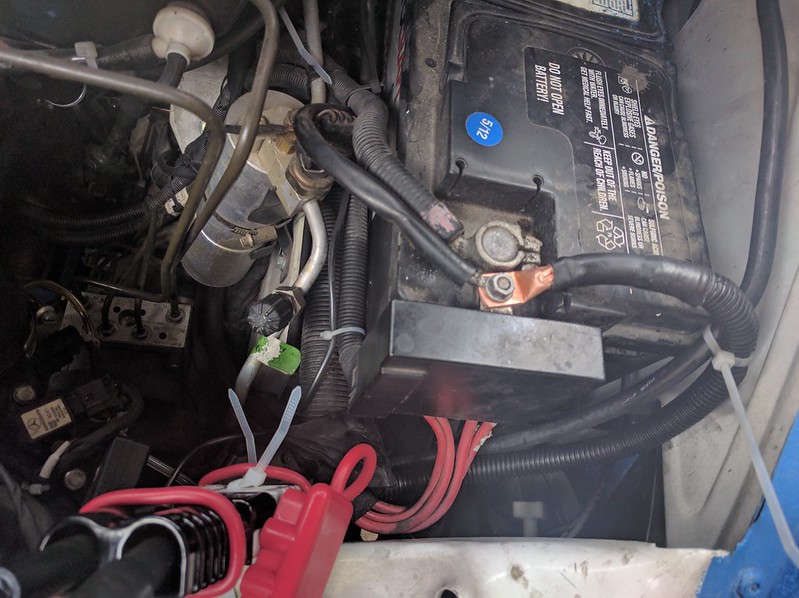
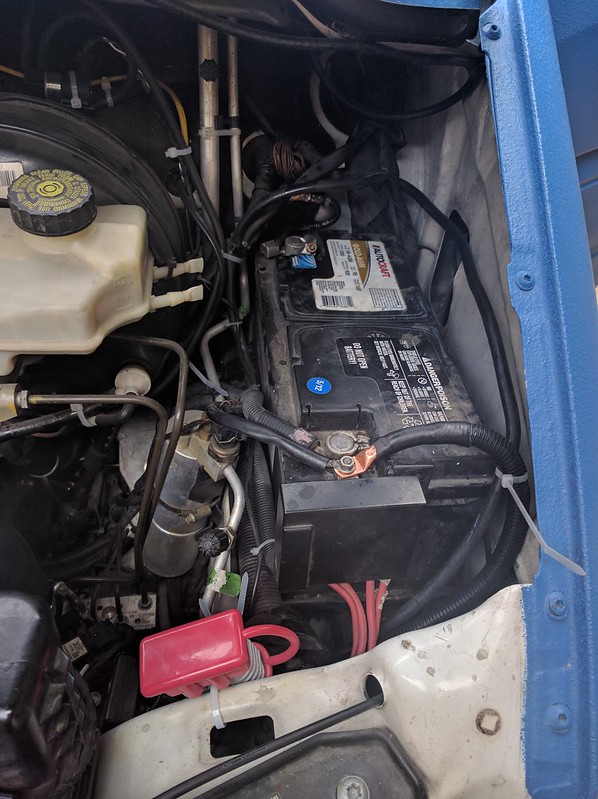
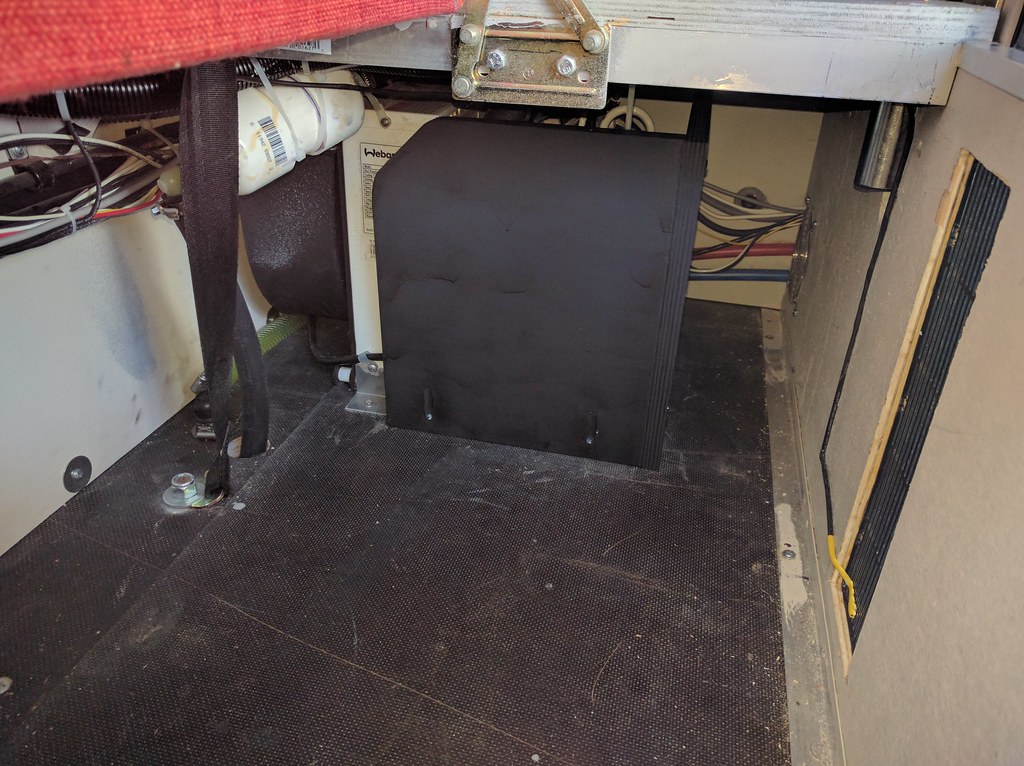
I have also been finishing some final routine maintenance items. Here is the brake fluid, I suspect it is original to the van. It is definitely past its life expectancy.


Abitibi

Explorer
Jen finished up work on the folding table. It came out quite nice.


I've seen similar folding tables while on the TGV in France and really like them. Did you build yours? And do you find too much flex when opened or can it safely support a certain weight? I'm thinking of building one but will need to find proper hinges and swing out table leg...

Great build!

Cheers
David
 

luthj

Engineer In Residence
I've seen similar folding tables while on the TGV in France and really like them. Did you build yours? And do you find too much flex when opened or can it safely support a certain weight? I'm thinking of building one but will need to find proper hinges and swing out table leg...

Great build!

Cheers
David

Glad you enjoyed the thread. We made the table ourselves. The hinges were from a Japanese company (available in the US) I can post details if desired. The table itself is made from 2 maple cutting boards. We trimmed the boards and routed the hinge cutouts. A coat of polyurethane provides protection.

The arm is a cockpit table arm made by Springfield marine I believe. It is a good quality item made from 100% stainless steel. The cabinetry it is mounted to needs to be stout to handle heavier loads.

The table is fairly strong, I would estimate it can hold 40lbs without any breakage. The table arm has some play in it. I adjusted the mounting to make it sit level when deployed. It isn't perfect, but it works fine for our needs which consist of an eating surface and for laptop use.
 

Abitibi

Explorer
Nice! Sure if you can post the info on the hinges that'd be great.

Thanks
David

Sent from my SGP511 using Tapatalk
 

luthj

Engineer In Residence
Another mini update. We are rapidly completing the minor usability touches on the van.

Here are the bug screens.


A hold down for the folding table.


Some protection for the AC unit.


I have created a system to allow for wifi access and a shared network for our electronic devices. A wifi router produces a local network, WAN is provided by a Ubiquity Nanostation. The nanostation has a powerful antenna, and allow us to connect to distant wifi networks. Using a suction cup mount allows us to position the nanostation on a window (or outdoors, as its weather proof).


I made a more permanent storage solution for the winch and recovery gear in the rear. Custom length bungee straps and eye bolts allow for strapping everything down.


A rack on the other side holds the various hand tools we need on a regular basis.


After much head scratching I couldn't find a good place for the maxtrax inside the van. I decided to fabricate a mounting rack on th passenger side rear door. It bolts through the hinges, and uses one hole in the door skin.


Forum statistics

Threads
185,830
Messages
2,878,685
Members
225,393
Latest member
jgrillz94
Top