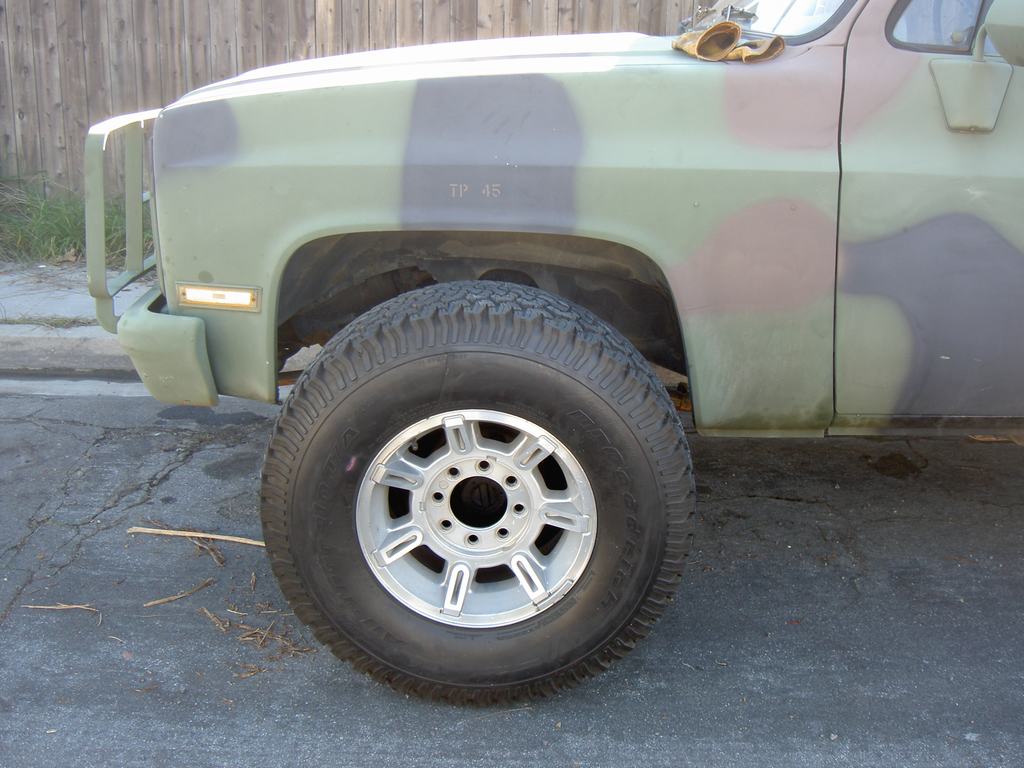
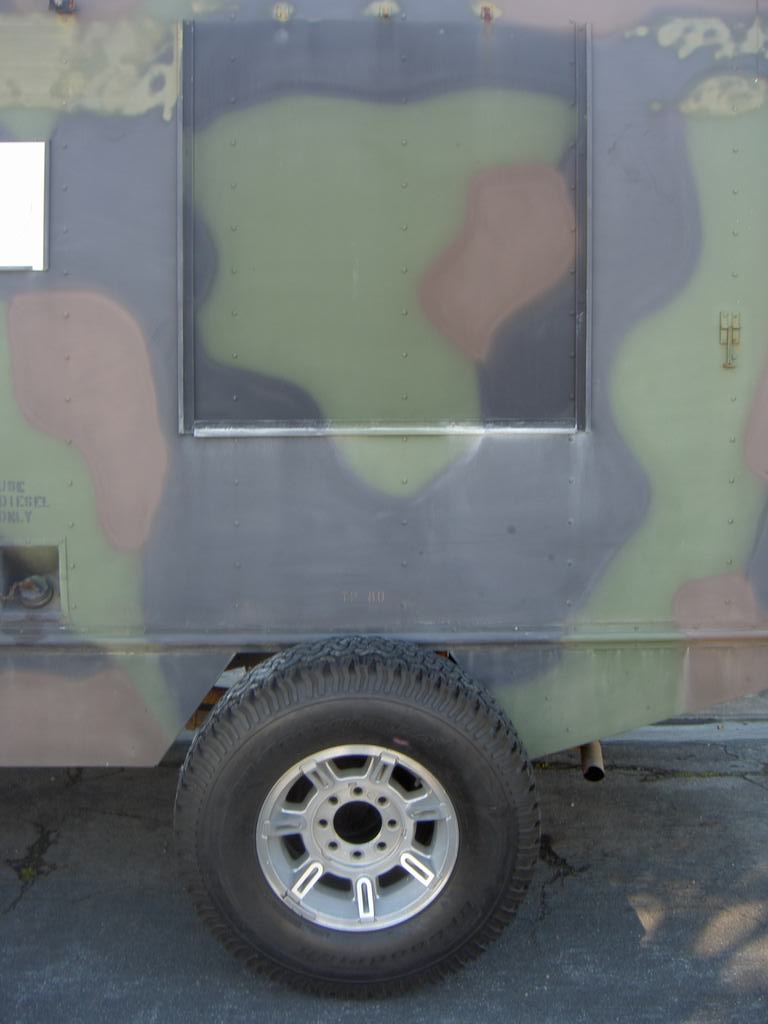
New Build; 1984 Chevy CUCV M1010 4x4 Ambulance

armyrv

Observer
Nice choice. I have all three versions of that truck, the M1010 Ambulance, M1031 Maintenance truck and M1008 Basic pickup. They are a good base truck to start with.

Hows the truck setup? Is it still 12v and 24v or did someone fully convert it to 12v?

Biggest problem on the M1010's is the DUVAC system. It is a little box that sits in the engine compartment on the drivers side right behind the headlight. If that thing dies while you are on the road, you are SOL. I would recommend either picking up another one as a spare, or converting the truck fully to 12v so that you don't need it anymore. Only problem with converting the truck to 12v is that you loose the use of the AC unit on the box, as well as the rear heater (though you can later install a 12v-24v converter to fix that). There are a few guides out there on how to remove the DUVAC system in the truck. I think I have a copy of the guide on my computer if you need it (will have to look for it).

Can't wait to see more pictures of the transformation. I am sure it will turn into one hell of a nice truck for you ;)
 

ExpoMike

Well-known member
Currently it still the 24/12 volt system with the DUVAC that seems to be working. I need to dig into the electrical system and do some cleaning of connections and make sure everything is good.

The last couple days have been fixing some issues. Had to swap the door locks as one was "punched out" and could be opened with a screwdriver. New set of door locks and it's all good. Today was getting the vacuum system working so I could get the transmission to shift correctly. It was only shifting via the governor, so only at high RPM's. When I pulled the air cleaner off I found none of the vacuum lines hooked up. I replaced all of them, check the vacuum pressure and it looked correct but still not getting it to shift right. Knowing the other part of this system is the modulator on the trans, I got a replacement one and swapped it in. WooHoo!!! It shifts correctly now.

After my short test around the block I turned off the engine to clean up some stuff in the garage. When I went to start it, there wasn't enough power to crank it over. I guess the starting and stopping over the last few days hasn't charged up the batteries. Used a jump battery and got it started so I took it out for its first voyage out. Drove down to Fiesta Island and testing the 4x4 system and it looks like it shifts in and out of that fine.

I did do my first "mods" to the rig. LOL :D

Added these...
PICT6034.jpg


PICT6035.jpg
 

armyrv

Observer
I have all the technical manuals from the military if you need them. Can upload them to my website and give you a link if needed.

Our M1010 was an electrical nightmare when we got it. We had bundles of wiring coming out of every corner from the previous owners (city of pilly) hack job. We still have electrical issues (dead ground somewhere that drains the batteries over-night if the kill switch isn't turned off for one).

When you changed the door locks, did you get them keyed back to the same keys, or did you get new keys for them? Reason I ask is that ALL CUCV trucks take the same keys for the doors and ignition. So unless you change them, most anyone with a set of keys from their truck can jump in yours and take off. That is why we changed the locks and installed hidden kill switches.
 

ExpoMike

Well-known member
Thanks for the offer on the TM's. I actually got them from Steel Soldiers site. I am tackling one system at a time so electrical is next. There has been a little modification done but overall not too hacked... from what I can tell so far. I think a lot of dirty connections that need to be cleaned.

As for the door locks, they are non CUCV keyed locks. Likely will change the ignition at some point and do need to put a kill switch in.
 

ExpoMike

Well-known member
Well, spent time this weekend working on troubleshooting the charging system. Went through the TM's, cleaned dozens of connections, tested diodes and such. It is looking like the upper alternator is not outputting the correct voltage (about 11 volts). I think it or the regulator on it is not working but I have a post on Steel Soldiers to see if there is anything else I can test to verify this.

If this IS the case and I have to buy/rebuild the alt, I am just going to take the time and convert over to a 12 volt system and be done with any need of the 24 volt system.

My ultimate plans are to have dual alts and four batteries. Two for the engine/cab fuctions and two for the house system. That should handle anything I can throw at it and have redundancy in the system. Luckily I can build onto the system and start with a single alt and dual batteries so it won't be as big of a $$$ hit at one time.
 

ExpoMike

Well-known member
I ordered a new Leece Neville 4860JB, 200 amp alt and new 12 volt starter today. Start out with a single alt and leave room should I want/need a second one. Should get them this week and hopefully have things converted over this weekend.
 

armyrv

Observer
Sounds good. Now you will be able to do away with the DUVAC. Which is a good thing on an expo rig in case it dies in the middle of no where.

Make sure to take lots of pictures ;)
 

ExpoMike

Well-known member
Well, this weekend was the one to do my 12 volt conversion. Here's the story I wrote for Steel Soldiers, to help someone who might be converting a M1010 as well.

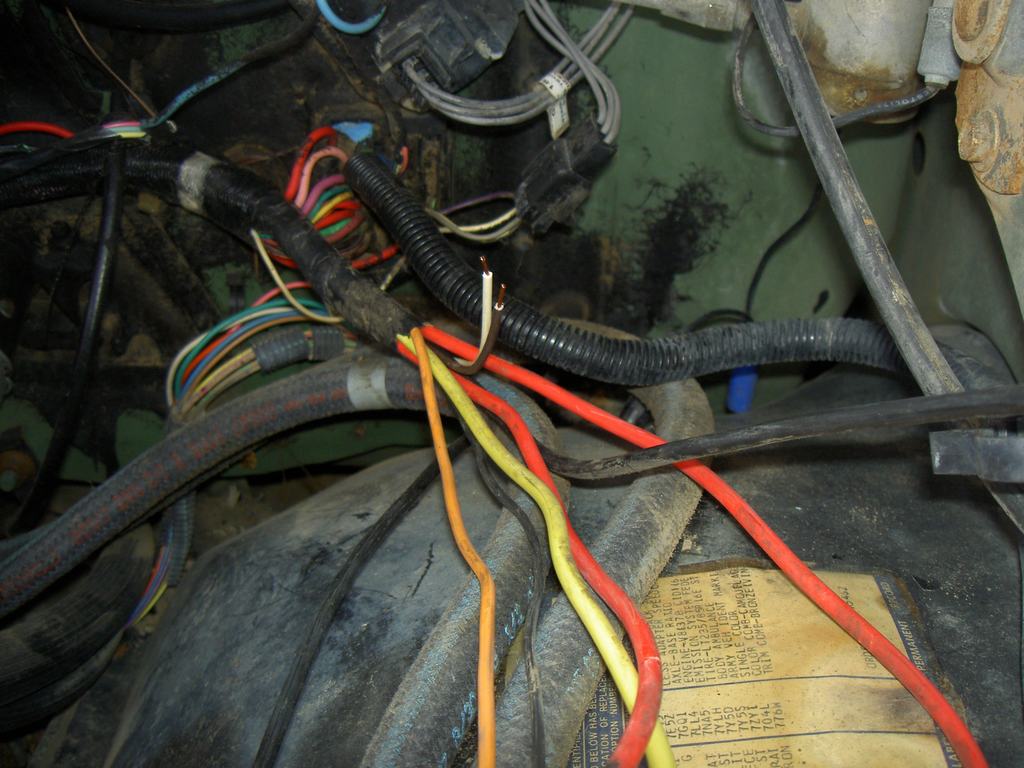
With the help of my best friend, who is an auto electrical tech working on emerency/command post type vehicles, we set out to figure what wires needed to be kept, what we could remove and what we needed to add. We studied in detail, the TM wiring diagrams and figured out all the wiring to the lower alternator is unneeded. We also found a majority of the DUVAC wires could be removed. Since much of this is loomed into the engine harness on the back of the engine, we decided to cut back and "stub" the unneeded wires and sealed those ends and taped them up. We did find we could keep a positive (RED-2B) and negative (BLK-151F) wire (that went to the DUVAC) long so I would have a nice feed on the driver side should I ever need this. We also found we needed to tie the brown wire (BRN-39G) to the white wire (WHT-103C) which would in turn be the switched ignition to the new alternator. Since we were joining these, we ran a stub pink wire and bundled it with the black and red so I would have a switched source should I ever need it.

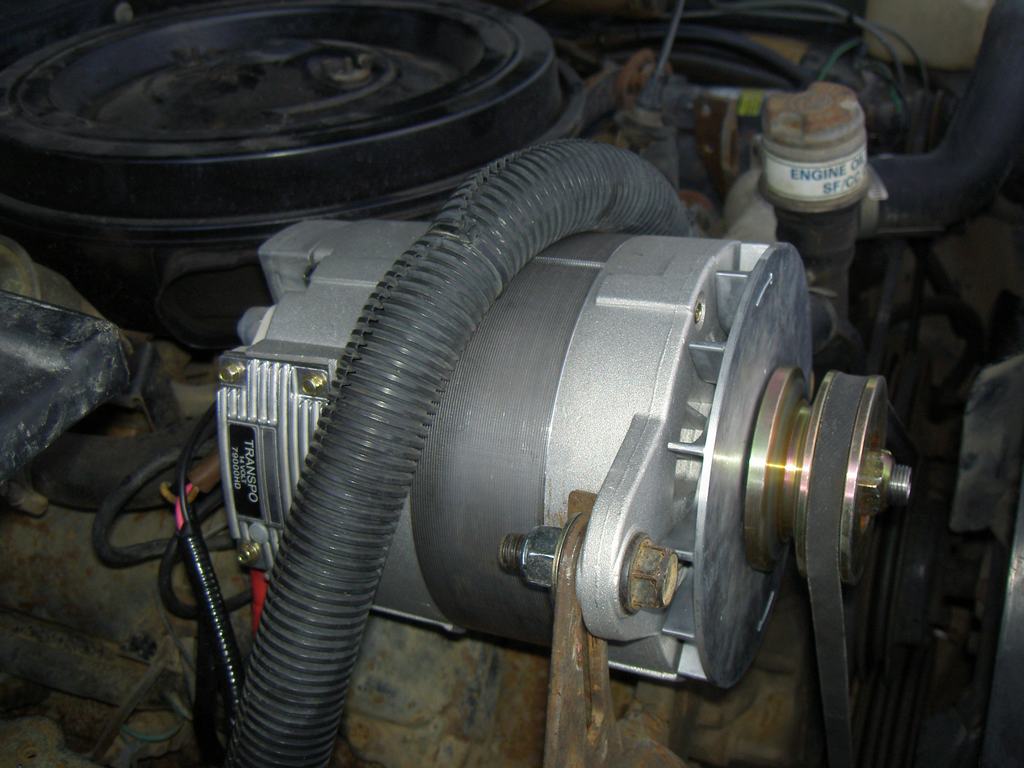
This basically took care of the main modifications needed and focused on the main power leads from the batteries and single alternator. Prior to all the wiring, I swapped the 24 volts starter to a newer gear reduction 12 volt style. This also meant I needed the starter bracket for this style starter. Luckily a Chevy dealer in town had it in stock! Overall that took time but was fairly easy to do. Then it was time to remove both of the old 24 volt alternator and put the new 12 volt in in the upper mounting spot, as it's easier to get to. Then it was simply wiring a new 12 volt + lead to the power block and the two batteries in parallel.

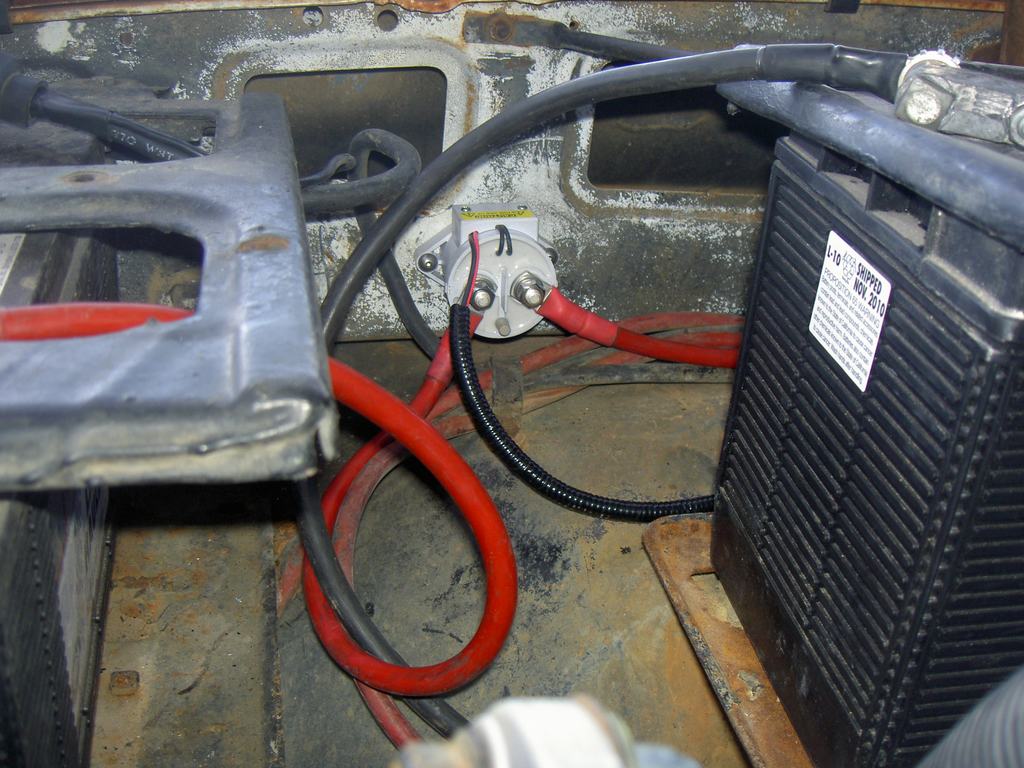
Now one thing I did would prevents one battery (which could have a bad cell or short out) from killing the other battery is I added a heavy duty solenoid between the +12 front battery cable and the power block on the firewall. It is wired so when you turn the key on, it will connect the front battery to the system as if the two batteries are parallel but when the key is off, it disconnects the front battery from the system. This just adds an extra level of safety should one battery have a problem and not drain the whole system down.

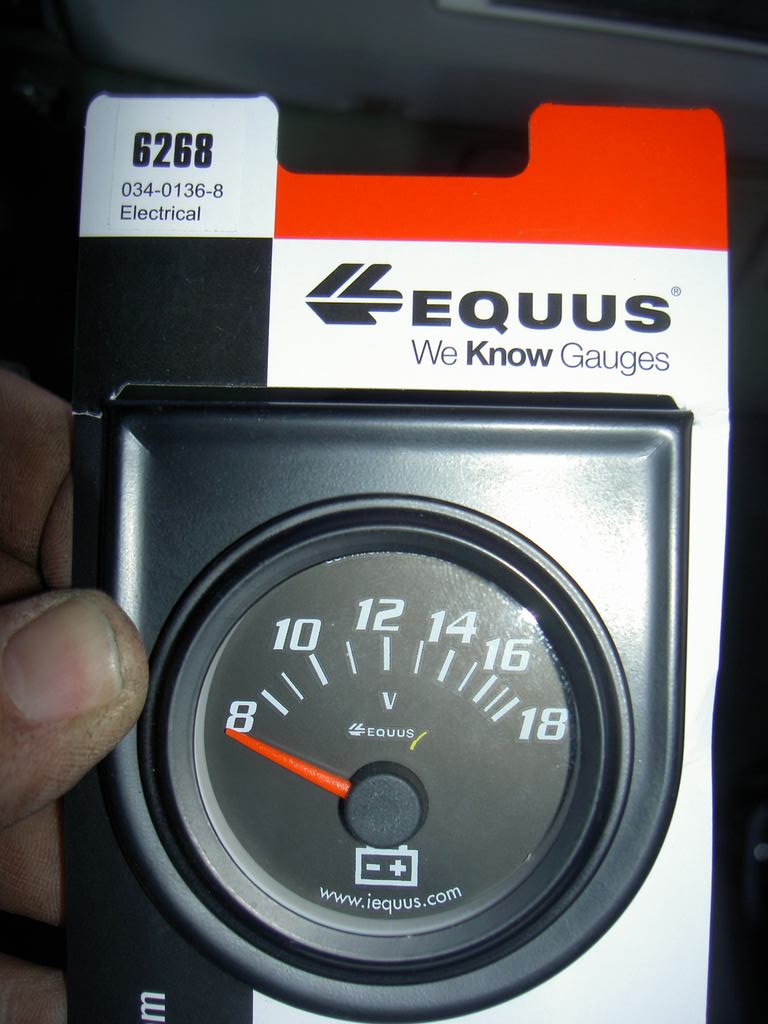
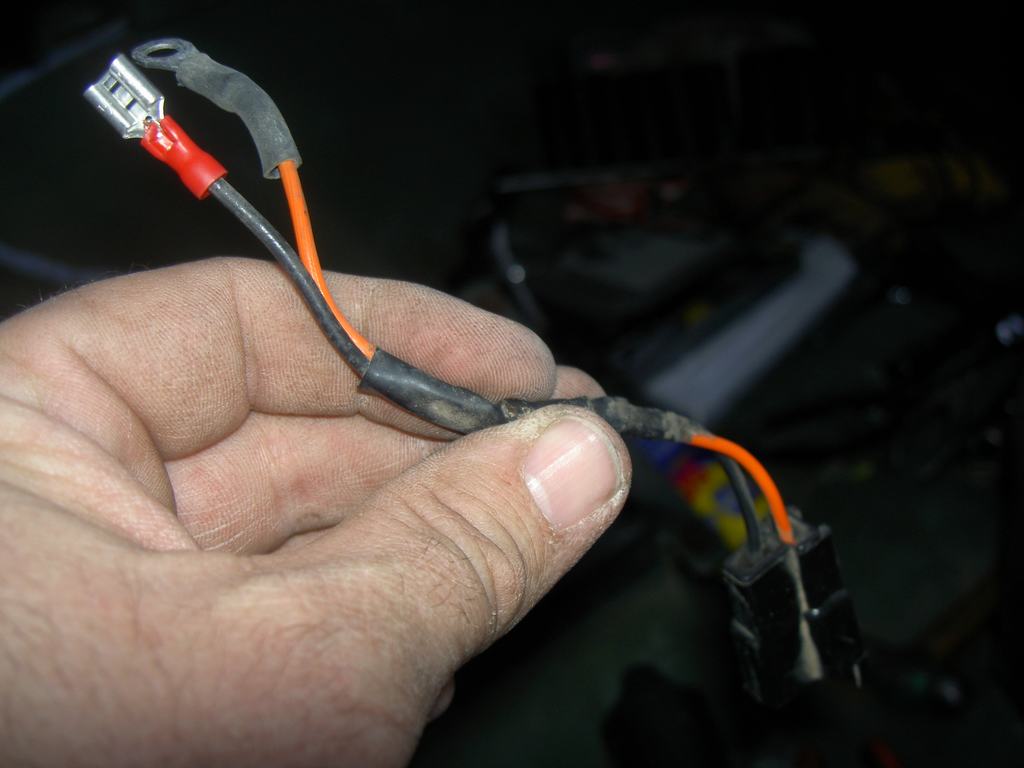
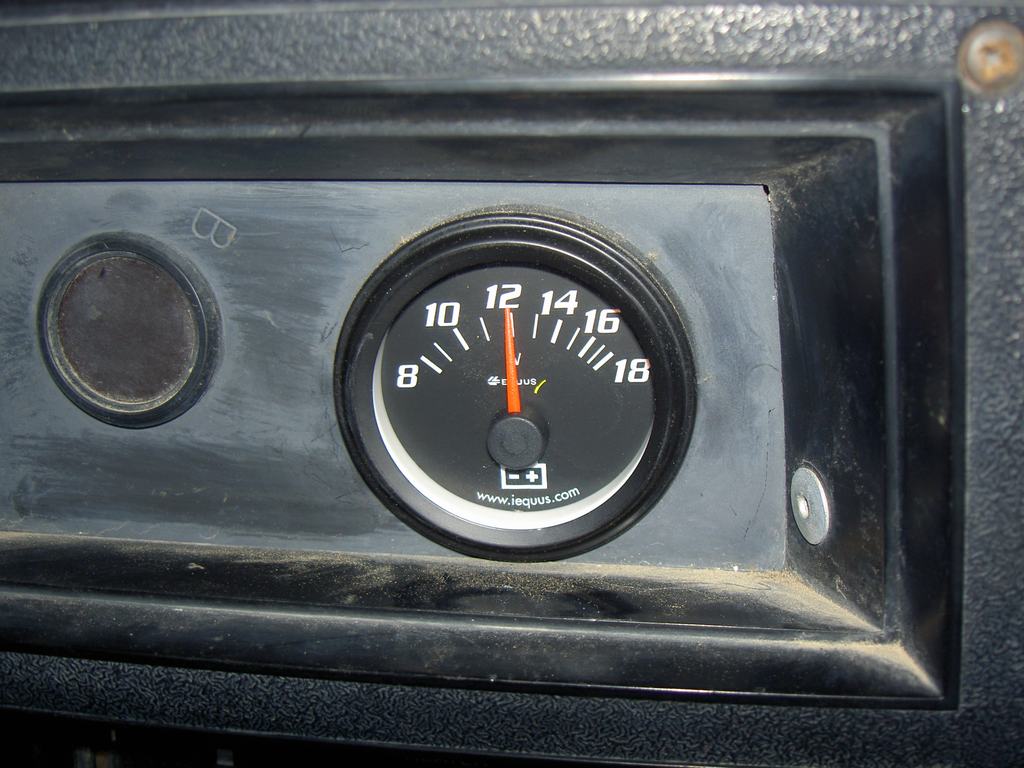
I also picked up a new 12 volt gauge to put into the stock location of the 24 volt one. Just had to modify the dash mount to remove a unneed bracket. I used the pigtail off the old gauge and changed the connectors for the new one. This way I can still remove the dash and unplug the gauge just like the 24 system was.

Okay, enough talk and onto the pictures! Hope this helps someone else should they want to do the same.

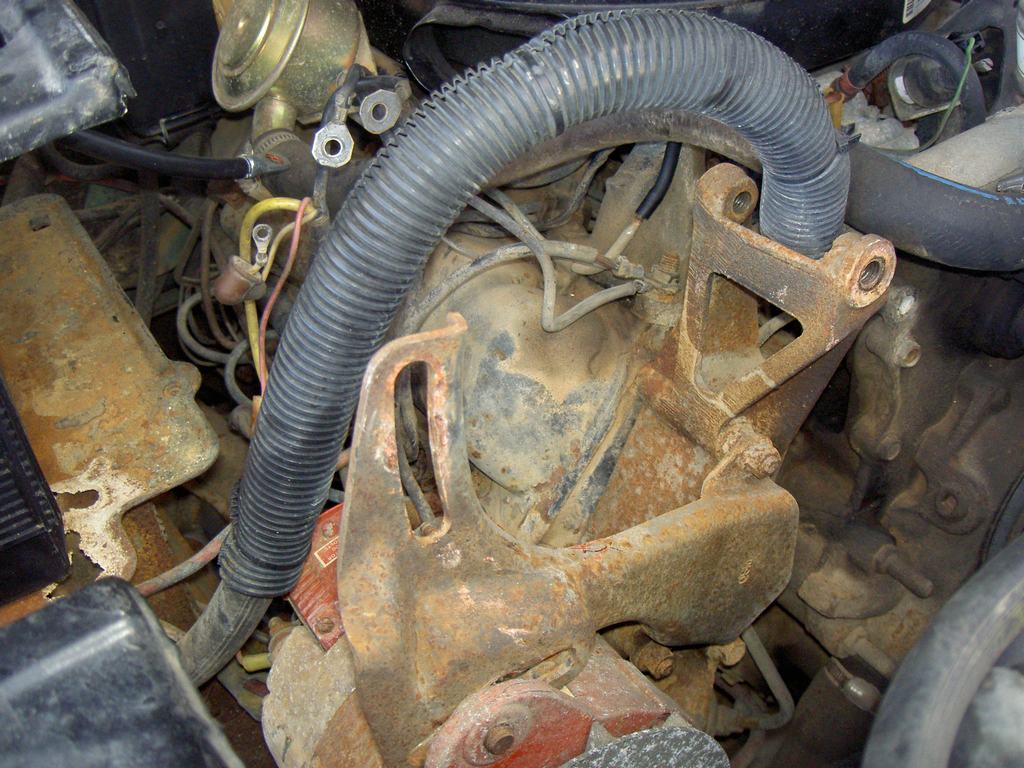
Start with removal of upper and lower alternator (after disconnecting the batteries)
PICT6036.jpg


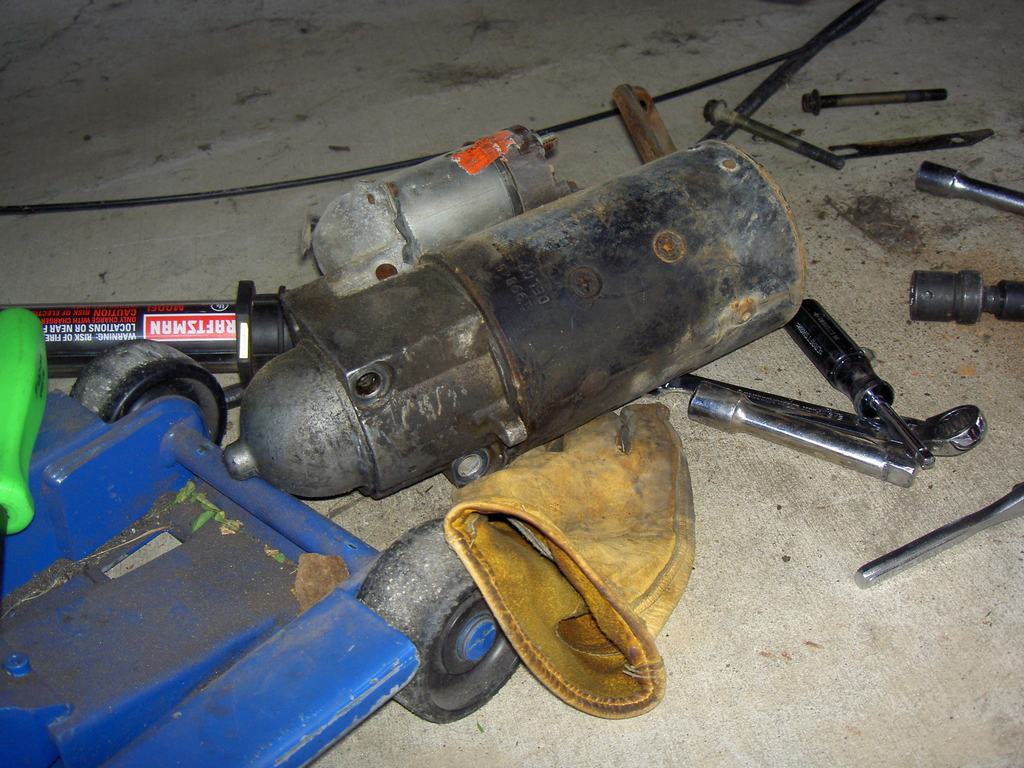
Remove the old 24 volt starter
PICT6037.jpg


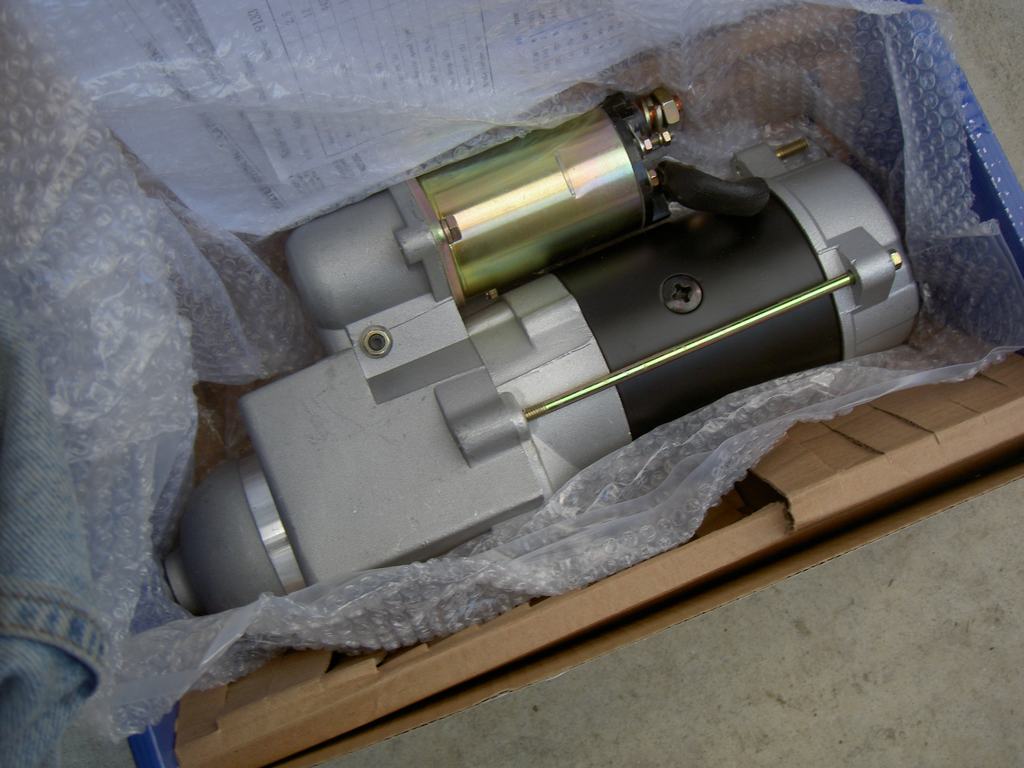
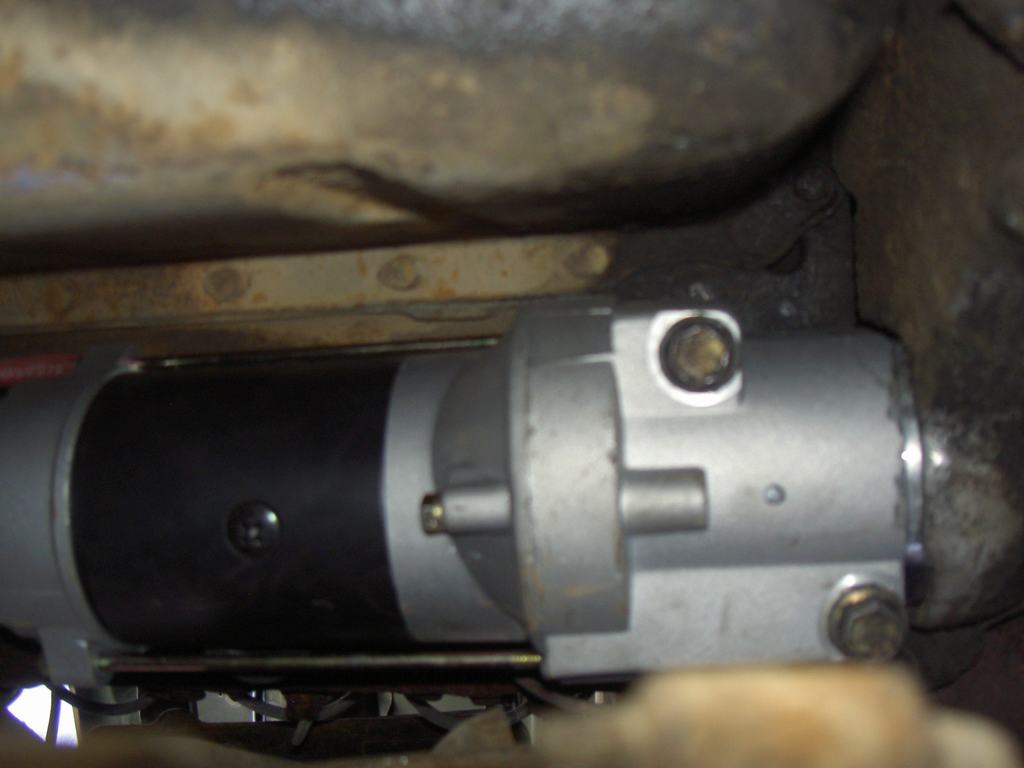
New 12 volt gear reduction starter... shiney
PICT6038.jpg


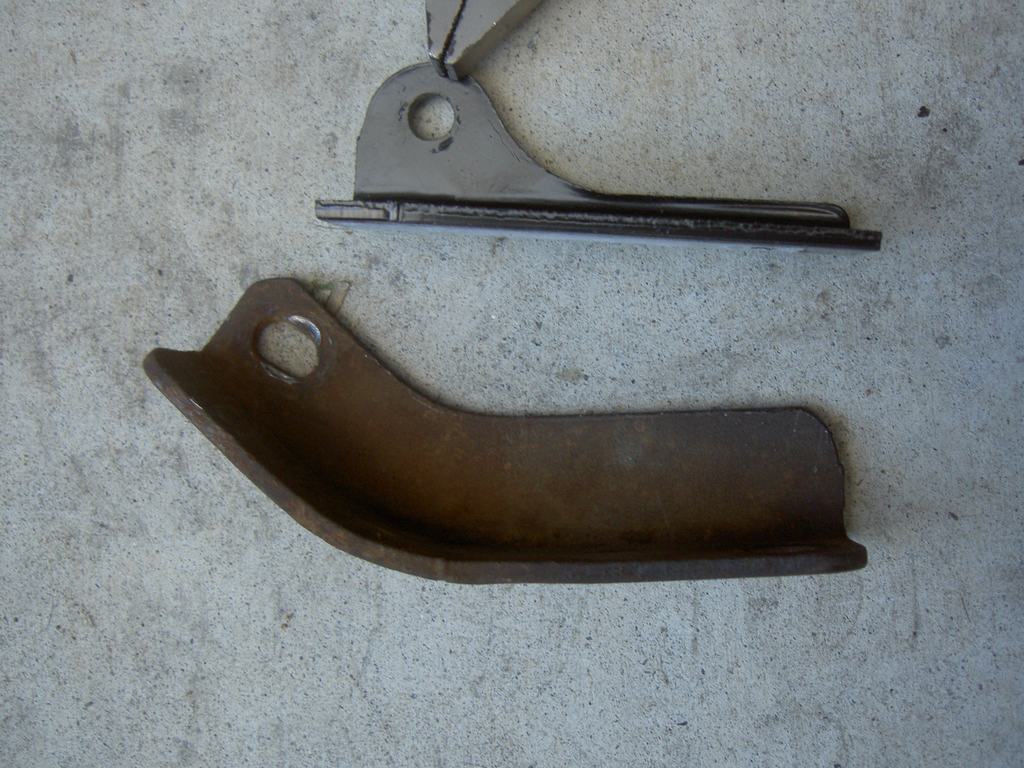
Old large starter bracket and new gear reduction starter bracket
PICT6039.jpg


New starter all mounted up
PICT6040.jpg


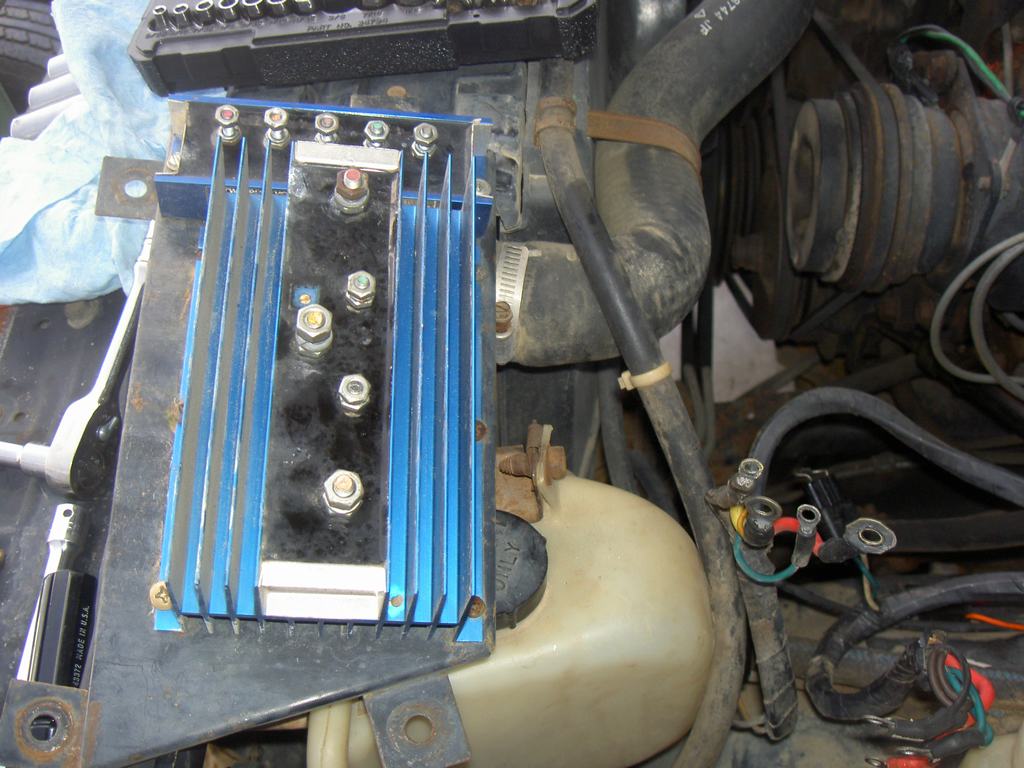
DUVAC removed
PICT6041.jpg


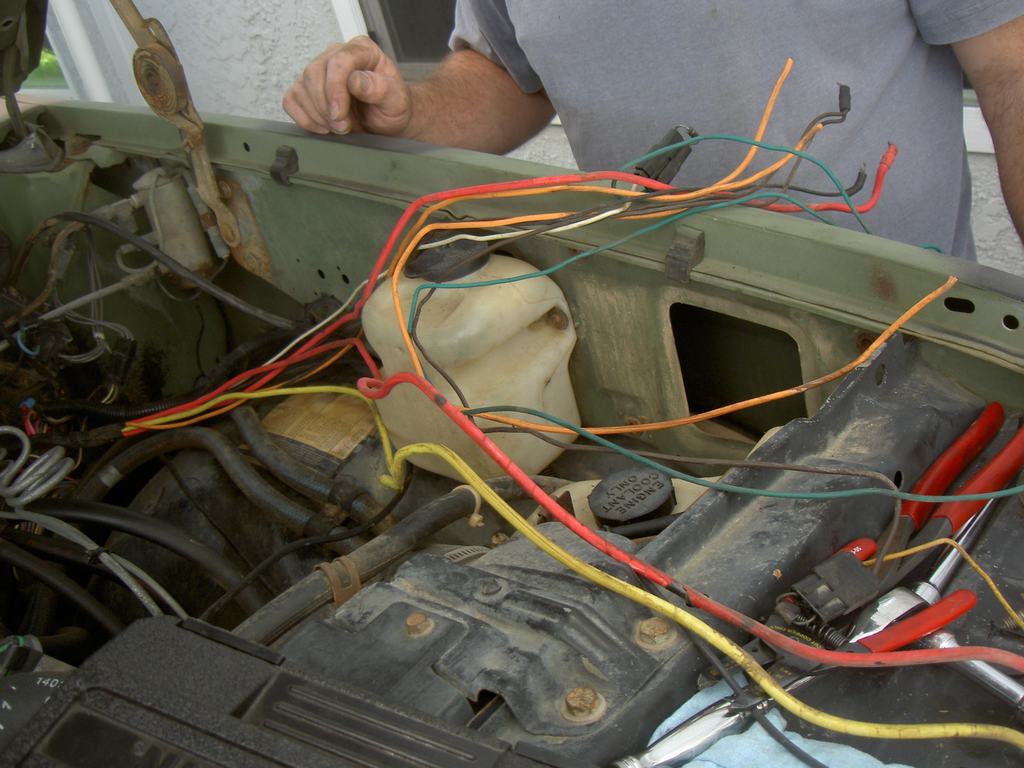
Peeling back the DUVAC harness, which had been modified before when the "orange wire" conversion was done
PICT6042.jpg


Here are the brown and white wires cut back and to be joined. This is where we also placed a pink switched ignition lead for future use
PICT6043.jpg


New 12 volt, 200 amp, J-180 style mount alternator
PICT6044.jpg


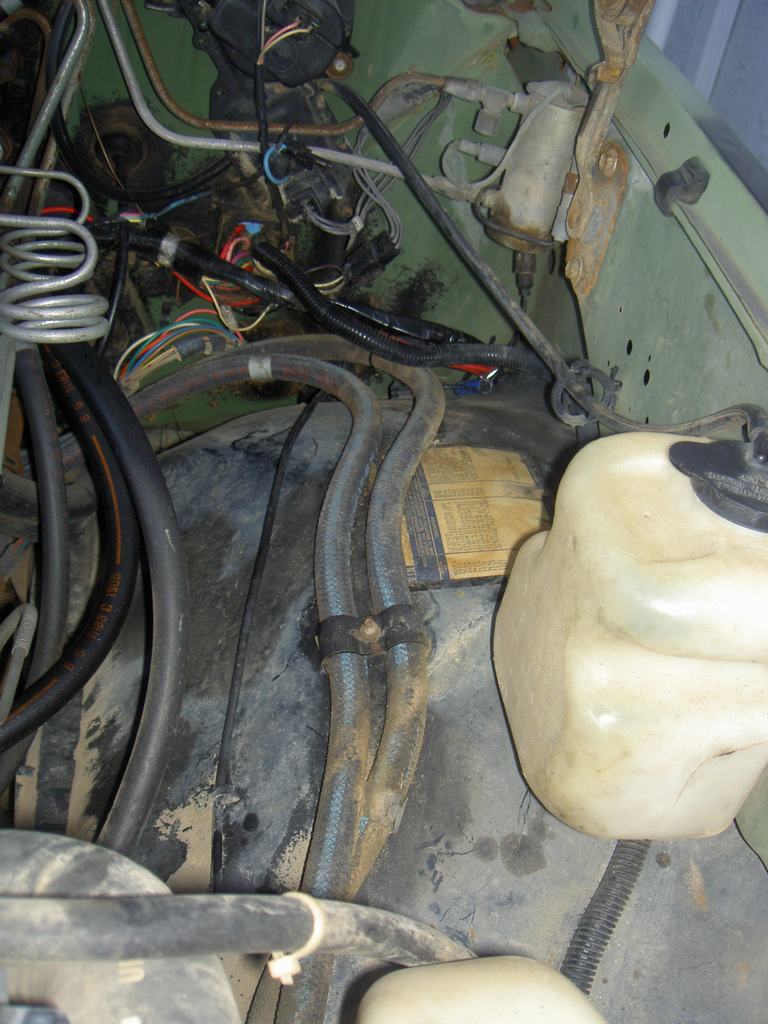
Much cleaner without all the DUVAC wires
PICT6045.jpg


Blue Sea ultra heavy duty, sealed battery solenoid (300 amps continuous, 2000 amps surge)
PICT6046.jpg


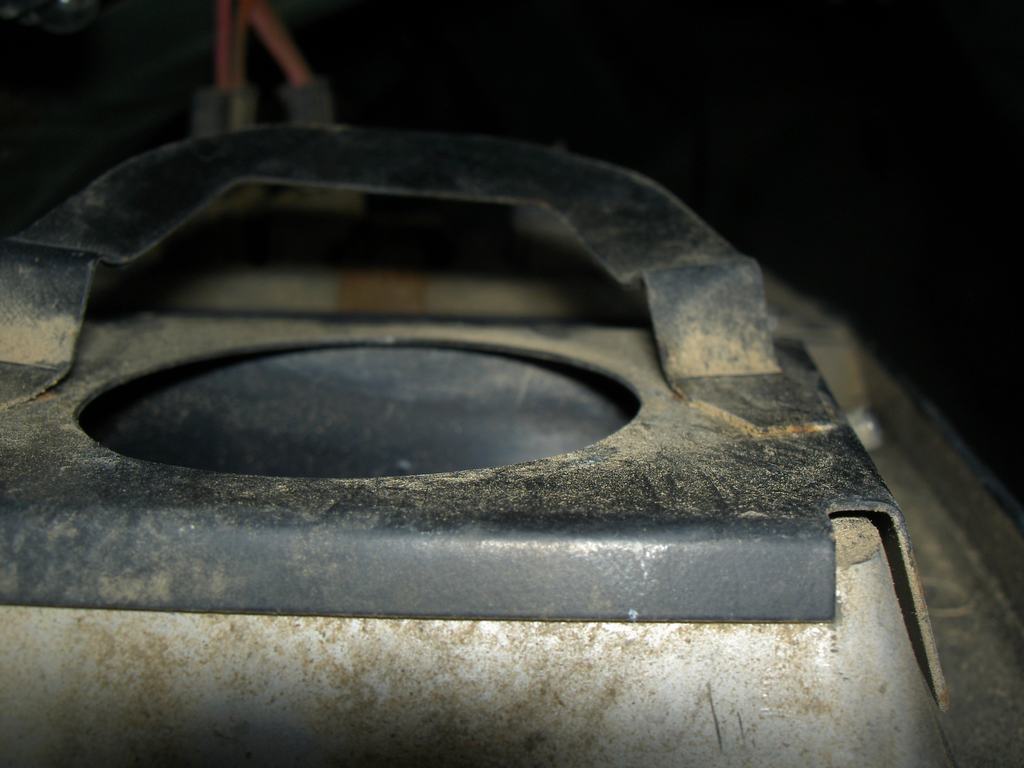
Bracket on backside of dash where the stock 24 volt gauge goes. Needed to trim this off so an aftermarket screw flange mount 12 volt gauge can be mounted
PICT6047.jpg


Gauge I got a Kragen
PICT6048.jpg


Using the original pigtail off the old gauge and swapping it over to spade connectors. I did this as my friend had to leave and took all of the good connector and shrink tubing.
PICT6049.jpg


Gauge mounts and showing 12 volts with the engine off. I was able to use the original gauge light that pushed into the new gauge. Made that really easy
PICT6050.jpg


Well that is basically it. Starts right up, charging at 14.4 volts, all the lights work, even the black out lights.
 

ExpoMike

Well-known member
Got a Craigslist score, 5 Hummer H2 wheels and an H2 rear spare tire swing out. I have actually seen a video of a M1010 with these wheels and they looked great. Need to replace the tires and will go with the stock H2 size of 315/70-17 (approx. 35"x12.5). Not sure what one but thinking the new Duratrac.

Could likely get away without a lift in the front...
PICT6053.jpg


But don't think the rear would fit...
PICT6052.jpg


Forgot a pic of the tire carrier. :(
 

ExpoMike

Well-known member
So this weekend was nothing glamorous but badly needed. Changed the oil and filter, removed all the cooling system hoses, flushed the block, radiator and heater core, installed all new hoses and fresh Catipillar ELC coolant. I think the cooling system had never been touched (with 54K on the clock, not surprising) but man that was some nasty coolant. Next things will be the brake fluid, trans and transfer case and diffs. Once all the fluids are done, I should be able to start working on the fun stuff.

Oh, I did get another score off Craigslist last week. A complete, just over a year old, Banks Sidewinder turbo kit!!! It even had the Banks exhaust (though for a Blazer but can be modified to work), EGT and boost gauges! Fun part will be trying to get this to fit with that giant alternator. That's a back burner project as it will take some time to do.
 

ExpoMike

Well-known member
Nice wheels and tires. Are they D or E load range?

Actually those the BFG's that came on them are trashed (that's the spare and even it has a sidewall gash) but they are D range. I haven't decided on what I am going to replace them with. I basically bought the package for the wheels. Tires won't go on until after the lift.
 

Forum statistics

Threads
185,914
Messages
2,879,567
Members
225,497
Latest member
WonaWarrior
Top