Heifer Boy
Adventurer
Stage Fifteen – Sanding, filling, sanding, filling and more sanding...
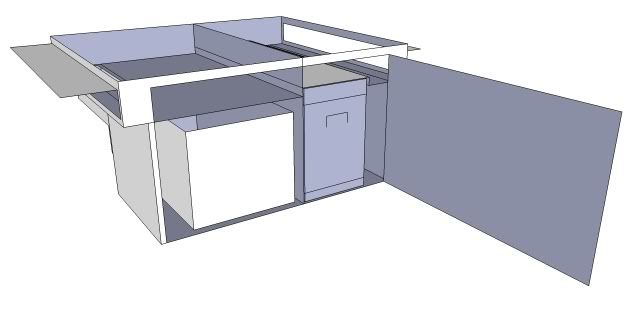
Now the box is nearly complete it was time to finish the filleting and give the inside a coat of epoxy.
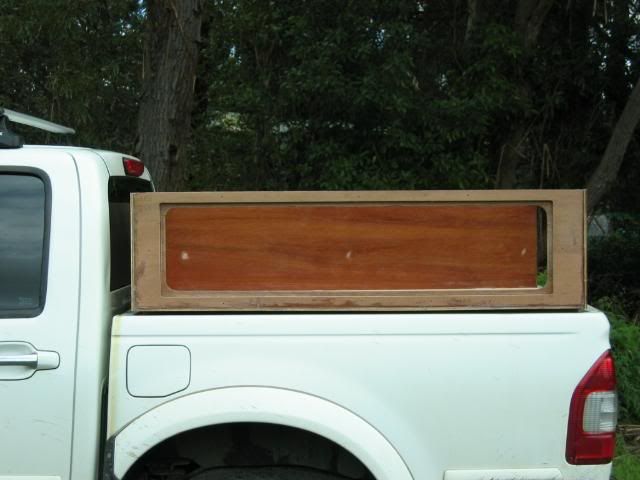
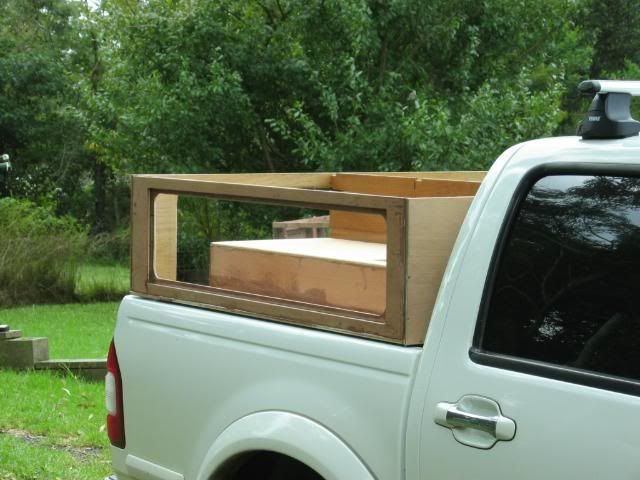
But before this it was time for one last test fit to ensure that it is all going to be ok. I didn't want to do all the finishing work to find out it doesn't fit again!!! All was well and it's going to look really good I think. Loads more storage space than last time.
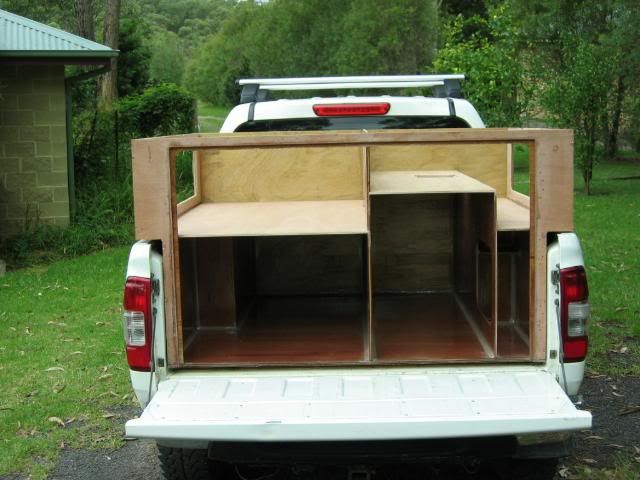
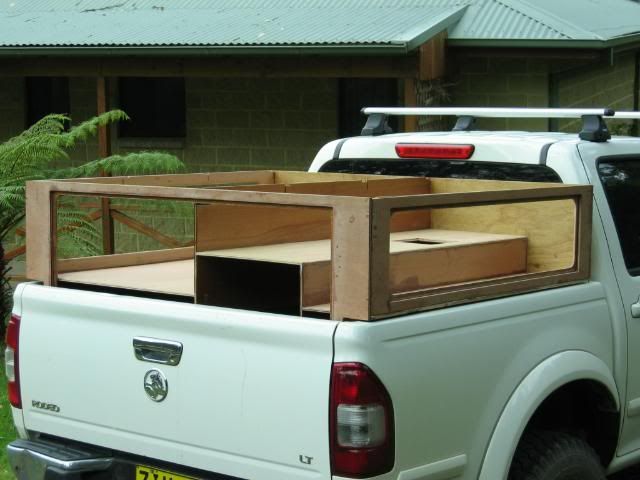
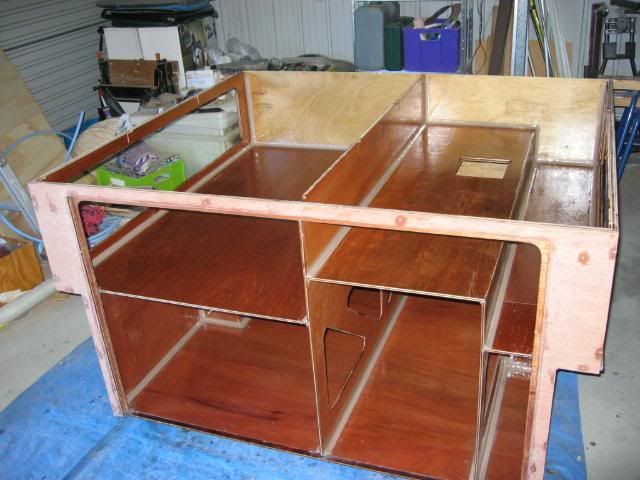
Filleting the inside of the storage boxes has got to be one of the hardest things I have done so far on this build. I put the box on the ground so I could wriggle into it on my back complete with respirator, gloves, glasses, a pot of thickened epoxy and various coving sticks. Two hours later after clambering around and getting up and down and sliding around on my back I emerged very sweaty with aching arms and with a few big blobs of epoxy stuck to my clothes!!! For a fairly simple process, doing it upside down made it a whole lot harder!!! It turned out OK but some of the corners are not for public viewing. The rest of the filleting (which is viewable) went considerably better and I am very happy with the result.
I let it all dry and started sanding. Back on my back and upside down again but this was a lot easier. Everything came up well but I made up some more thickened epoxy and finalised filling all the screw holes and patched a few bits of fillet where it would be noticeable Then I sanded again, then patched a tiny bit more and now it was ready to coat in thinned epoxy.
At the same time I also made up the roof of the box which required one last lap joint to made and glued. This is the biggest panel in the whole build – 1350mm x 1540mm.
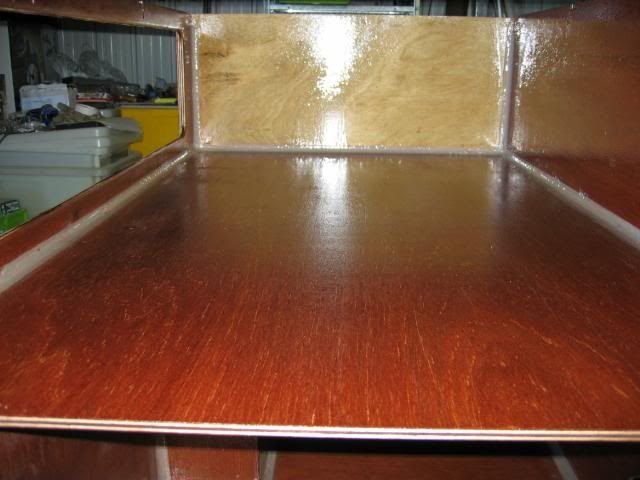
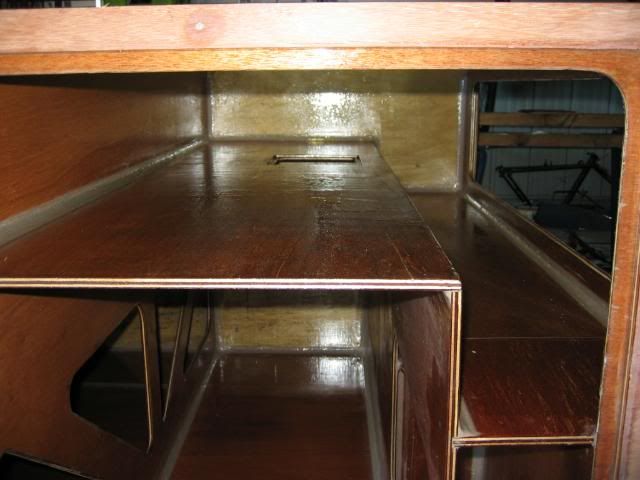
Then I gave it all a coat of thinned epoxy. I coated the inside of everything – the main storage areas, the inside of the walls, the door jams, the inside of the roof and the inside of the doors. It's nice to have a lot to do to reduce wastage when it comes to brushes, rollers and trays. It looks all nice and shiny now and will be a good hardwearing surface.

The door frames and inside of the doors will get two more coats of epoxy to properly seal them and make them 100% waterproof.
So I'm very close to the official finishing stages now... of the main box anyway. Only one more joint to glue when I put the top on and I can start glassing the outside. There is still a lot of detail work to do with fitting the water system, the electrics and building the storage and kitchen drawers so a way to go yet. I think I making pretty good progress so far though. I'm happy with it anyway...")
Now the box is nearly complete it was time to finish the filleting and give the inside a coat of epoxy.
But before this it was time for one last test fit to ensure that it is all going to be ok. I didn't want to do all the finishing work to find out it doesn't fit again!!! All was well and it's going to look really good I think. Loads more storage space than last time.
Filleting the inside of the storage boxes has got to be one of the hardest things I have done so far on this build. I put the box on the ground so I could wriggle into it on my back complete with respirator, gloves, glasses, a pot of thickened epoxy and various coving sticks. Two hours later after clambering around and getting up and down and sliding around on my back I emerged very sweaty with aching arms and with a few big blobs of epoxy stuck to my clothes!!! For a fairly simple process, doing it upside down made it a whole lot harder!!! It turned out OK but some of the corners are not for public viewing. The rest of the filleting (which is viewable) went considerably better and I am very happy with the result.
I let it all dry and started sanding. Back on my back and upside down again but this was a lot easier. Everything came up well but I made up some more thickened epoxy and finalised filling all the screw holes and patched a few bits of fillet where it would be noticeable Then I sanded again, then patched a tiny bit more and now it was ready to coat in thinned epoxy.
At the same time I also made up the roof of the box which required one last lap joint to made and glued. This is the biggest panel in the whole build – 1350mm x 1540mm.
Then I gave it all a coat of thinned epoxy. I coated the inside of everything – the main storage areas, the inside of the walls, the door jams, the inside of the roof and the inside of the doors. It's nice to have a lot to do to reduce wastage when it comes to brushes, rollers and trays. It looks all nice and shiny now and will be a good hardwearing surface.
The door frames and inside of the doors will get two more coats of epoxy to properly seal them and make them 100% waterproof.
So I'm very close to the official finishing stages now... of the main box anyway. Only one more joint to glue when I put the top on and I can start glassing the outside. There is still a lot of detail work to do with fitting the water system, the electrics and building the storage and kitchen drawers so a way to go yet. I think I making pretty good progress so far though. I'm happy with it anyway...