slosurfer
Adventurer
Most of this is copied directly from my thread over at ultimateyota, so some things are a few days old.
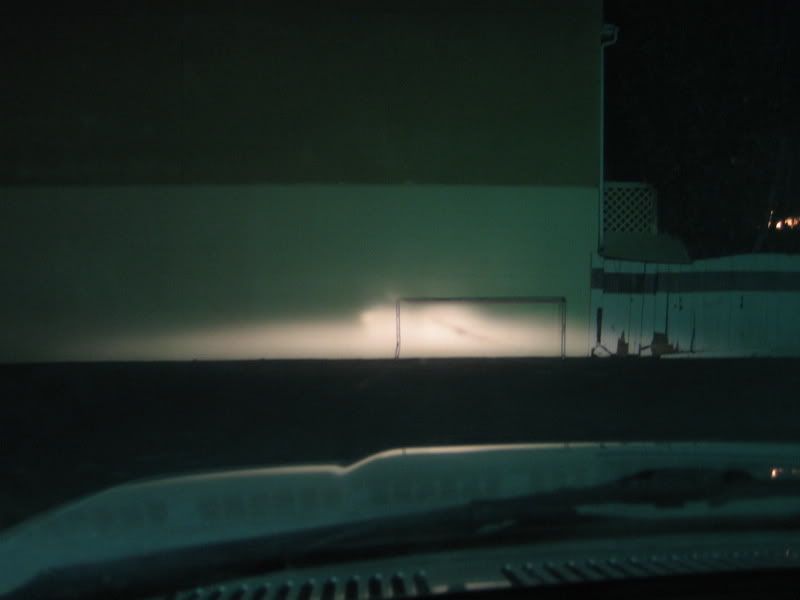
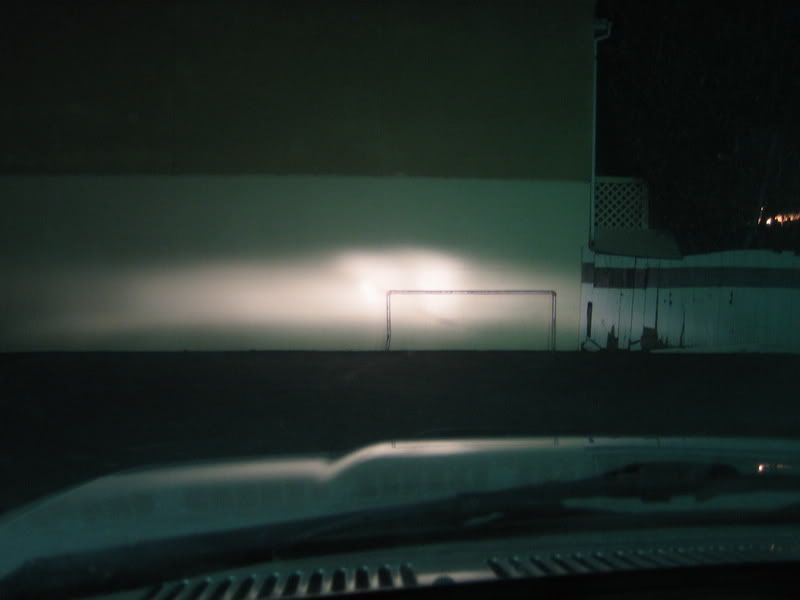
I really like my Lightforce 170's and may have gotten myself addicted to having some good light. They are great for night runs out at Oceano Dunes. I may be adding more lights and that got me thinking about my electrical system and if it could handle 400watts plus. I eventually plan on a dual battery setup, but with a 3 yr. old son and a daughter due any day now, I don't think I have the time or energy to figure out how to slam another battery into the crammed 3.0 engine bay anytime soon. Right now with 2 lights, I am at 200watts, while with 4 35watt HID's I would be at 140watts. BruceTS's recent thread about his HID upgrade into his Hella 4000's got me thinking and I started researching HID upgrades for the Lightforce's.
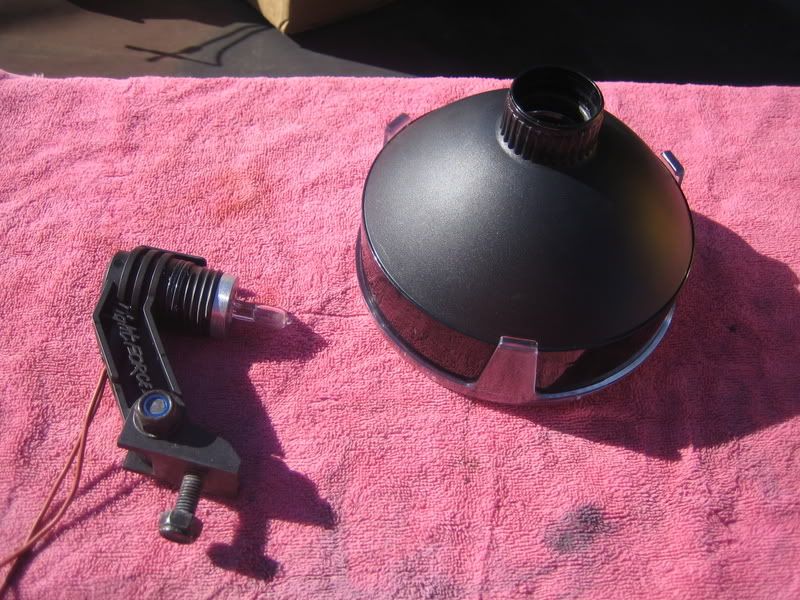
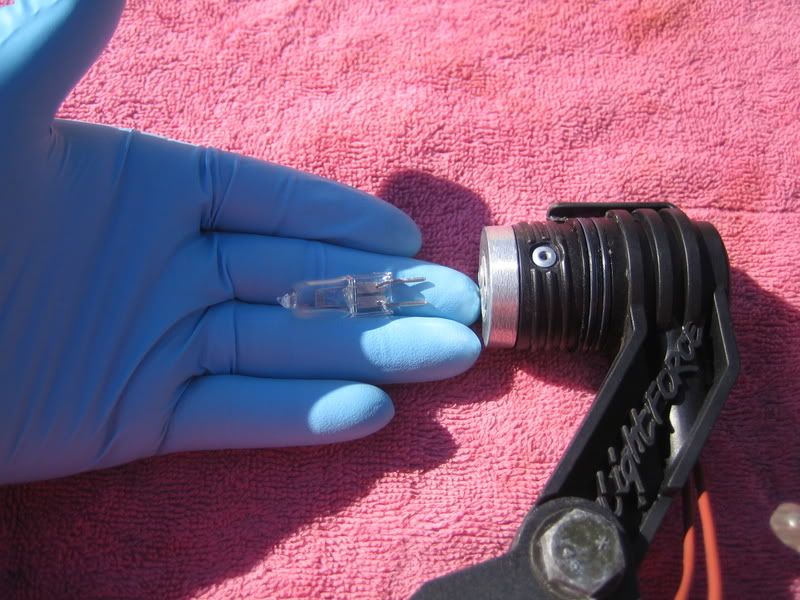
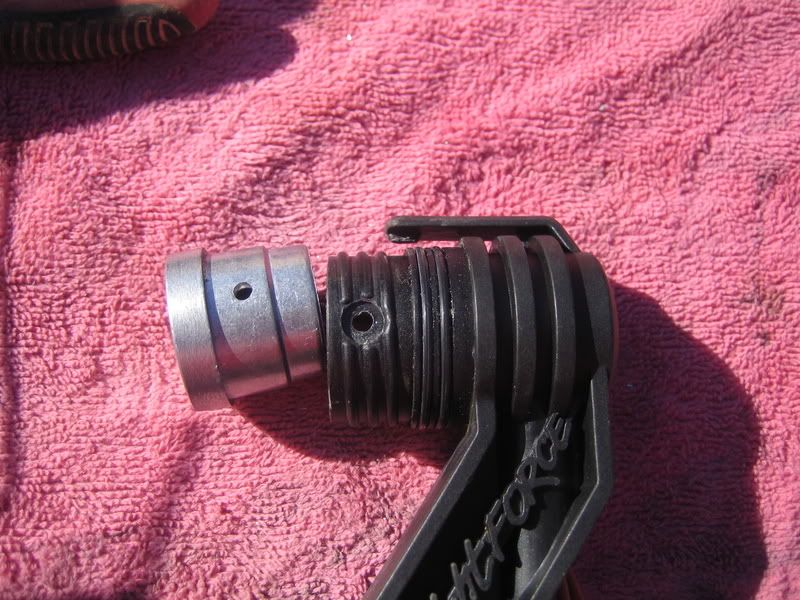
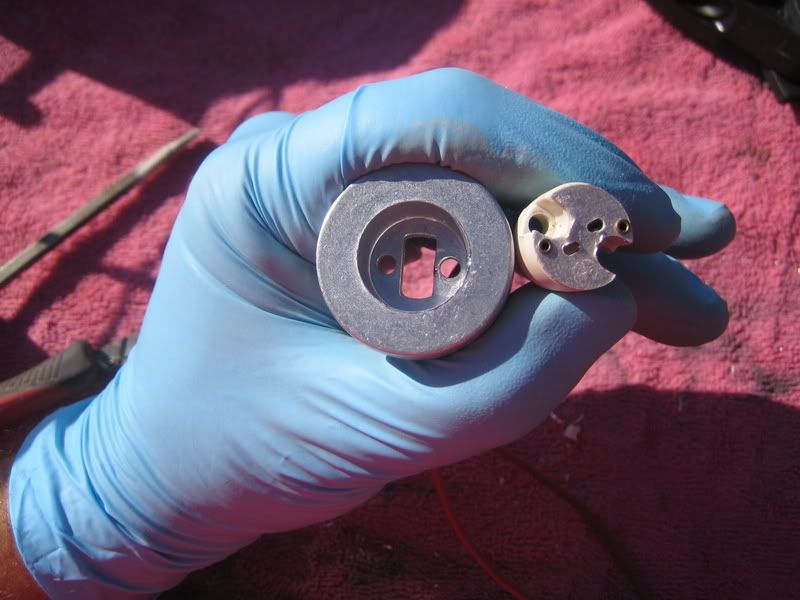
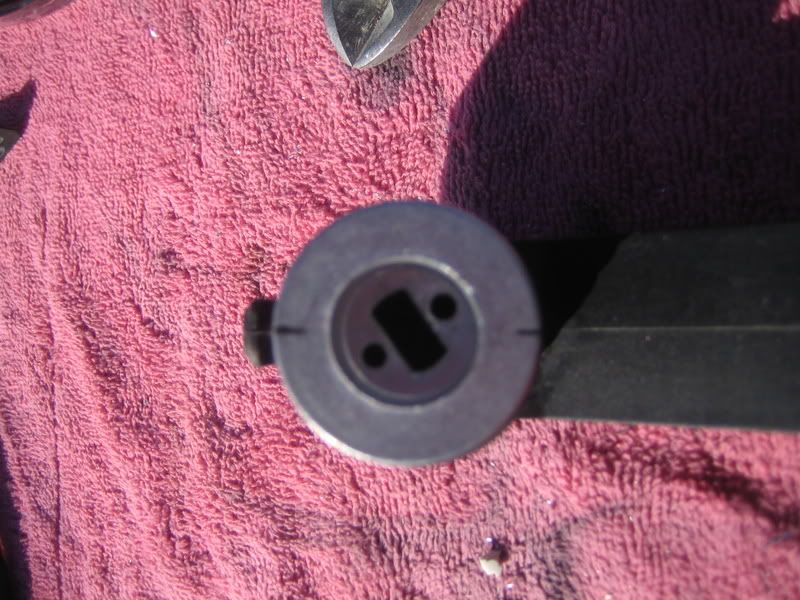
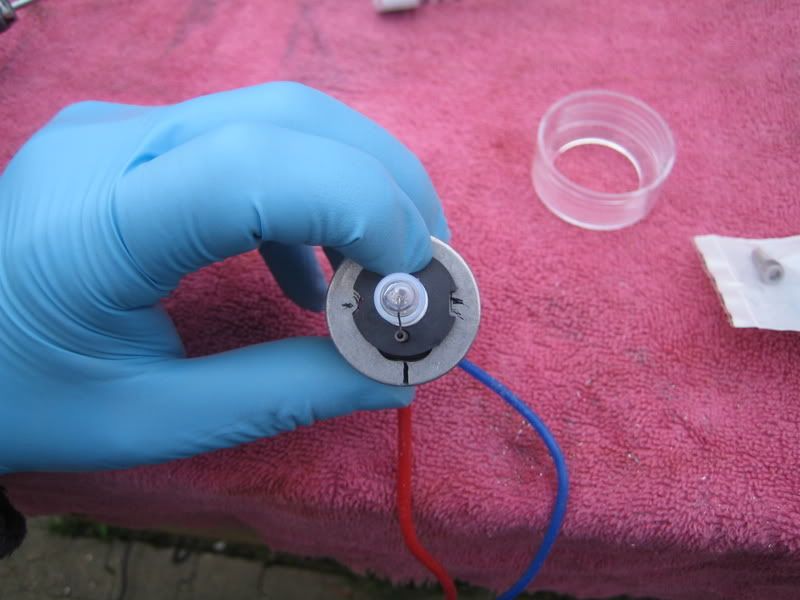
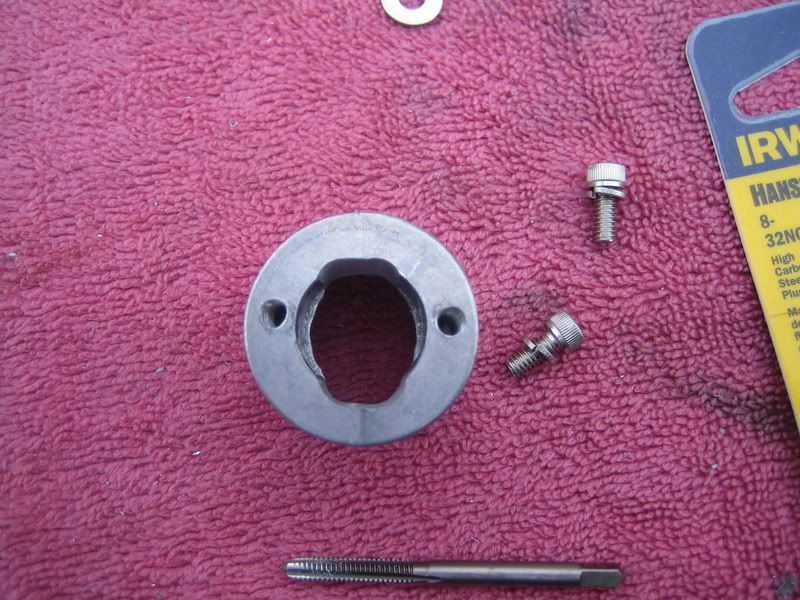
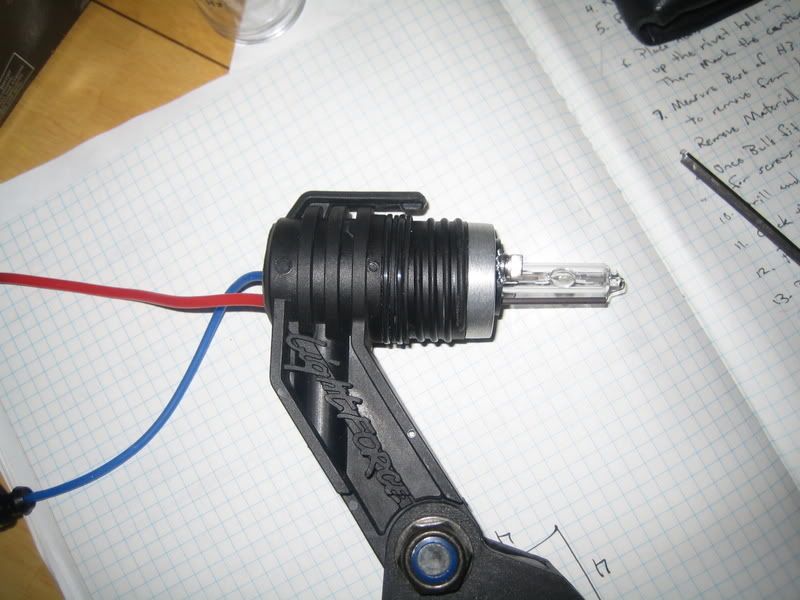
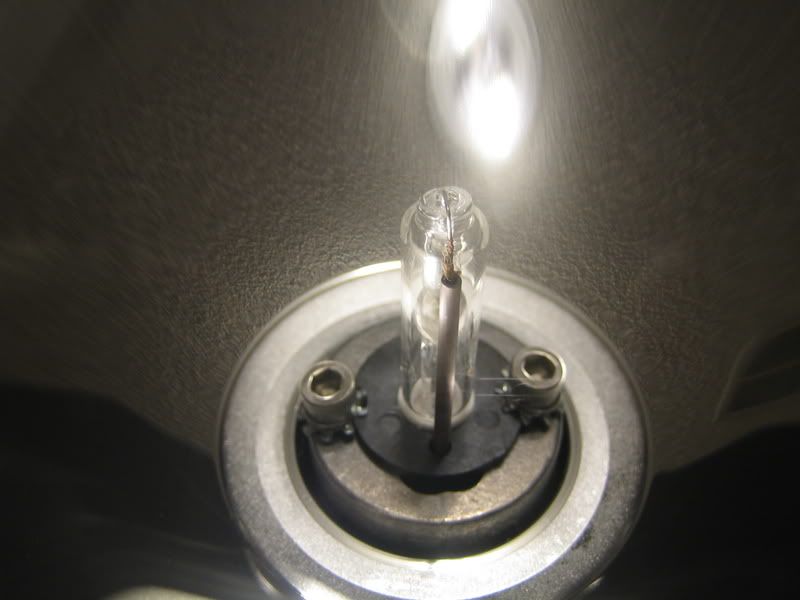
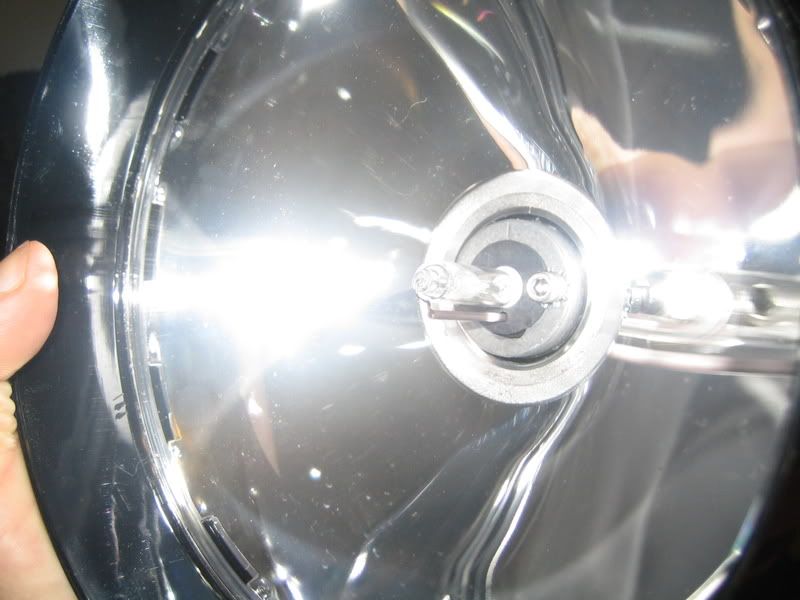
There are a couple kits out there for upgrading the lightforce lights to HID, but they are somewhat pricey although still really cheap compared to buying Lightforce HID lights. There are also a few fitment kits, that allow you to fit a H3 HID kit into the lights, as there are no HID kits that have bulbs that are a direct plug-n-play for the Lightforce family of lights. Some work is needed to make a H3 bulb fit into the base, not to mention drilling the hole in the back for the wires.
At this point I have ordered a HID kit off ebay, and should have it soon and can get started on this project. I ordered a H3 5000k kit from ebay seller: Autoluminate which I believe is the same seller Bruce bought from.
I started this thread before I actually started the conversion, so that I could receive feedback and tips, and to also condense all the info that I have found to make it easier for those who may want to try this also. The HID kit should be getting here any day and I hope to start on it right away, so stay tuned.
Here is what I have so far:
HID upgrade kits (these have everything you need to do the conversion):
Off-roadlights.com kit $490
Extremelimitsoffroad kit $570.25 AU
HID fitment kits (these have pieces that allow you to fit a certain size HID kit, these do not include the actual HID kit):
Oztion seller This Oztion (Aussie for auction, similar to ebay) sells modified 170 heatsinks that allow you to use a H3 HID kit. $100 AU
Another fitment kit This is another fitment kit that replaces your heatsink. $15 a pair AU Little simple things and lots of great info on the site. He also shows you the difference between the earlier models and the later models. The later models with the big aluminum heatsink can be modified to fit a H3Bulb, you can send them to him and have them done for $20 AU. I emailed him to find out how much it would be for him to send me a pair of his pieces to the states, but haven't heard from him.
Another fitment kit Looks to be that you can buy modified heatsinks that will allow H3 bulbs
Places on the internet that have useful info concerning the swap:
BruceTS's conversion of his Hellas-Not the same light but good info on the rest of the install.
Offroaders.com install- A step by step install into Lightforce 170's useing the off-roadlights.com conversion kit. Good pics and info, and should help to make sure mine is looking the way it should be.
Lightforce 140 HID conversion -Thread at candlepowerforums.com- User bushy555 is the maker of the above fitment pieces
Lightforce SL240 HID conversion- Thread at candlepowerforums.com- good info, even though the conversion was done on a hand held 240spotlight. Also, some amazing pics.
Detailed Instructions - Detailed instructions on how to do the conversion if you were to buy a already modified heatsink.
Photos - Photos from the above conversion
Contacts - Contact for the above conversion pieces
Instructions for older style -Bushy555 instructions on how to use his fitment piece on the older style heatsinks. He also has a downloadable set if instructions that shows both the new and old heatsinks together and the instructions.
That is what I have at the moment. You will notice that many of these are for the 240's but they all share the same base (except for the XGT's which is a completely different animal). I welcome any and all comments, tips, etc... and if you have found any other info out there, please share. I don't have anything to show right now as I have not received my HIDs at this time, but once I do, I plan on starting right away and takeing many pics.
Happy reading!

